


Print Profile(2)


Bill of Materials


Description
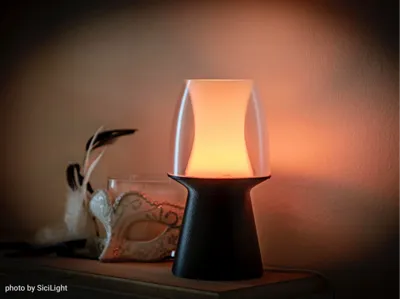
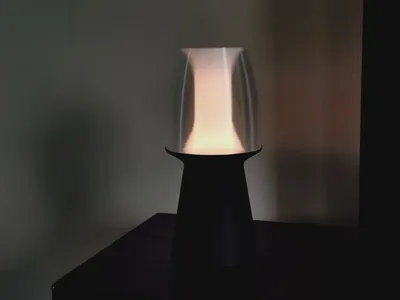
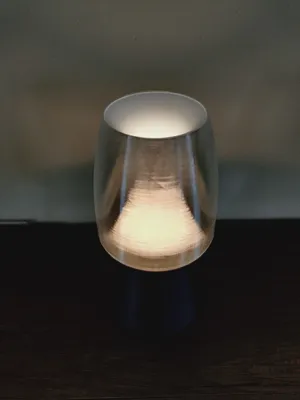
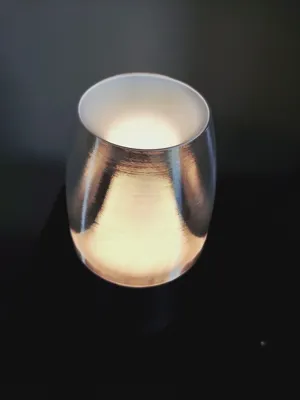
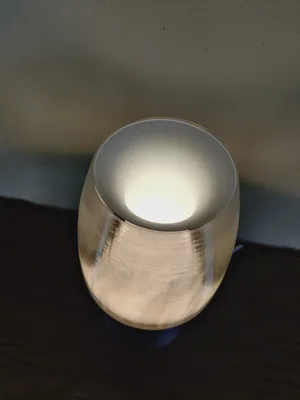
NOXEA Lamp - Updated
Also on Printables with files for Prusaslicer
A modern lamp design for your living space. Some time ago, while waiting at the doctor’s office, I came across a lantern design in a home decor magazine that inspired me to create this 3D-printed LED lamp. I believe it might have been the Olbia by Lambert. Only hardware you need is the LED Lamp Kit MH001 by BambuLab.
Print Settings
I highly recommend using the supplied Bambu Studio .3mf file, as it contains the optimized settings.
While the base can be printed in default settings, both the transparent shade and the lighting cone require specific adjustments to ensure proper functionality:
Lighting Cone:
- 13 solid bottom layers in Vase Mode
- Outer Wall Extrusion Width: 0.6 mm
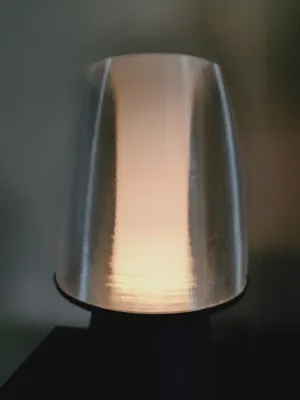
Transparent Shade:
- 13 solid bottom layers in Vase Mode
For maximum transparency of the shade, you may achieve the best results by slowing down the print speed, turning off the fan, and slightly increasing the print temperature.
I used PETG for the lighting cone and transparent shade but PLA should be fine as well!
Assembly
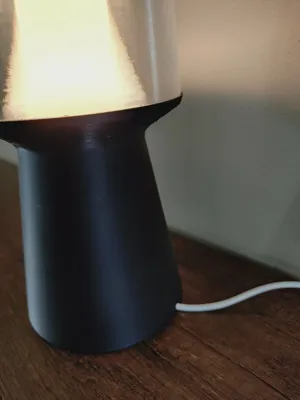
- Mount the LED Lamp Kit light source to the Base
- twist-lock the lighting cone into place
- twist-lock the transparent lamp shade into place
Enjoy your new lamp!
Comment & Rating (24)