
MeshT1 - Meshtastic Heltec Tracker 外壳
Print Profile(1)

Description
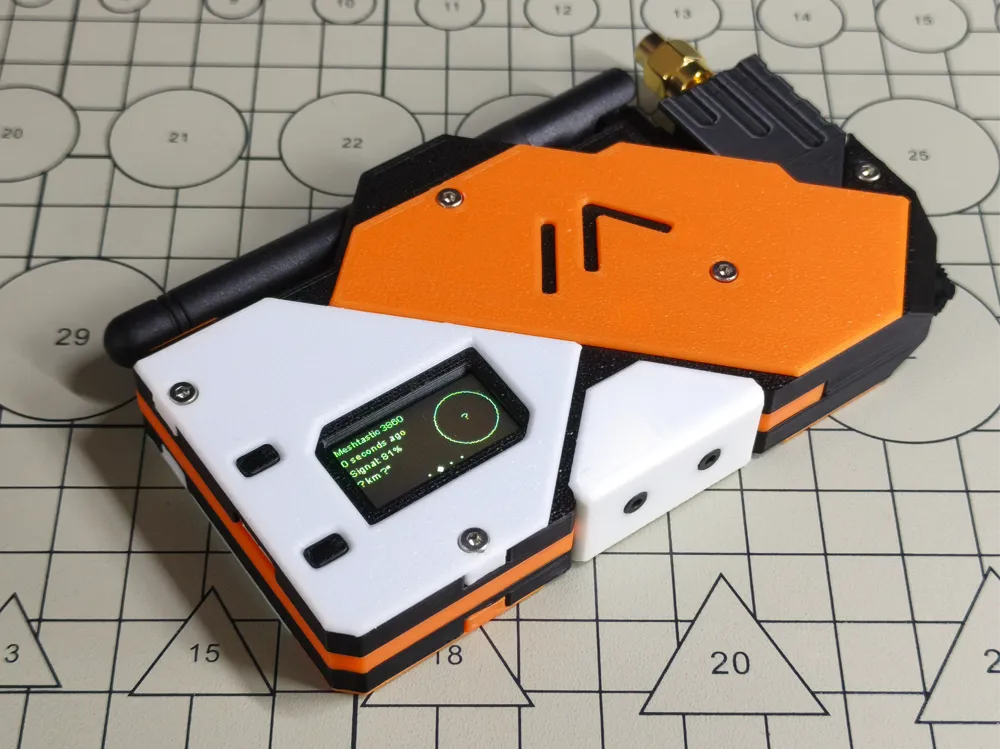
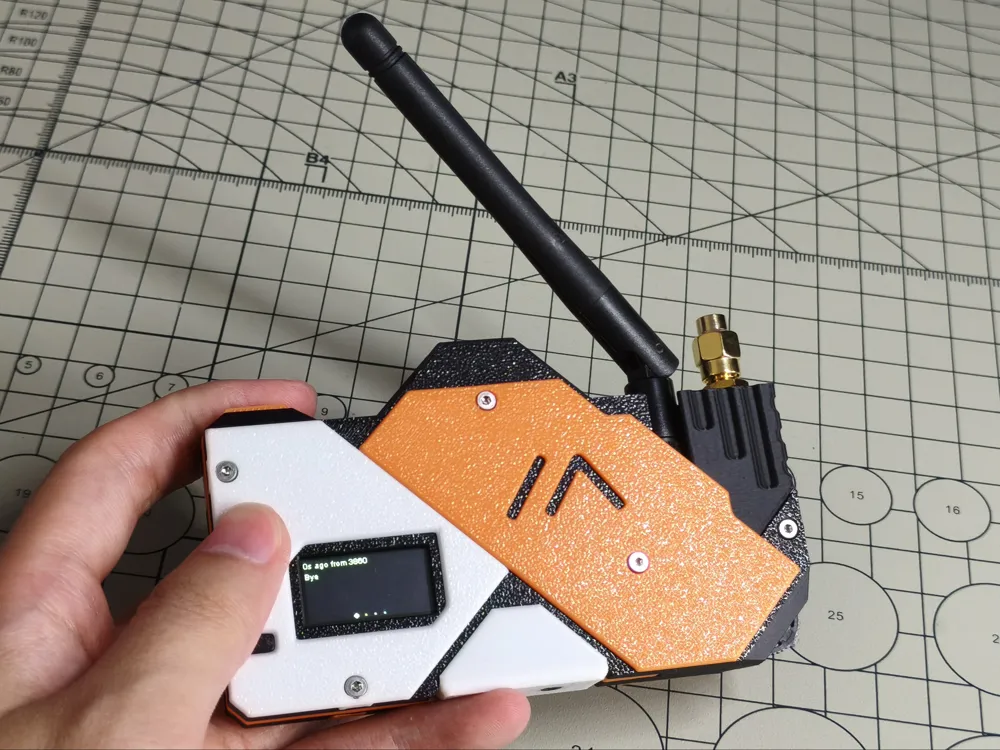
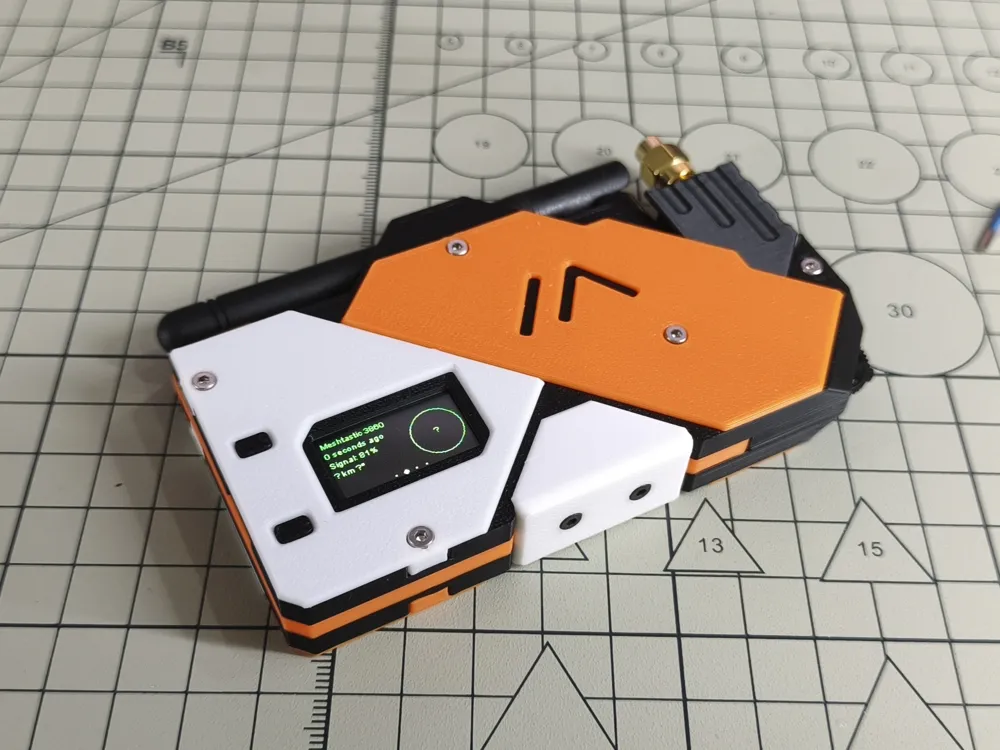
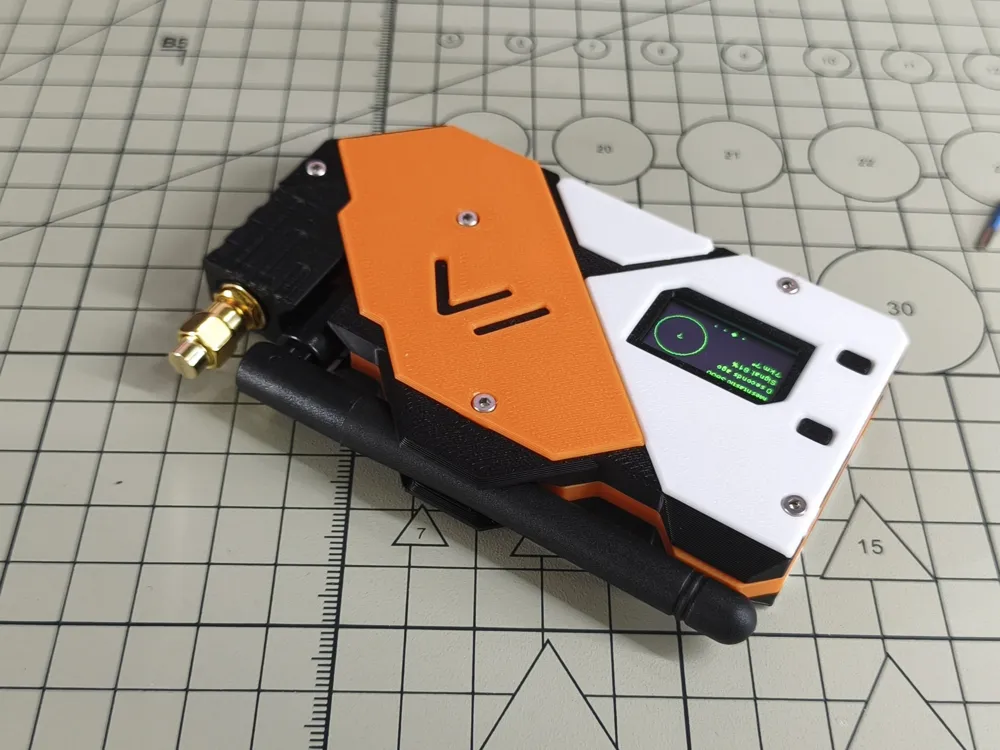
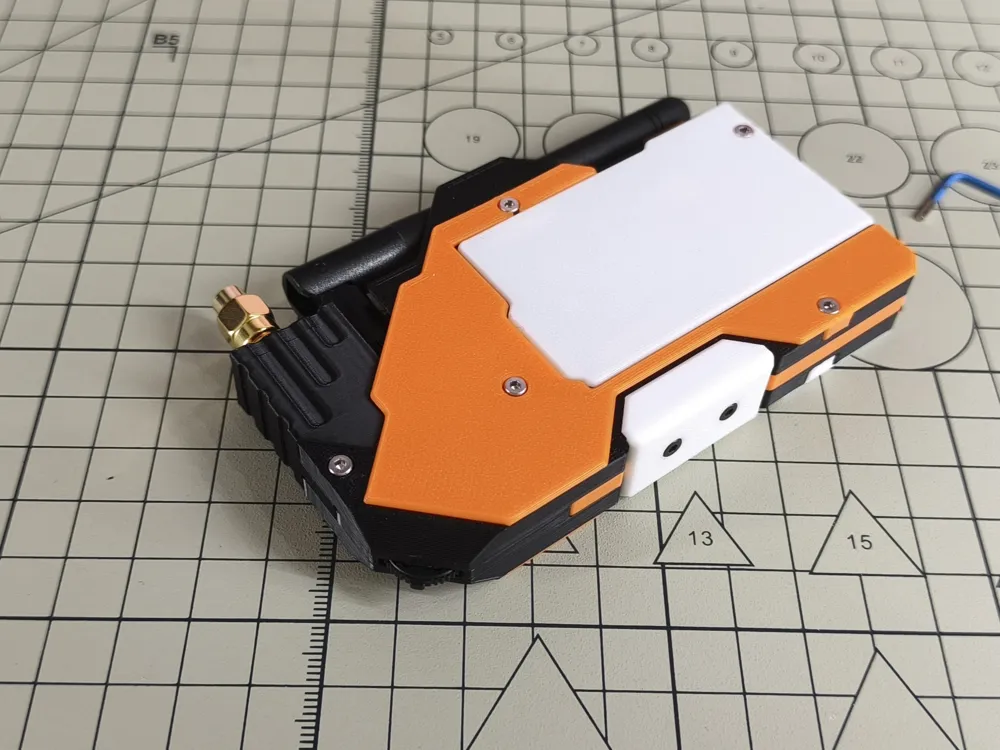
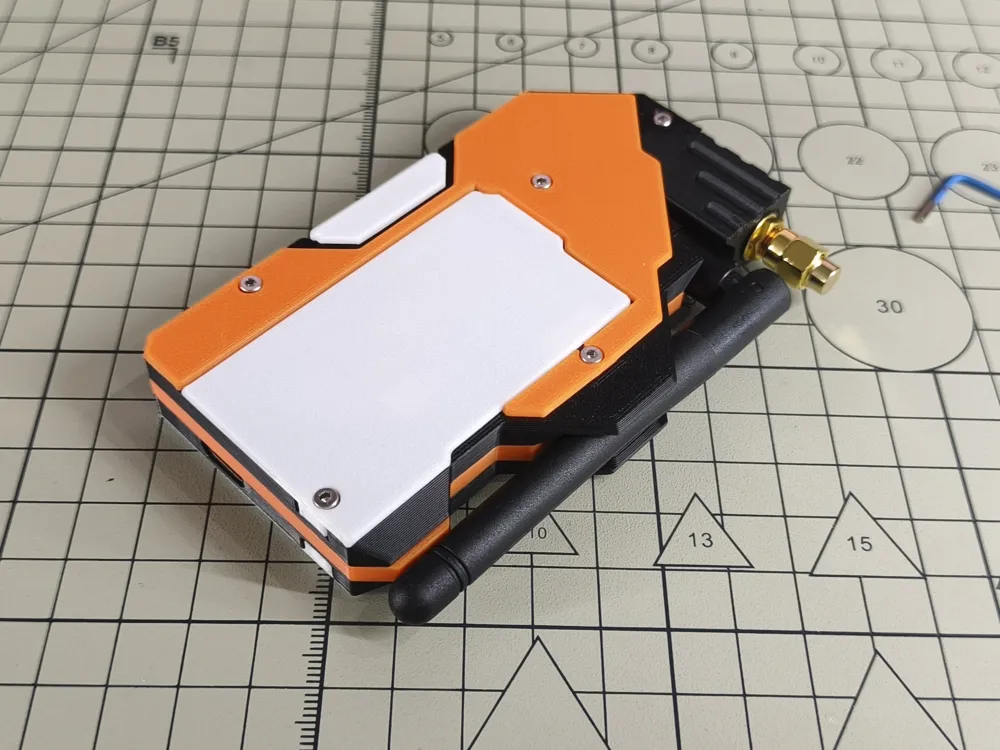
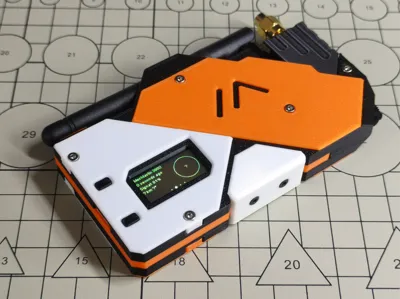
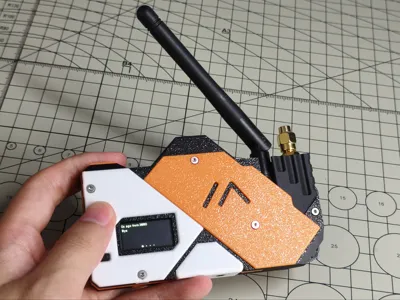
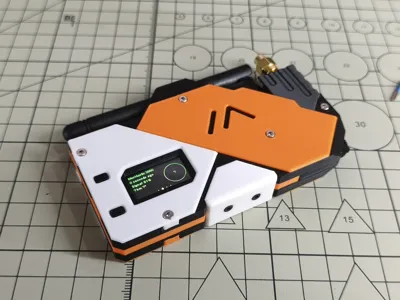
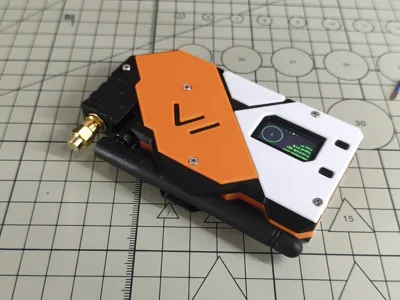
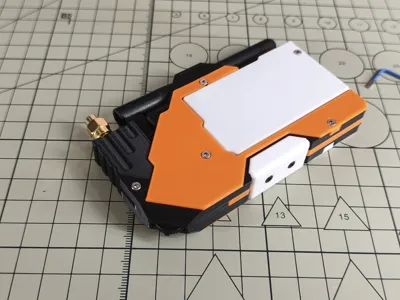
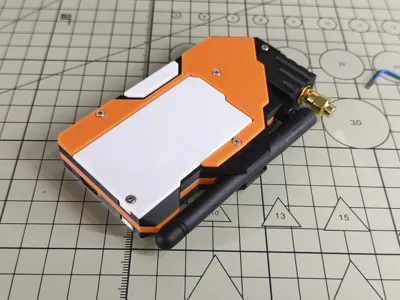
MeshT1 - Case for Heltec Wireless Tracker
This printing kit is for the Heltec Wireless Tracker
Features
- Integrated foldable LoRa antenna storage
- Supports sending preset messages using a rotary switch
- Reserved GNSS SMA interface
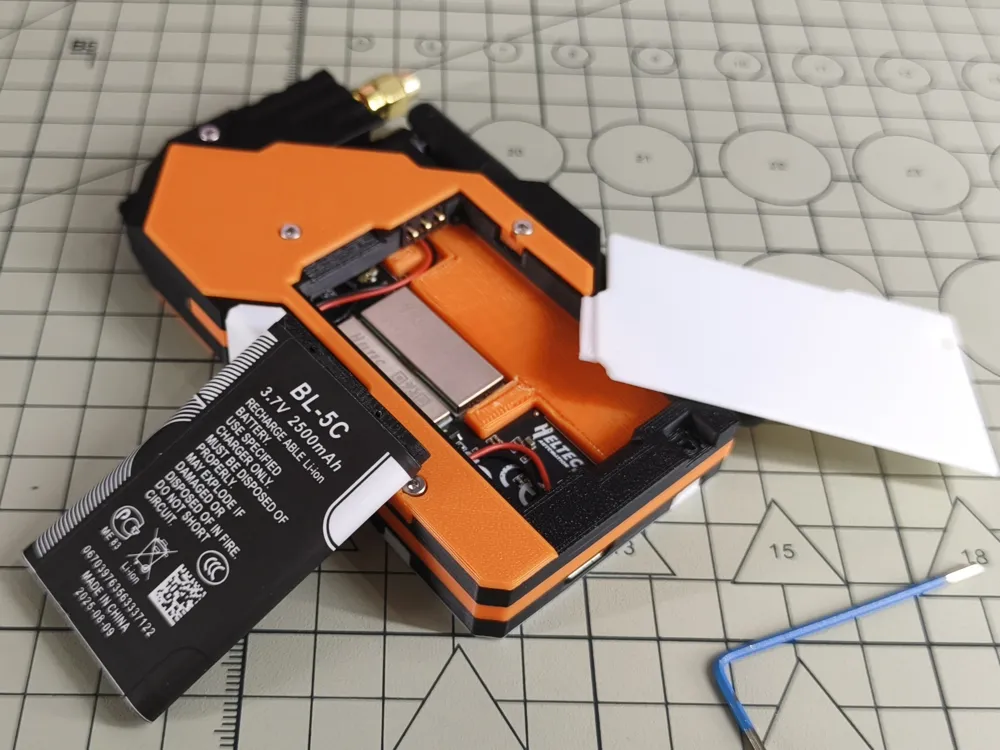
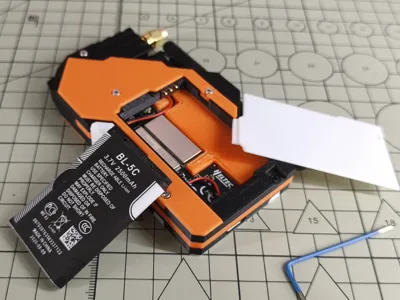
- Removable back cover for battery replacement
BOM List
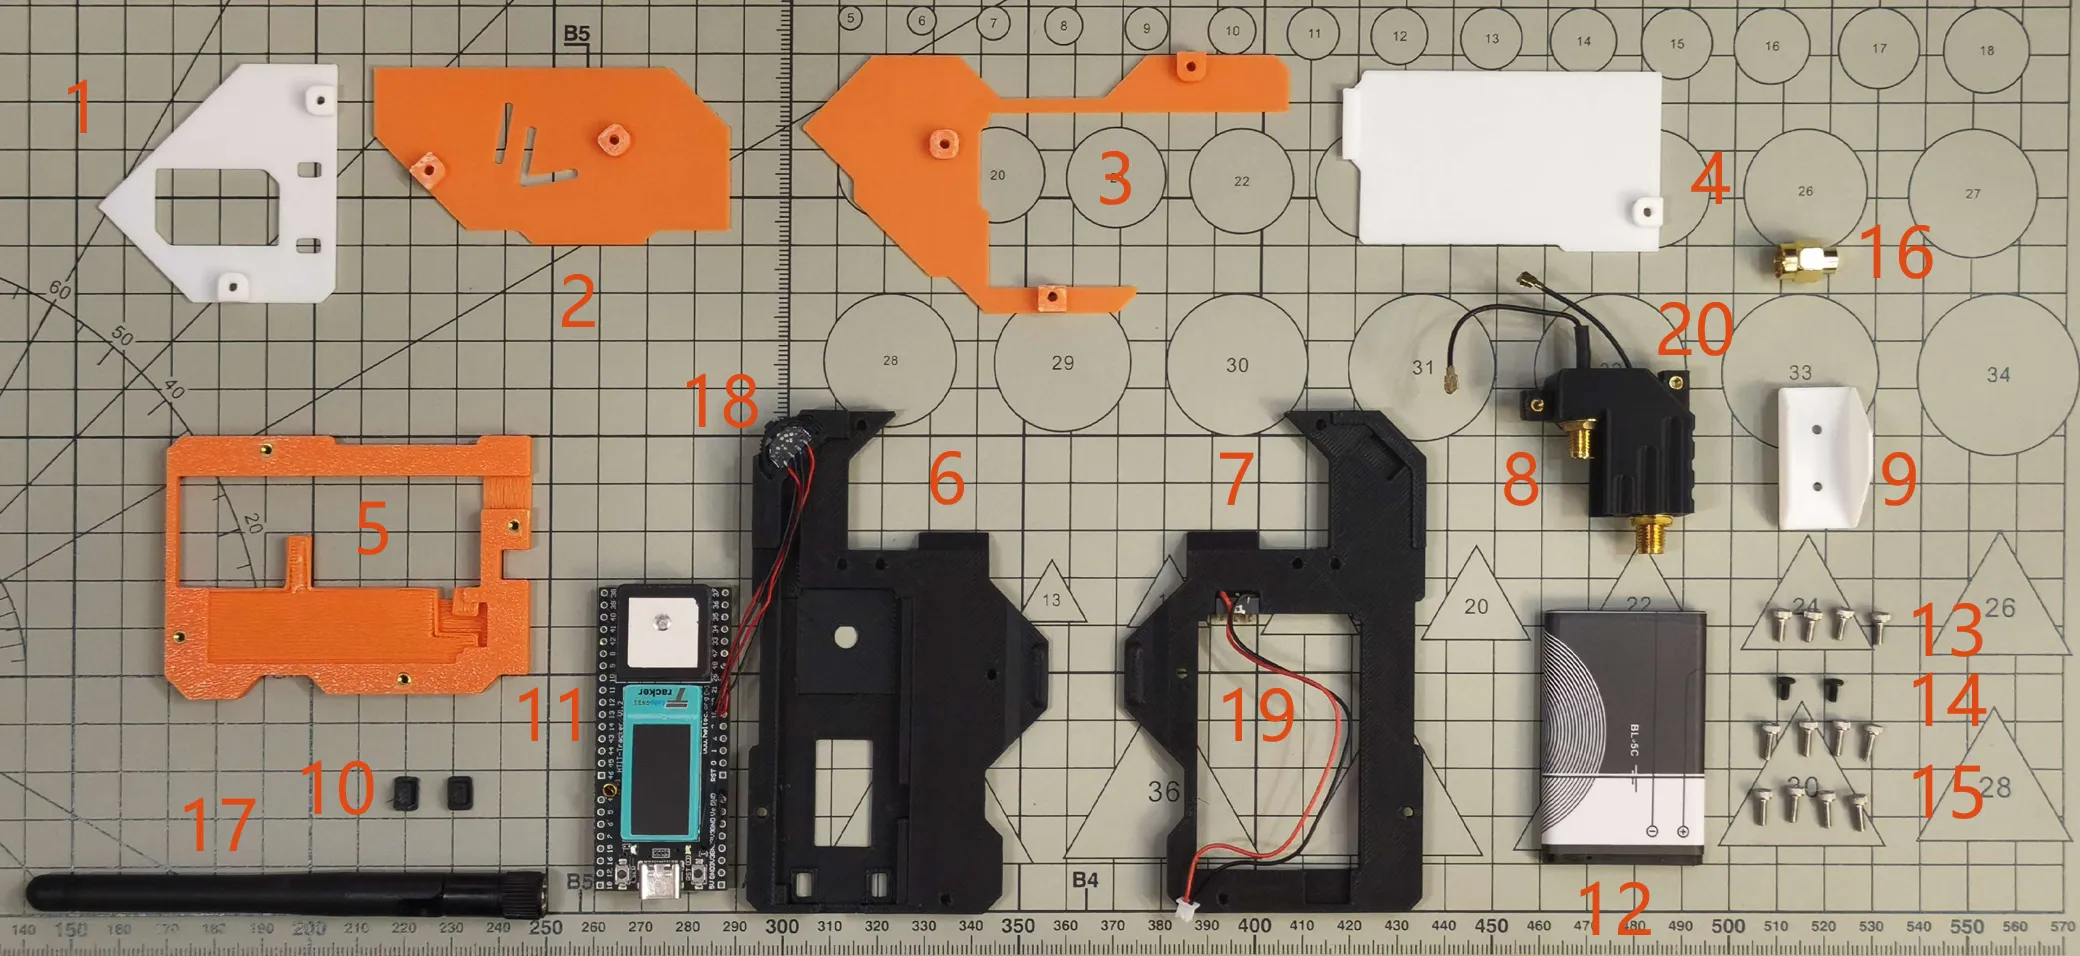
- 3D Printed Case C1
- 3D Printed Case C2
- 3D Printed Case C3
- 3D Printed Case C4
- 3D Printed Case M1
- 3D Printed Case U1
- 3D Printed Case L1
- 3D Printed Case S1
- 3D Printed Case S2
- 3D Printed Case B1
- Heltec Tracker
- BL-5C Battery
- M2x5 Hex Socket Head Cap Screws 4 pcs
- M2x4 Hex Socket Flat Head Screws 2 pcs
- M2x6 Hex Socket Head Cap Screws 8 pcs
- SMA Plug
- JK-11 LoRa Rubber Duck Antenna
- TM-2024A Rotary Switch
- BC-29-3P 3mm Pitch Spring Contact Battery Holder
- IPEX to SMA Female Adapter Cables, 5cm length 2 pcs
- M2x4 Double Pass Knurled Brass Nuts, 3mm outer diameter, 6 pcs
Assembly Guide
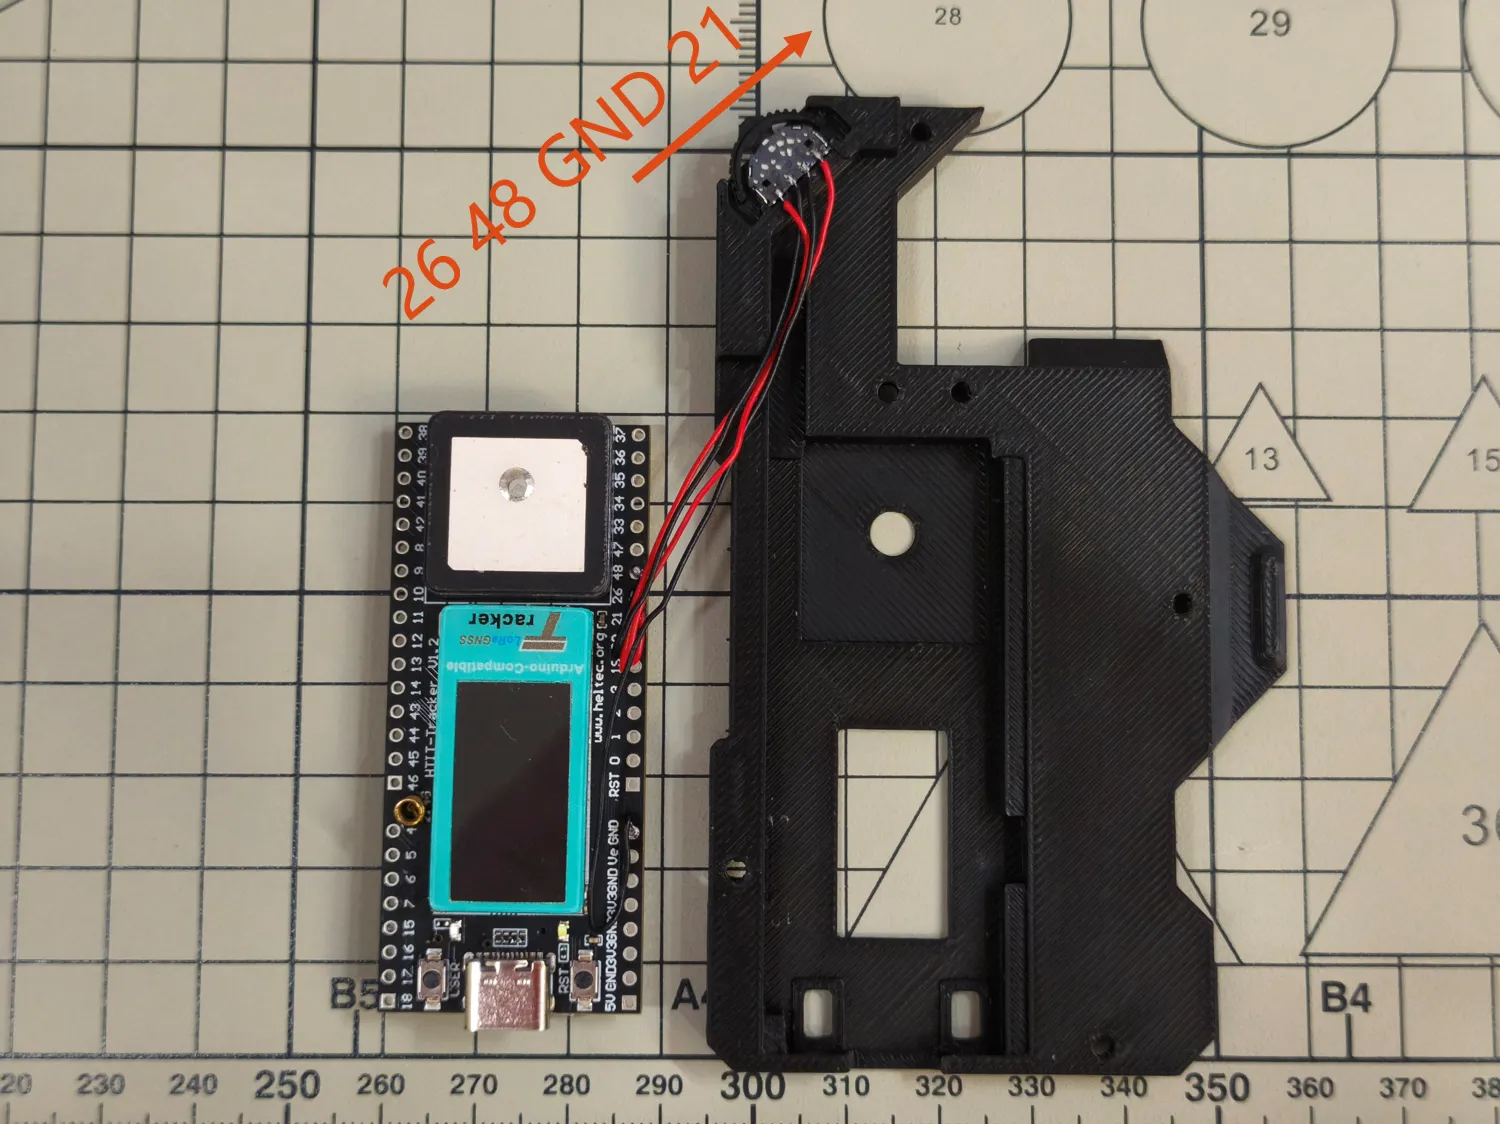
Solder the rotary switch pins to the Tracker The pins to be soldered are as shown, from left to right: 26, 48, GND, 21, and use super glue to attach the rotary switch to 3D Printed Case U1 The 2 plastic round pegs on the rotary switch need to be trimmed
Install the 3D Printed Case B1 button into the two holes at the bottom, arrange the wires and install the Tracker into U1, embed the M2x4 knurled nuts into 3D Printed Case M1 and S1, install the 2 SMA adapter cables into 3D Printed Case S1, as shown below
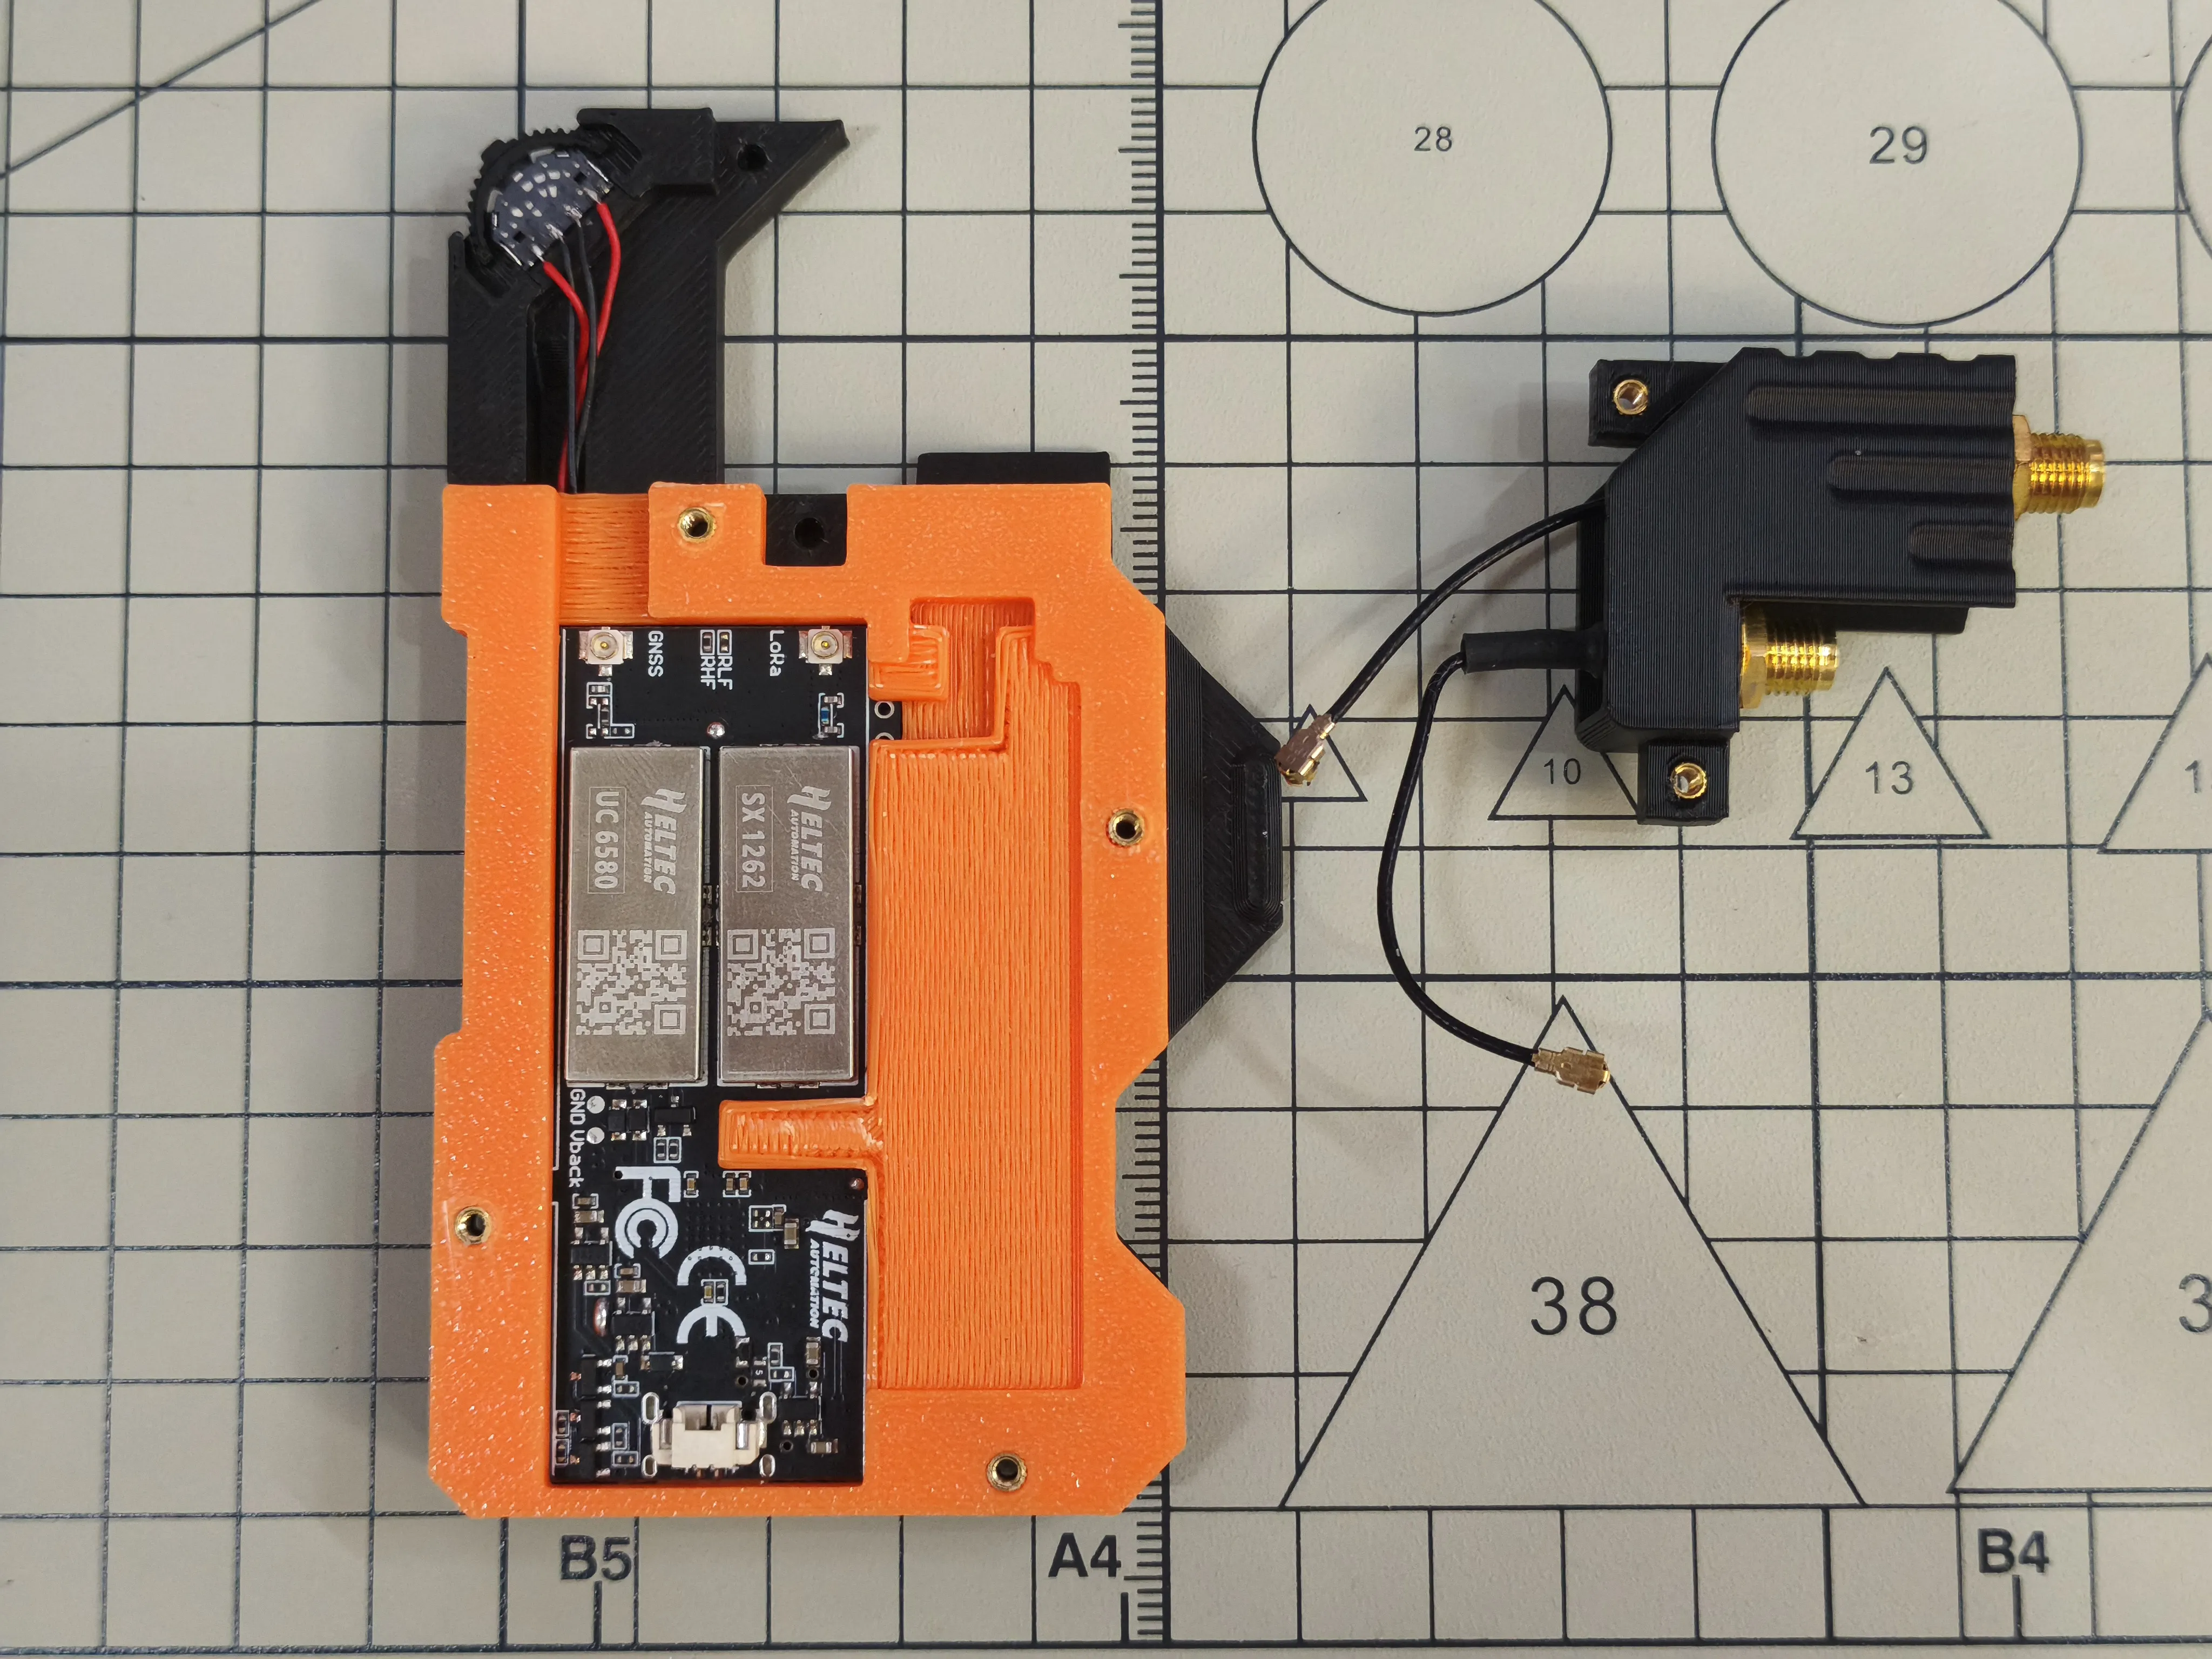
Use 2 M2x5 hex socket head cap screws to install 3D Printed Case S1 onto 3D Printed Case U1, and connect the SMA adapter cables to the Tracker The upper cable connects to GNSS IPEX, and the lower cable connects to LoRa IPEX
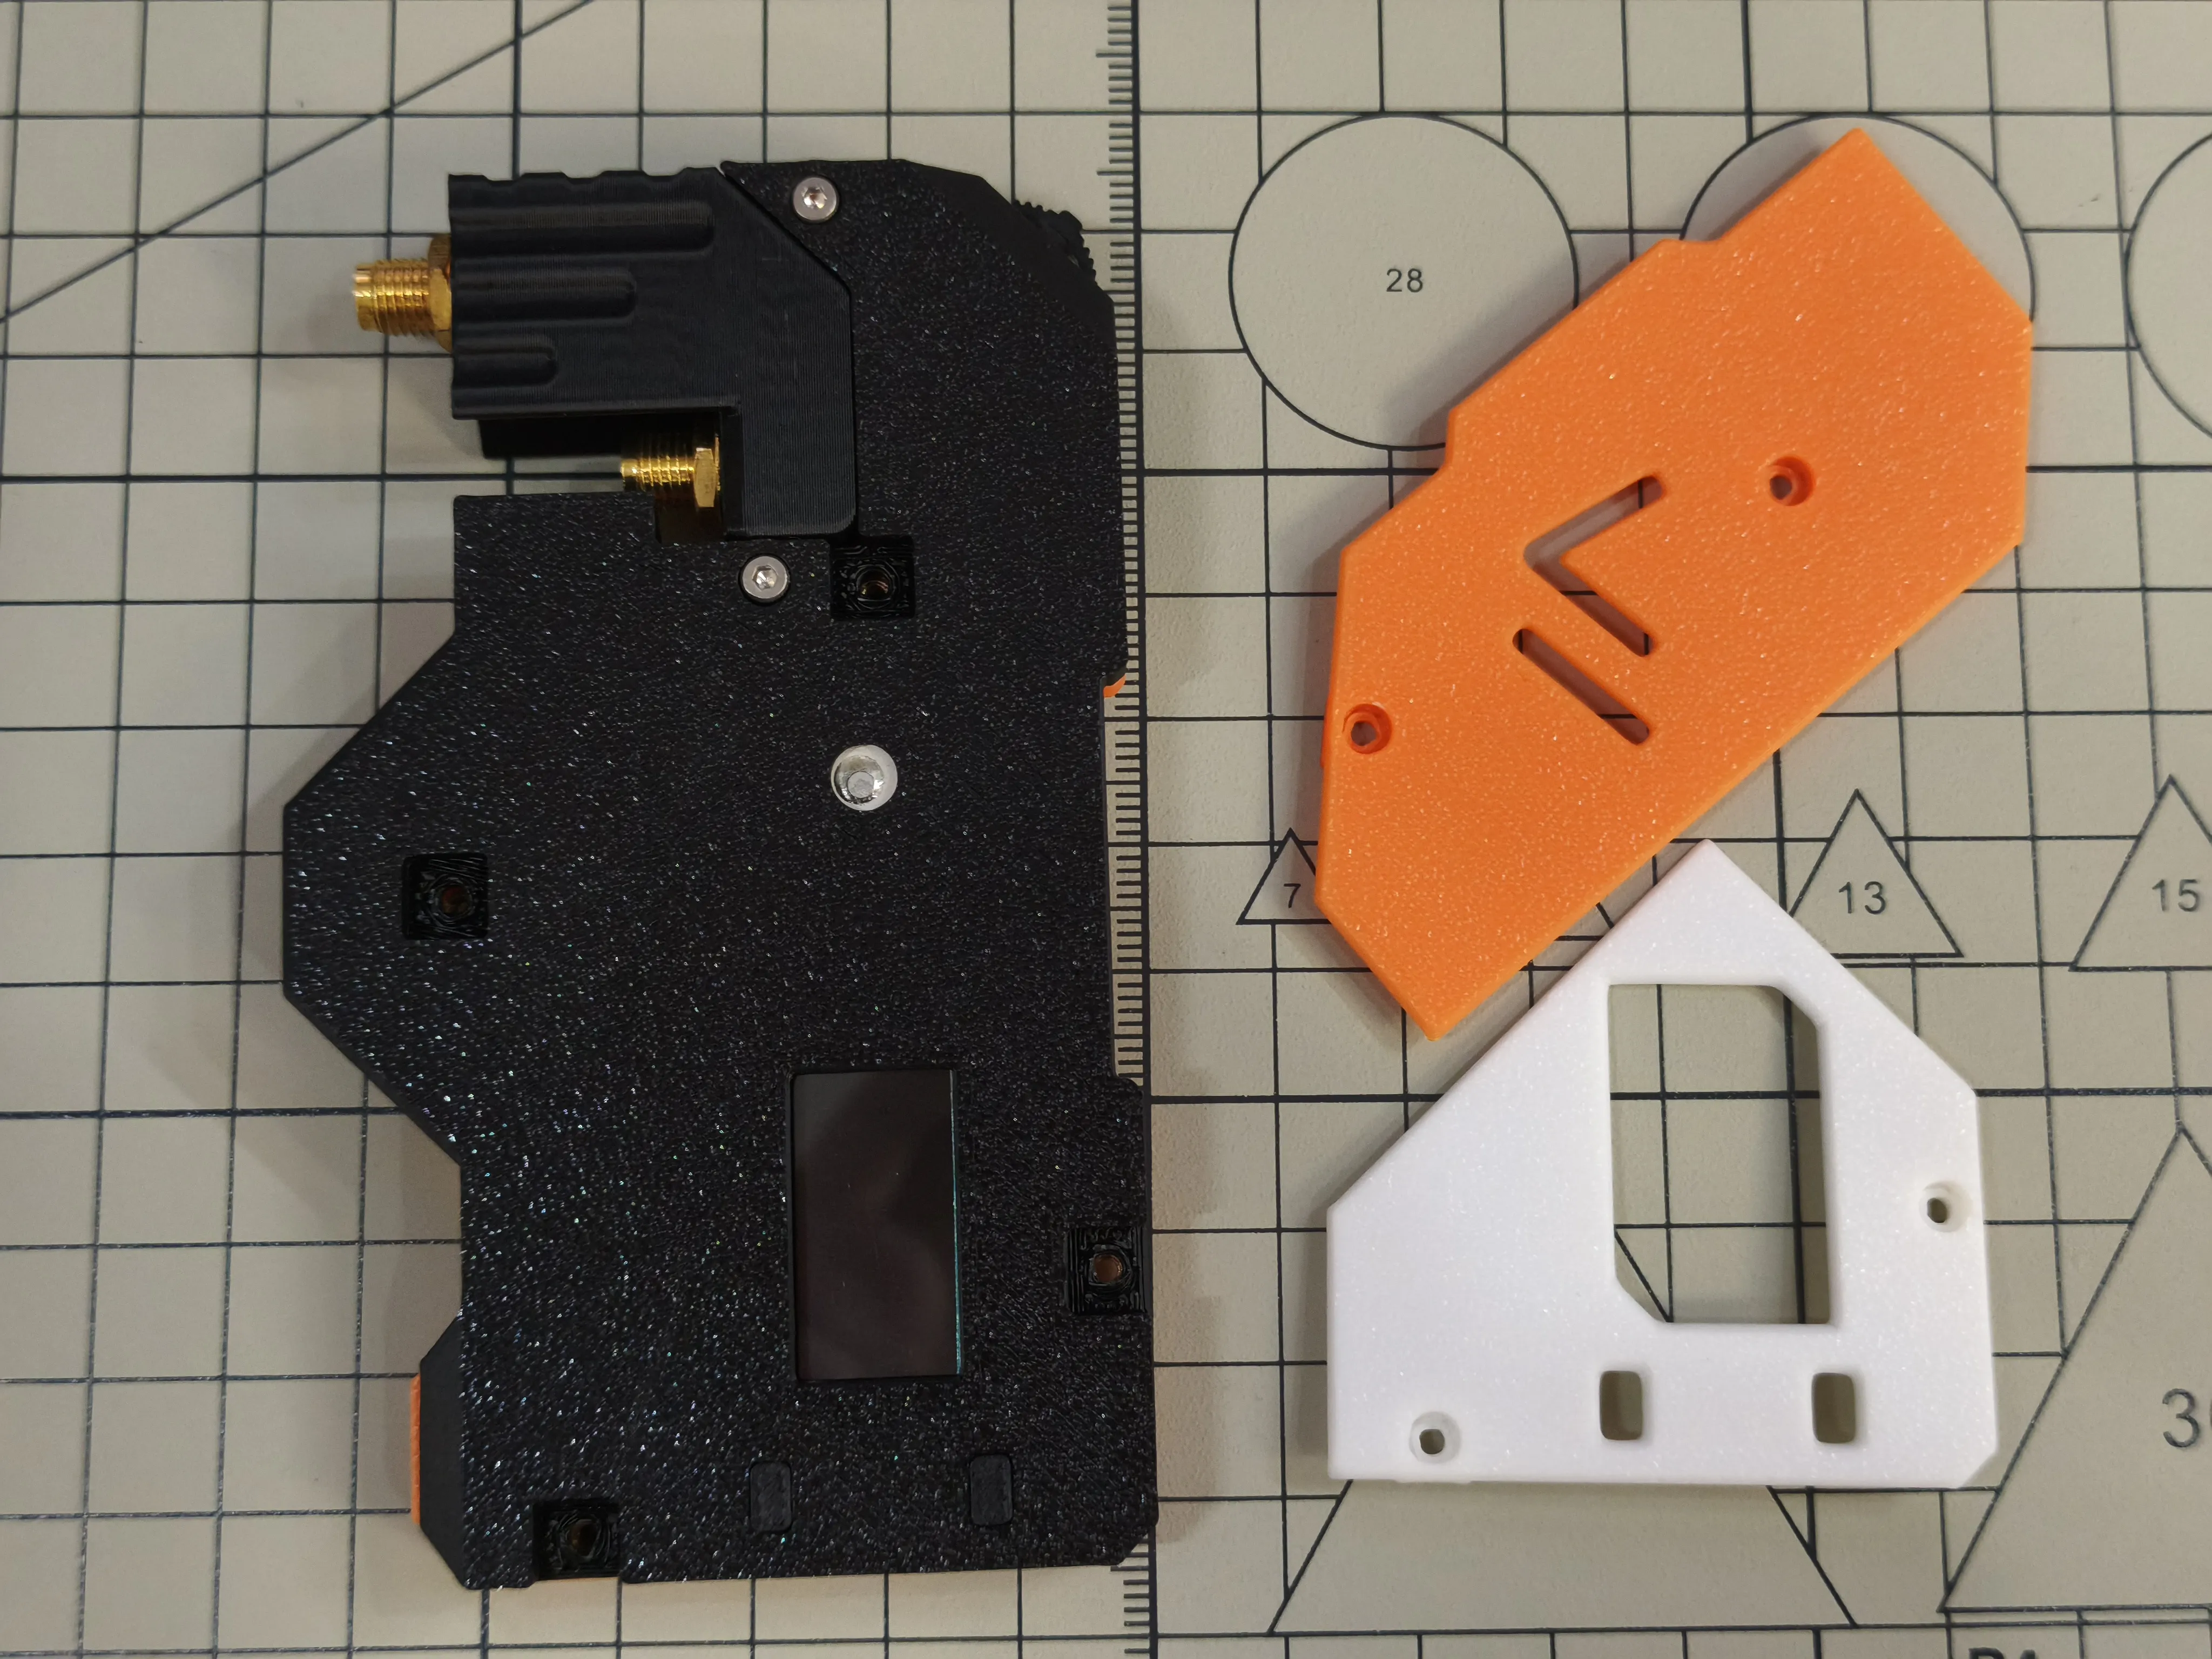
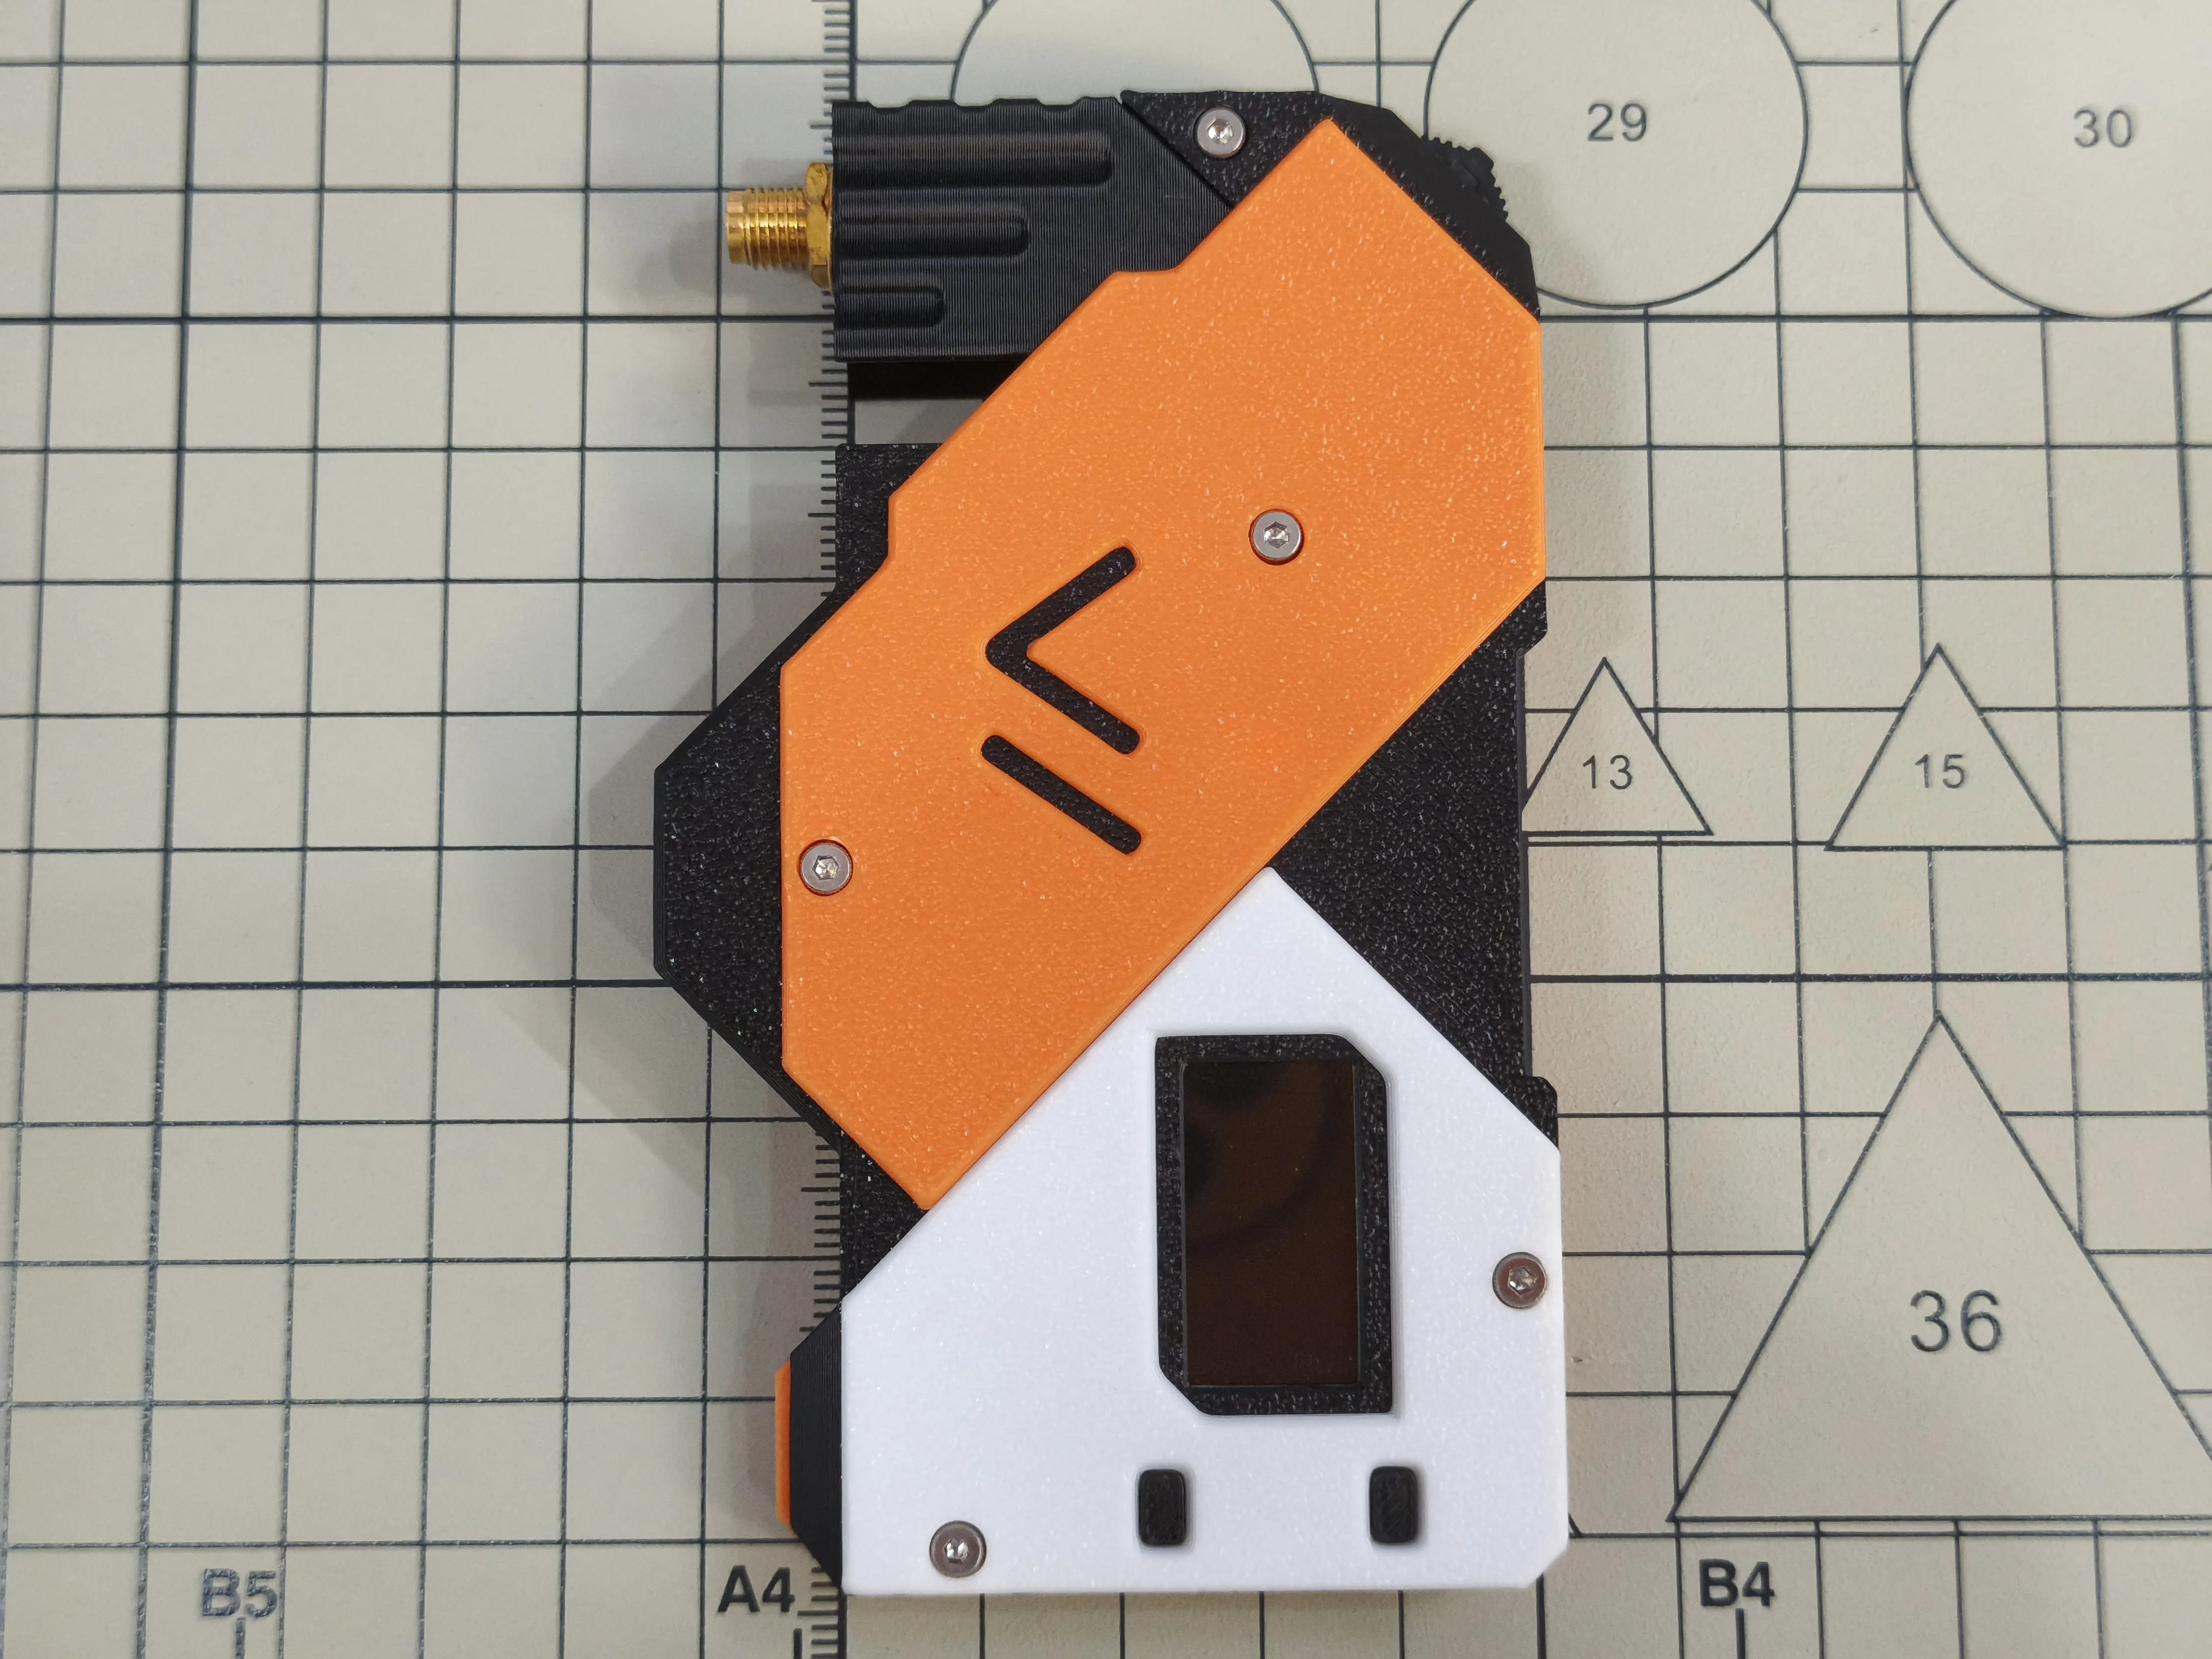
Use 4 M2x6 hex socket head cap screws to install 3D Printed Cases C1 and C2 onto 3D Printed Case U1
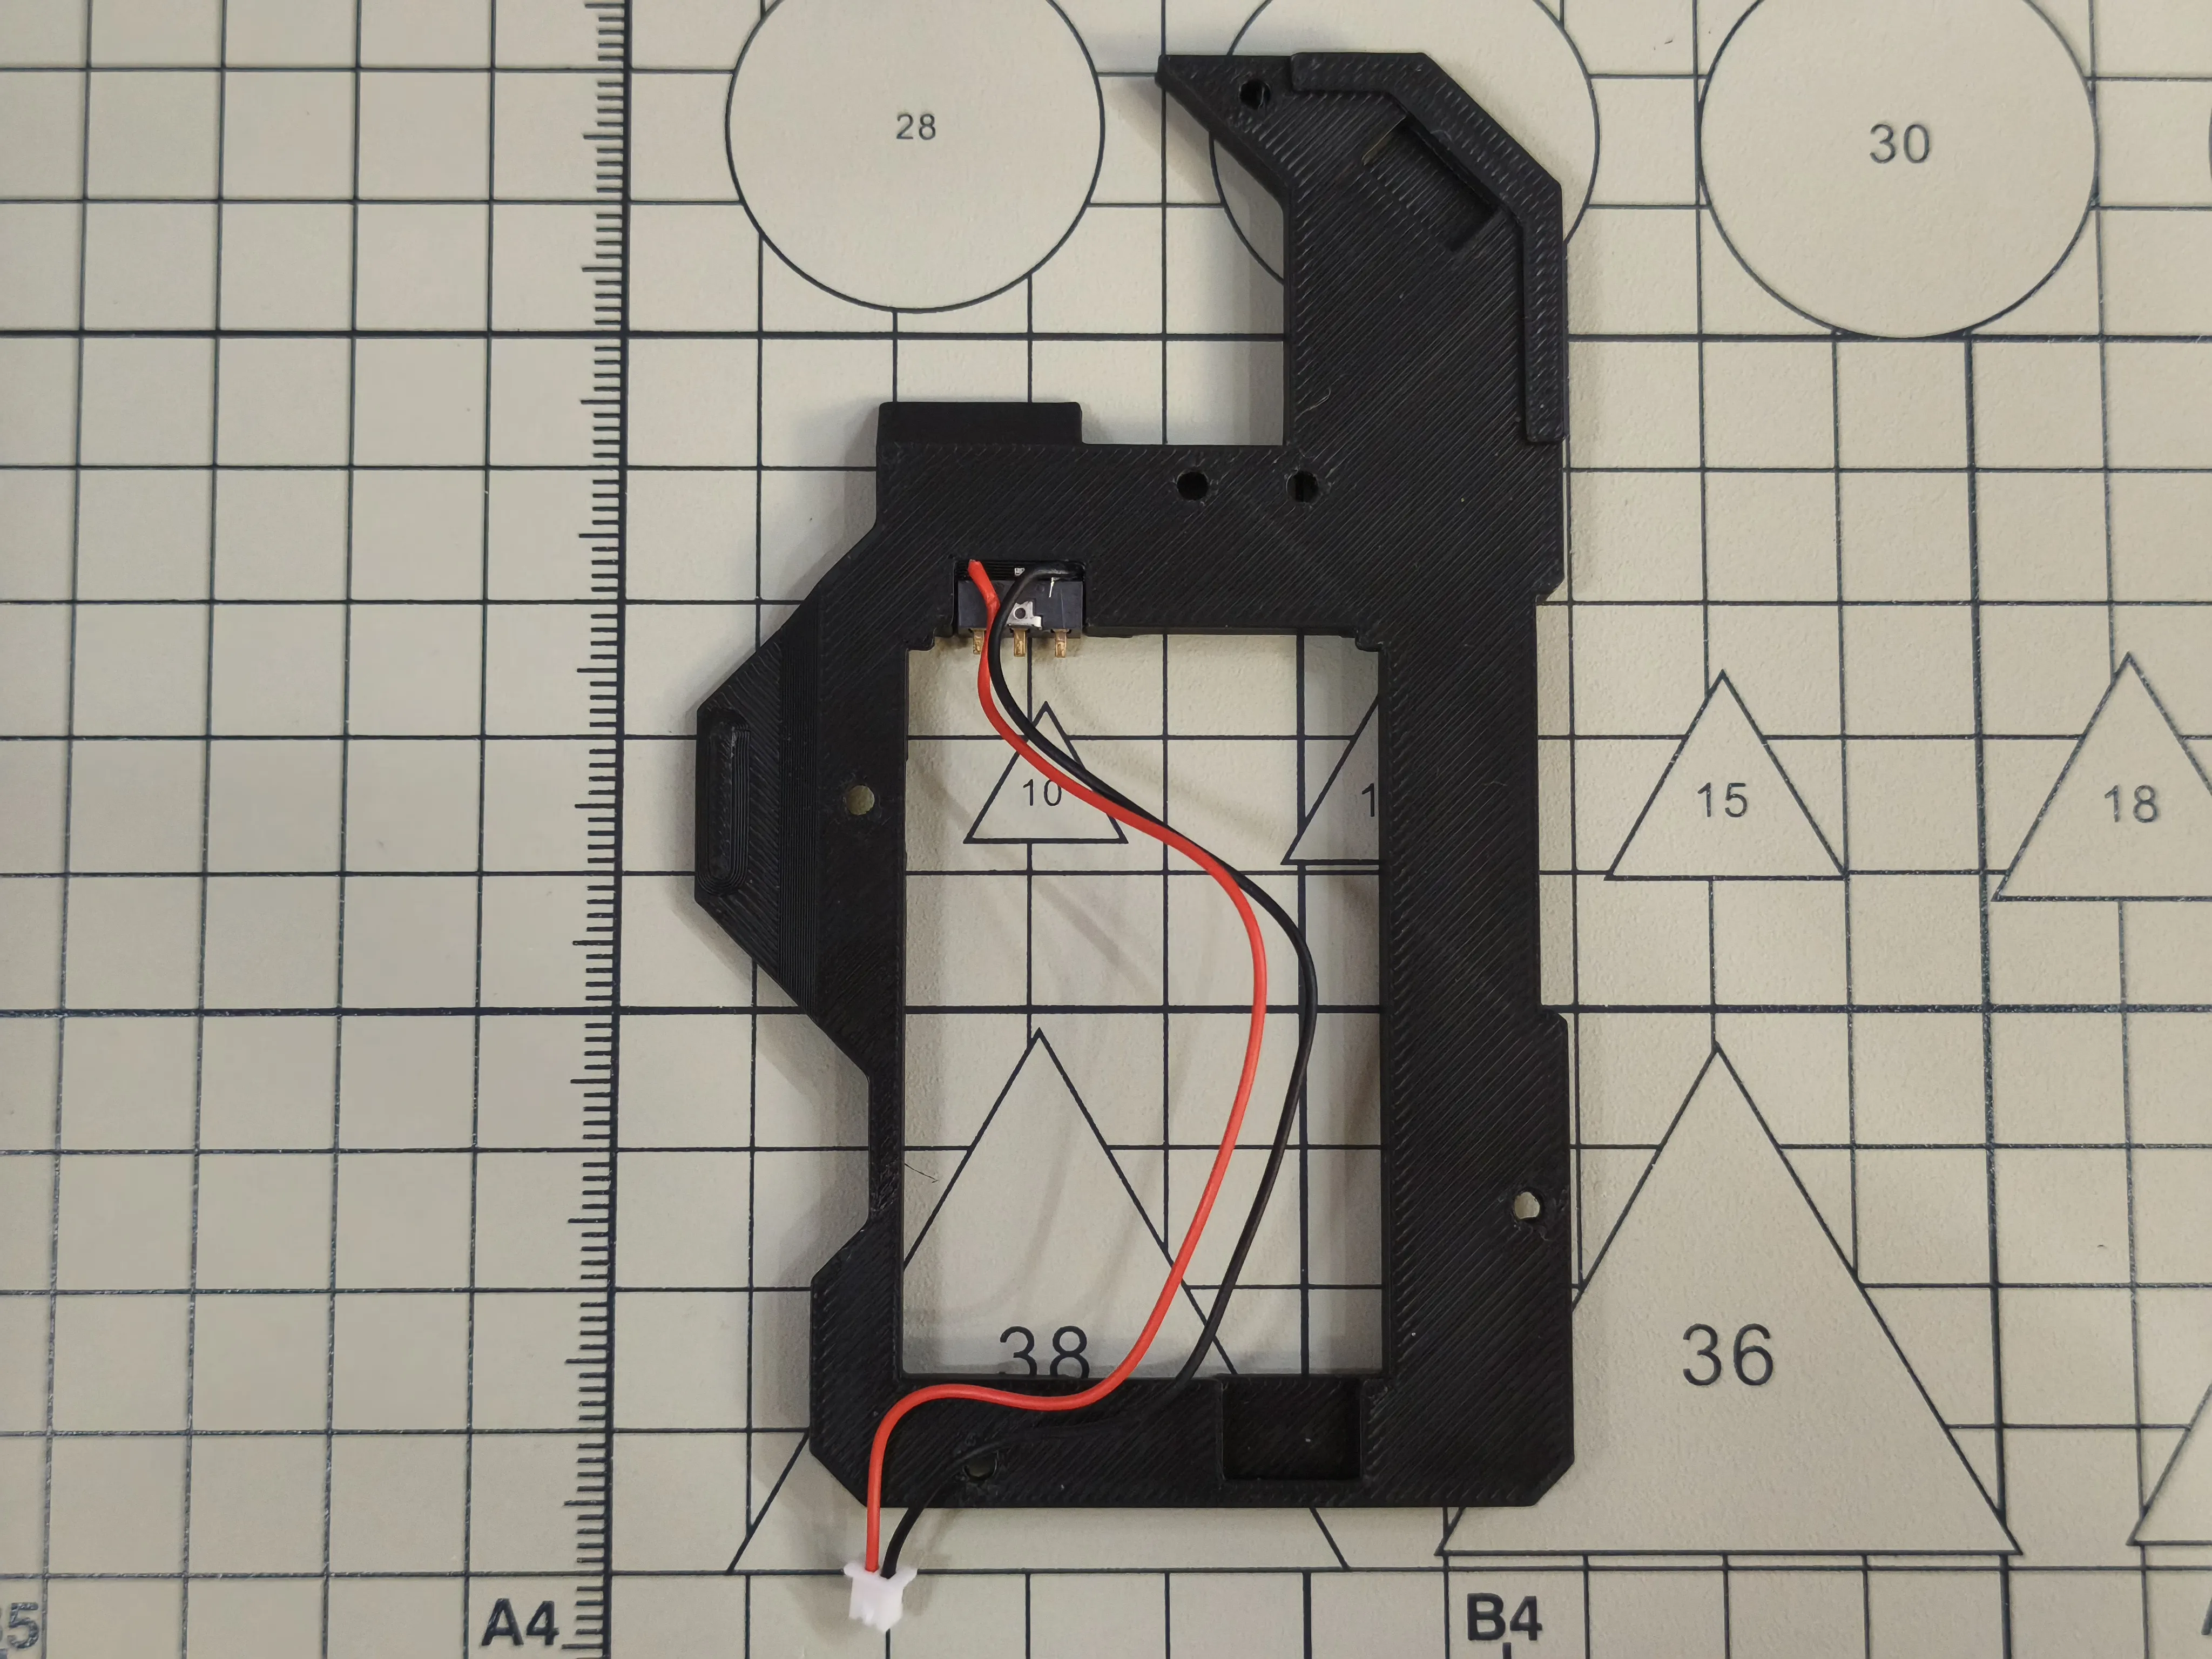
Solder the battery connector cable provided with the Tracker to the spring contact battery holder Leave approximately 10cm of cable length The 2 plastic round pegs on the spring contact battery holder need to be trimmed Finally, use super glue to attach the spring contact battery holder to 3D Printed Case L1
Insert the battery connector into the Tracker, and use 2 M2x5 hex socket head cap screws to install 3D Printed Case L1 onto 3D Printed Case M1
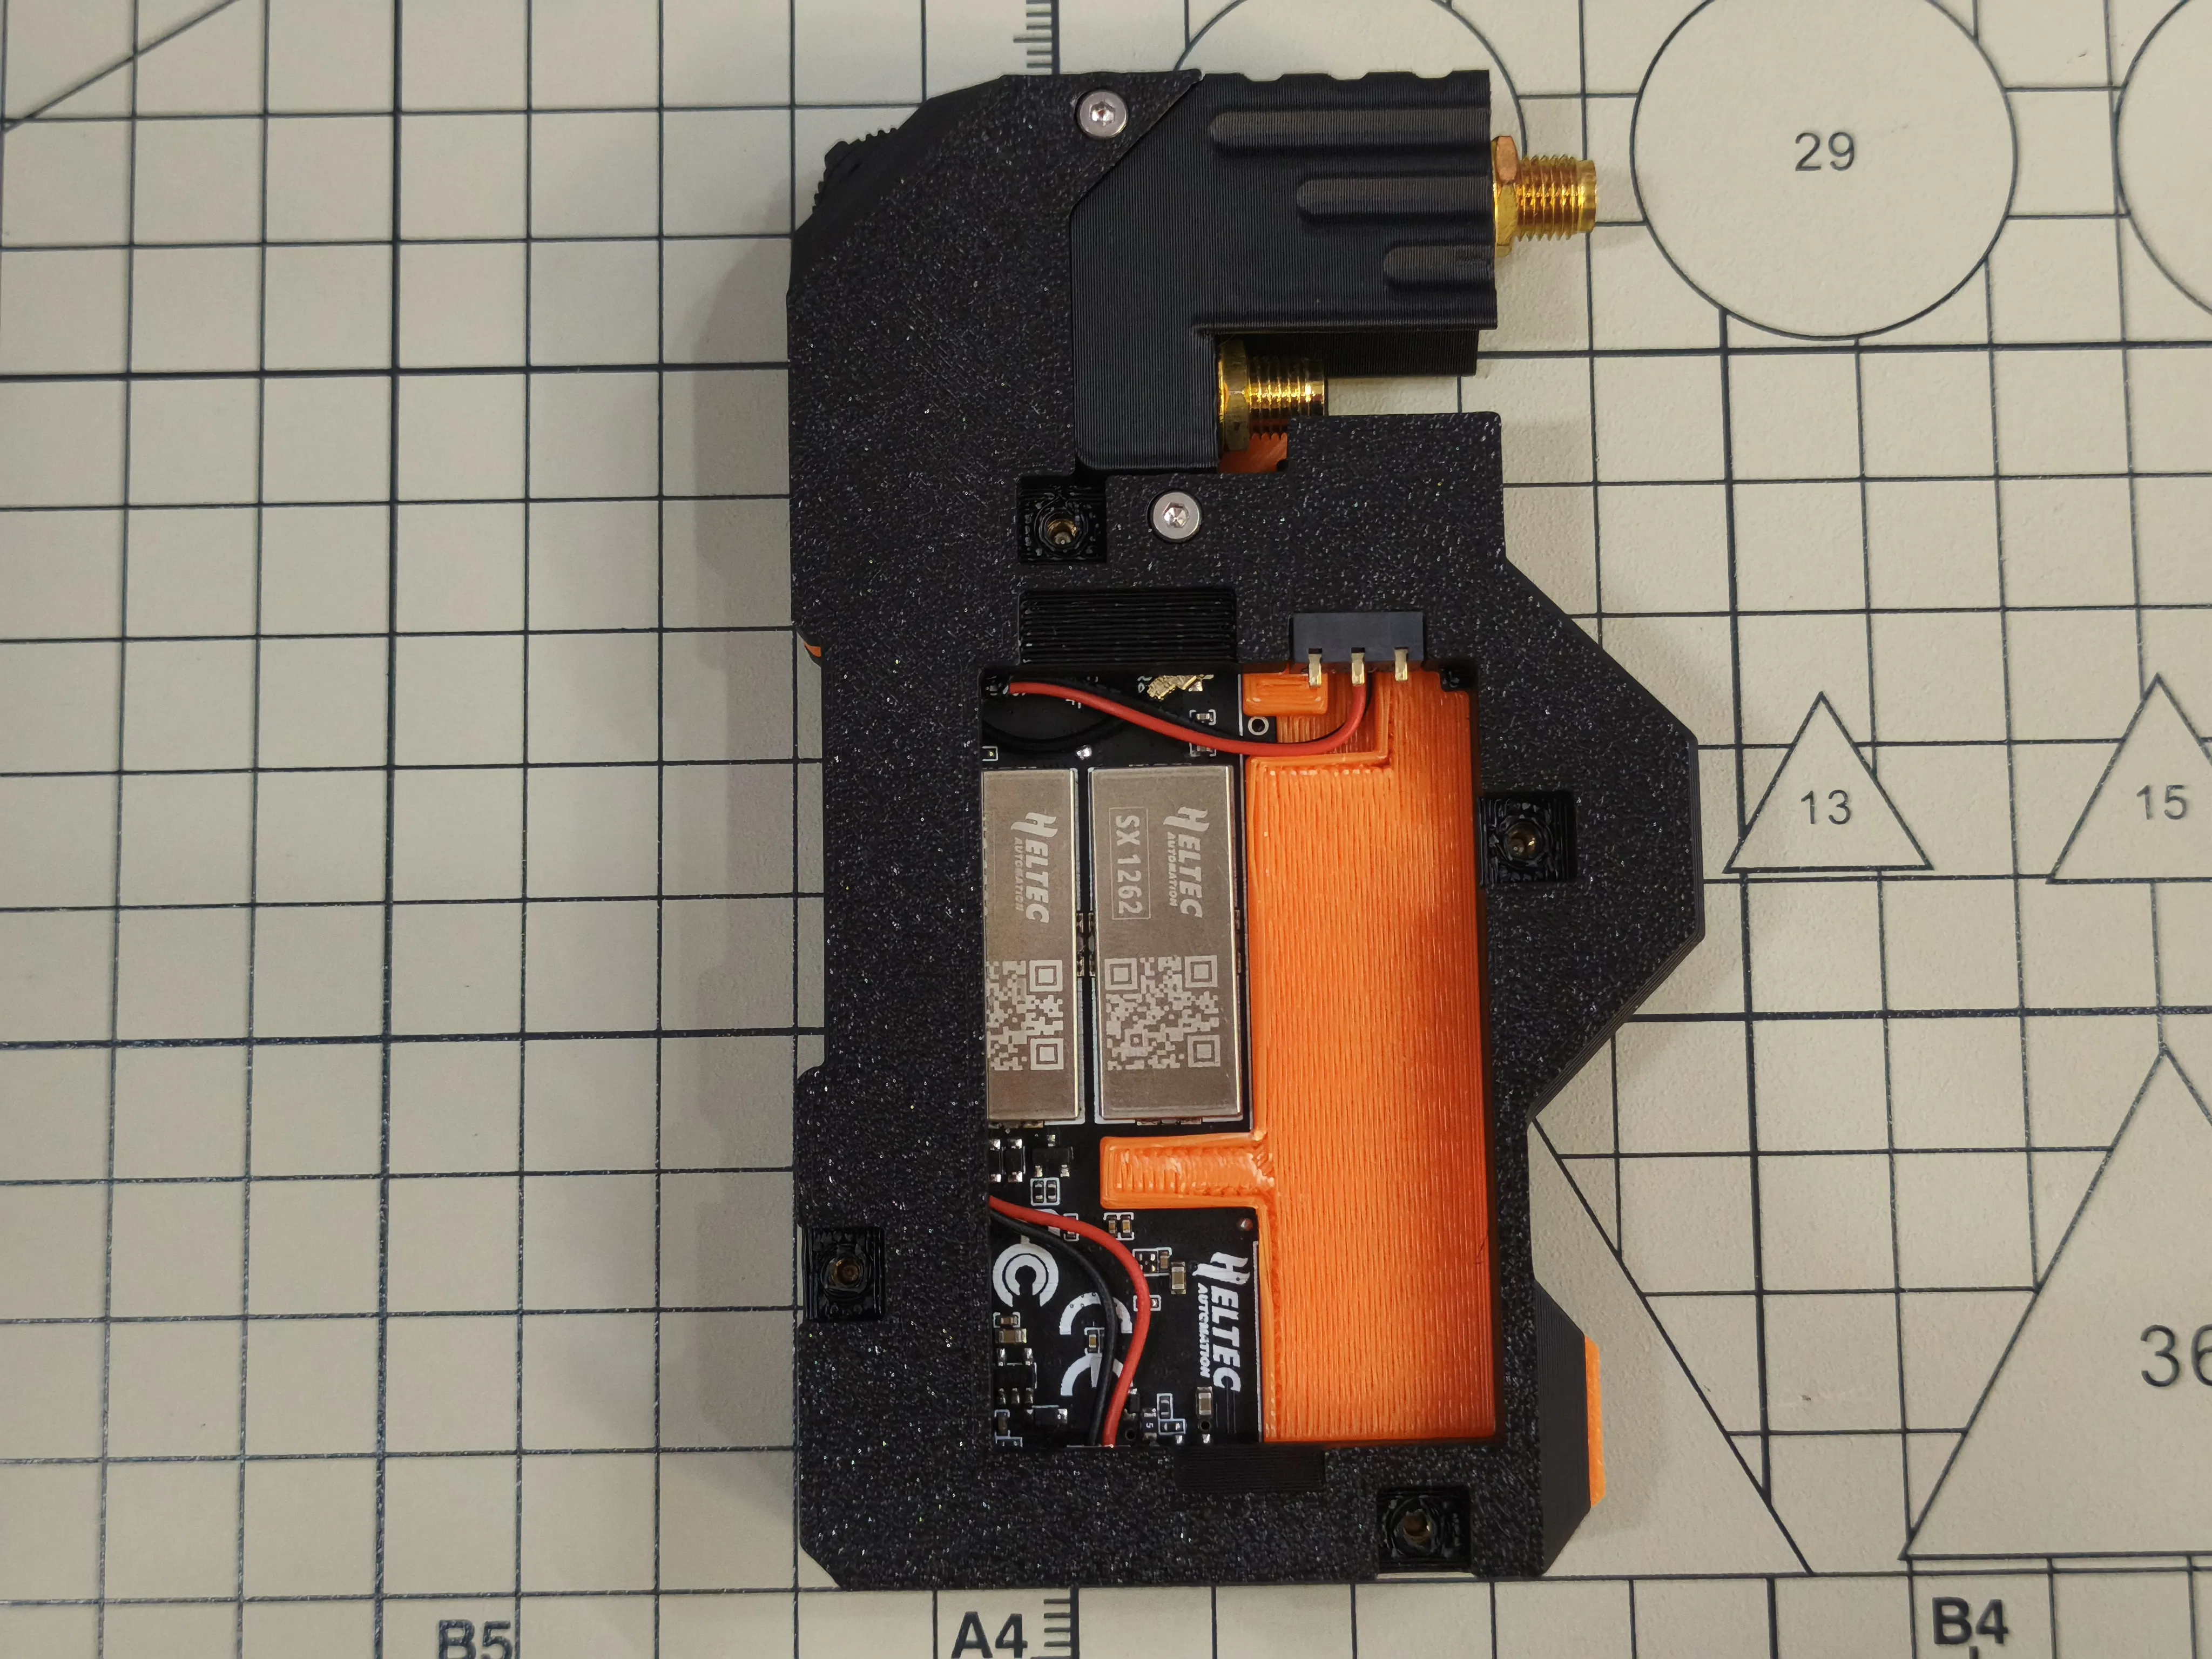
Use 2 M2x4 hex socket flat head screws to install 3D Printed Case S2 onto 3D Printed Case M1
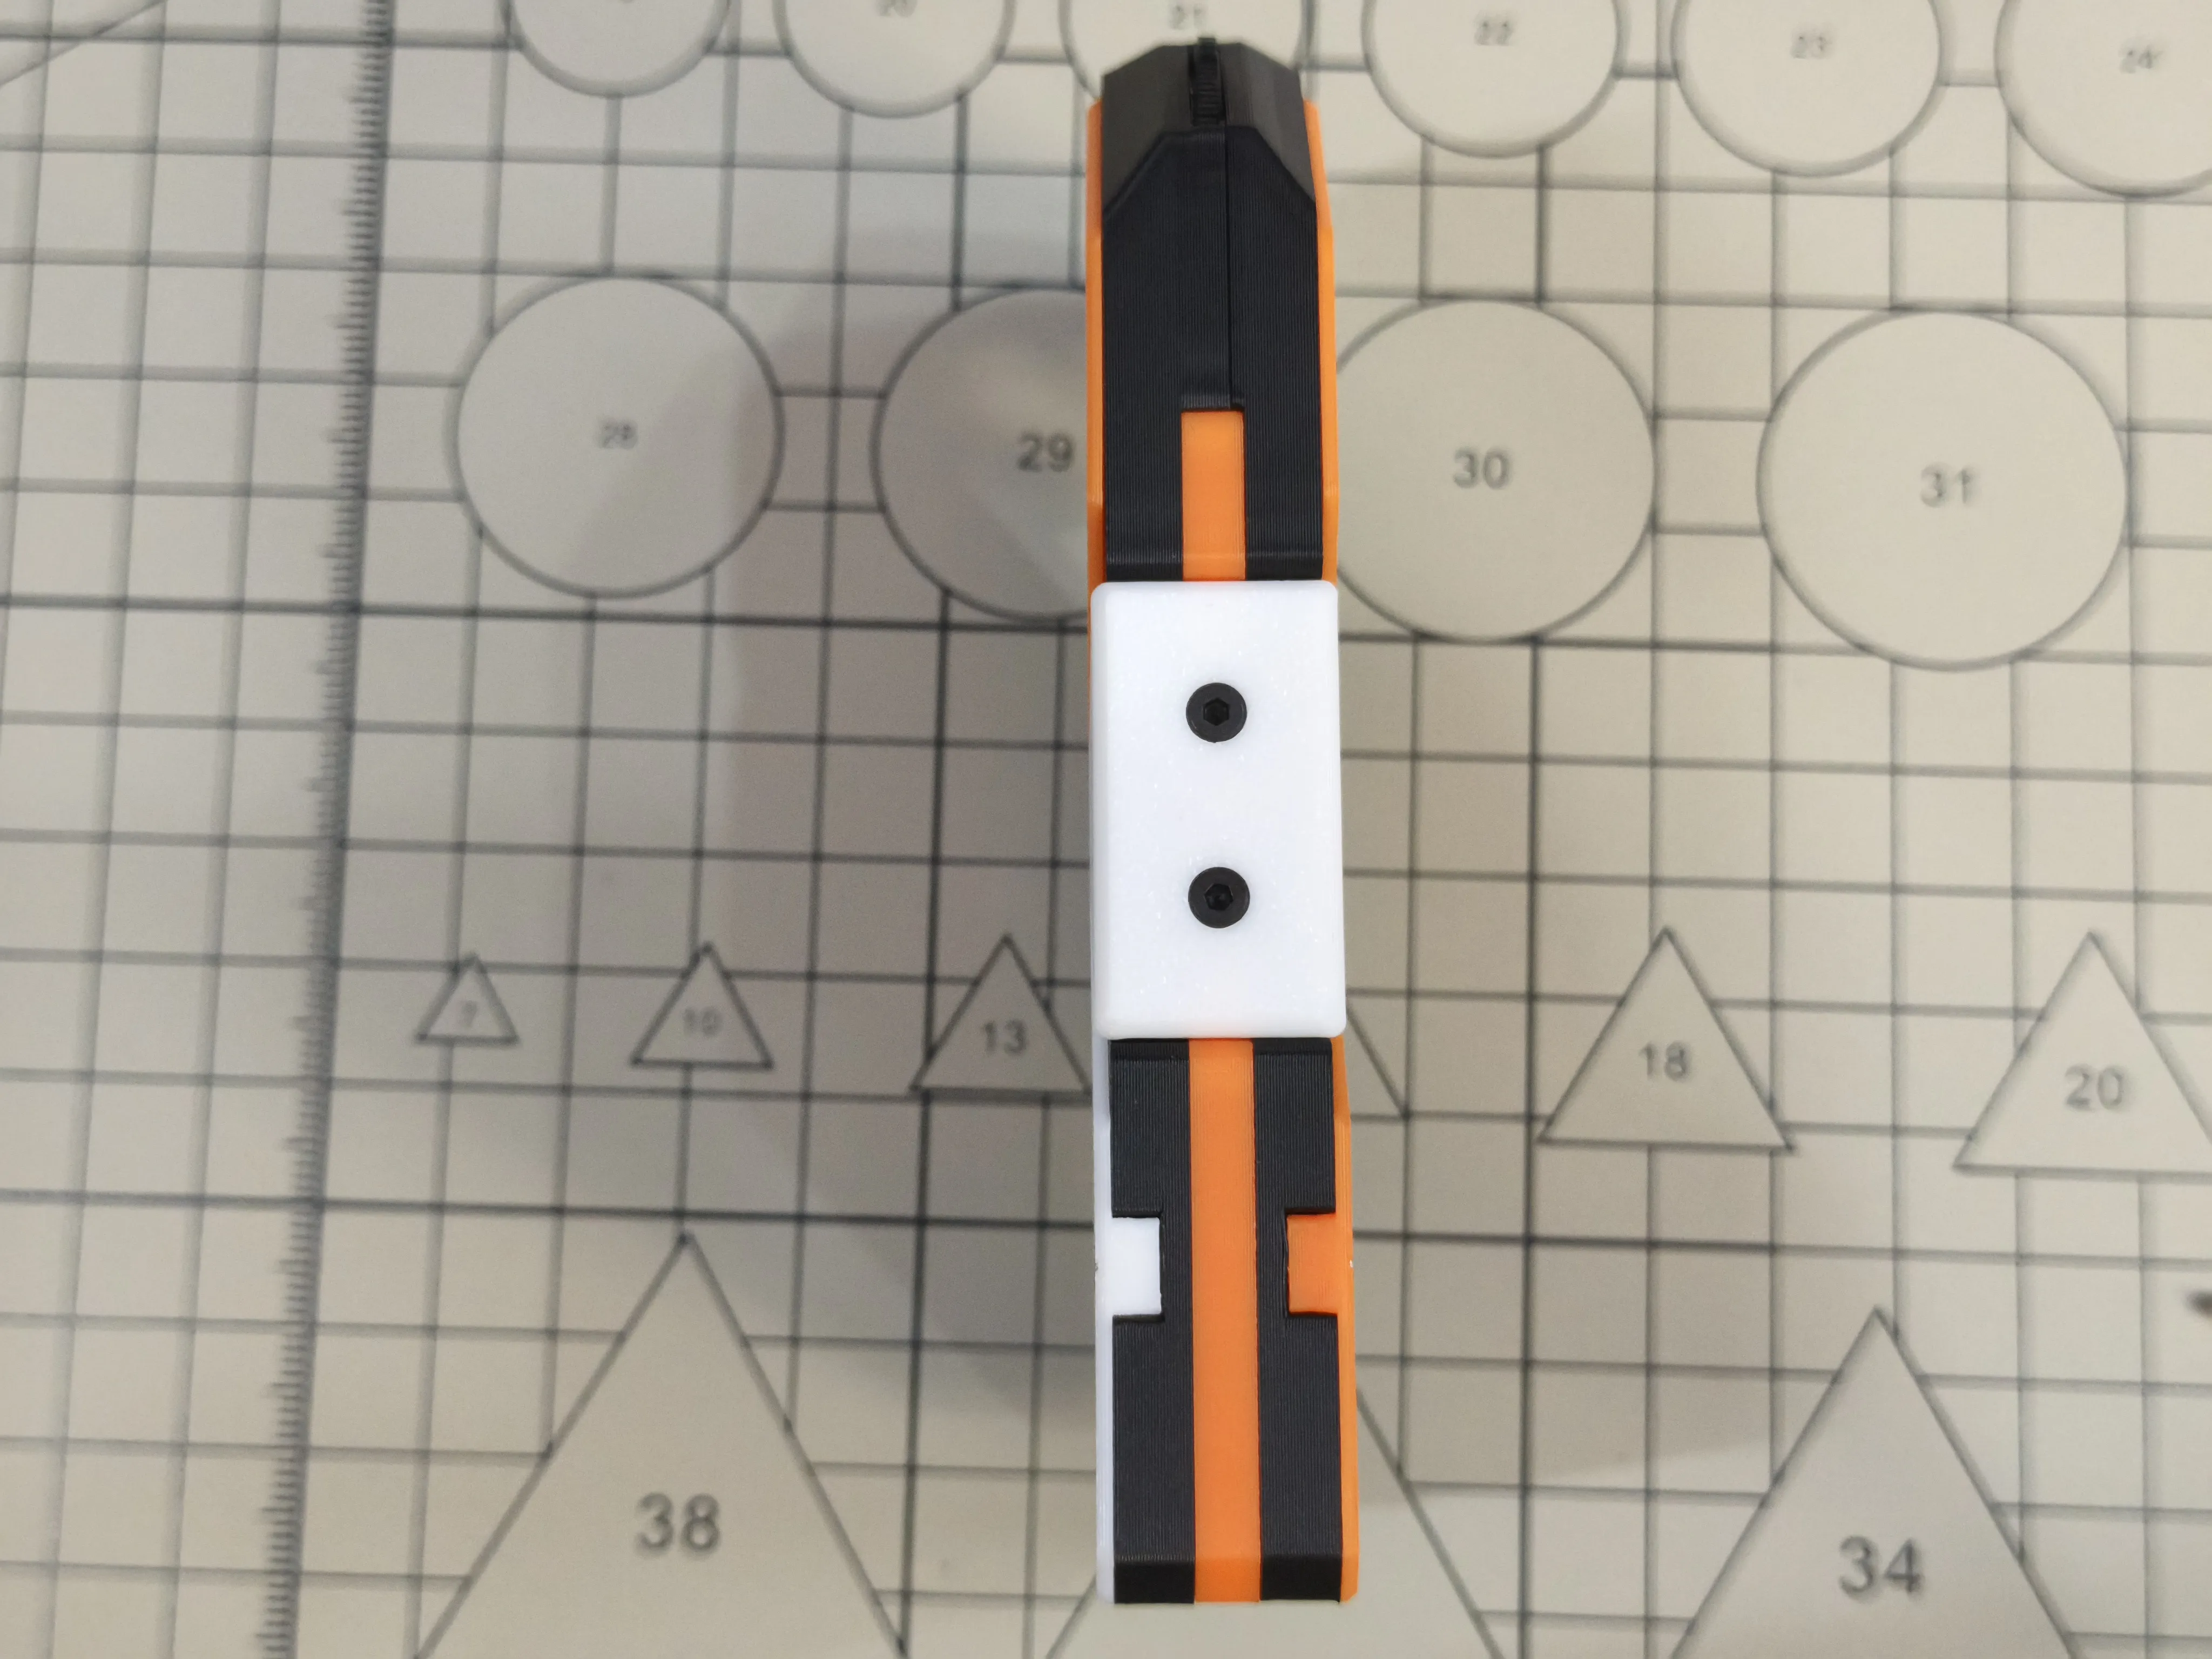
Use 3 M2x6 hex socket head cap screws to install 3D Printed Case C3 onto 3D Printed Case L1 Install the SMA plug and JK-11 rubber duck antenna onto the SMA interface
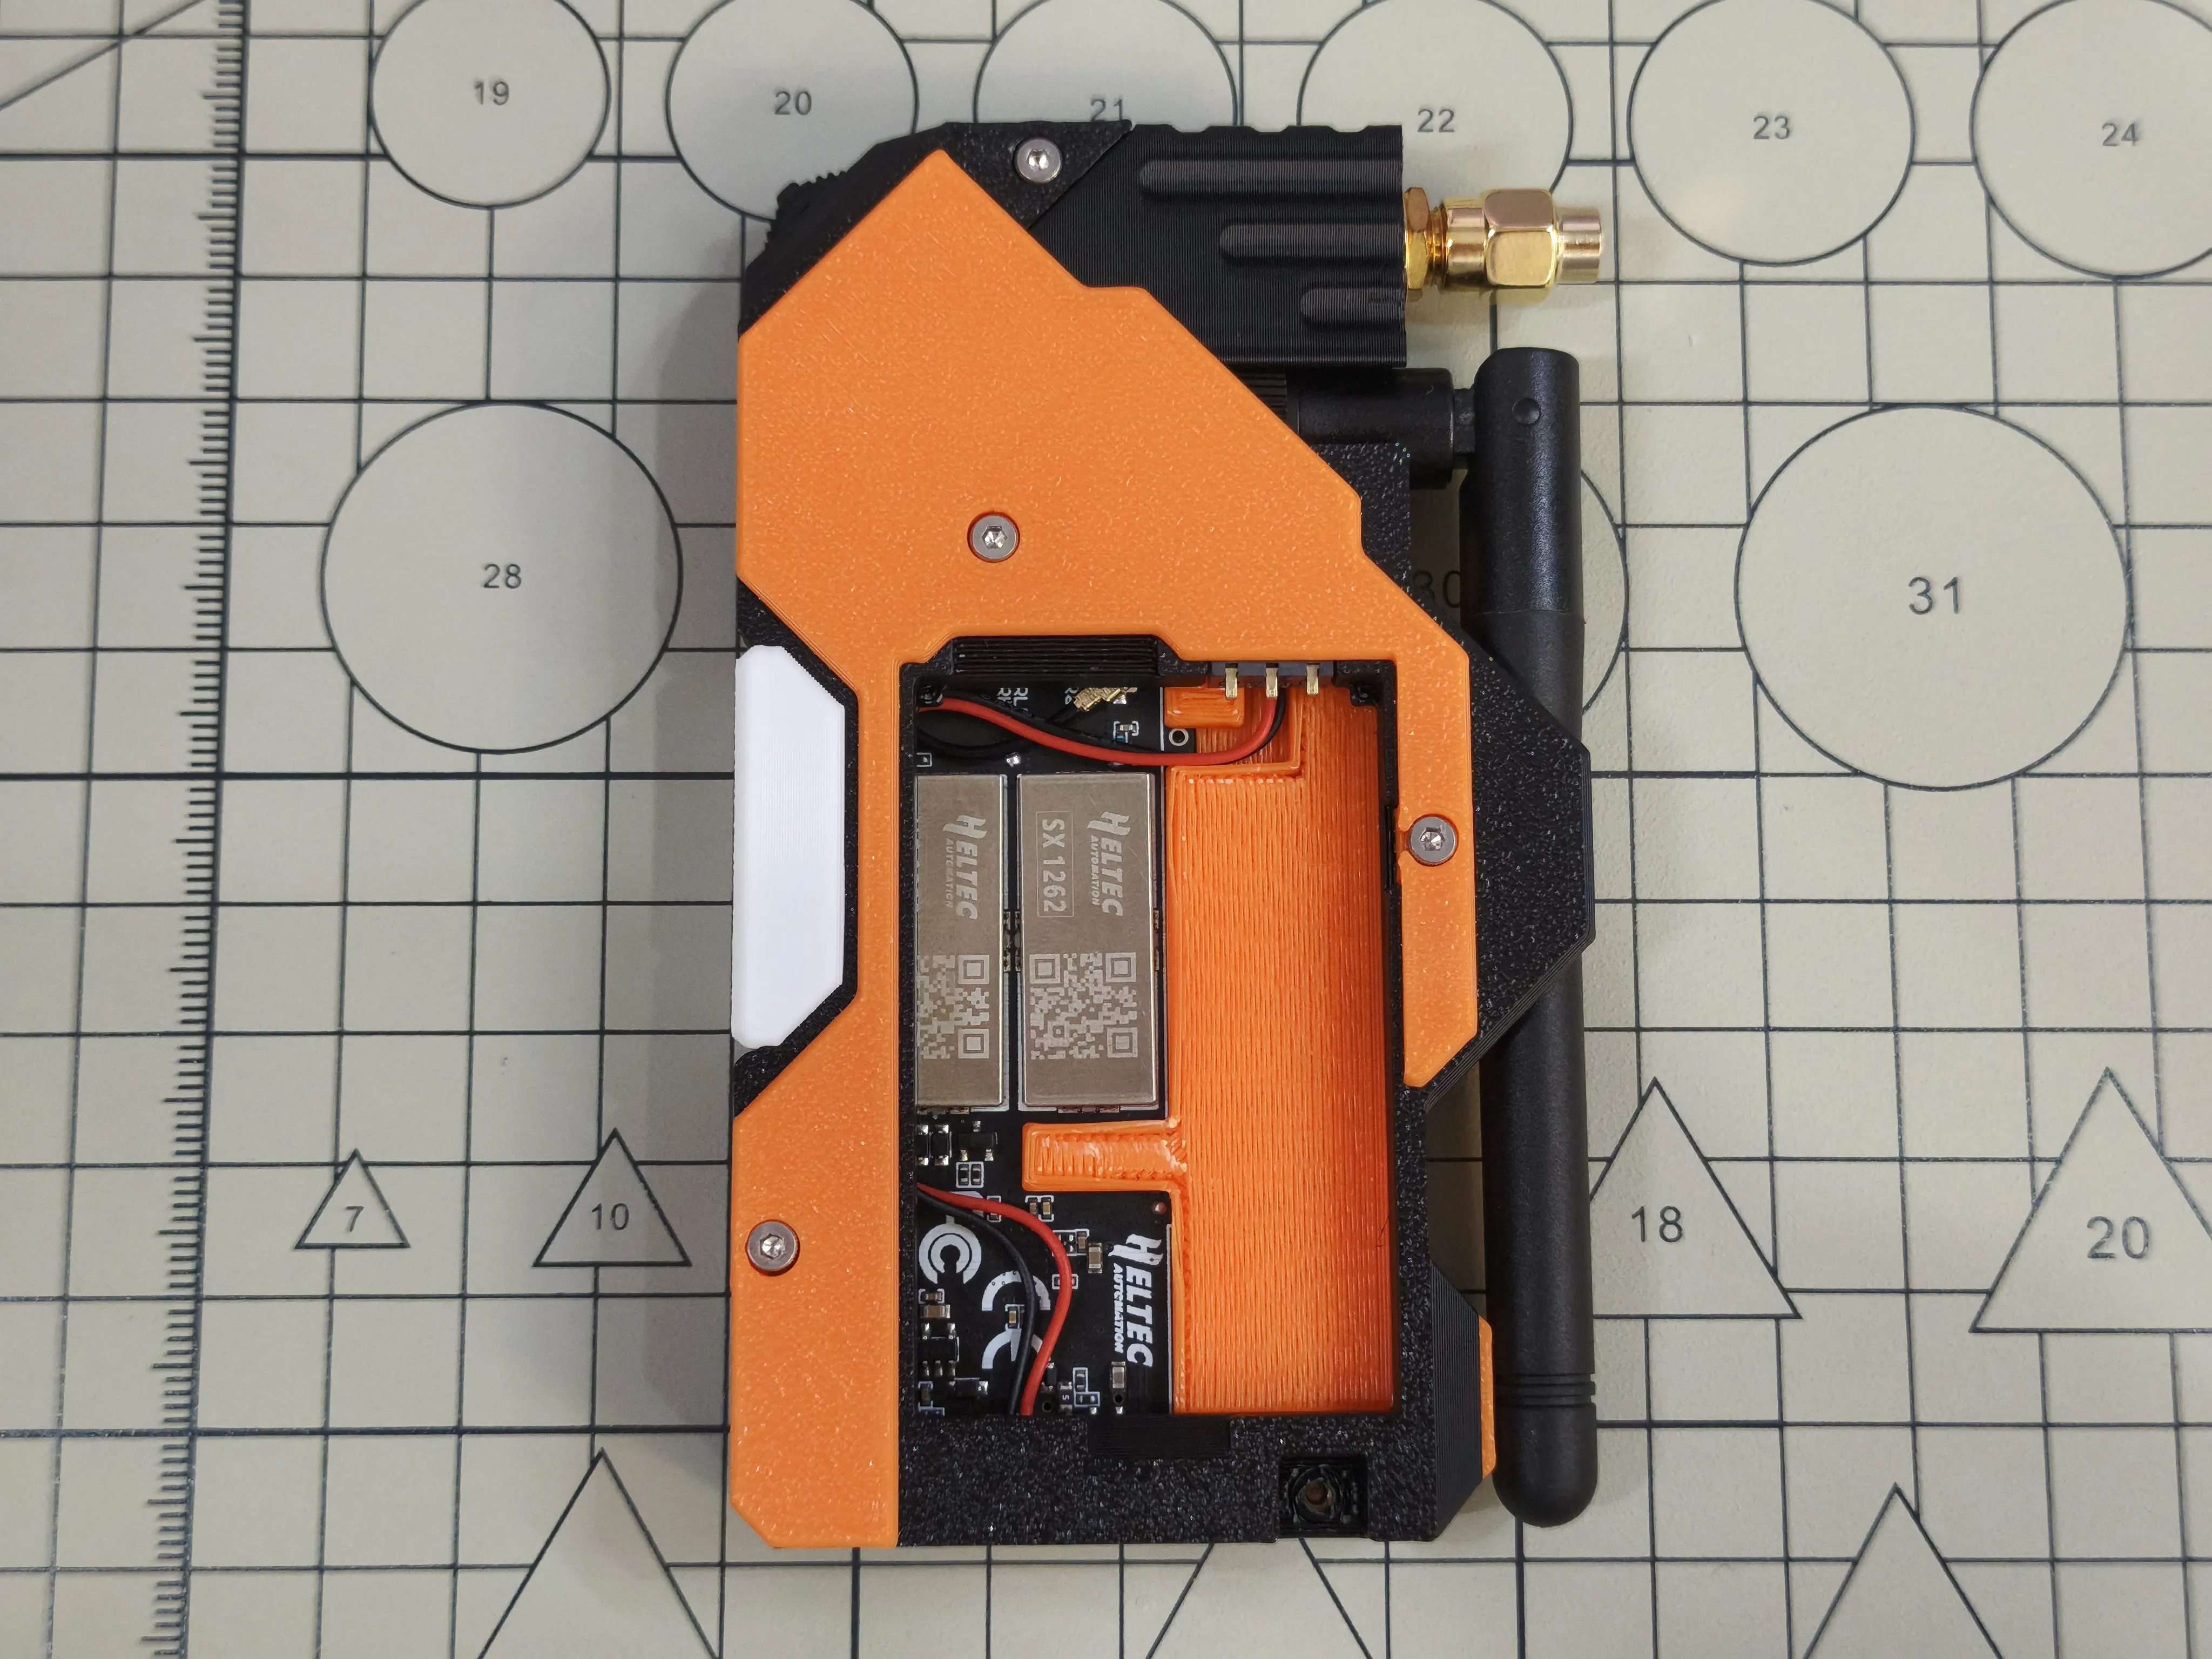
Install the BL-5C battery into the battery slot
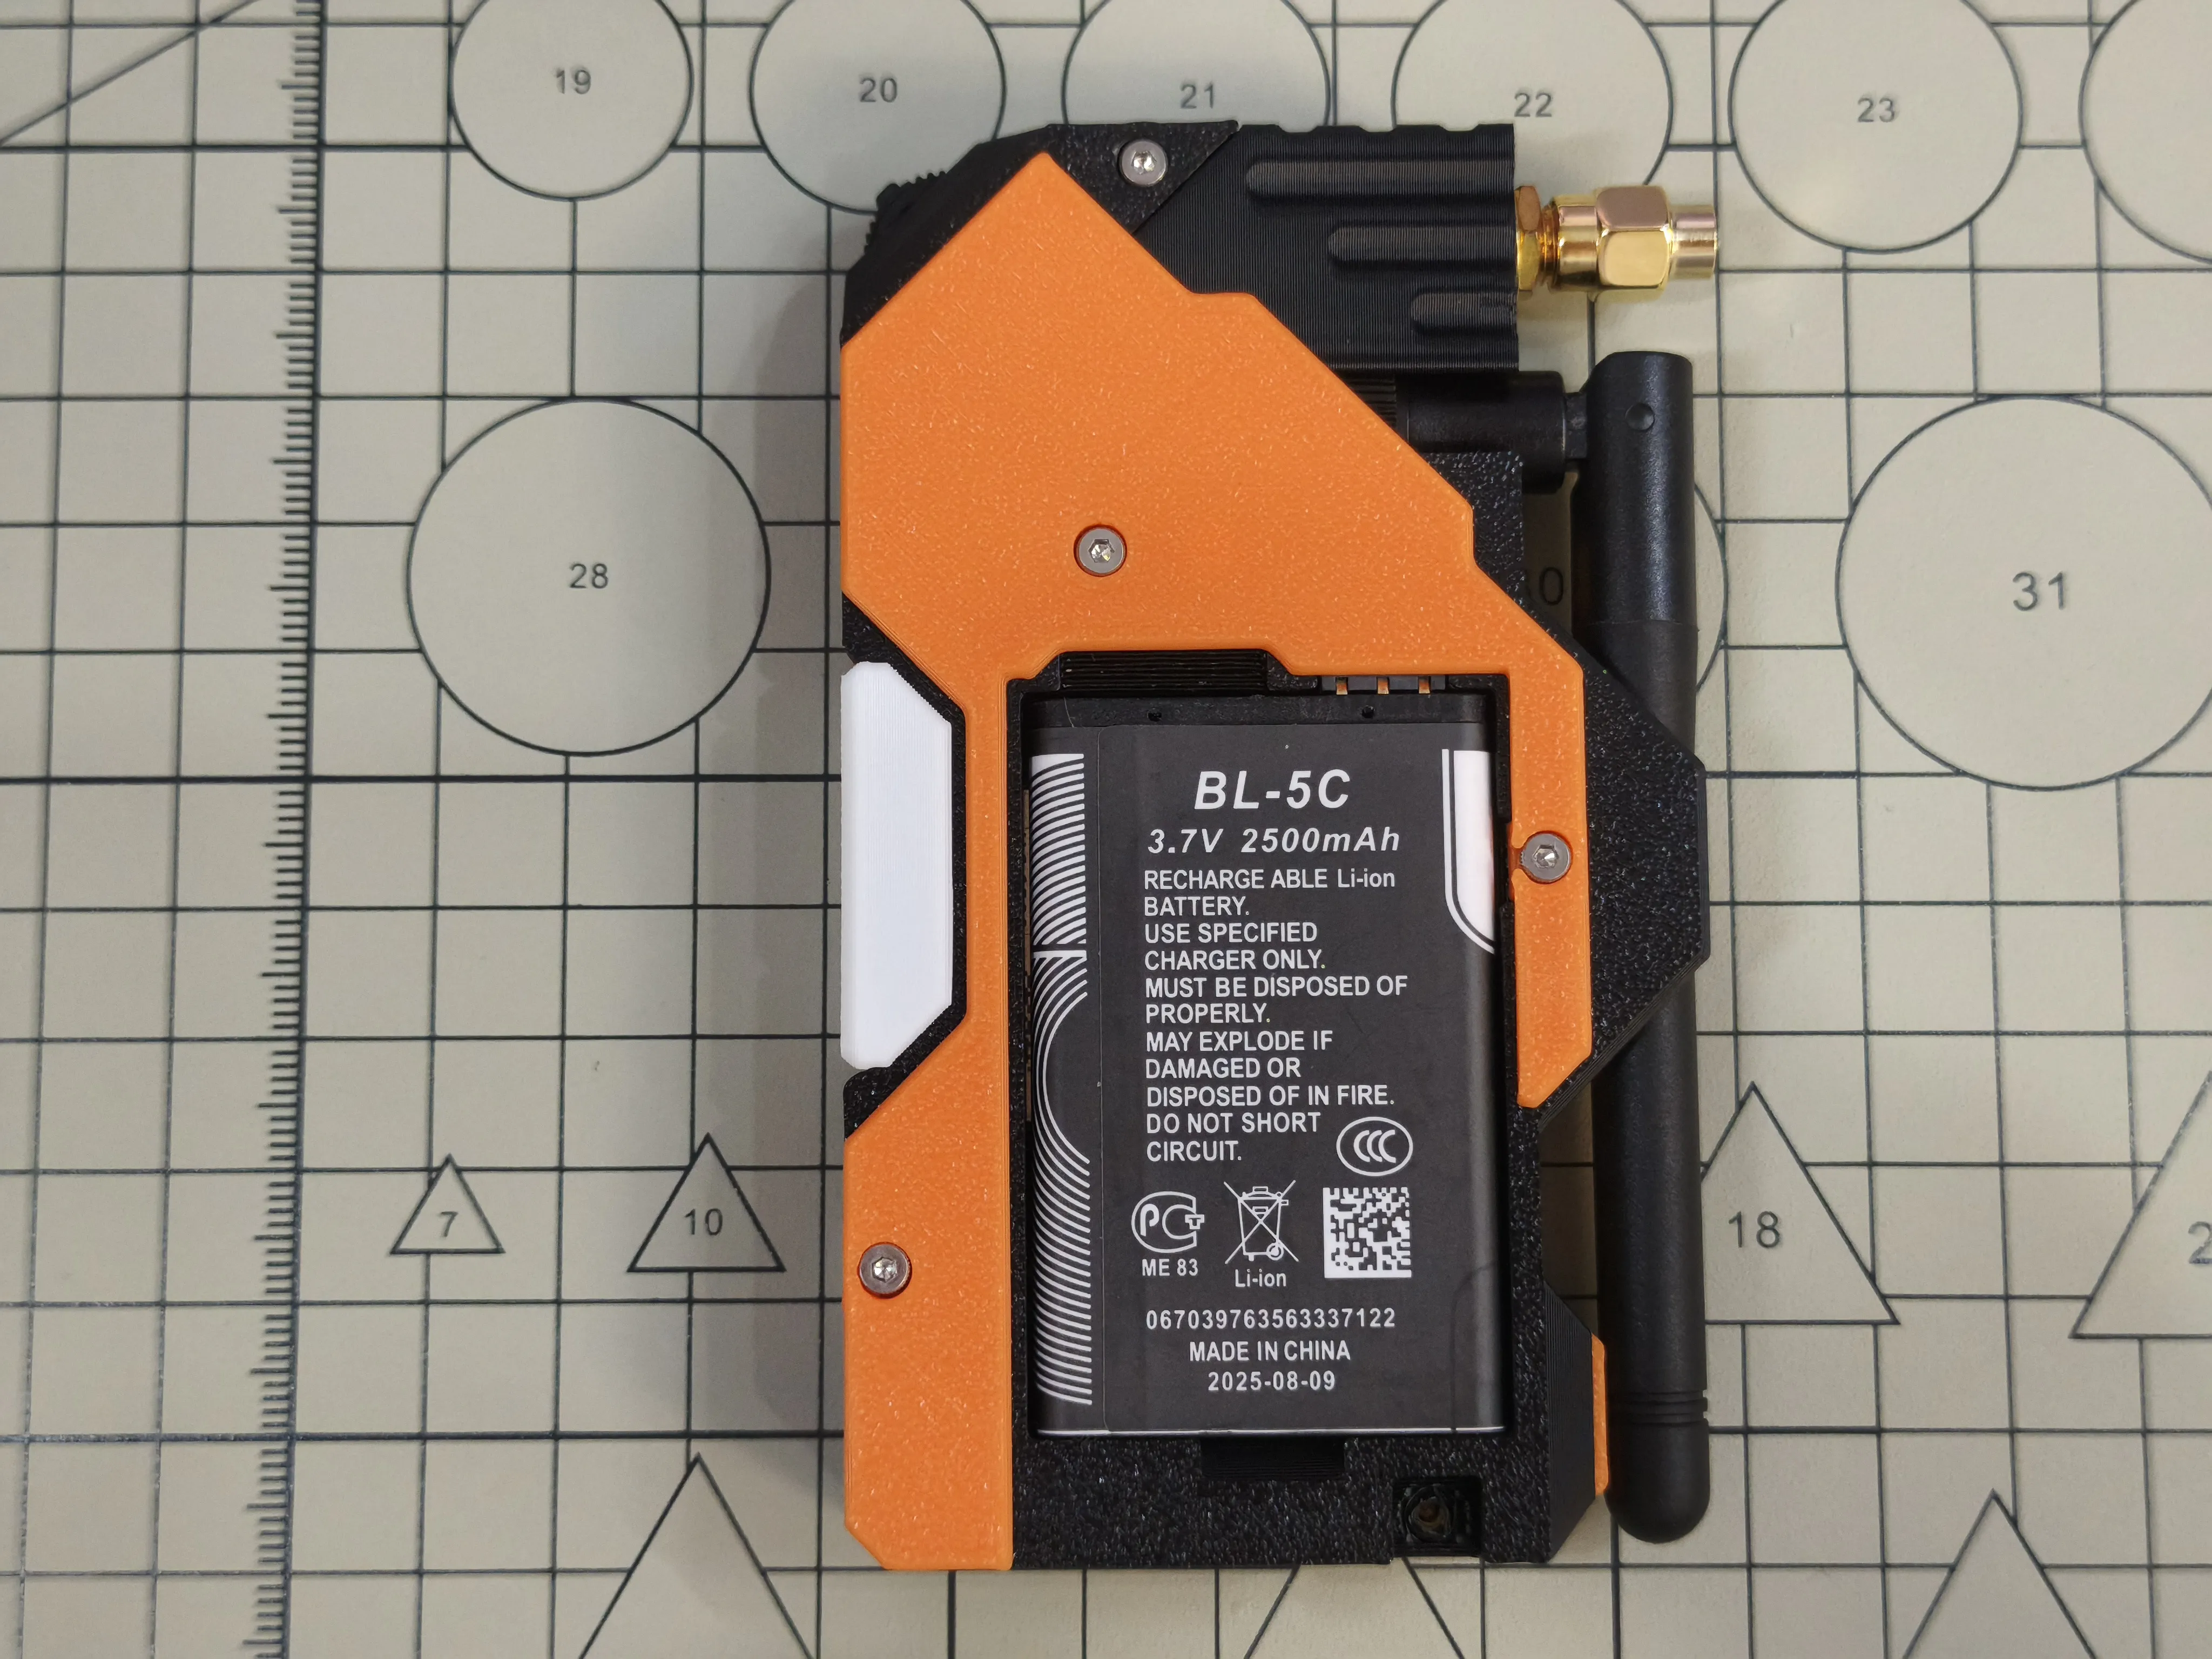
Use 1 M2x6 hex socket head cap screw to install 3D Printed Case C4 onto 3D Printed Case L1
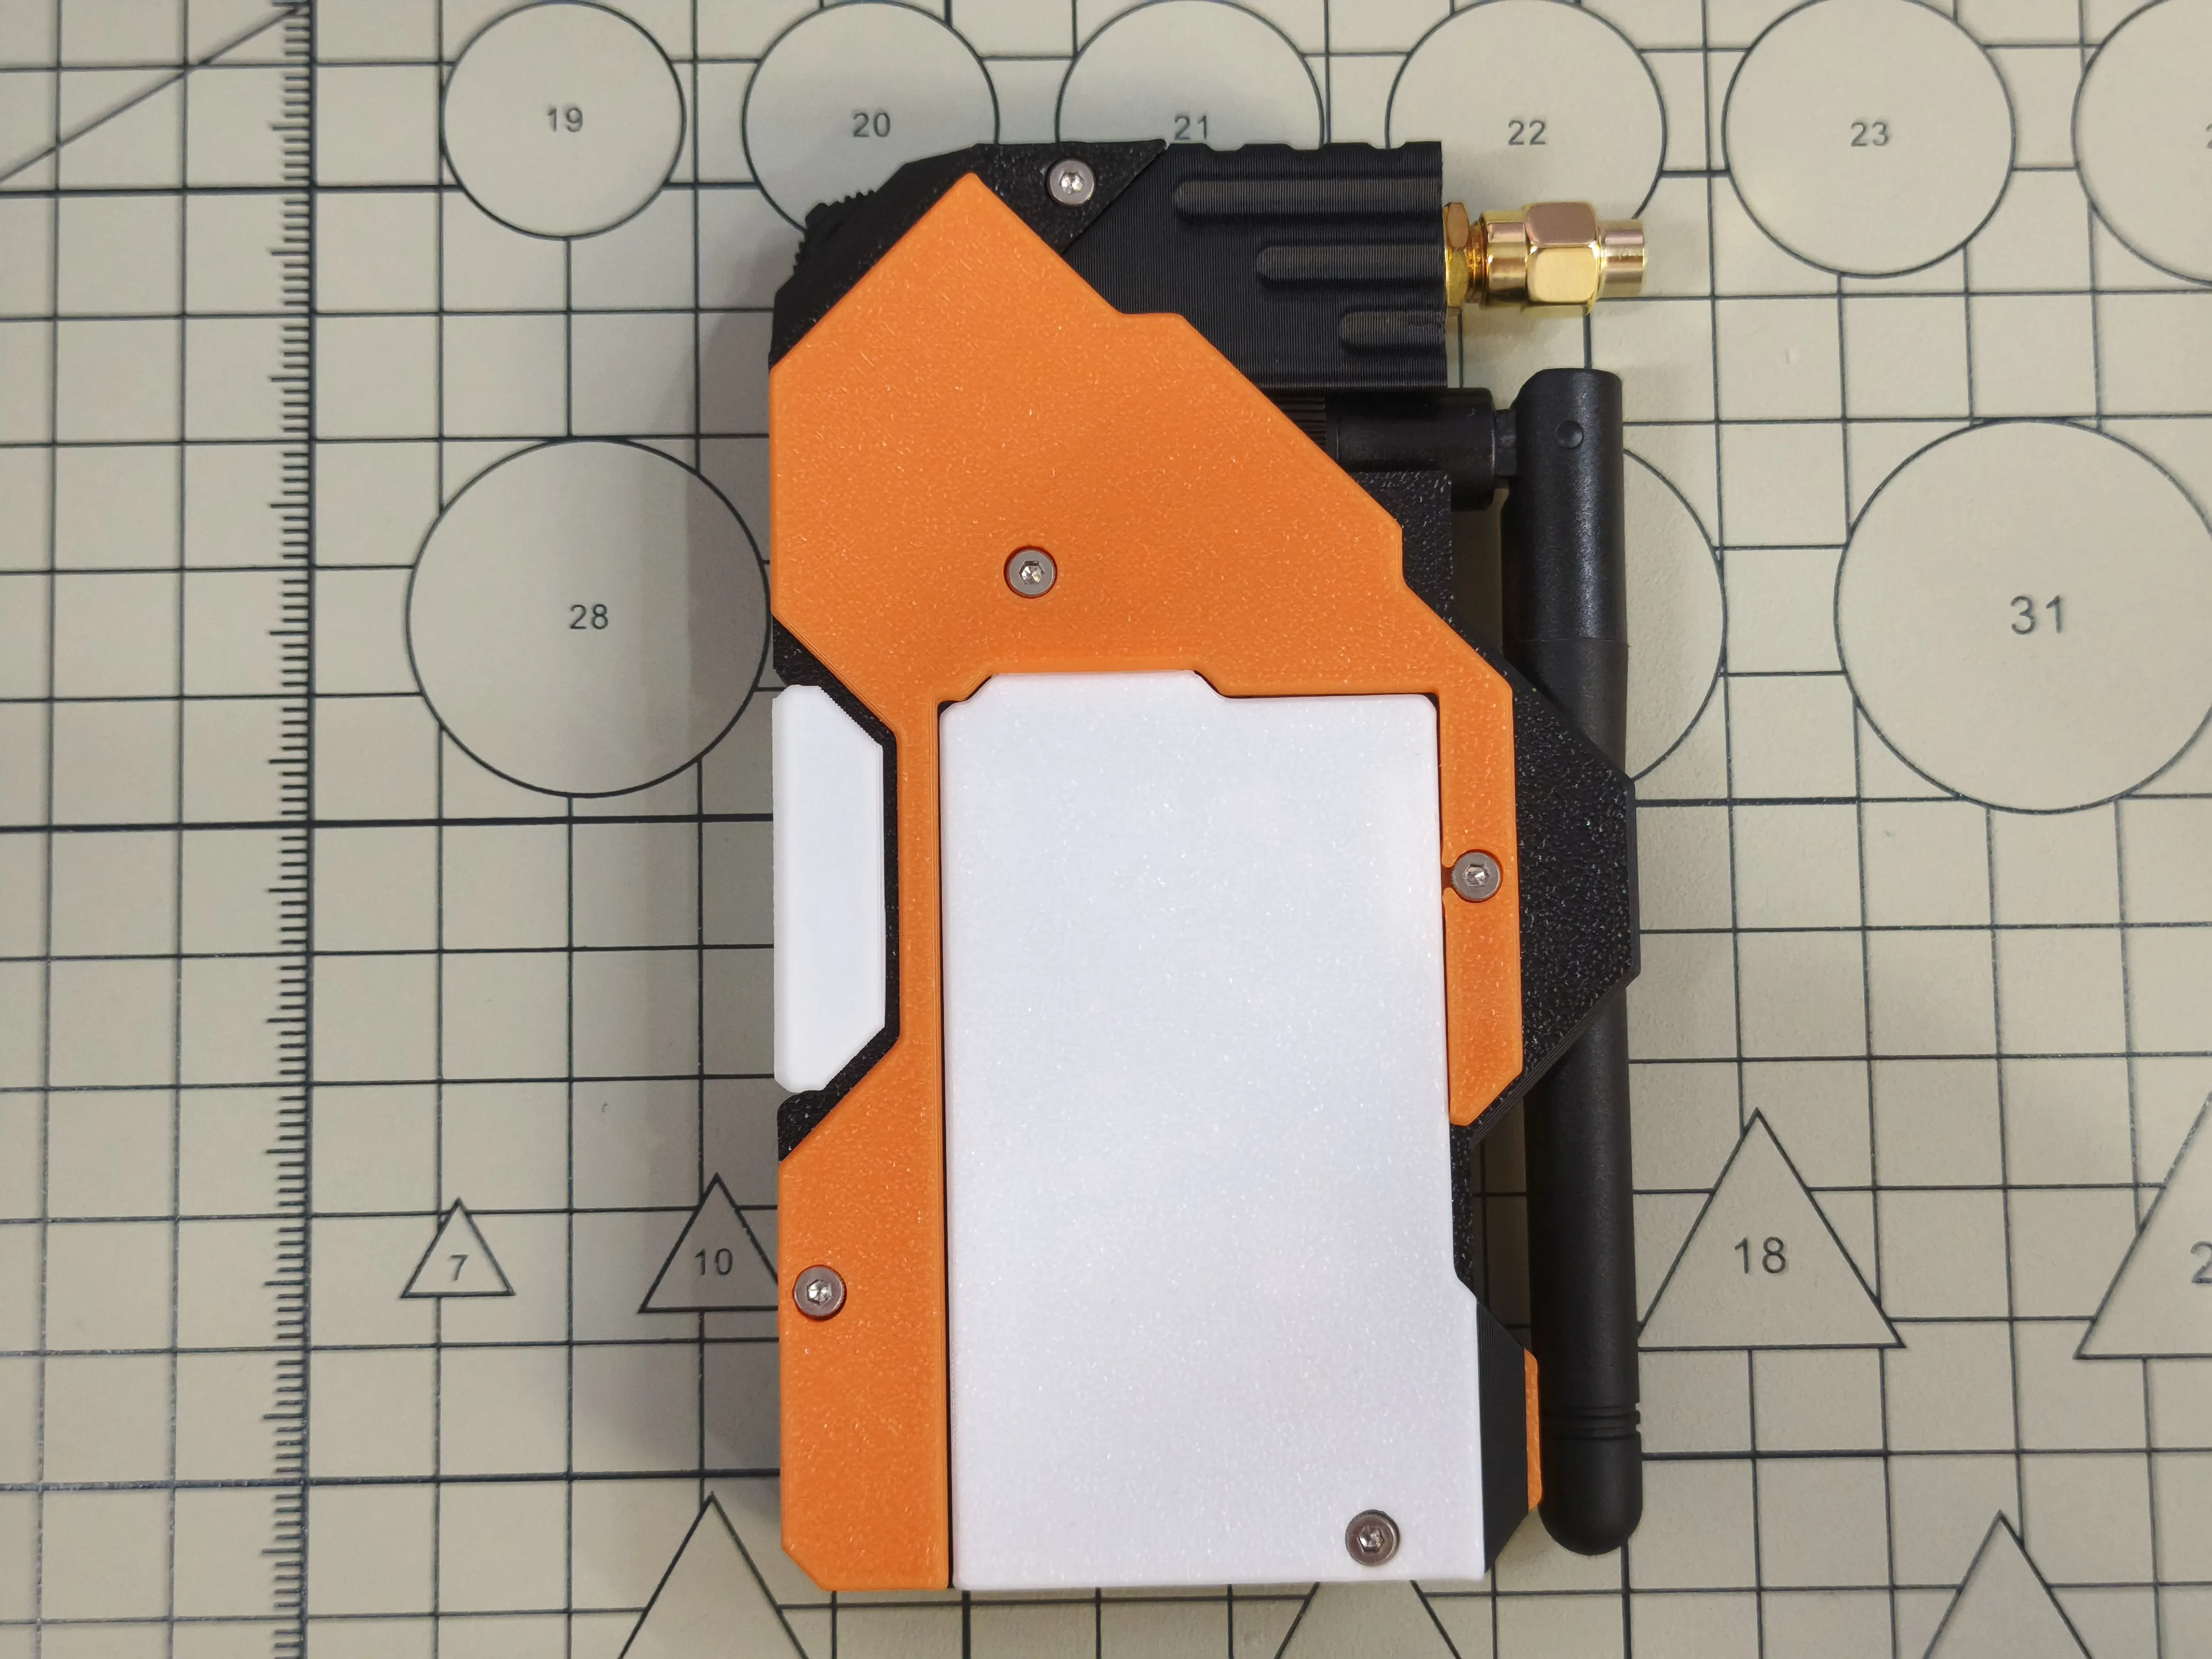
Assembly complete
License



Comment & Rating (43)