Tilted Windows Stoper / Lock, anti thieves / slams


Print Profile(14)


Description
NOTE: For most models, it is worth reading the description carefully, and for some it is even necessary.
Introducing "Customizable Tilted Windows Lock - protection against thieves and slams", a model I’ve been testing for several months together with friends. Used on different windows, in different conditions, and printed from various materials. I have to say - it works great!
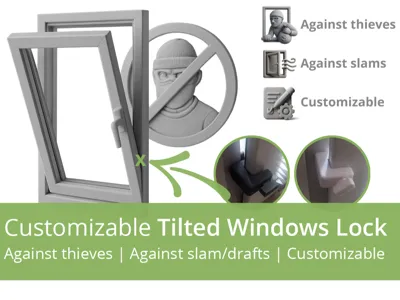
Against thieves | Against slams/drafts | Customizable
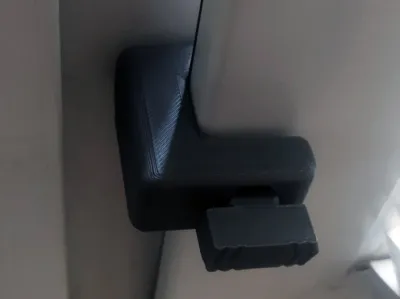
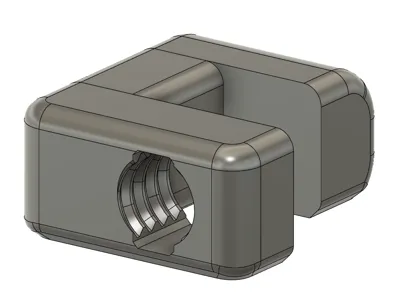
This is a lock for a tilted (partially open) window designed to prevent the window from closing because of a draft, and to make life harder for thieves/burglars who take advantage of a left-tilted window (which - with a bit of skill - can often be opened fairly quickly).
A properly chosen and tightened lock at least significantly complicates such an operation, and often even makes it impossible - at least without extra tools or actions. In this case, every additional moment a thief/burglar needs to get into the apartment/house is worth its weight in gold.
However, remember that this is still a 3D-printed part made of plastic, so don’t rely on it as the sole protection for your safety, your loved ones, or your home. Treat it as emergency support when you forget to fully close a window or leave a window tilted: it may buy you valuable time, or it may make opening the tilted window difficult enough that the intruder gives up.
Child safety
This is not only protection against the window slamming shut because of a draft or against burglars/thieves. It’s also protection for little ones - so that while “playing by the window” they don’t accidentally get the sash slammed on their fingers. At least it increases the chance that this won’t happen.
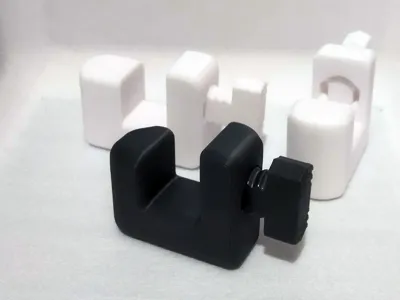
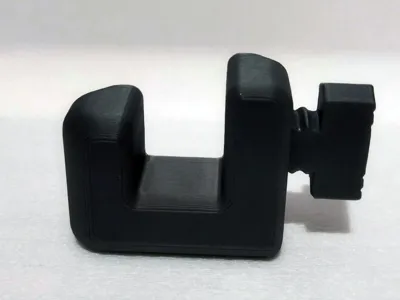
With or without a screw
In the basic version you can use it without a clamping screw - useful if the goal is just to prevent the window from closing because of a draft.
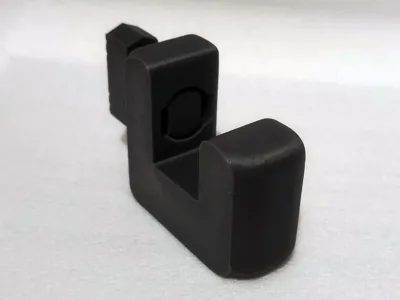
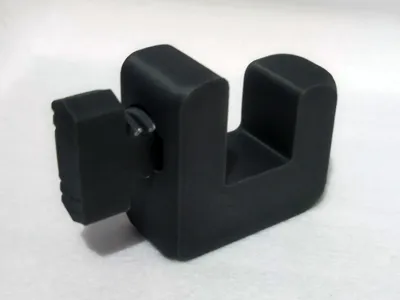
If you want stronger protection (for example, to make life harder for a thief/burglar), it’s worth adding the locking screw. This is a Multiboard standard screw, medium size (medium thread), 18 mm long.
Why Multiboard? I figured many 3D-printer owners, like me, already use this solution, so there’s a good chance they already own such screws.
You’ll also find the appropriate screws available for download among the project files (Multiboard Mid Thread T-Bolt).
The window gasket is our friend
Clamping the screw together with the standard gasket installed in the window sash makes the fitted lock really hard to remove without unscrewing the bolt - i.e., without access from inside the apartment/house.
Some good tips
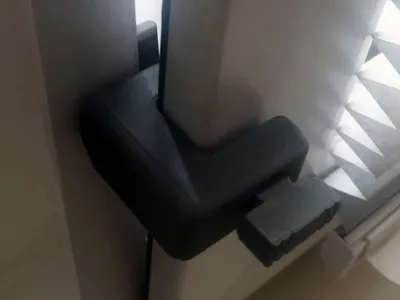
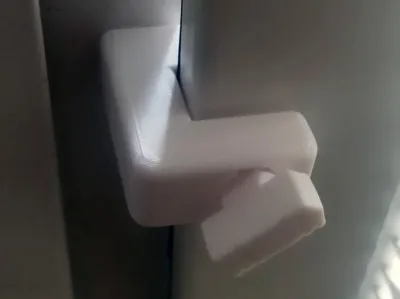
- You'll achieve the best results by placing the model/protection as low as possible, where it's tightest, and it also acts as a "lever" that makes it harder to close the window.
- I also know from experience that 20 mm seems optimal, as smaller values, especially below 15 mm, can require some force, but it's still possible to close the window.
- If you're using one unit per window sash, it's best to use it on the side with the locking mechanism. To be safe, you can use two units, one on each side.
Standard profiles
The project includes ready-to-print profiles for a sash frame width of 18 mm (European standard?). For PLA and PET-G (but you can choose another material for printing if you prefer).
Available in two stopper base sizes: 15 mm and 20 mm.
And in three print strength variants:
Lite:
- Wall loops: 3
- Top layers: 4
- Bottom layers: 3
- Infill: 15% Gyroid
- Infill combinations: Yes
Standard:
- Wall loops: 4
- Top layers: 5
- Bottom layers: 4
- Infill: 35% Gyroid
- Infill combinations: Yes
Strong:
- Wall loops: 6
- Top layers: 6
- Bottom layers: 5
- Infill: 65% Gyroid
- Infill combinations: Yes
To protect against closing from a draft you can use Lite or Standard in either the 15 mm or 20 mm version. For protection against a burglar/thief, definitely prefer Standard or Strong in the 20 mm version.
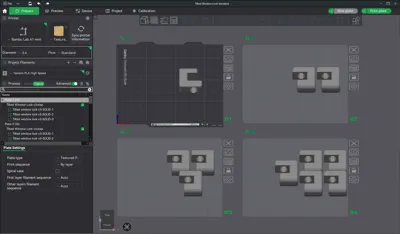
Don’t worry about the description suggesting that the model requires a lot of material and time. Each profile is divided into several plates, with a different number of pieces, for your convenience.
Tailor the parameters to your window
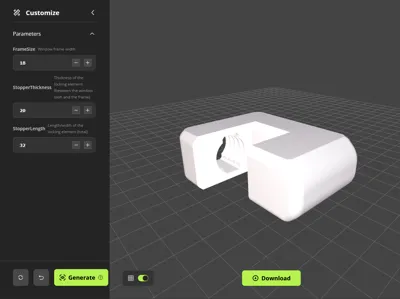
You can also use the “customize” option and generate a model to your needs. There are three parameters you can set:
- FrameSize — Window frame width
- StopperThickness — Thickness of the locking element (between the window sash and the frame)
- StopperLength — Length/width of the locking element (total)
In most cases the most important parameter will be FrameSize (the sash frame width). The other two can usually be left at their default values.
However, even if you generate a model tailored to your needs using the “customize” option, I still recommend downloading the appropriate profile and placing your generated model into it. This way you’ll have all the parameters ready without having to set them manually (the parameters linked to each specific profile can be found above).
Remember - it’s only a gadget!
And one last reminder: this is a 3D-printed plastic part, so don’t rely on it as the only protection for you, your loved ones, or your home. Treat it as emergency backup when you forget to close the window or leave it tilted - it might buy valuable time, or make opening the tilted window difficult enough that an intruder gives up.
Boost Me (for free)
If the model was useful - like and give a boost. It doesn't cost you anything, and for me it's information that it was worth it :-)
Filament in Print Profiles
The filament specified in print profiles is usually just a guideline. It simply must be there. But most often – unless the model description specifically states that a given element must be printed with a specific filament – you can easily change it to the type you want to print the model with. Of course, when making such a decision, it's worth considering not only the type of filament you have, but also what will actually be best for the given print (model, application).
You can change the material type as needed while creating the print (Bambu Studio, Bambu Handy).
License
You shall not share, sub-license, sell, rent, host, transfer, or distribute in any way the digital or 3D printed versions of this object, nor any other derivative work of this object in its digital or physical format (including - but not limited to - remixes of this object, and hosting on other digital platforms). The objects may not be used without permission in any way whatsoever in which you charge money, or collect fees.
Comment & Rating (0)