
Pirates of the Caribbean - Black Pearl
Print Profile(4)


Description
Boost Me (for free)
Every like, collection, follow, and boost from you is a great encouragement for me to persevere in creating original models, thank you!
For more interesting models, please visit my homepage: CuriousAnt | Home - MakerWorld
♦ ♦ ♦ ♦ ♦ ♦ ♦ ♦ ♦ ♦ ♦ ♦ ♦ ♦ ♦ ♦ ♦ ♦ ♦ ♦
Related Model: Pirates of the Caribbean - Aztec Gold Coin https://makerworld.com.cn/en/models/1630606-jia-le-bi-hai-dao-a-zi-te-ke-jin-bi#profileId-1786022
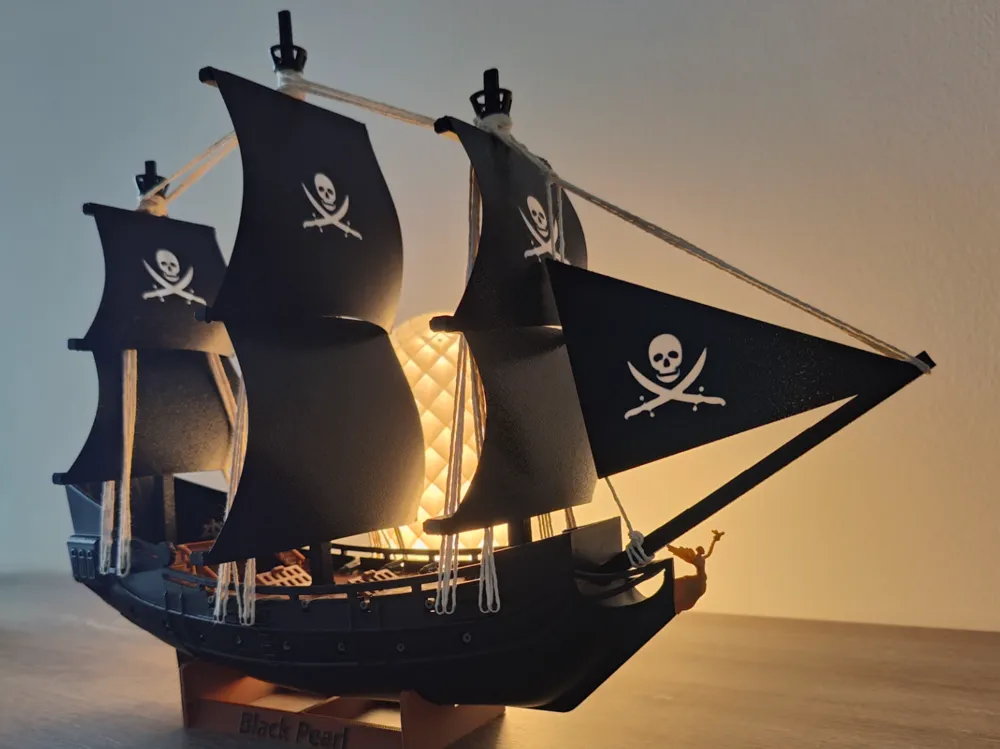
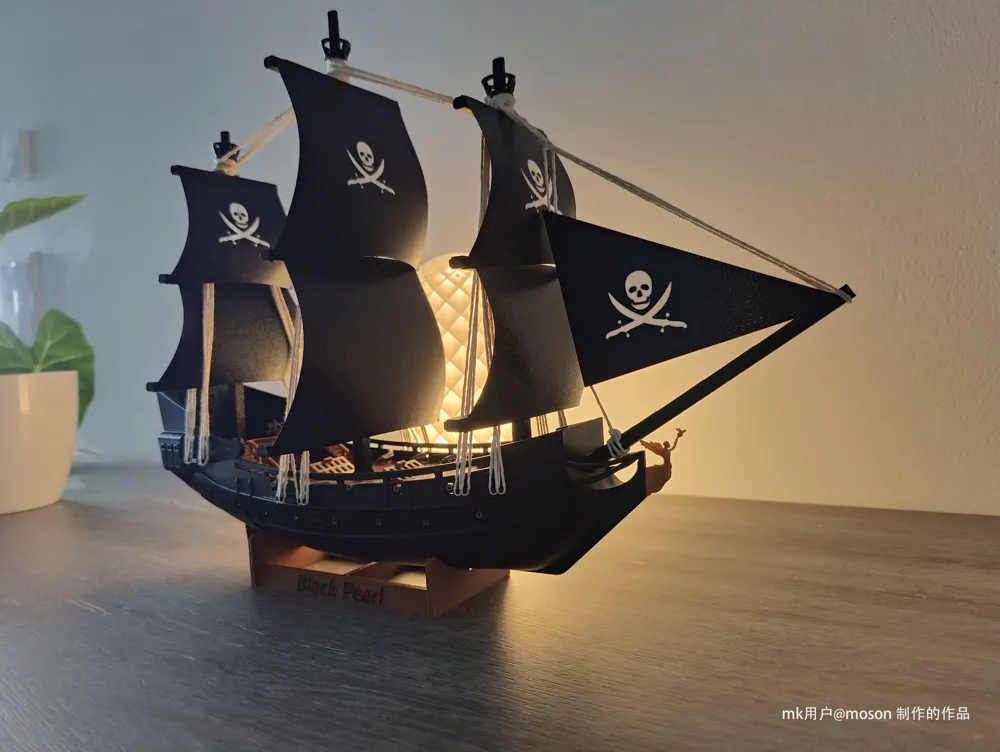
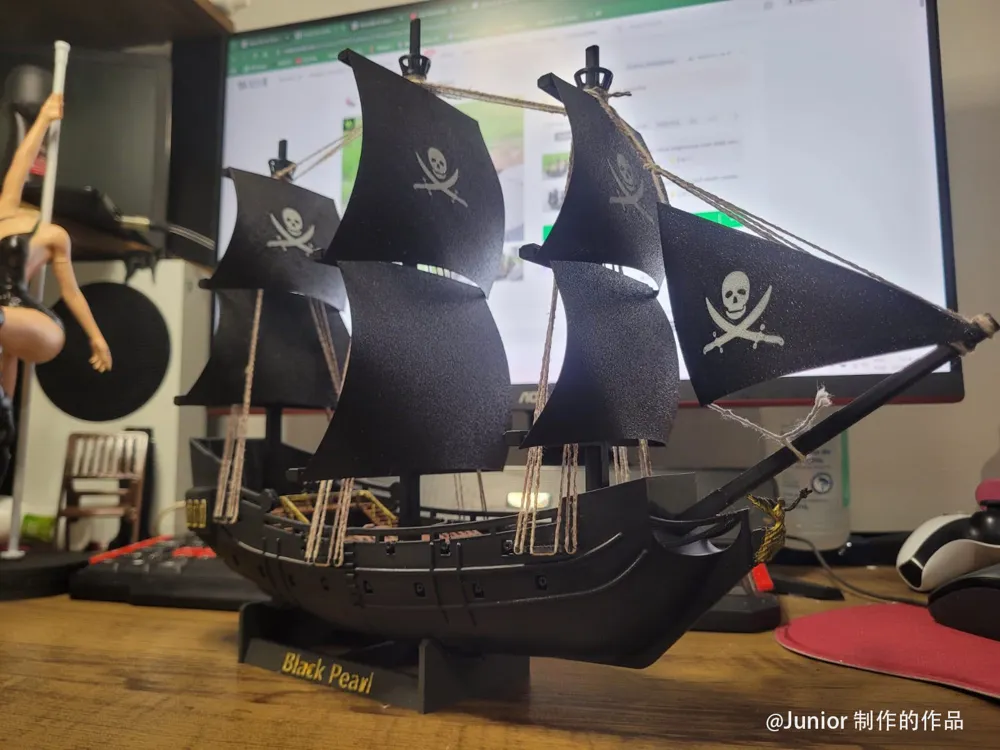
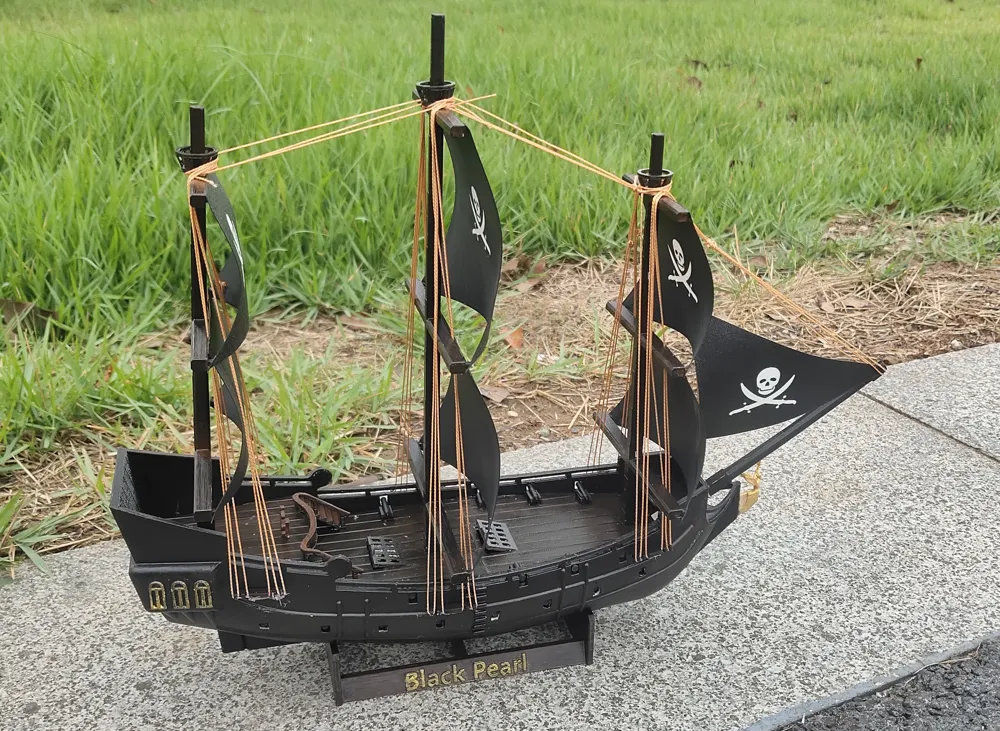
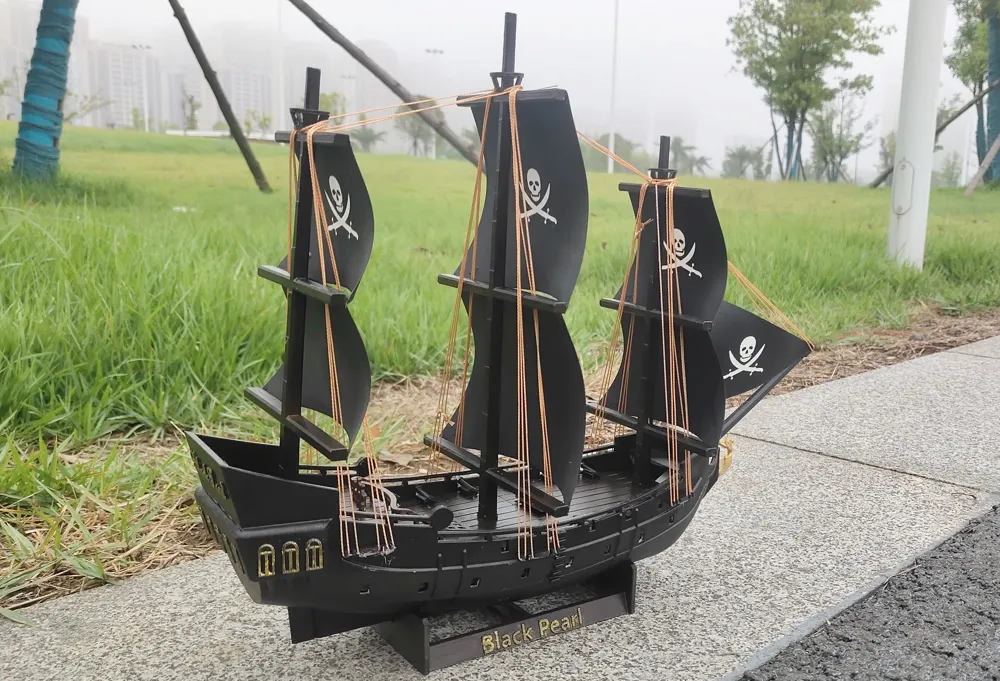
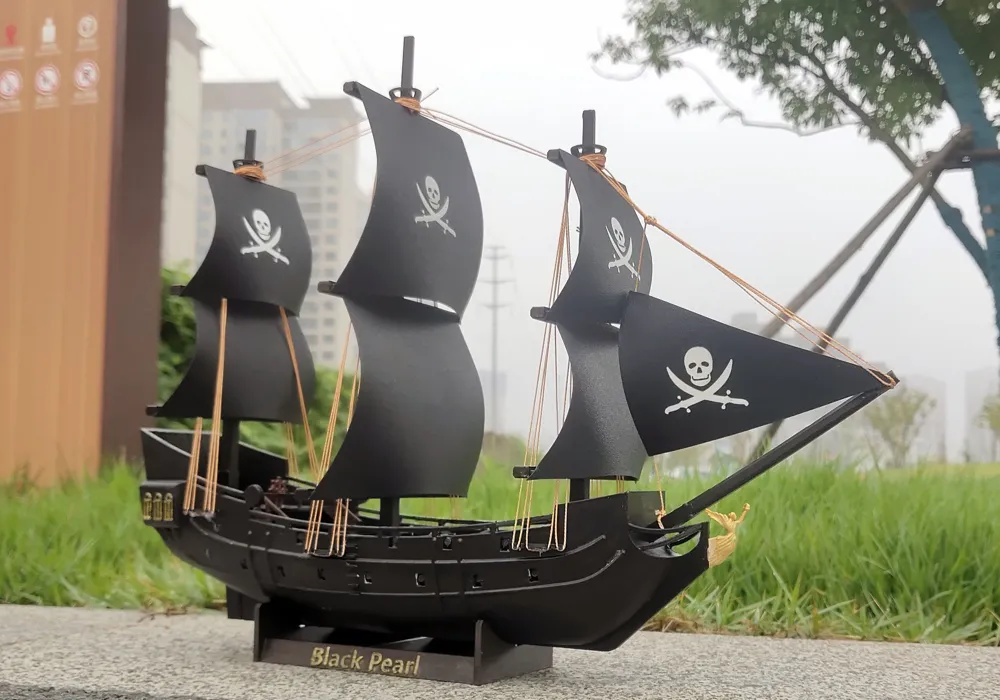
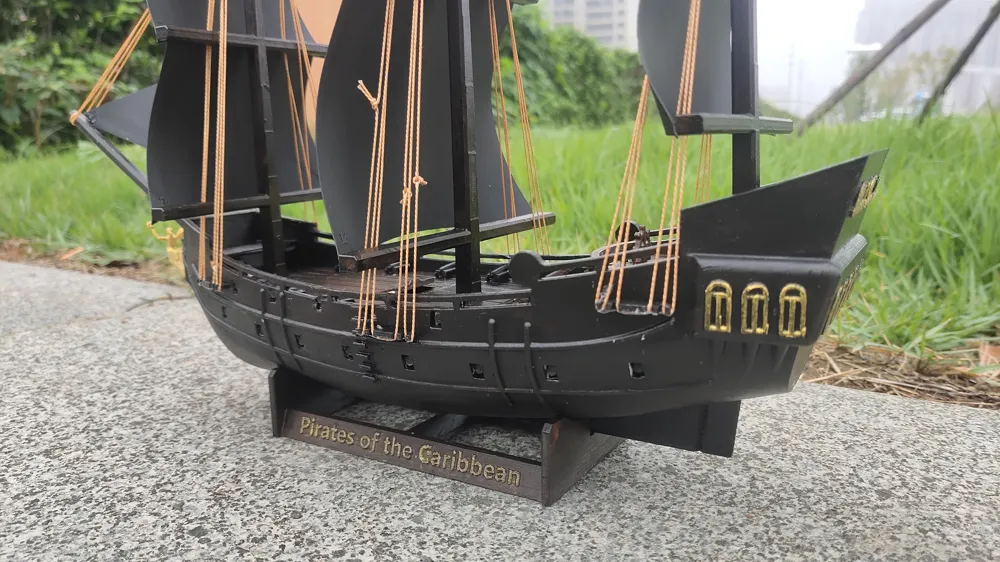
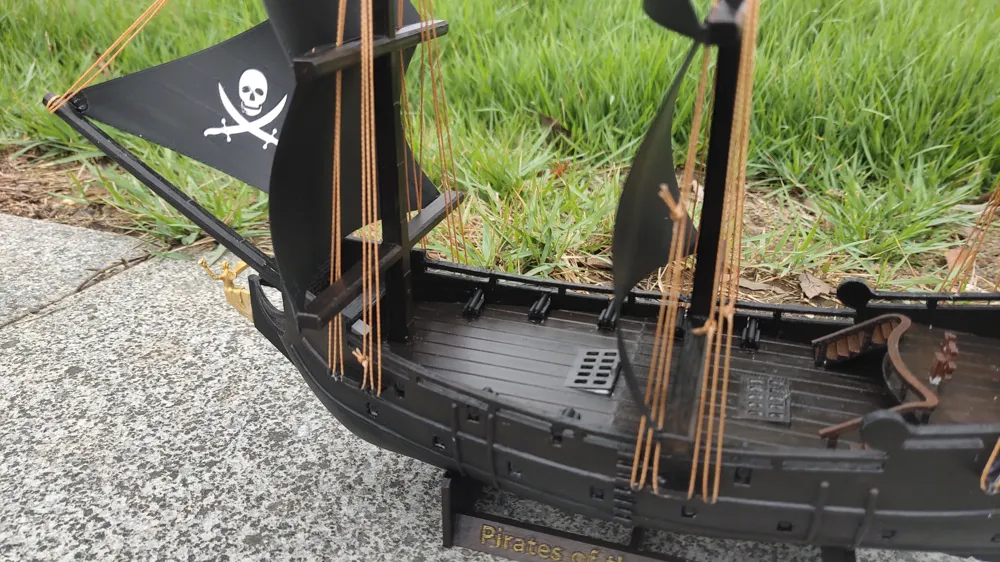
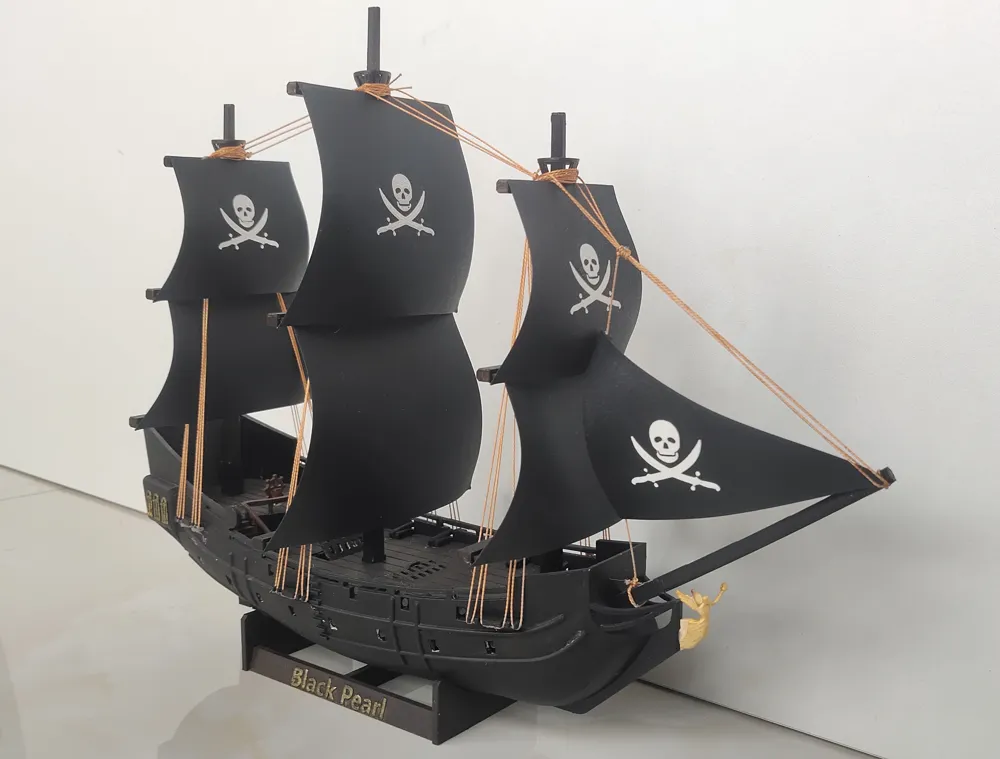
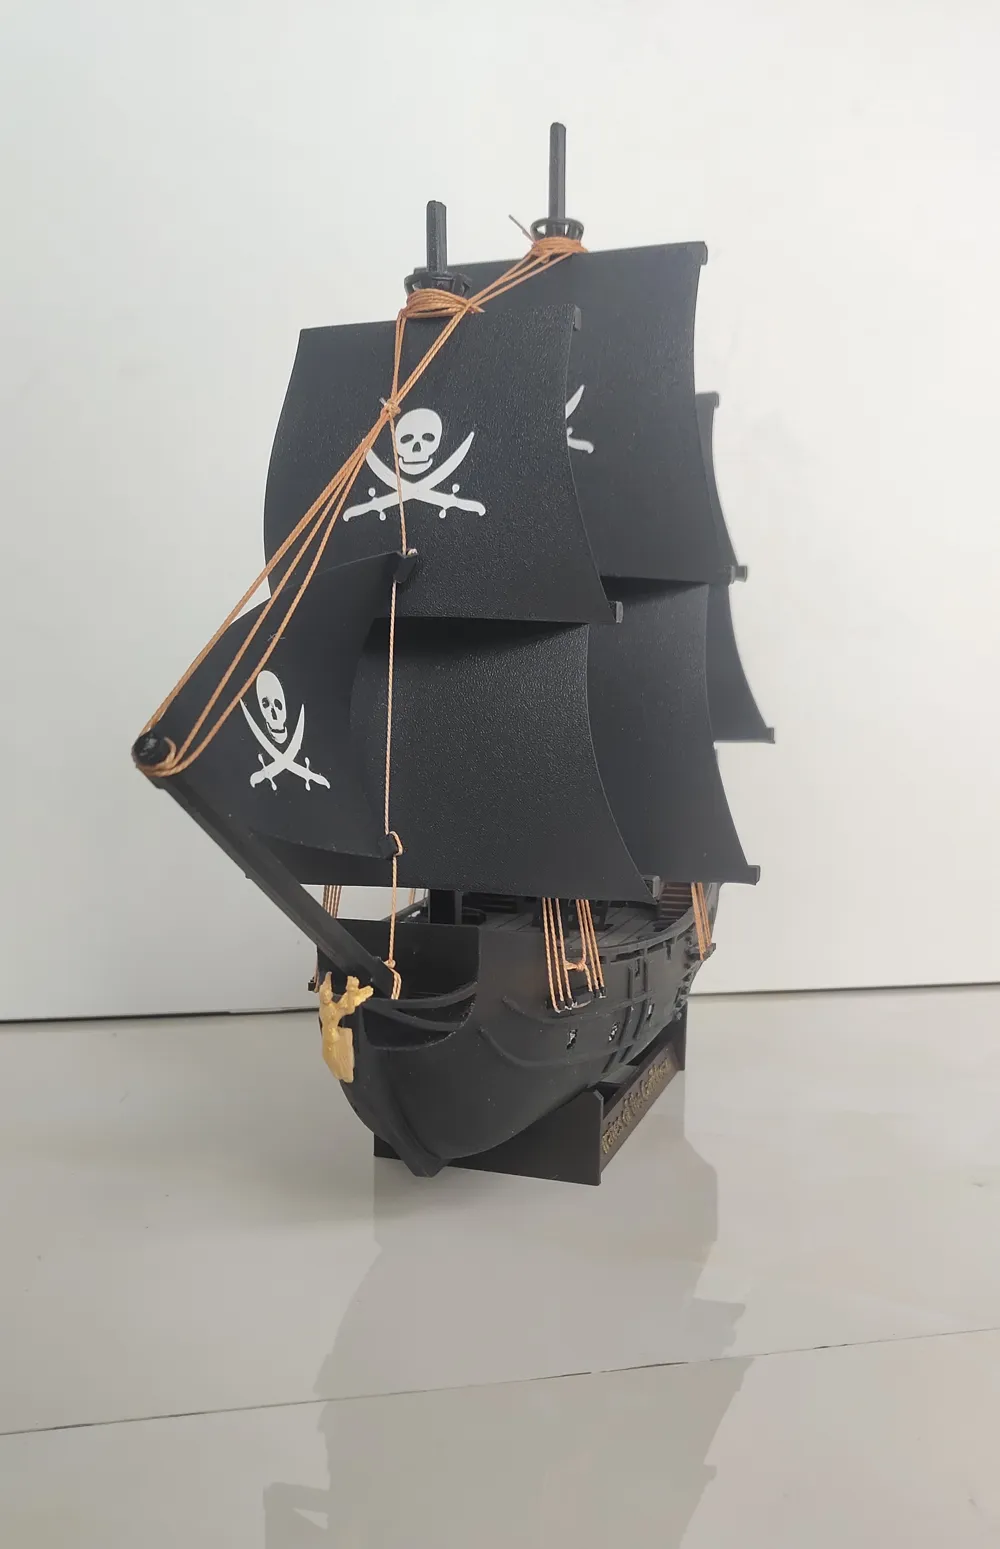
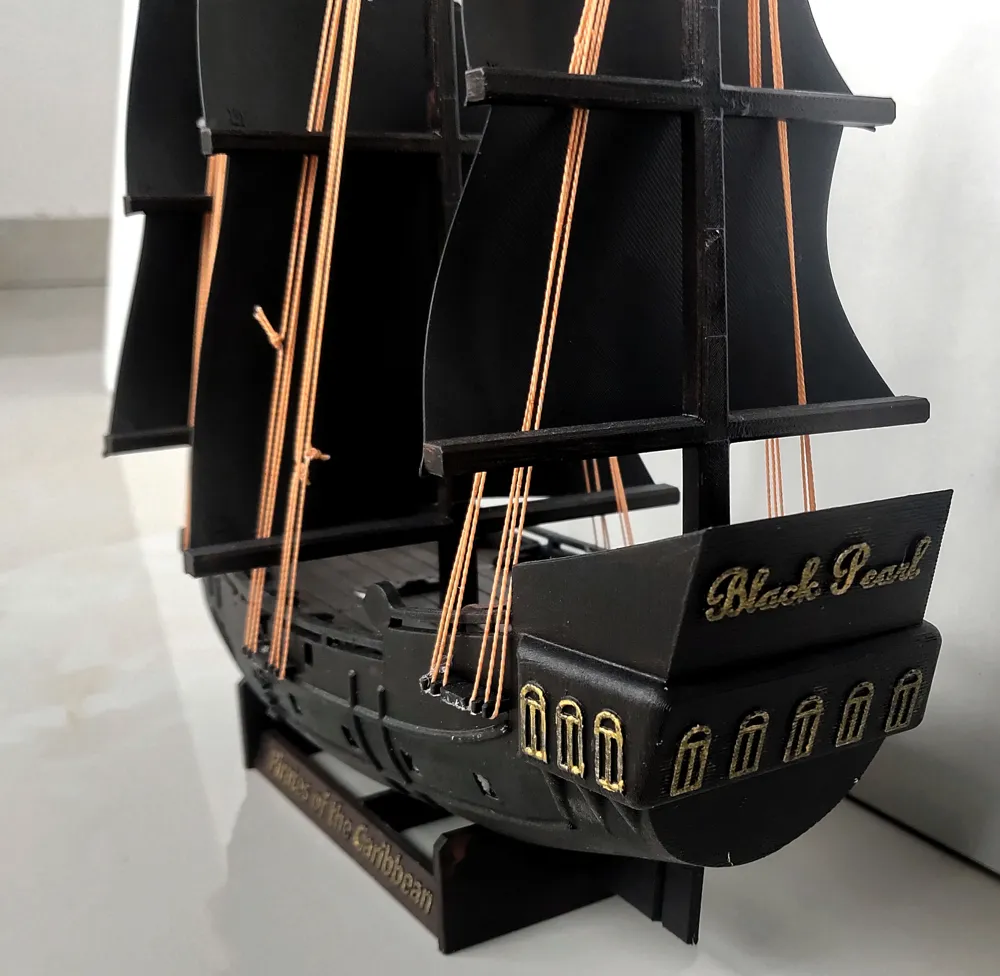
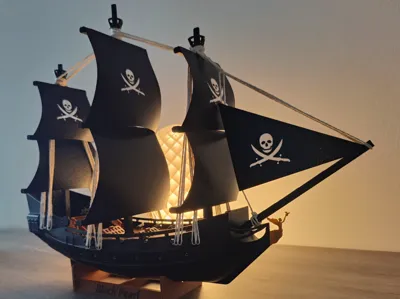
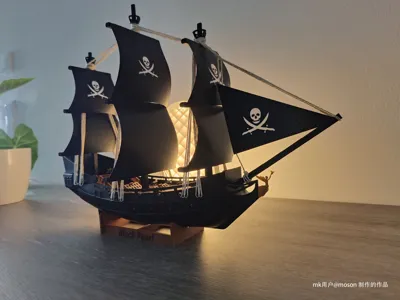
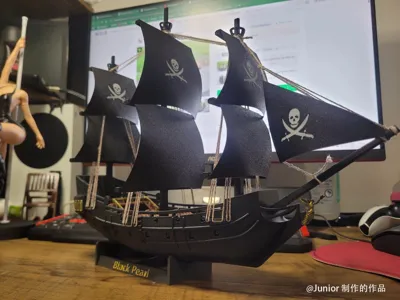
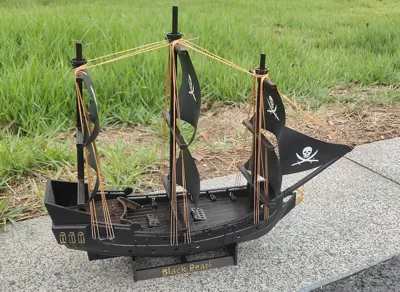
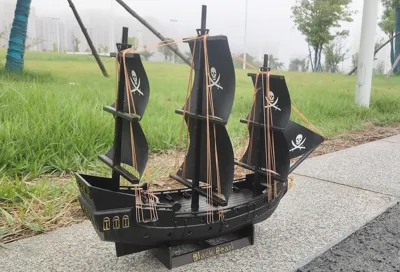
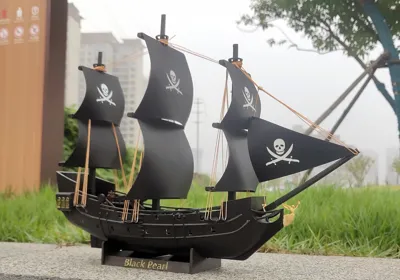
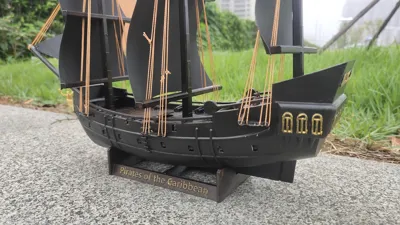
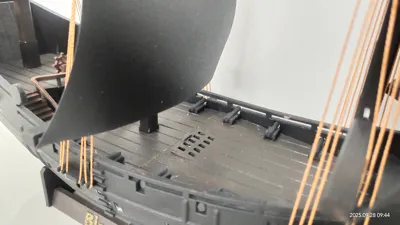
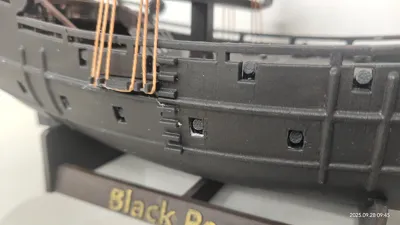
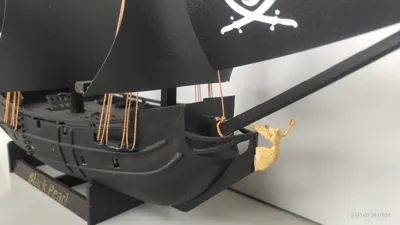
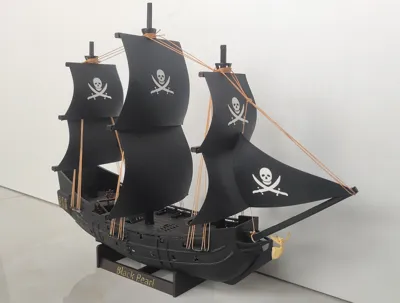
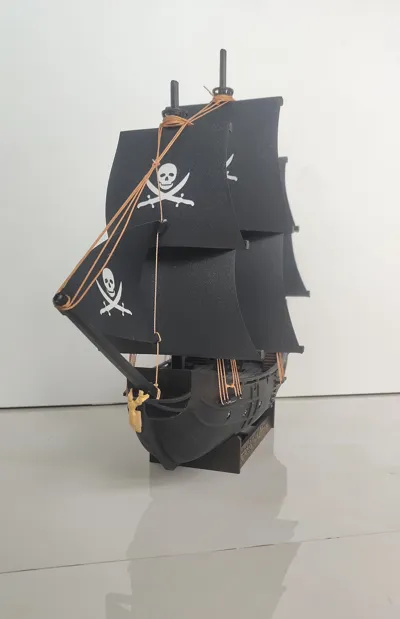
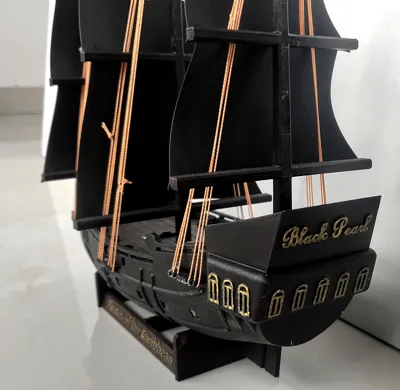
This is the Black Pearl, the sailing warship from the well-known movie "Pirates of the Caribbean", accompanying Captain Jack Sparrow on his adventures across the seas
The ship's length is 363mm, height is 278mm (excluding the base), and width is 128mm
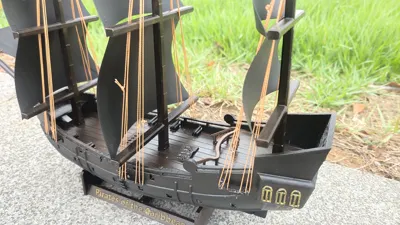
The entire model, except for the rigging, is 3D Printed and easy to assemble. You can either print with the natural color of the filament or print a white model and paint it later. If you have an AMS, it is recommended to use black (or dark gray) and white filament for printing the sails
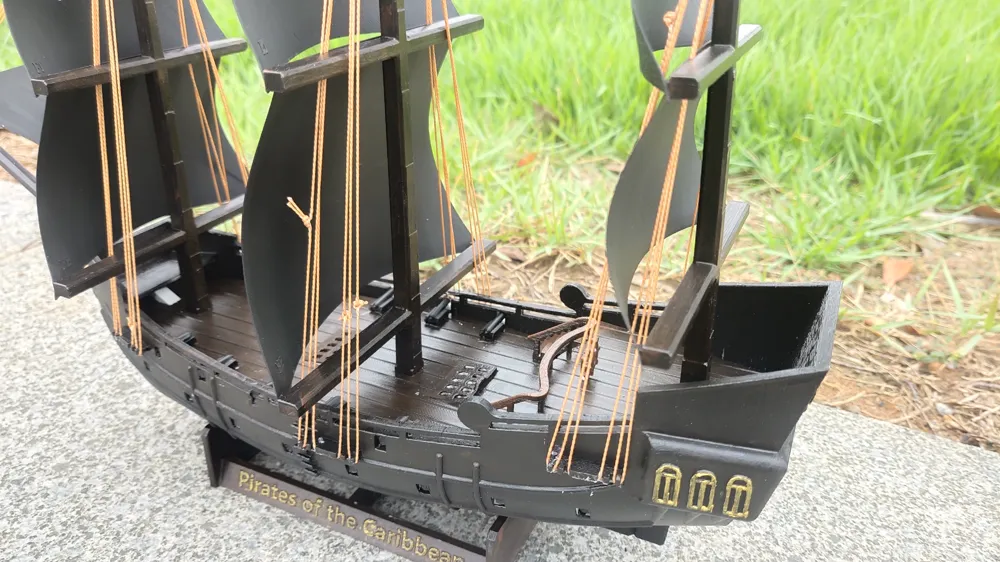
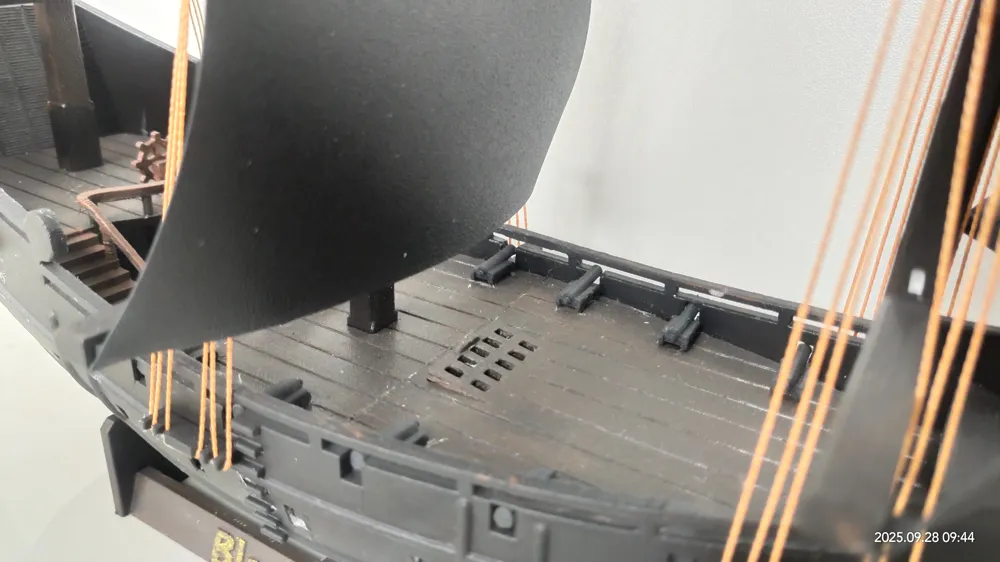
The shape of the sails is not formed by printing, but by the clips on the sails interacting with the masts. Therefore, the sails are all printed flat on the build plate, achieving high printing quality and speed, while maintaining a very thin profile, more like the fabric material on real sailing ships
I have not studied sailing ships extensively, so I am not very familiar with the rigging. Perhaps my rigging arrangement is not entirely accurate. Friends with expertise in this area are welcome to provide comments and suggestions. Let's improve it together
The sail clips are very small. Please be careful during installation to avoid damage. PLA Lite filament has insufficient layer adhesion, so it is not recommended for printing the sails
2026-06-18 update (this update is included in the print profile I uploaded):
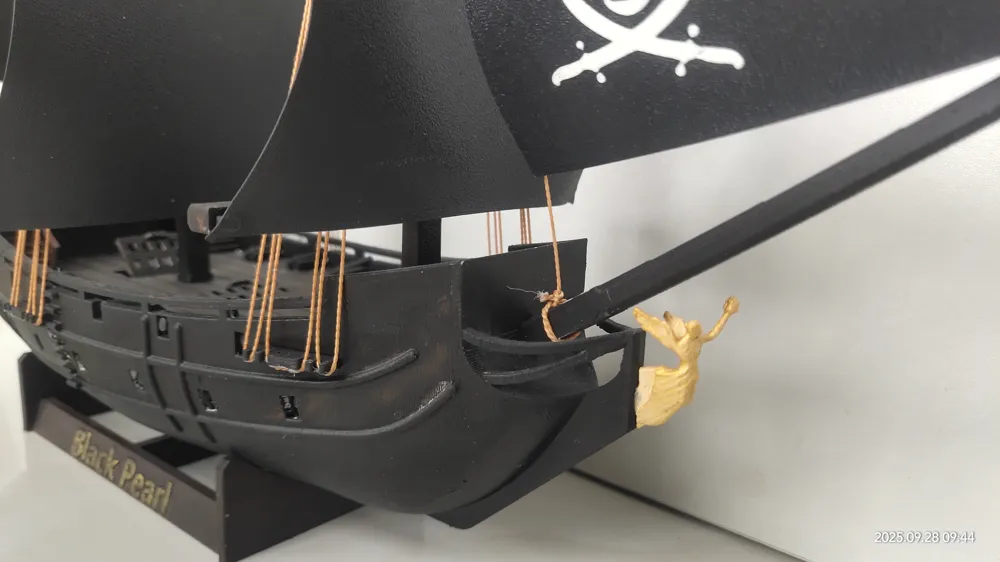
- Thickened and shortened the figurehead's outstretched arm. Printing and removing supports are less prone to failure, but still be careful, as this part is still very small
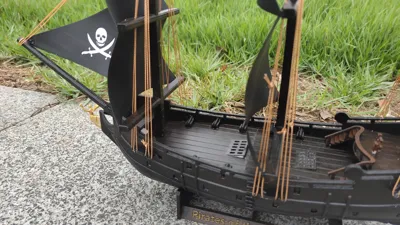
- Improved the cannons, which now have a flat base, making them easier to glue onto the deck, and also strengthened the cannon barrels
If you like this model, please like, collect, or follow me. This helps me a lot, thank you!
Assembly instructions follow, you can also download the PDF manual
--------------------------------------------------------------------------------------------------------------------------------------------------
Parts List
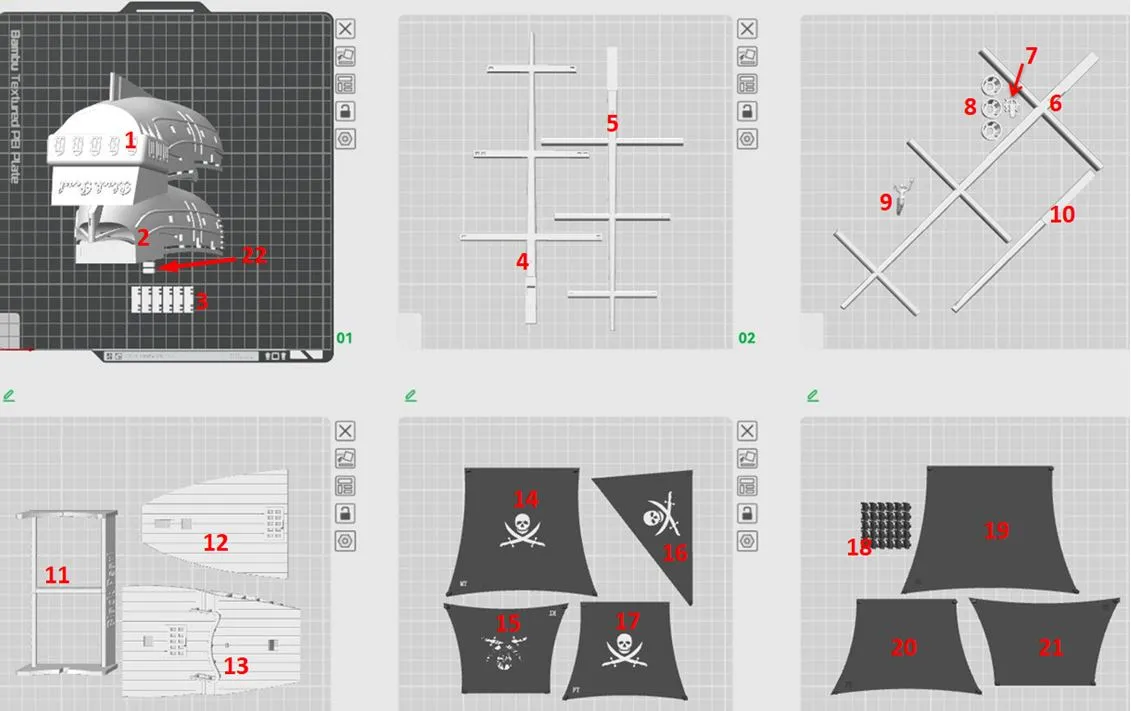
1. Hull - Rear Section
2. Hull - Front Section
3. Rigging Bracket (6 pieces)
4. Fore Mast (letter F)
5. Mizzen Mast (letter R)
6. Main Mast (letter M)
7. Rudder
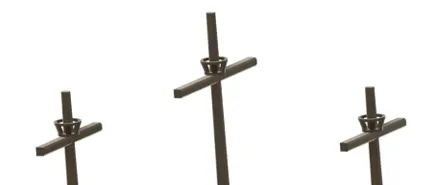
8. Crow's Nest (3 pieces)
9. Figurehead
10. Bowsprit
11. Base
12. Deck - Front
13. Deck - Rear
14. Sail - Mid Top (letter MT)
15. Sail - Rear Top (letter RT)
16. Jib Sail 17. Sail - Front Top (letter FT)
18. Cannons (30 pieces, redundant, in case of loss)
19. Sail - Mid Bottom (letter MB)
20. Sail - Front Bottom (letter FB)
21. Sail - Rear Bottom (letter RB)
22. Hull Connecting Pins (3 pieces)
-----------------------------------------------------------------------------------------
Assembly
1. Remove Auxiliary Supports from the Hull
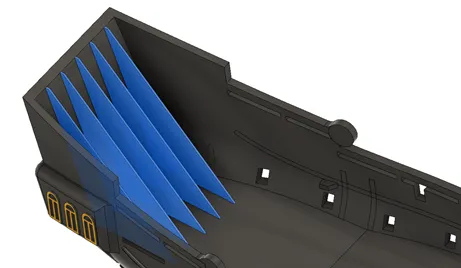
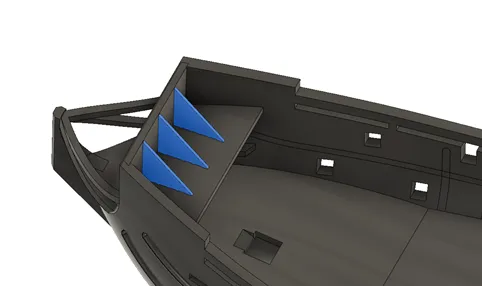
The blue parts in the image are redundant structures specifically designed to reduce supports during printing. They are not firmly attached to the main hull and need to be removed before assembly
2. Assemble Front and Rear Hull
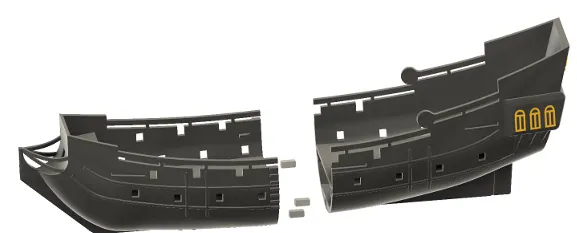
Use the "Hull Connecting Pins" to connect the front and rear hull sections. Apply glue to the joint to help secure it
3. Install Lower Deck Cannons
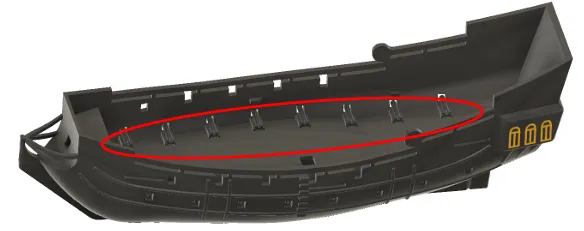
Glue the cannons onto the lower deck. There are 16 cannons in total on both broadsides
4. Install Front Section of Upper Deck
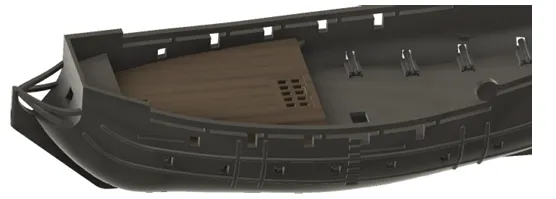
Apply glue to the edges of the deck for auxiliary fastening
5. Install Rear Section of Upper Deck
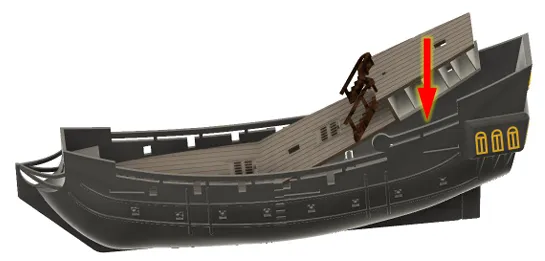
First, tilt the rear section of the deck to align with the edge of the front section, then press down to squeeze both the front and rear deck sections into the hull
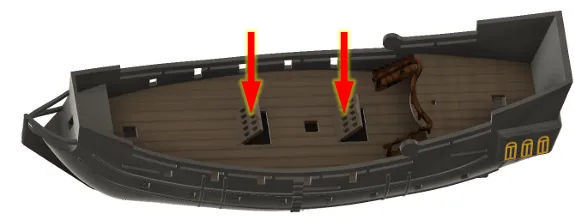
Check if the two hatch doors on the deck can open and close normally
6. Install Rudder
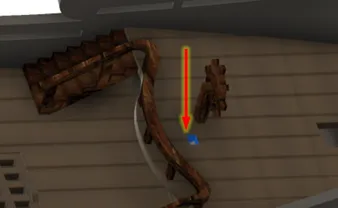
Apply glue into the blue-marked hole, then insert the rudder
7. Install Upper Cannons
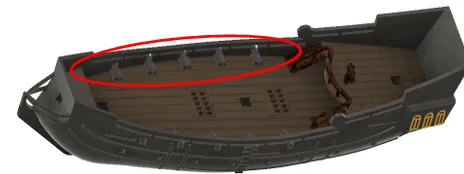
Five cannons on each side, glue them onto the upper deck
8. Install Rigging Brackets
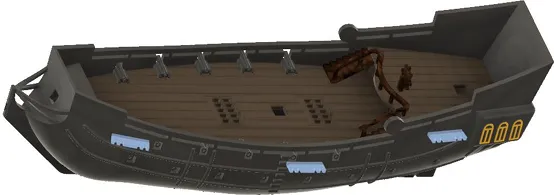
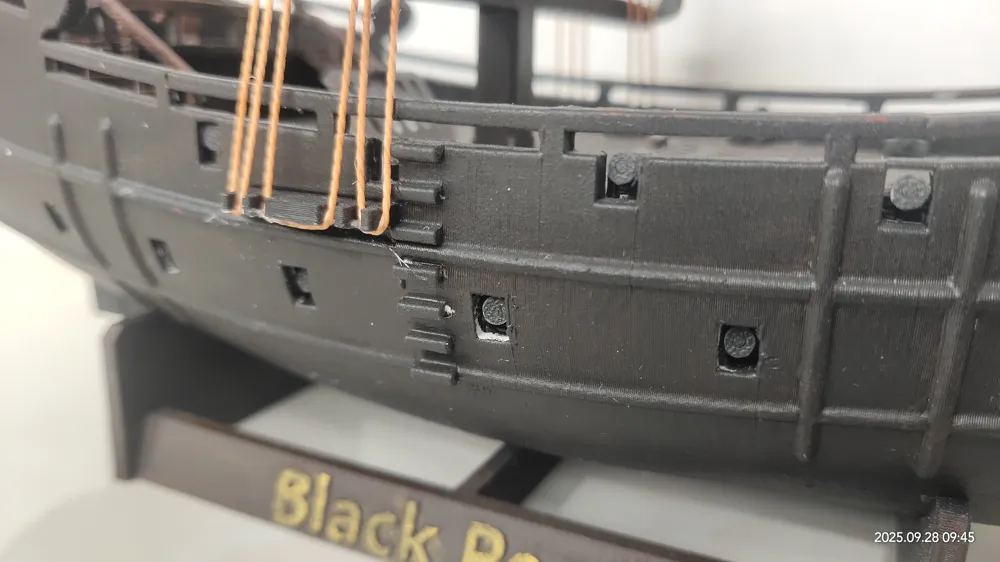
Three on each side, first apply glue into the slots on the hull, then insert the brackets
9. Install Masts
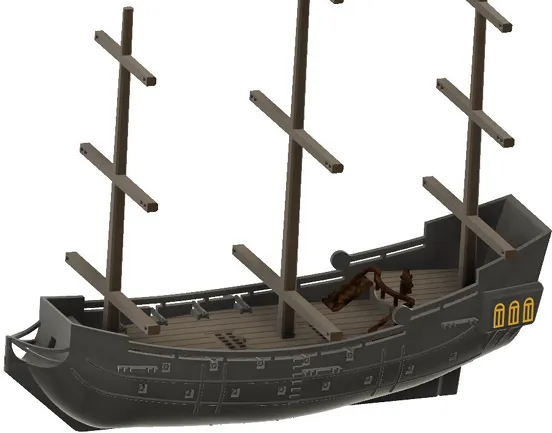
Insert the front, middle, and rear masts into the holes on the deck. Each mast has a letter marking, please pay attention to distinguish them and do not insert them incorrectly
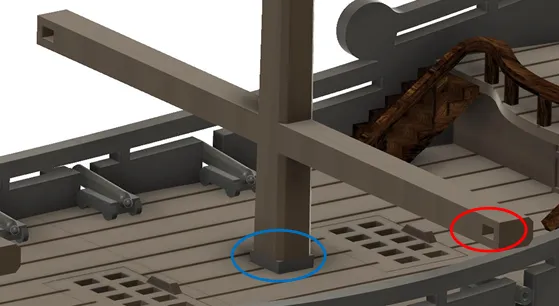
As shown by the red circle, the side of the mast with holes faces the front of the ship; the insertion depth of the mast is shown by the blue circle, make sure it is fully inserted
10. Install Bowsprit
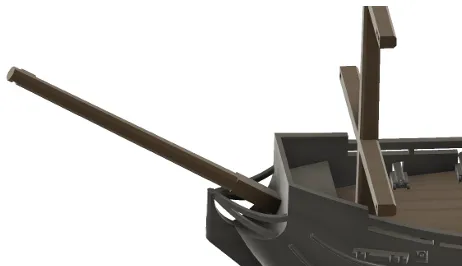
The insertion depth is as shown in the image above
11. Install Sails
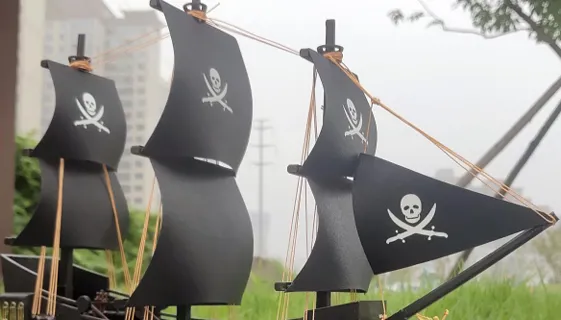
Each sail is a flat, thin piece and needs to be inserted into the mast using the clips on the sail to create the curved effect of being billowed by the wind. Please refer to the image above for the sail installation positions. Apply glue in the mast holes to help secure the sails. The jib sail needs to be installed after the rigging is in place
12. Install Rigging
I have not studied sailing ships extensively, so I am not very familiar with the rigging. Perhaps my rigging arrangement is not entirely accurate. Friends with expertise in this area are welcome to provide comments and suggestions. Let's improve it together
13. Install Crow's Nest
14. Install Figurehead
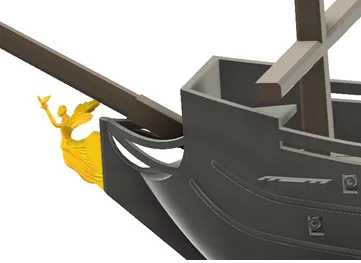
15. Place the Black Pearl on the base, Finished!
Documentation (2)
License

You shall not share, sub-license, sell, rent, host, transfer, or distribute in any way the digital or 3D printed versions of this object, nor any other derivative work of this object in its digital or physical format (including - but not limited to - remixes of this object, and hosting on other digital platforms). The objects may not be used without permission in any way whatsoever in which you charge money, or collect fees.


Comment & Rating (262)