
Parametric Doublestack Pistol Magazine Carrier


Print Profile(10)




Description
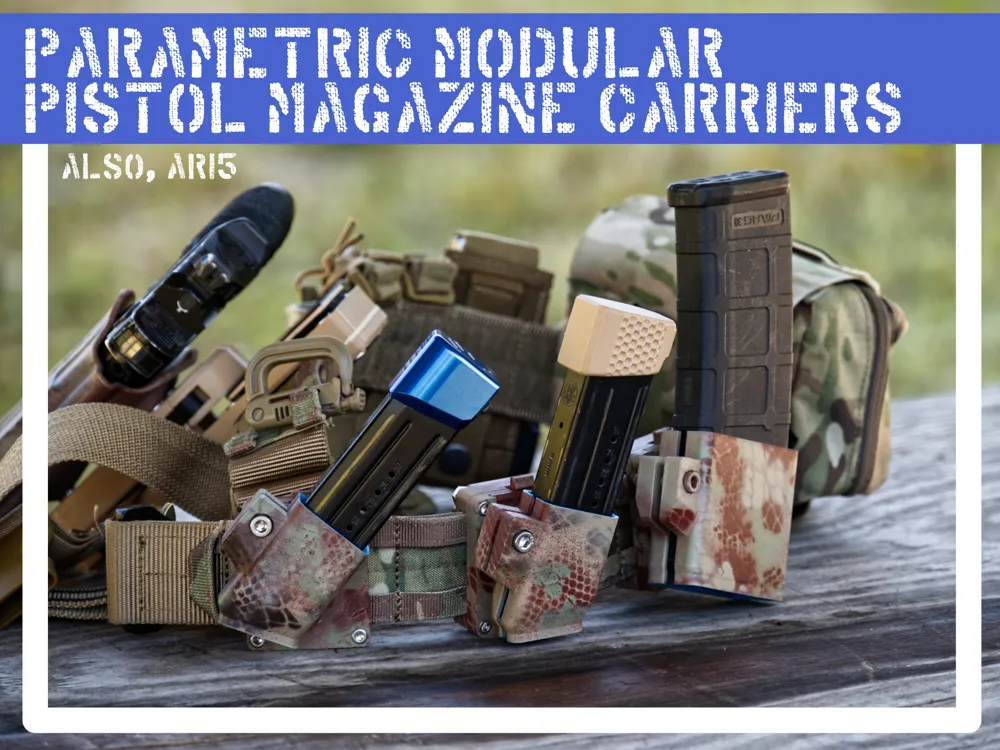
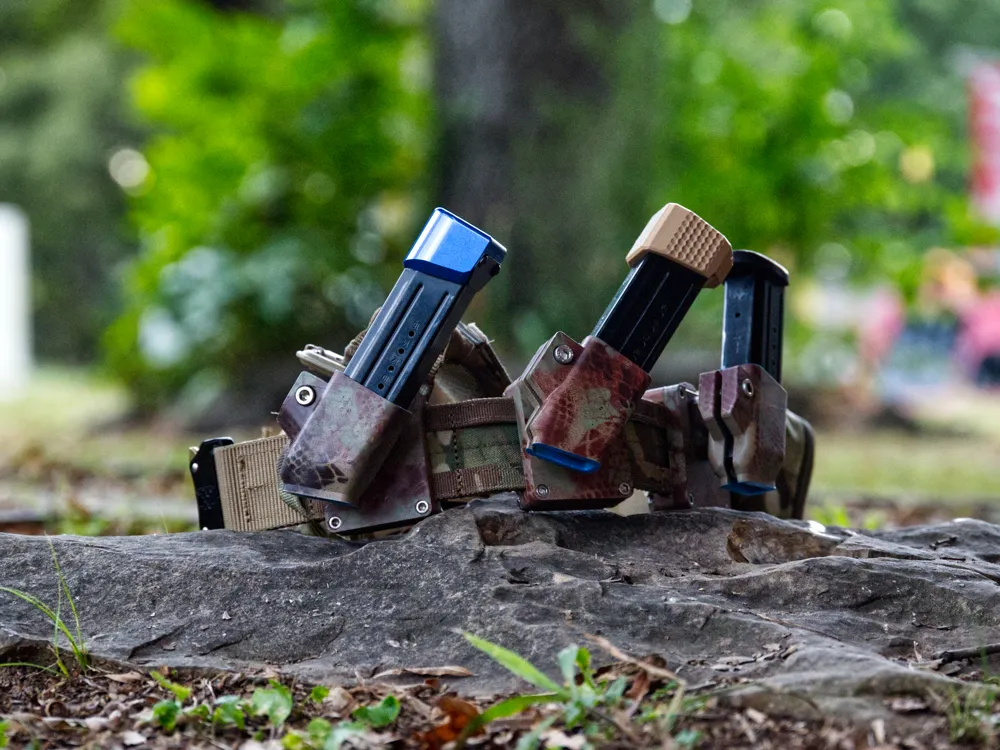
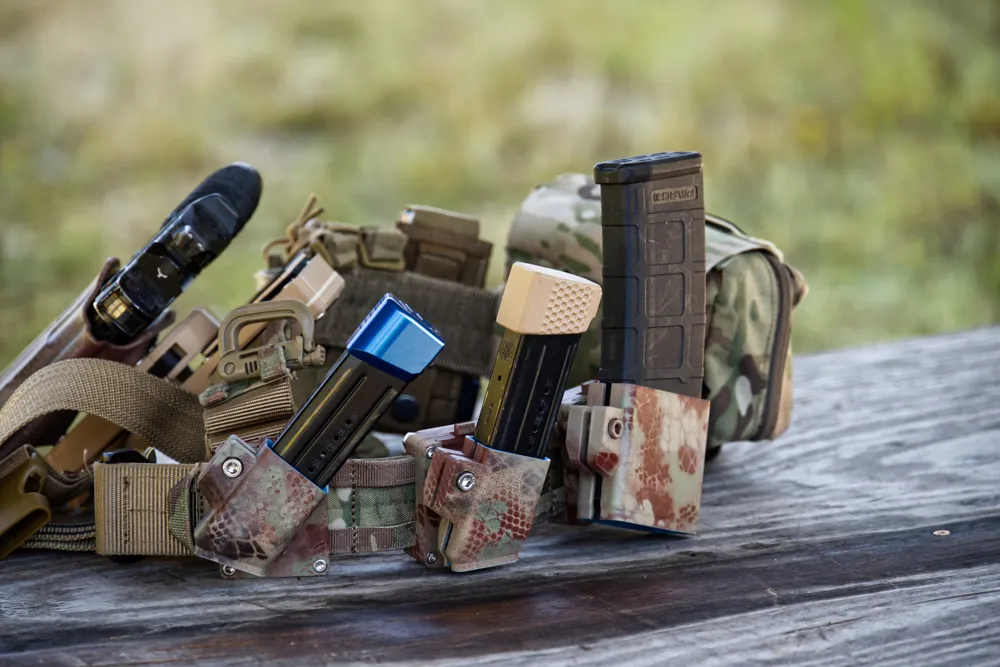
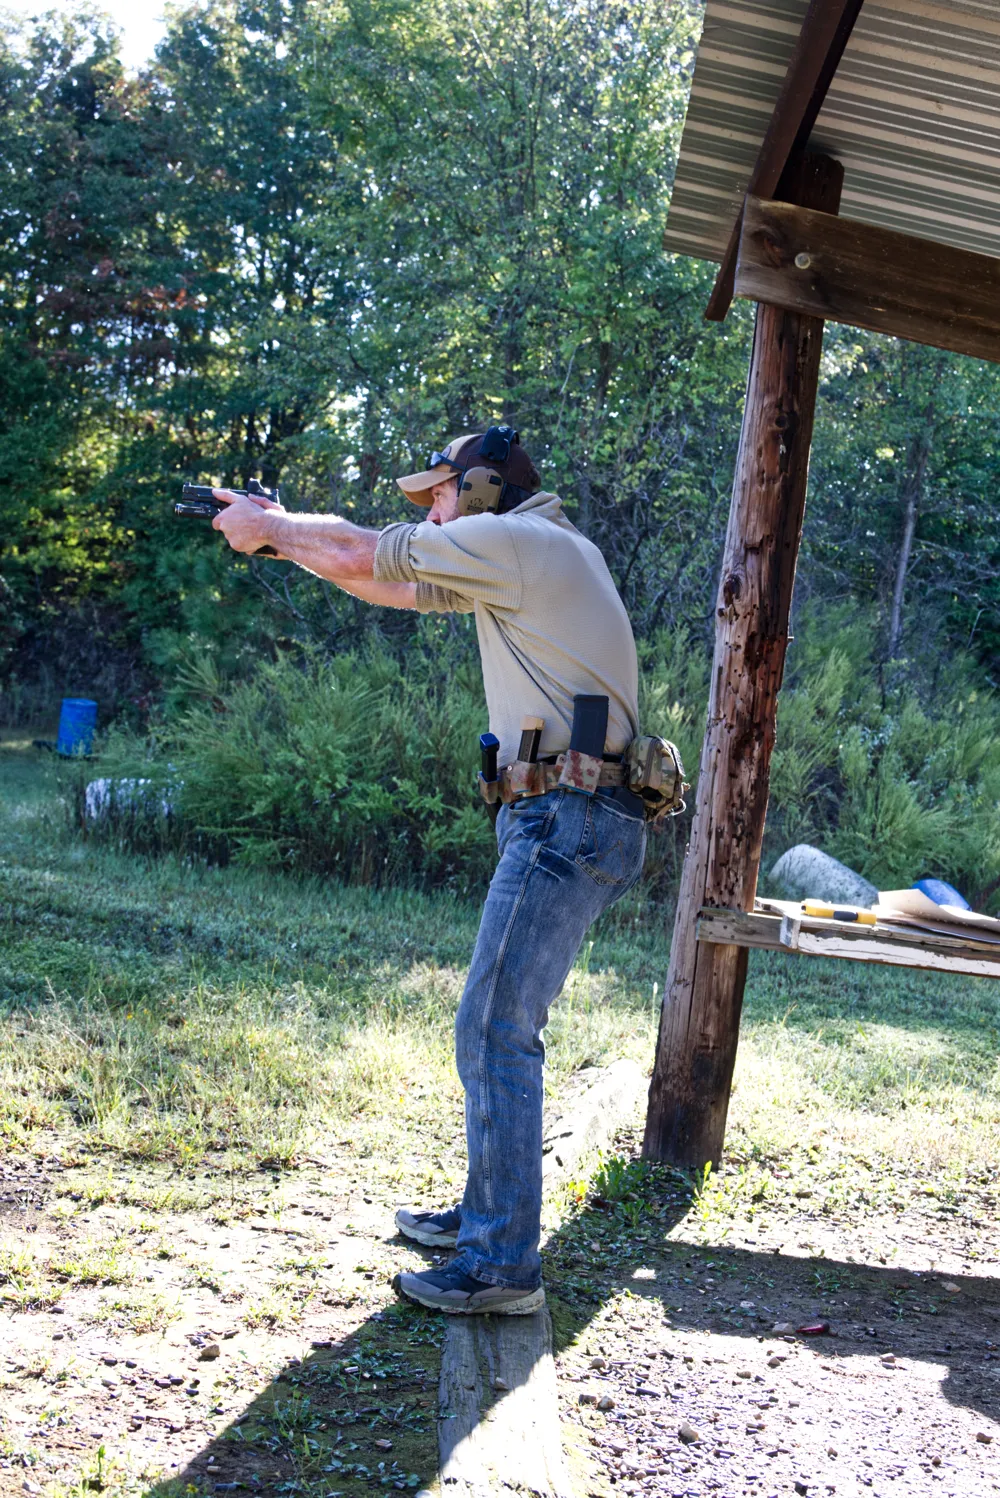
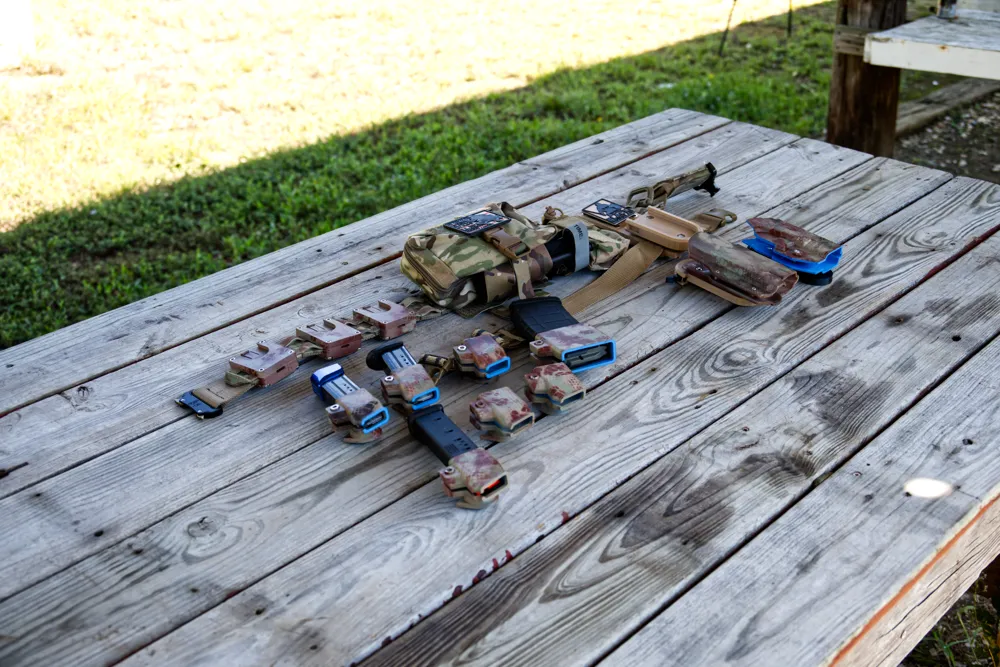
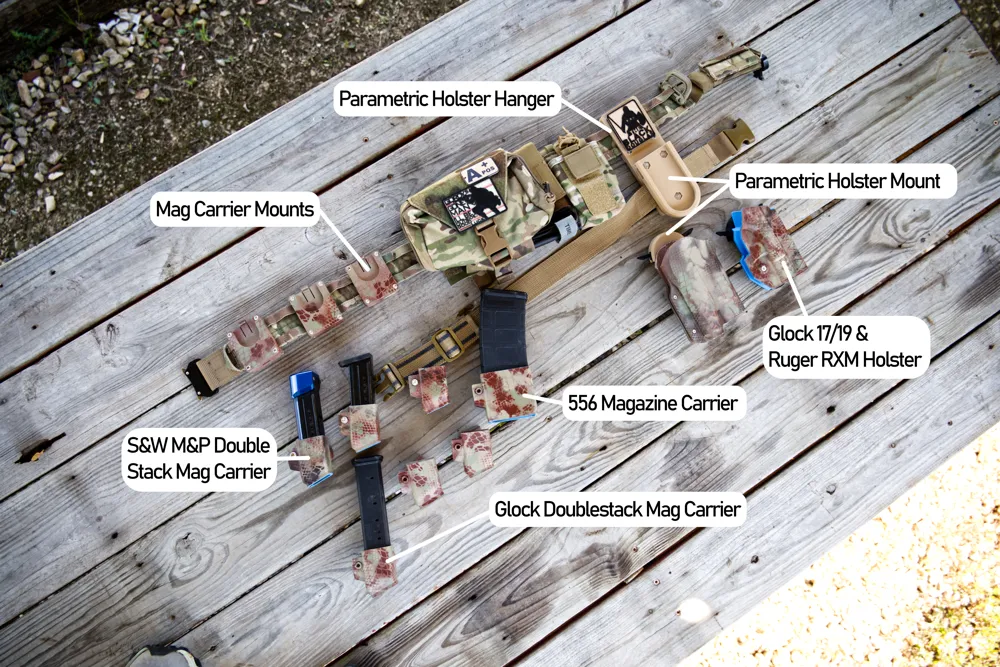
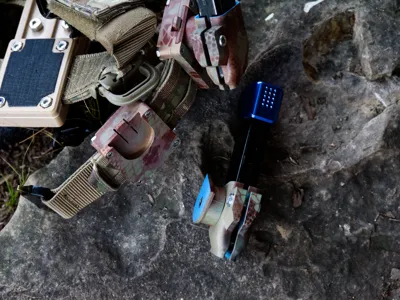
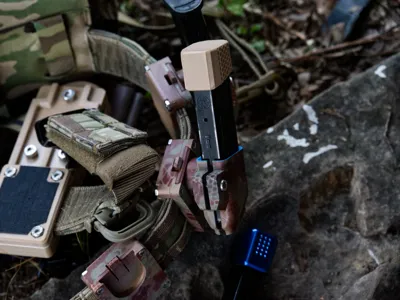
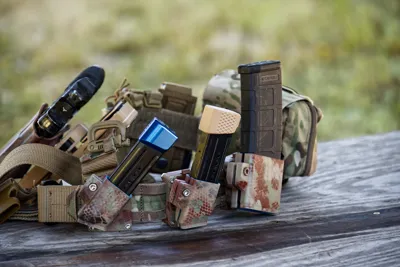
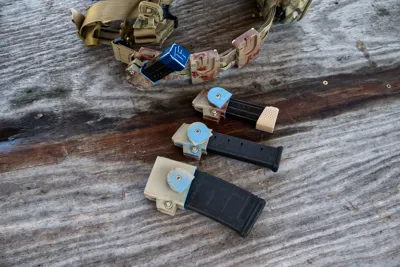
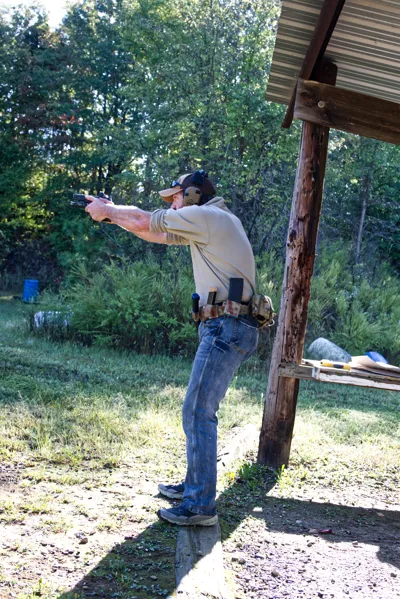
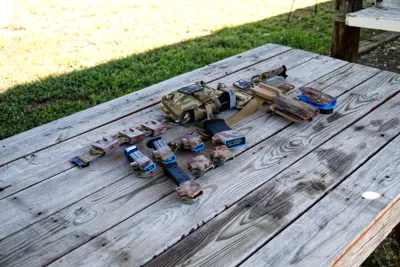
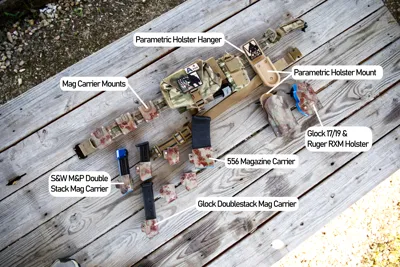
My goal was to build a printable, parametric and modular competition pistol shooting belt rig. I already had pistol magazine carriers, but they were 1) Not customizable, 2) not modular.
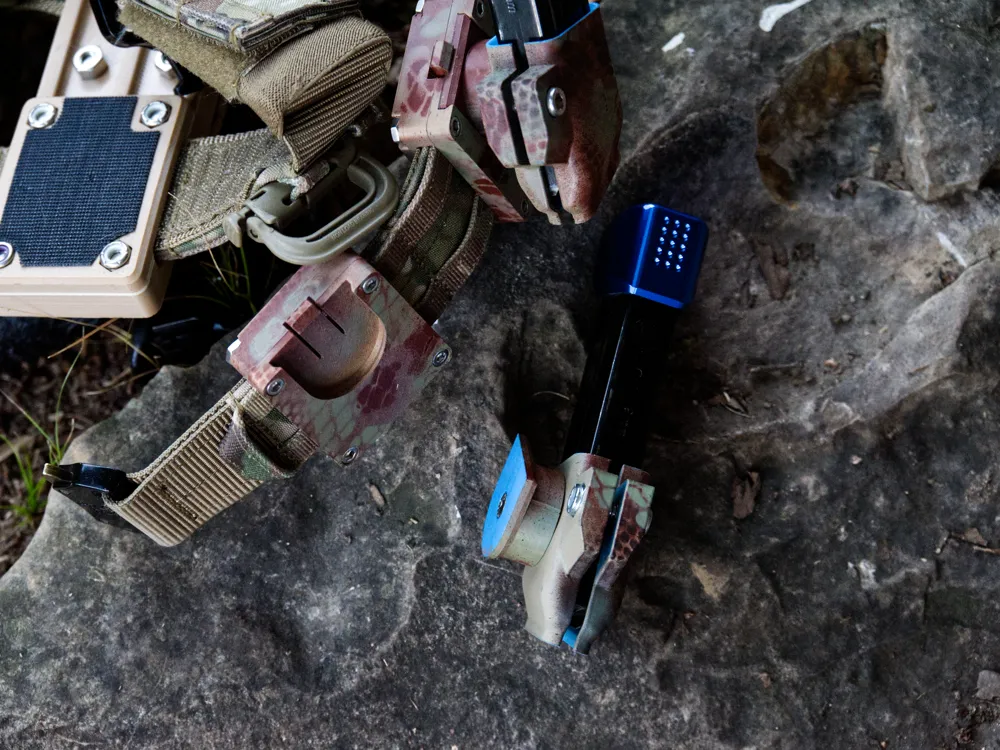
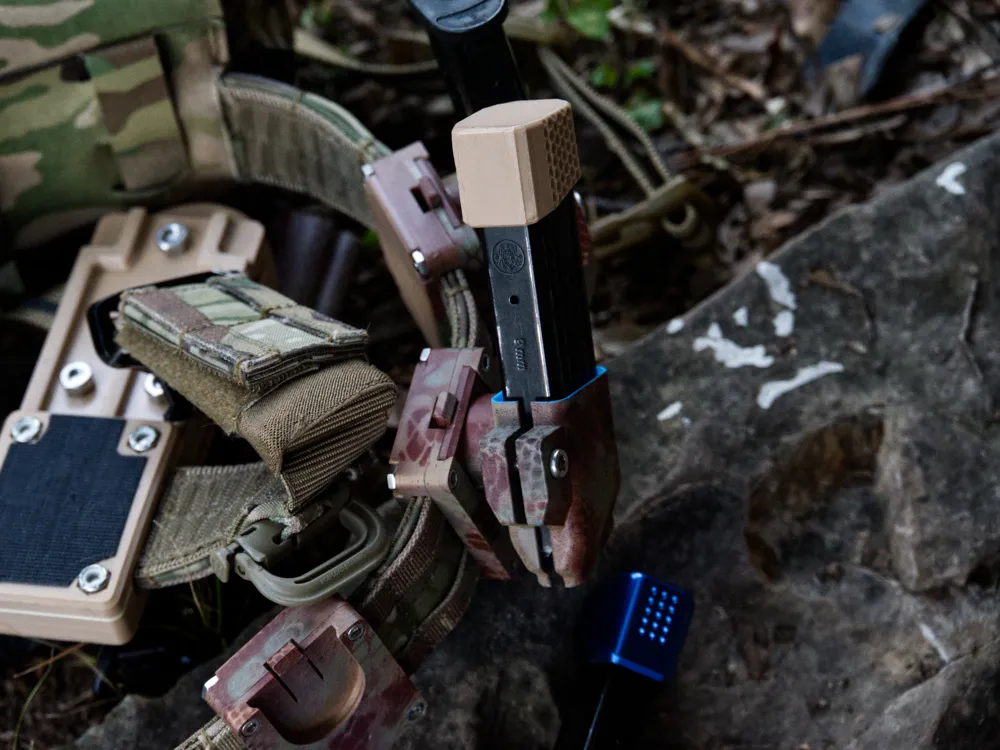
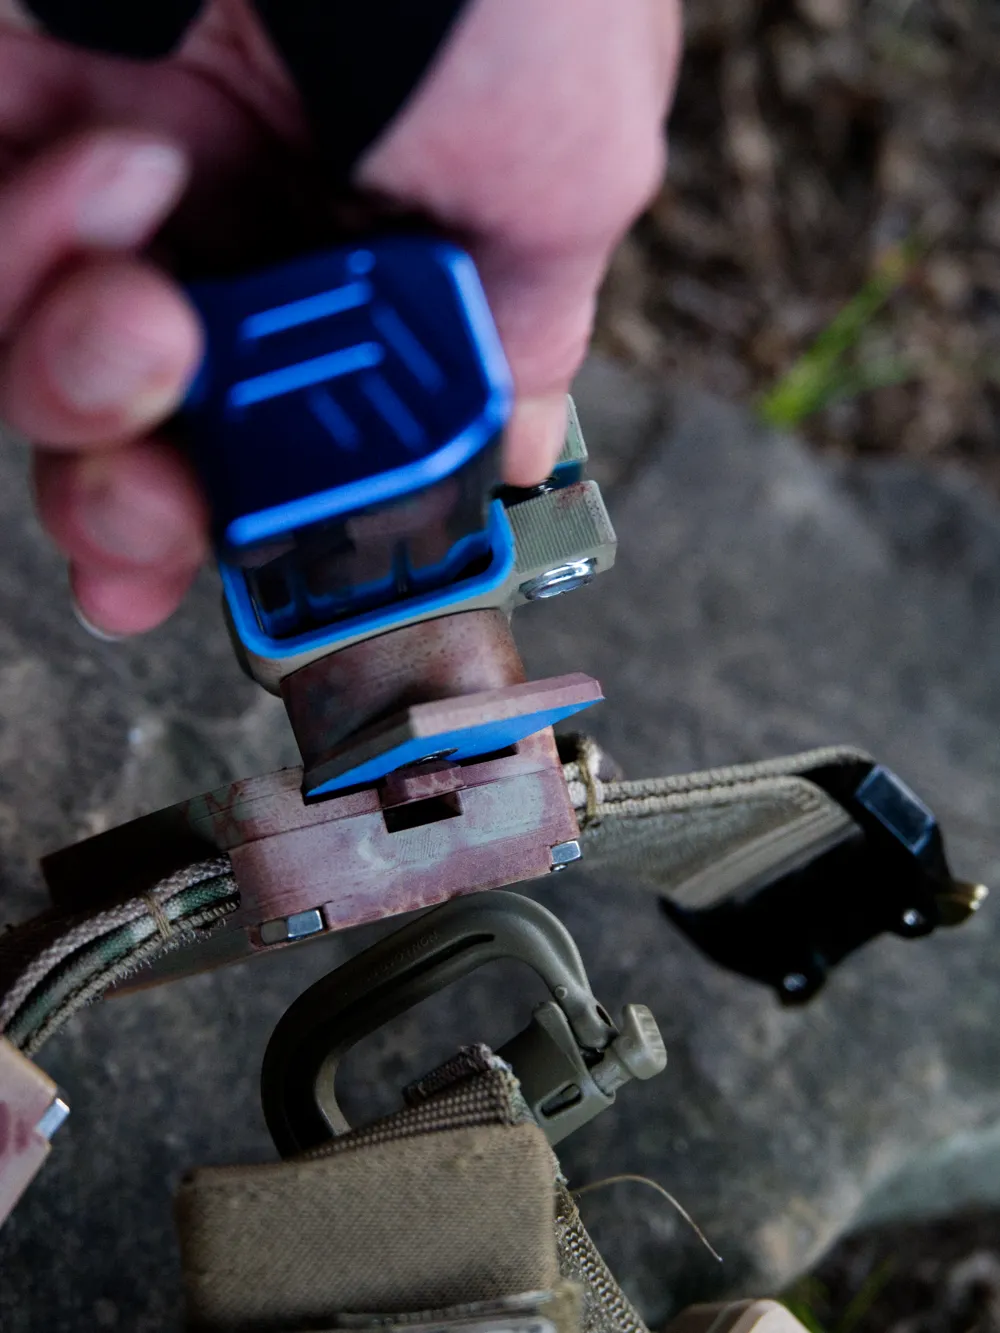
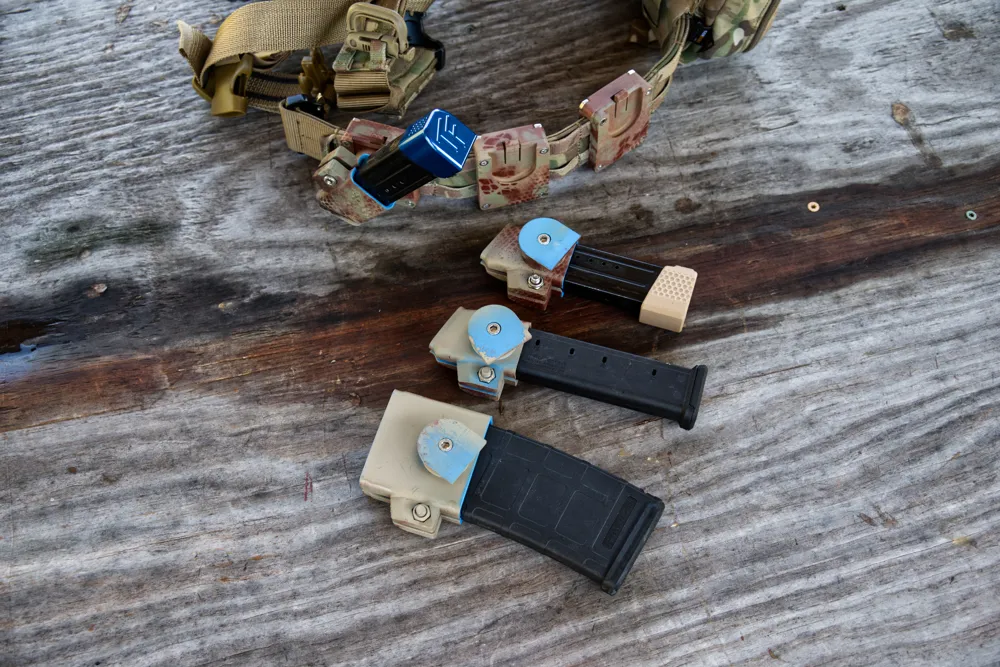
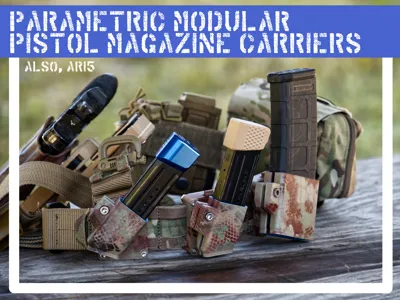
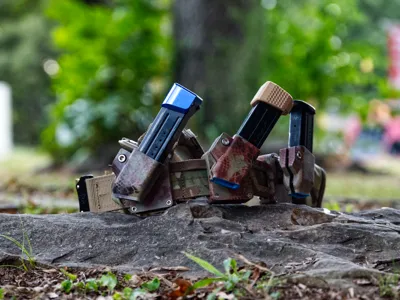
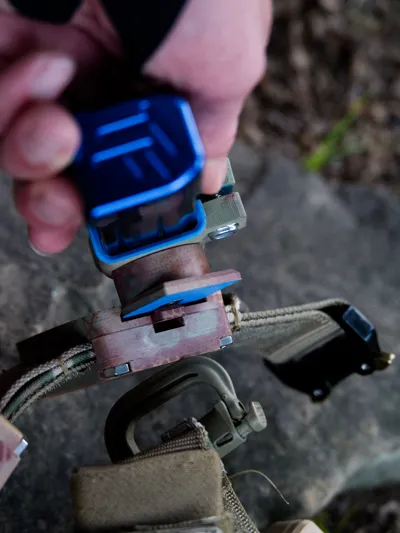
That brings us here. These can be hot-swapped by pushing back on the catch and sliding the carrier out. You can have carriers specific to the pistol you're using that day, pre-adjusted for angle and tension, ready to go. Slot them in til they latch and it's ready to go. For my 2 and 3 gun shooters, I've added a 556 print profile as well, but it's the only rifle caliber this will support.
There are several customizations available here. The basic print profile is set up for a 1.75in belt, 8mm thick, with a spacer depth of a half inch. There are min-maxes already built into the file so don't worry about blowing it out. You can adjust belt height, thickness, spacer depth, and then carrier height, width and depth. This should cover all doublestack pistol magazines and then some.
Hardware needed is:
4 socket cap #8-32 screws. Length will depend on your belt thickness.
4 #8-32 nuts.
1 ¼ socket cap screw to hold the carrier to the spacer. Mine are a half inch, but it will depend on your spacer depth.
1 ¼ socket cap screw to hold tension the carrier. This will be longer than the above one. Mine are anywhere from ¾" to 1".
1 ¼ nut, to sit in the recess inside the magazine carrier.
1 ¼ nylock nut, or normal nut, your choice, to sit in the recess for the tensioner. For this one, I like to use the fine thread ¼-28 screws, but ¼-20 works too.
To assemble, place the belt plates over the belt. Insert the #8-32 screws through the front plate (that has the mount recess) and the back plate. Hold a #8-32 nut in place while tightening and it will lock in the recess. Repeat for the other three screws. Place a ¼ nut inside the mag carrier, in the recess. Slot the shorter ¼ socket cap screw from the flat side of the spacer through, and into the backside of the carrier through the angle adjusting knub. The spacer can be rotated here for 18 degrees of rotation. Find the rotation correct for you and tighten. Settle the last ¼" nut in the recess on the tensioner of carrier, and screw the remaining ¼" socket cap screw into it until the tension desired is achieved.
If you'd like to see a video of the assembly, I have one here.
Check out my other designs for more USPSA and other pistol competition gear. Everything you need on your belt, I have now, and plan to start expanding holsters. Comments, critiques, requests, all welcome!
UPDATE 10/2/2025: Print profile to adapt the carrier to TheBigOne's Modular Segmented Shooting Belt System (MSSBS) has been added. Love the work he's doing over there, and I'm happy to have the opportunity to collaberate.
License

You shall not share, sub-license, sell, rent, host, transfer, or distribute in any way the digital or 3D printed versions of this object, nor any other derivative work of this object in its digital or physical format (including - but not limited to - remixes of this object, and hosting on other digital platforms). The objects may not be used without permission in any way whatsoever in which you charge money, or collect fees.


Comment & Rating (144)