Funssor Bed Carriage Master Shim for Kobra S1


Print Profile(1)
Description
You either took the plunge or are thinking about taking the plunge to get the CNC cut 5mm aluminum bed carriage from Funssor. After seeing a 1.2mm difference from the high and low points of the bed, I started to look at getting the Funssor bed carriage to improve the flatness and reliability of prints.
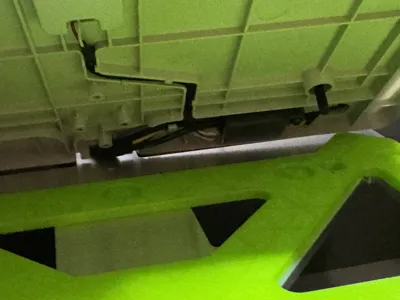
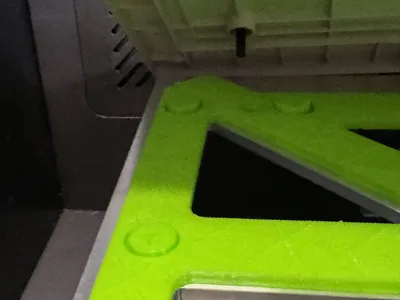
I took the plunge, but I didn't realize a key, missing piece of information. Their bed carriage is designed for their own Funssor bed. There is the module that supplies the power to heating the bed that sits further down than the plastic reinforcements on the bed. If you try to mount the bed to the Funssor carriage, the M4 fasteners will grab, but the module will lay on top of aluminum brace and cause a rear bed tilt.
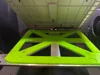
See the image below for the gray module that interferes with the stock bed.

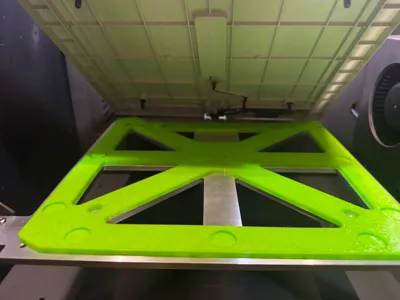
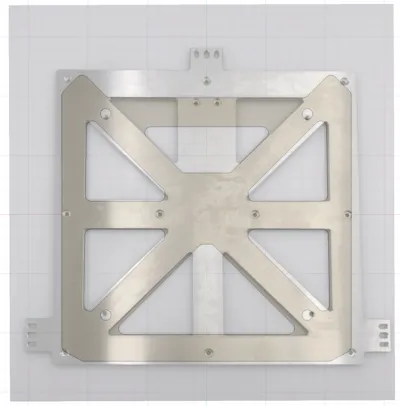
This unfortunate discovery led me to two options. 1) Purchase the Funssor bed and continue the upgrade at another $100. 2) Design a model that allows me to take advantage of the stiffer, larger bed carriage with the stock bed. The Funssor bed is made from 8mm CNC aluminum and images across the Internet shows that it is very flat. My Kobra S1 stock bed is .. sort of flat, but being plastic, should be tweakable to get a mostly flat bed taking advantage of the Funssor bed carriage.
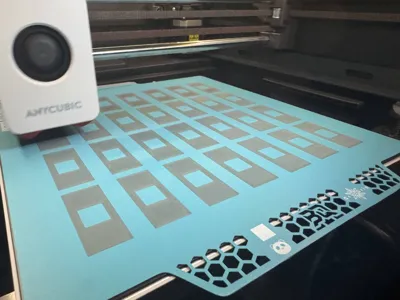
I designed this model to be printed in TPU along with 14mm shims that can be placed in the common areas that the stock bed shows warpage. While not as convenient at replacing the entire bed, I like the idea of keeping the stock bed because the electronics are what Anycubic designed. This master shim is designed to use the supports of the Funssor bed carriage while allowing the use of the shims to help raise the different sections of the bed plate. Everyone's stock bed will be slightly different, so you can add different heights to flatten each of the four sections of the stock bed. After the Funssor bed carriage and the master shim, I've been able to get the flatness of my stock bed to 0.3mm, a huge improvement resulting in a fantastic first layer. You may find it frustrating to flatten your bed, but including multiple shims at a variety of heights allows you to quickly swap sizes to improve the flatness.
The included profile has both the TPU and PETG versions. Although TPU provides that extra give torquing down the bed bolts allowing you to better dial in the height of the four quarters of the bed, the PETG version will still allow the stock bed to be mounted to the Funssor bed carriage. Along with PETG shims, you'll be able to get the bed far more flat.
Would I recommend the Funssor bed carriage WITHOUT the bed? Yes. The bed carriage is very stiff and addresses the issues of the bed flexing in the rear corners, resulting in the nozzle being far too low in the corners. Could this be done with the stock bed carriage? Maybe. The stock bed carriage is made of sheet steel, somewhat flexible, and definitely alters its state during heat cycling and soaking. That's the key advantage of the Funssor design - it extends to the corners of the stock bed very well and is quite resilient to warping due to heat cycling and soaking.
You will want countersunk M4x25mm screws (4) because the master shim is thick enough to allow the heating module to clear.
Comment & Rating (2)