Search models, users, collections, and posts

Prusacaster 2077

Remixed by

Print Profile(1)

All
X1 Carbon
P1S
P1P
X1
X1E
A1
H2D
H2D Pro
H2S
P2S
H2C
X2D
A2L

0.24mm layer, 2 walls, 15% infill
Designer
31.8 h
5 plates
4.9(16)

Open in Bambu Studio
Boost
326
750
44
38
368
81
Released 

Description

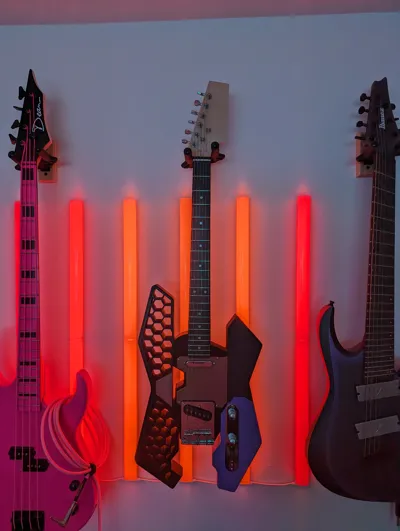
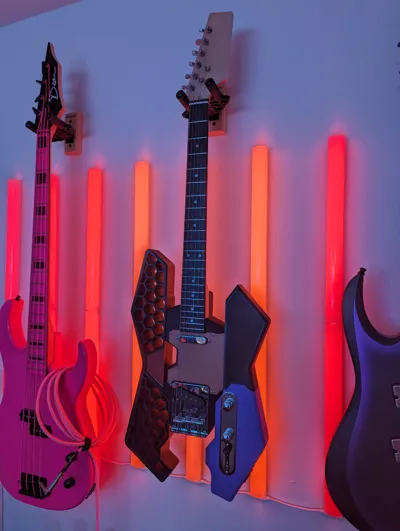
My take on the Prusacaster design by Mikolas Zuza.

I was inspired by guitars scattered all around Night City in Cyberpunk 2077, and the guitar turned out awesome!

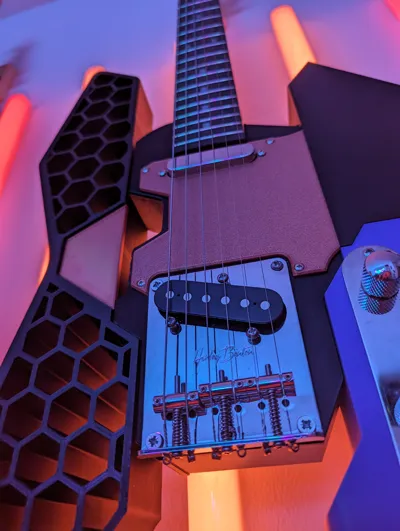
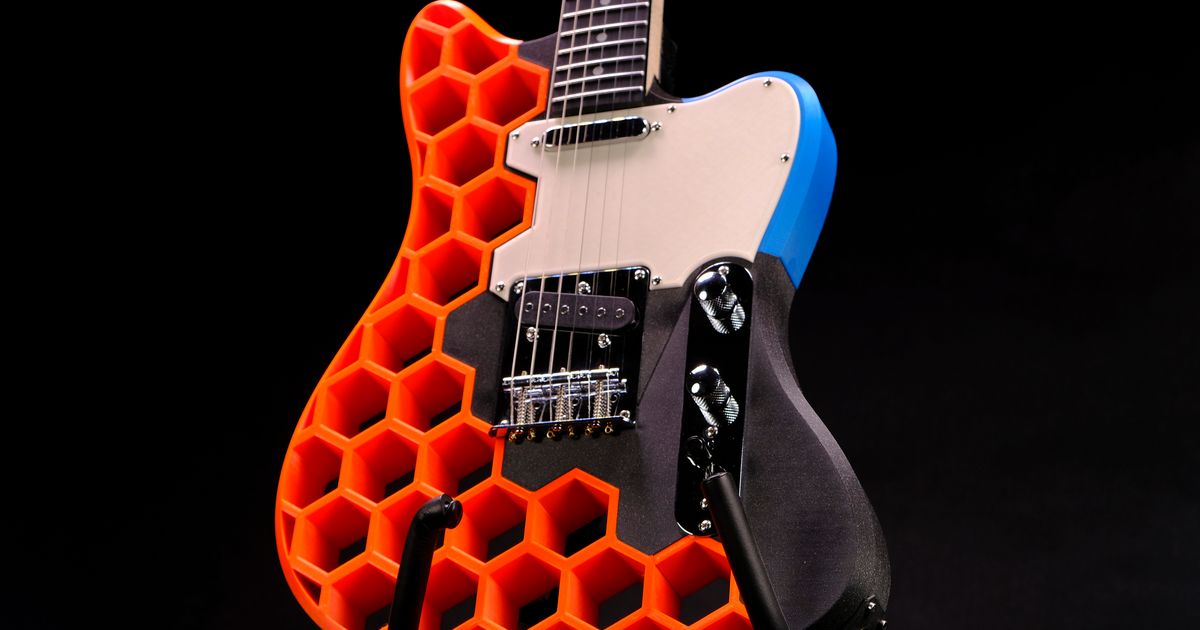
For the neck, pickups and all the other hardware I got the Harley Benton T-Style kit as recommended in the original project, and all the hole placements should fit the kit, however i reccomend rading through the original project description for more build details.


For the main body I used 7 wall loops and 25% infill for strenght and stiffness - printed in PLA. the rest uses pretty much default bambu .2 mm layer settings with addition of brims on the parts with hexagonal cutouts as they had issues sticking to the plate without brims.

Comment & Rating (44)

(0/1000)

Been working on this for a few months. Finally finished. Pretty happy with how it came out. Had to make a few changes. But things still worked out. Thanks!
7
Reply
Boosted
nice middle piece, the swirl looks awesome, how did you make it like this? also how did you glue it together? i am currently printing the lower 2 pieces of the body and would start putting them together. i researched a bit and apparently the best bond for PLA is weld-on 16 but i can not find that here in austria and so far i cant find a website that delivers it to me.
1
Reply
Replying to @FonX :
Thanks! I used the top surface pattern "Archimedean Chords". It's printed using PLA Silk red/blue. I printed about 40 of these before I got a result I was mostly happy with. It's best to print it face down so the surface is smooth and consistent. As for glue, I used Gorilla super glue and clamped everything together as I built it once piece at a time. In testing the part to failure, I found that it was 50/50 glue to part failure. But I think if my glue application was able to be more even, the part would be the failure more often. So that was good enough for me.
(Edited)
0
Reply
this looks great! I don't suppose you'd share the file for your pickguard remix? if love to use that ion the build I'm starting and I'm not too good with modifying files yet. I'm getting there tho!
0
Reply
Took me a week to finish it, looks very nice great model!
7
Reply
Boosted
Finally finished
The designer has replied
Show original
designer
1
Reply
that's awesome!
0
Reply
Boosted
Print Profile
0.24mm layer, 2 walls, 15% infill
Perfect print results, the assembly is simple and stable The design is awesome! It seems there are minor variations in the hardware kits from Thoman and Amazon, requiring slight adjustments to the lower pickup on the chassis The hole needs to be 16mm deeper for the components I received I drilled the holes in the chassis myself, it’s good that there weren’t any pre-drilled ones To strengthen the bonding surface, I welded parts using a soldering iron
Show original
1
Reply
Boosted
Got a bit more colourfull then intended, and the Kit has a delivery time of up to 6 weeks atm. Also planning to fill the Gaps with Epoxy. will update when completed
(Edited)
1
Reply
Print Profile
0.24mm layer, 2 walls, 15% infill
Printed fantastic in PETG. I did the main body with PETG-CF and I was able to lay it flat on the bed with room for a brim (it's realllllly tight though). Cyberpunk Themed and the inlays I edited myself, those files are available if you want them too! Made this for a Christmas gift to my Bro-in-Law.
0
Reply
Print Profile
0.24mm layer, 2 walls, 15% infill
Great !
0
Reply
this print was super easy to print and looks sick. i have painted and glued the parts together and all i need to do is now mod podge it and wait for the guitar kit.
(Edited)
0
Reply
Print Profile
0.24mm layer, 2 walls, 15% infill
Well-designed and perfect to print on a single plate, I will upload pictures when it is finished of course. The middle piece you printed upright with support in your print profile, but for me it was not possible to print it cleanly that way, so I rotated it and printed it flat without support structure.
Show original
0
Reply
Boosted
Print Profile
0.24mm layer, 2 walls, 15% infill
Nice :)
0
Reply