
Bambu Lab Modular Purge Frame
Print Profile(1)

Bill of Materials
- Vidrio x 1: Espesor 2mm
Description
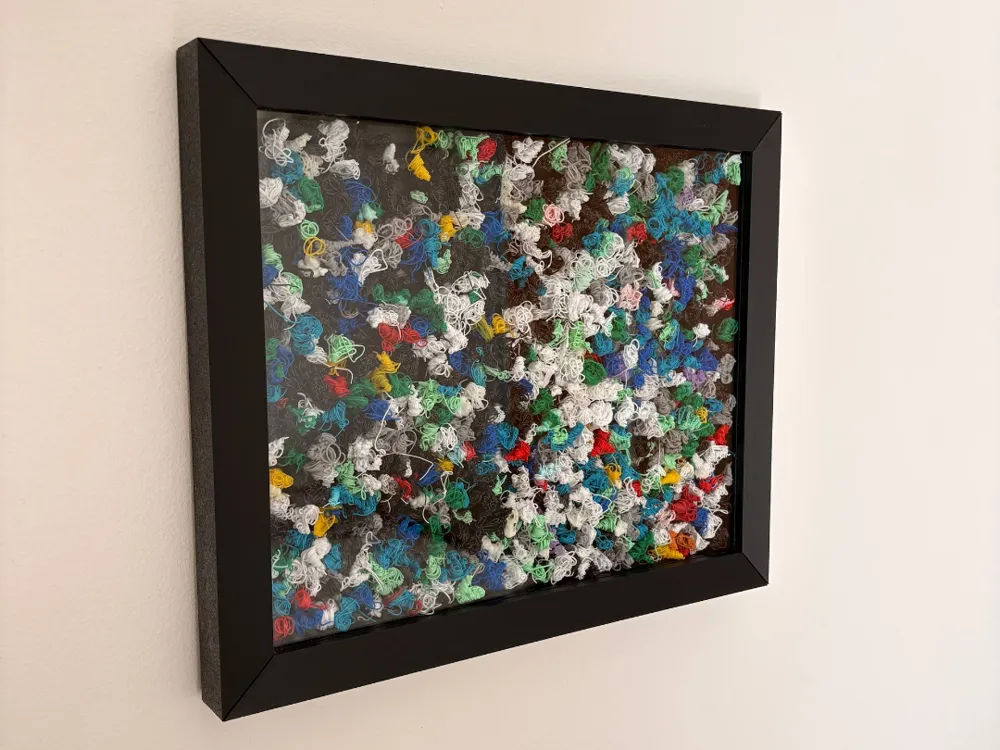
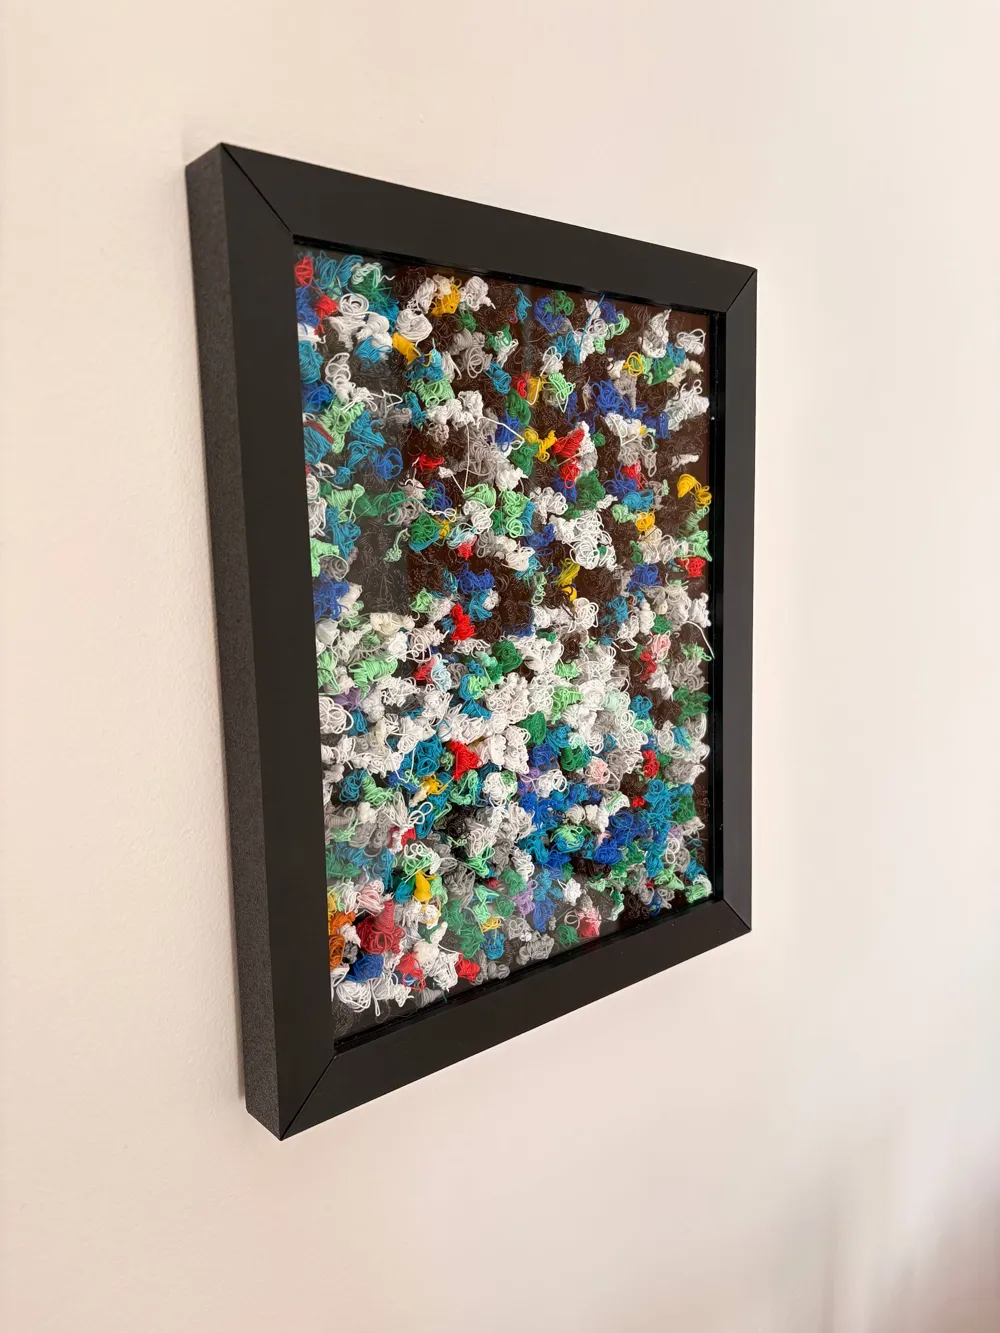
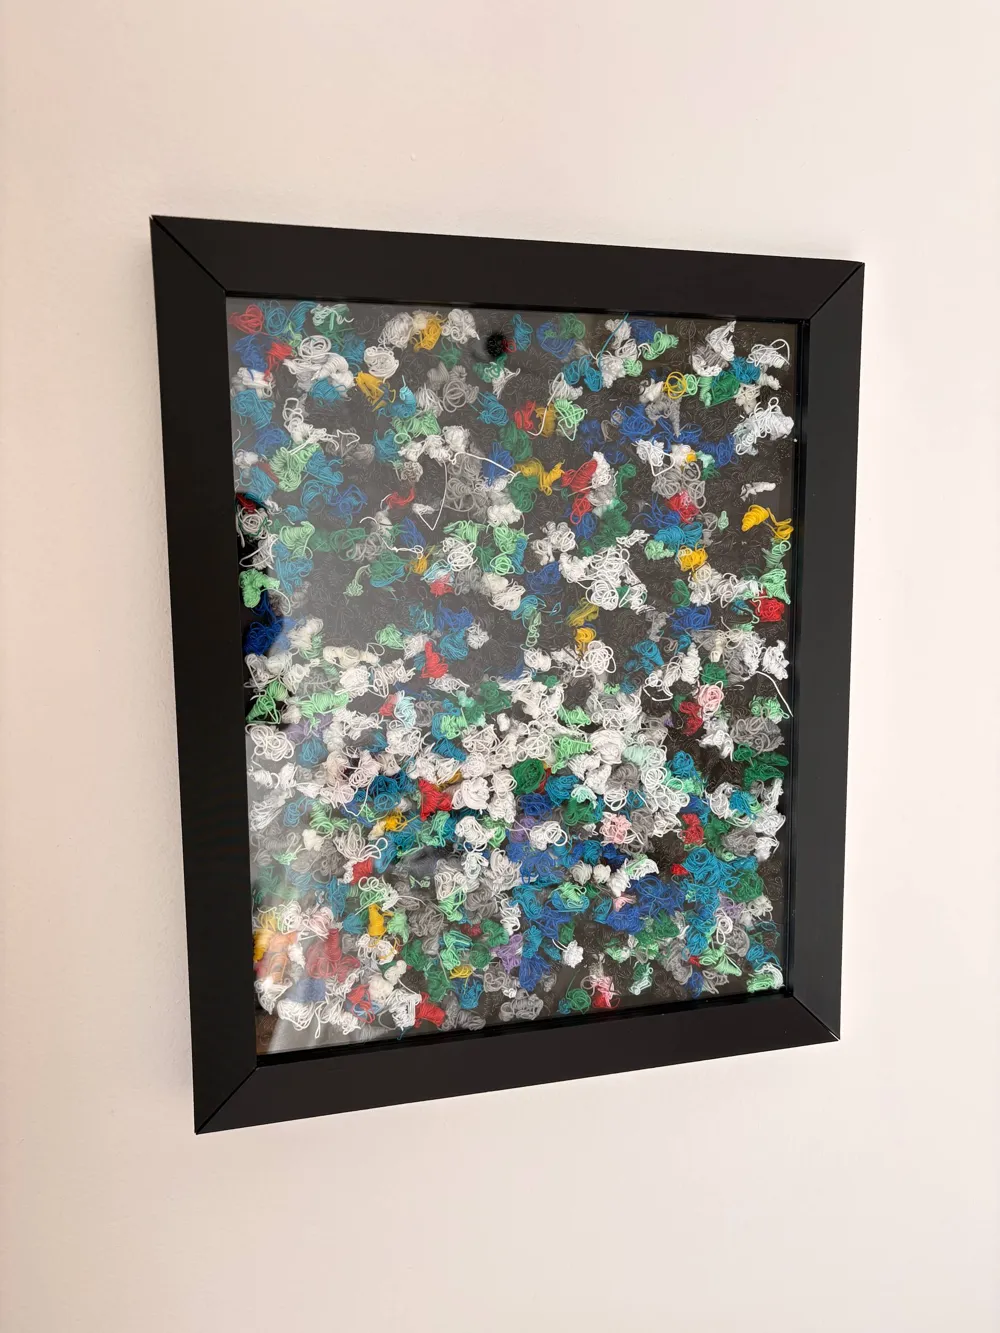
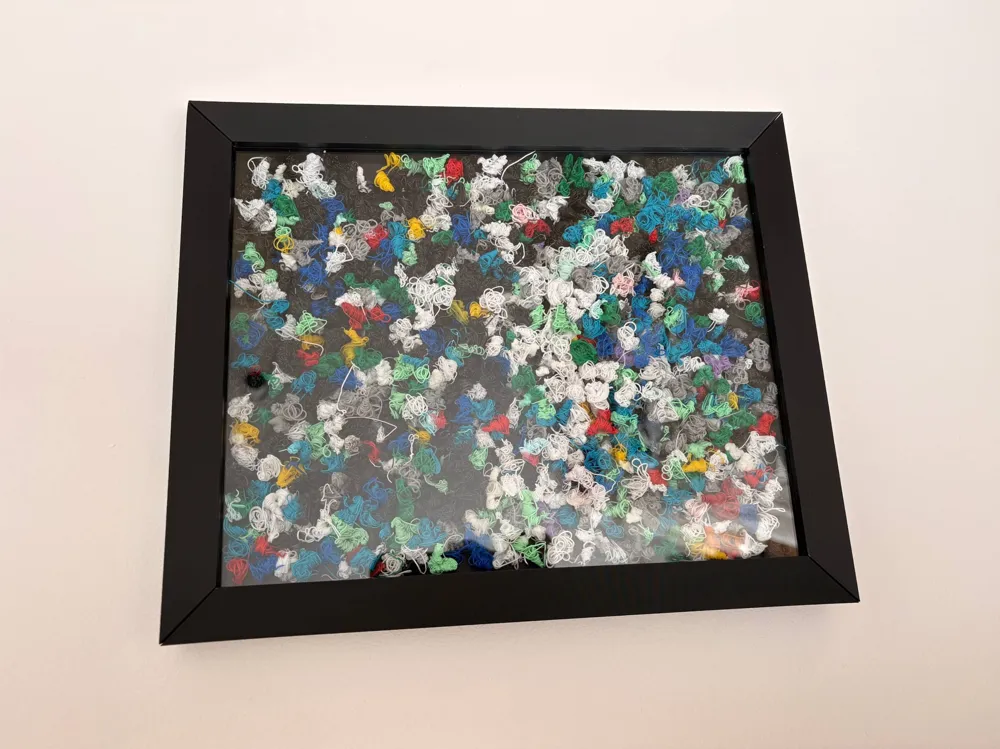
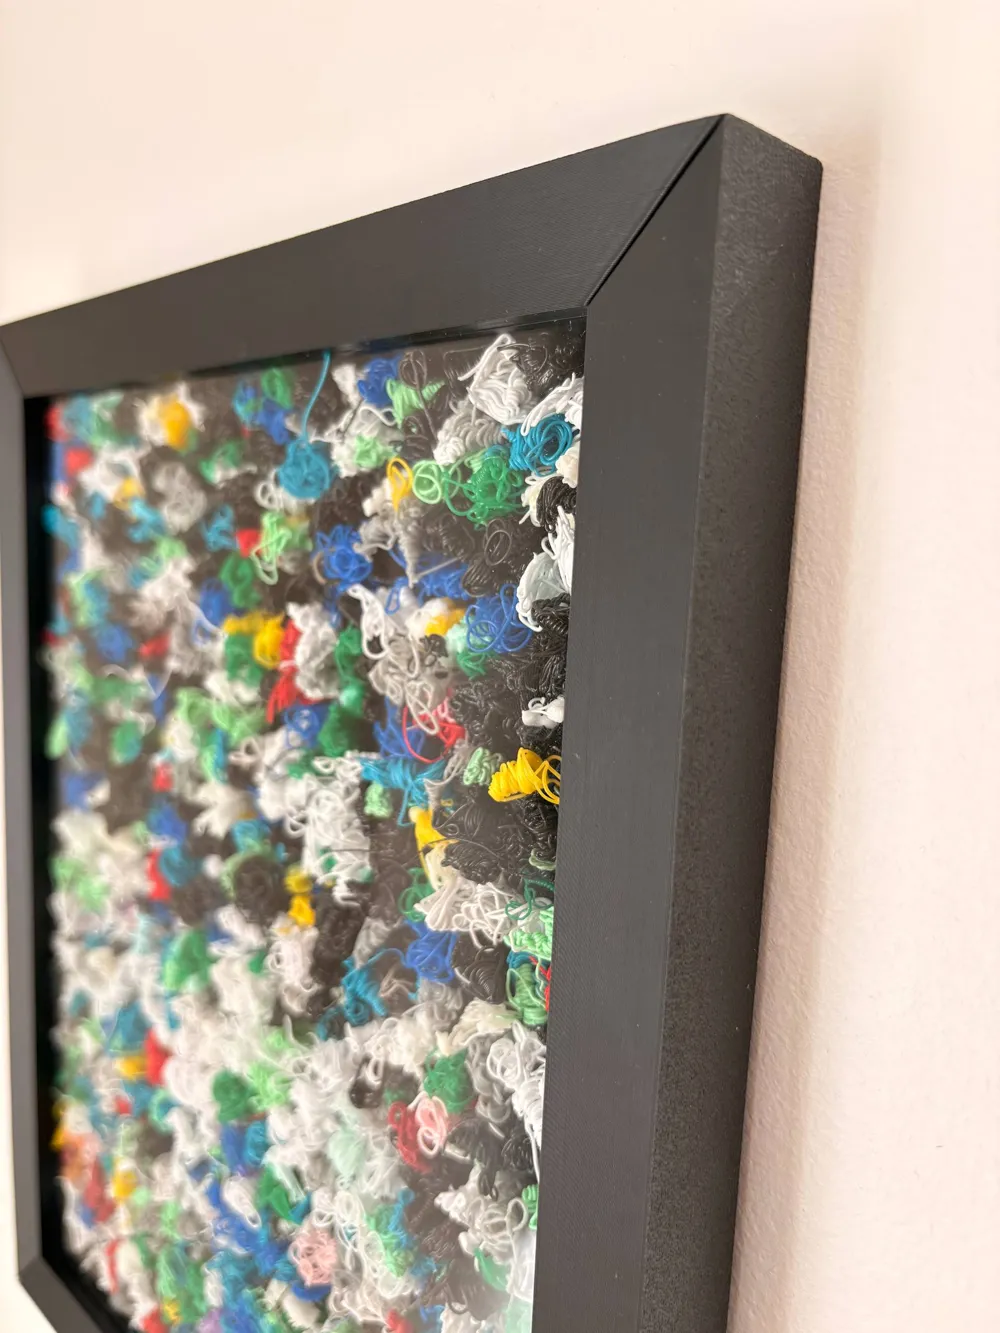
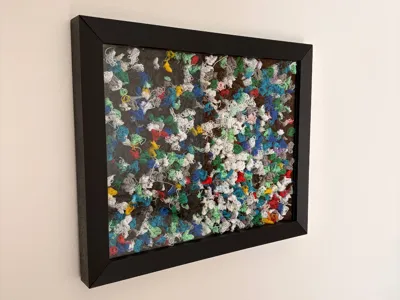
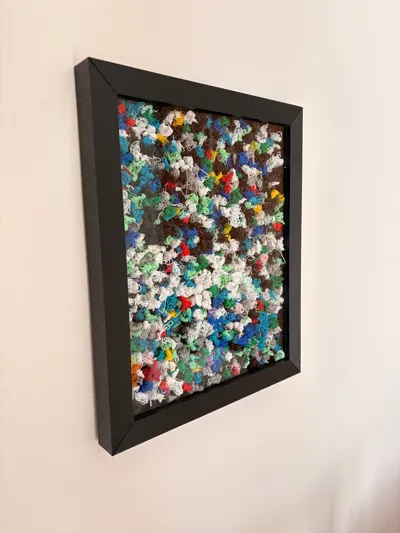
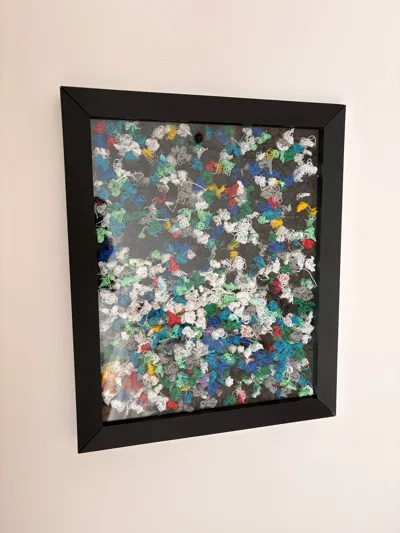
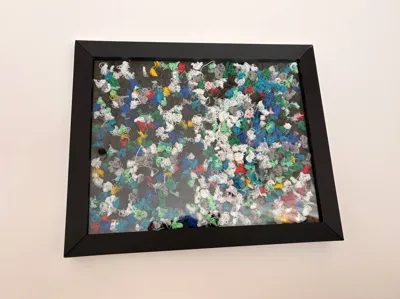
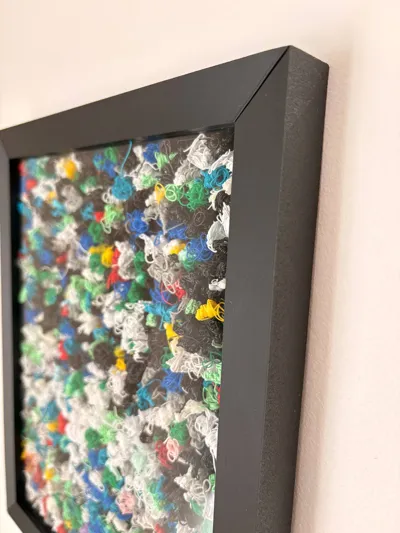
I designed this frame with the aim of giving new life to purge waste that is normally discarded with each color change during 3D printing. This way, we not only reduce waste but also create a unique decorative piece for our workspace 🌈
You can combine different colors and shapes with the purge scraps to create artistic compositions and add a distinctive touch to your work environment. I am eager to see the creations and combinations you achieve
This system allows for assembling frames in various sizes, with frames ranging from 10cm to 25cm, in 1cm increments
Printing Instructions:
1. Identify the size of the glass to be used; its thickness should be approximately 2mm
2. Select the frames:
- Choose one plate for the length and another for the height of the glass
- You can combine them freely to achieve the desired size
3. Adjust the size of the "Background" file:
- Scale it in your slicer only on the X and Y axes; the size must be the same as your glass
- Do not add tolerances; they are already included in the frame design
- Default background dimensions: X = 200 mm, Y = 250 mm
4. Laminate and print in PLA with colors of your choice
Note: The joints are the same for all frames
Assembly Instructions:
1. Prepare the first frame:
- Place the two snap-in joints into one of the frames
- Make sure the wider slot faces you; this will be the front of the frame
2. Add the side frames:
- Fit the frames of the other size into the joints
- Verify that the slots are perfectly aligned among all pieces
3. Place the glass and background:
- Carefully slide the glass through the top opening, avoiding cuts. Do the same with the background piece
* After this step. For added security, you can place an elastic band around the frame to apply pressure and prevent it from opening accidentally
4. Add the purge scraps:
- Place the purge scraps inside the frame
- You can use a sheet of paper as a guide to make it easier to distribute them
5. Close the frame:
- Place the remaining frame, ensuring the glass and background fit snugly into the slots
- Gently press everything until it is firm
Watch the video; we prepared an explanatory video so you can see the complete assembly process
License

You shall not share, sub-license, sell, rent, host, transfer, or distribute in any way the digital or 3D printed versions of this object, nor any other derivative work of this object in its digital or physical format (including - but not limited to - remixes of this object, and hosting on other digital platforms). The objects may not be used without permission in any way whatsoever in which you charge money, or collect fees.


Comment & Rating (12)