MagTwistPen - Pen-shaped magnetic bearing


Print Profile(14)


Bill of Materials


Description
- now 7mm, 9mm and 13mm pins in the “STL-Downloads”

Hello fellow makers!
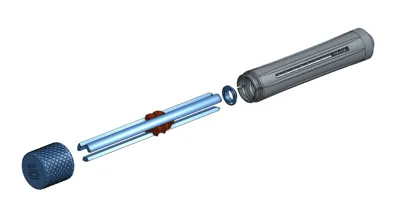
Today I'm sharing a way to store your round magnets efficiently. With this magnet pen, you'll have everything under control and can also precisely insert the magnets into your 3D prints.
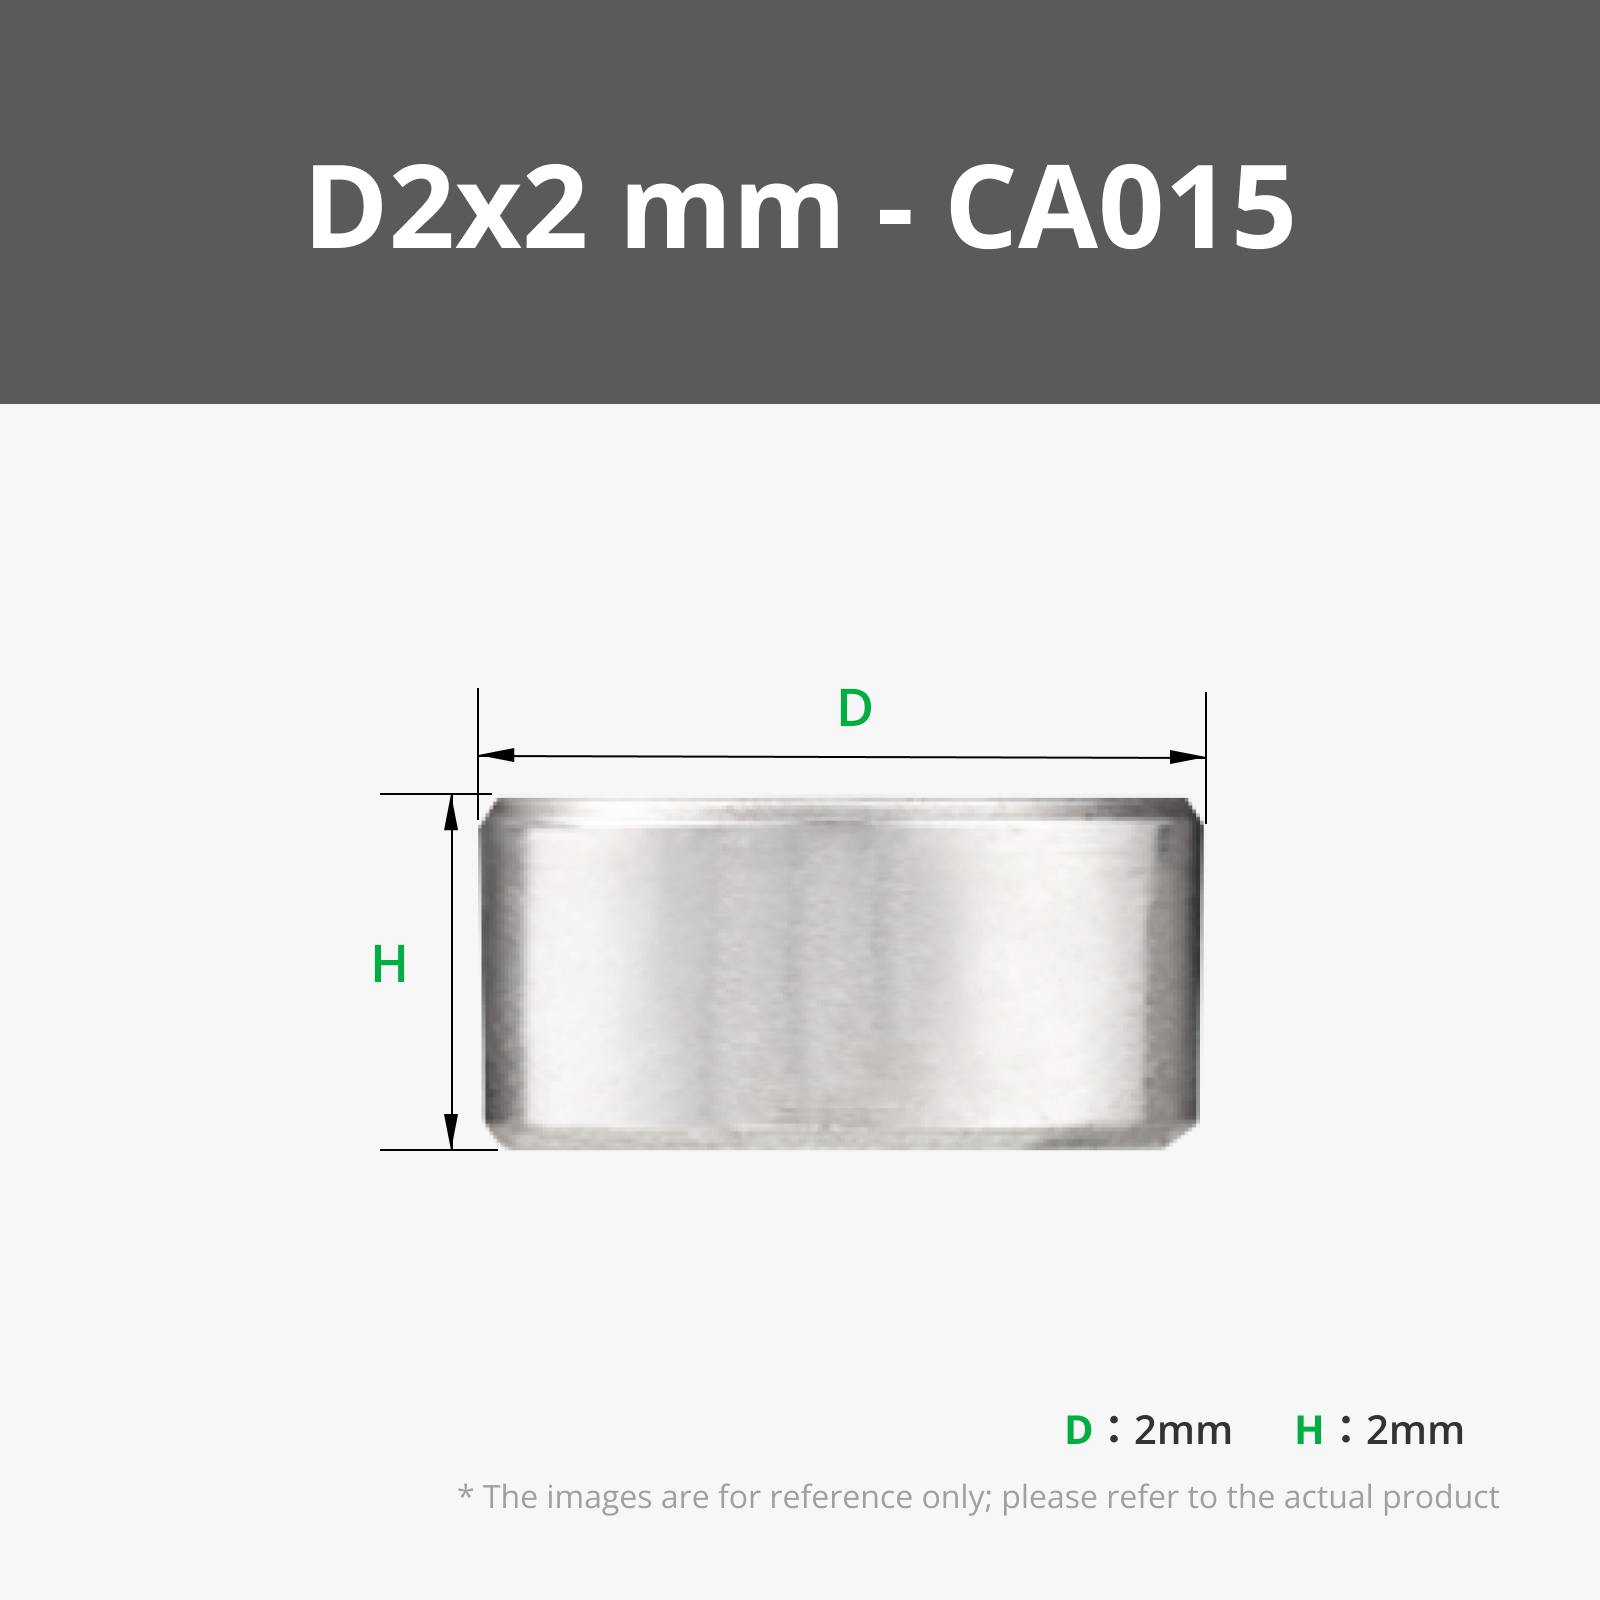
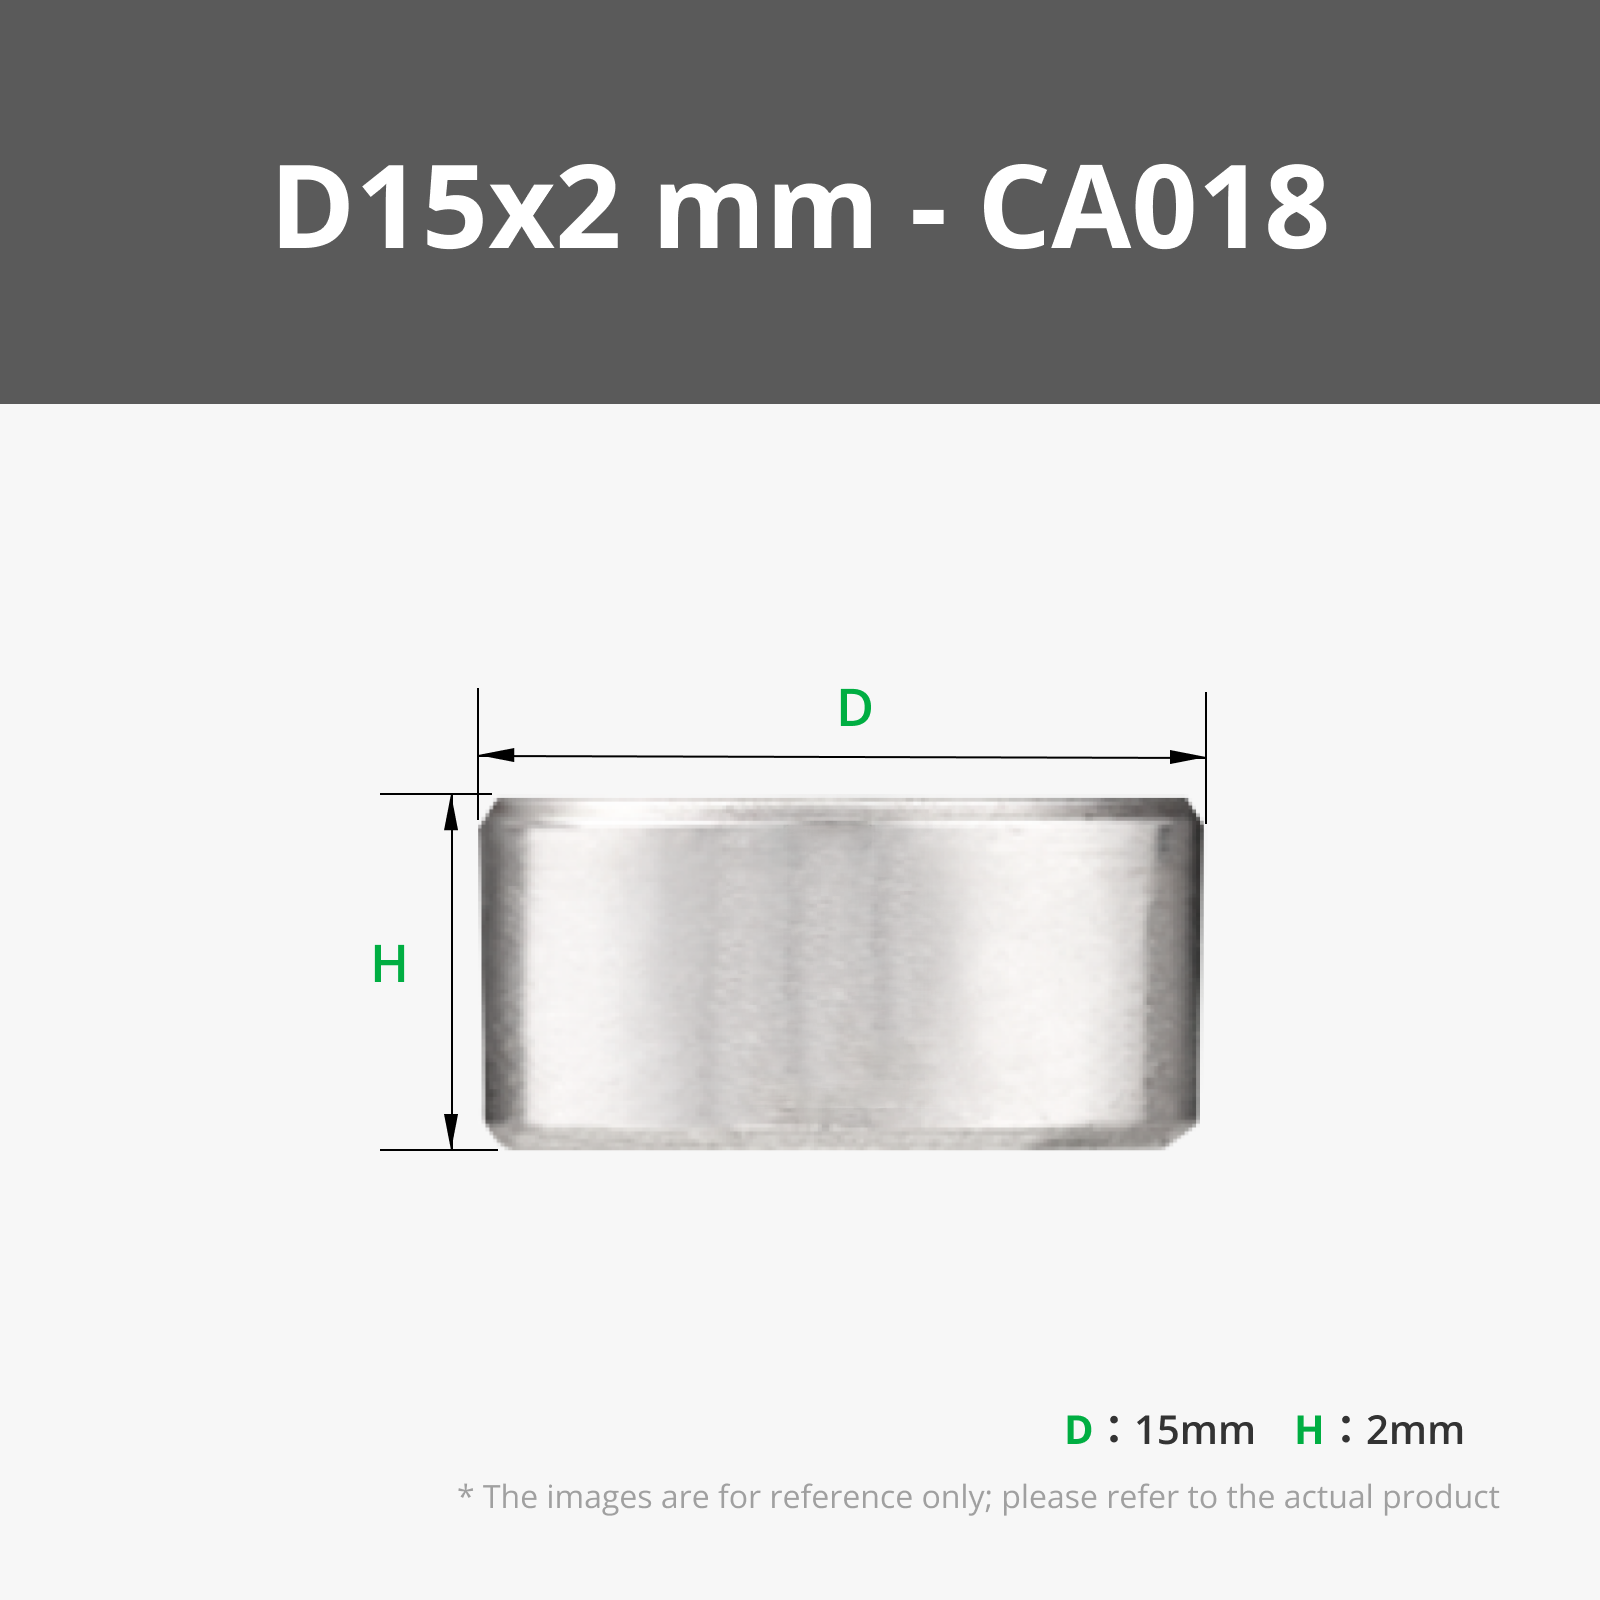
There are pins available in sizes from 2 to 25mm (2,3,4,5,6,8,10,12,15,20,25). Additionally, the pins are available in three different lengths (M,L,XL). At the end of the long list, you'll also find a holder for the complete set.
For printing, I recommend PETG; PLA also works without problems. In the profiles, I use a layer height of 0.12mm. I find this best for the model. If you prefer a different layer height, that's no problem either.
Each profile (except for the holder) includes six print plates.
Plate 1:
- the MagTwistPen in normal size (M)
- Multi-color printing with AMS
- all objects are printed separately - this simply gives the best aesthetic
- colors are set, the digit for the size is printed in a different color
Plate 2:
- the MagTwistPen in long size (L)
- Multi-color printing with AMS
- all objects are printed separately - this simply gives the best aesthetic
- colors are set, the digit for the size is printed in a different color
Plate 3:
- the MagTwistPen in extra long size (XL)
- Multi-color printing with AMS
- all objects are printed separately - this simply gives the best aesthetic
- colors are set, the digit for the size is printed in a different color
Plate 4:
- the MagTwistPen in normal size (M)
- no AMS is needed
- all objects are printed layer by layer
- everyone can customize their pen individually - copy, color, fill print plate
- separate small numbers for the size are included - must be glued on
Plate 5:
- the MagTwistPen in long size (L)
- no AMS is needed
- all objects are printed layer by layer
- everyone can customize their pen individually - copy, color, fill print plate
- separate small numbers for the size are included - must be glued on
Plate 6:
- the MagTwistPen in extra long size (XL)
- no AMS is needed
- all objects are printed layer by layer
- everyone can customize their pen individually - copy, color, fill print plate
- separate small numbers for the size are included - must be glued on
Assembly Instructions:
The model is designed so that it can be assembled almost without adhesive. Only the retaining ring and the magnet on the carriage should be glued! Use a good superglue for this, please do not use too much!
--- Warning, some sizes are easier to assemble than others! ---
Basic assembly…

- Remove support from the casing


- Glue a suitable magnet onto the carriage
- The magnet must be absolutely centered and horizontal on the carriage
- For smaller versions (2mm), it may be necessary to rework the surface on the carriage slightly
I recommend a smaller magnet (diameter) than the magnets that are to be stored in the pen later.
If you print multiple magnet pens and want to place them next to each other later, pay attention to the same polarity of the magnets!
Especially the larger versions cannot be placed next to each other if they have different polarity.


Once the glue has dried, it's time for the other parts…

The holders have two different ends. This side goes up! (for retaining ring)

- Use the retaining ring together with the lift to make it easier to mount the guide supports
- For some sizes, it is easier to first fix the supports into the retaining ring
Do it the way that works best for you!

- Then the guide rods are to be inserted into the rotary knob
Nothing needs to be glued here!

- Then fix the retaining ring with superglue - Do not use too much!


The proof photo that all sizes can be assembled this way.

- Once the glue has dried, gently twist (press) in the matching casing

>>> Done! :-)
If you twist the lift all the way up, the magnet should be visible!

Congratulations!
It's not rocket science... perhaps a bit fiddly with the smaller diameters. You can do it!
If a retaining ring breaks during assembly, just print a new one!
For the base magnet, use a magnet one size smaller (e.g., 5mm for a 6mm pen)!
Start with the 6mm or 8mm ones. I found these the easiest!
Be careful with the holder for the pens! Depending on your magnet configuration, there may be unpredictable reactions between the individual pens. ;-)
So, what's stopping you?
Have fun printing and crafting!!!
Boost Me (for free)
*** Thank you for the support, Makerworld rocks! 🚀 ***
Membership
Your prints, your sales. Secure your commercial license on MakerWorld now! Or simply support me and be part of my journey! 🚀🚀🚀
License
You shall not share, sub-license, sell, rent, host, transfer, or distribute in any way the digital or 3D printed versions of this object, nor any other derivative work of this object in its digital or physical format (including - but not limited to - remixes of this object, and hosting on other digital platforms). The objects may not be used without permission in any way whatsoever in which you charge money, or collect fees.
Comment & Rating (218)