
H2 simple AMS Flipper
Print Profile(8)


Description

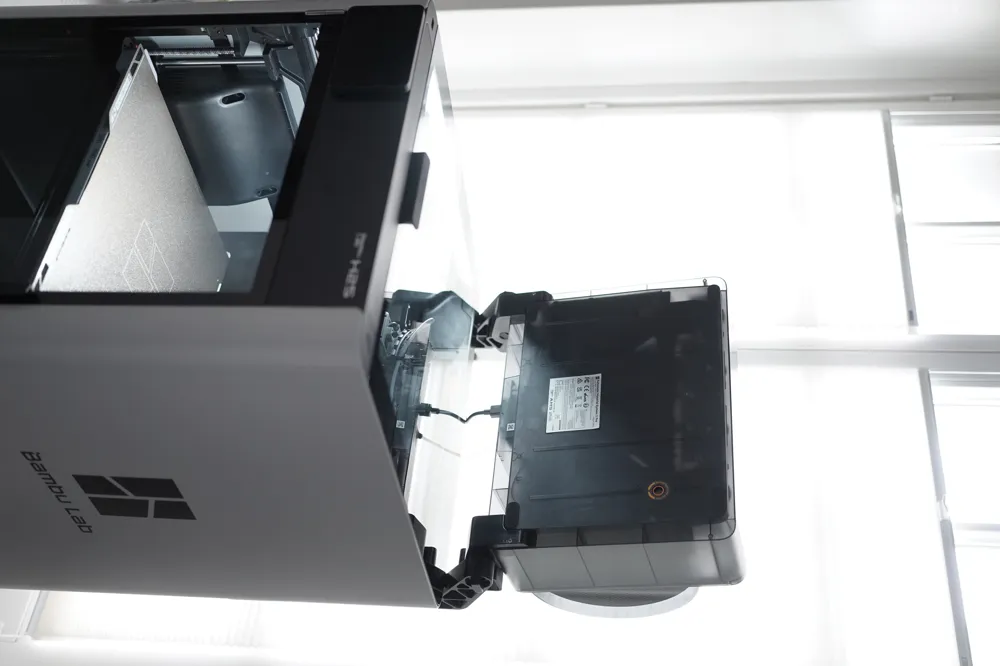
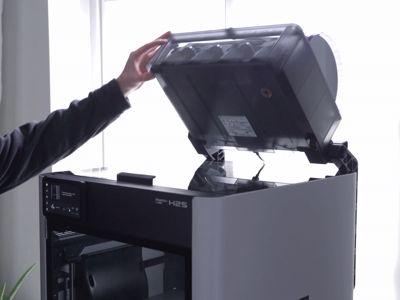
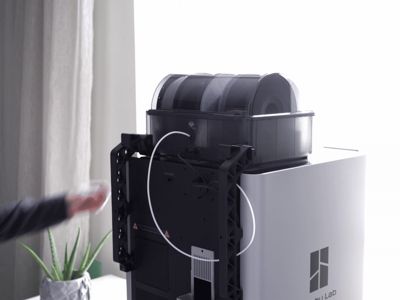
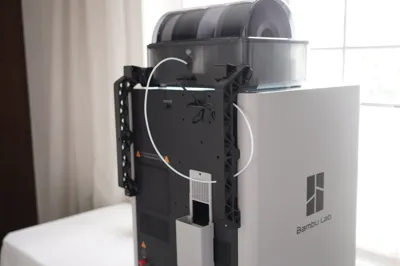
This is the completely new H2 AMS Flipper, with it you can flip the AMS up to get better access to the top of your H2S, H2D or H2C.
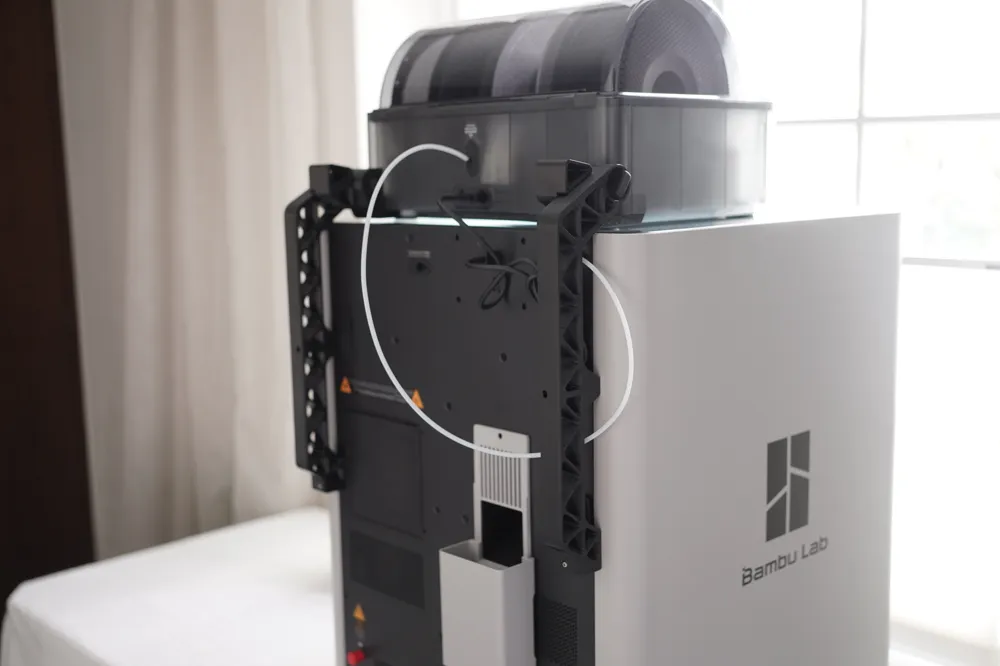
This is a completely redesigned version of my AMS Flipper made to fit the H2 series of printers in combination with the AMS2 Pro.

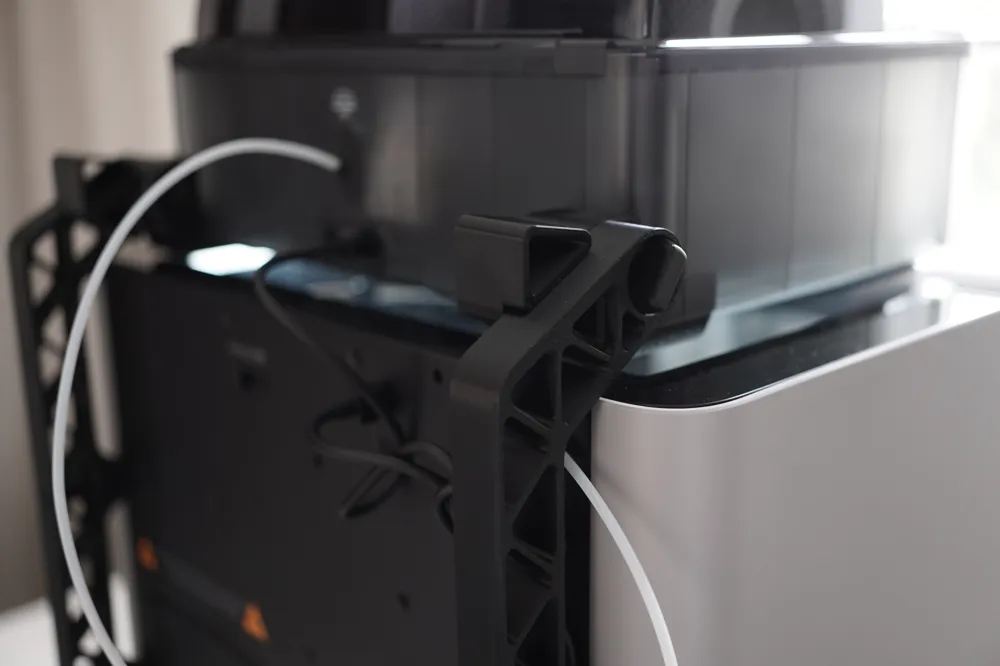
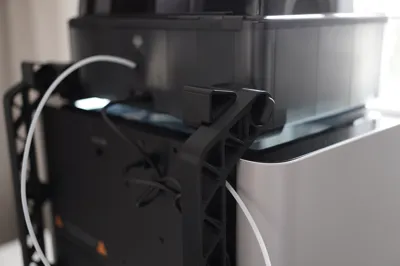
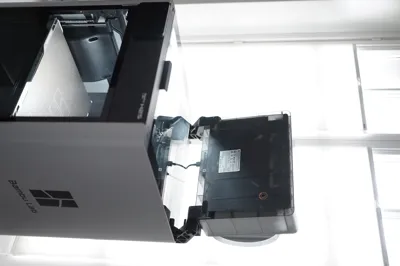
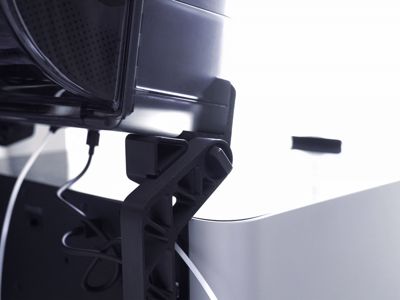
I made the AMS flipper because I got tired of having to remove the AMS every time I needed access to the top of my printer, to clear stuck filament, or service it. With the AMS Flipper the AMS is secured to the frame of the printer and can be flipped up and rest at an angle.
Boost Me (for free)
I put a lot of work into this H2 AMS Flipper, If you like it I would appreciate a boost.
This is the H2 simple AMS Flipper designed for a single AMS. I am currently working on a modular version with support for dual AMS and AMS +AMS HT. This modular version will be released in the future.
I have designed a side mount bracket for the AMS-HT, that you can find here:

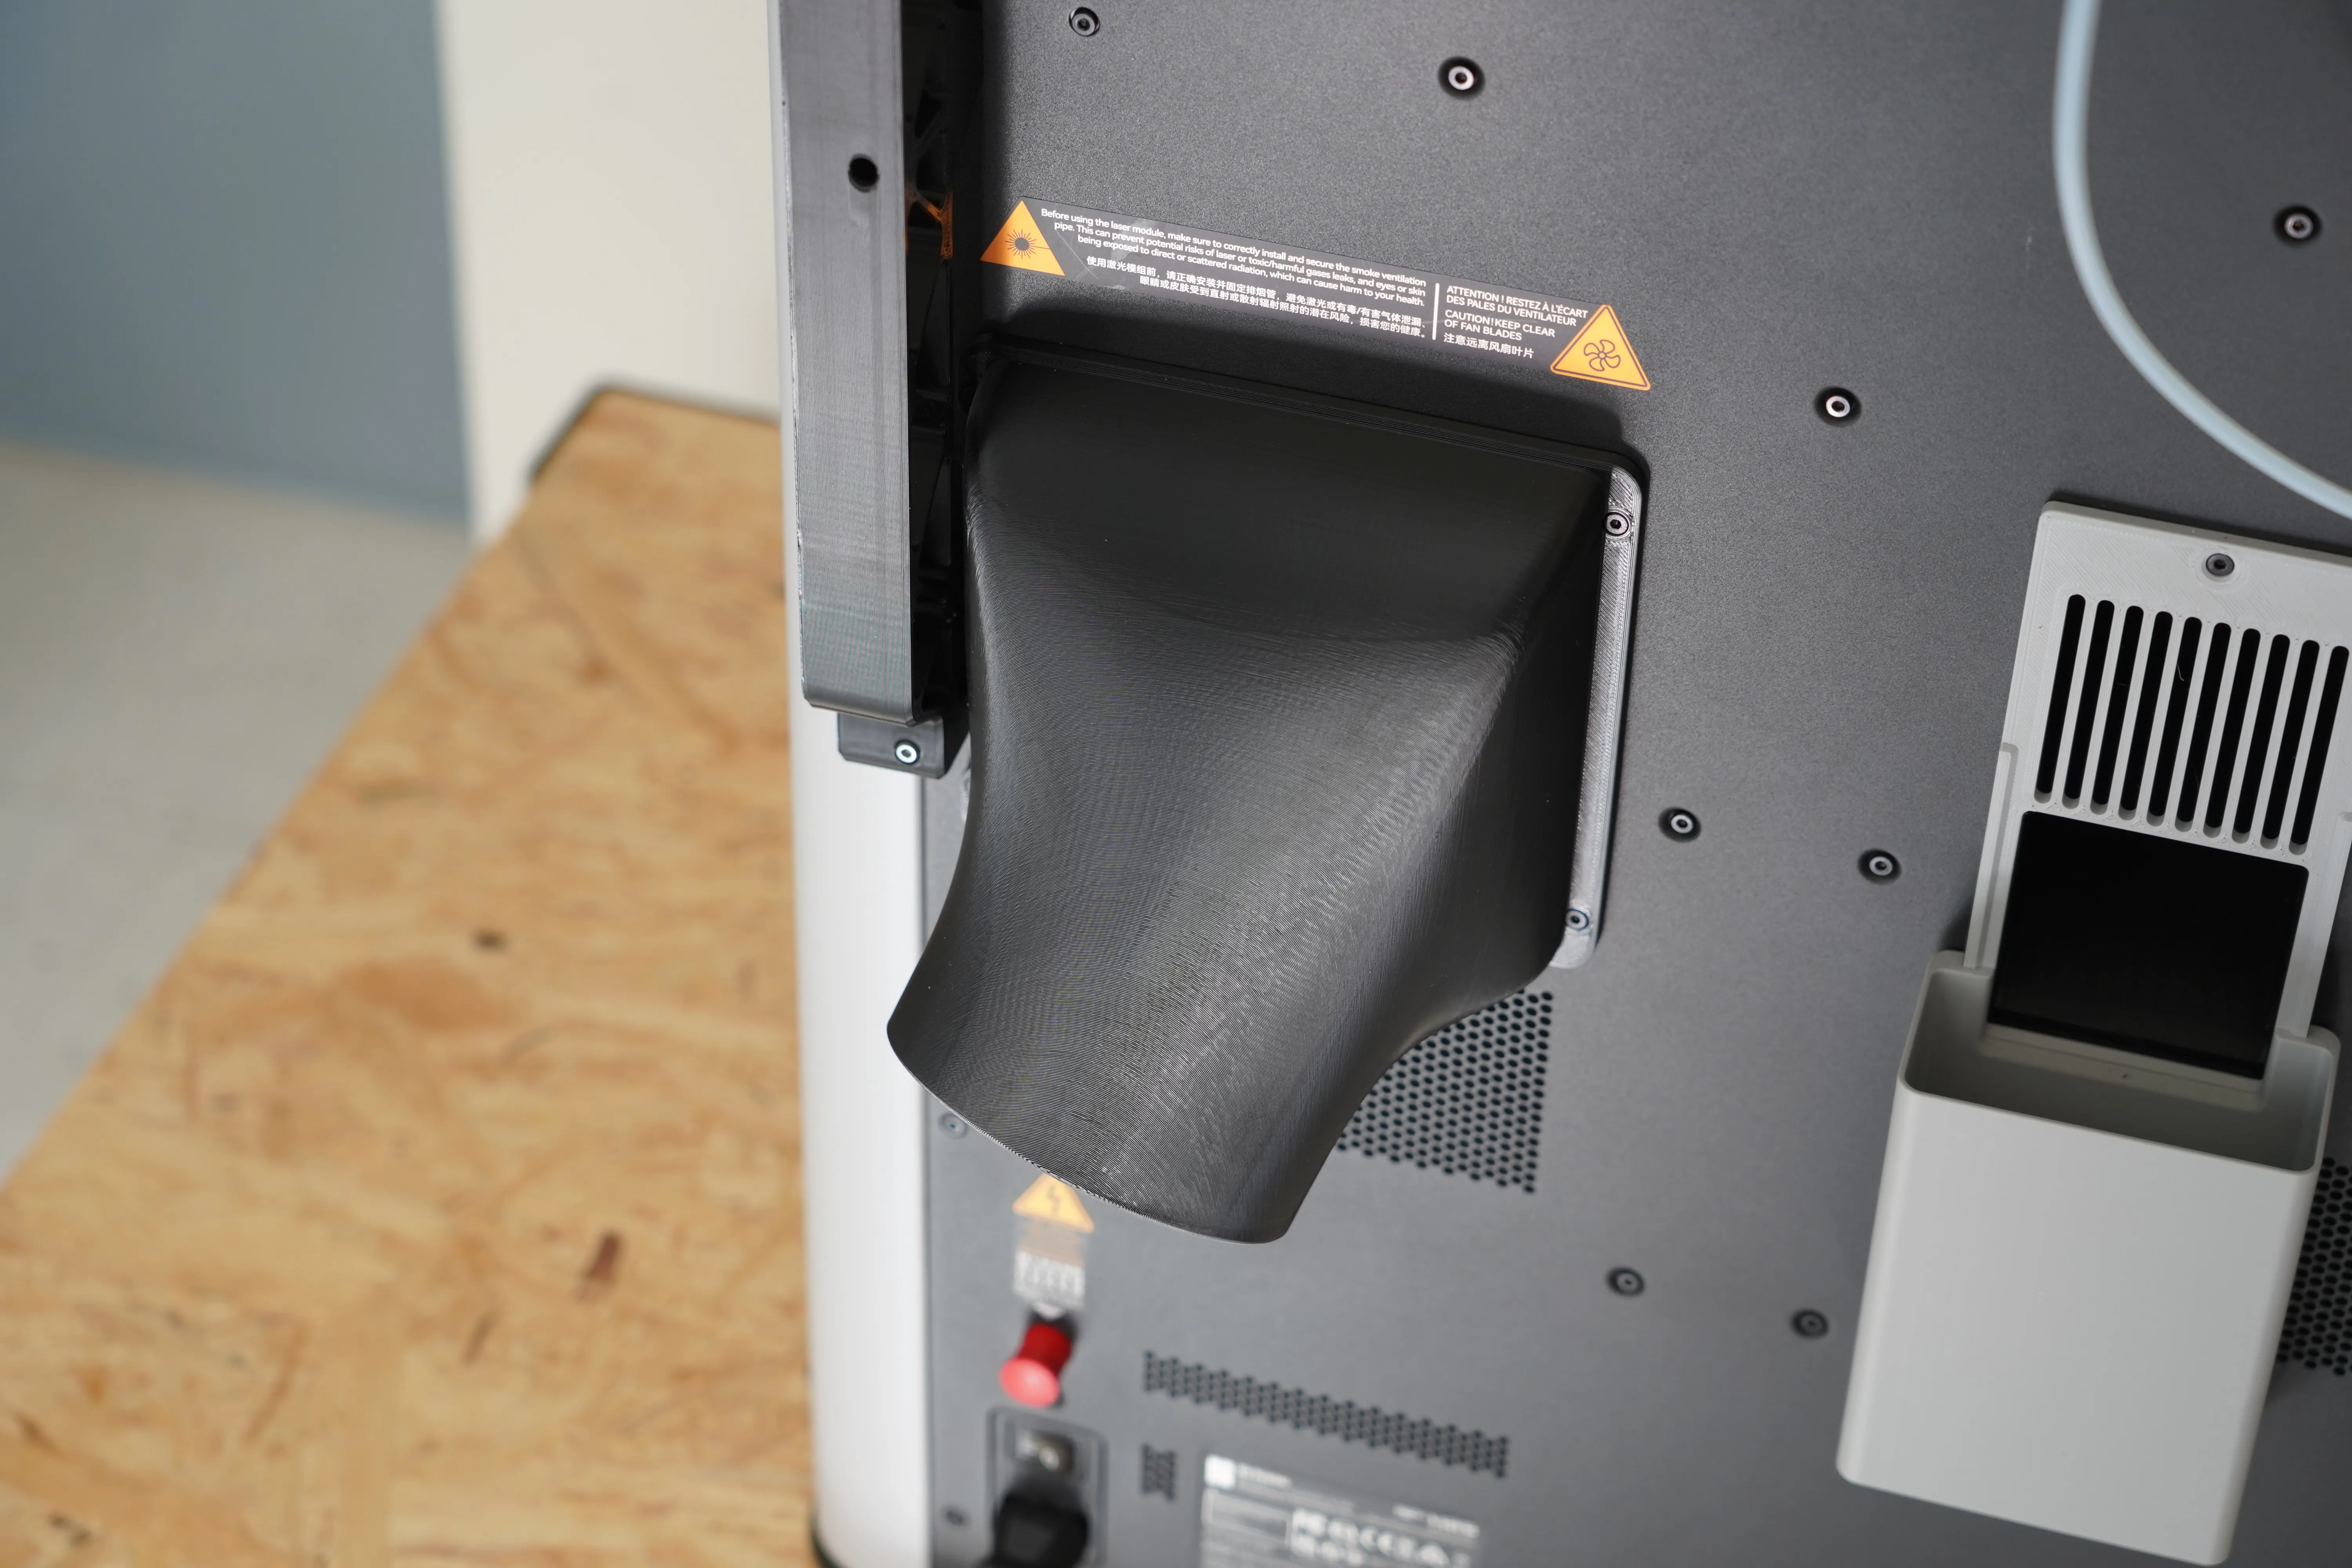
I have designed a range of exhausts that work with the H2 Flipper, which you can find here:
Features of the design:
- Gives you full access to the top of your H2D, H2S or H2C without having to remove the AMS or place it next to the printer.
- designed to be printed without supports.
- Ultra strong design can easily hold an AMS with four full spools.
- only requires screws that came with the 3d printer, no additional hardware needed
- The rear brackets have integrated handles which can be used to move the 3d printer.
- easy to assemble
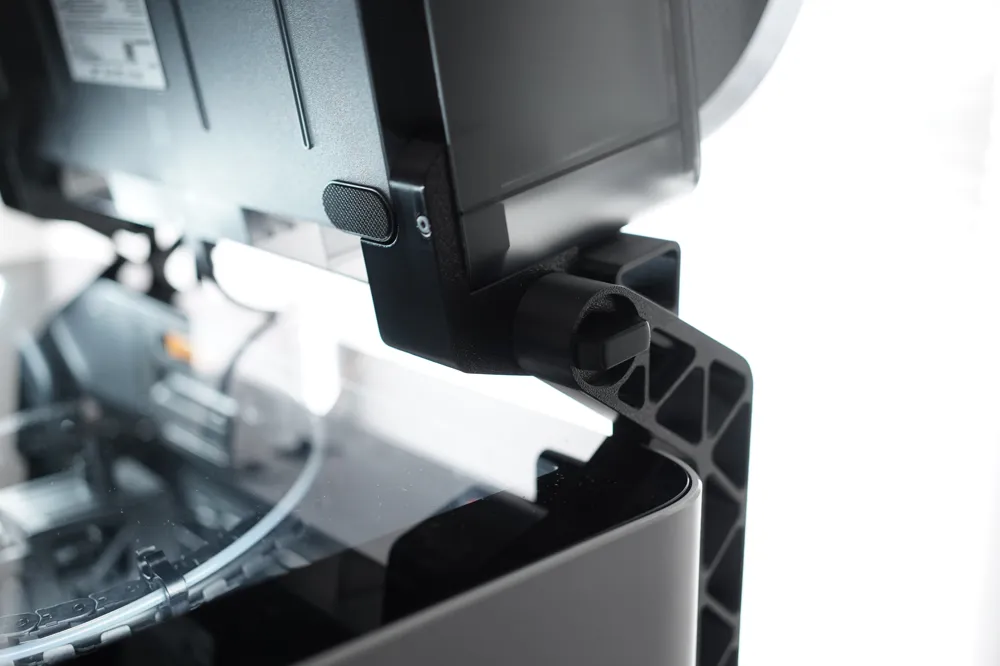

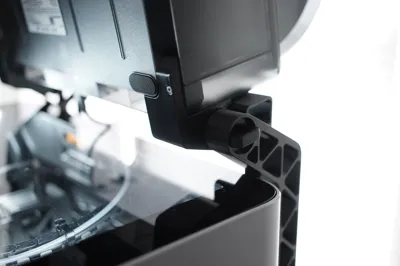
- features adjustable friction hinges to optimize the experience
Required Hardware:
The H2 AMS Flipper only uses screws that came with the H2 printers at delivery.
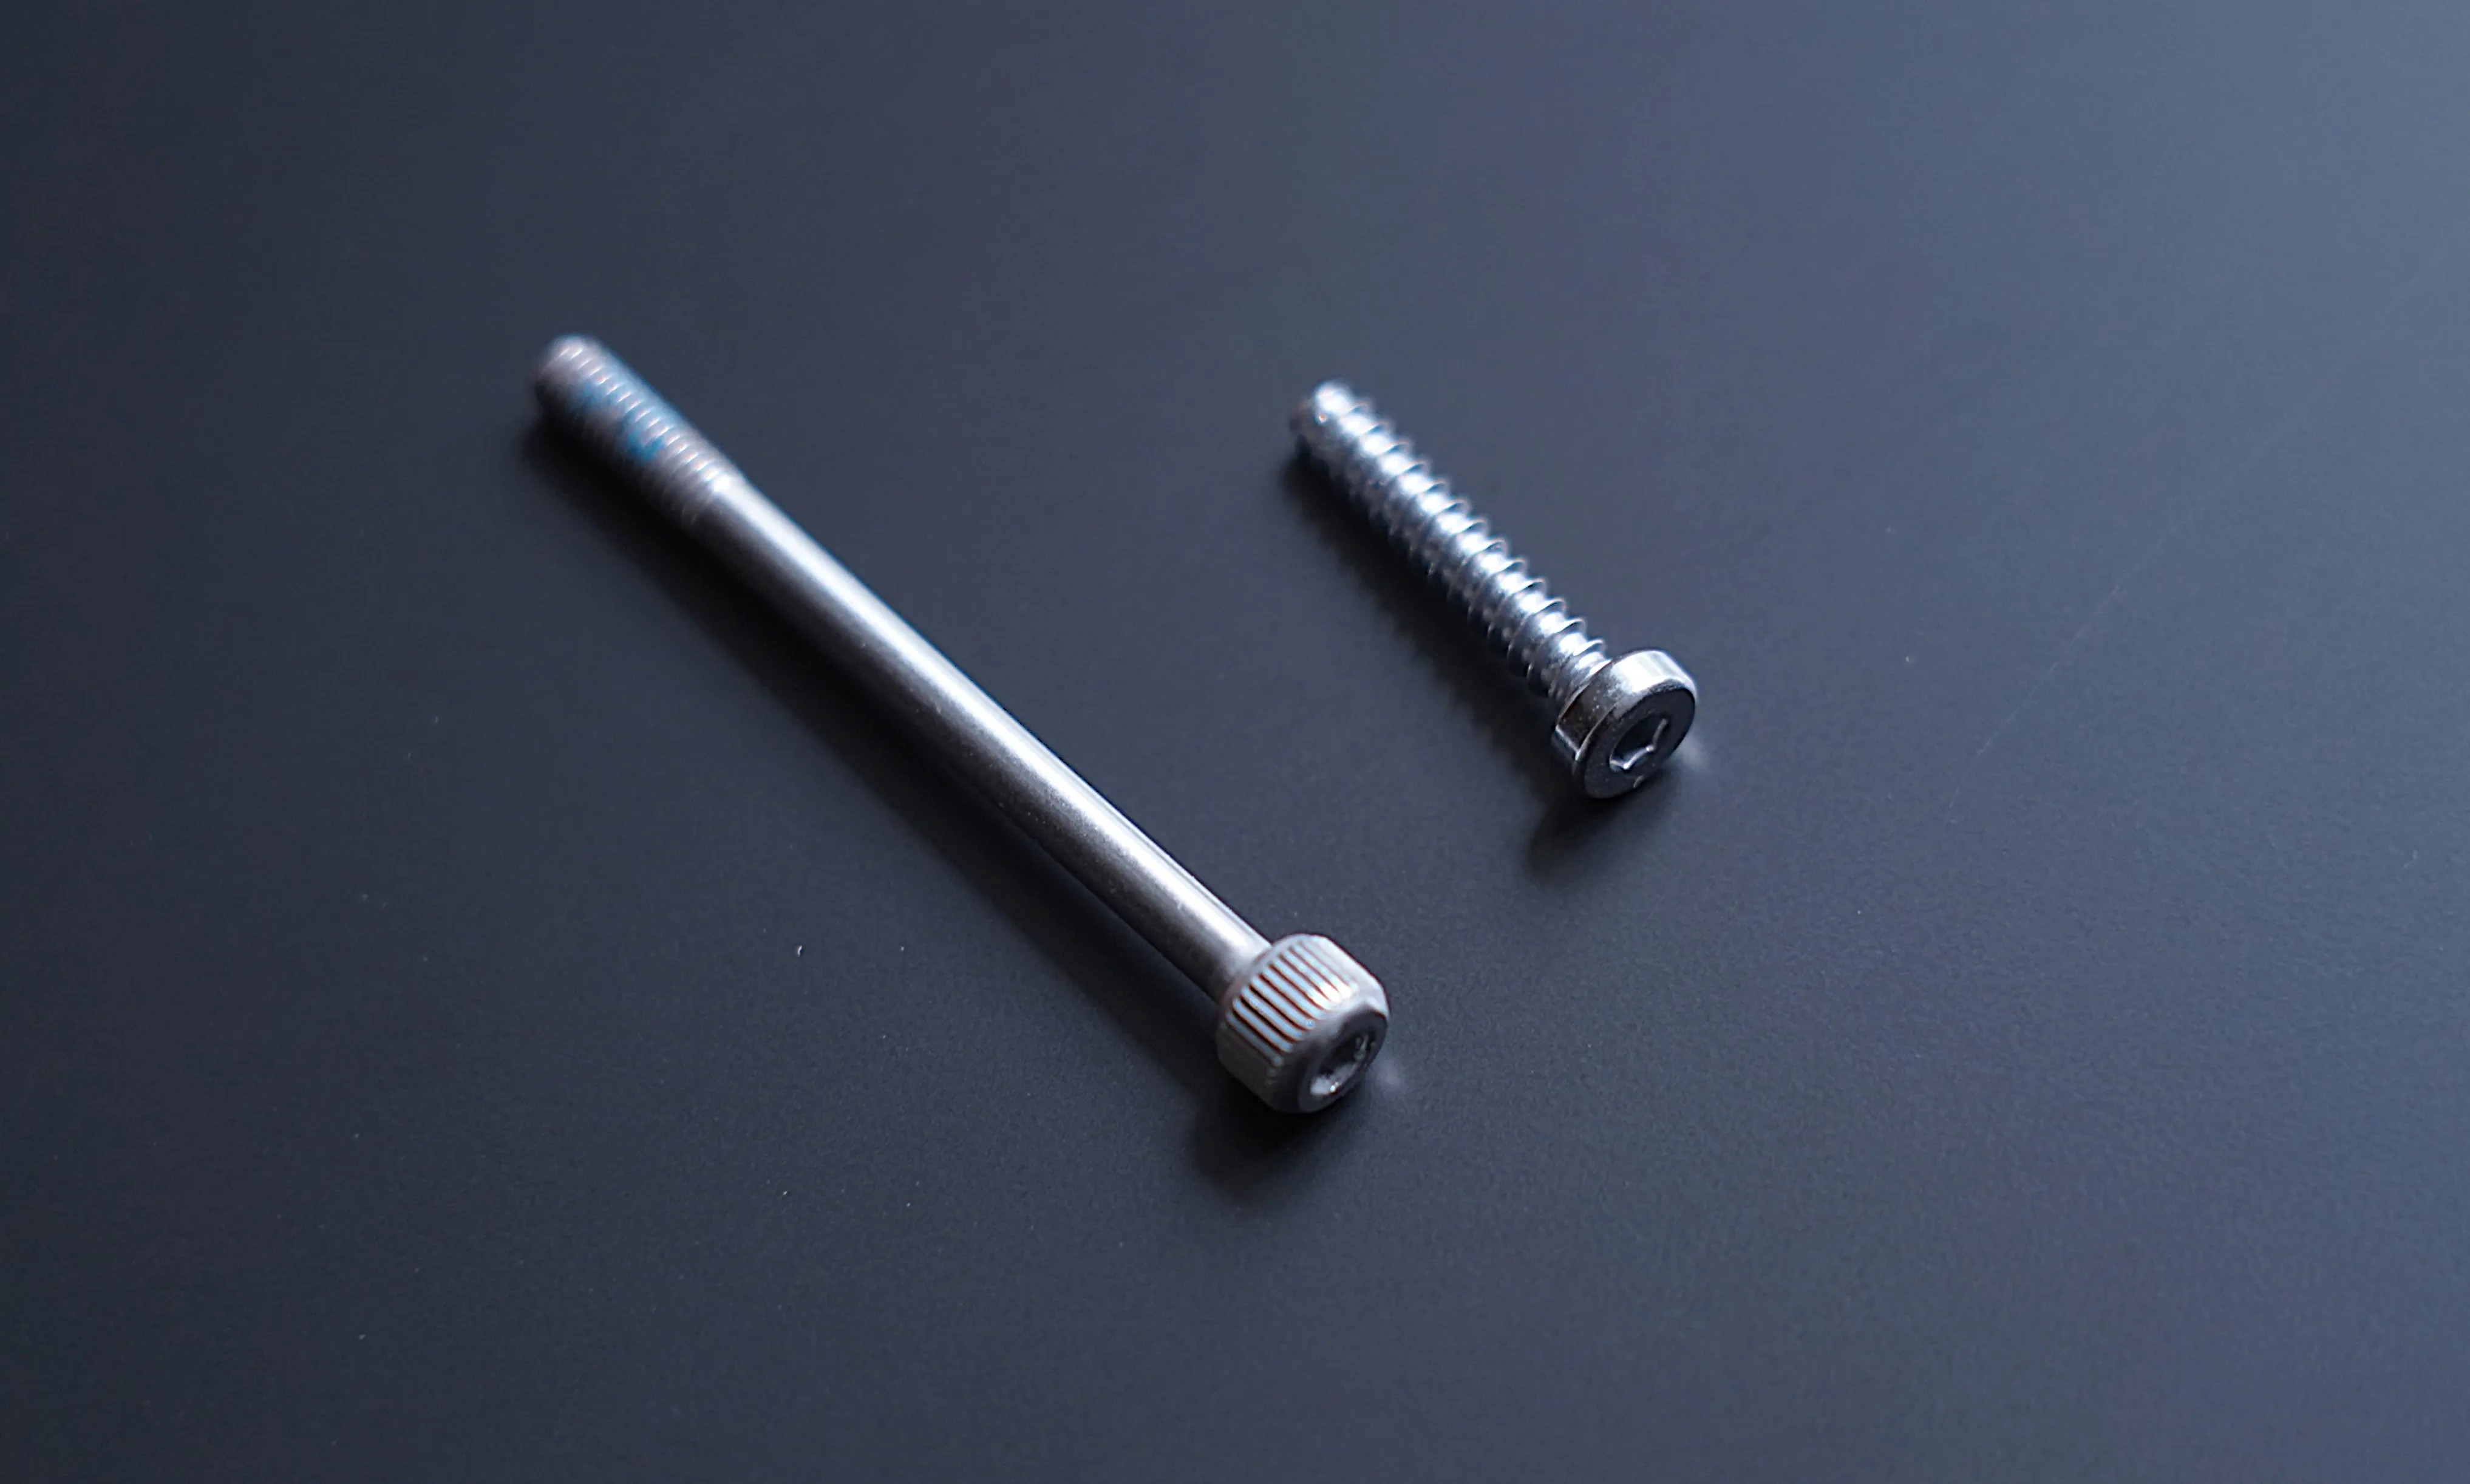
- 4x 35mm M3 machine screws, which are used to secure the printed during shipping.
2x AMS transport screws or BT3x16 -AA110, if you bought the AMS combo, the AMS was screwed to a transport bracket. You can use the same screws to secure the AMS bracket.
Print recommendation:
All parts are designed to print without supports and can fit all at once on a single 320x320 buildplate.
I printed the brackets in Bambu Lab ABS, and scaled it to 100.5% to accommodate for any shrinkage (3MF of that print included).
PETg is an alternative, but I would avoid PLA, as might warp from the heat of the printer.
Assembly:
1. Press the AMS bracket into the bottom of the AMS.
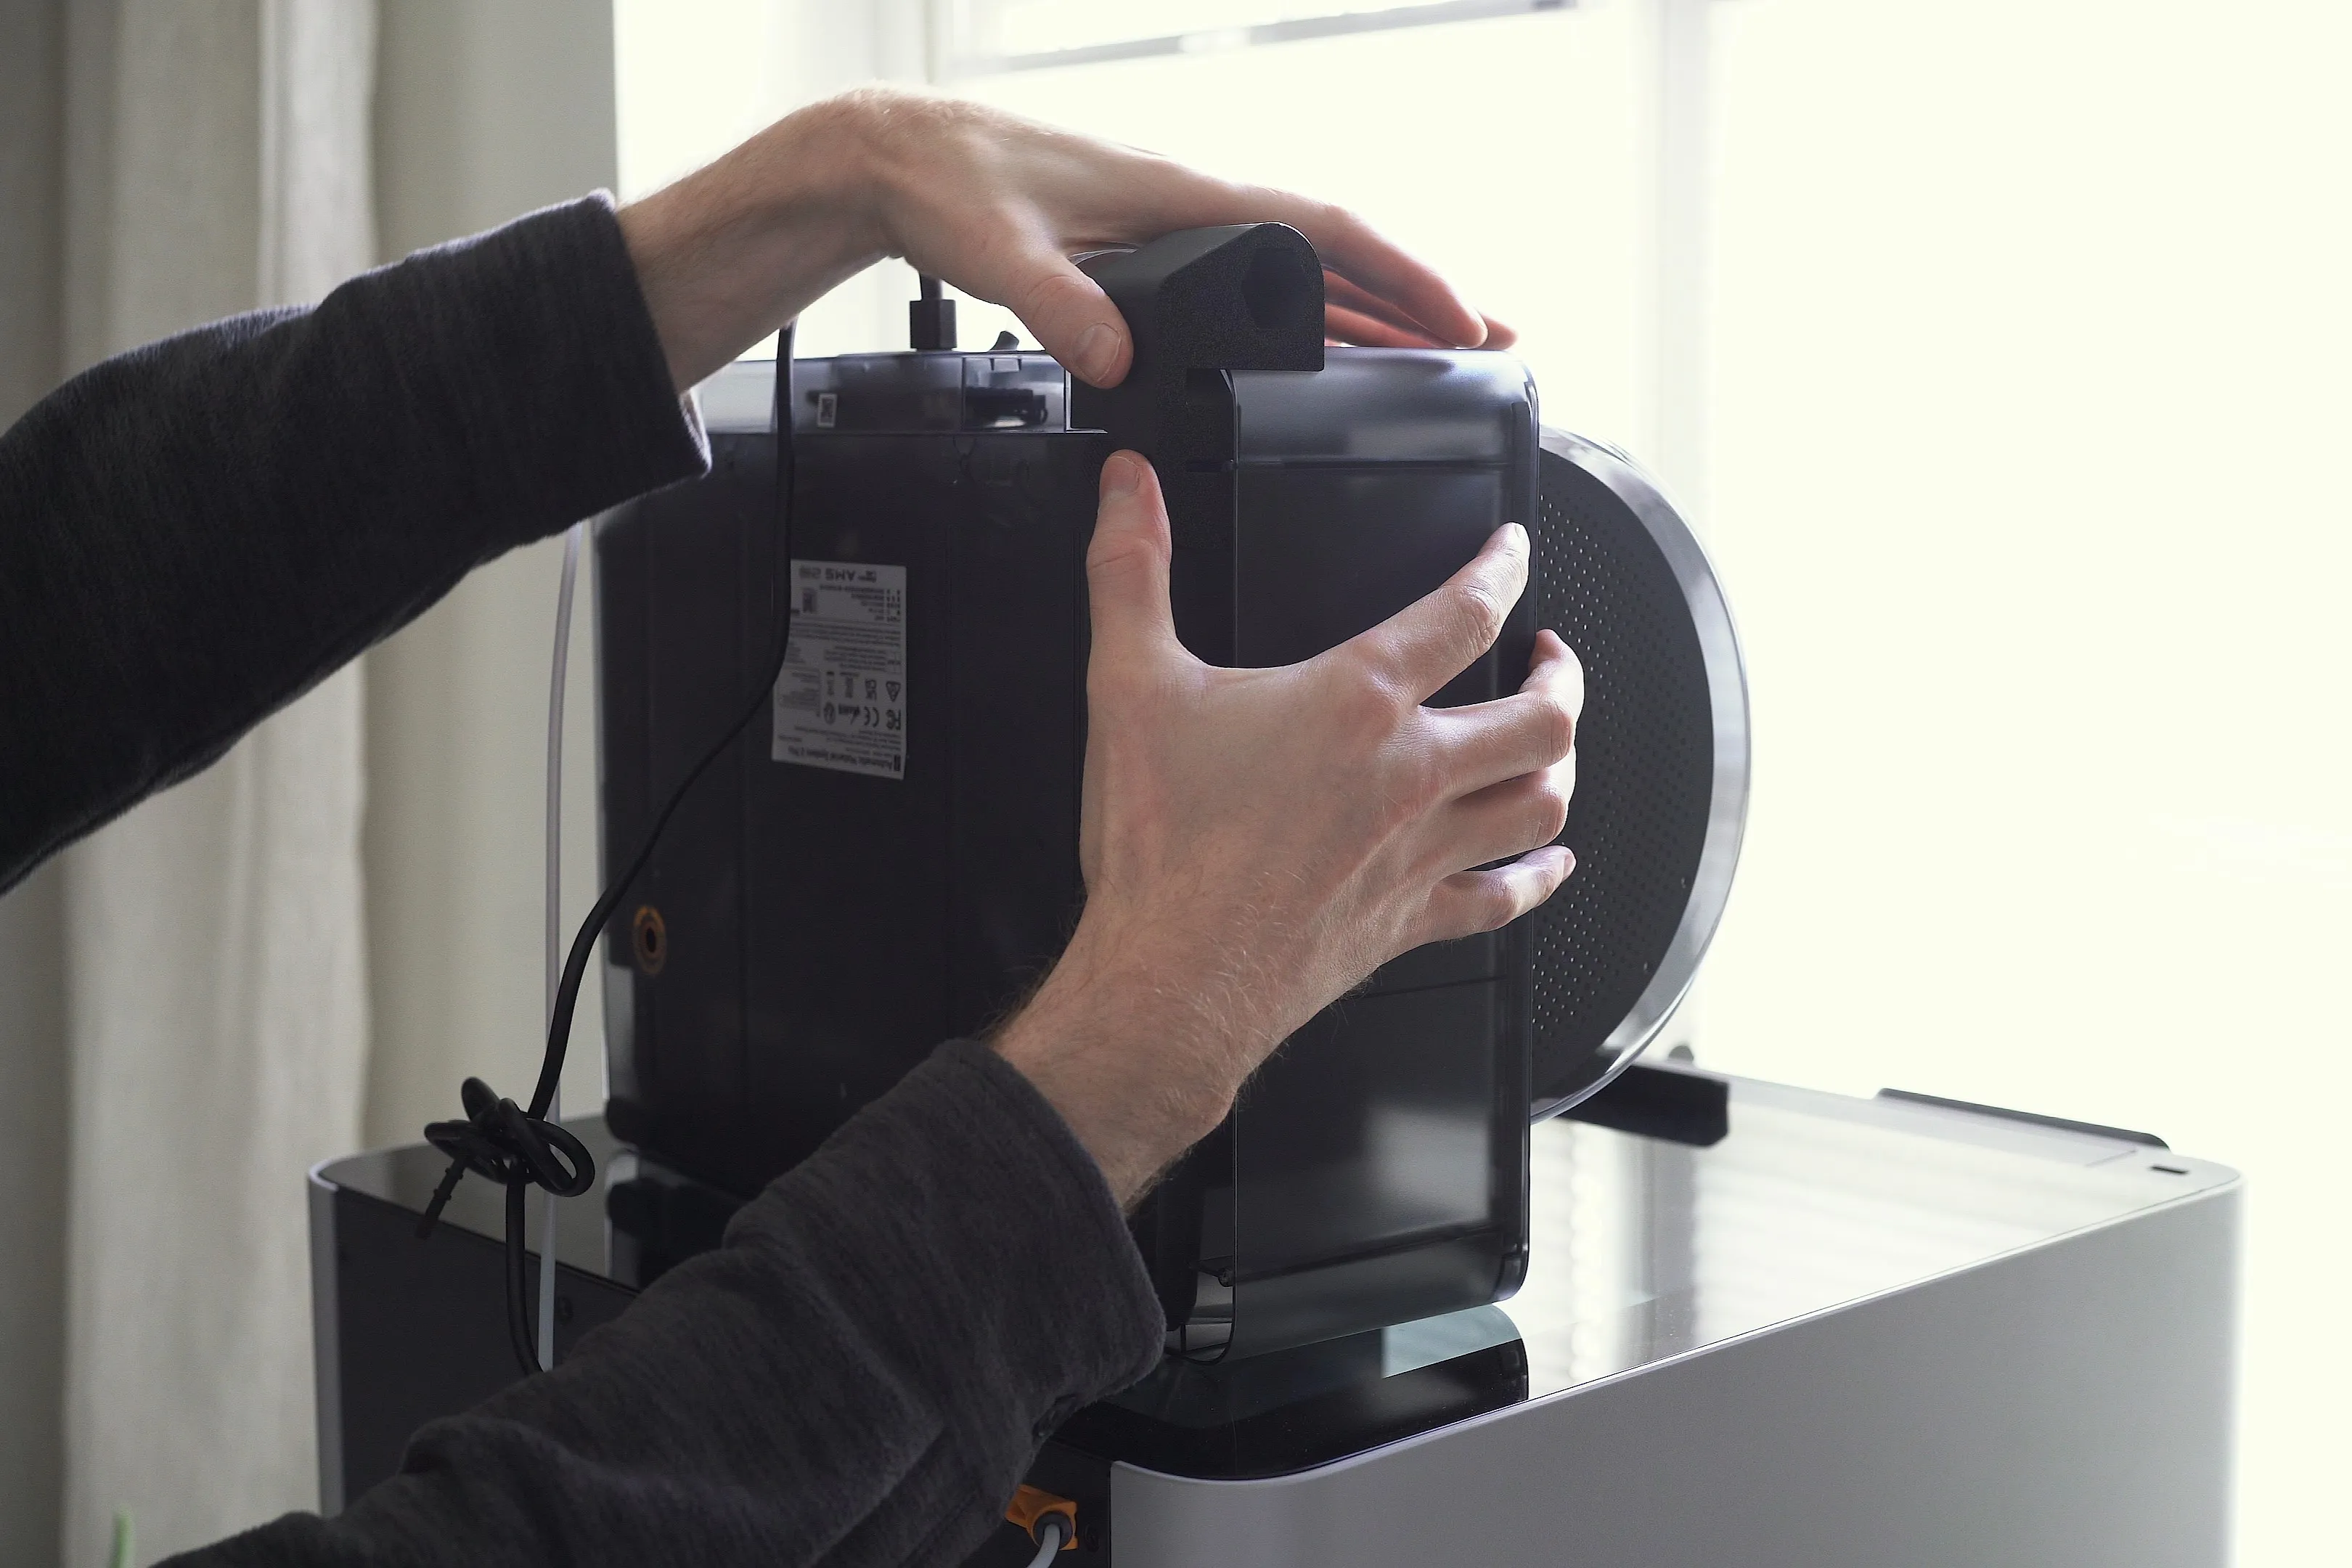
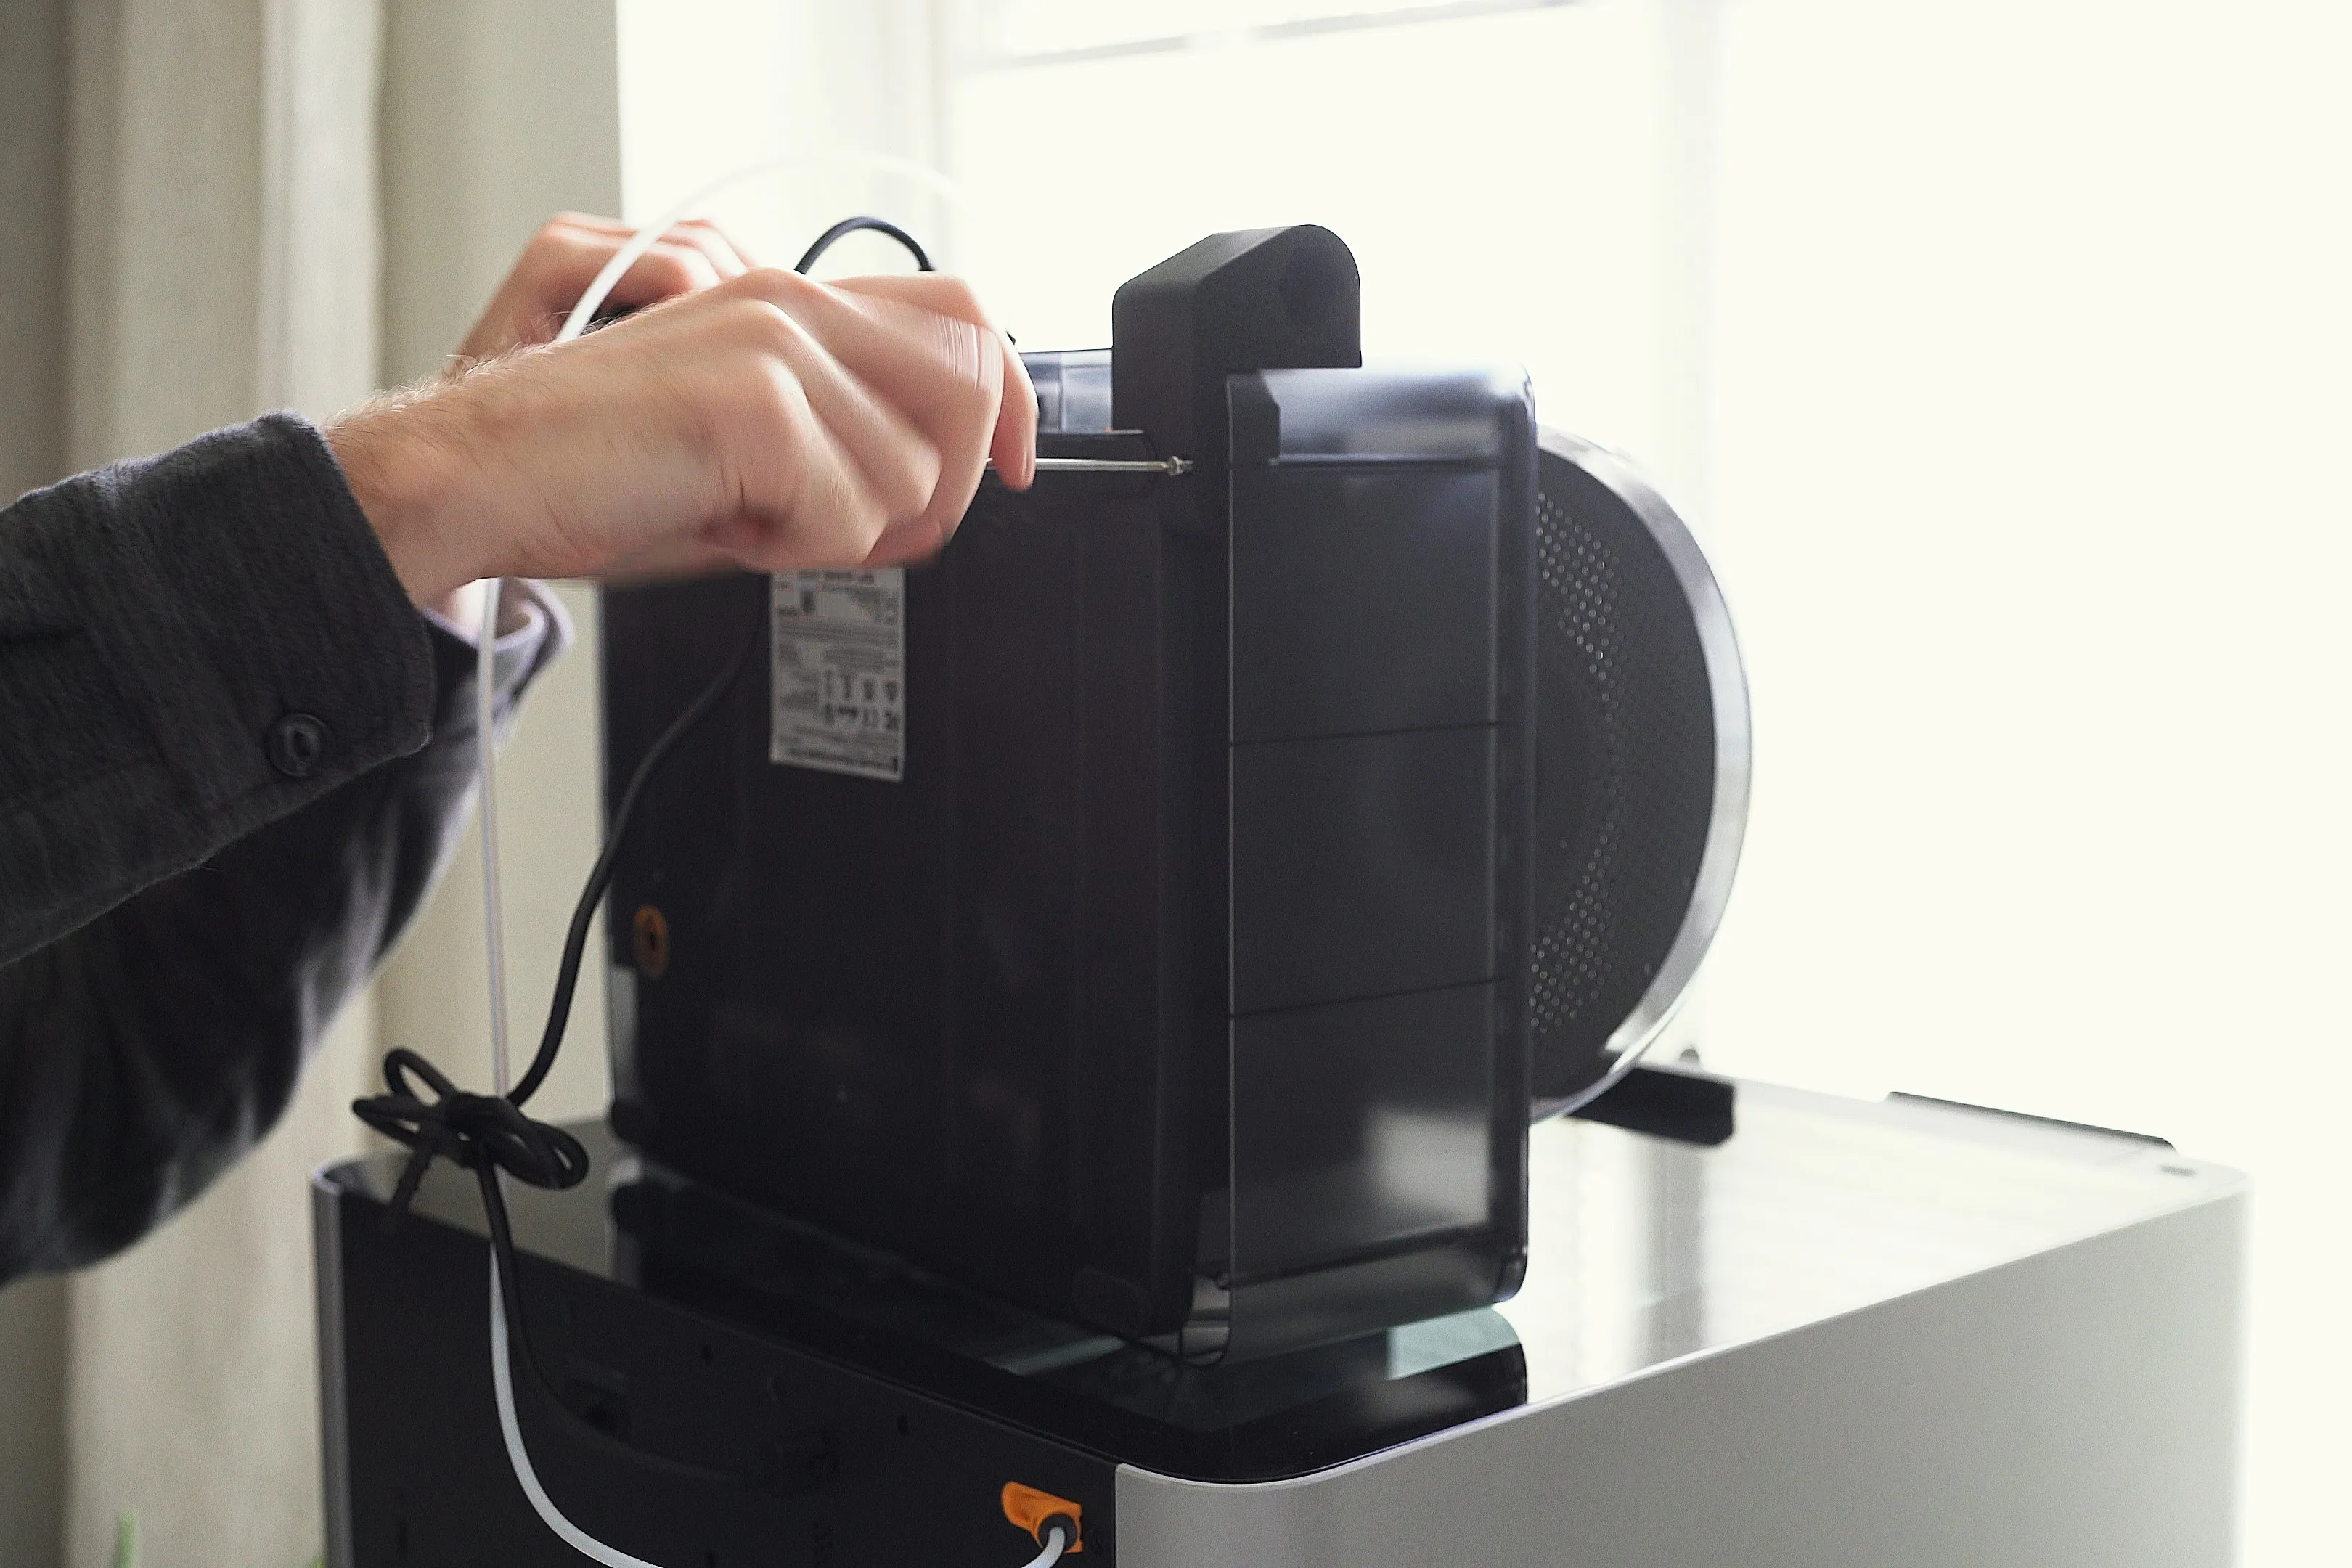
2. To make the connection even stronger you can add the AMS transport screws or as an alternative these BT3x16 -AA110 , to secure the AMS bracket to the AMS, but it is not required for it to work. (if you bought the AMS combo, the AMS was screwed to a transport bracket. You can use the same screws to secure the AMS bracket for the Flipper)
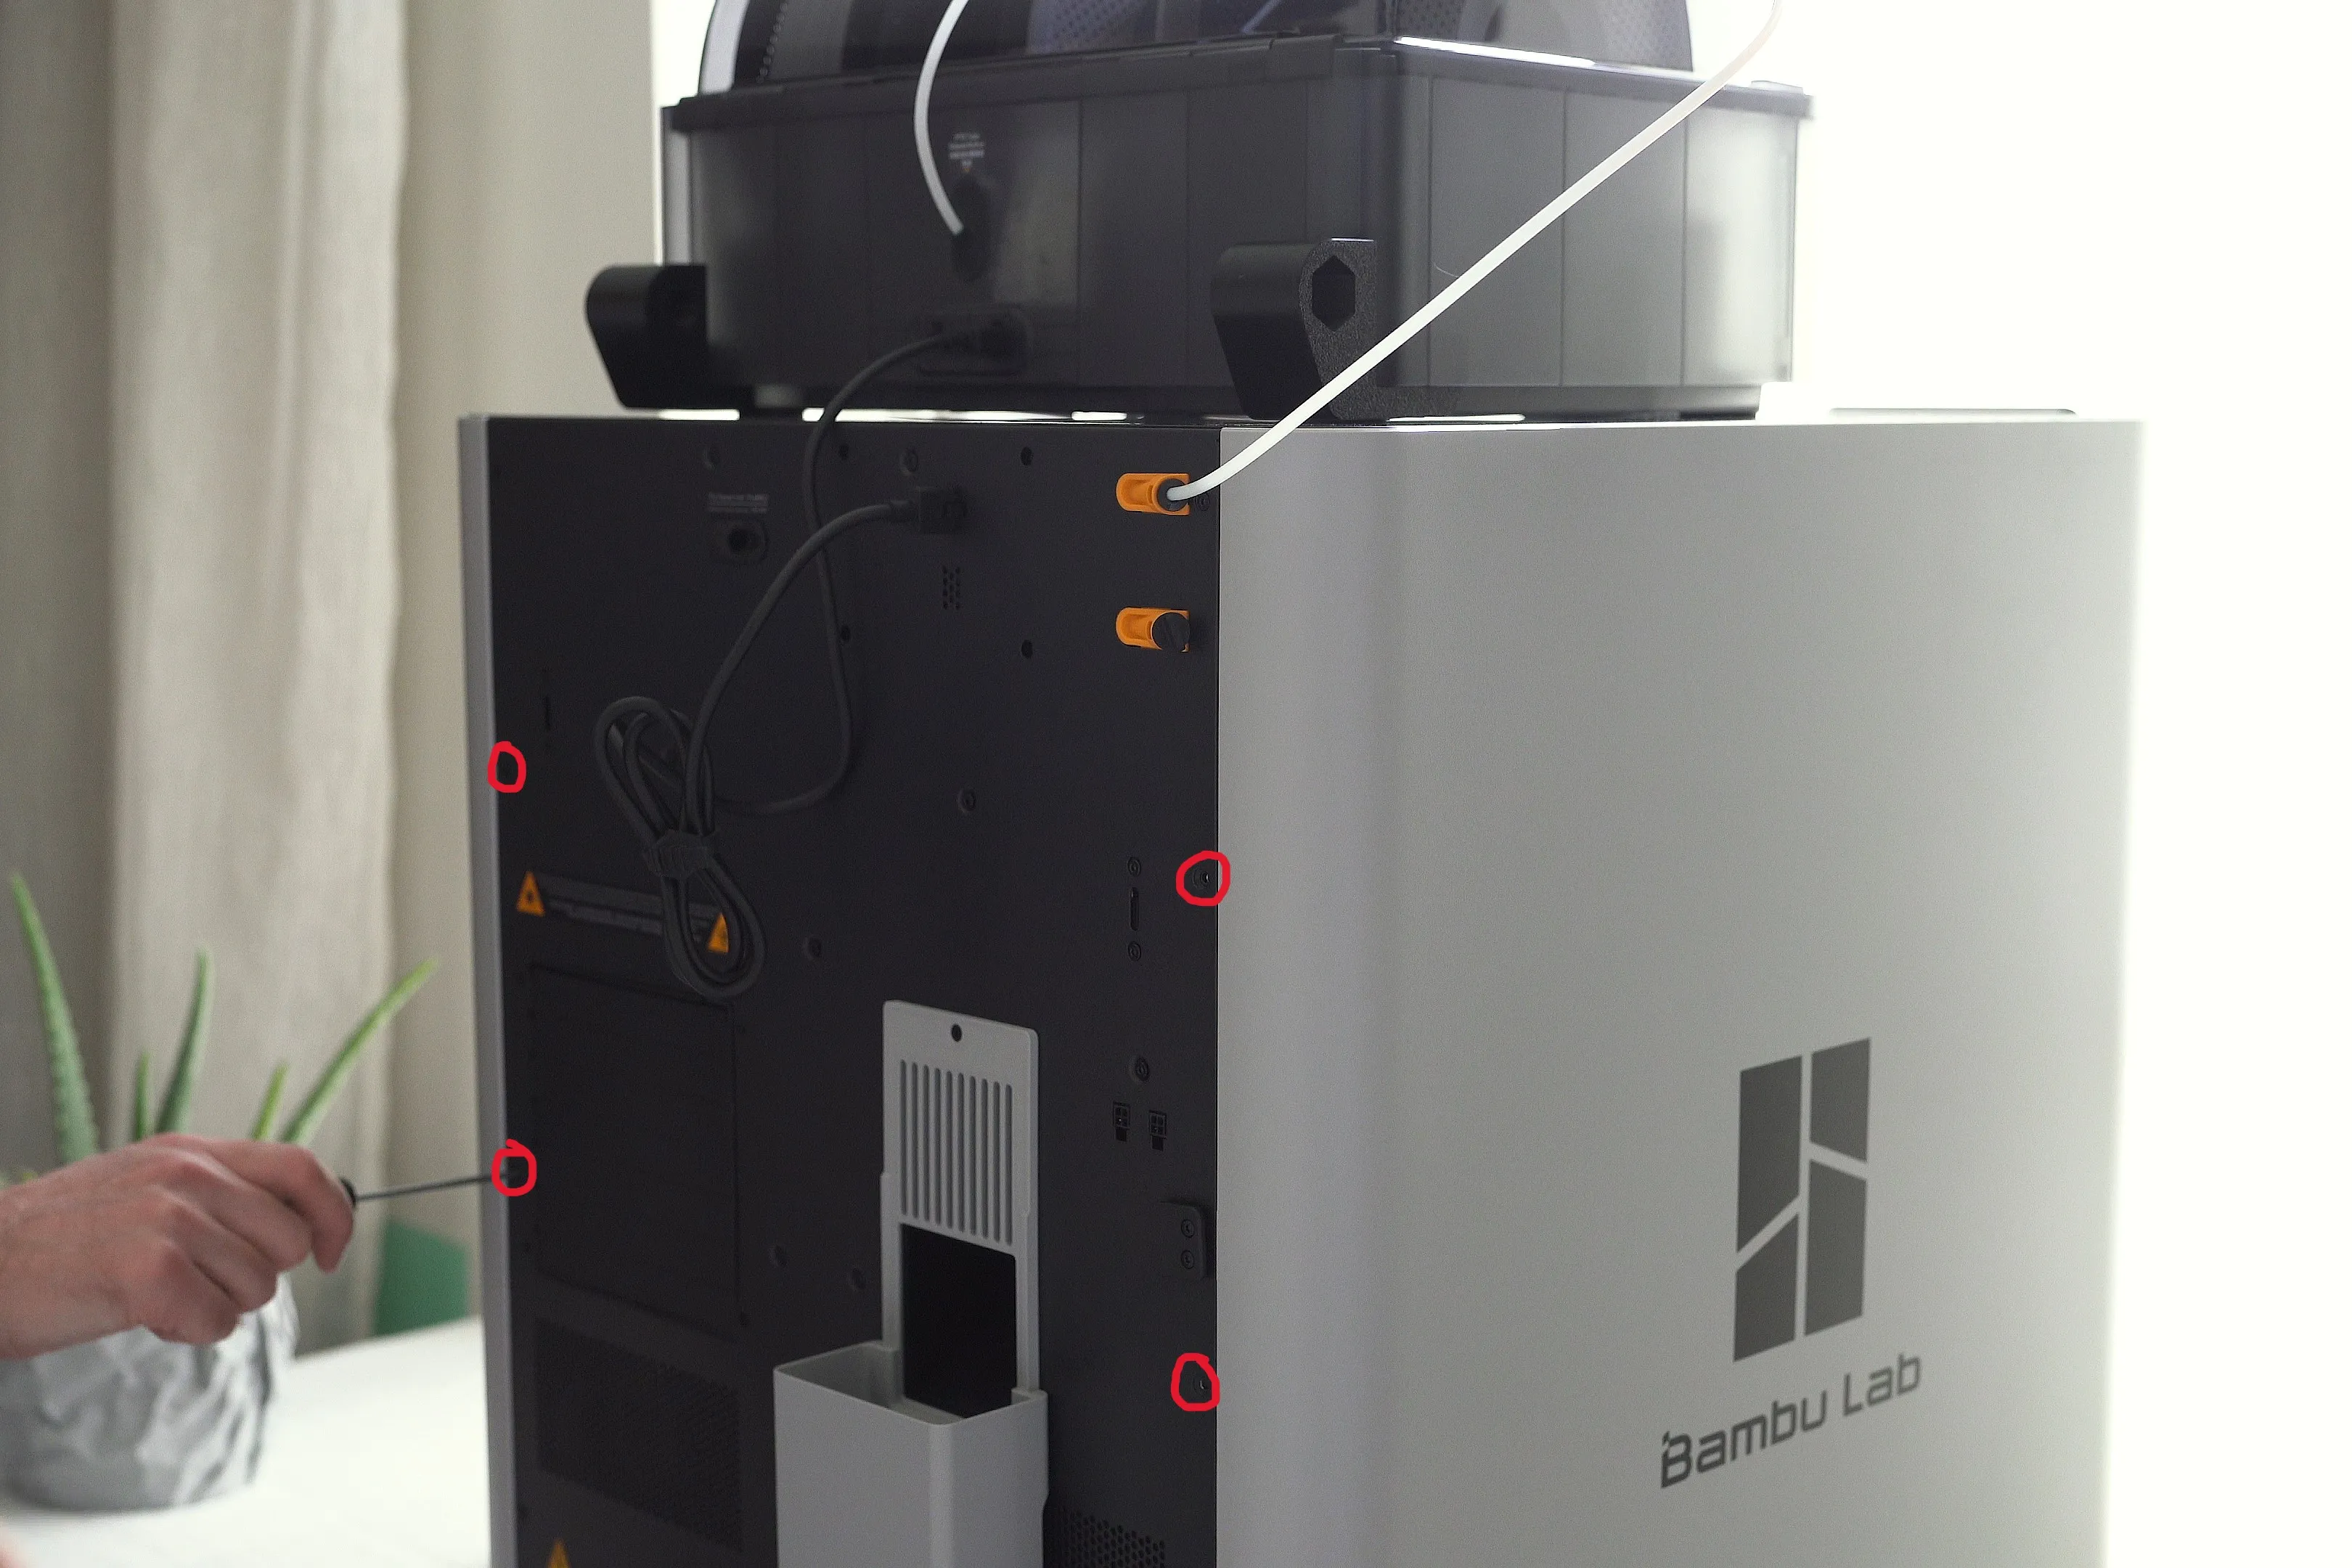
3. To add the rear brackets your first have to remove the four outer screws at the rear of the printer.
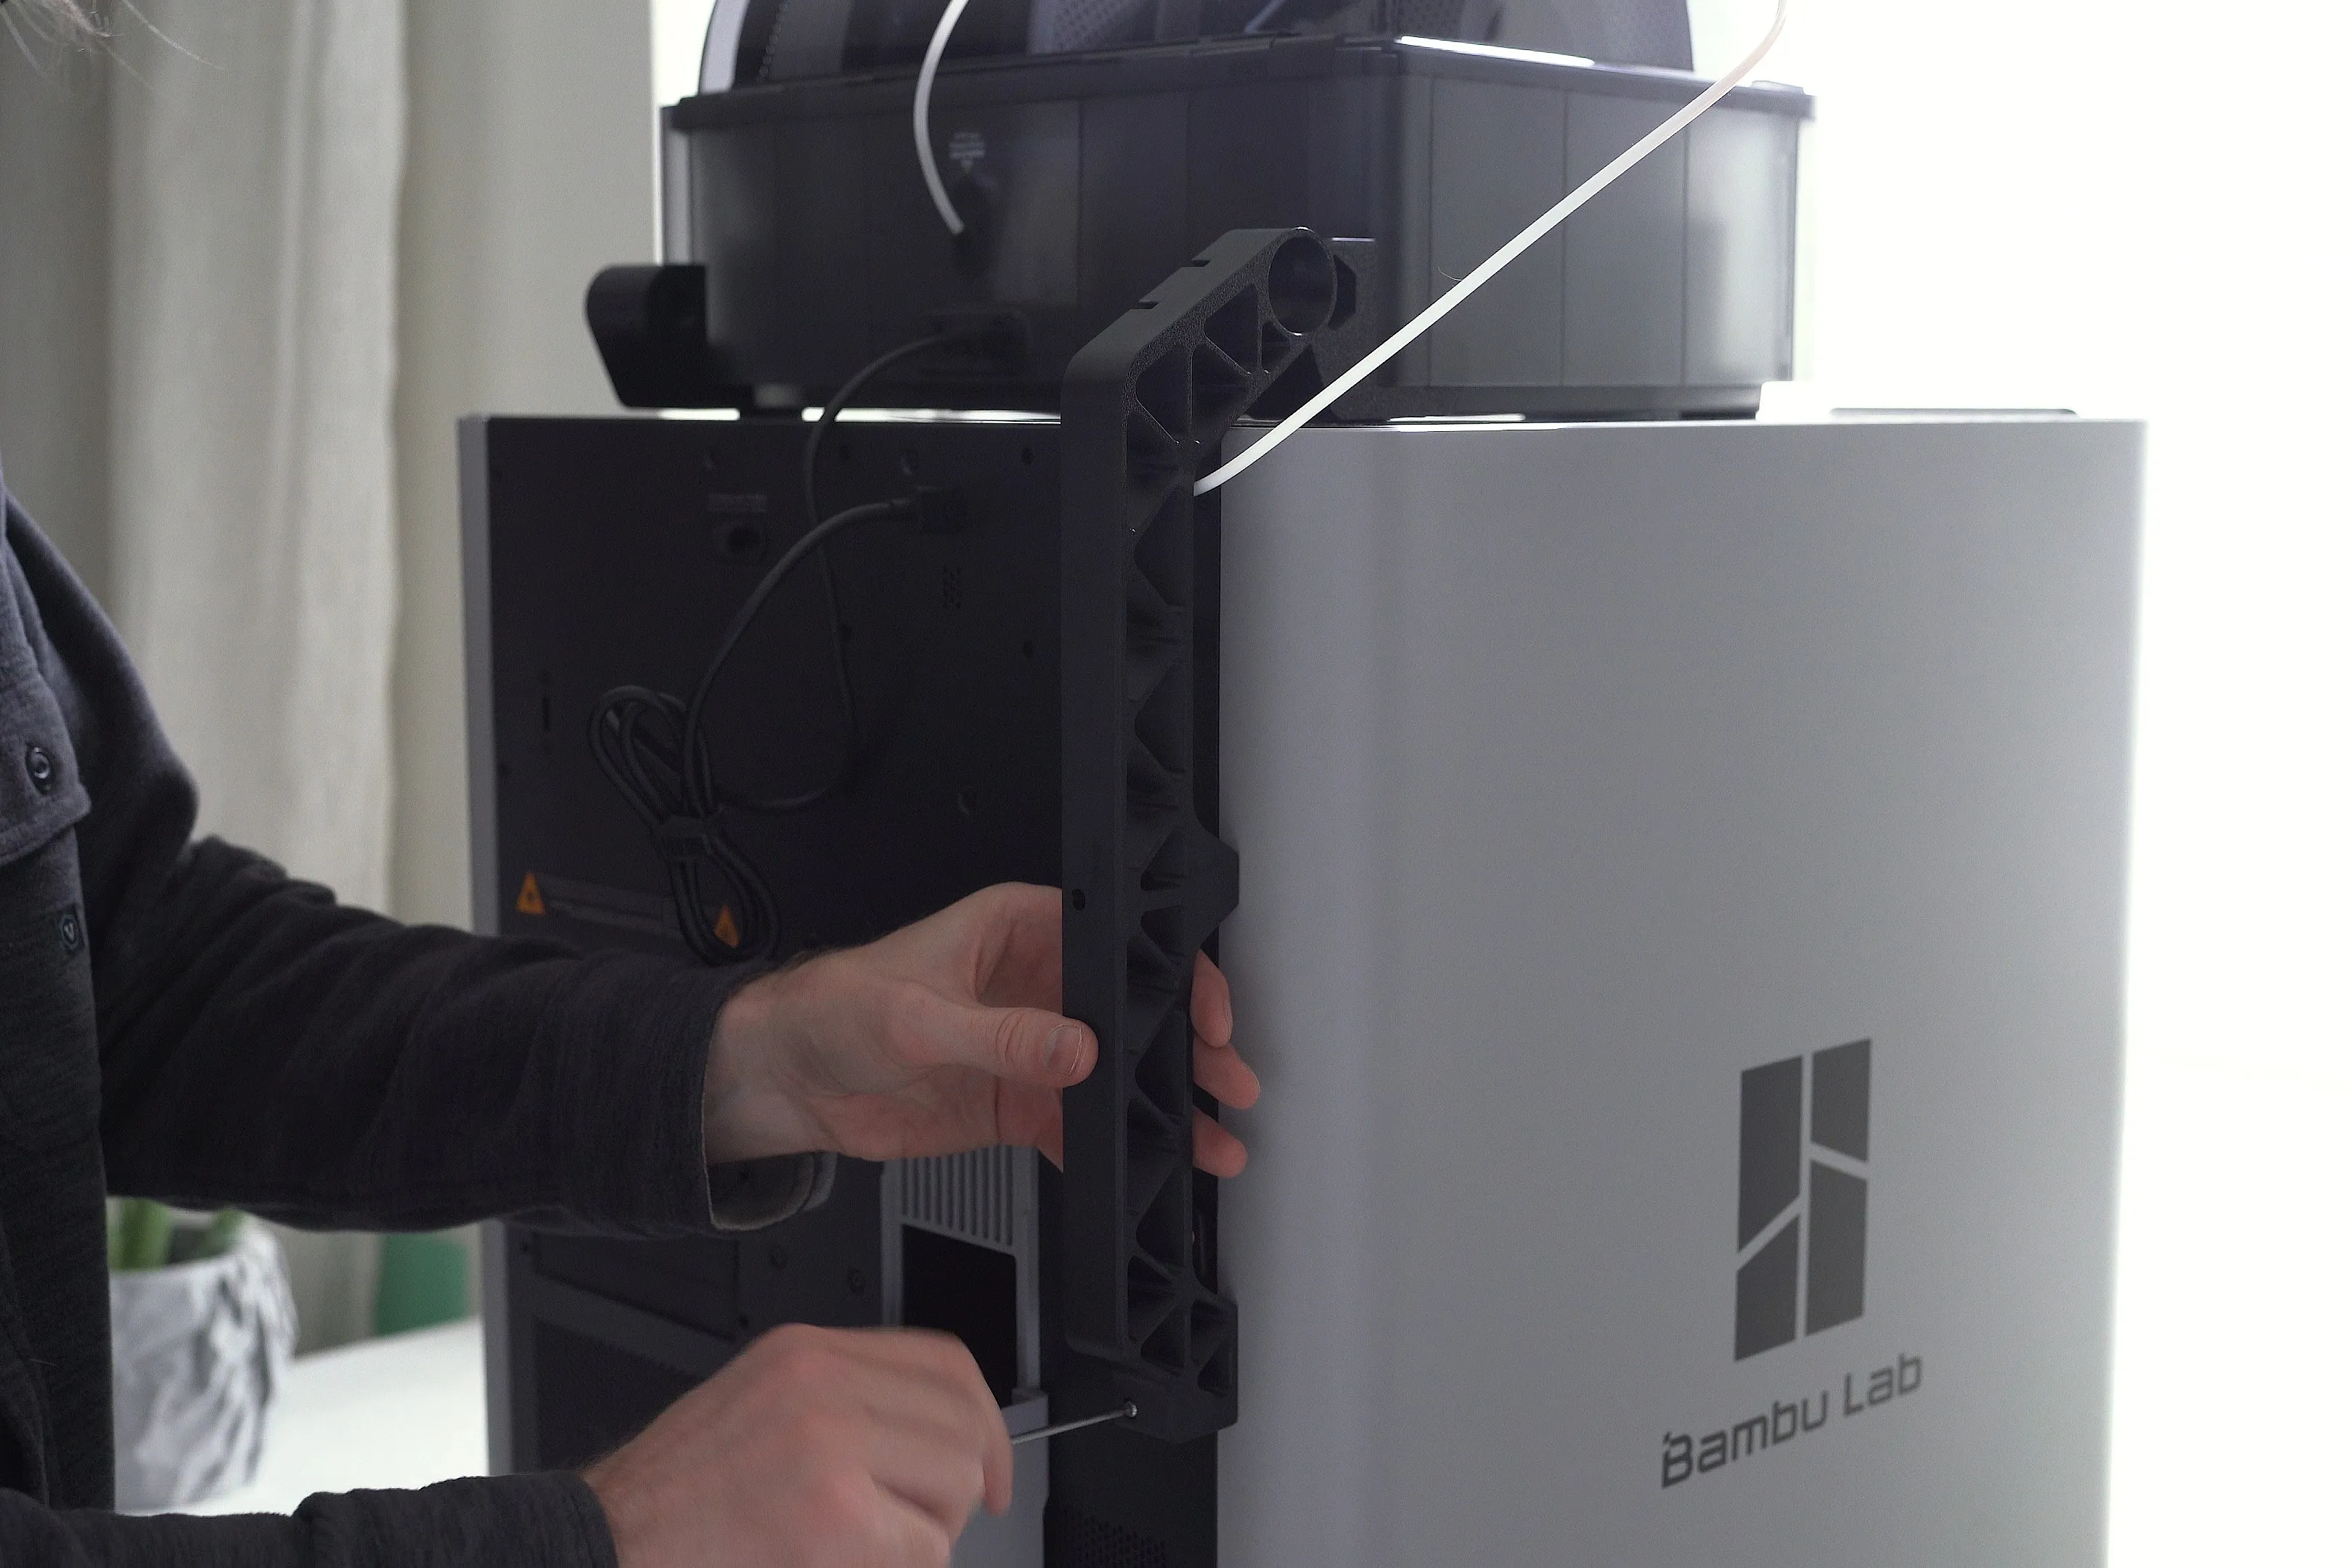
4. In the next step you can screw the rear brackets in place with two m3x35mm machine screws on each which were used to secure the printbed during delivery. (make sure they are on the correct sides)
5. Then you can press the angle brackets into the rear brackets.
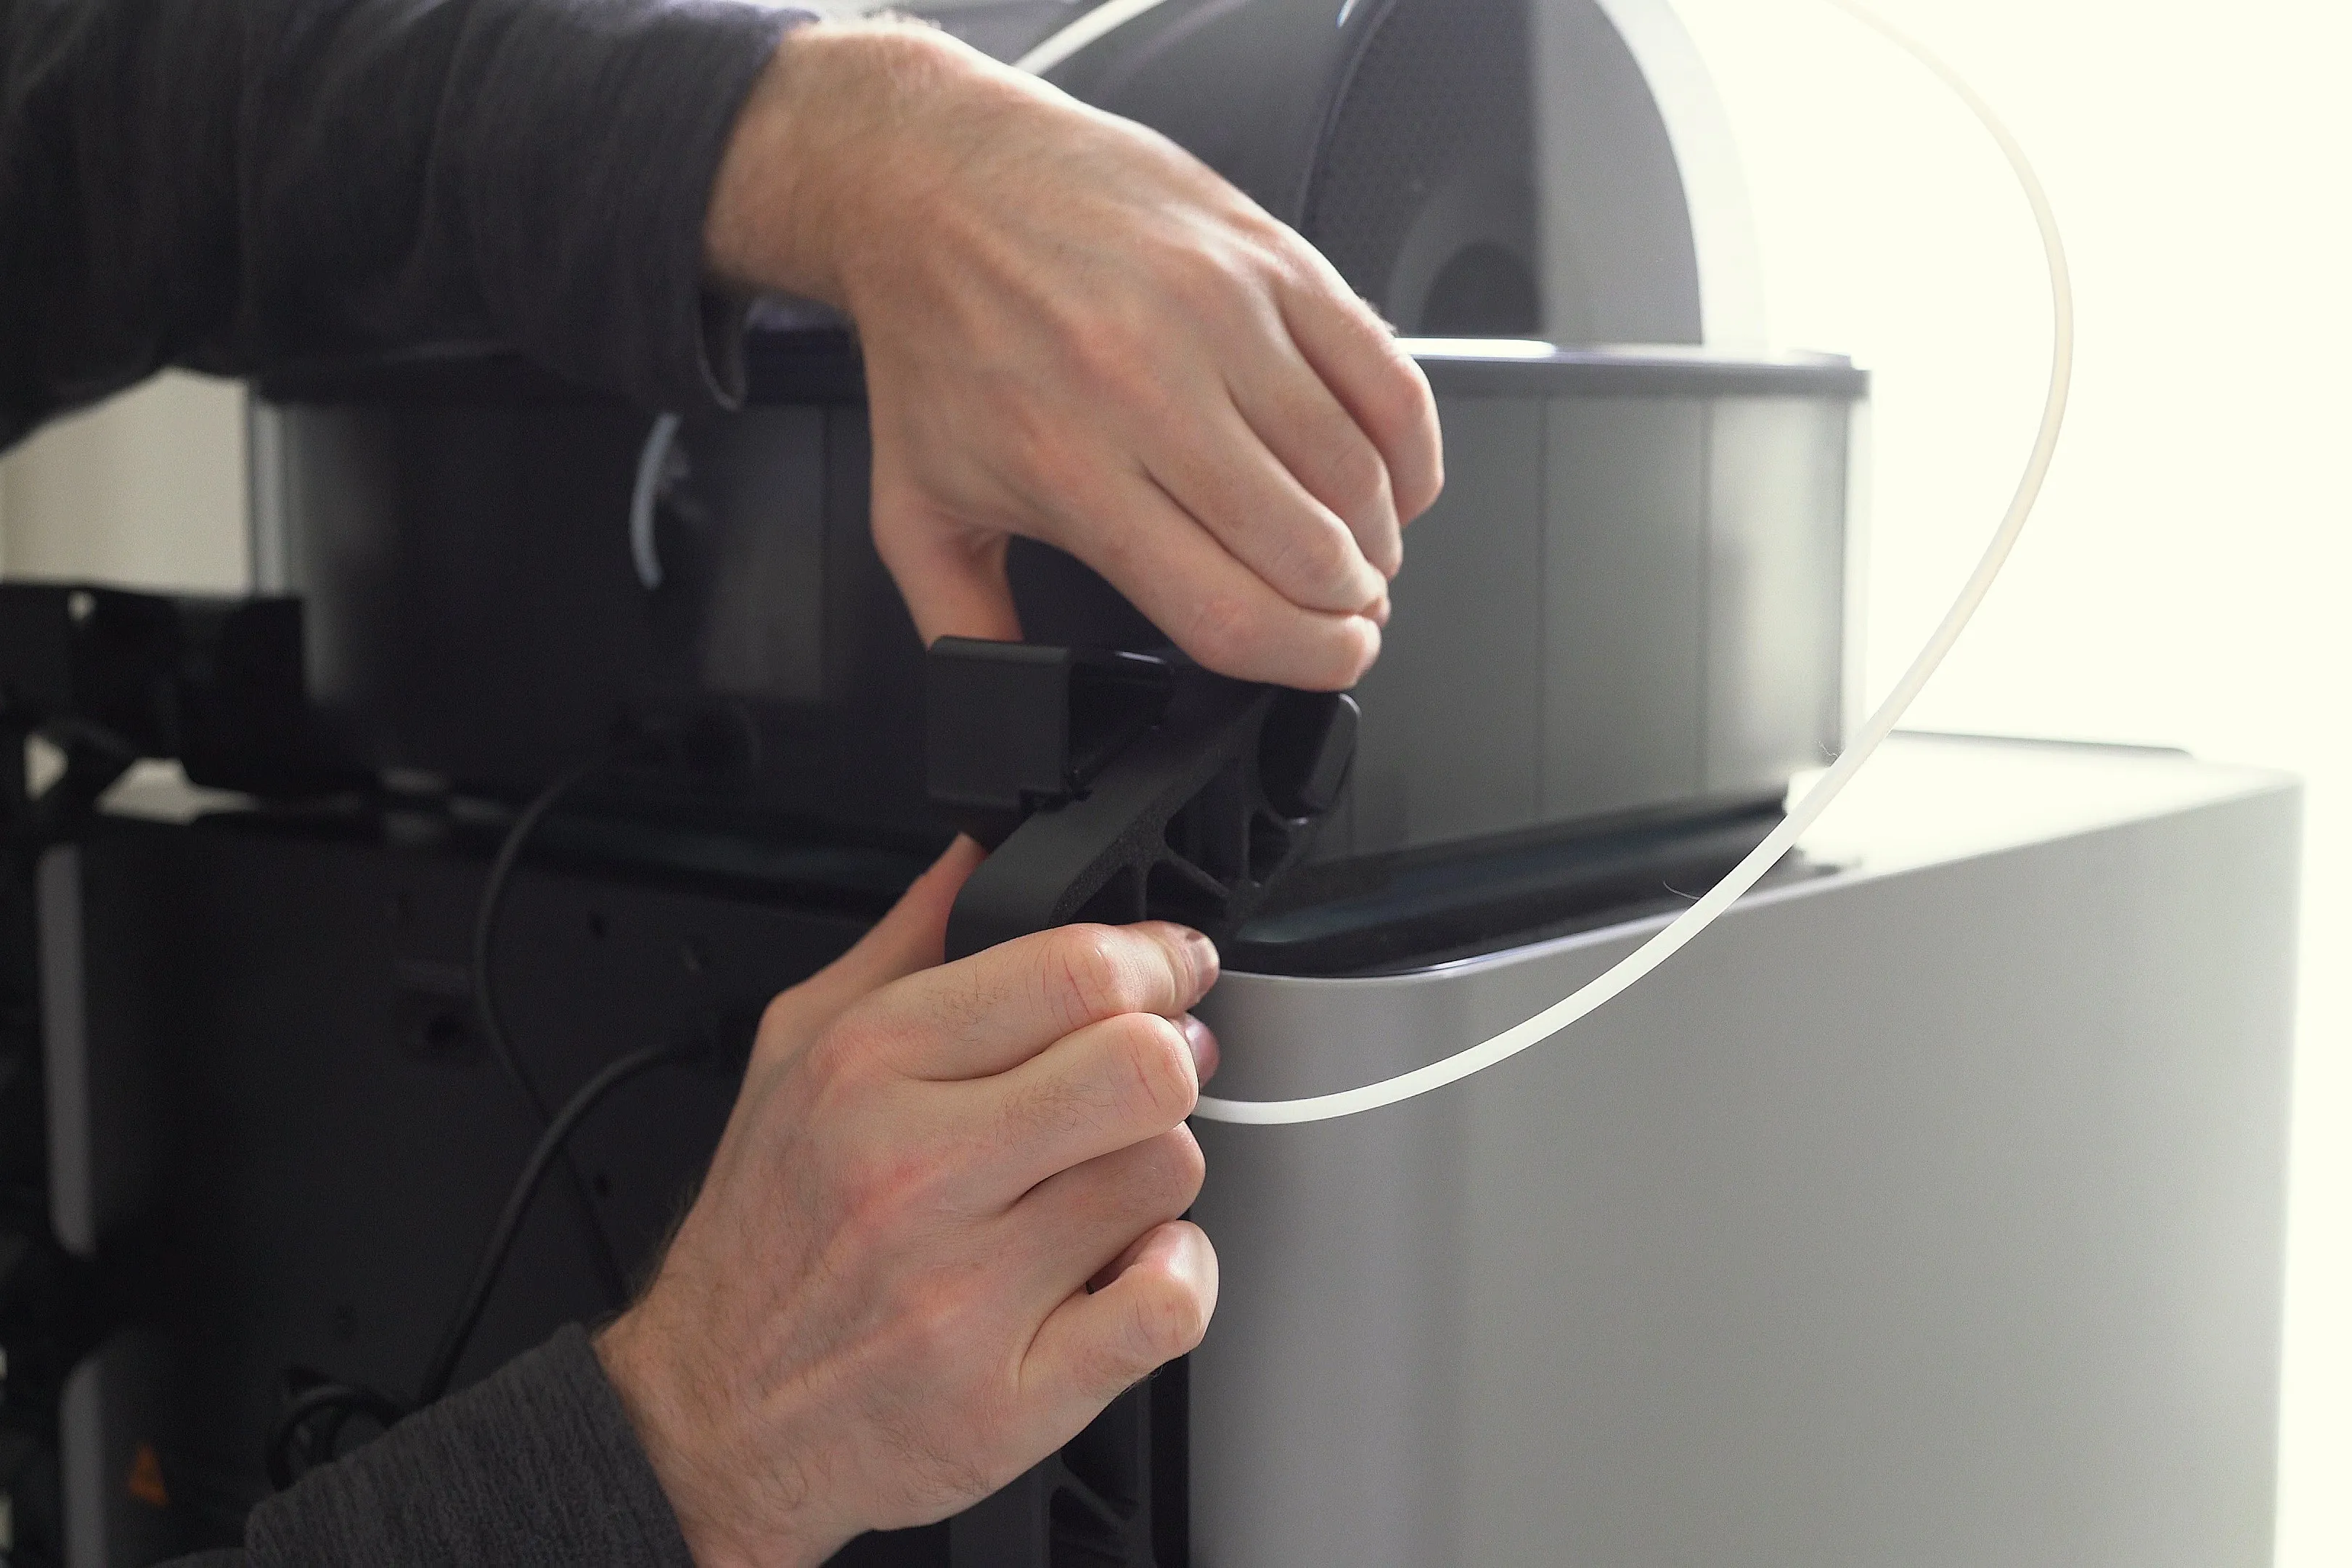
6. Before you attach the AMS to the rear brackets you have to insert the 3d printed screw into the axis piece to look like this.
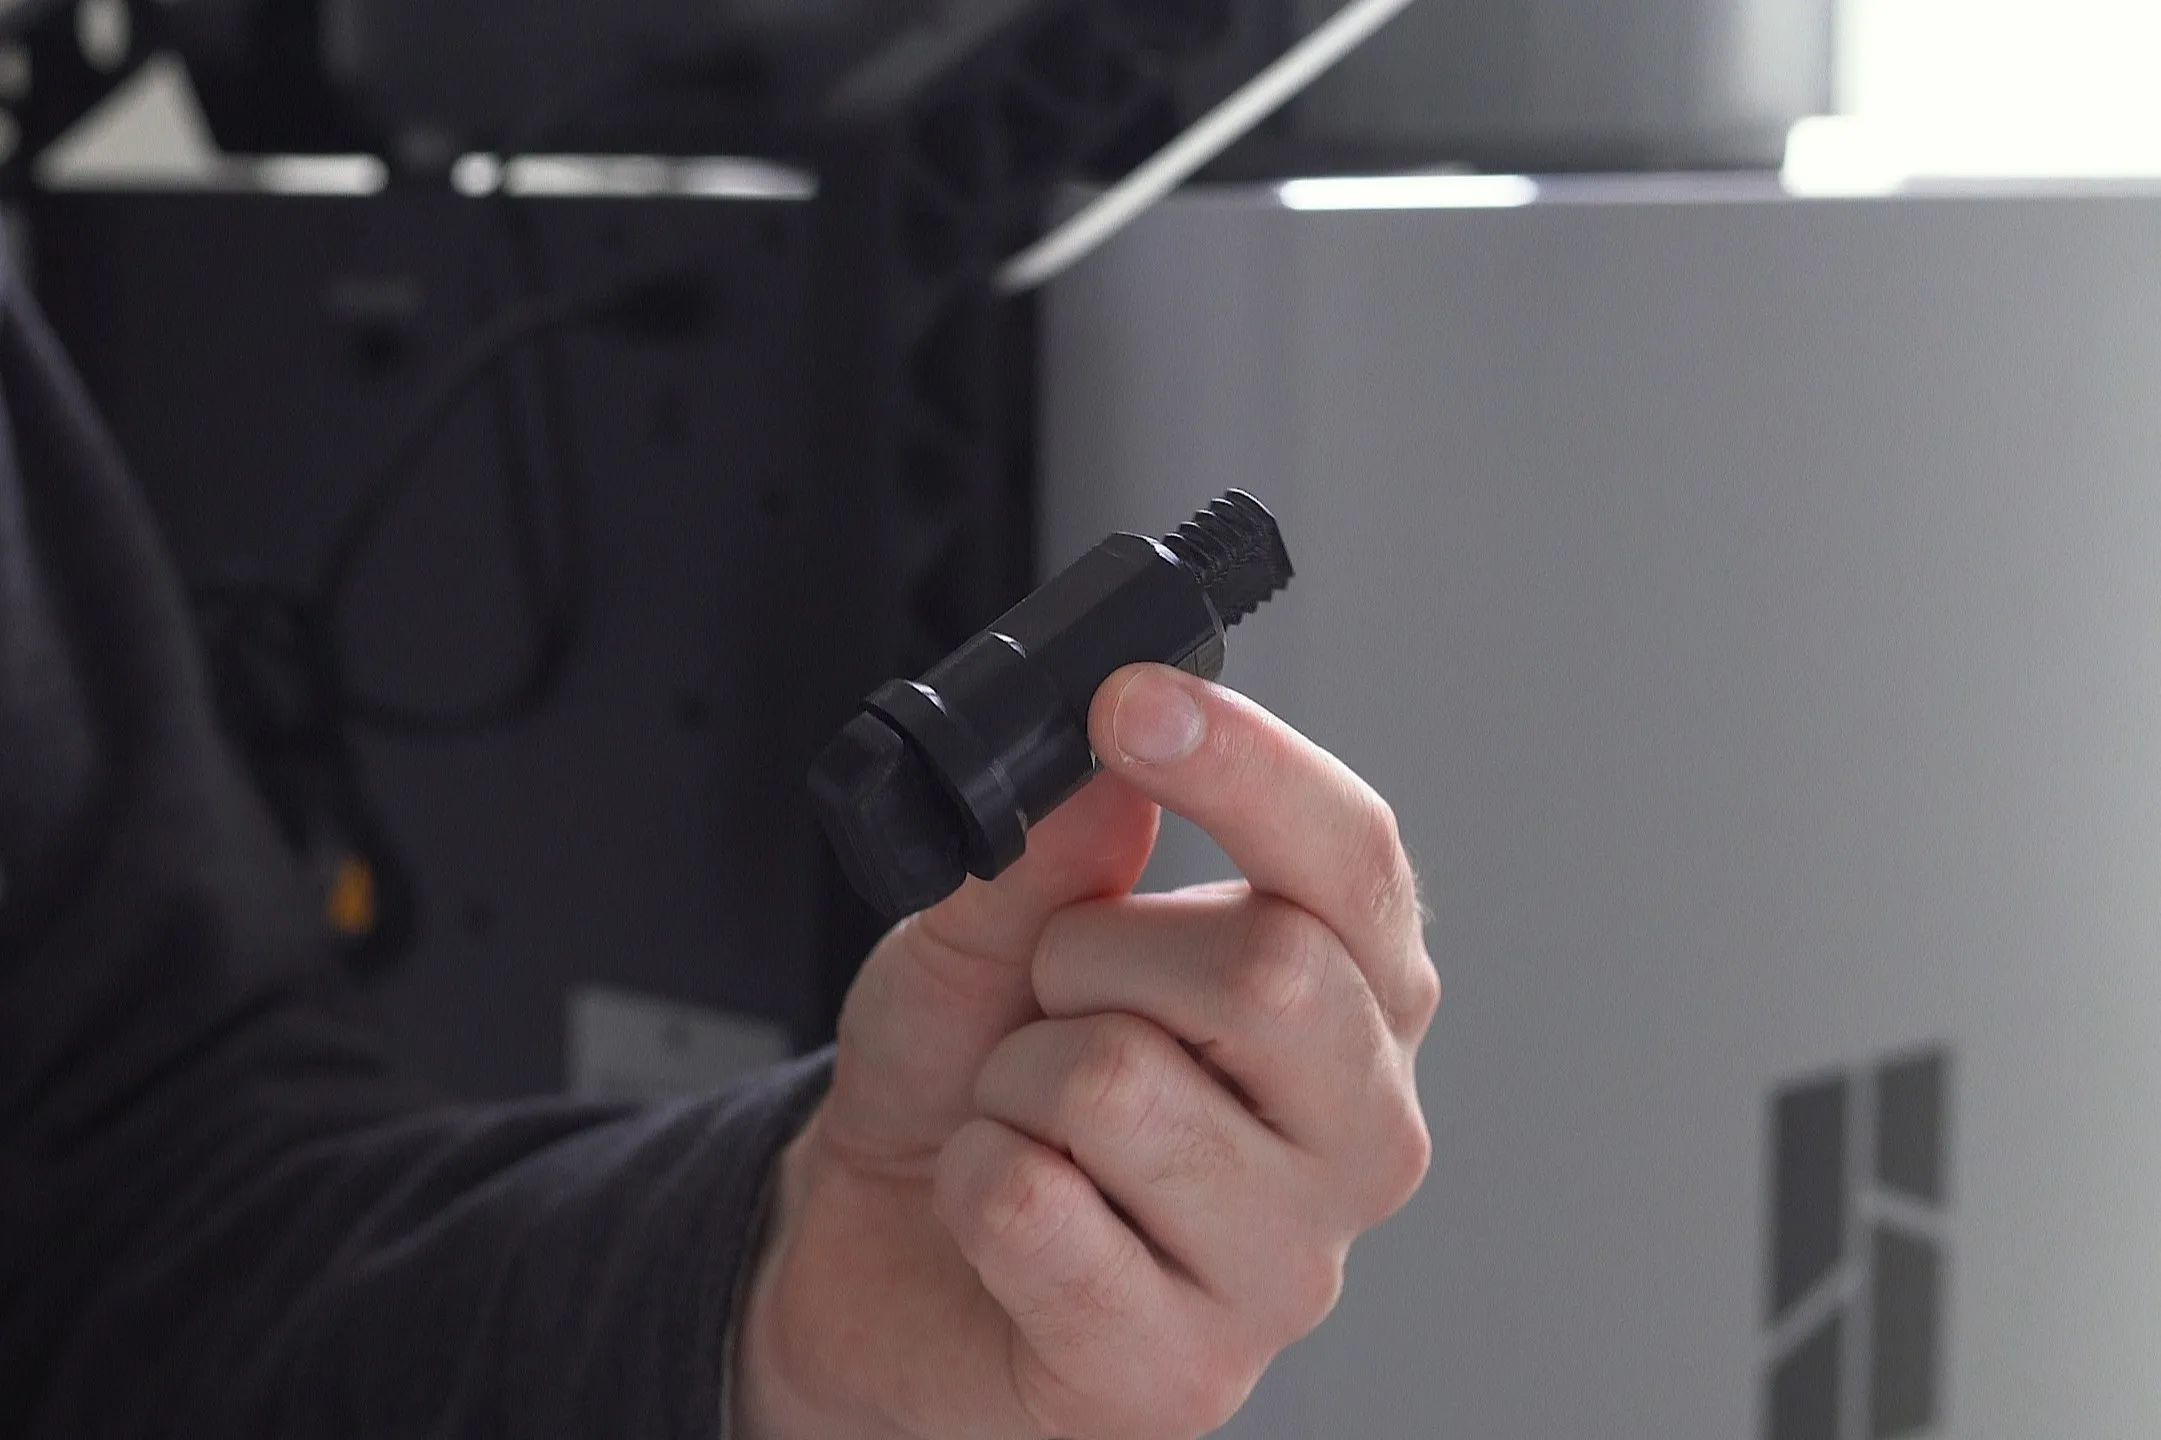
7. In the next step you have to align the and rear brackets, and then you can push the axis piece and screw into position.
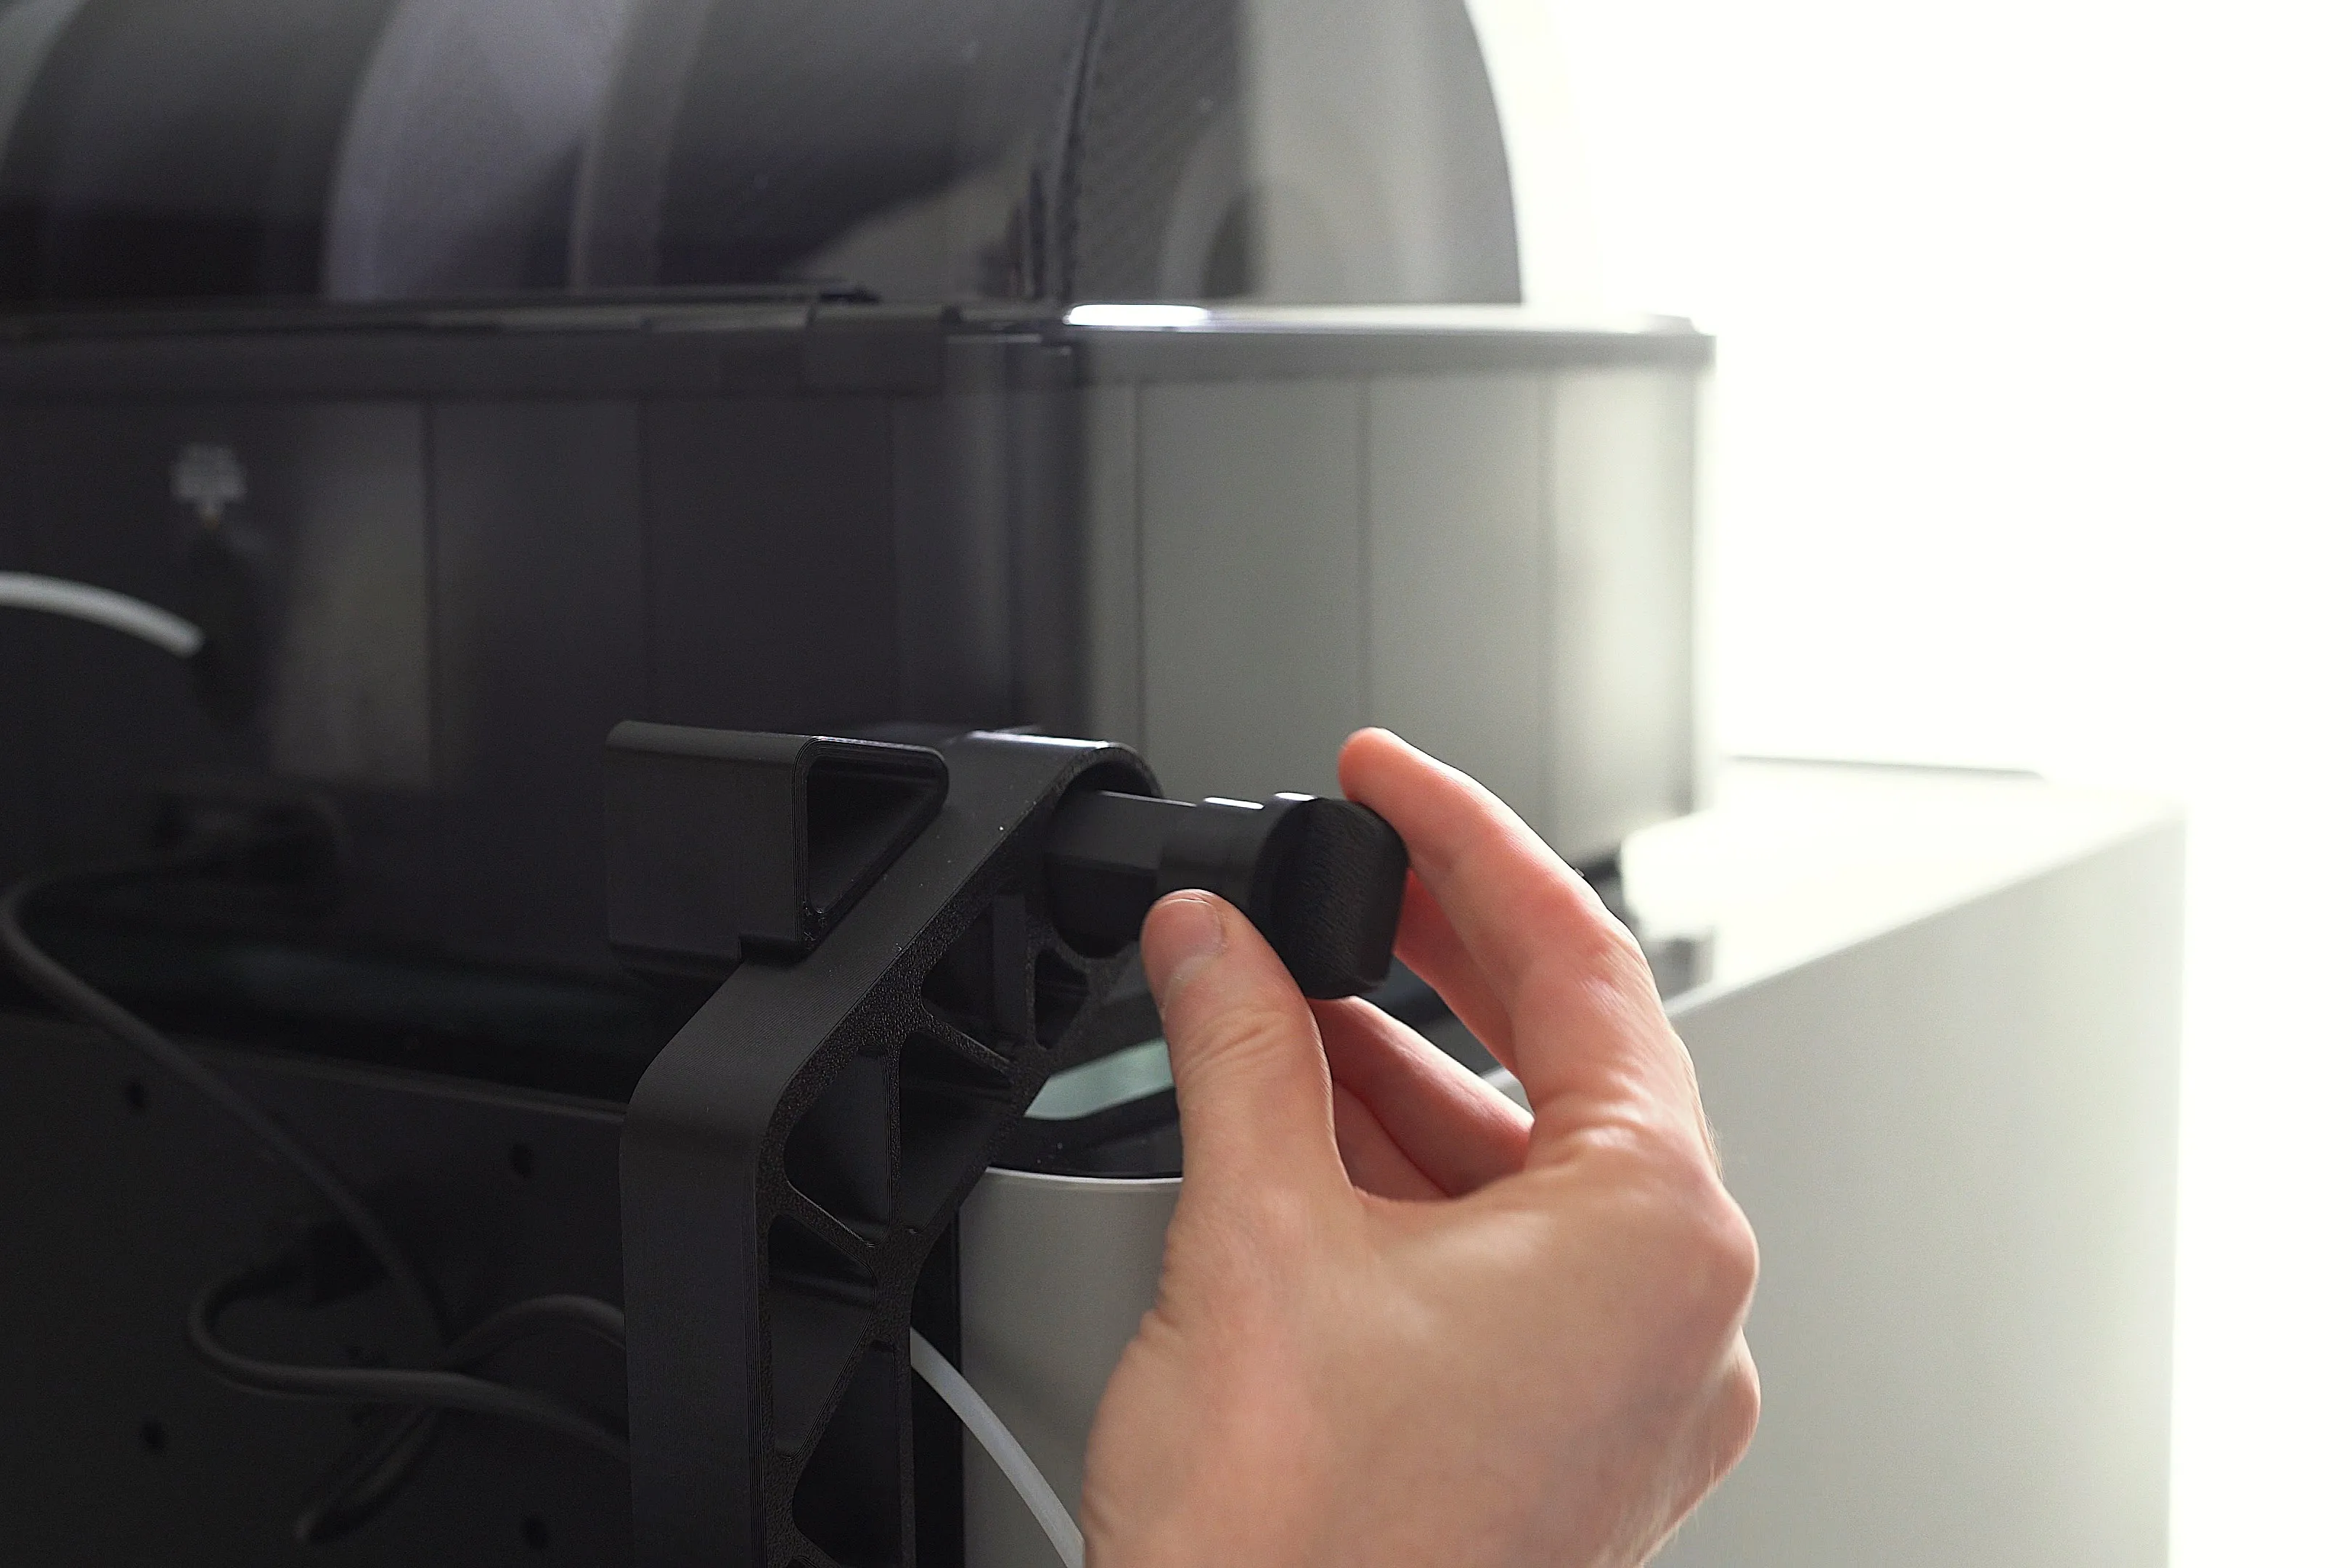
8. Press the axis piece in until it is fully seated. It has the be recessed in the hole.
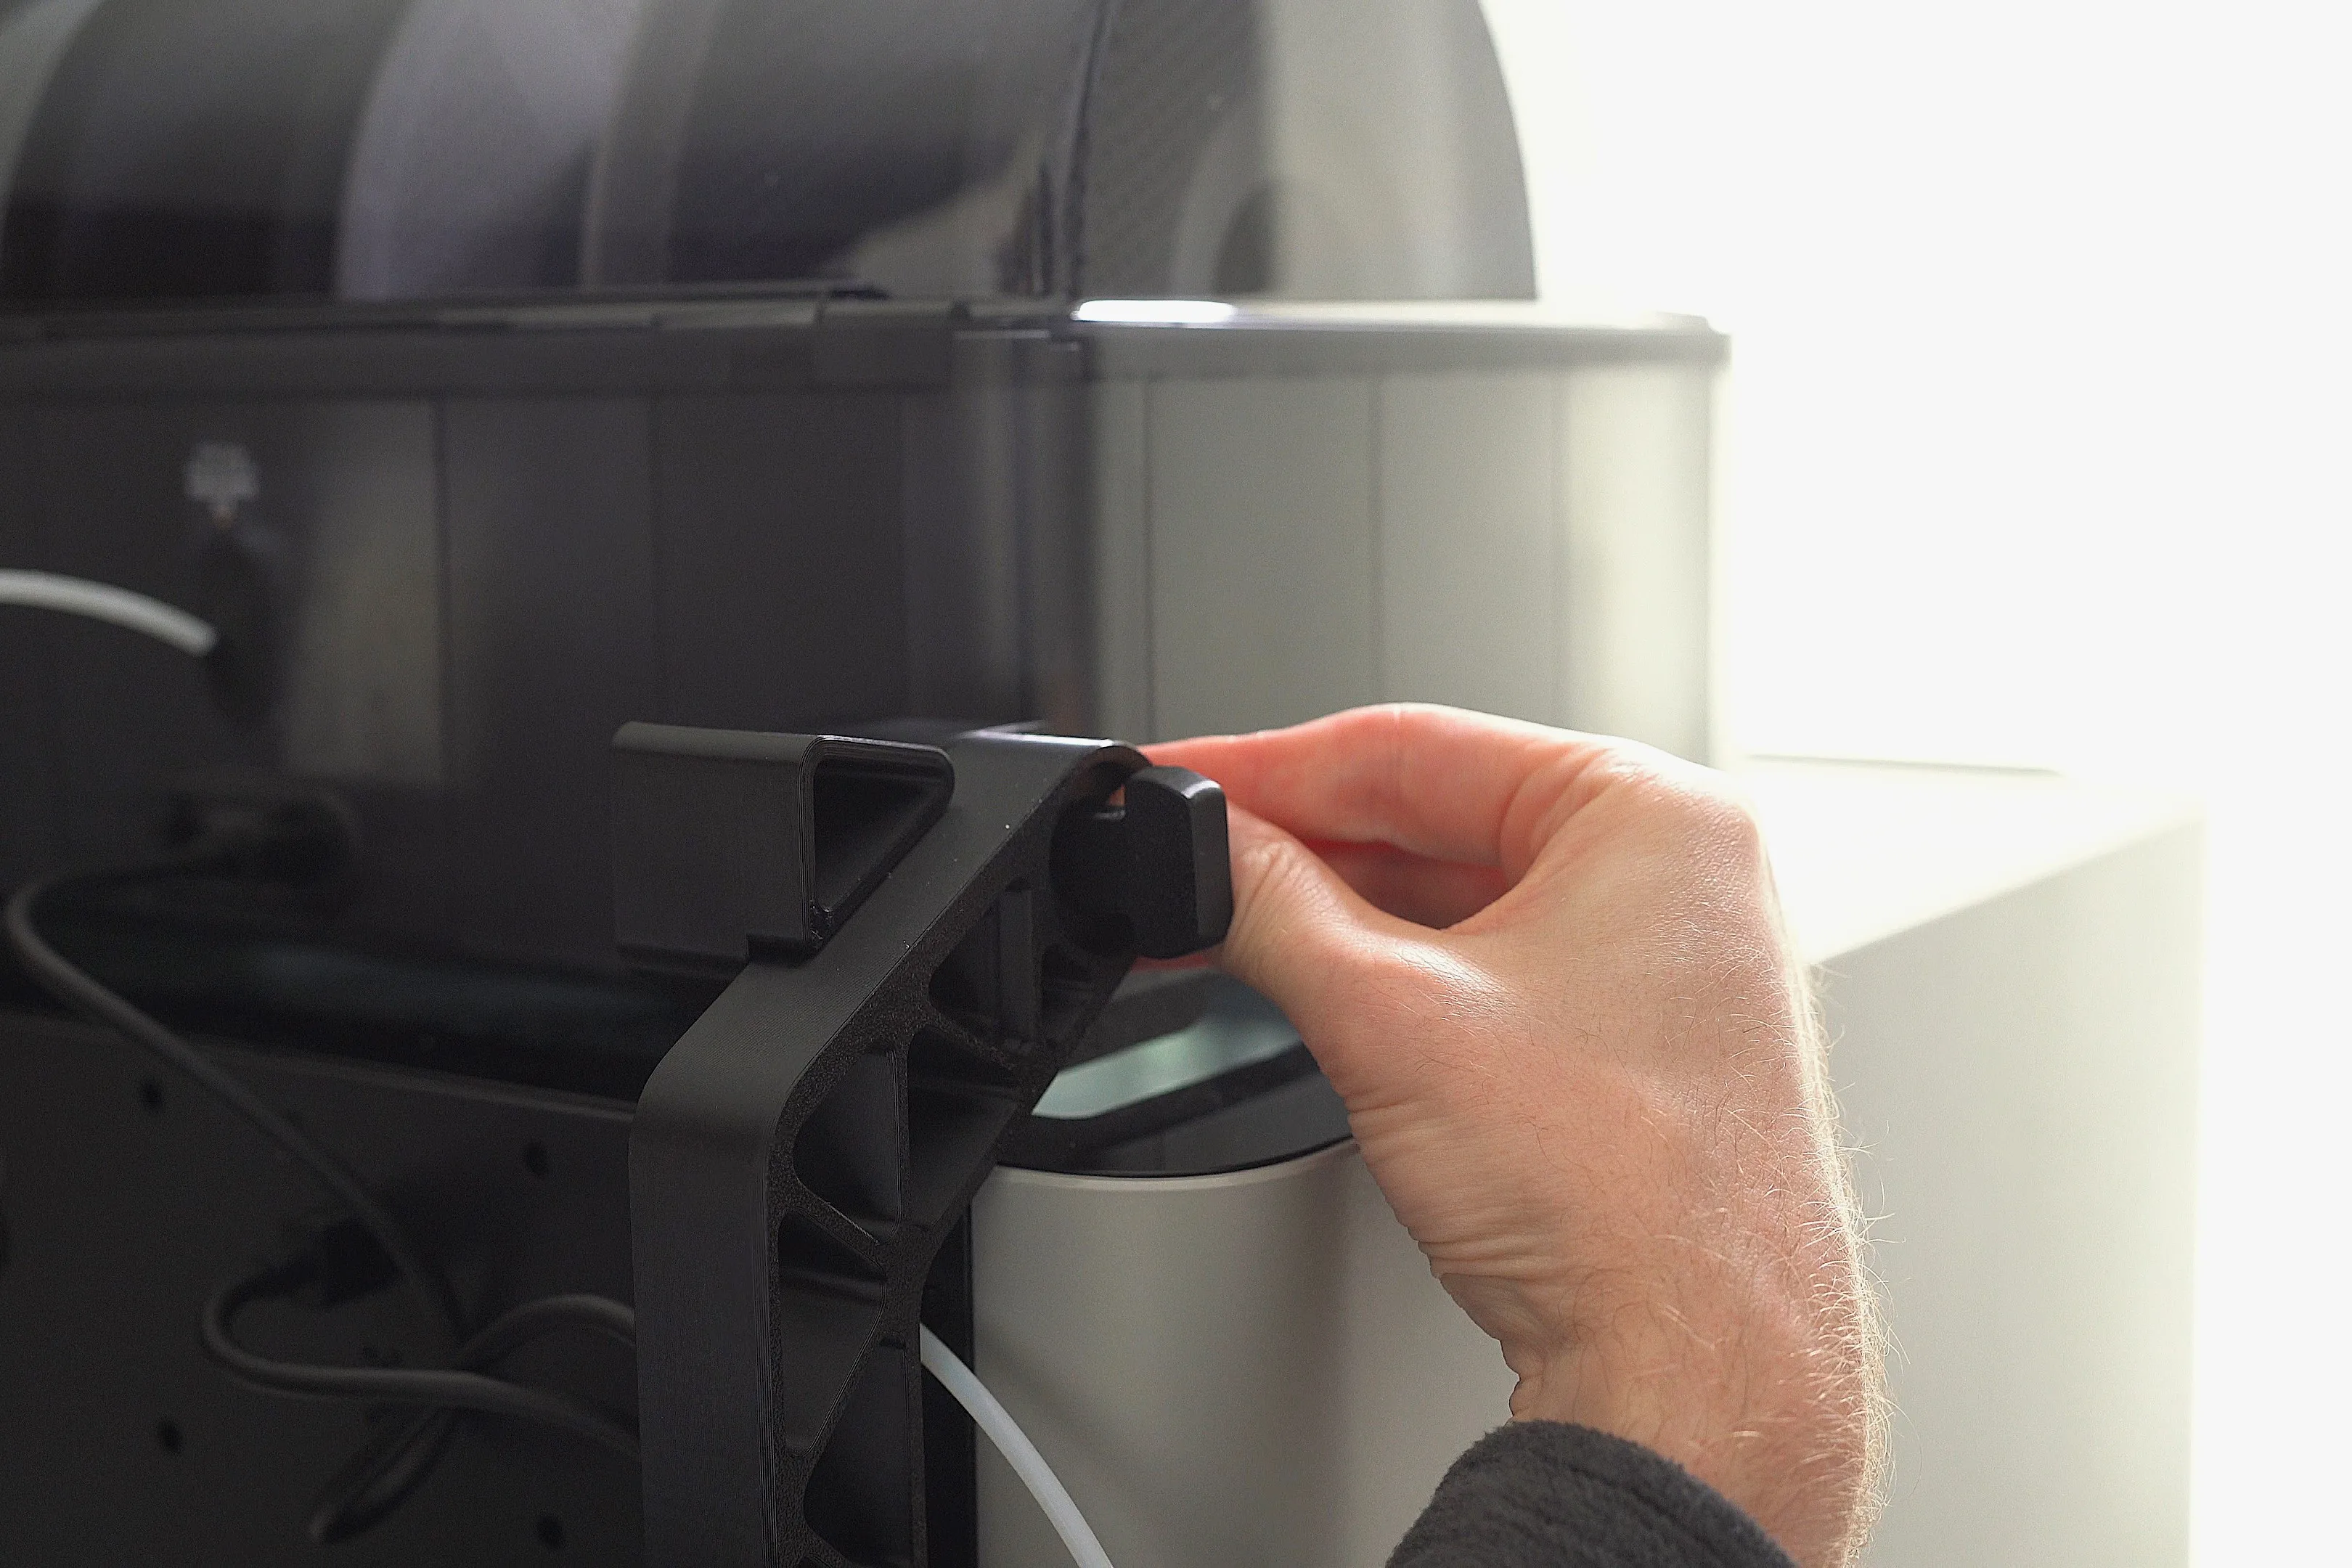
9. The last step is to secure the 3d printed Axis piece with the 3d printed screw. The more you tighten the screw the more friction the hinge has. You can adjust this by loosen the screw a little.
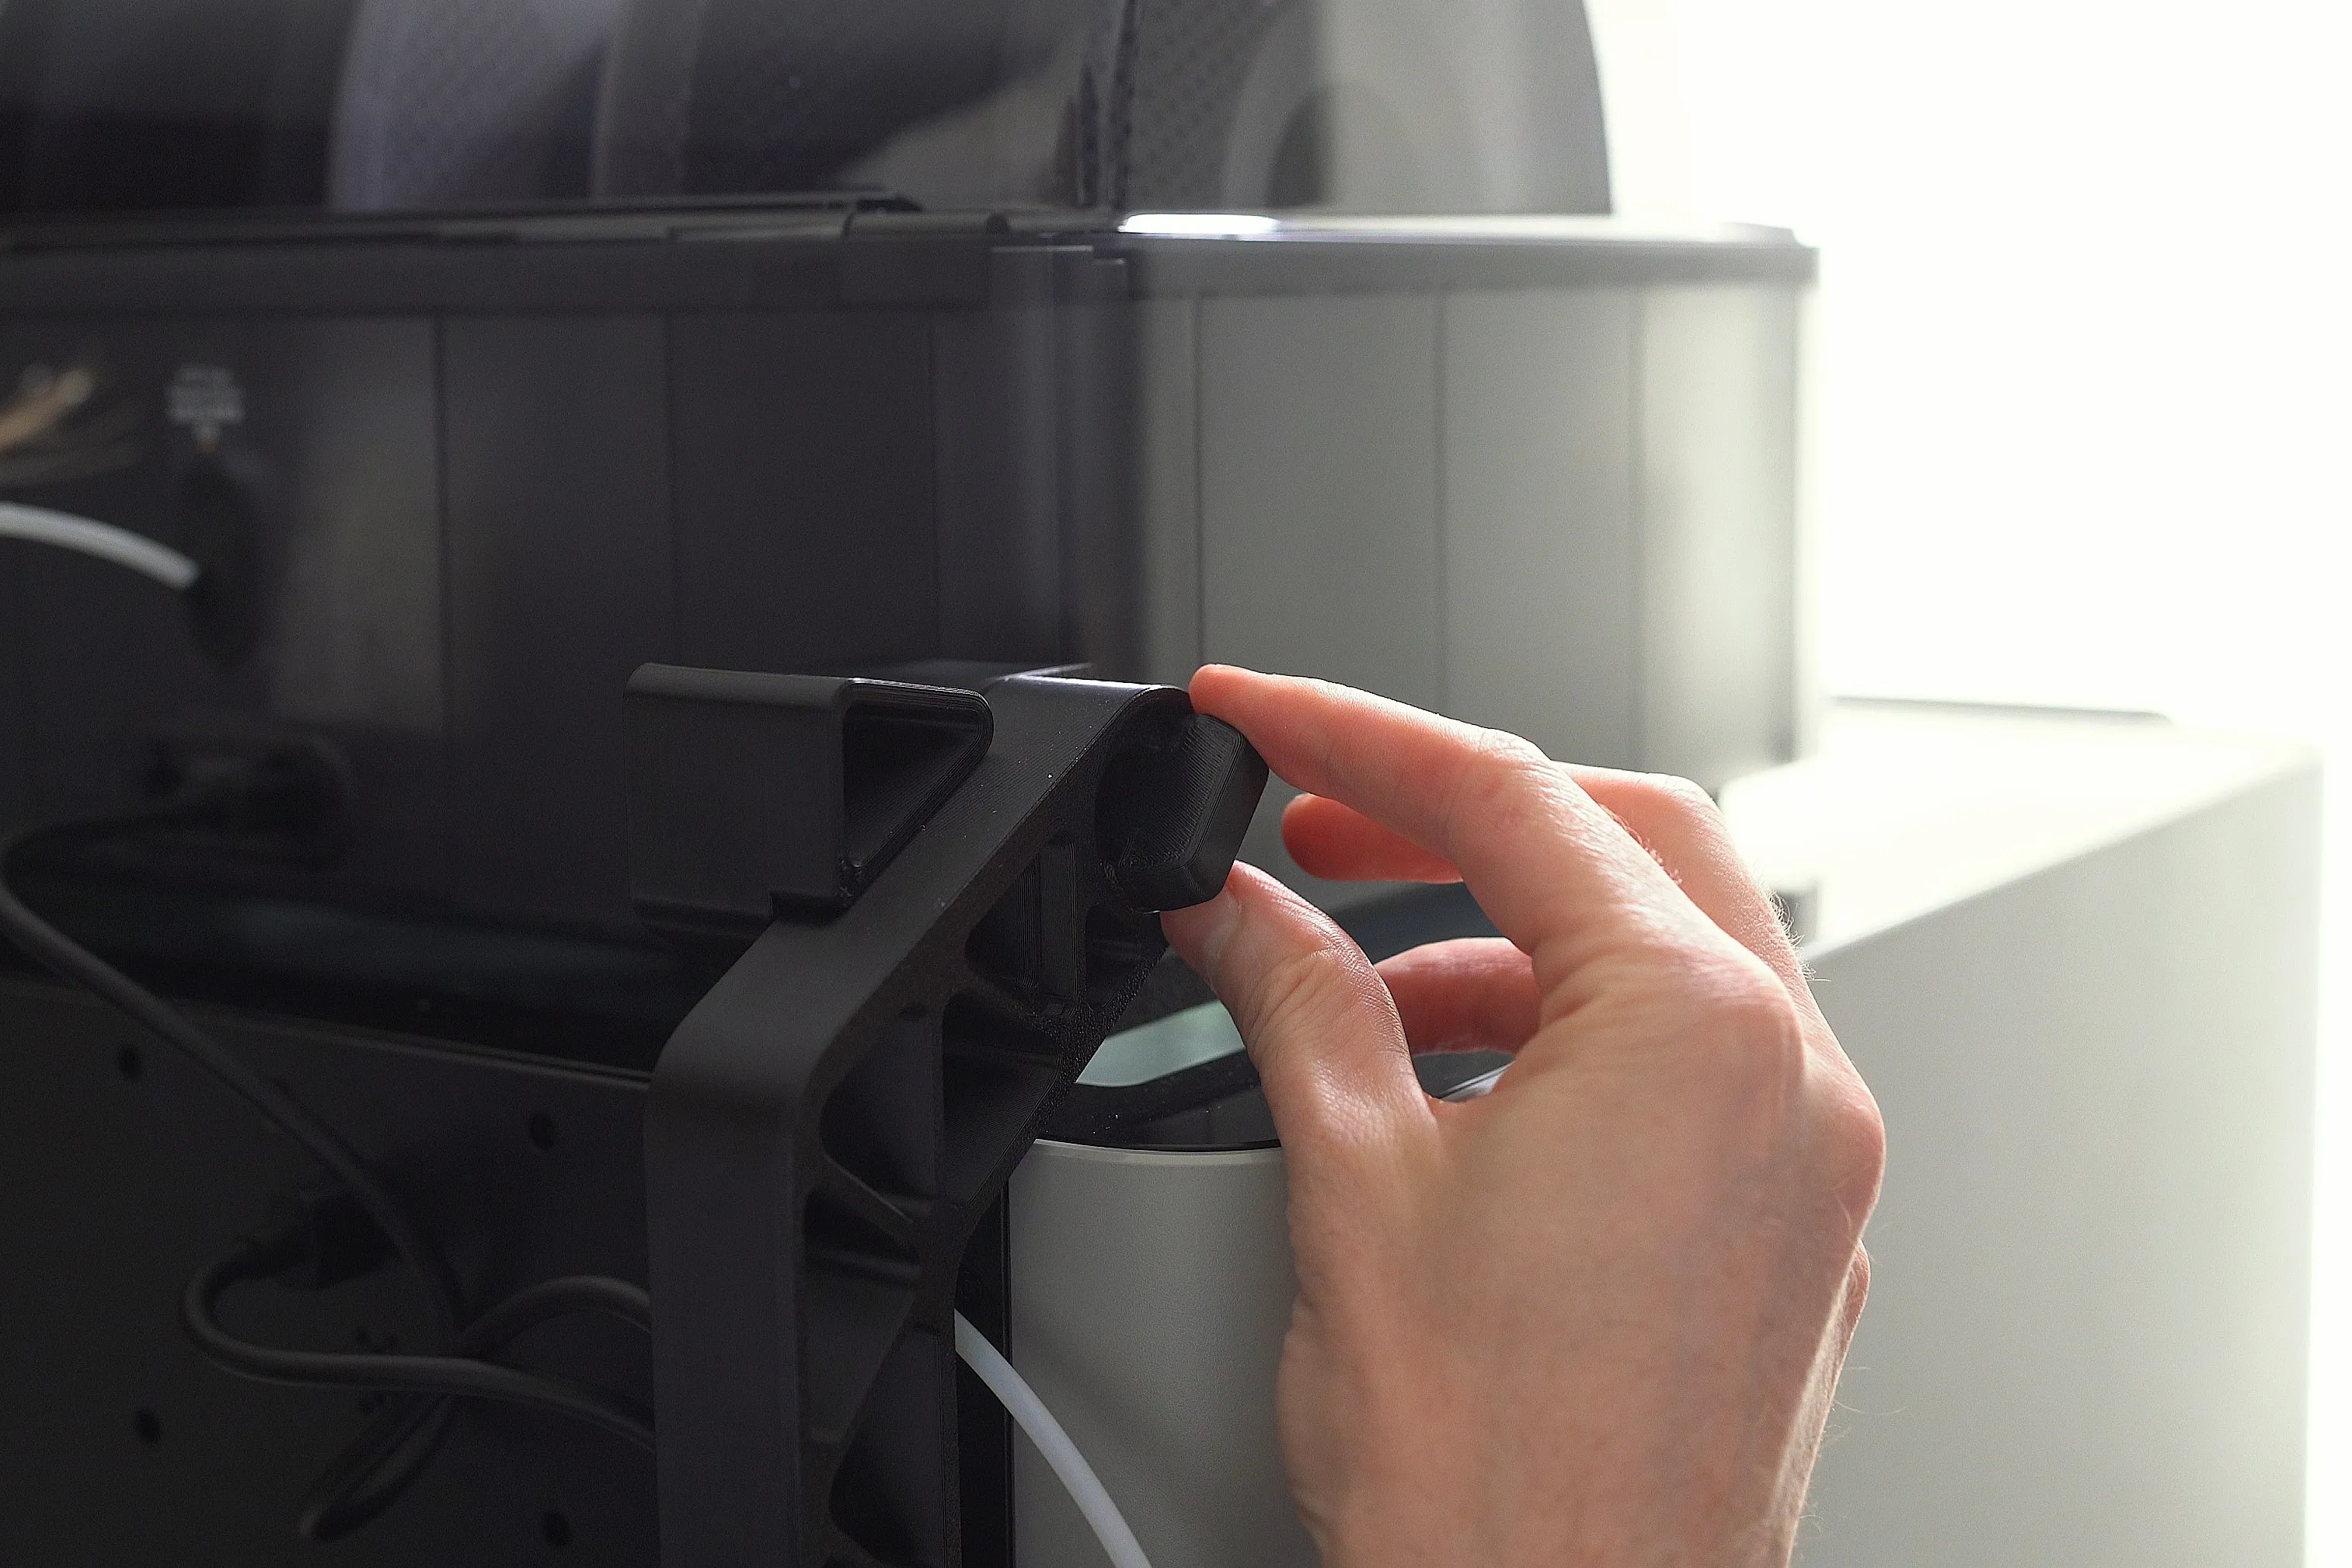
Now the H2 AMS Flipper is installed and you can use it.
When lowering the AMS make sure that you doing it slowly, so it does not brake the glass.
Print recommendation:
All parts are designed to print without supports and can fit all at once on a single 320x320 buildplate.
I printed the brackets in Bambu Lab ABS, and scaled it to 100.5% to accommodate for any shrinkage (3MF of that print included).
PETg is an alternative, but I would avoid PLA, as might warp from the heat of the printer.
License

You shall not share, sub-license, sell, rent, host, transfer, or distribute in any way the digital or 3D printed versions of this object, nor any other derivative work of this object in its digital or physical format (including - but not limited to - remixes of this object, and hosting on other digital platforms). The objects may not be used without permission in any way whatsoever in which you charge money, or collect fees.


Comment & Rating (1405)