
Mini Alarm Module
Print Profile(1)

Description
Authentic Prototype v1.1 Design
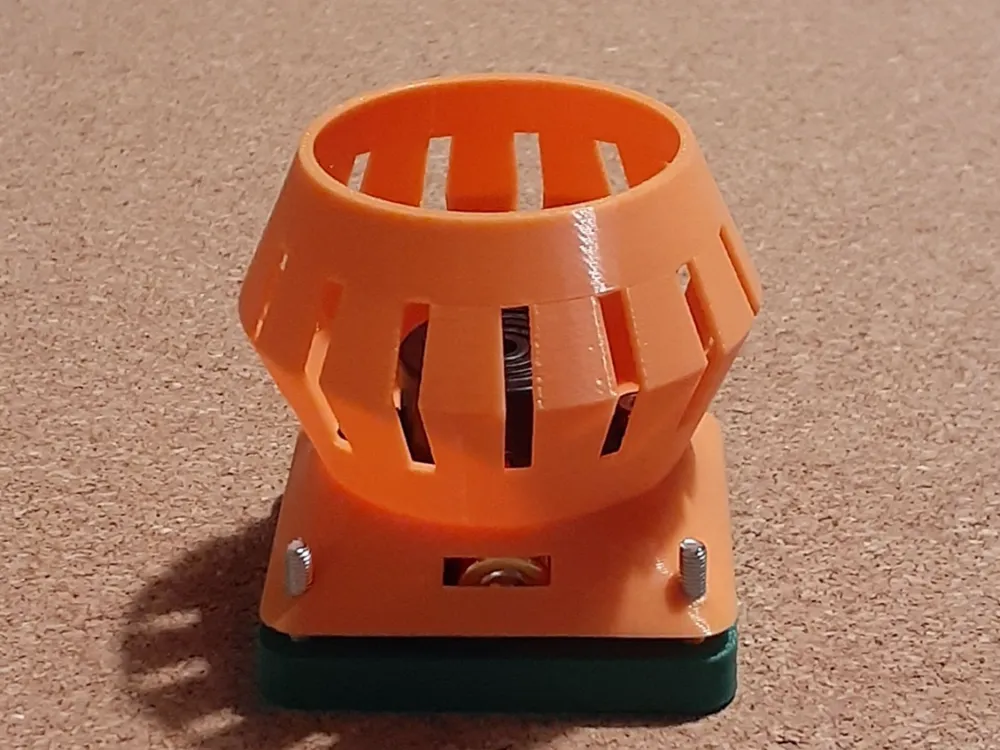
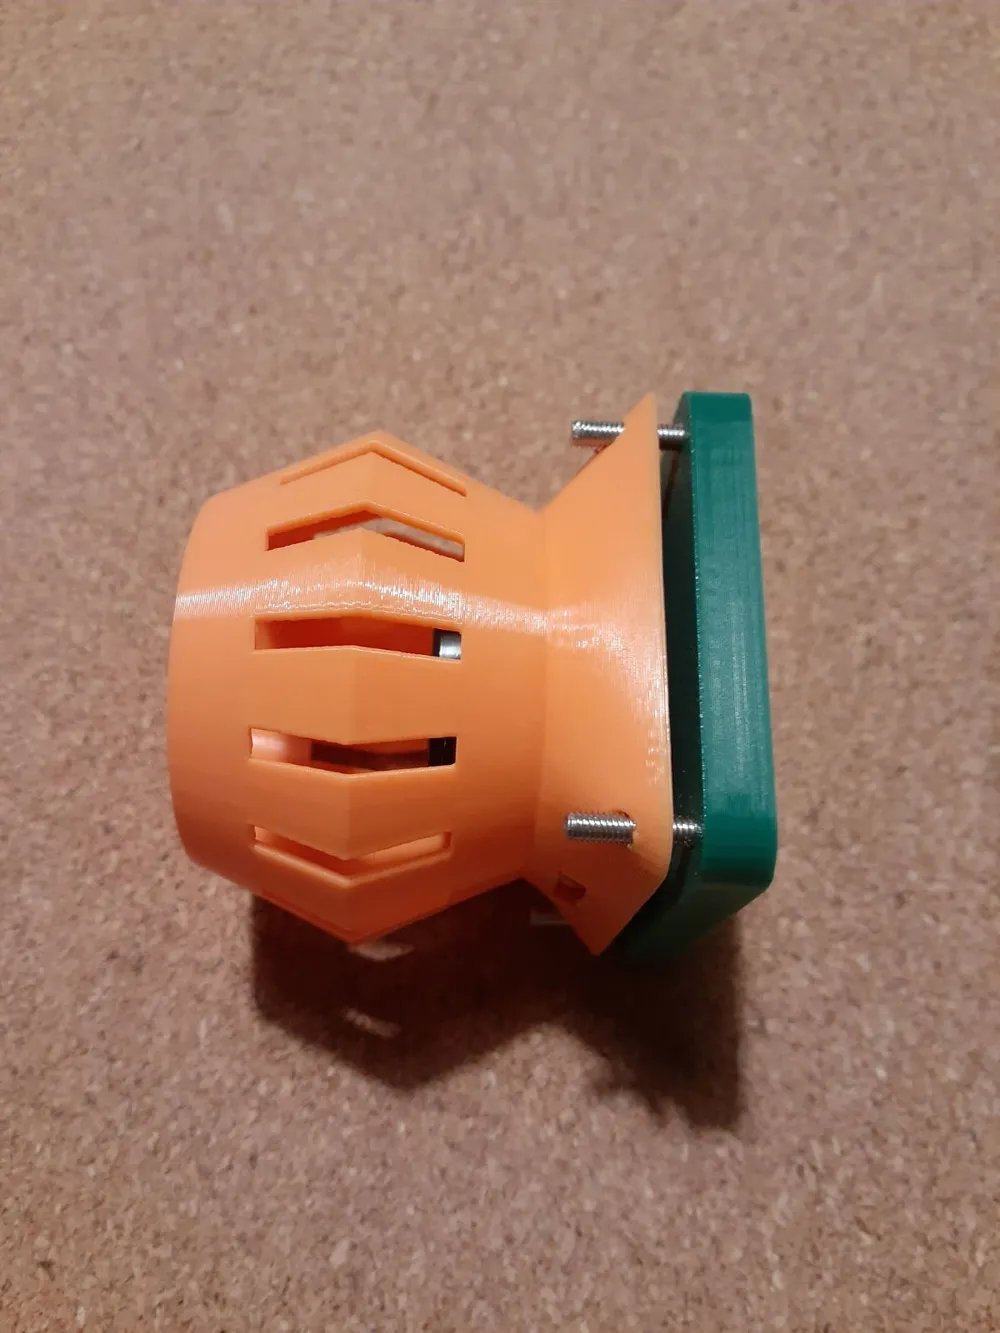
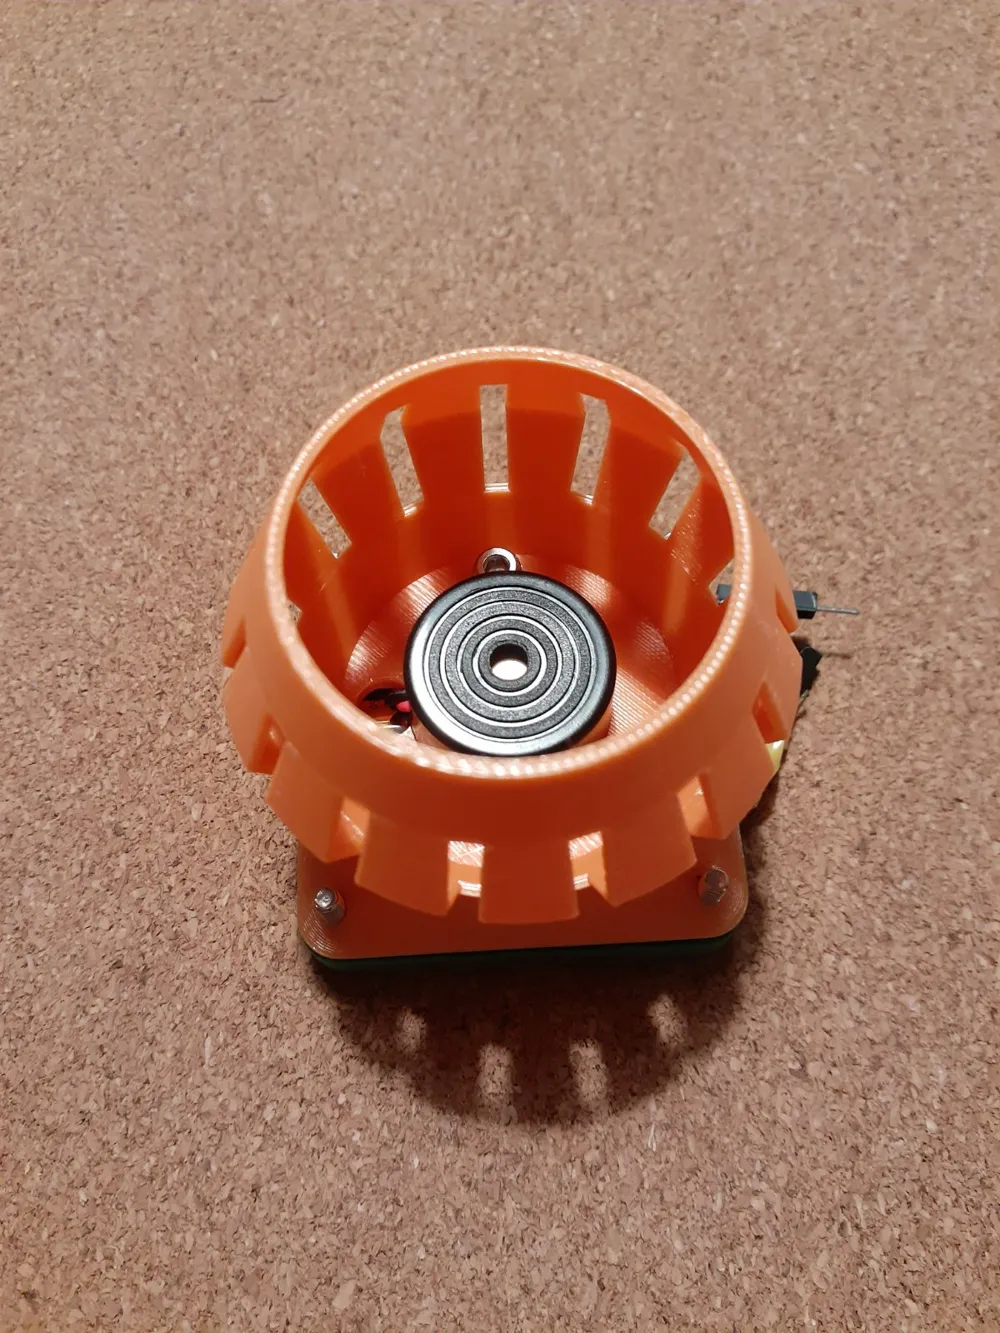
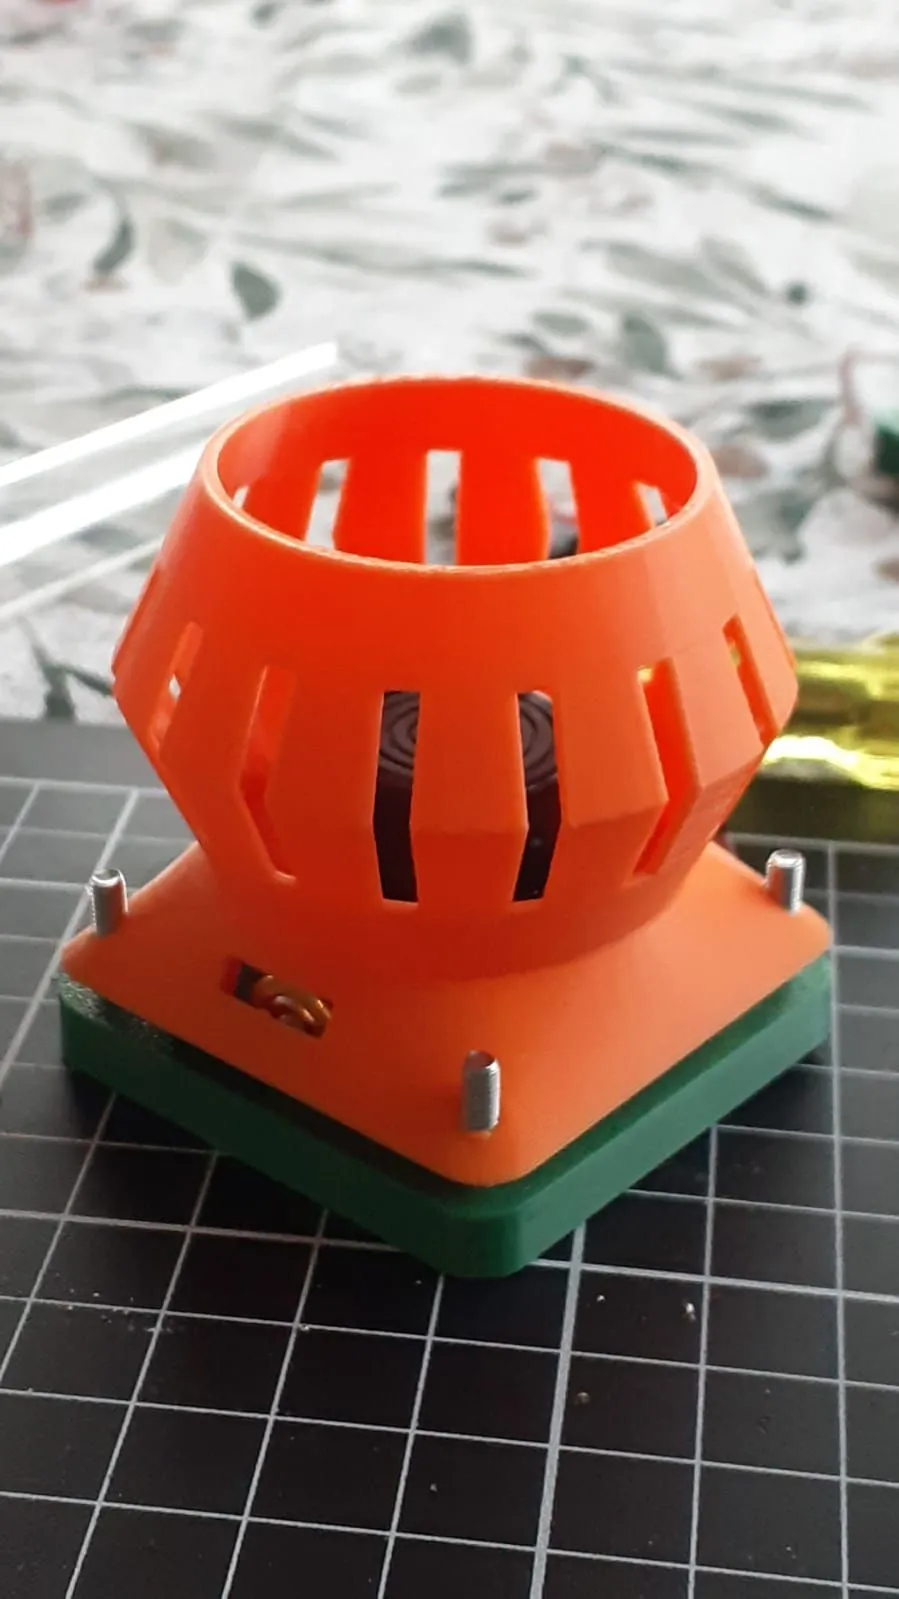
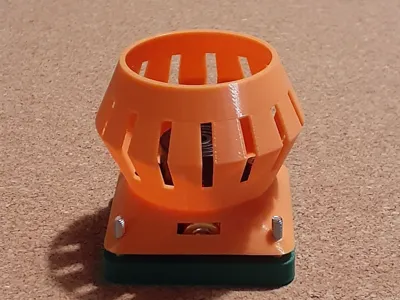
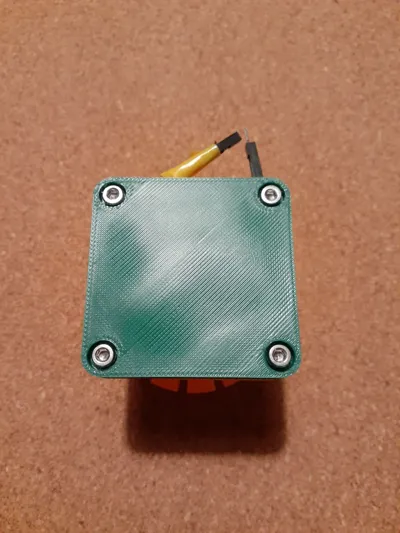
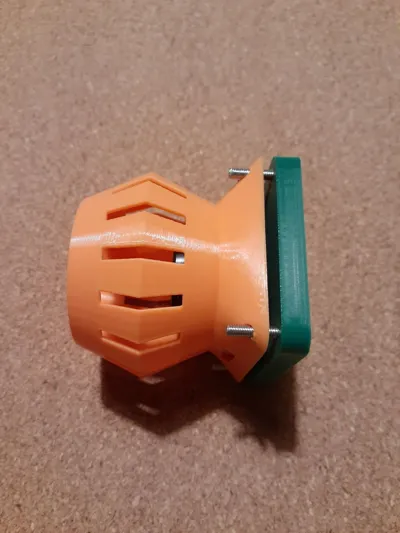
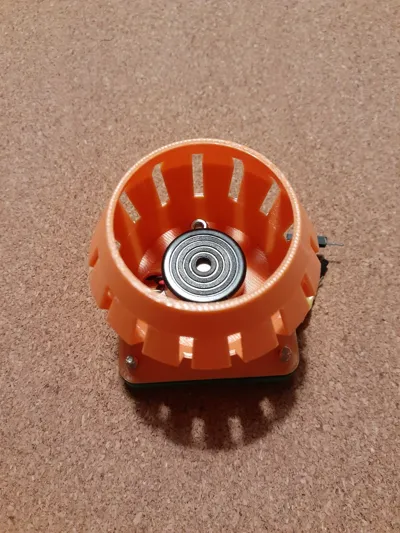
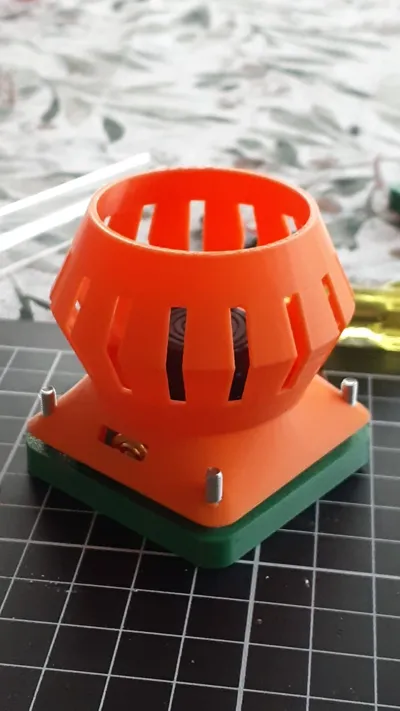
This mini alarm system is a compact build designed for both learning and practical applications. It features a carefully designed housing that holds all components securely in place while providing ventilation slots that allow sound from the internal buzzer to project outward. The base provides a stable foundation with mounting points for screws, ensuring that the assembly stays firmly together. Its small size makes it ideal for experimentation, desktop projects, or as a lightweight portable alarm system. The overall construction is simple yet robust, using easily accessible hardware for quick and efficient assembly.
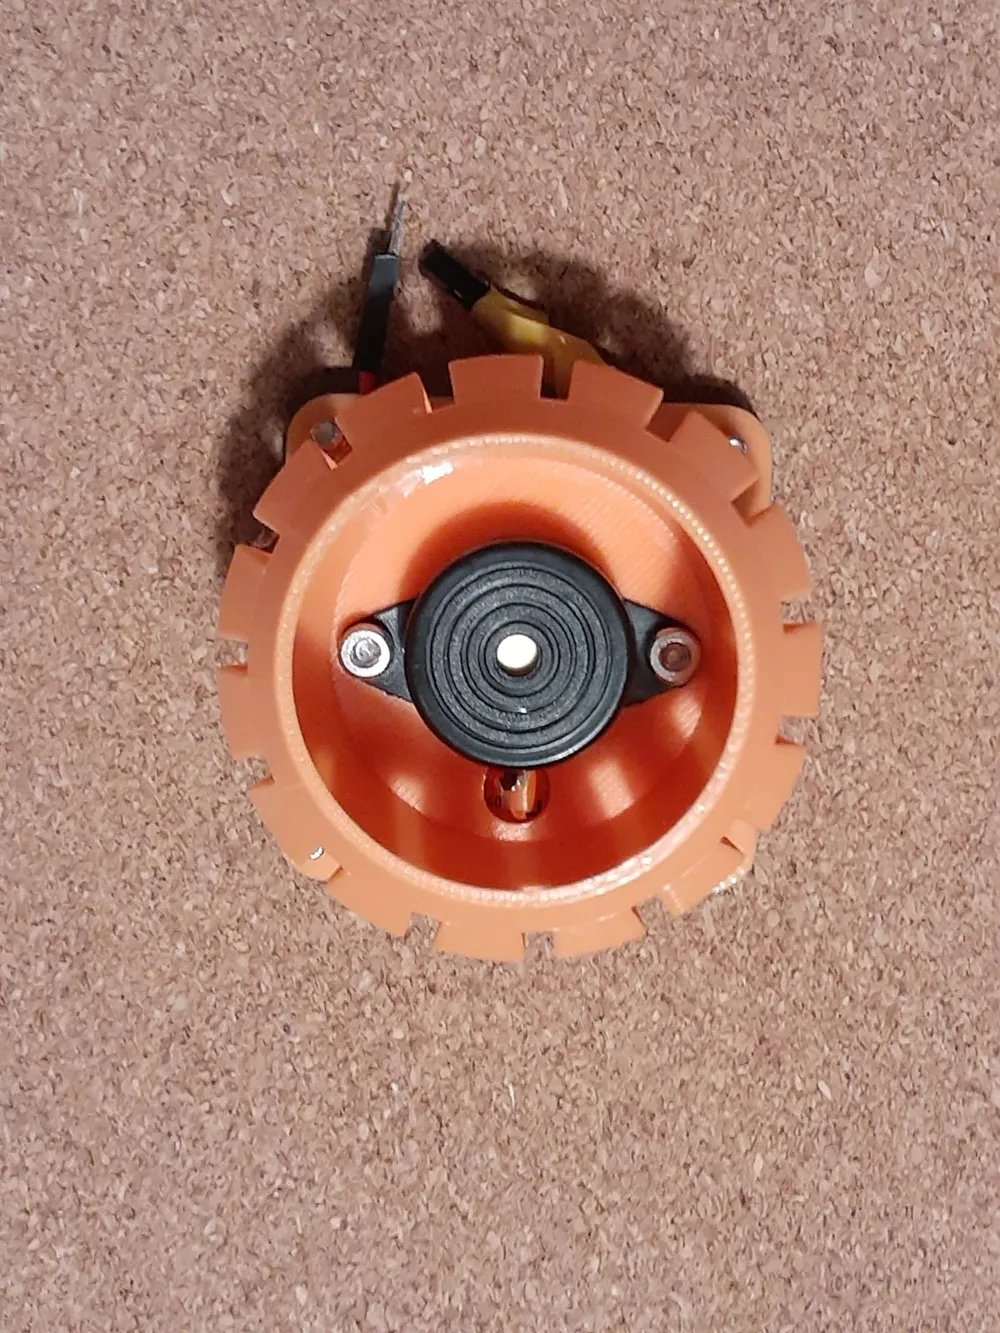
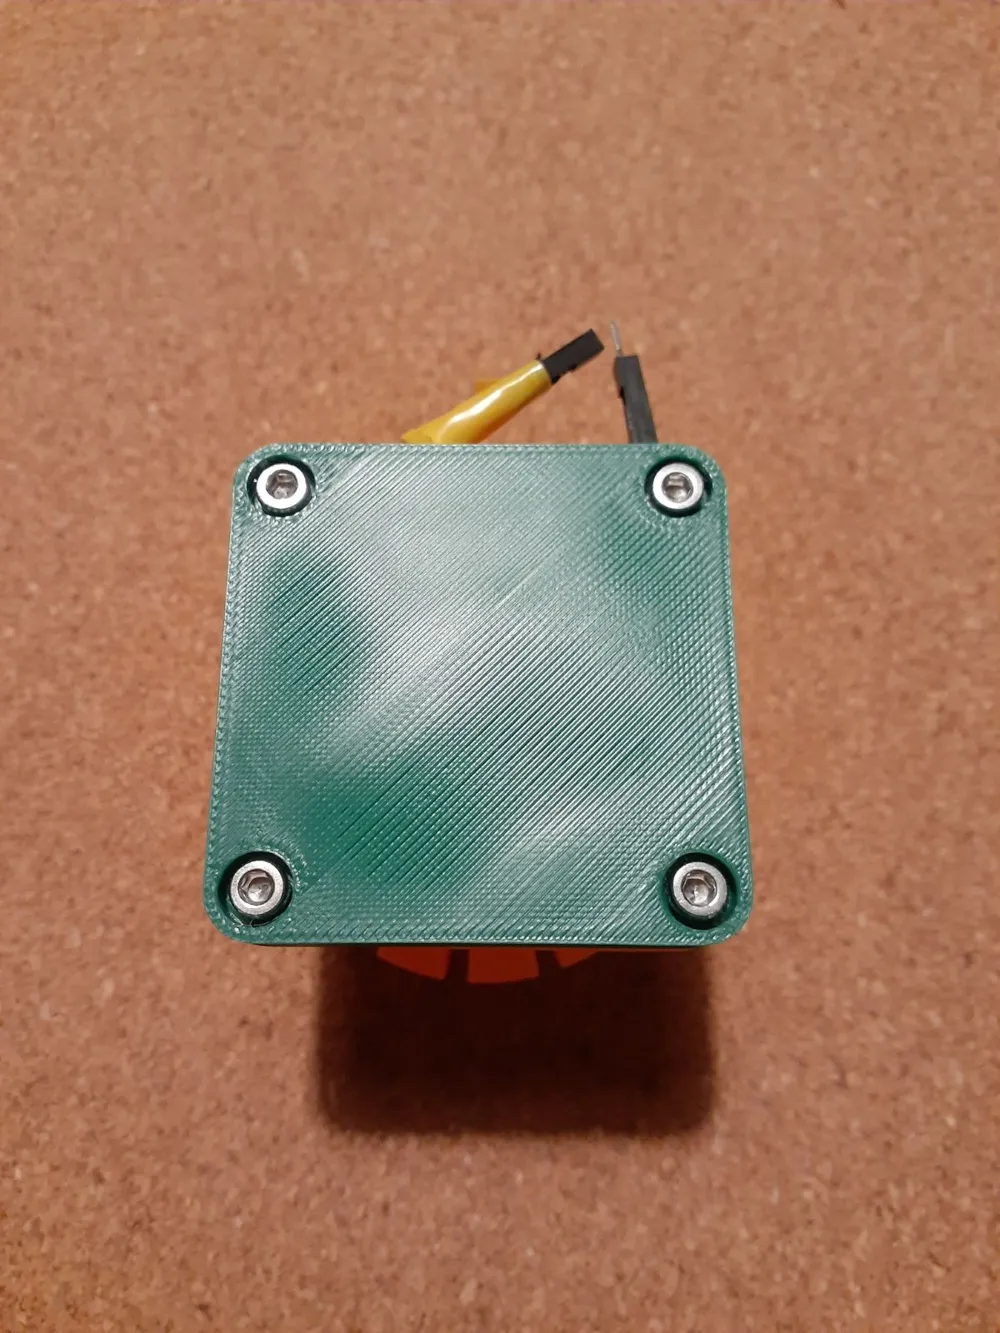
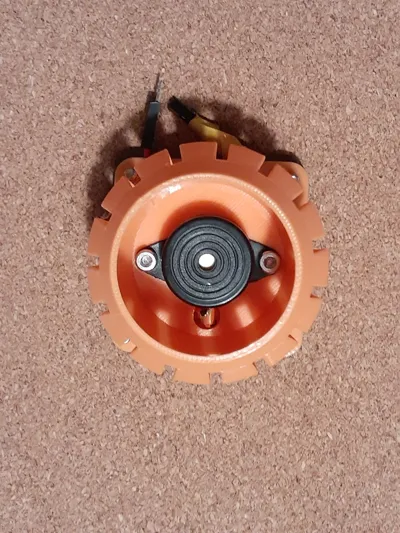
Power is supplied by a single AAA battery, which keeps the system lightweight and energy-efficient. Despite its small size, the battery provides ample power to drive the alarm circuit. The housing is assembled using four M3x16 socket head screws, which fasten the body directly into the base without requiring nuts. To secure the buzzer inside the housing, two M3x10 socket head screws are used along with two M3 hex nuts, ensuring the component is held firmly in place. This separation of hardware roles keeps the system both stable and serviceable, making assembly and disassembly straightforward.
This design balances functionality with simplicity. The vented cover protects the buzzer and internal components while also allowing sound to be projected effectively. The open structure allows easy access for maintenance, upgrades, or electronic modifications, making it suitable for beginners learning about circuitry as well as hobbyists who enjoy customizing small systems. With its modular design and reliance on standard screws and a single battery, the mini alarm system is both practical and adaptable, offering a strong example of how a straightforward design can achieve reliability and usability in a compact form.
Parts List:
- 4 × M3x16 socket head screws
- 2 × M3x10 socket head screws
- 2 × M3 hex nuts (for buzzer mount)
- 1 × AAA battery
- 3D-printed housing and base
- Buzzer (more detail to come)
Assembly Guide:
- Place the buzzer inside the housing.
- Insert the two M3x10 socket head screws through the buzzer mounts and secure each with an M3 hex nut.
- Position the housing onto the baseplate, aligning the screw holes.
- Insert the AAA battery into its holder and connect it to the circuit.
- Fasten the housing to the base using the four M3x16 socket head screws (no nuts required).
- Verify that the buzzer is secure and the housing is stable before powering on.
License

You shall not share, sub-license, sell, rent, host, transfer, or distribute in any way the digital or 3D printed versions of this object, nor any other derivative work of this object in its digital or physical format (including - but not limited to - remixes of this object, and hosting on other digital platforms). The objects may not be used without permission in any way whatsoever in which you charge money, or collect fees.


Comment & Rating (0)