
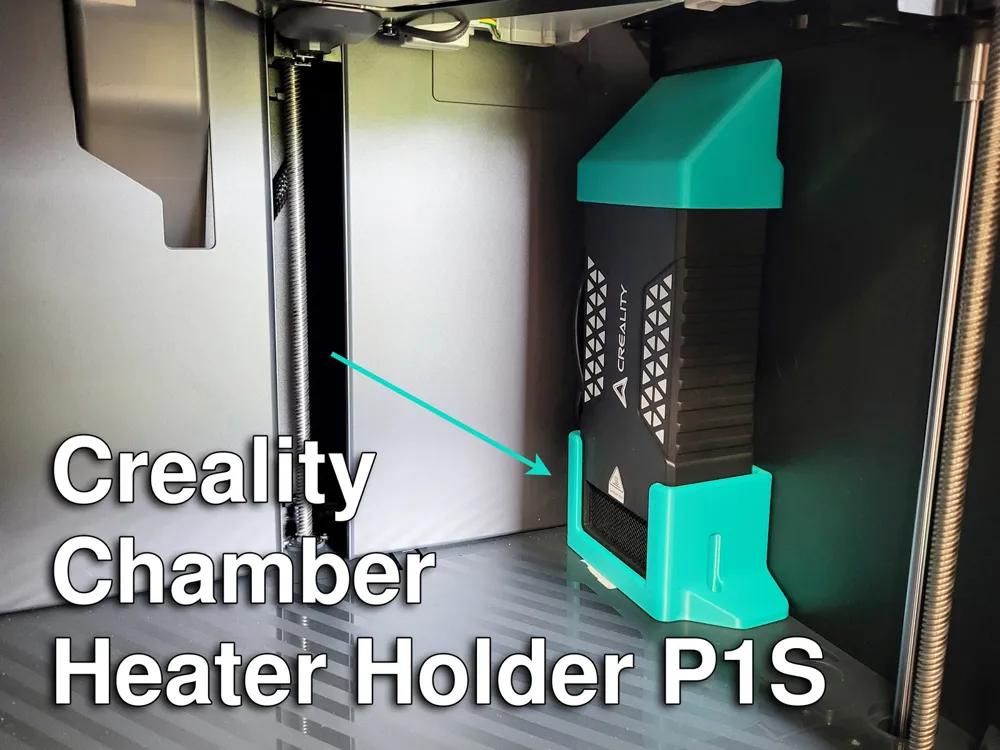
Creality Chamber Heater Holder for P1S
Print Profile(2)


Description
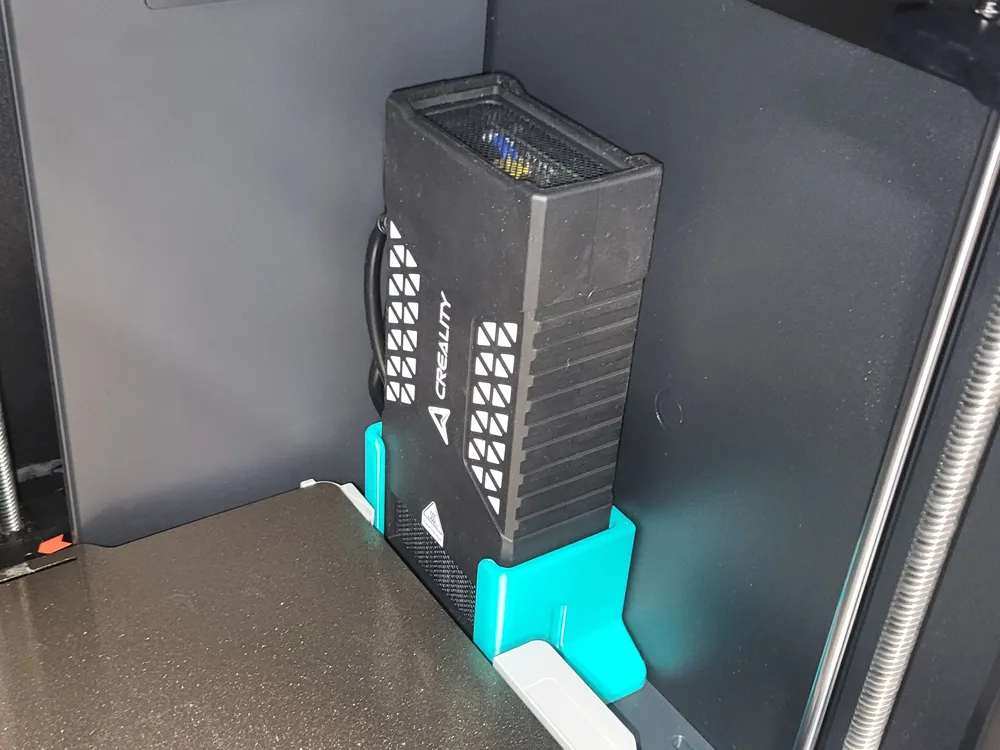
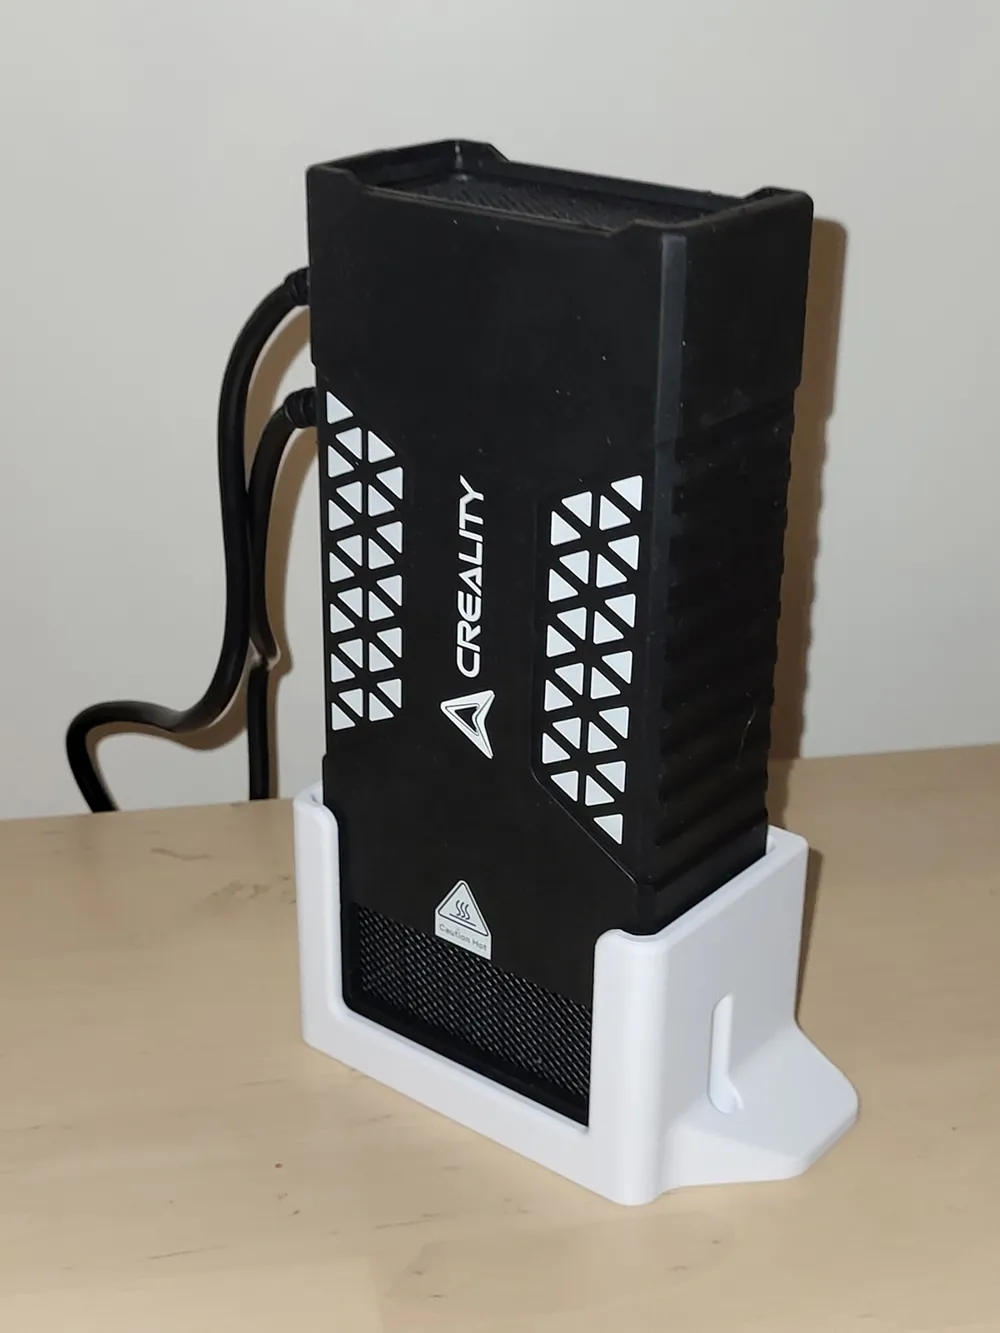
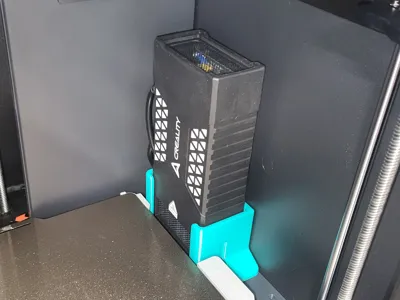
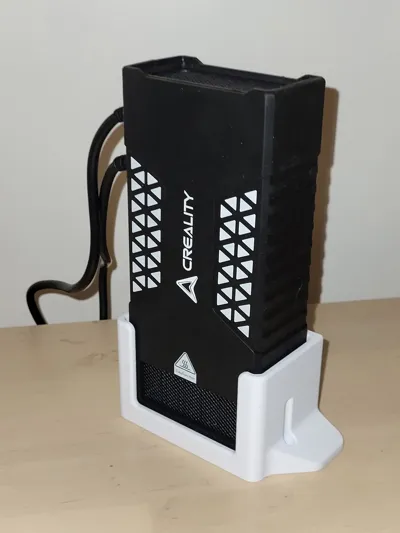
This is a holder for the Creality Chamber Heater to mount it in a P1S.
If you're interested in the air intake protection for the Creality Chamber Heater, you can find it here:
Creality Chamber Heater Air Intake Protection P1S
Boost Me (for free)
A lot of iteration was printed to get the fit working well.
Please consider giving a boost if you find this item helpful, it helps recover some of the cost of filament wasted during development!
Size
The size of this holder has been adjusted to be printed in Bambu Lab ASA that tend to shrink ~0.5% on this part.
If you're using a different ASA or material, please download the file to your computer and scale it accordingly to counter shrinkage.
(Currently at 100.5% X/Y size in slicer profile for ASA).
Mounting
Use plastic screws, that was taken out of the P1S during the unboxing process, to mount the holder to the base.
Routing cables, an example:
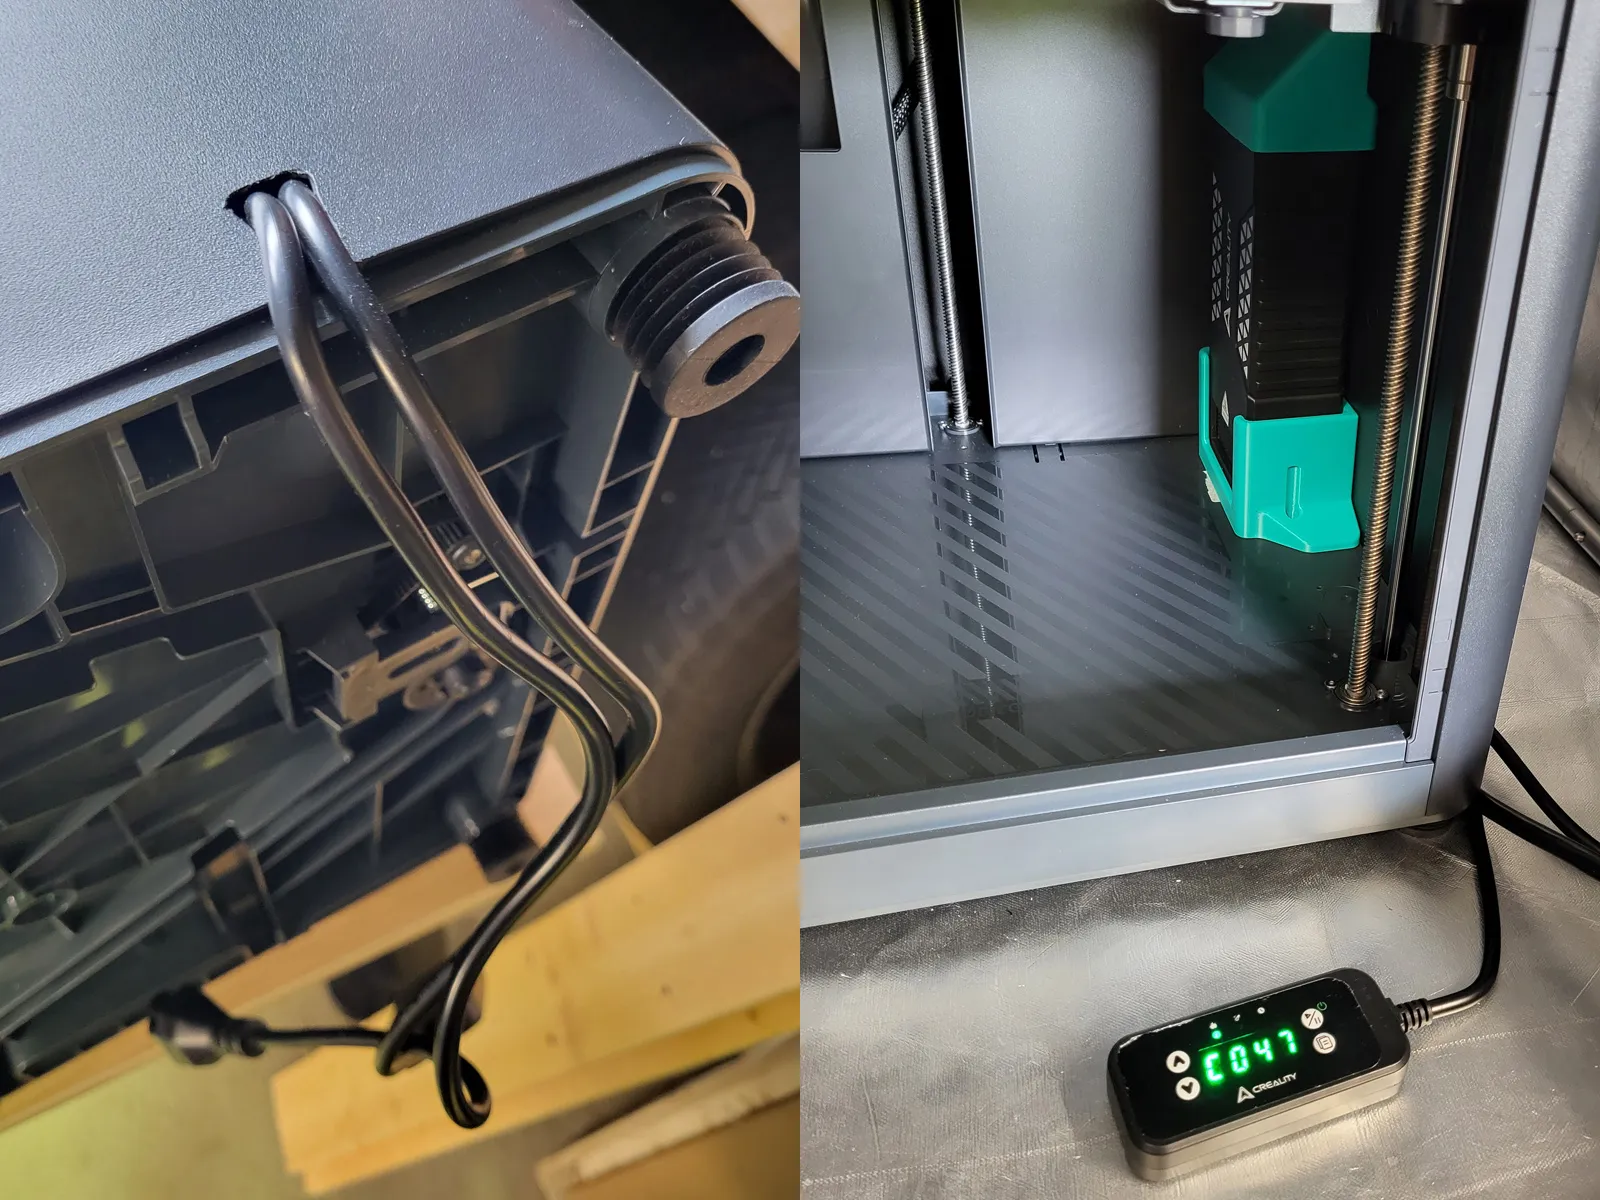
You can route the two cables from the heater to the outside anyway you like, but here is an example of how I did it.
If I ever need to revert the printer back into original condition, the plastic panel cost just $20 to replace.
Unscrew the back metal plate of the P1S.
Unscrew the right plastic cover for the P1S on the top, bottom and back screws (I did not have to remove the front screws).
Lift the panel and cut an opening right where the back/bottom snap of the cover is, large enough to pull the cables through.
With a dremel or similar tool, it took me ~5 minutes to cut the opening.
Place the heater inside the holder, and pull the cables out between the chassis and plastic panel.
Screw the plastic panel back in place as well as the rear metal plate.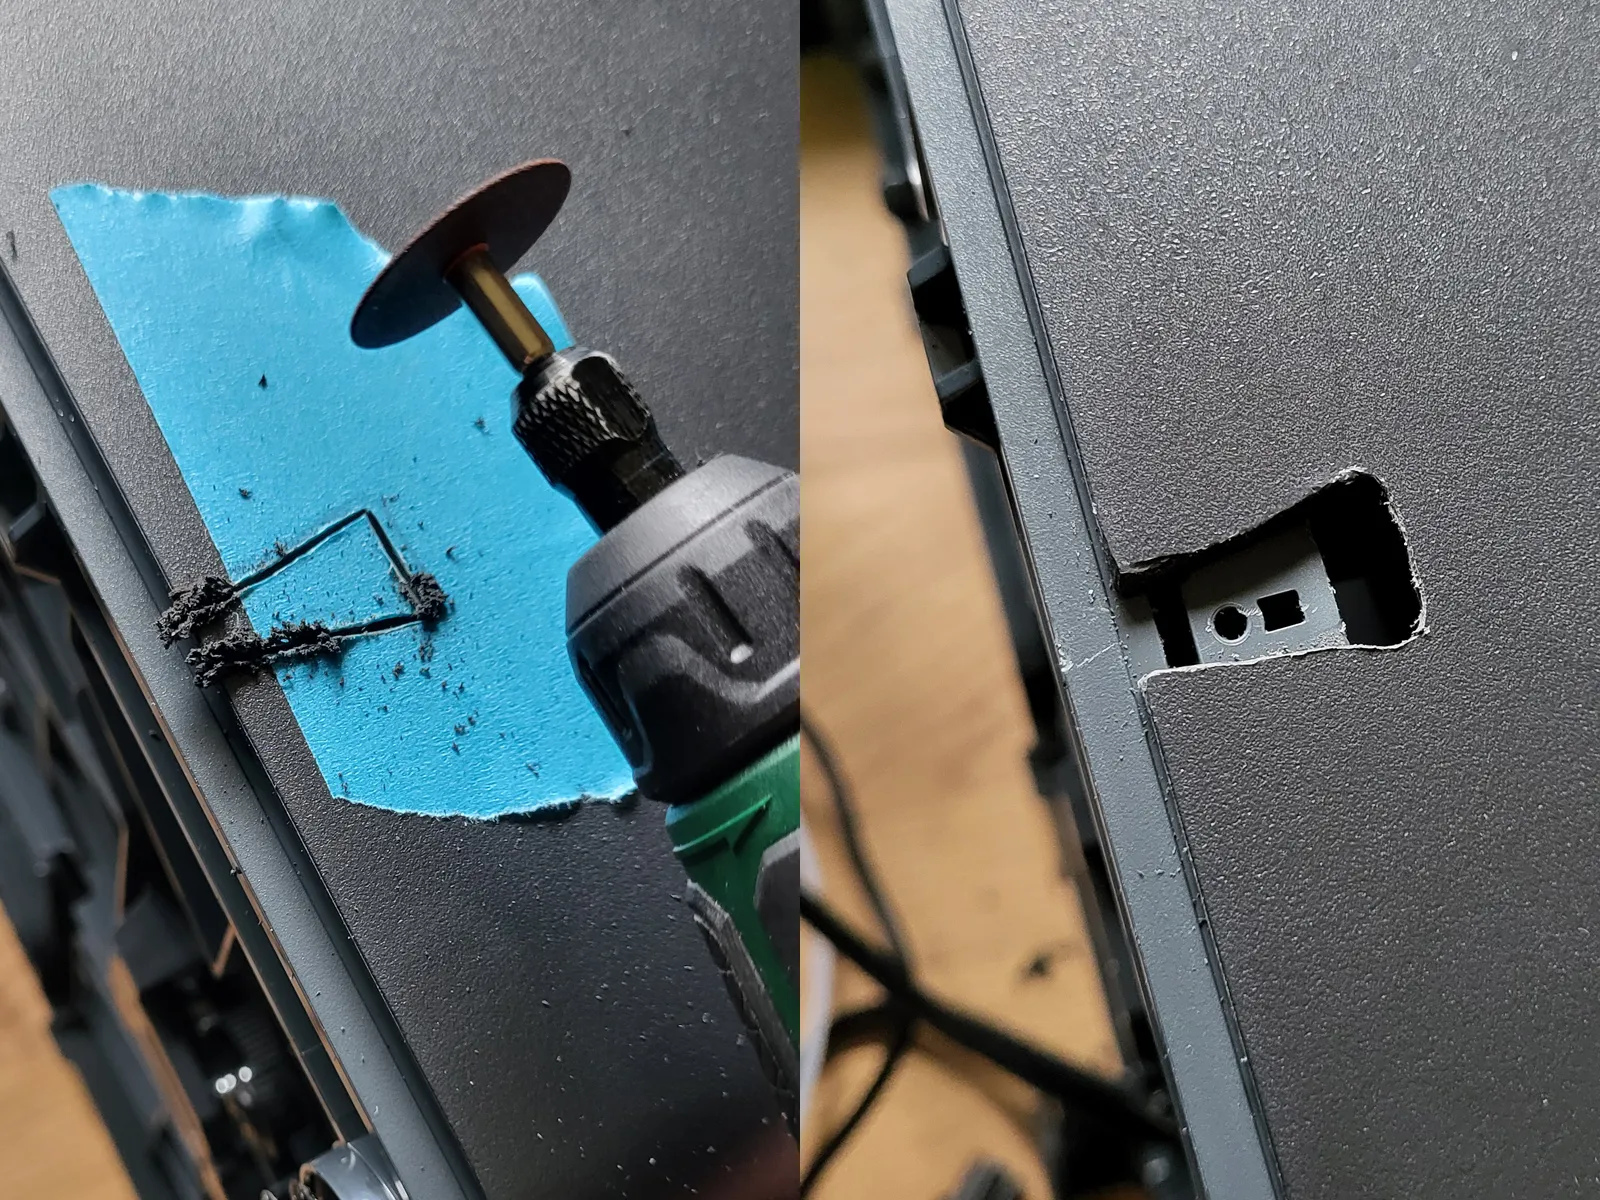
License

You shall not share, sub-license, sell, rent, host, transfer, or distribute in any way the digital or 3D printed versions of this object, nor any other derivative work of this object in its digital or physical format (including - but not limited to - remixes of this object, and hosting on other digital platforms). The objects may not be used without permission in any way whatsoever in which you charge money, or collect fees.


Comment & Rating (29)