
EcoFlow Glow - flexible light for EcoFlow -
Print Profile(1)

Bill of Materials

Description
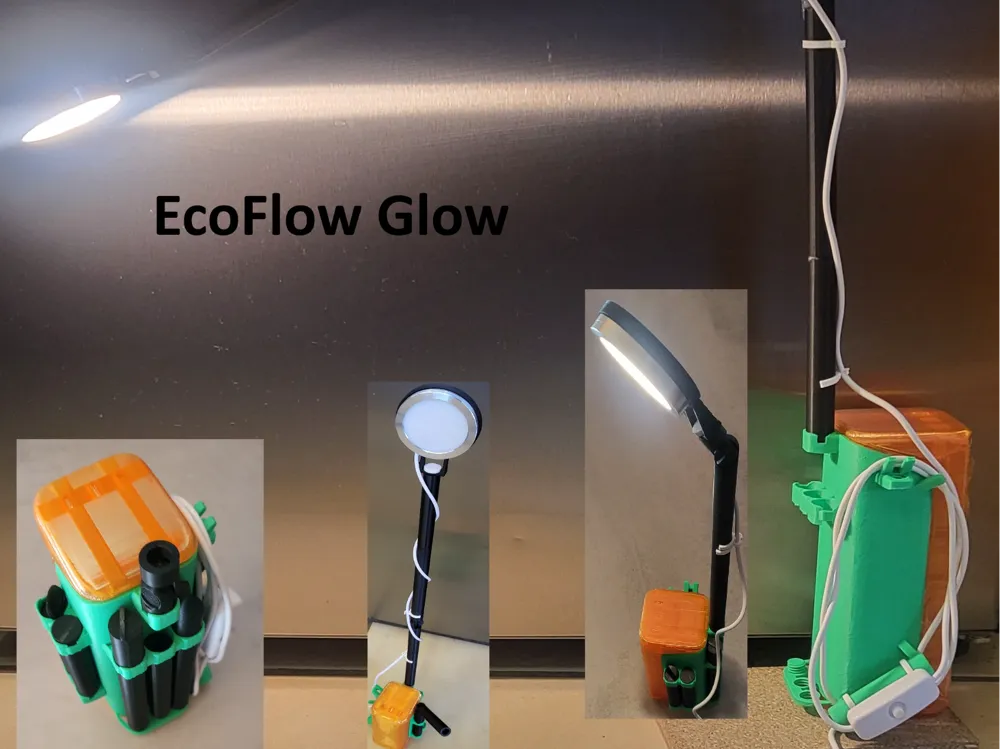
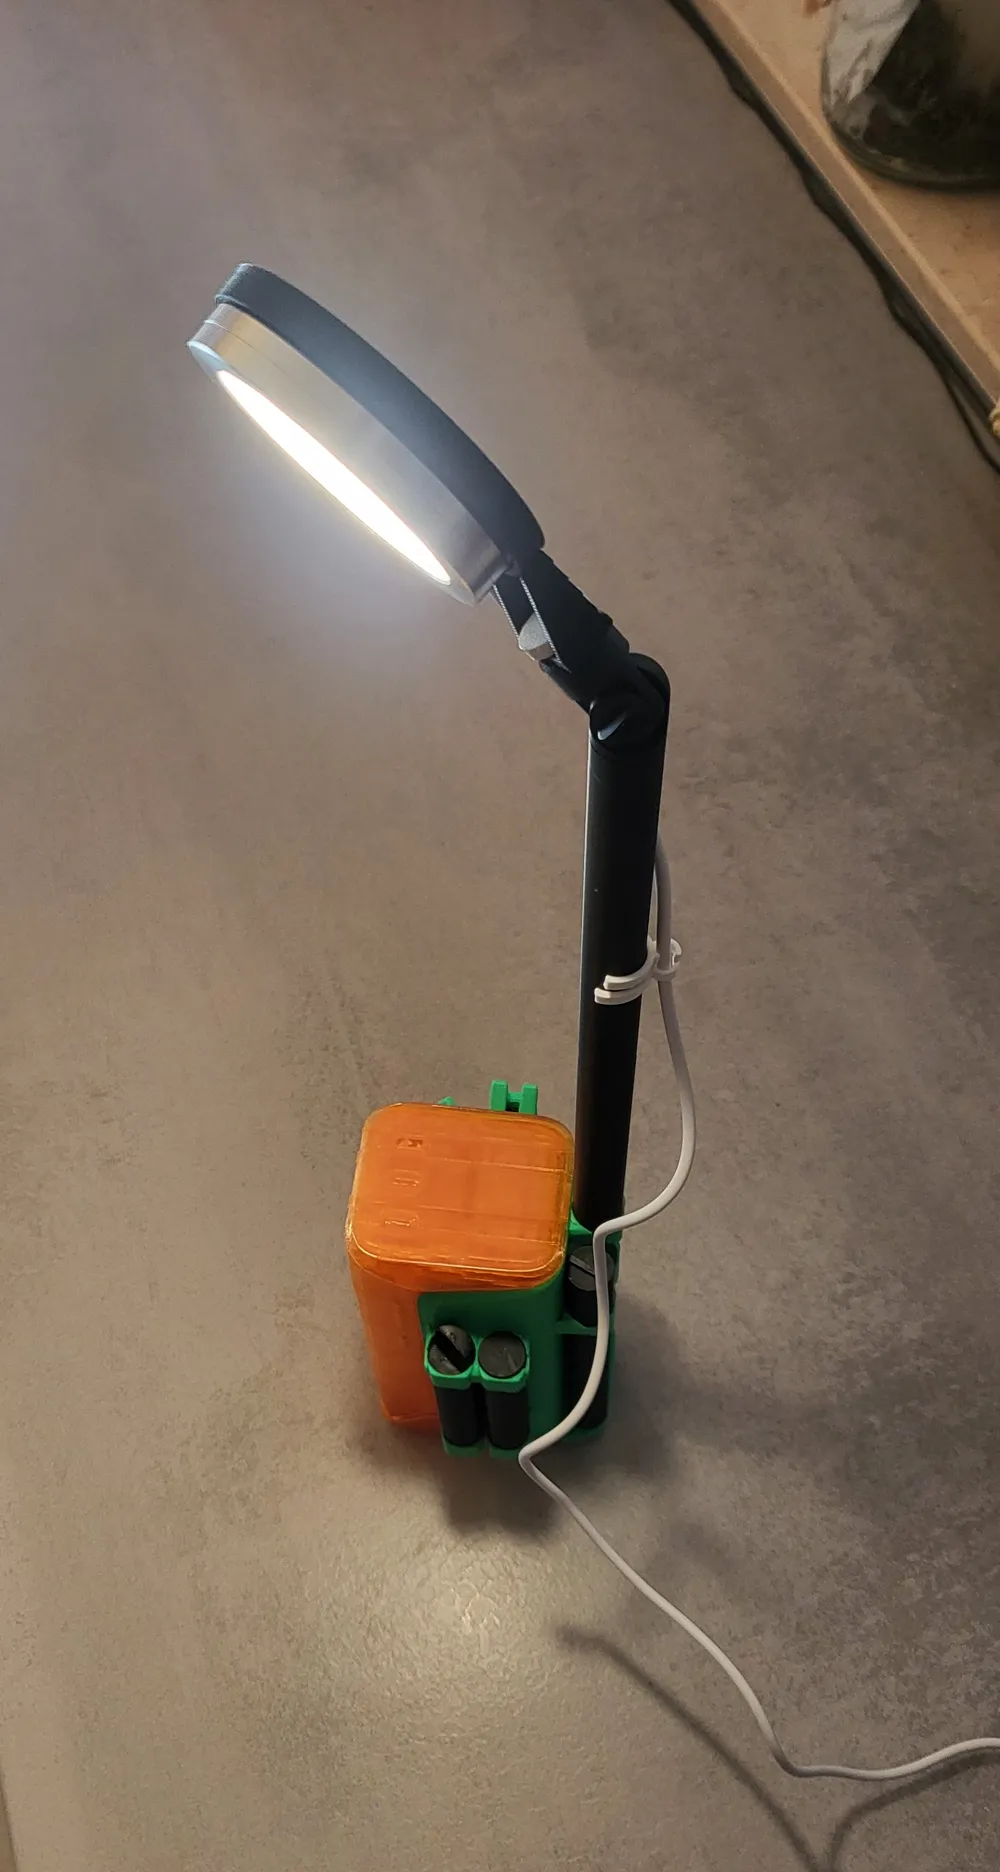
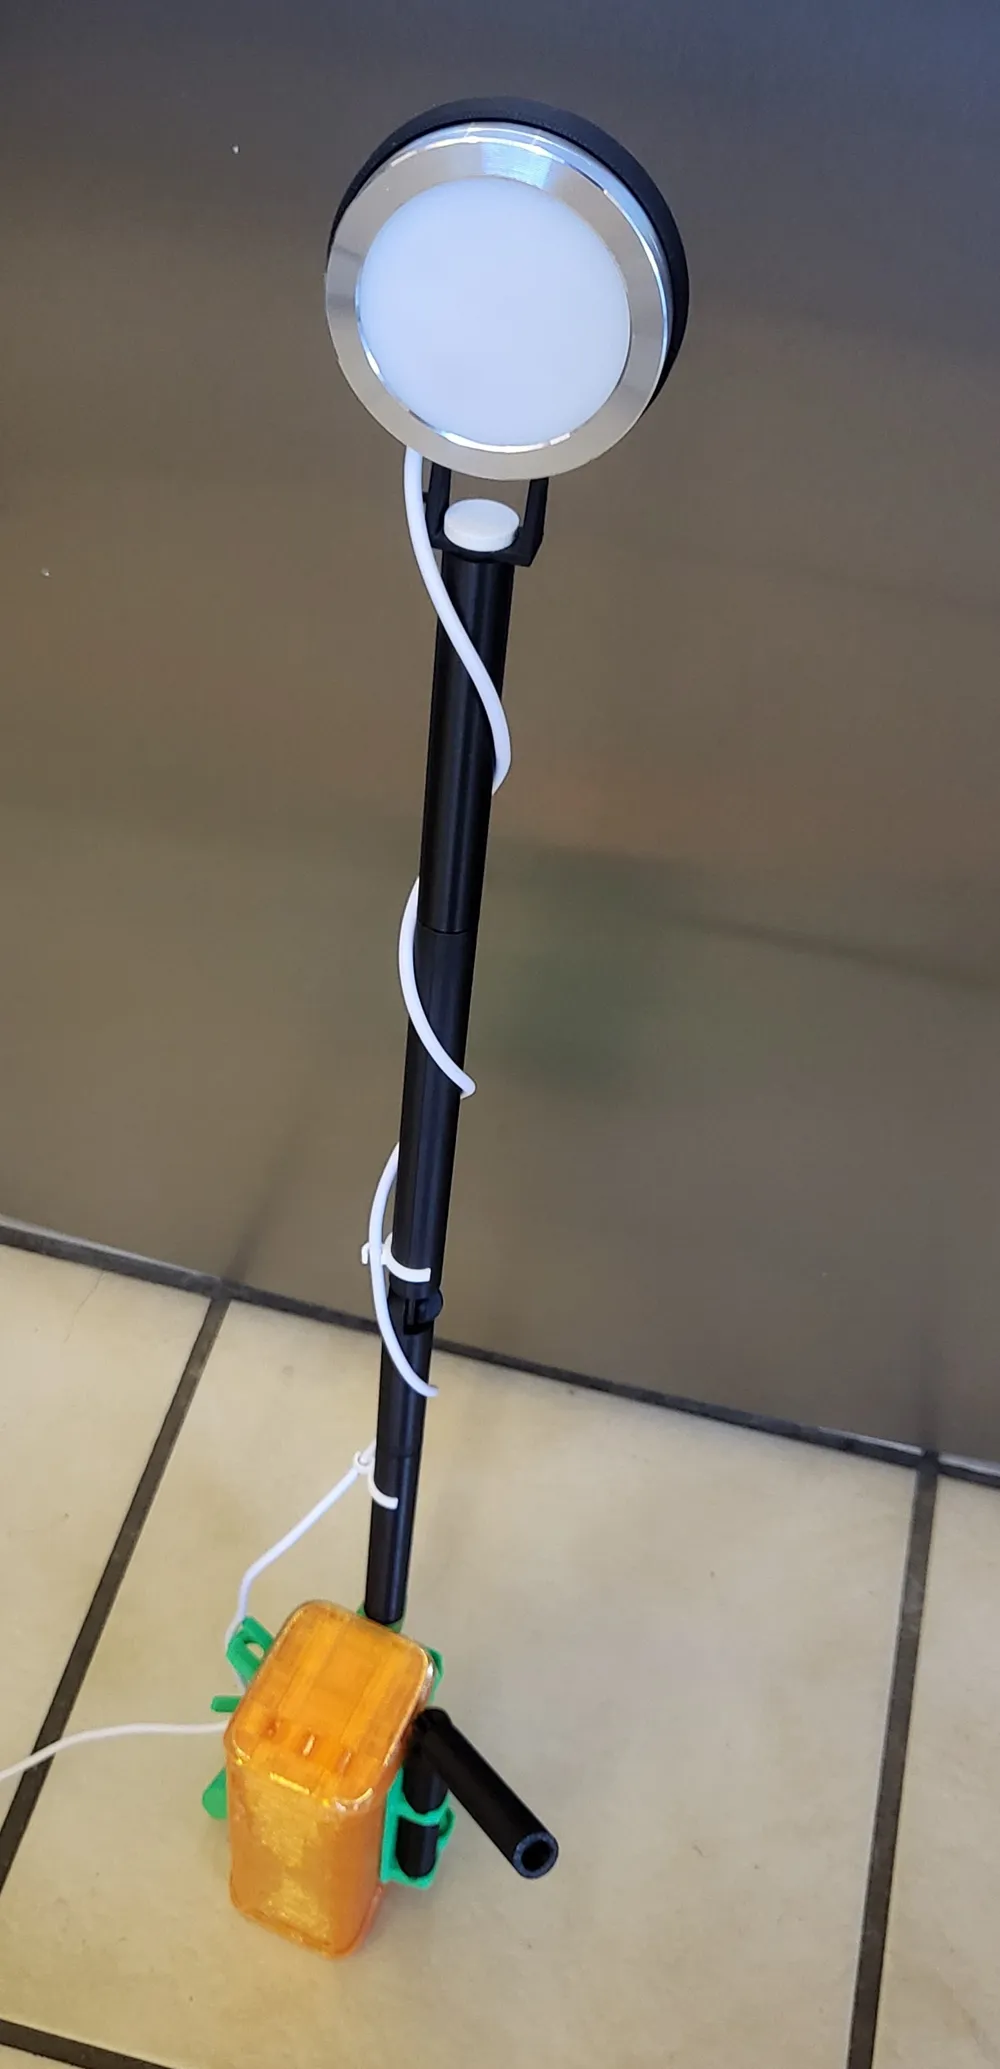
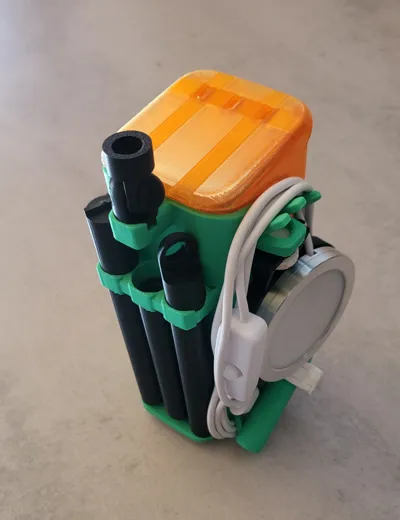
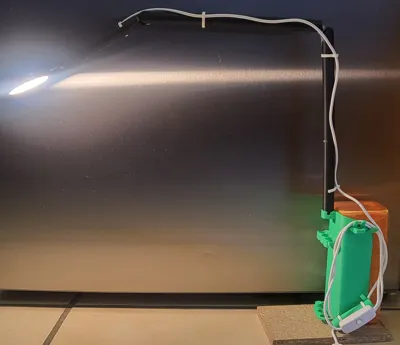
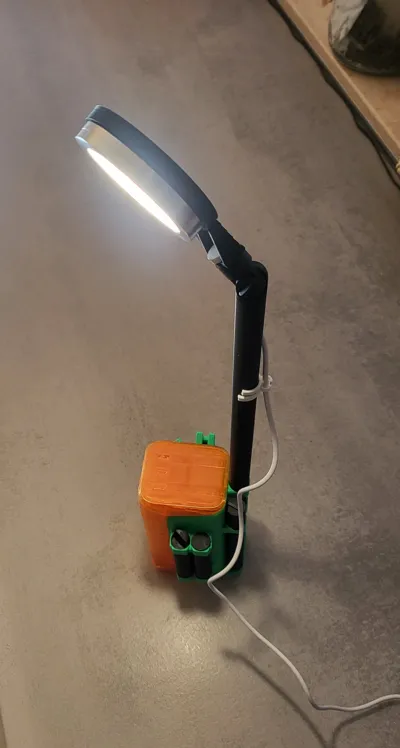
EcoFlow Rapid pro X Cover with work light.
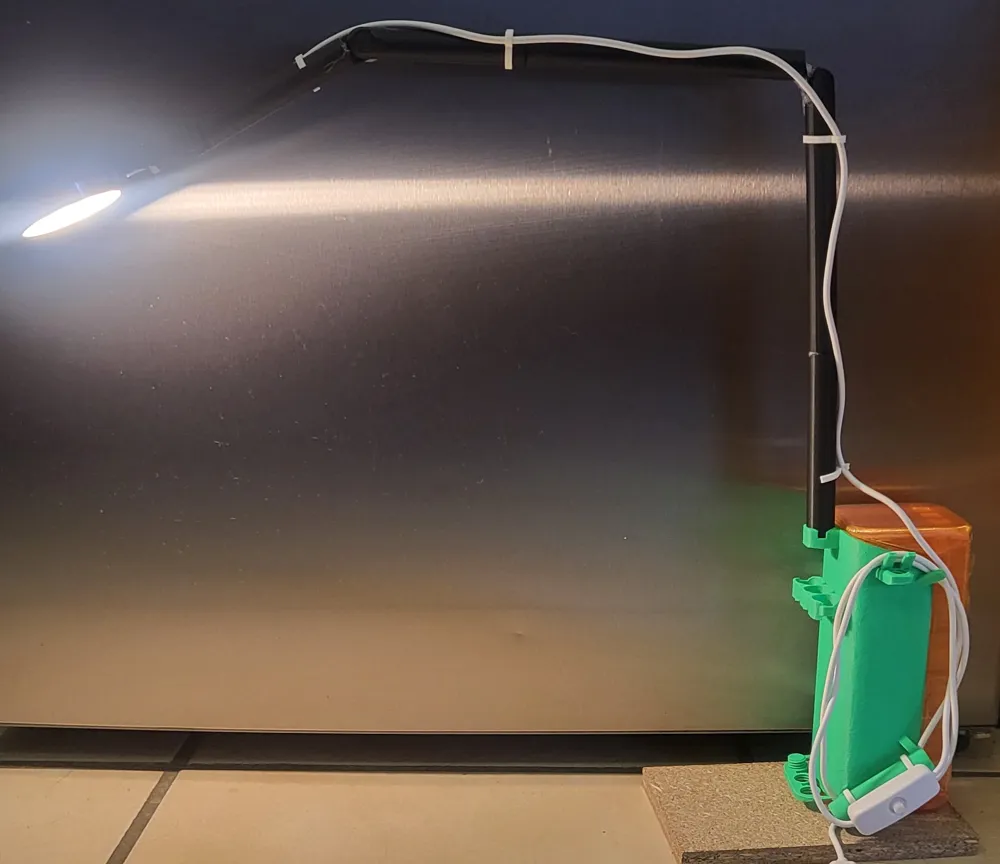
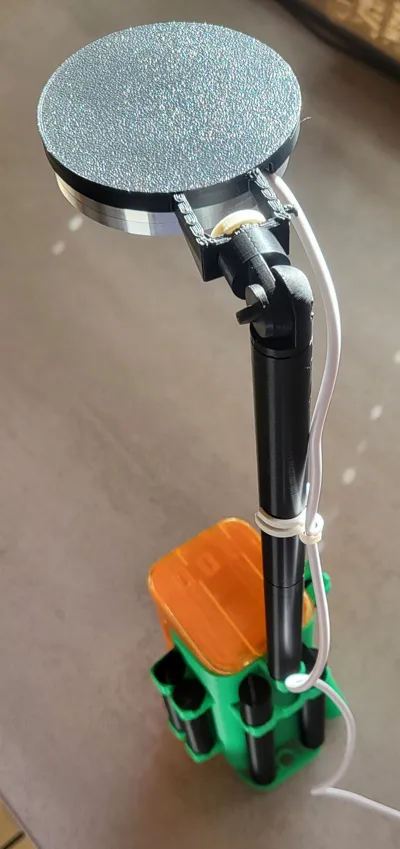
The idea behind this design was to create a cover that functions as a flexibly usable work light.
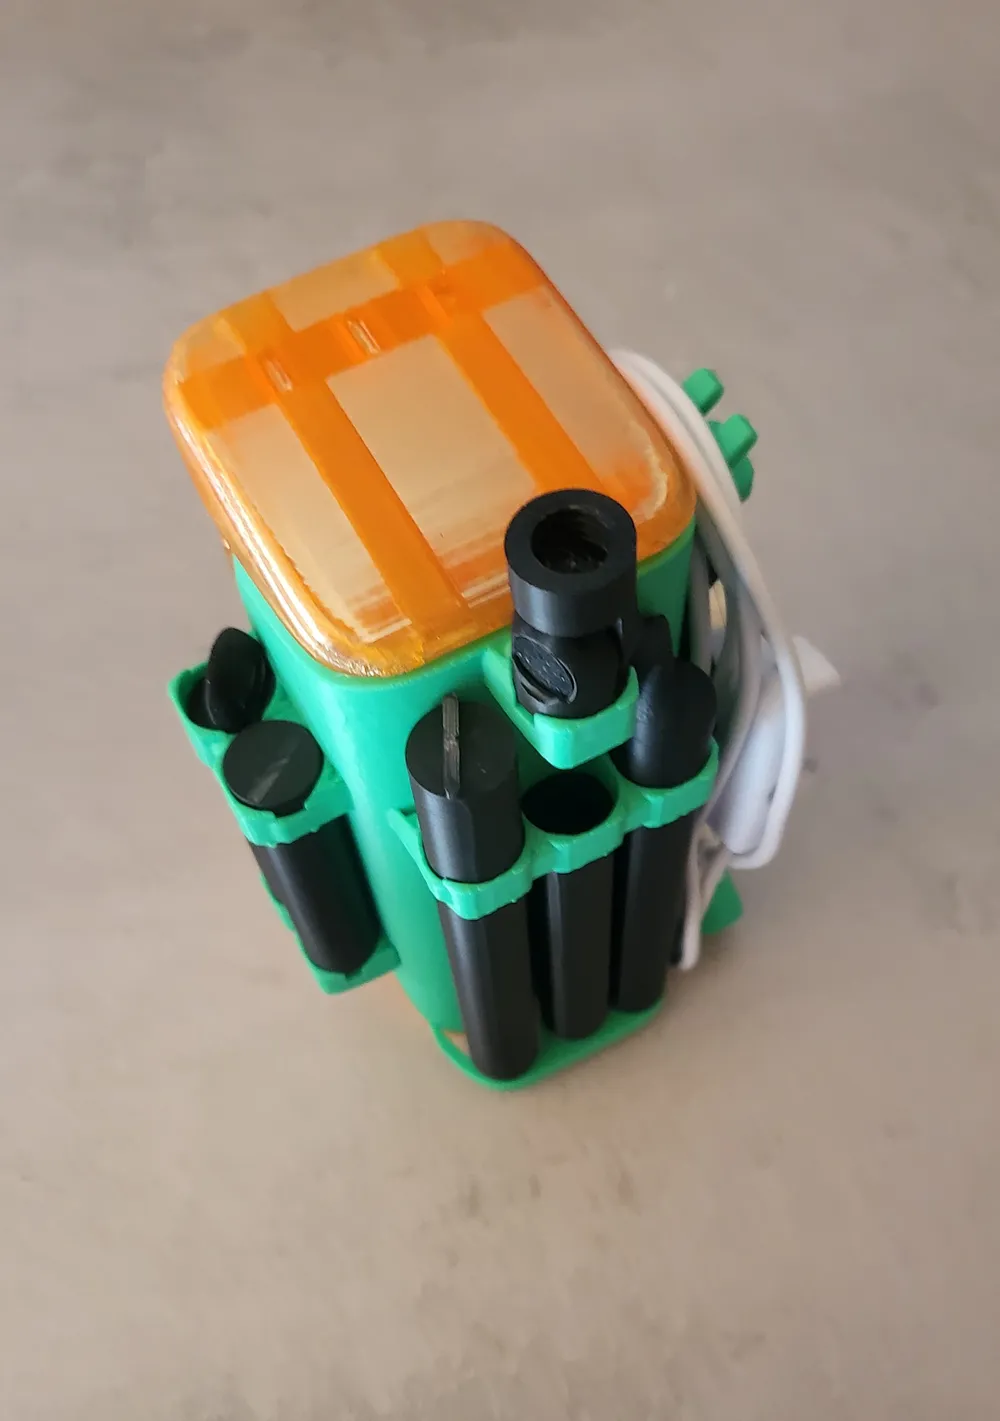
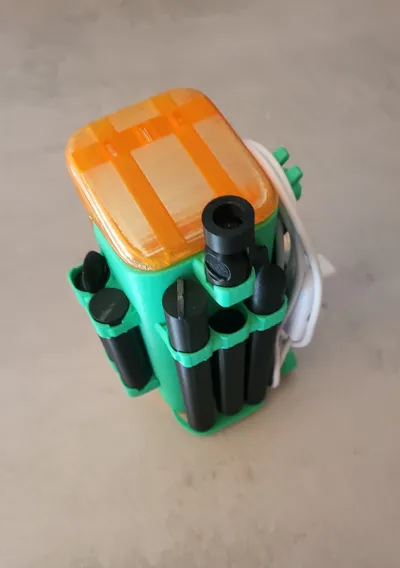
Of course, all necessary parts should be attached to the cover so that everything remains portable and can be clipped to the power bank in one piece. Another important point was to design everything in a fitting futuristic style.
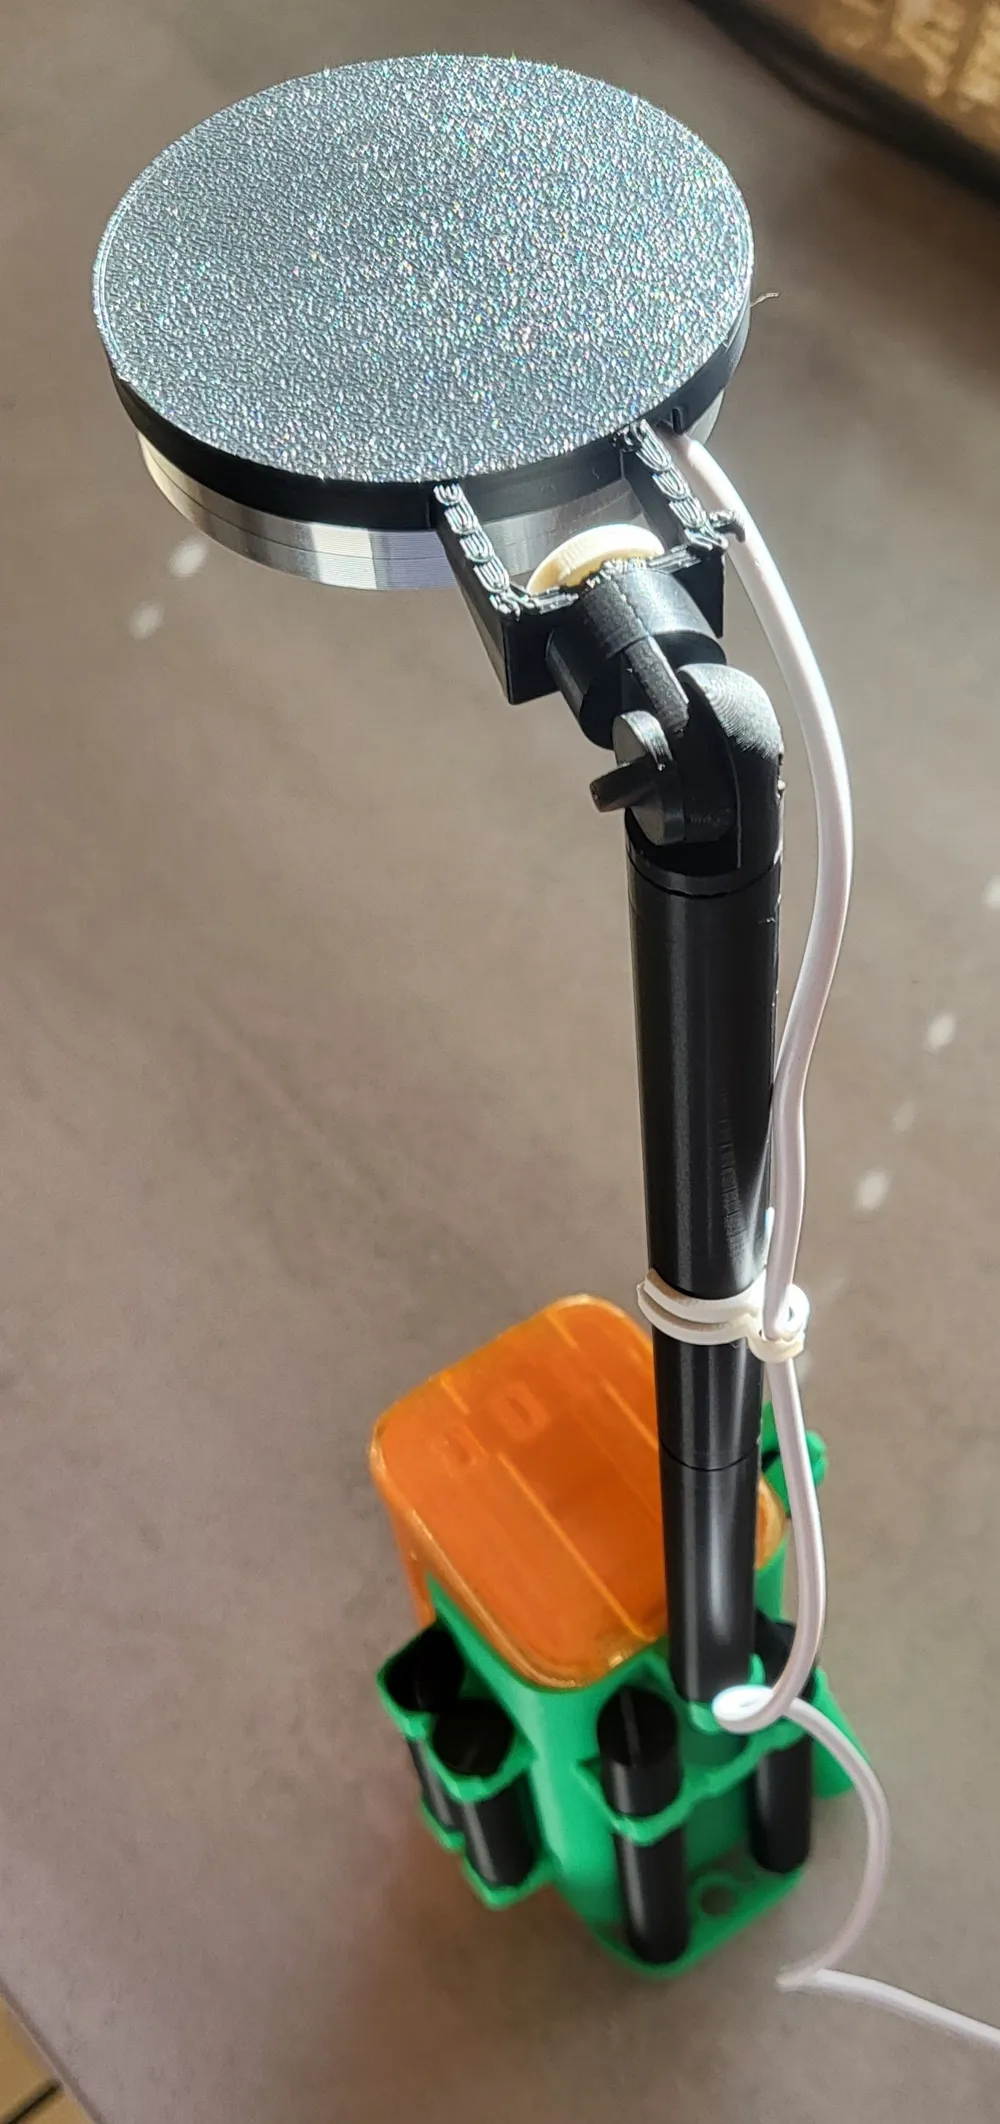
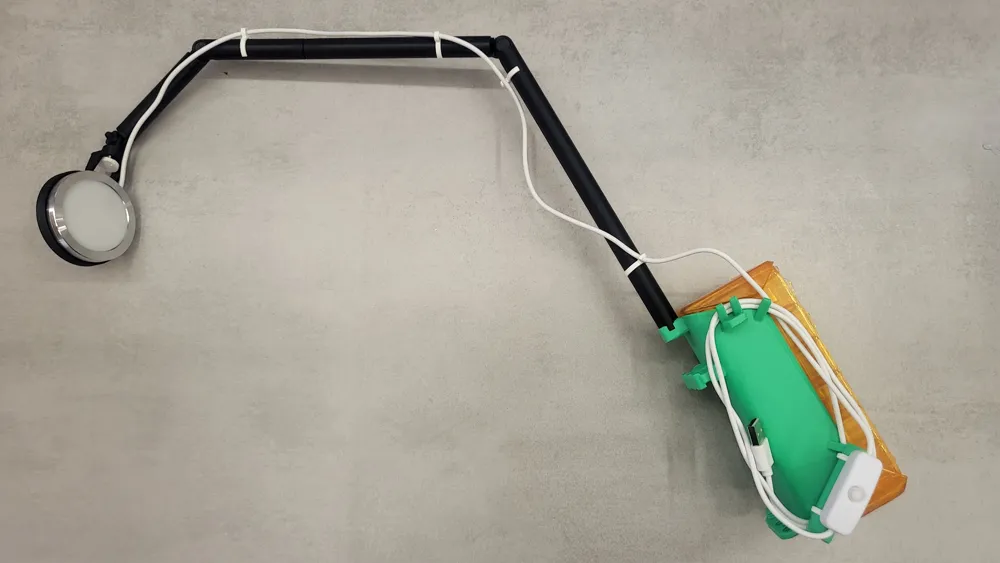
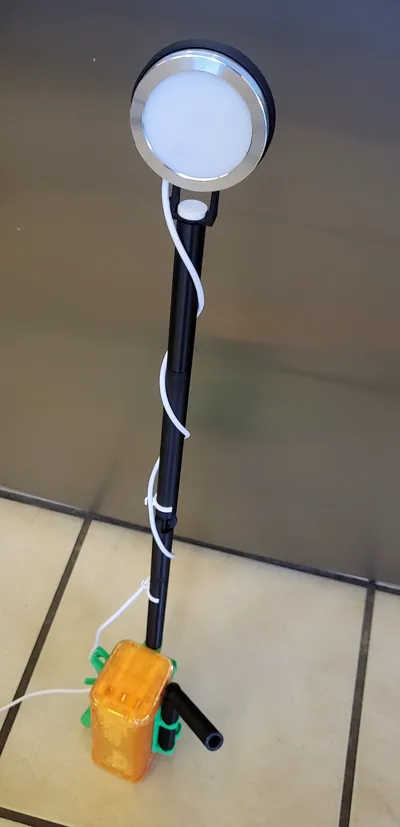
This resulted in a design with rods of different lengths, which can be screwed together via a thread, and a USB-powered lamp can then be mounted on them. Furthermore, everything should be designed flexibly with joints so that the light can be adapted to any situation.
Now, a cover with the following features has been created:
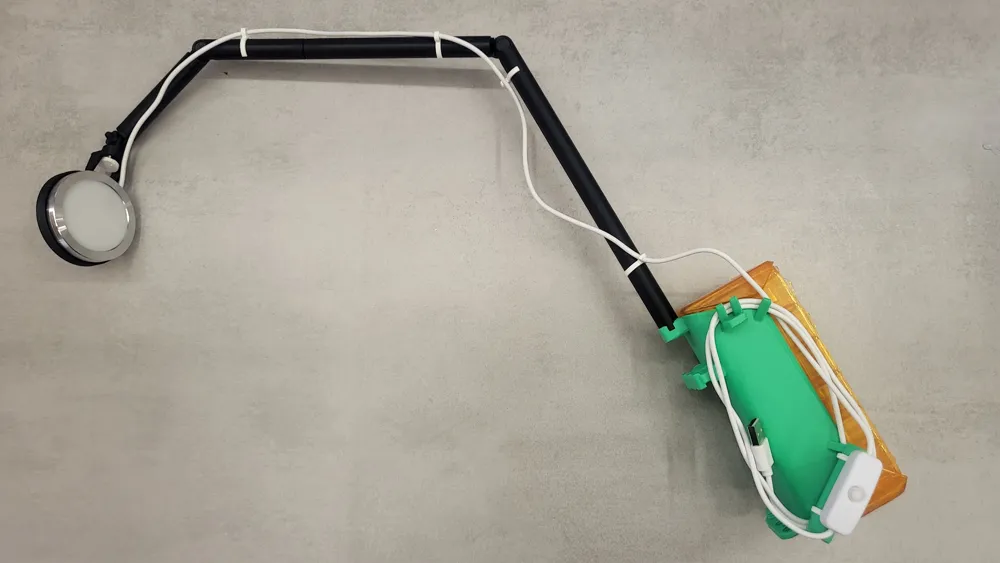
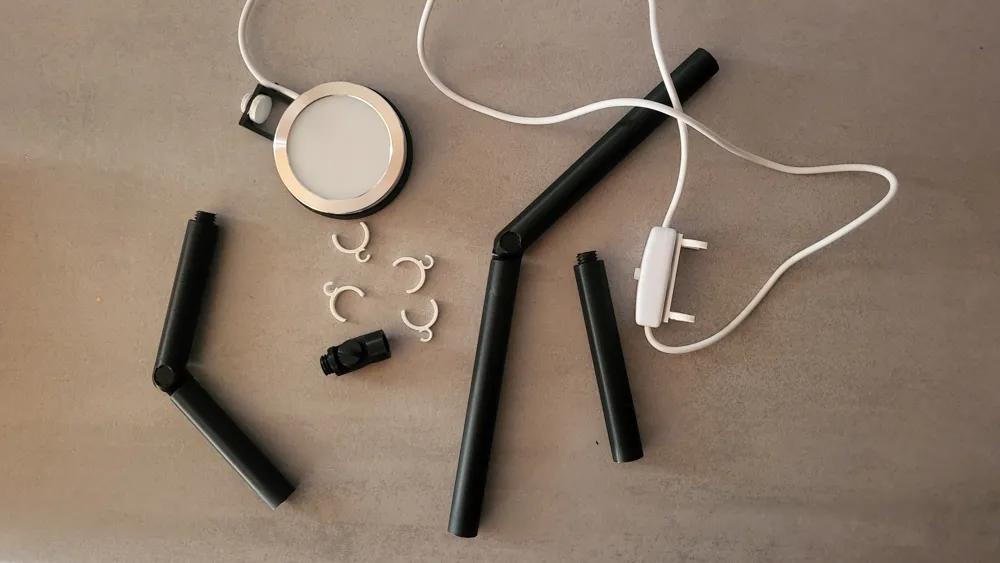
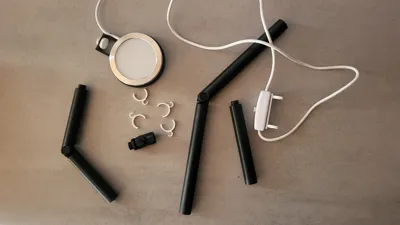
- 2 short and 2 long rods with 180° joint heads each
- a small 180° adjustable joint head
- 4 cable clips to attach the lamp cable to the rods
- 1 clip to attach the switch to the rod
- an attachment for the actual light
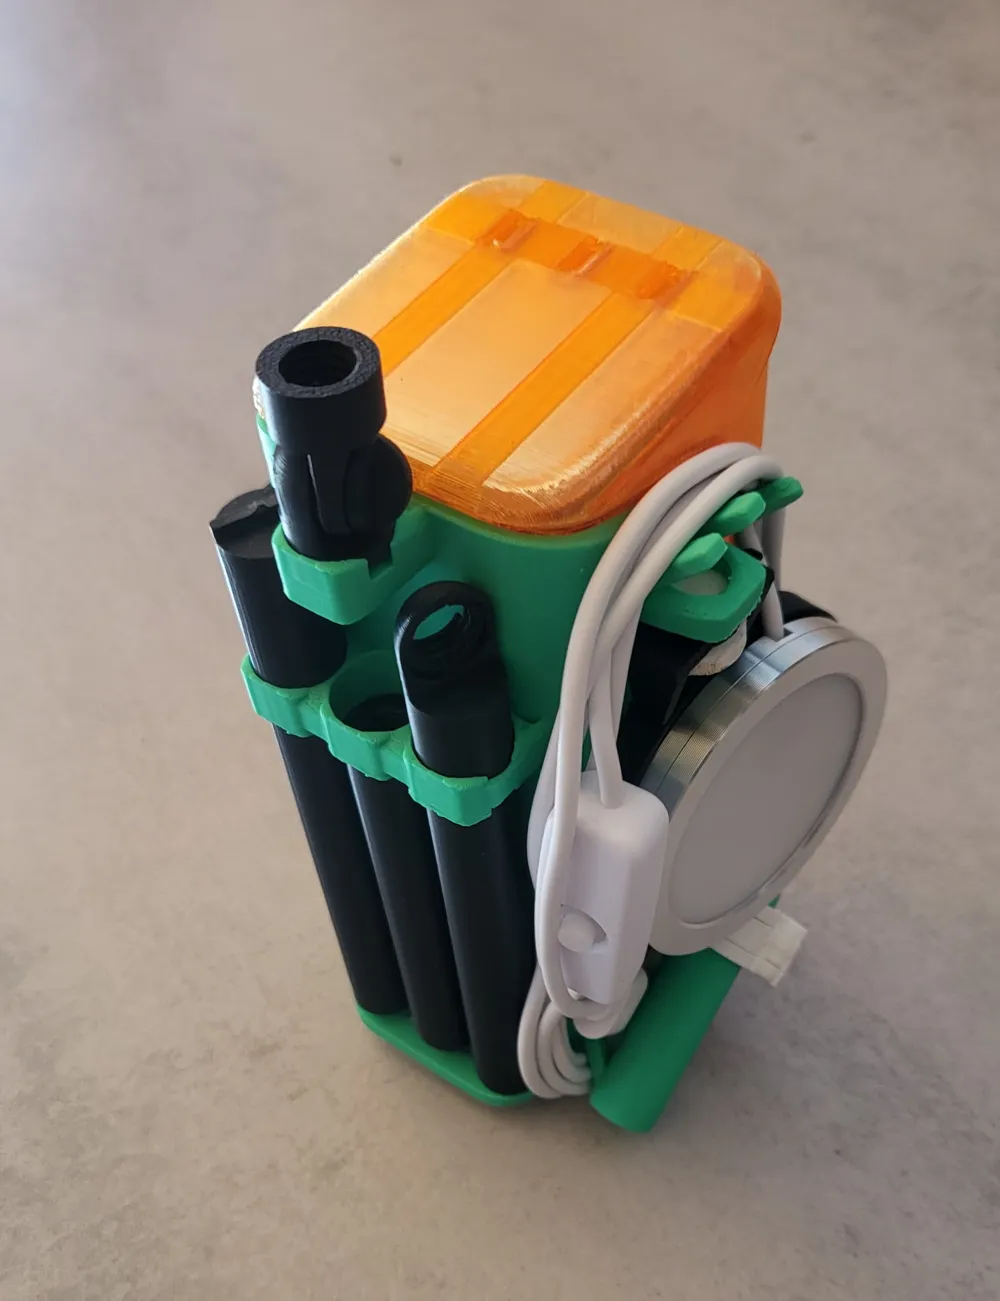
- The cover to which all parts are attached for transport
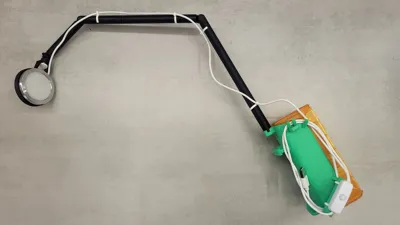
Because all threads have the same strength, it is now possible to mount the light at different heights (from min. 2 cm to max. 53 cm). Furthermore, it is possible to tilt the light in various directions thanks to the 3 180° joints.
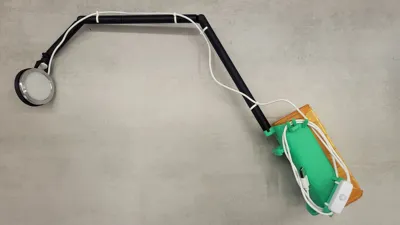
For each rod, there is a way to screw it onto the cover for transport or if not all are needed. The cable can be wound onto the cover and the switch can be clipped on.
If my idea is well received, I also have a few ideas and add-ons such as the possibility to mount a second lamp, a foldable lampshade to avoid glare, or to design a kind of tripod for it.
Printing tips:
To make the housing as stable as possible, I recommend using a sturdy filament.
To print the actual housing, I recommend downloading the STL individually, printing with support structures, low layer height, and low speed.
The rods should ideally be printed standing and also with a low layer height.
Assembly:
For the light source, I used the LED Lamp Kit - MH001 from the Bambushop and attached it with the adhesive tape included in the set.
To mount the switch to the clip, I also used double-sided adhesive tape (but it also works with craft glue, hot glue gun, etc.).
I would also find the idea of milling the entire set from aluminum cool, but unfortunately, I don't have this option.
Since there is certainly still room for improvement or the design can be adapted, I allow changes and adjustments to the model.
Boost Me (for free)
If you like my idea, I'd appreciate a like, download, or a boost
Have fun with my project!
License



Comment & Rating (0)