Hobo Slackboard


Print Profile(1)

Description
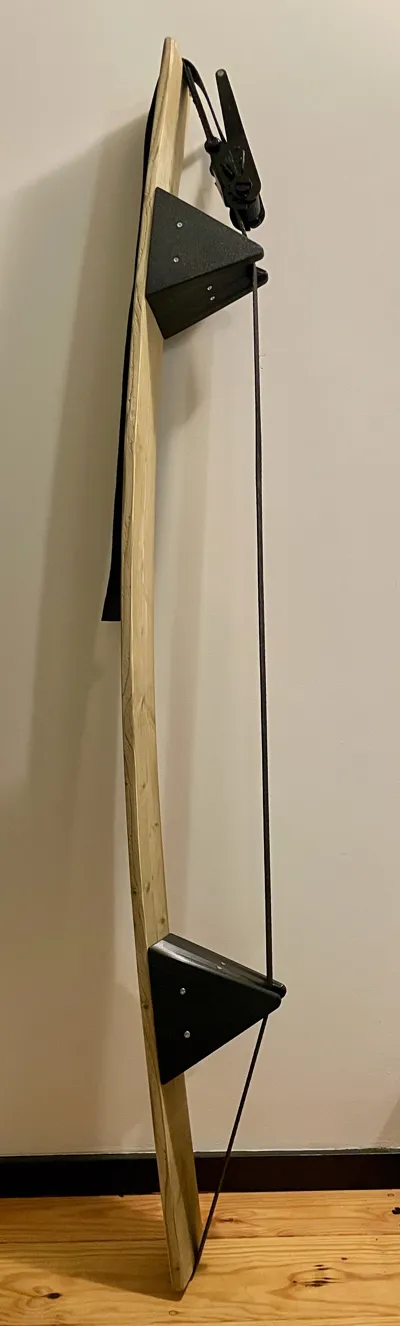
I was inspired by the Slackboards / balance-boards like you can get from popular slackline-companies. With these devices, a wide slackline is tensioned over a curved piece of wood, resembling a skateboard / snowboard. You can place the wood on the floor, and (try to!) balance on the line, either with one leg or both. Either for fun, rehabilitation, exercise, or practicing slacklining.
For the printable version you're going to need a fair amount of PETG, a long-ish plank, some smaller wooden / printed blocks, a few meters of 5cm-wide ratcheting tension strap, and a handful of 4x40 and 4x60 screws. Designed to be able to print on the A1-mini.
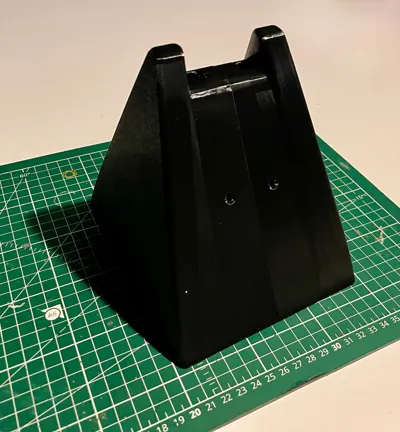
The printable model consists of a triangular-shaped riser, which I've sliced in half. I did this because I had some mis-prints in my prototypes, and I was not looking forward to wasting 750grams of filament each time I made an adjustment. Print 4 of these riser parts. Place 2 of them side by side, and attach them to each other by placing 2 blocks in the empty space between them. The blocks need to be around 64x64x80mm and 64x64x20mm. Screw those tight, you can use 60-70mm screws here.
I used wood, but if you prefer a fully-printable version, I'd be happy to upload that as well.
For the plank I used a 180x14 cm softwood plank (18mm thick). I placed each riser at 25cm from the edge, and screwed them onto the plank. Note:
- Print the drill-guide if you want to have an easier time attaching the risers to the plank.
- Use shorter (~40mm, maybe 50mm?) screws on the four corners (incidentally, the ones marked in the drill-guide)
- Put a couple of longer screws though the plank into the (wooden) blocks for extra fun.
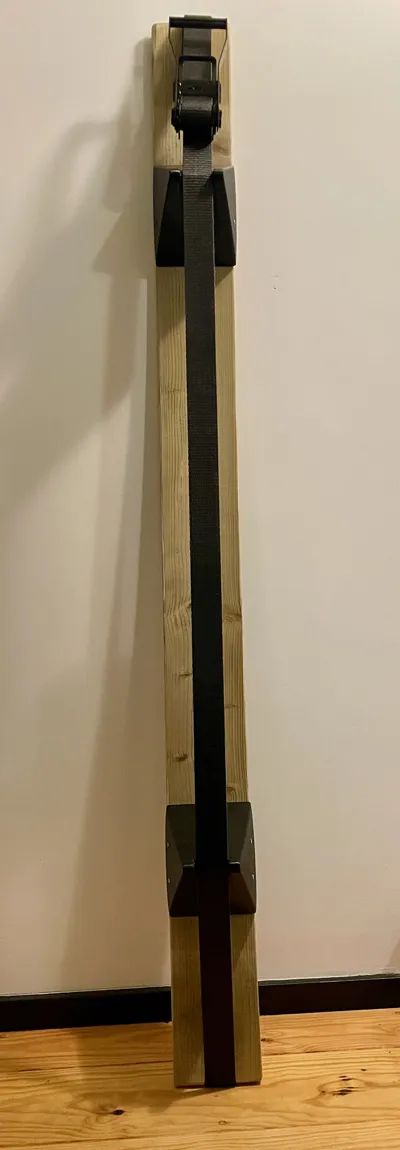
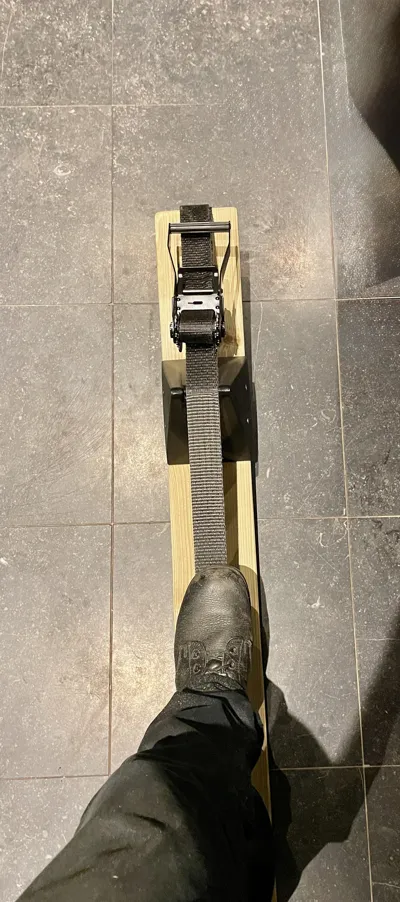
For the tensioning strap you need one that's A) comfortable under your feet, B) long enough to go under and over the plank including the risers, and have enough spare length so you can ratchet it tight. I got this one. It's 5cm wide and 5m long.
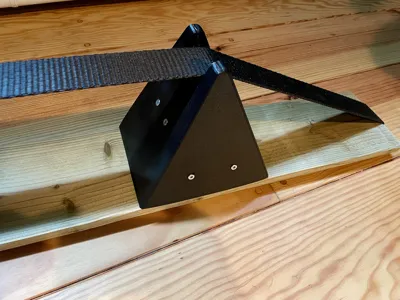
Place the strap flat on the floor, put the plank on top, and get the ratchet to stay in between the edge of the plank and one of the risers. Ratchet it up.
!! Be careful when assembling this, be careful when ratcheting it tight (fingers!), test it with a low weight first, test it thoroughly, etc etc. There is a fair bit of kinetic energy stored in this little setup, and you can hurt yourself if you're not careful: both during the build and usage. I take no responsibility for damage done by building this. Good luck. !!
Final note: you may want to put the slackboard unto a mat / rug etc if you worry about your floors getting scratched.
Comment & Rating (0)