
Universal Back Seat Phone, Switch and Tablet Mount
Print Profile(4)














Description
Boost Me (for free)
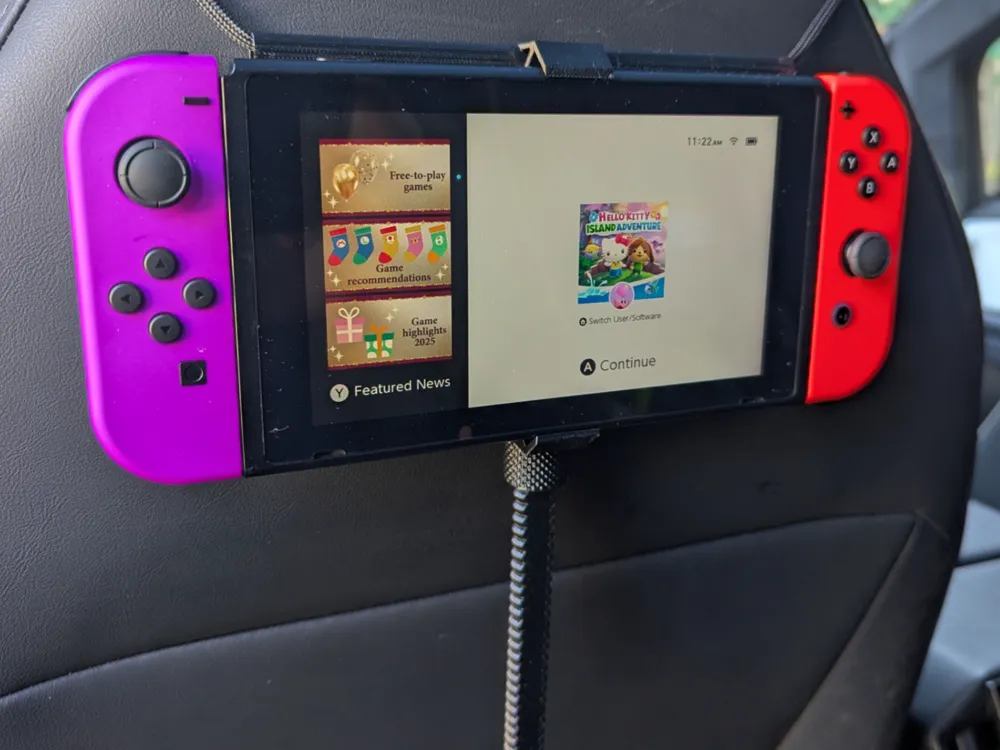
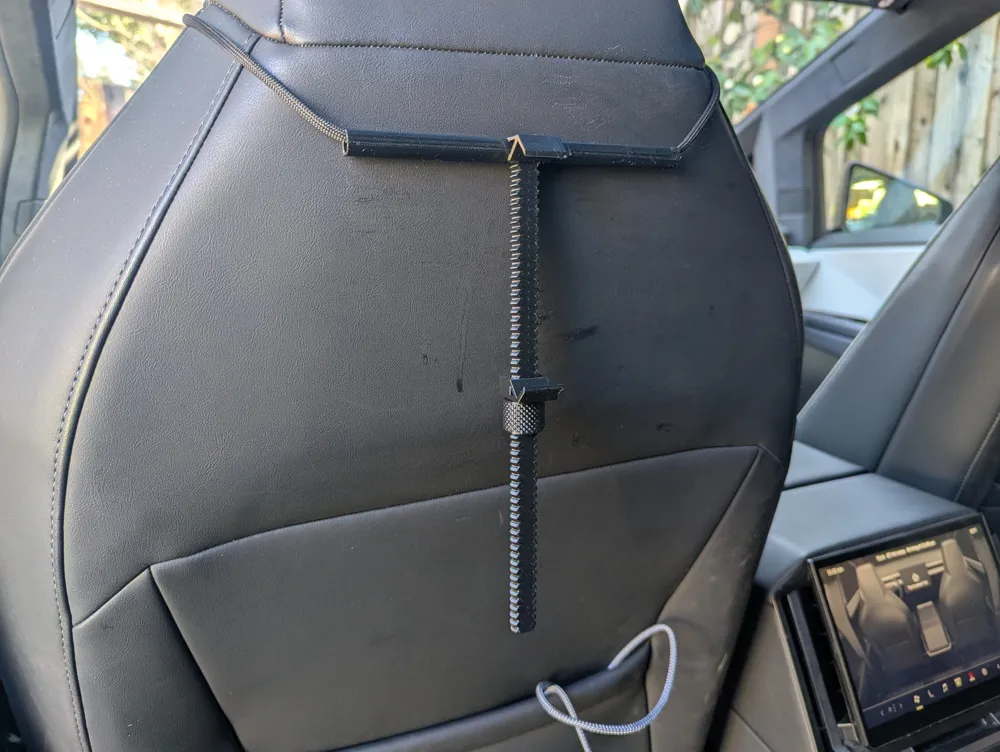
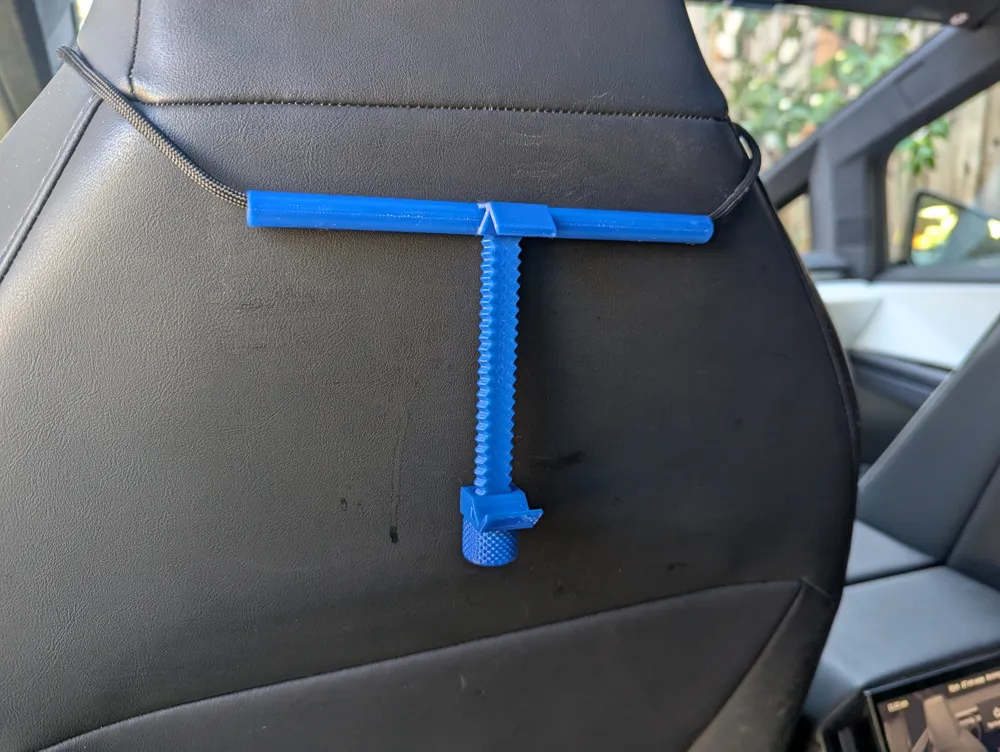
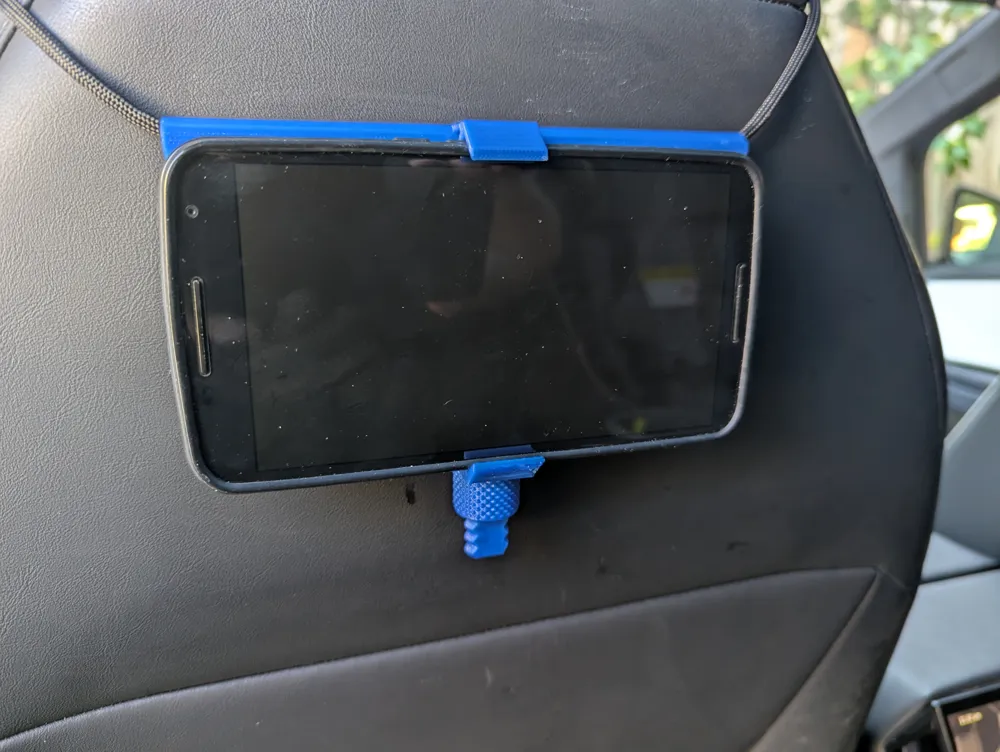
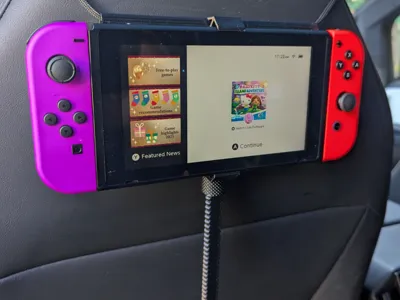
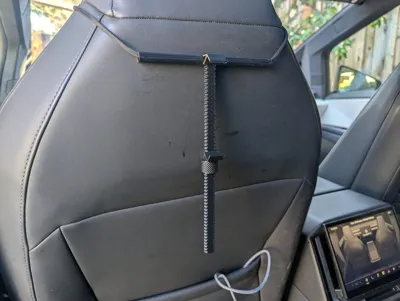
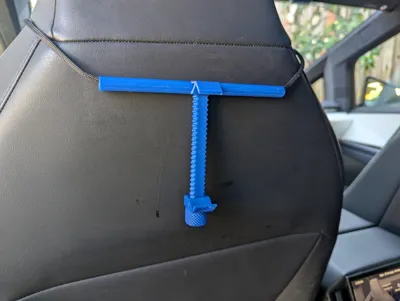
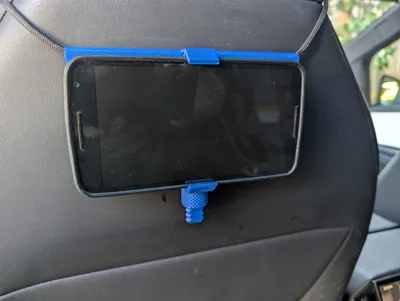
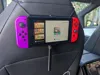
A universal Phone, Tablet, Nintendo Switch holder for the rear of cars with any kind of front seat including fixed headrest that have no other solution for attaching a mount. This is the only mount I've found that will fit almost every car.
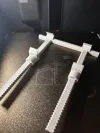
There's a phone only up to 100mm (4") clamp size and a phone/tablet size with up to a 230mm (9") clamp size. You can also use the Bambu Studio cut tool to cut the threaded piece to a custom length. It should fit most devices with screens 13" and below. Most devices in cases should fit. If you want the clamps to be more grippy you can stick on some adhesive rubber pieces.
PLA will soften and deform inside a car in the summer heat, I generally recommend PETG, ABS, ASA or other higher temp filiments.
No supports needed.
Version History:
V2.1 Made the tablet screw maximum size for the printing bed 256mm long
V2.0 New faster easier to adjust custom stronger screw rod and threaded knurled adjuster, less material use, sway bar is now part of the main unit so there's no more tight inserting sway bar.
V1.0 Initial Design
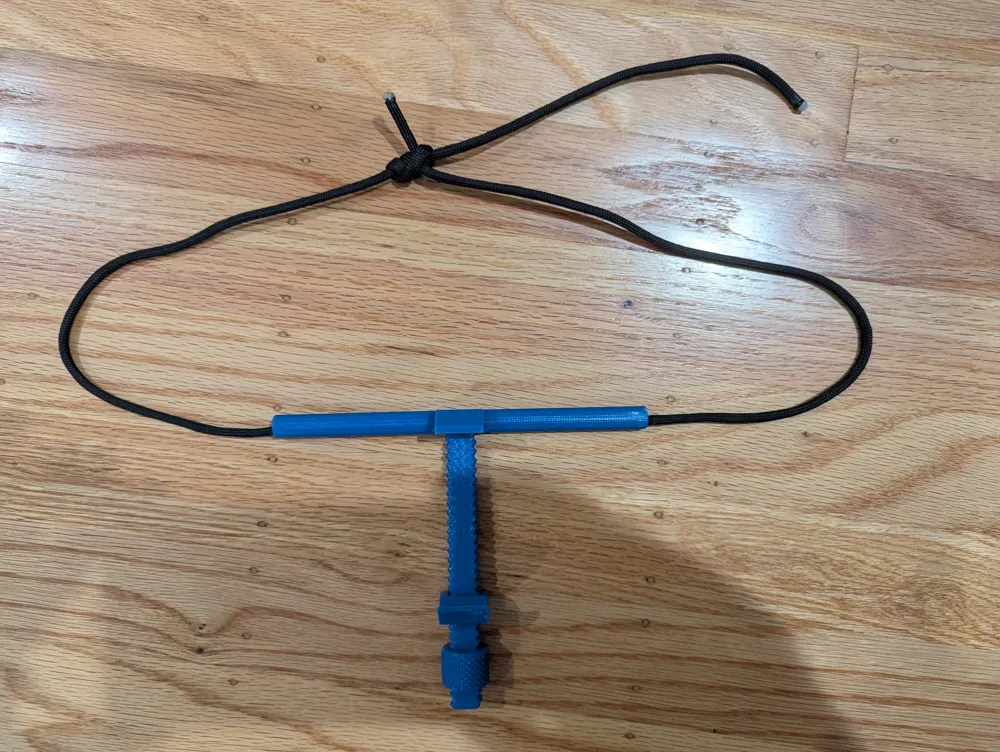
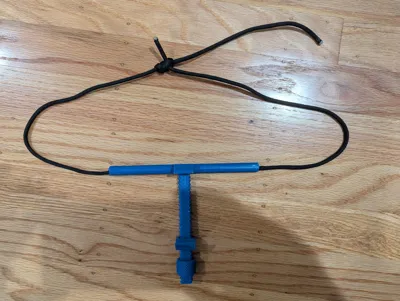
Assembly Instructions: Slide the bottom bracket onto the screw and put the nut on and screw it in. Thread about 1m of rope or paracord through the top shaft and make a loop with an adjustable taught-line hitch that fits over the top of your seat.
Boosts are very much appreciated! Thanks!
Hobby project, shared as-is. Not safety tested for vehicle use. Use at your own risk.
License

You shall not share, sub-license, sell, rent, host, transfer, or distribute in any way the digital or 3D printed versions of this object, nor any other derivative work of this object in its digital or physical format (including - but not limited to - remixes of this object, and hosting on other digital platforms). The objects may not be used without permission in any way whatsoever in which you charge money, or collect fees.


Comment & Rating (46)