H2 Series TPU Low Friction Path


Print Profile(1)

Description
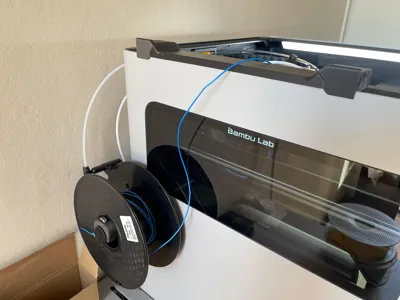
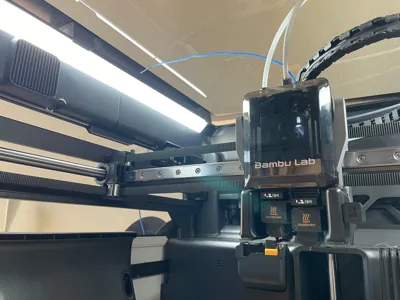
I had some problems feeding TPU or Flexible filament in the H2D since the dedicated TPU port does not eliminate much friction, making it hard to print TPU reliably. I tried different approaches, using different paths, different tubes, alternative configurations and spool placement, and the thing that worked the best was feeding the filament freely from the top: I wanted to feed it from the side, so this print could help achieve that.
This mod is for the H2 Series Bambu Lab printers, so it works the same for H2D, H2S and H2C.
It is compatible with any flexible filament: TPE, TPU 95A, 90A, 85A, 60D, Varioshore, Ninjaflex…
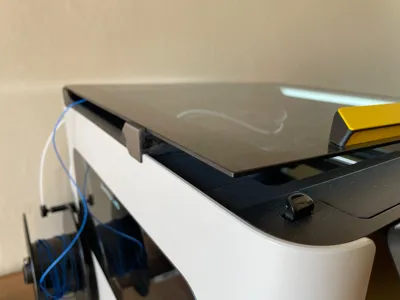
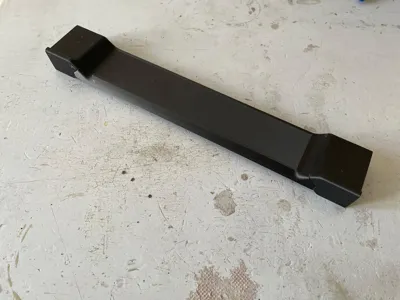
The model is a simple glass raiser that allows flexible filament feeding from the side of the printer. Main advantages:
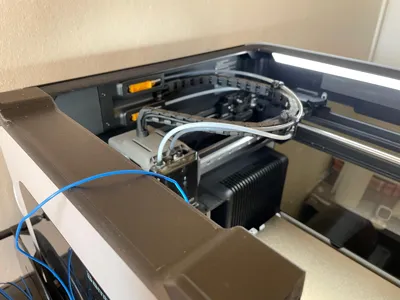
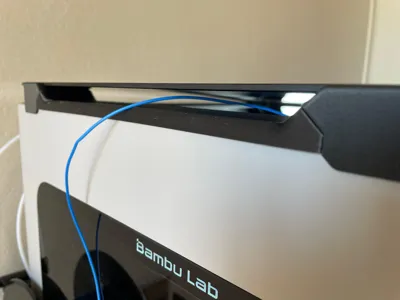
- Extremely low pulling resistance for the extruder
- The glass stays on the top and does not need to be removed (no warning from the printed of top glass open)
- Enhanced ventilation for better cooling and less clogging
- No challenging routing of the filament through the PTFE tube
PRINTING MATERIAL
The material used for the model must withstand the constant rubbing of the flexible filament and should be as slippery as possible, so we are looking for a material with high abrasion resistance and a low friction coefficient. I used PP-CF filament, but other materials should work, like PA or TPU. PLA could be fine for short-term use or testing.
ASSEMBLY AND FILAMENT FEEDING
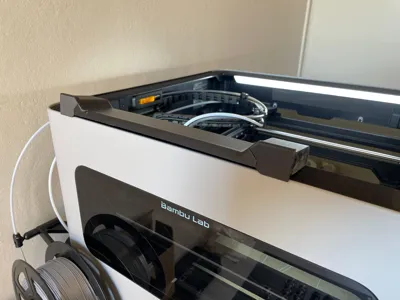
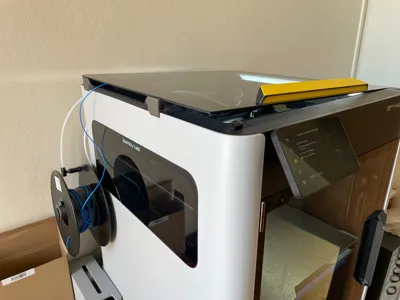
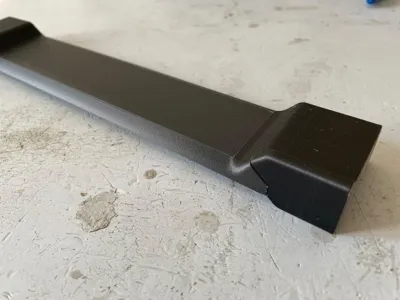
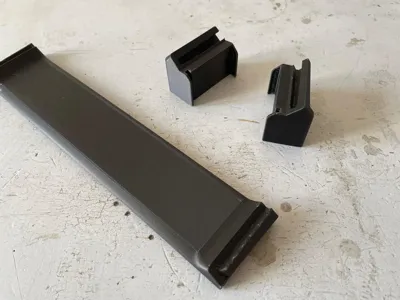
The model is made of three parts that interlock together using a tapered dovetail joint: Middle, Raiser-R and Raiser-L.


Remove the top glass from the printer and place the component on the left top side of the printer. If you are using the AMS on the glass, I suggest printing a second raiser for the right side, too, to lift the glass completely and keep it flat. It is possible to keep the AMS on the top glass angled, but I have not tested it, and I think it could slide down during printing with the printer vibrations.


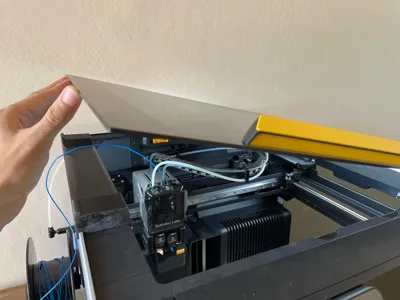
I used glue on the print plate for my parts, so it is what you see in the pictures, don't worry. Clip it in place with the raised lip facing outward. Unplug the PTFE tube of the right extruder, making it ready for TPU feeding. You can remove the tube fully or leave it in place like this: I printed this model to fix the tube.


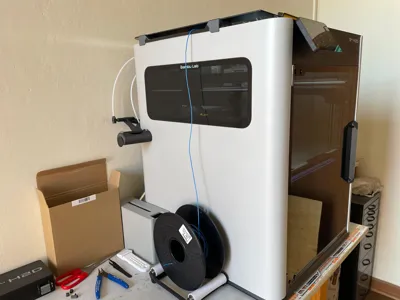
Now it is time to feed the TPU filament into the extruder following the usual filament feeding step from an external spool. You can use the original external spool, feeding the filament from the opposite side, a desk spool holder or a desiccant box. I used the original external spool holder equipped with a bearing roller for an even smoother and frictionless feeding.


Once the extruder has grabbed the filament, you can place the glass on the top at an angle.


And that's it. Let me know if it works for you or not. Feedback is welcome. Thanks!
If you are curious about the yellow handle in the picture, take a look.
Boost Me (for free)
Happy TPU printing!


License
You shall not share, sub-license, sell, rent, host, transfer, or distribute in any way the digital or 3D printed versions of this object, nor any other derivative work of this object in its digital or physical format (including - but not limited to - remixes of this object, and hosting on other digital platforms). The objects may not be used without permission in any way whatsoever in which you charge money, or collect fees.
Comment & Rating (10)