Fruit Fly Trap Piranha (without AMS) 2 Versions


Print Profile(3)


Description
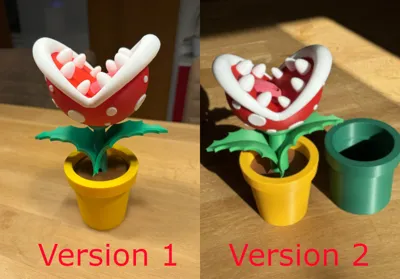
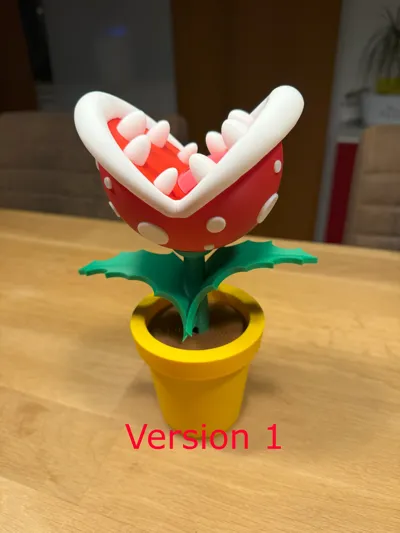
Version 2 is online! Please select the desired version in the print profiles.
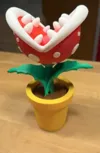
I was looking for a fruit fly trap that also serves as decoration.
Since I couldn't find the right one, I developed this Piranha Plant for you.
Inside, there is space for a shot glass. This allows the trap to be cleaned very easily, and there is no contact between the bait liquid and the filament when used correctly.
The shot glass can be up to 79mm high and have a maximum diameter of 50mm.
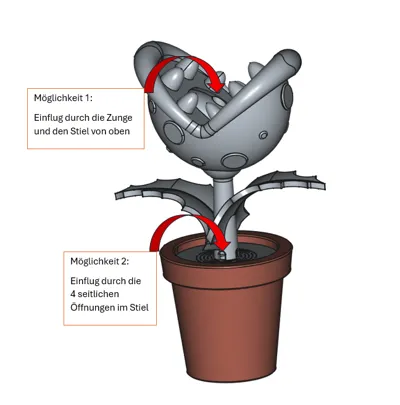
The fruit flies have two ways to get into the trap.
Option 1: through the mouth/tongue of the Piranha Plant
Option 2: through the 4 side openings in the plant's stem.
I have already tested the trap and it worked perfectly.
The complete model can be printed without AMS and has an assembled height of approximately 23cm (depending on the height of your shot glass).
Application
- Fill a shot glass about 1cm high with a mixture of vinegar, dish soap, and juice, or your preferred mixture. Carefully place the lid on top to check that the funnel still has about 5mm of space to the mixture and does not dip into it.
- Place the shot glass into the pot and slide the lid with the plant into the pot.
- Wait and don't forget to change the mixture regularly, as its attracting effect diminishes
Improvements in Version 2:
- The stem is now attached to the lid with a screw connection
- The flower now has a flat surface on the bottom for a better print result.
- New leaf attachment
- New lip attachment for a better print result
- Significantly fewer glued connections overall
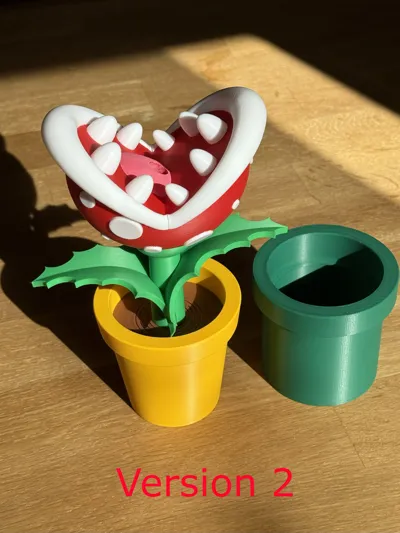
- There is an option to print a pipe instead of the pot (The pipe fits both versions)
- New arrangement of the print plates. One print plate per color
- Assembly instructions for Version 2 with pictures in the documents
Assembly Version 1
- The points can be clipped into the head without glue but with some force
- The lips are glued on
- The teeth are glued into the recesses
- I positioned the leaf halves very high on the stem and glued them together. Make sure that the stem is not glued along with them. Then the leaves can simply be pushed down to the correct position afterwards
- The tongue is glued on
- The stem is glued to the lid
- The head is placed on the stem and glued
I hope you like my model, then feel free to leave a boost and a rating.
Boost Me (for free)
If you like the model, feel free to leave a boost. It's completely free for you! For me, however, it makes a huge difference and helps me continue to develop models for you.
Documentation (4)

License
You shall not share, sub-license, sell, rent, host, transfer, or distribute in any way the digital or 3D printed versions of this object, nor any other derivative work of this object in its digital or physical format (including - but not limited to - remixes of this object, and hosting on other digital platforms). The objects may not be used without permission in any way whatsoever in which you charge money, or collect fees.
Comment & Rating (88)