
052D Destroyer Cub Glue-Free Assembly Toy Q-version 052D
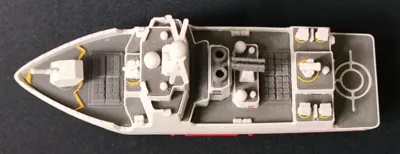
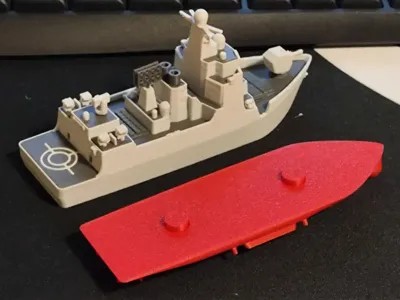
Print Profile(4)


Description
If you are interested in my other designs, you can browse my homepage or collections IKEA Skadis and accessories Modular storage box 1:2000 boat model 1:700&1:350&chibi versions Daily necessities 3D printing related Toy
This model contains small parts, please do not let young children play with it
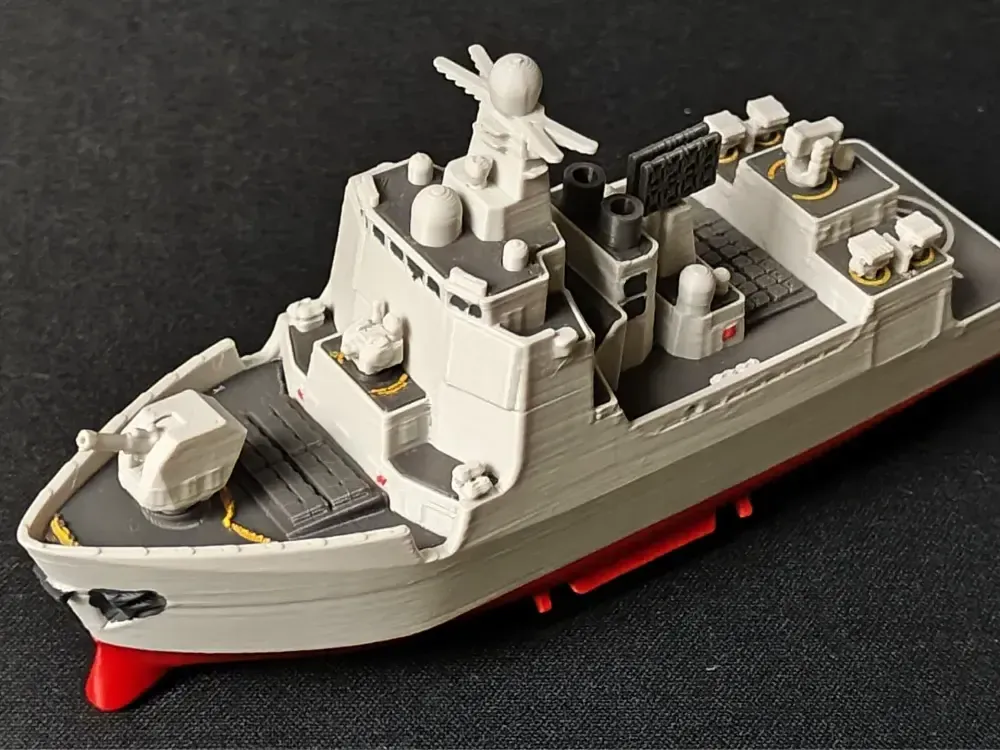
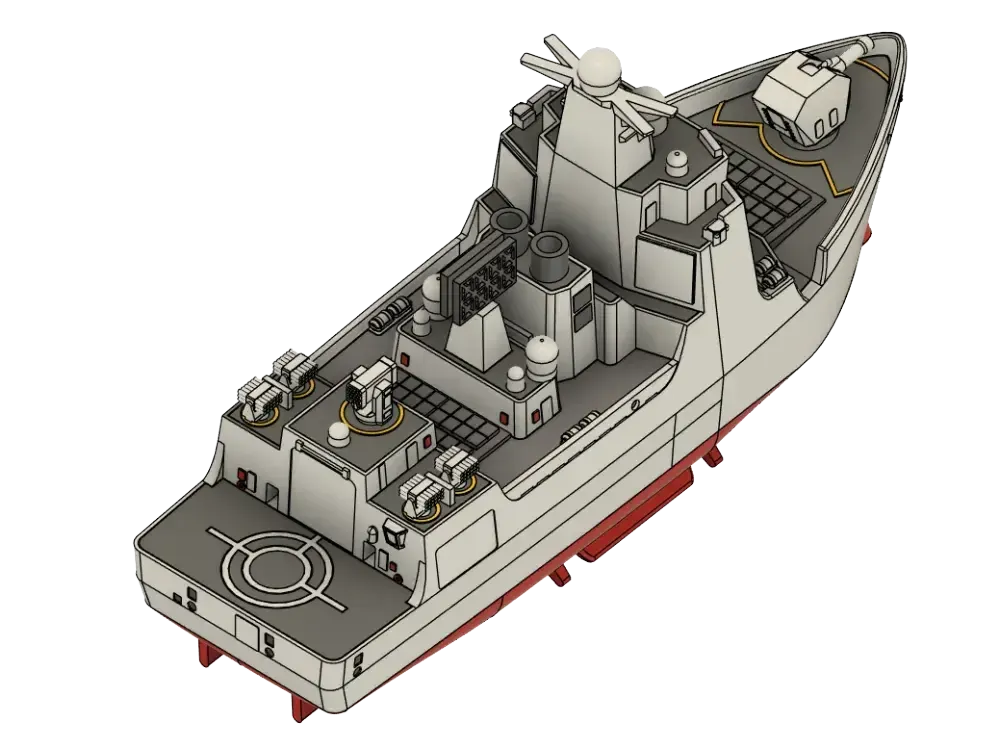
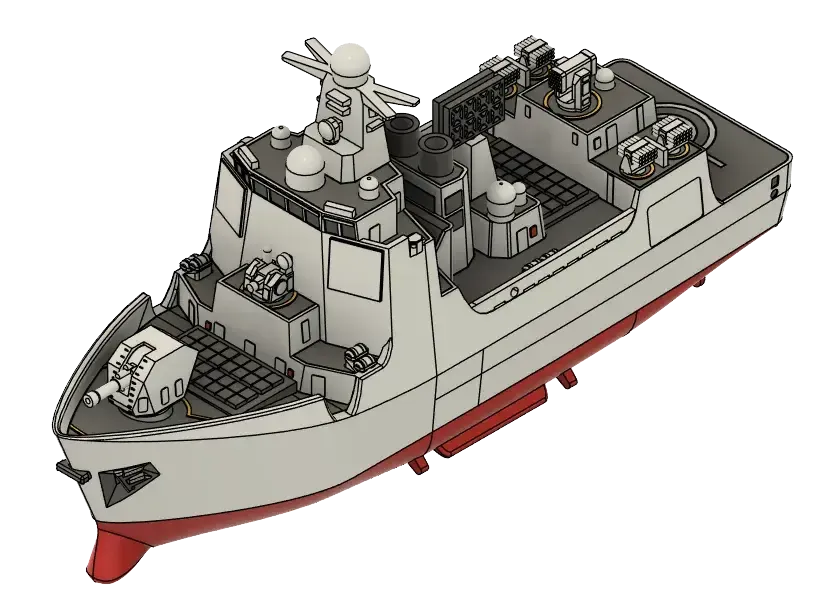
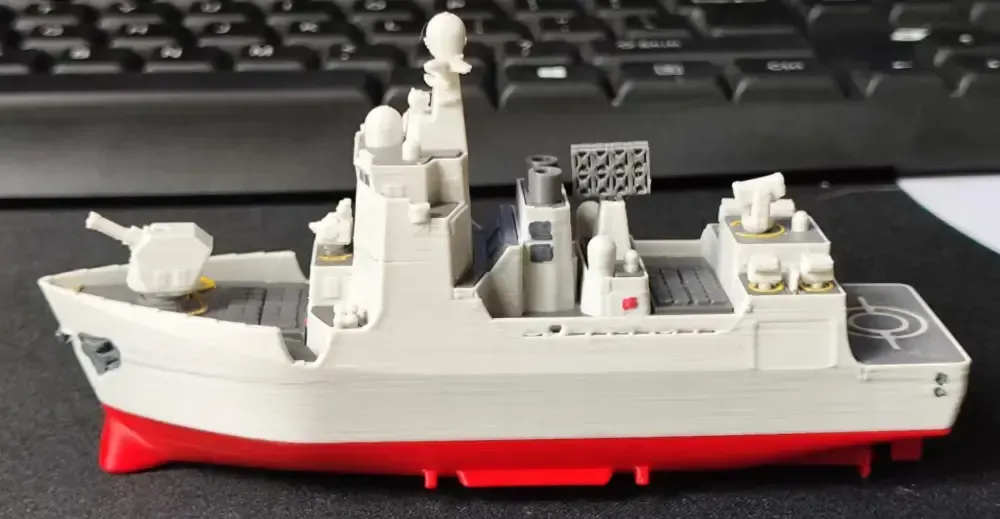
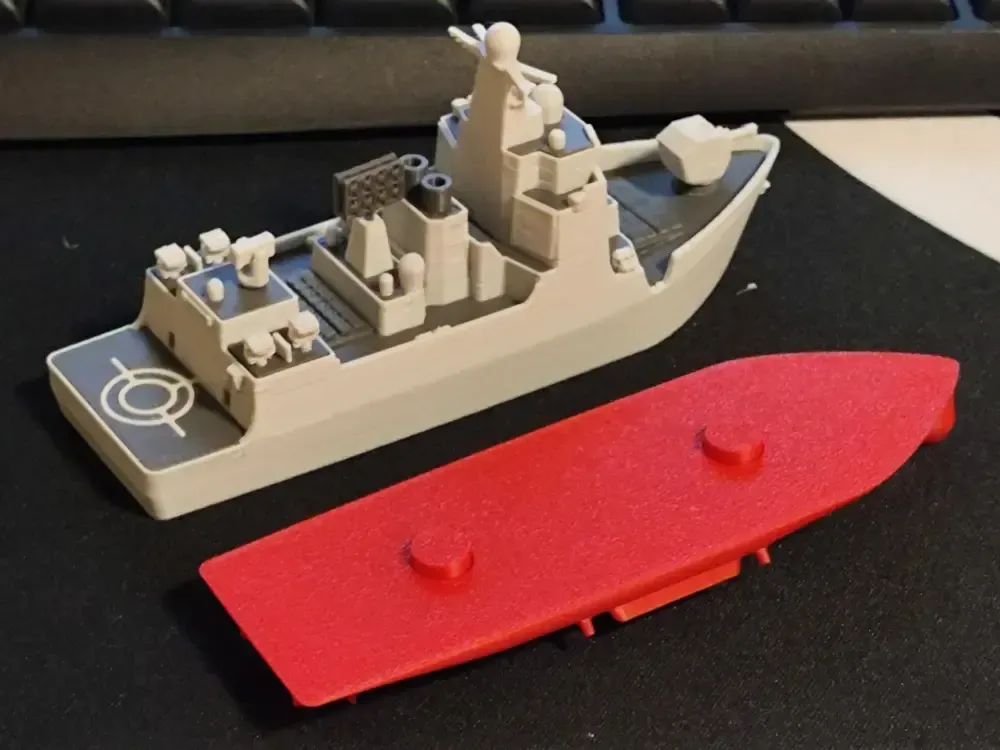
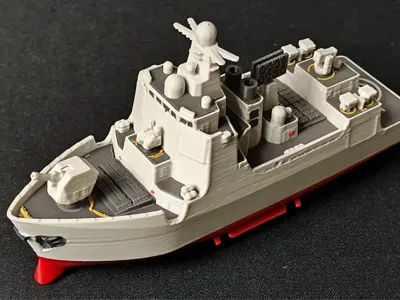
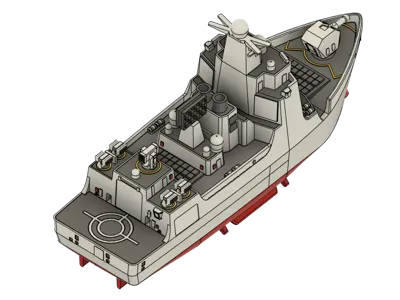
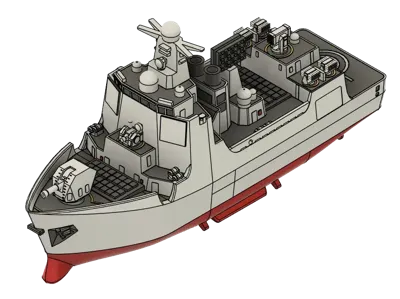
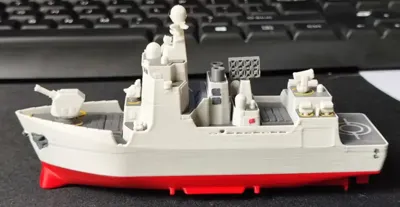
This is a chibi 052D, with a rounded shape and comfortable feel 😁😁
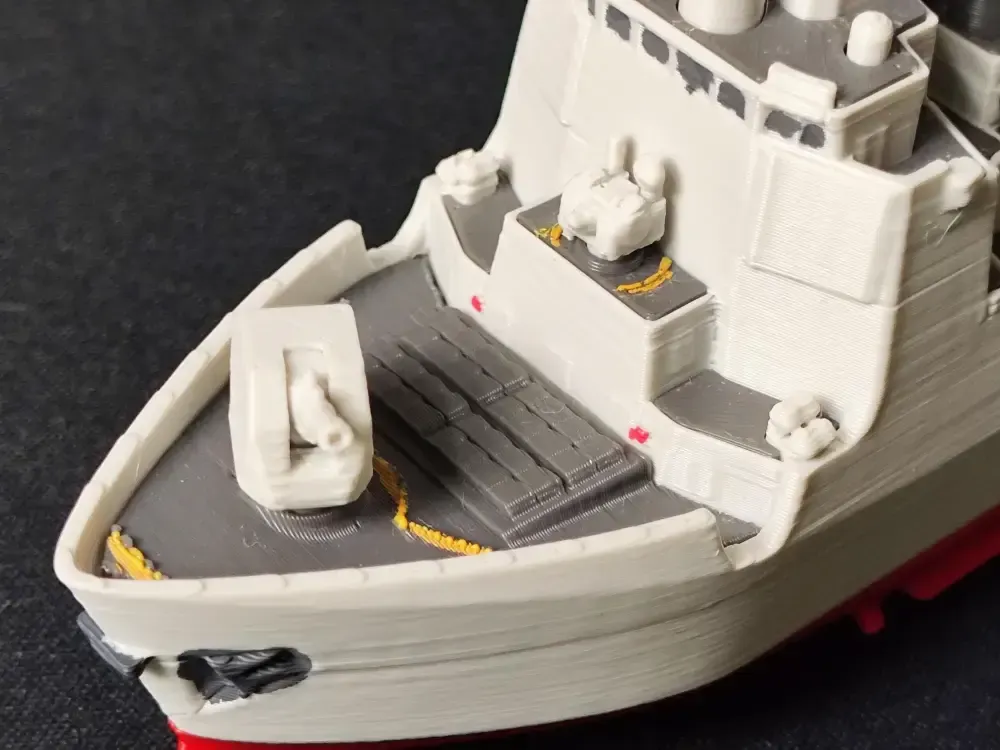
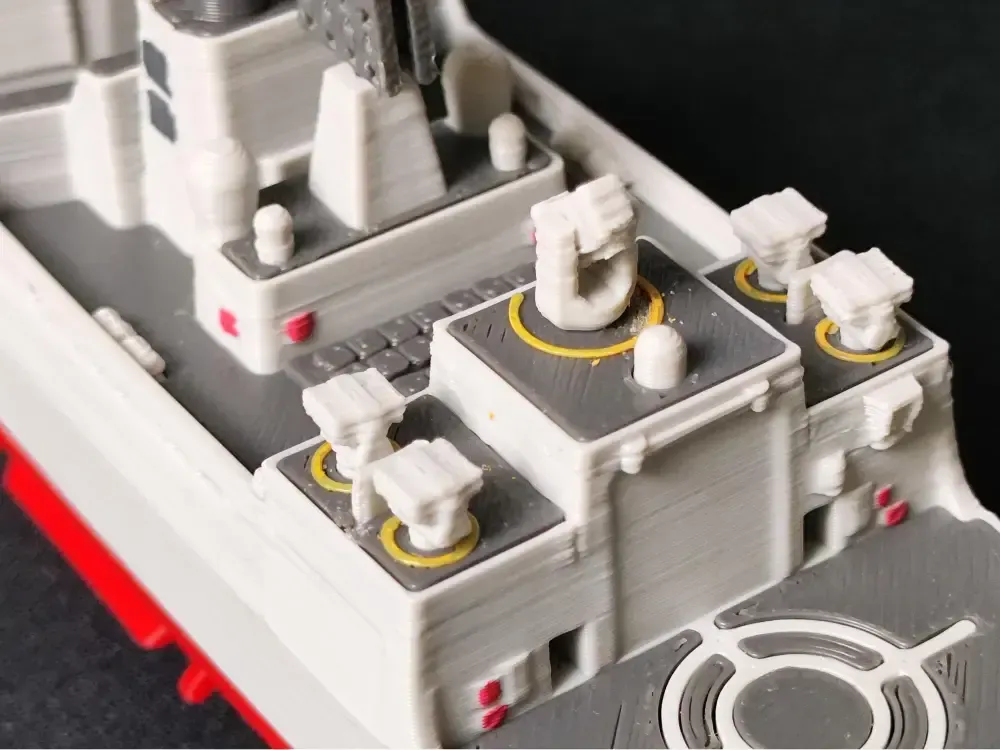
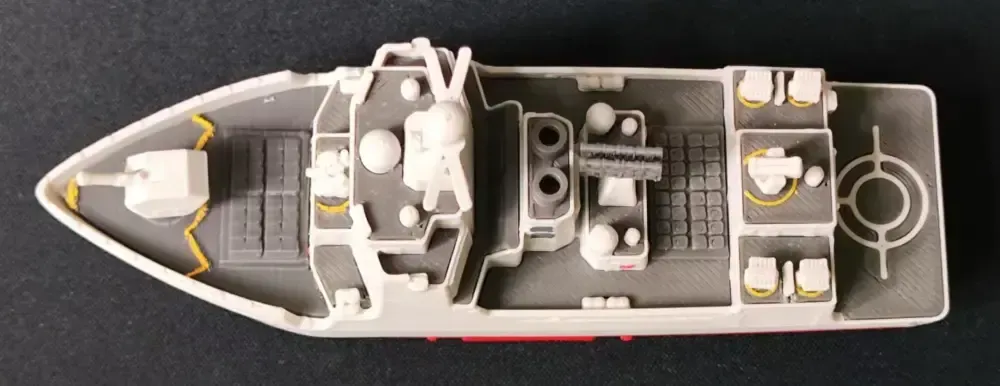
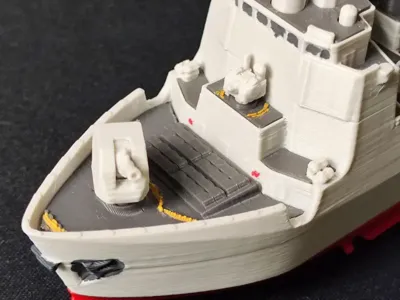
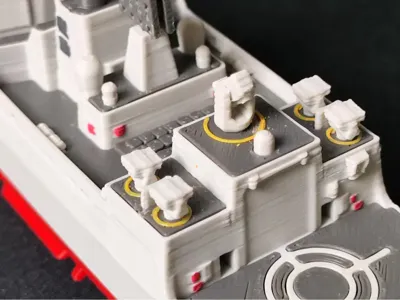
All weapons can rotate. The main gun and HQ-10 can pitch up and down. Since it's an Articulated Print in Place structure, you'll need to move it a bit right after printing. The base of the main gun barrel might be slightly stuck to the turret. You can use clippers or a hobby knife to break the adhesion, or gently pinch the base of the barrel and apply a little force. Be careful not to bend the barrel 😁😁
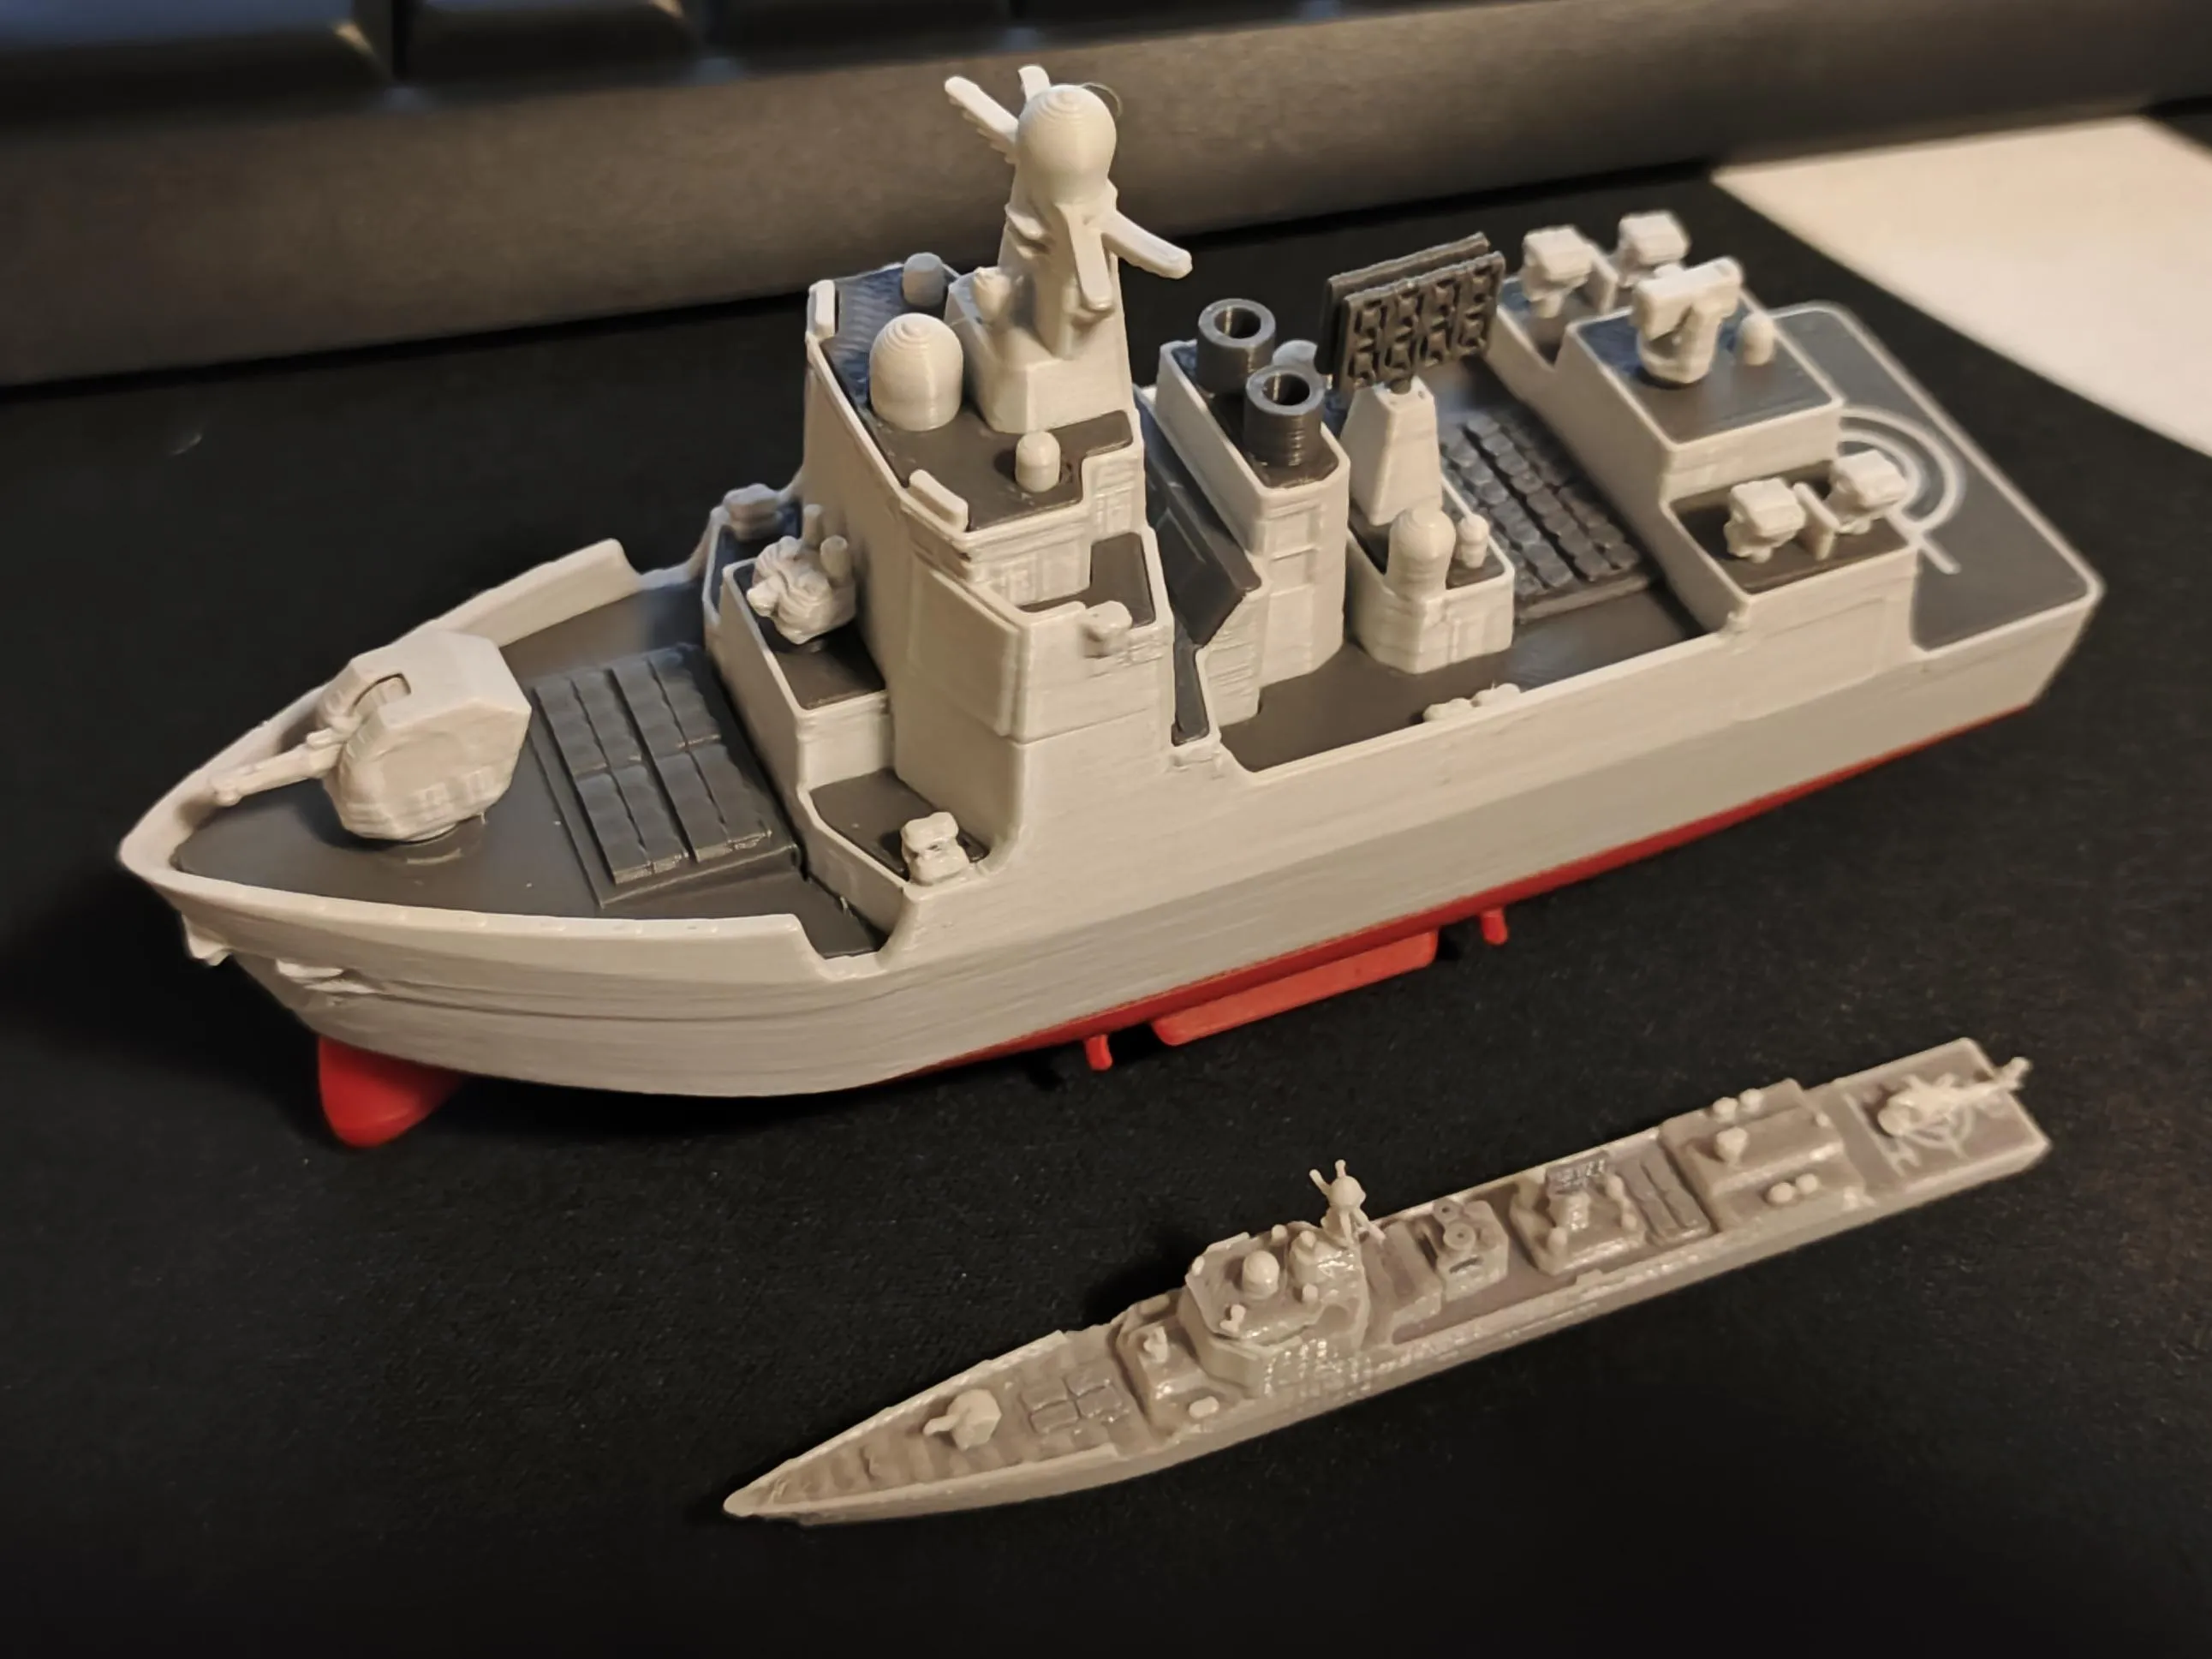
While being chibi-fied, the distinctive features of the 052D are retained, and detailing is enhanced in some aspects, compared to a 1:2000 scale model
This model uses multi-color printing, split into three plates. I tried to make the parts in a kit card format, which I feel makes them less likely to get lost or confused.
After printing, you can color it with marker pens, for example, the portholes, anchors, warning lines on ship weapons, and so on.
I also provide a print profile without borders; those who don't want to trim borders can print this one
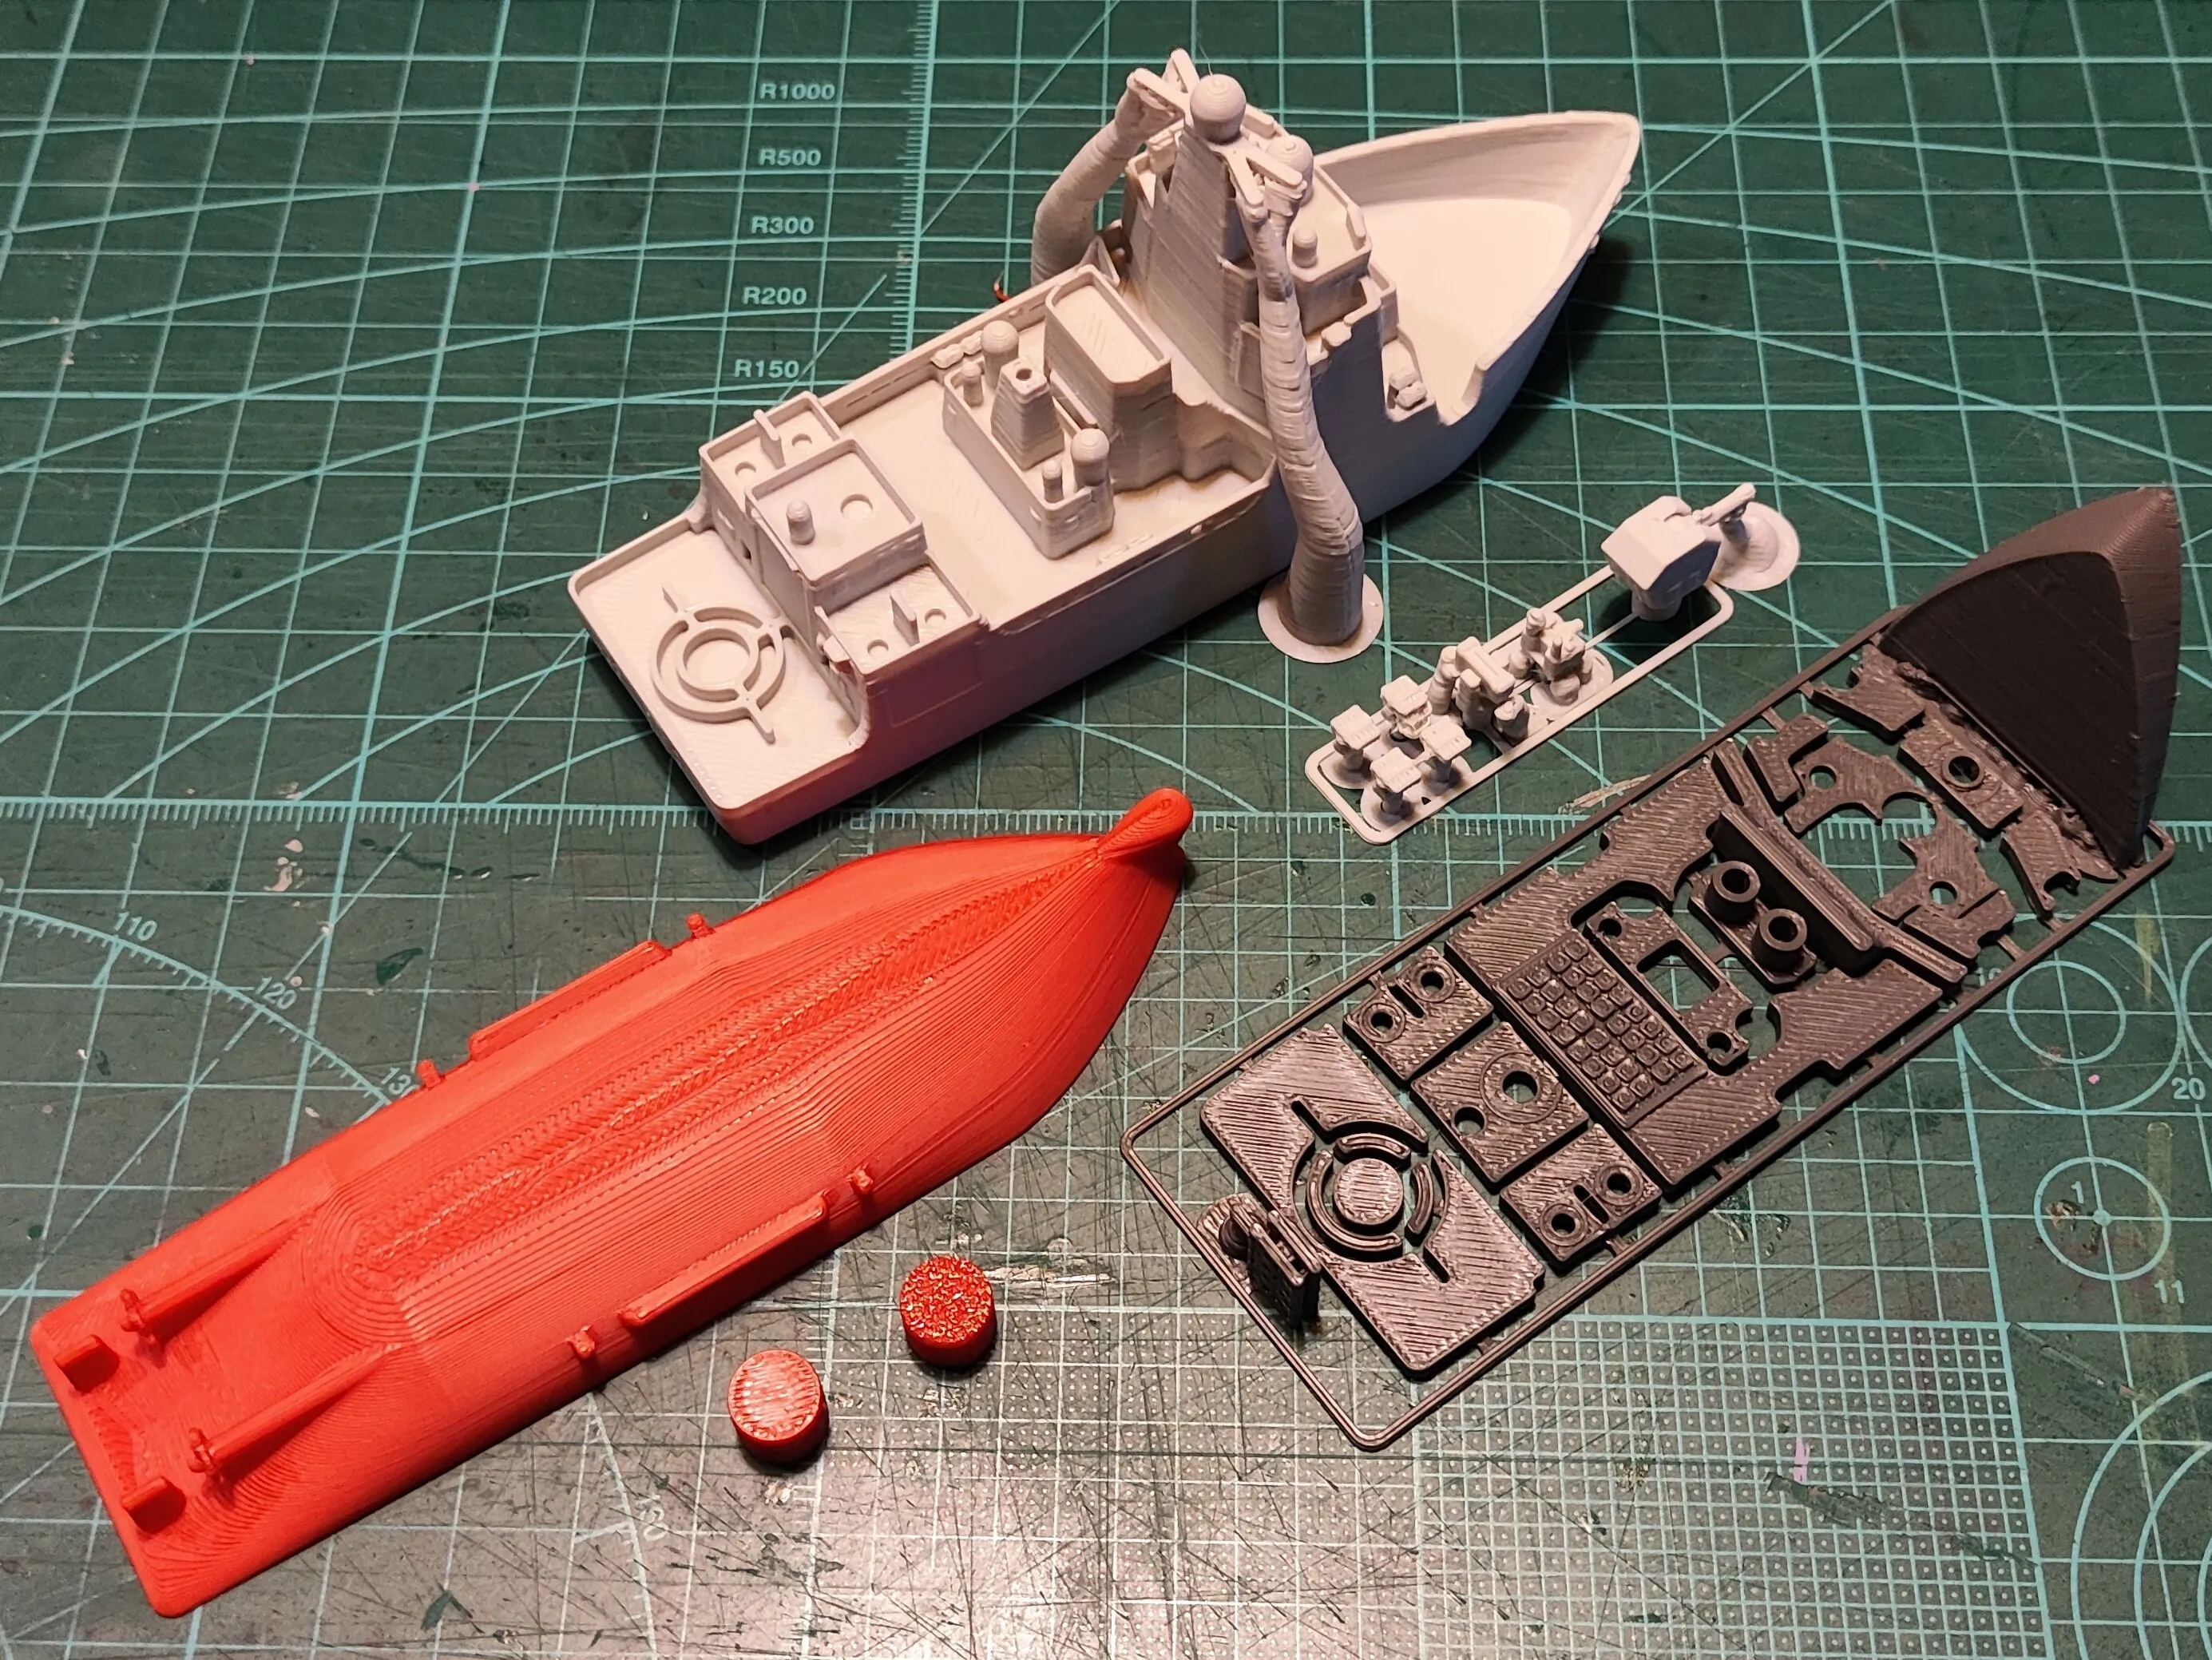
The assembly process is very simple. I originally wanted to draw instructions, but then felt it wasn't necessary. The deck parts are already pre-arranged, just press them into the corresponding positions on the hull.
The tolerances of the parts have been carefully adjusted. I used Bambu Lab PLA Basic to print, placing the deck in its corresponding position, it snapped in with a little force. I found the installation process very stress-relieving 😁😁
Because different filaments have different sinkage rates, if your printed parts are a bit loose, you can use a little glue. The hull and bottom can be connected with two cylindrical pegs, or you can use four 8x3 magnets to create a magnetic bottom.
This is my first time making chibi toys. Please feel free to leave your suggestions, comments, and ideas, as they can help me create better and more interesting things
2026.1.15
I originally intended to use only multi-color printing, but my coloring skills are really hard to describe. Looking at this crookedly colored ship today, I decided to release a multi-color print profile instead.
It will definitely waste more filament and printing time than a single-color hull, but friends who don't want to color it themselves can try this
2025.10.1
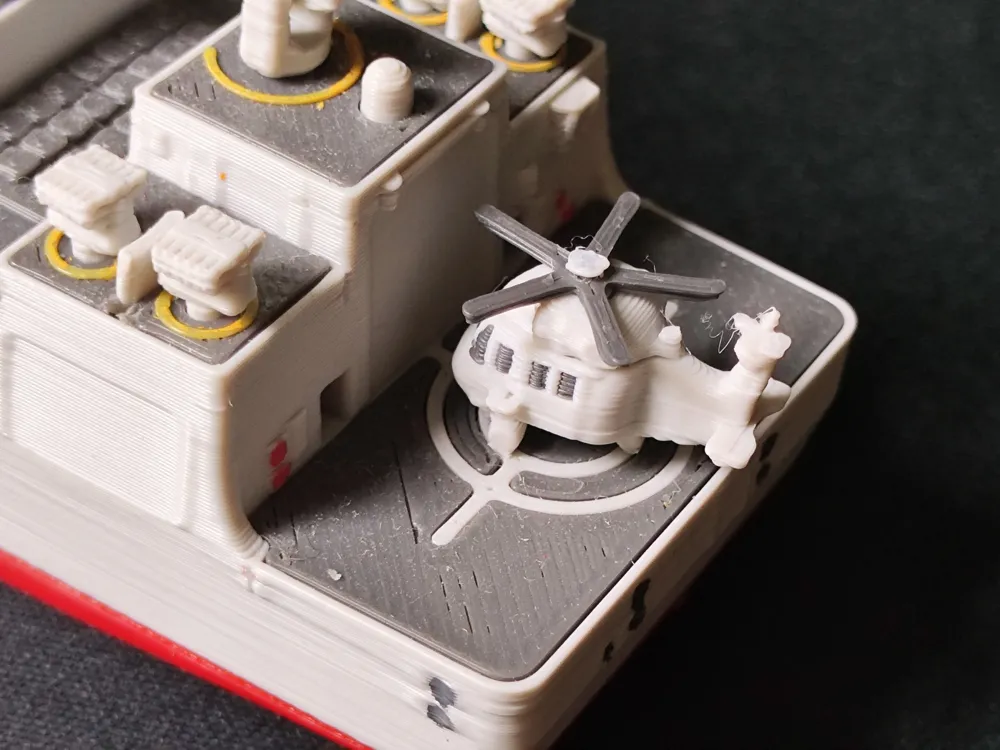
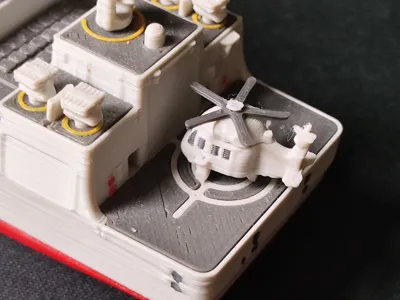
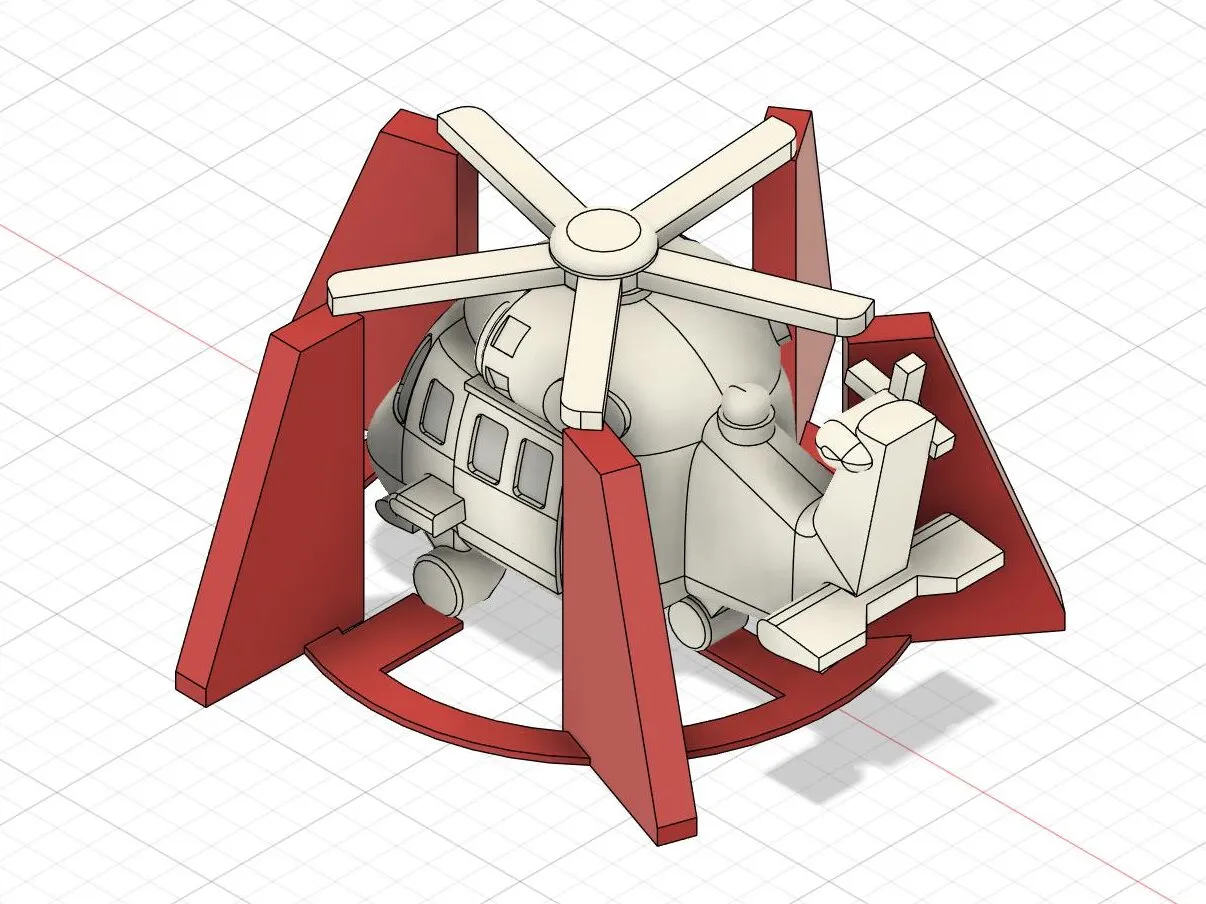
Added a chibi Z-20J. The aircraft is very small, available in single-color and multi-color versions (1g for the aircraft, 10g for Bambu Lab waste 🤣)
The red areas in the image below are pre-supports; remove them after printing. Pay special attention to the connection points with the landing gear wheels; cut them first, otherwise, you might easily break the landing gear wheels
This pre-support method is the optimal printing solution I arrived at after many trials
Boost Me (for free)
If you like my designs, welcome to boost me, thank you
License

You shall not share, sub-license, sell, rent, host, transfer, or distribute in any way the digital or 3D printed versions of this object, nor any other derivative work of this object in its digital or physical format (including - but not limited to - remixes of this object, and hosting on other digital platforms). The objects may not be used without permission in any way whatsoever in which you charge money, or collect fees.


Comment & Rating (2)