Search models, users, collections, and posts

Pumpkin Mold – Multi-Purpose (Cake/Wax/Plaster)
Print Profile(2)

Smaller & lighter by 25%
Designer
5.9 h
4 plates

0.12mm layer, 3 walls, 15% infill
Designer
11.4 h
4 plates
Open in Bambu Studio
Boost
449
1136
18
10
294
76
Released
Description
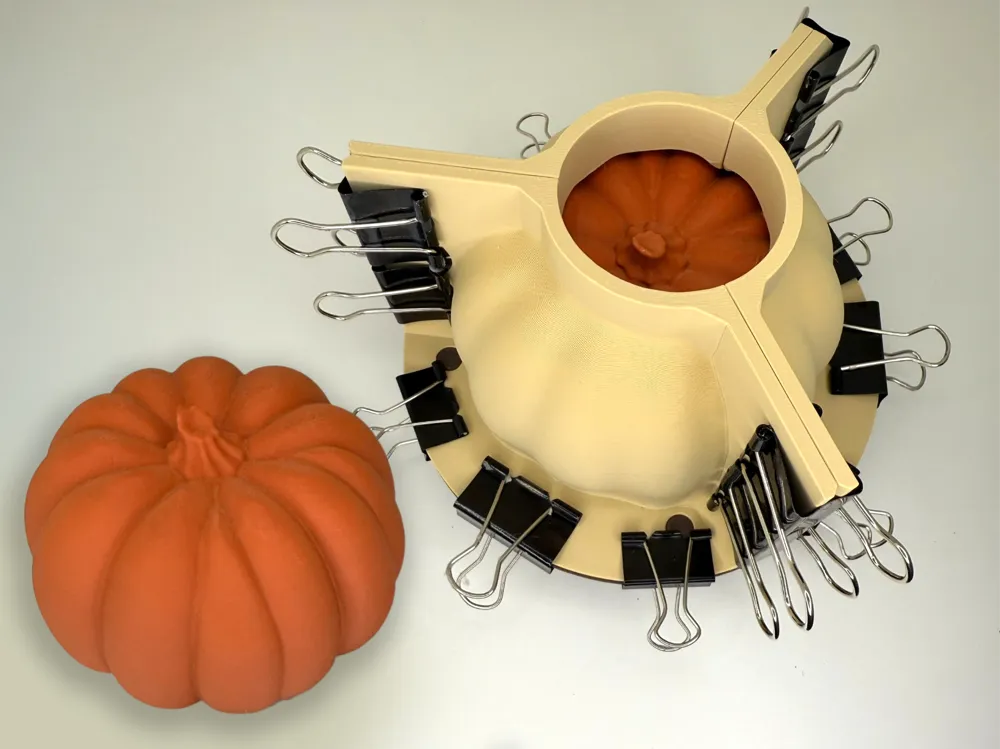
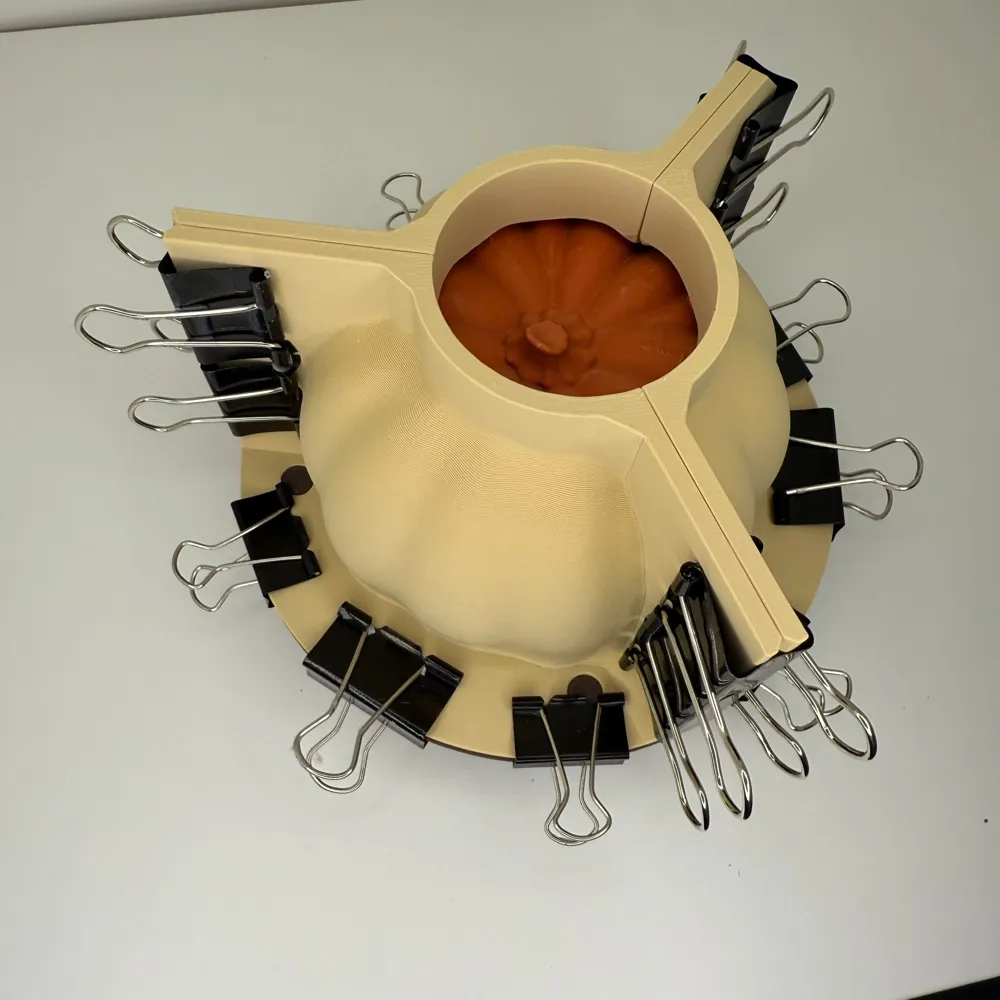
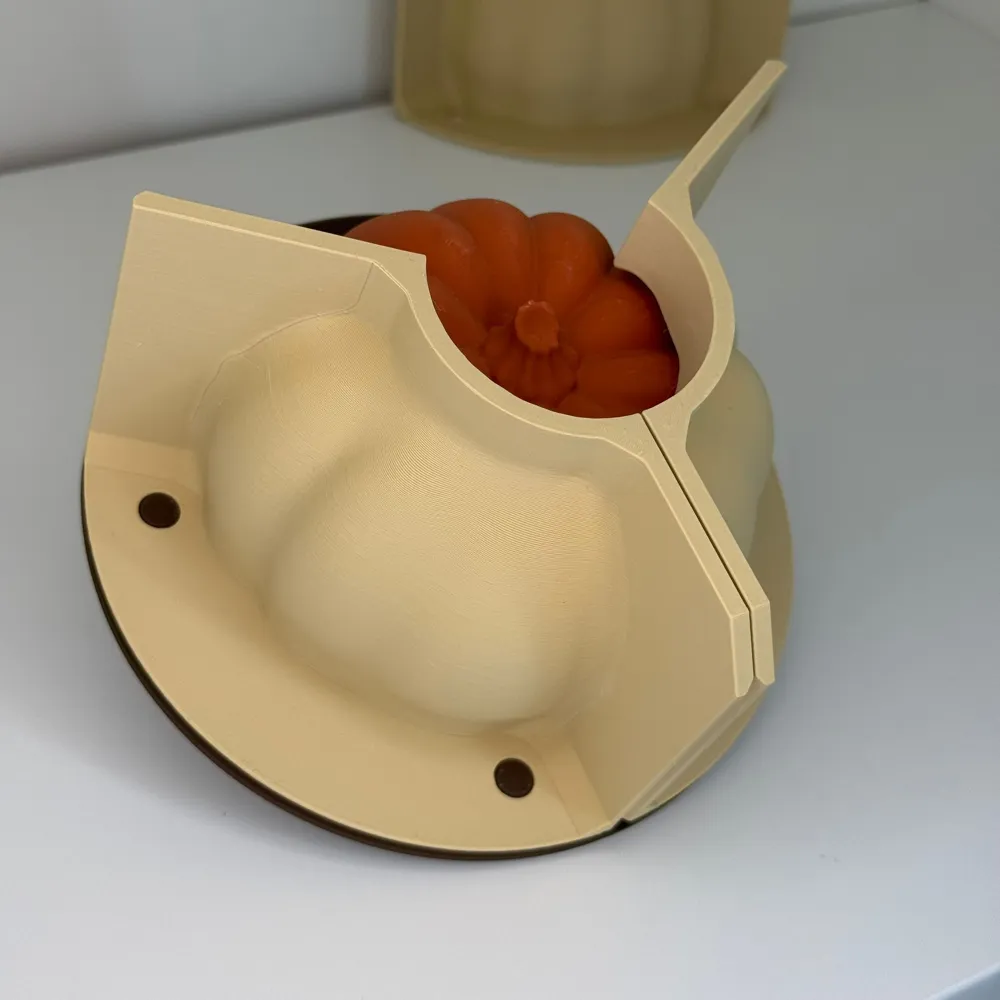
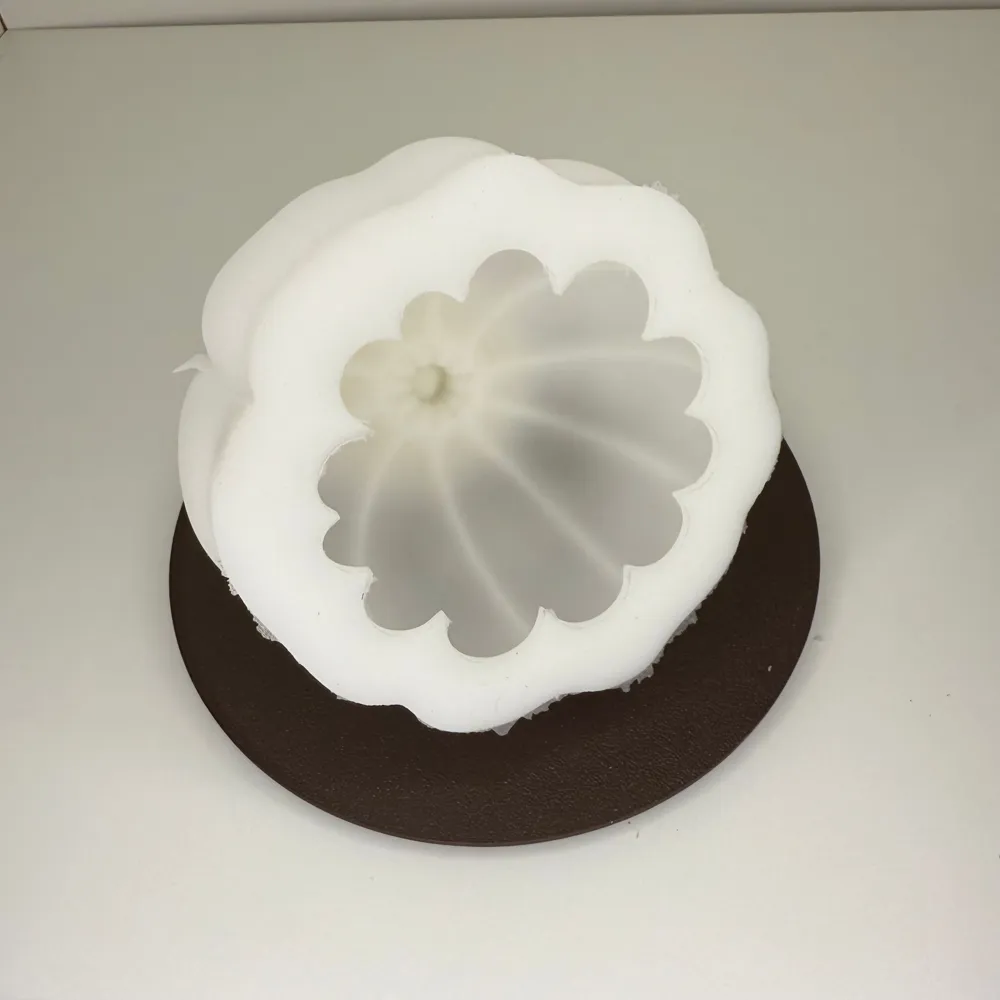
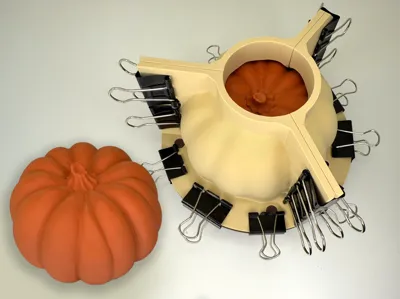
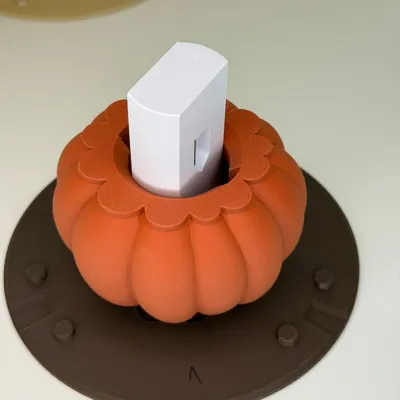
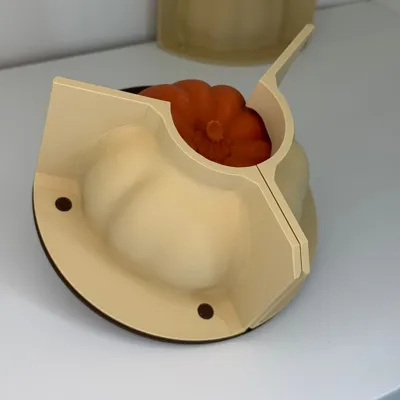
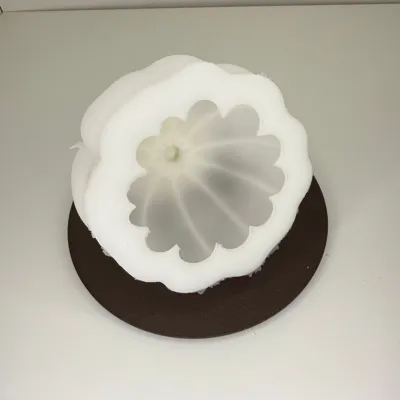
3D-printed mold designed to create a silicone master for pumpkins. Suitable for multiple uses: resin, soap, wax, plaster, and more. Optimized for fast FDM printing without supports, with clean demolding and easy assembly.
What’s Included
- /3mf/Pumpkin_mold_cg_notorious.3mf (Bambu Studio profile)
- /stl/01_pumpkin.stl
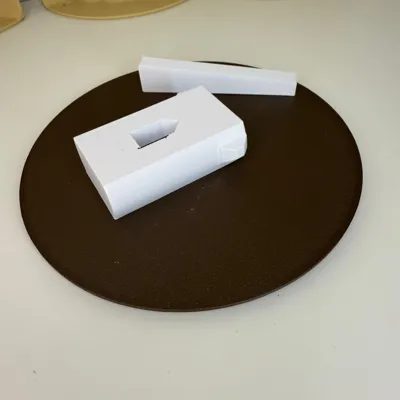
- /stl/02_base.stl
- /stl/03_pumpkin_shell.stl
- /stl/04_insert_lock.stl
- /stl/05_lock.stl
- pumpkin_mold_assembly (assembly reference file)
Specs & Scale
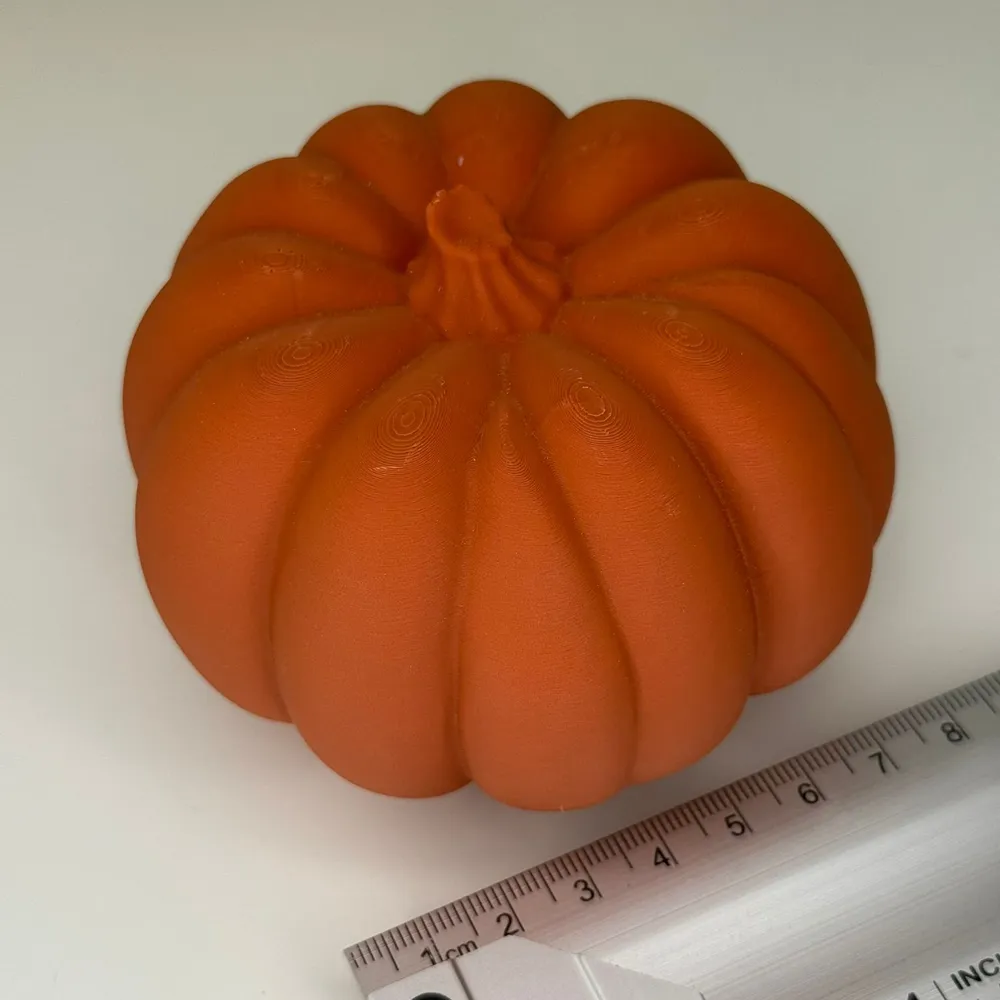
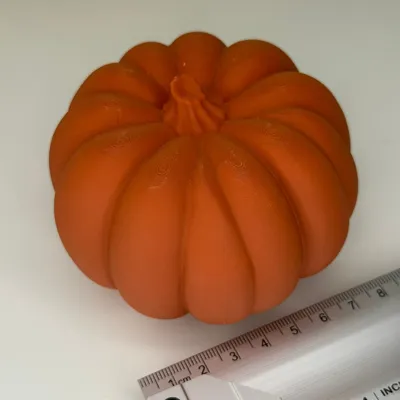
- Native size pumpkin: 63 mm tall × ~94 mm Ø
- Scalable ±10% without affecting function
Recommended Print Settings (FDM)
- Material: PLA (recommended) or PETG
- Nozzle: 0.4 mm
- Wall count: depends on your preference; my test print uses thicker walls for reusability
- Layer height: 0.12 mm for the pumpkin (higher detail for smooth surface) for the rest of the pieces you can use 0.16mm or 0.20 mm.
Supports: Off
Assembly
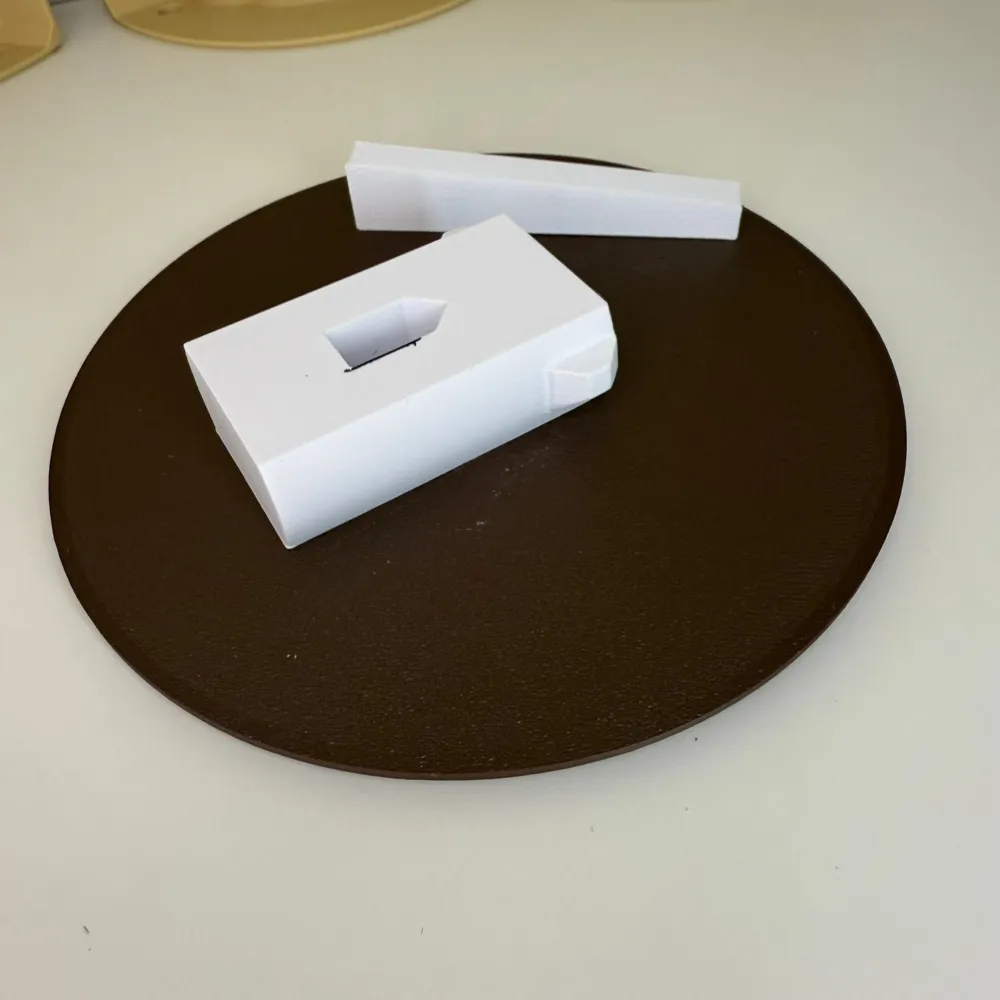
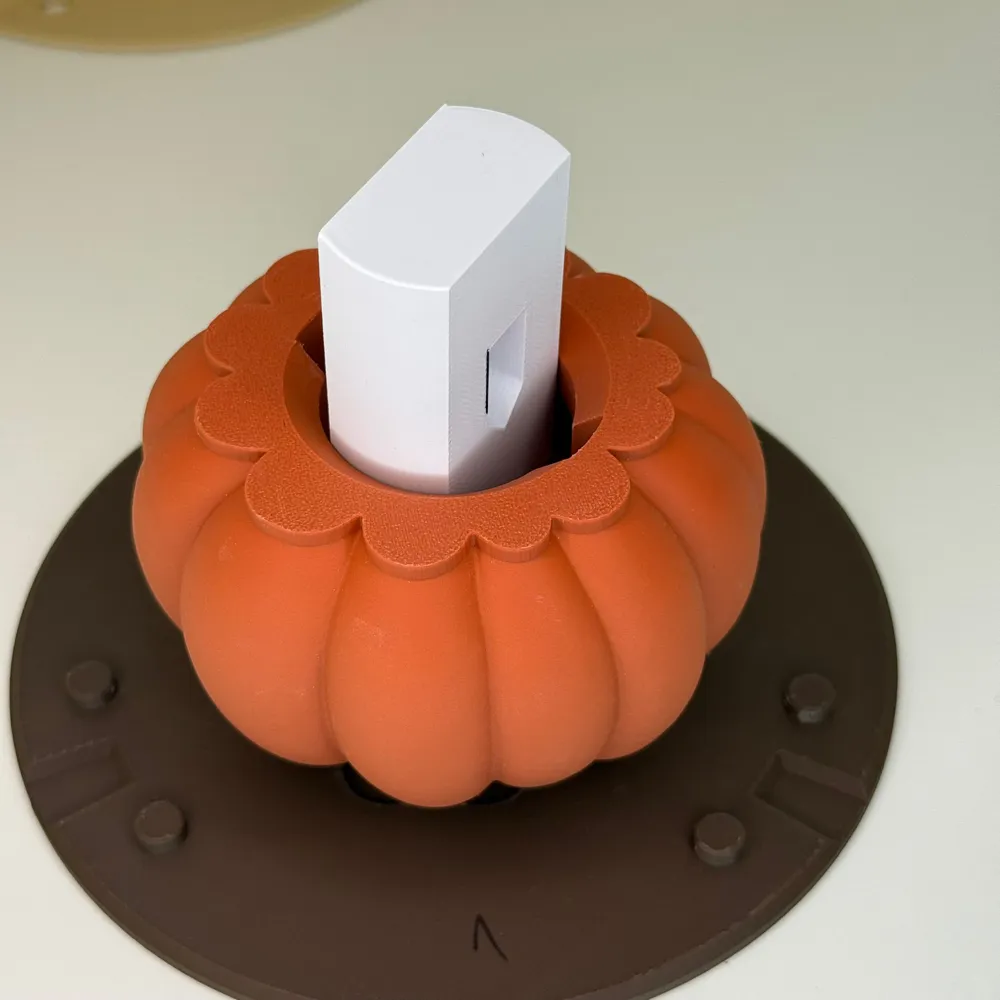
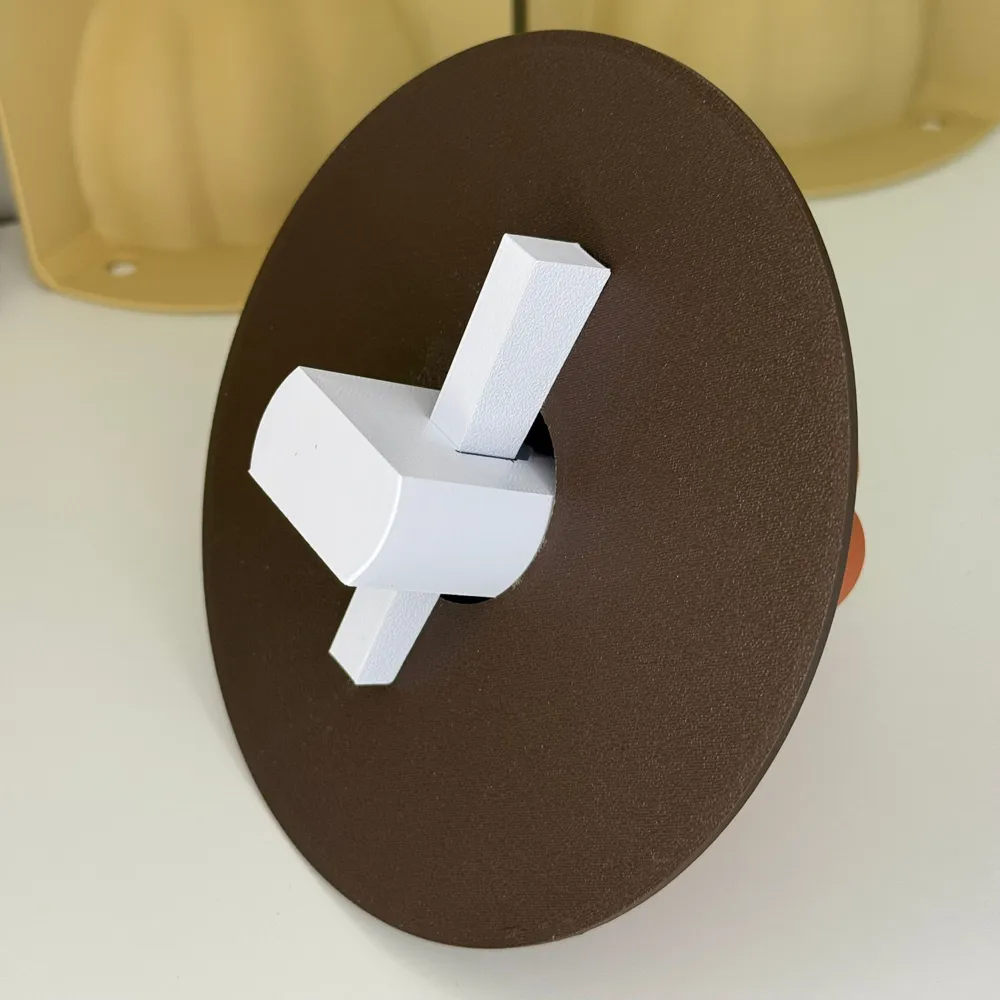
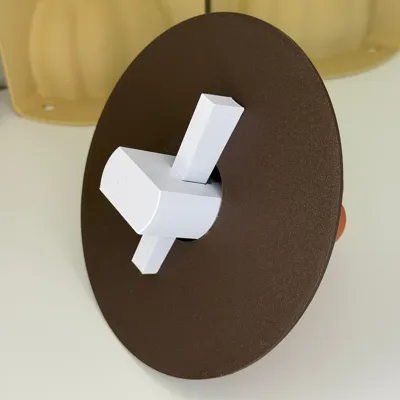
- Insert the lock inside the pumpkin and rotate 90°.
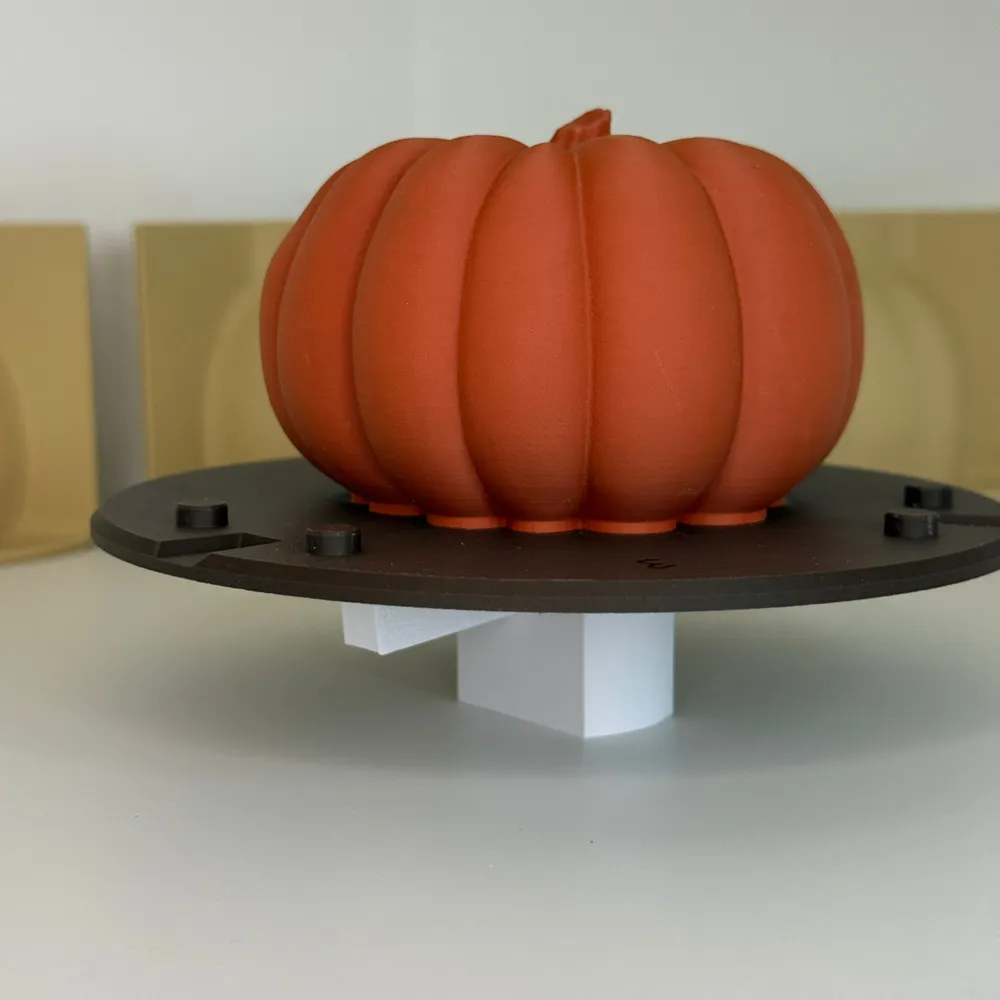
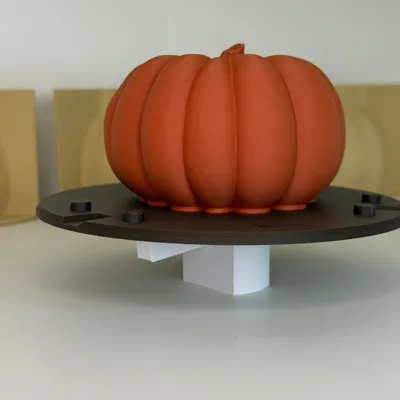
- Place the base under the pumpkin; rotate to align with the negative space.
- Fit the last piece under the base to keep the pumpkin straight and prevent leaks.
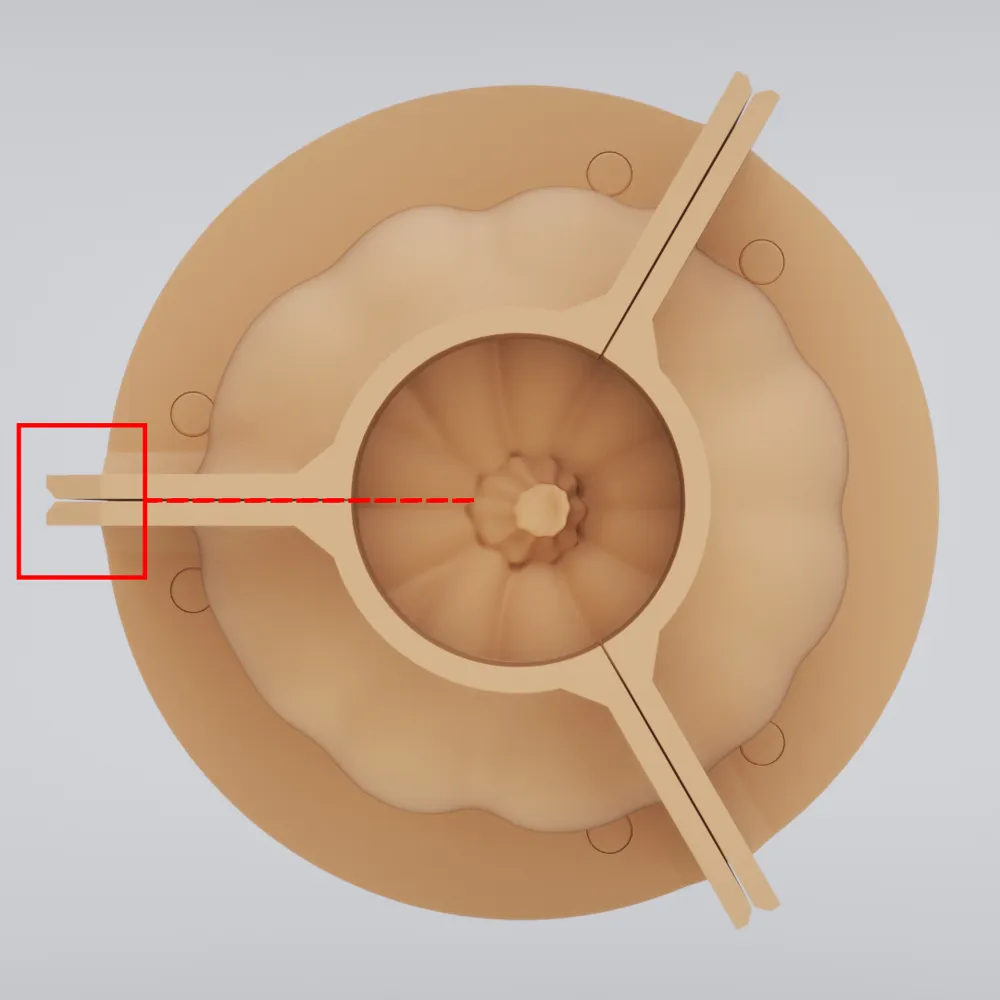
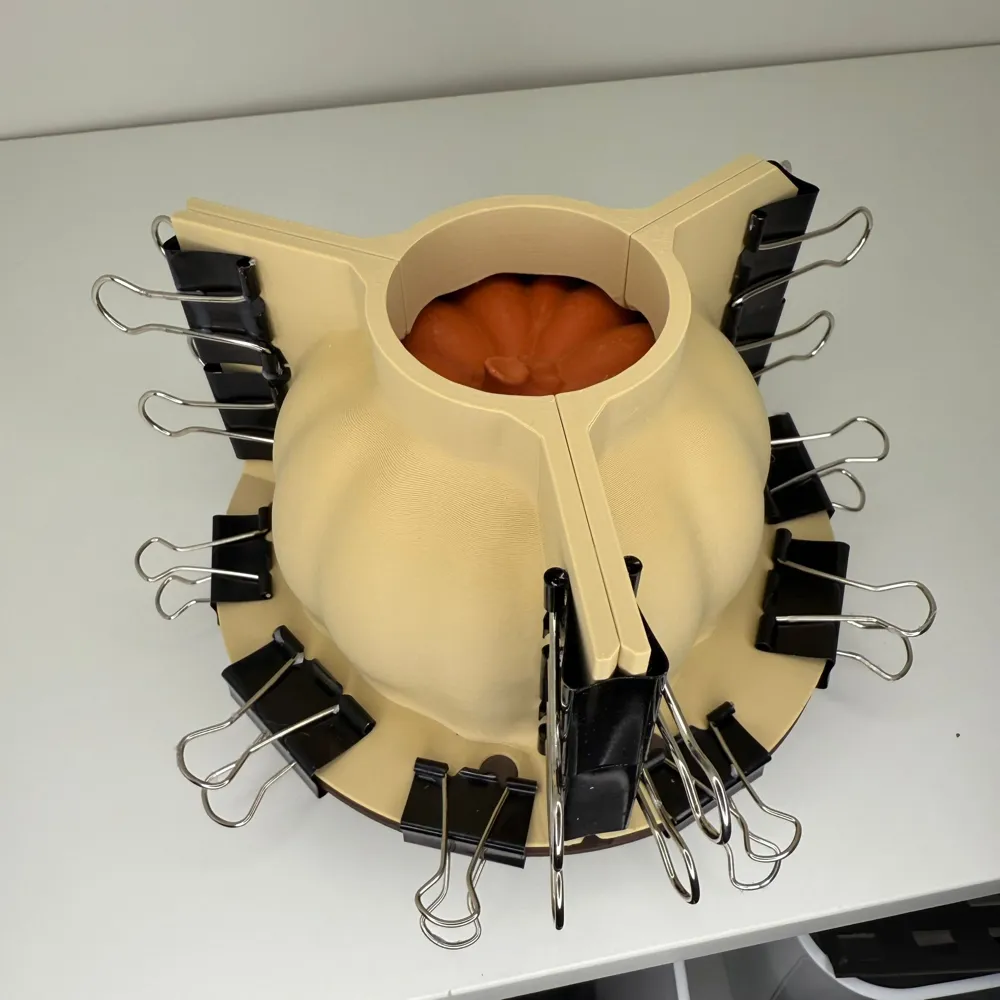
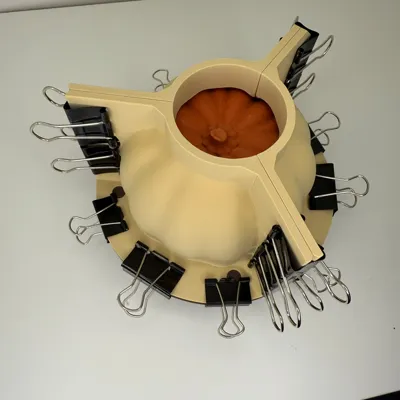
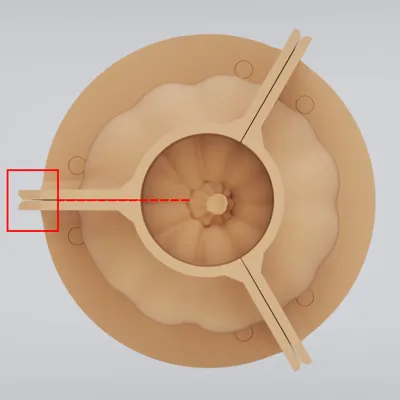
- Ensure the shell is aligned correctly: the clip angle must match the pumpkin’s top “cut” (see top render).
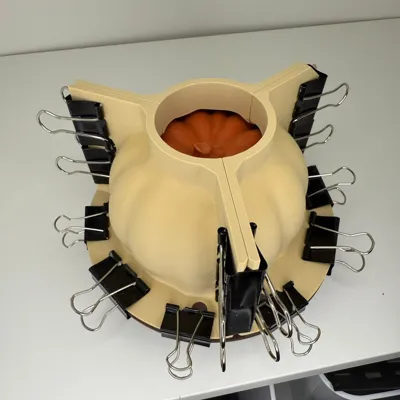
- Secure the shell to the base using clamps.
check the video here:
Casting Notes
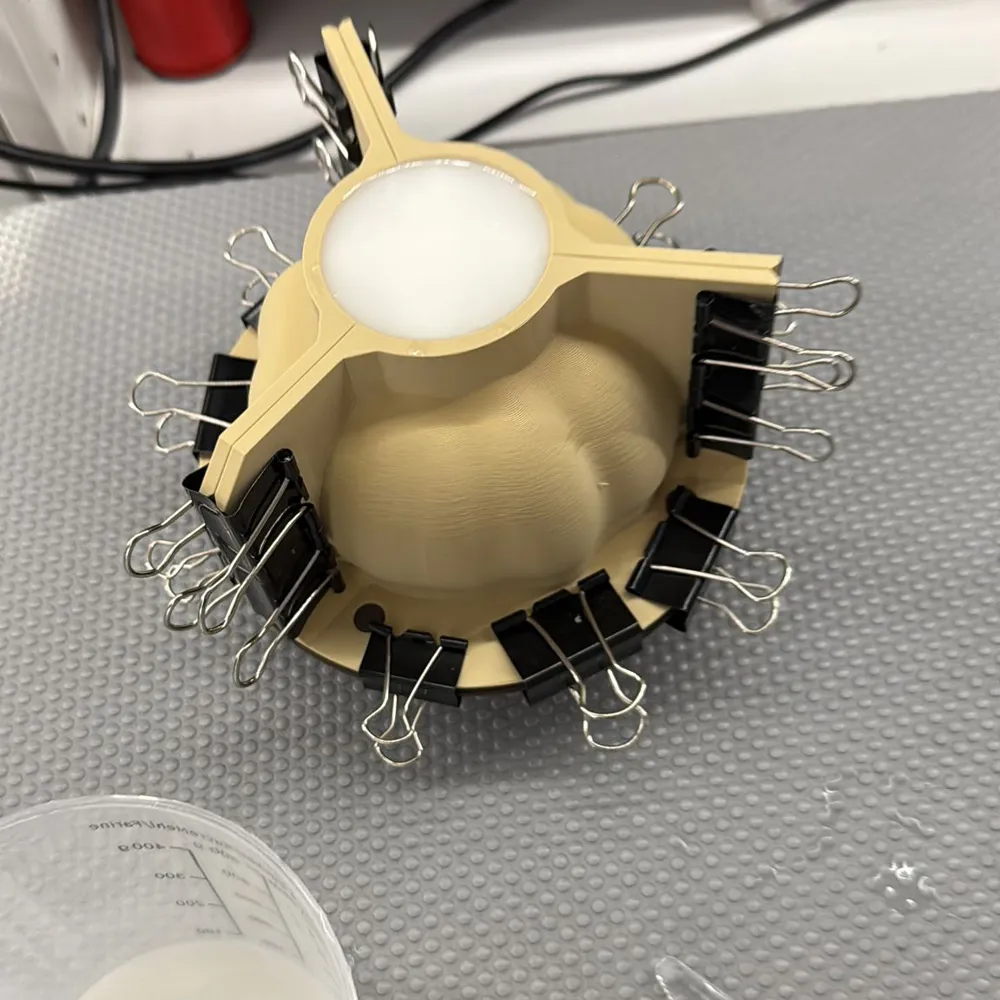
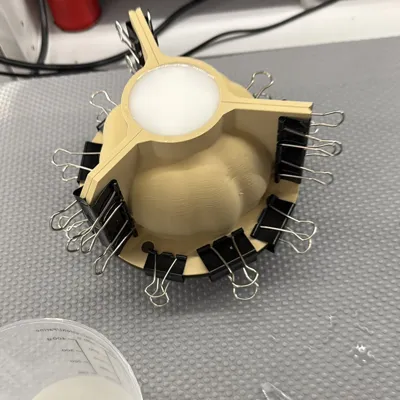
- When pouring silicone, pour slowly in short pauses to reduce bubbles.
- The mold shape avoids air traps, but pouring too fast can cause bubbles.
- Food contact: Do not pour food directly into FDM prints. Always use this as a master to make a food-safe silicone mold.
- Some silicones may require a release solution to aid demolding. Check the specifications of the silicone you are using.
- Note: most food-grade silicone is not oven-safe unless specified.
Post-Processing 3D PRINT
- Lightly sand the inner surface (P400–P800) for smoother casts.
- Clean thoroughly with isopropyl alcohol after the sanding.
Post-Processing THE SILICONE MOLD
- For the silicone master (if food-grade)
First Cleaning of a New Silicone Food Mold (Post-Casting)
- Rinse Immediately
Wash under warm running water to remove surface dust and loose particles. - Degrease
Fill a basin with warm water + mild, food-safe dish soap.
Gently wash with a soft sponge to remove release agents or residues. - Neutralize & Deodorize
Rinse with a solution of warm water + 1–2 tablespoons of white vinegar per liter.
Helps remove chemical smell and leftover oils. - Optional Deep Clean (if oily film remains)
Sprinkle baking soda onto the mold, rub gently with a damp sponge, and rinse well.
- Rinse Immediately
FAQ
- Food-safe? No—this print is a master for silicone molds.
- Best filament? PLA for ease, PETG for durability.
- Can I sculpt a face? Yes—edit the digital model to add a pumpkin face. Just avoid making cuts too deep, so the silicone remains thin and easy to demold.
If you have any questions, feel free to ask in the comments — I’ll do my best to help or share my opinion.
License

This user content is licensed under a
Creative Commons Attribution-Noncommercial-Share Alike


Comment & Rating (18)