Search models, users, collections, and posts

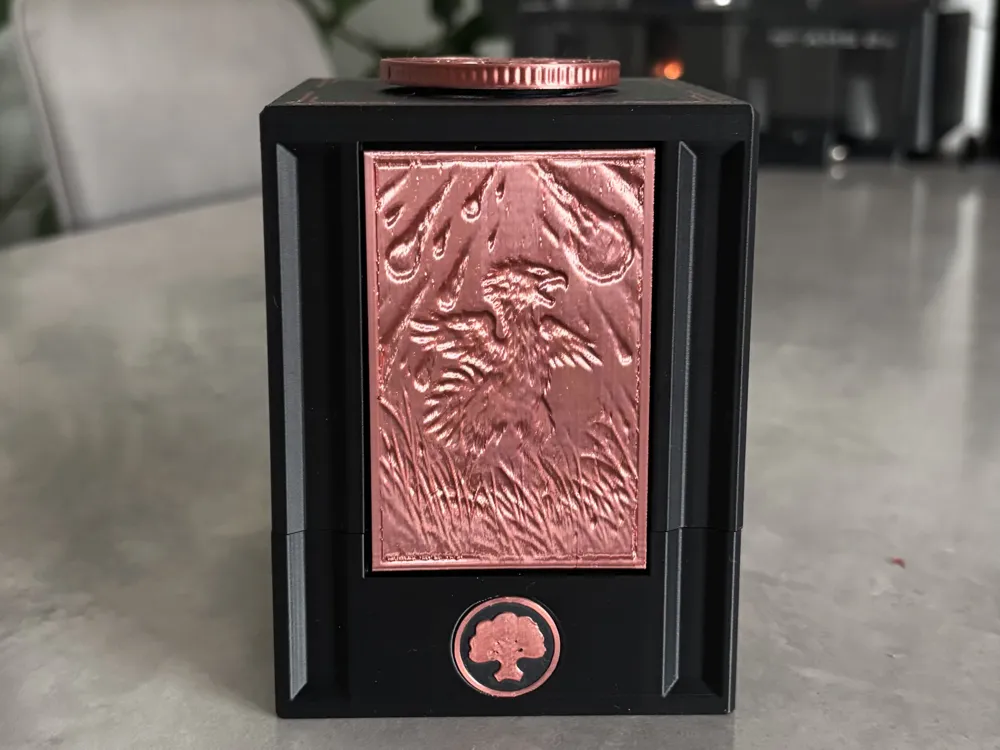
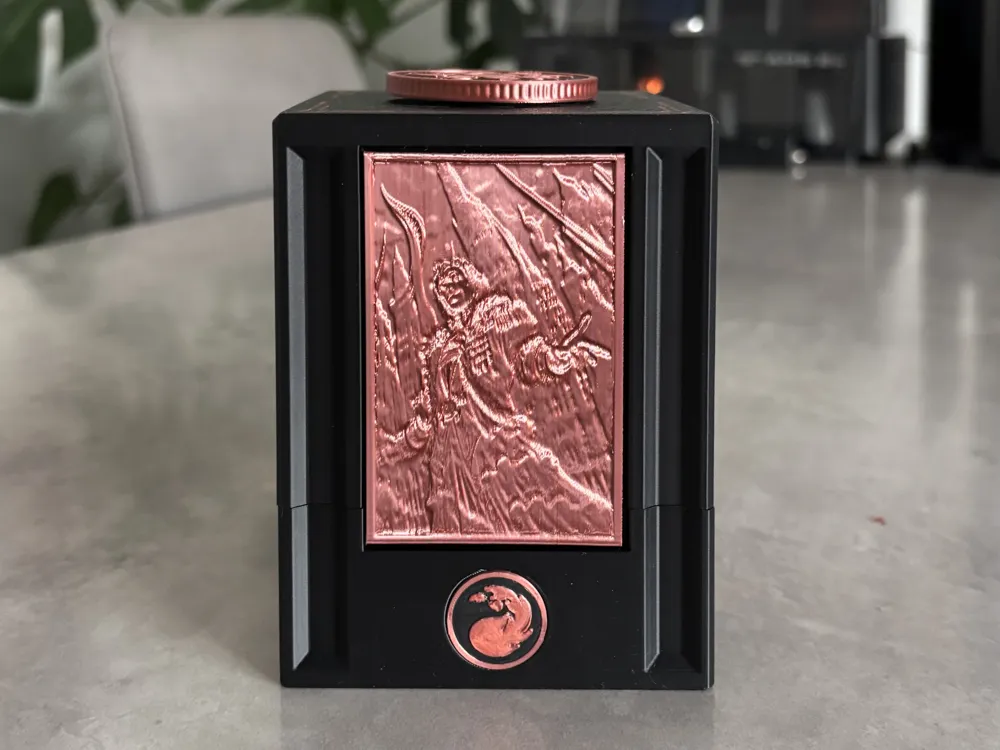
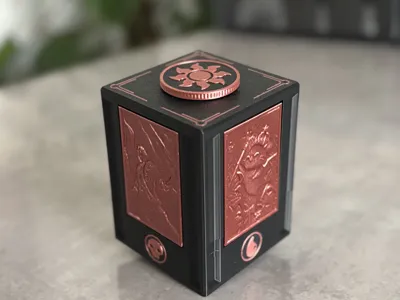
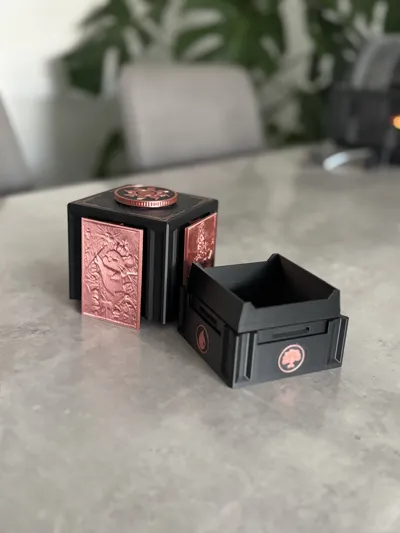
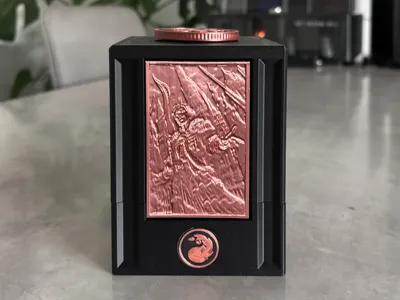
Deck Box with Sliding Panel Lock (MTG Commander)
IP Report

GIF
Print Profile(5)

All components | Plates optimized by color
Designer
9.1 h
3 plates

A1 mini | All components
Designer
8.7 h
5 plates

All components w/ All 5 Mana Knobs| Custom Blue Panels

10.5 h
3 plates

All components scaled for double sleeved w/ All 5 Mana Knobs
11.5 h
3 plates
Click to see more
Open in Bambu Studio
Boost
1859
5113
160
131
2.5 k
1.2 k
Released
Description
Highlights
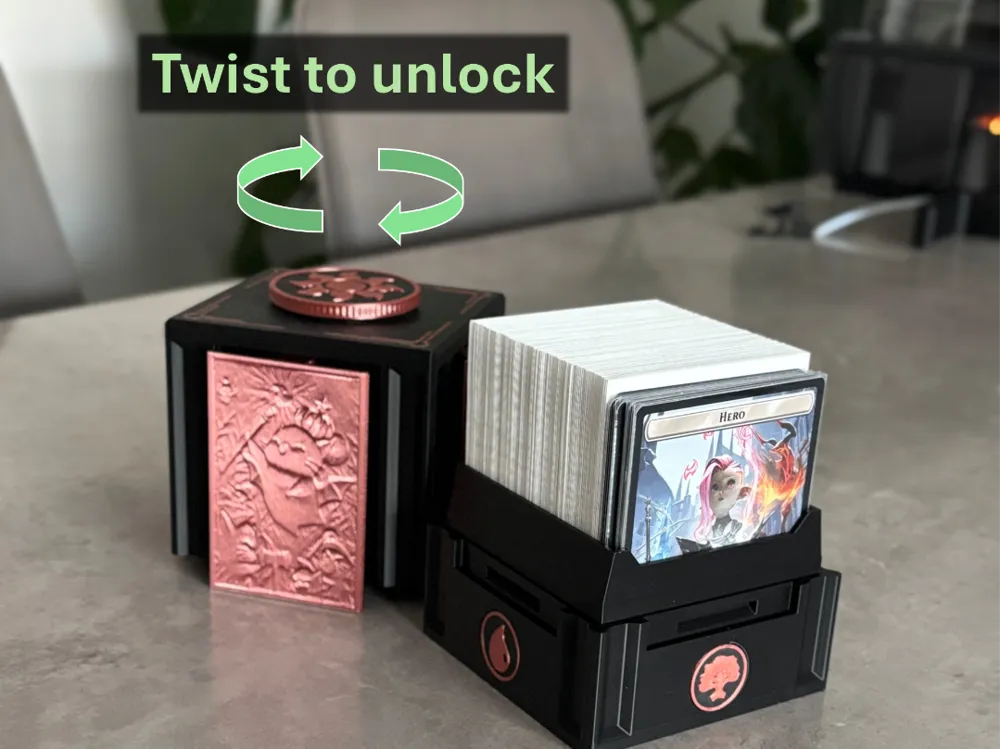

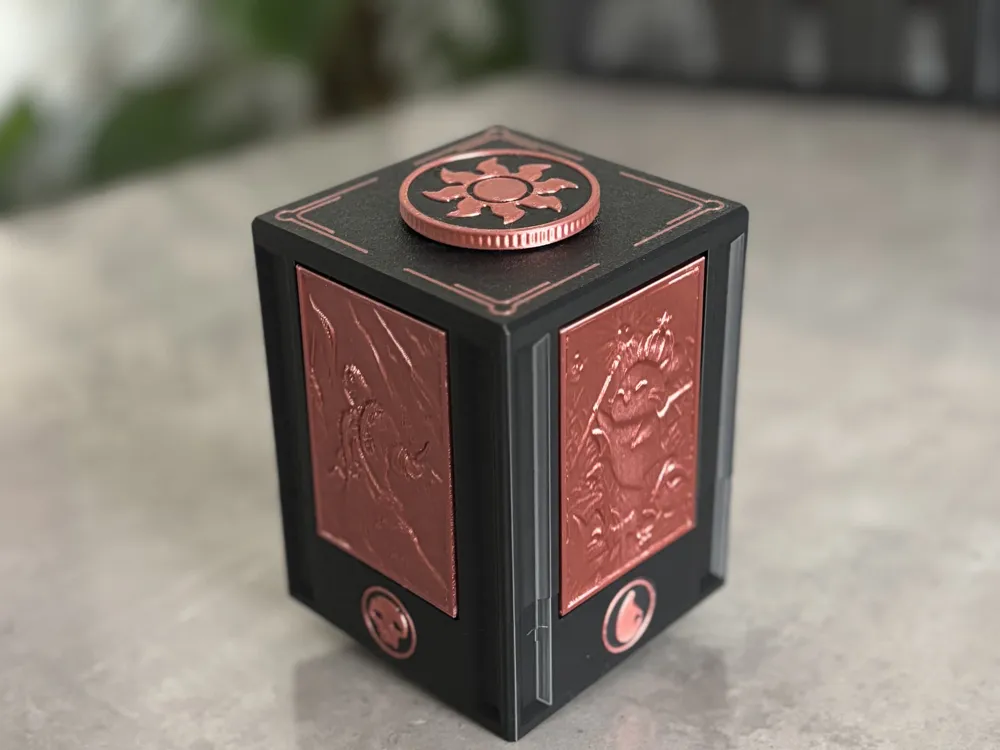
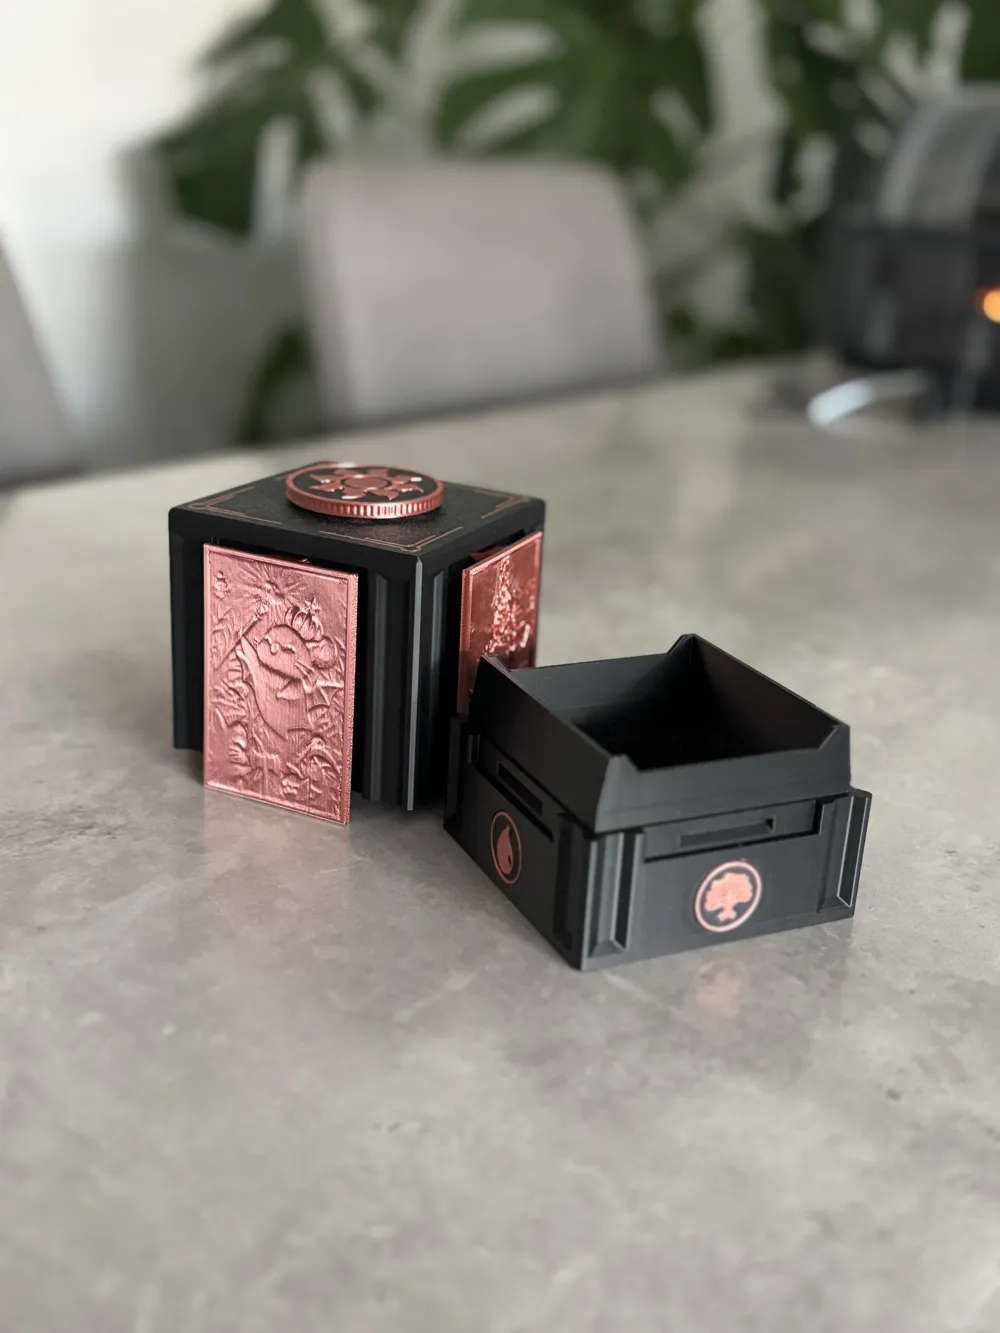
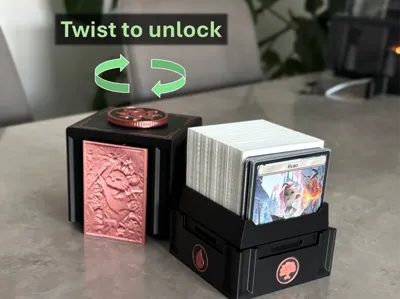
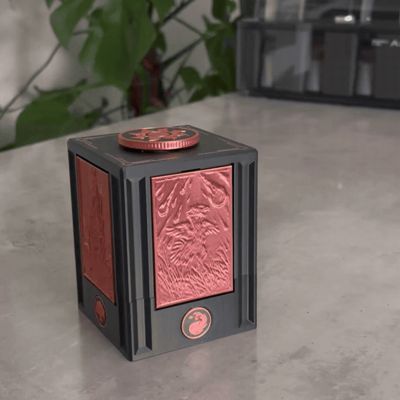
- Unique deck box with slidable panels, adds a wow-factor to your table
- Holds ~115 single-sleeved cards, perfect for a commander deck with tokens. For double-sleeved cards, refer to this model: Deck Box with Sliding Panel Lock for Double-Sleeves
- Customizable design with blank Panels included
Item Description
- Required hardware: M3x12 screw and M3 nut (M3x14 works too)
- Interior dimensions: 72x68x97mm (fits MTG and Pokemon cards)
- Can be lined with fabric inside for an even more luxurious look and feel
- Can be scaled up by 2~3% to fit thicker linings
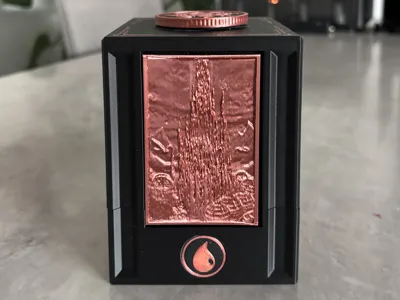
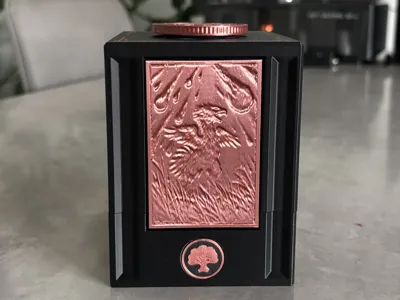
- My default design uses Final Fantasy (mainly FF14) Panels
- Can be printed without AMS, all color changes are on different layers
Updates:
- 21. Sept 2025: Customization
The files now contain BLANK models for the Round Panels around the base and the Knob on the lid to enable you to customize further. - 27. Sept 2025: Double-Sleeved Version
There is now a version for double-sleeved cards.
Note
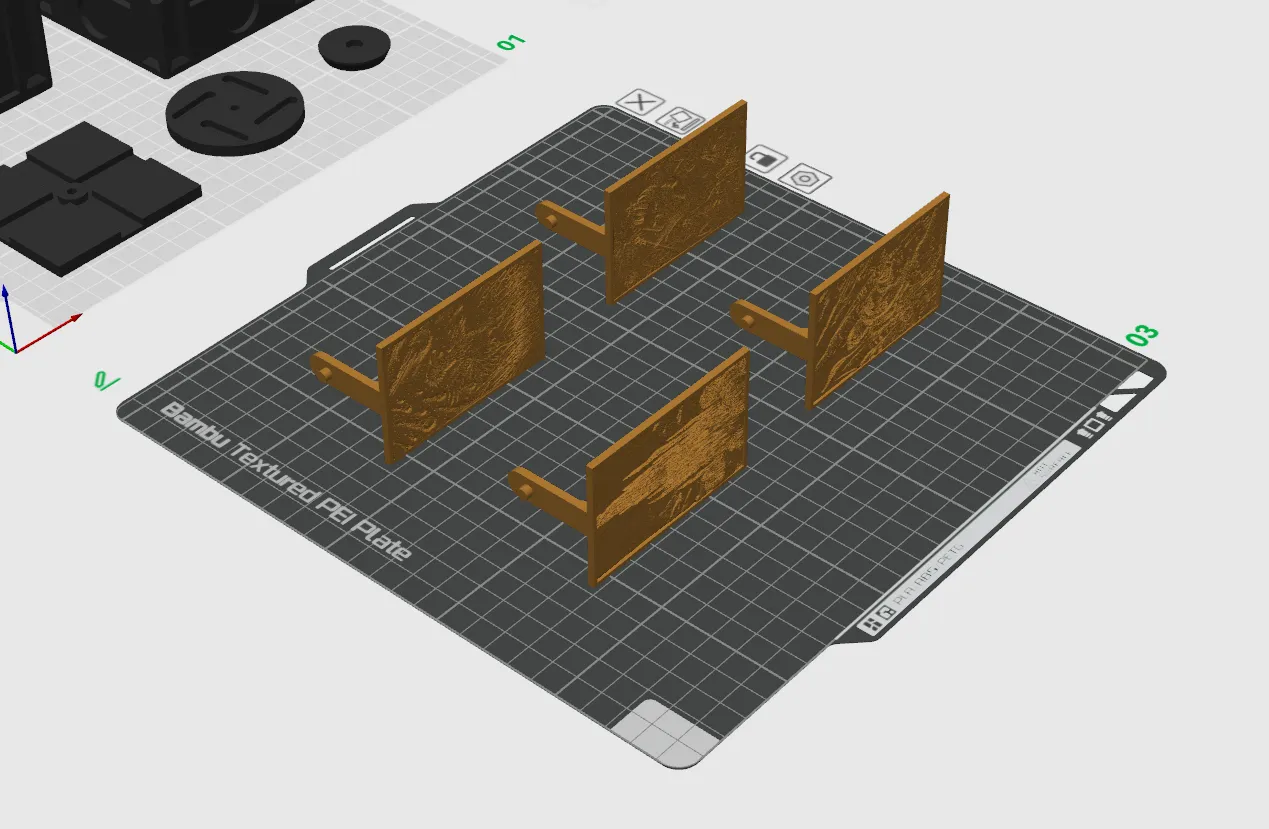
Print the Panels on their side (as shown) for maximum details and robustness of the twisting mechanism
***
Blender Panel Customization Guide
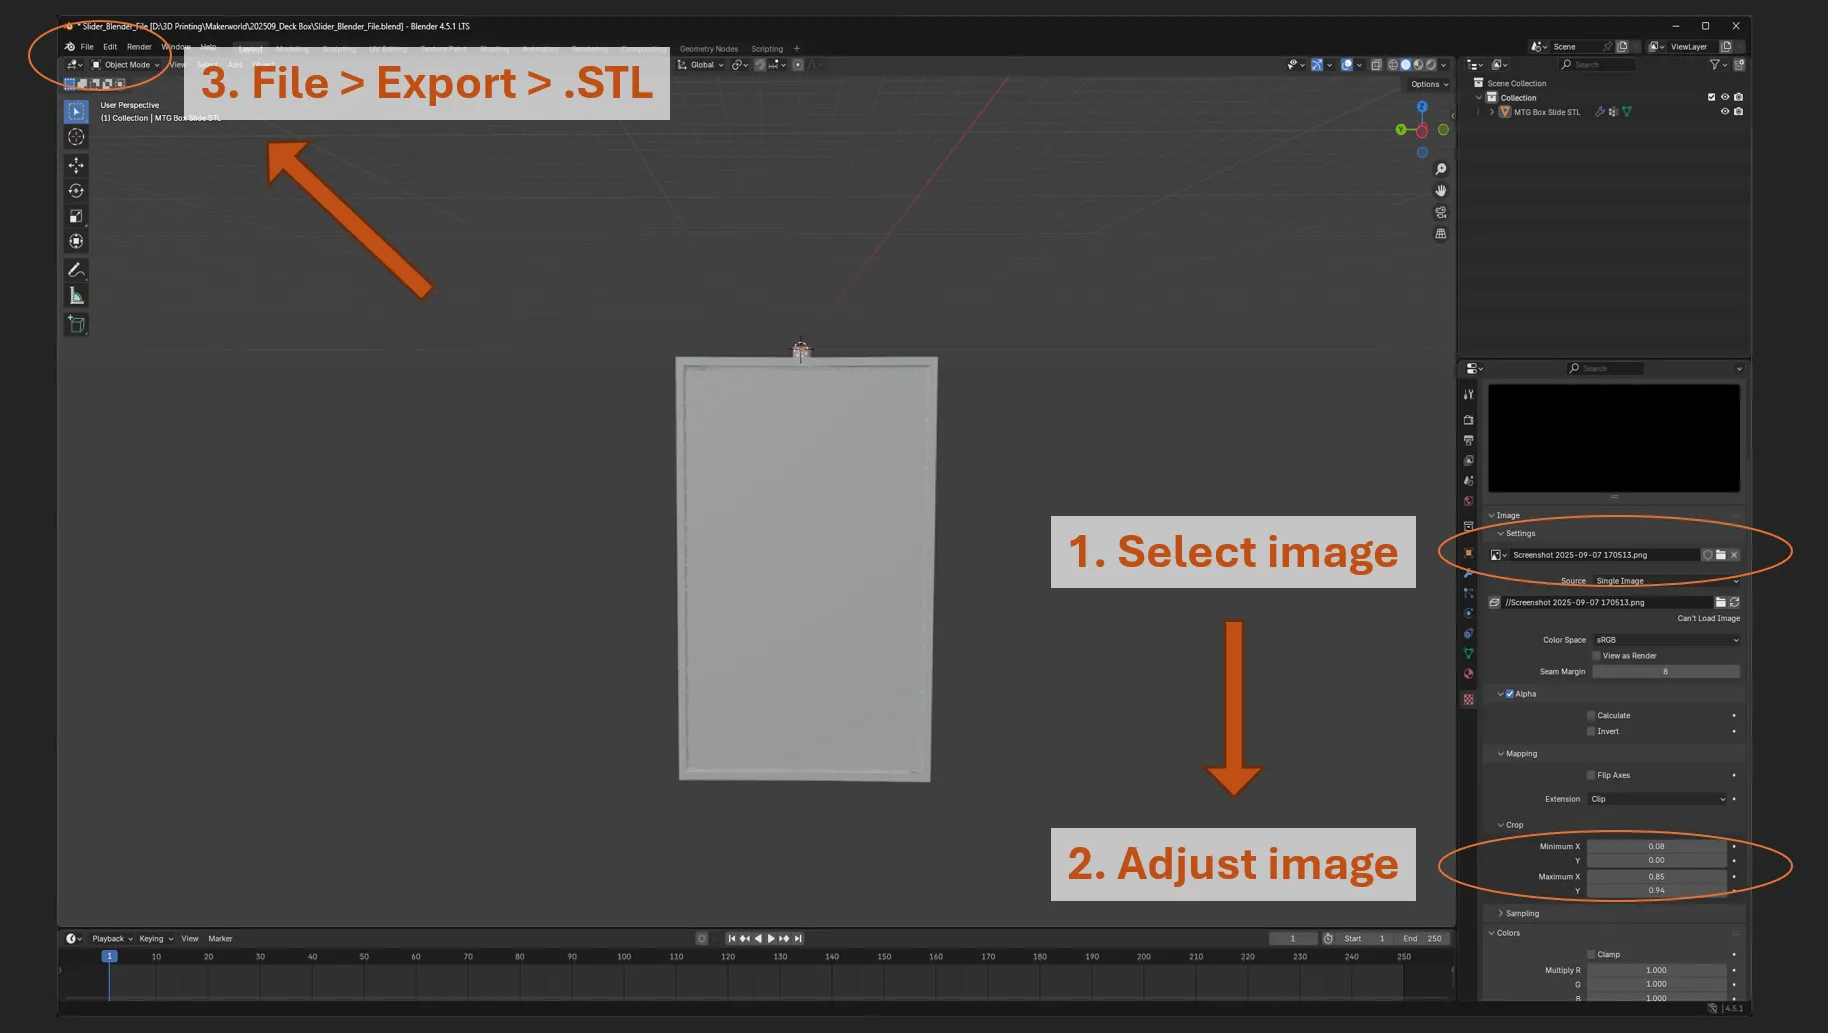
- Download free Blender software and open .blend file of this project (it already has the blank Panel loaded)
- You should see the following interface, where you can:
- Select the image you want to project from your drive
- Adjust the image (i.e., cropping it)
- Export the Panel as .STL
***
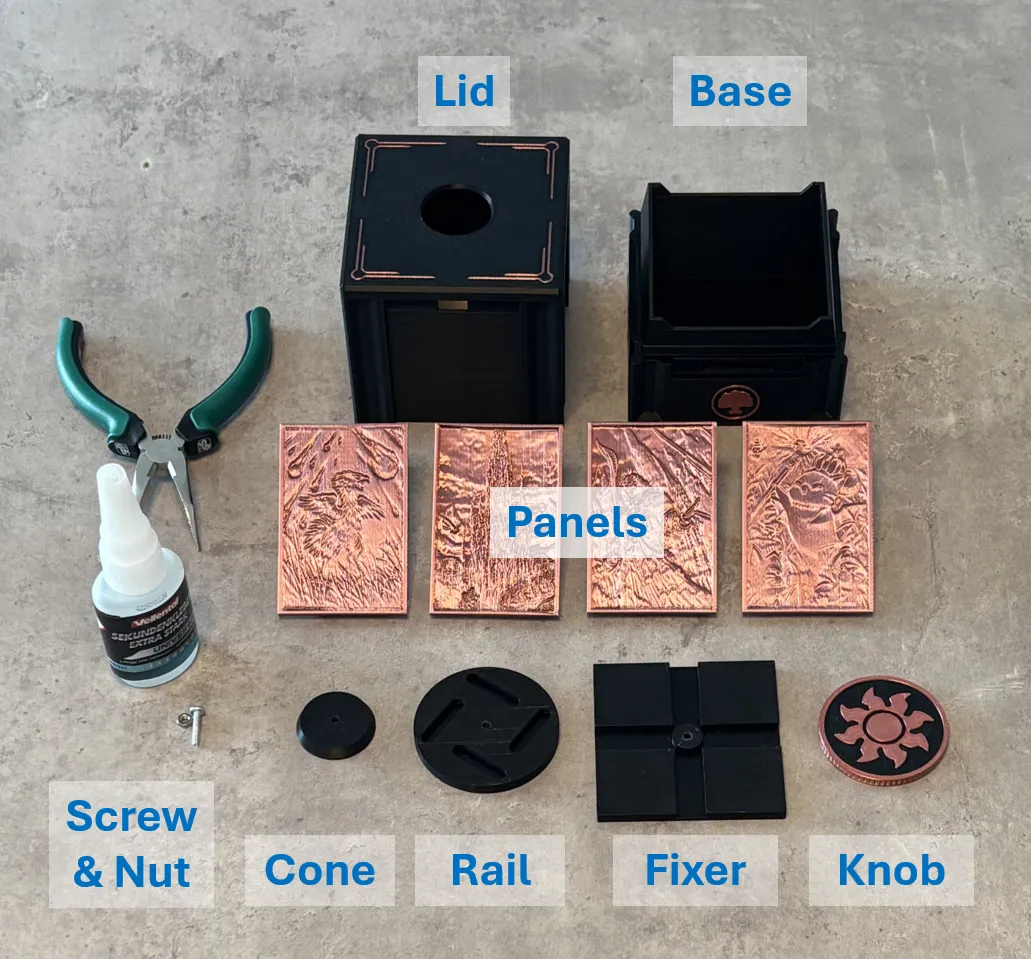
Assembly Instructions
- Time needed: ~5min
- Additional tools: M3x12 screw, M3 nut, glue
- Remove supports, especially easy to miss for Knob and Fixer
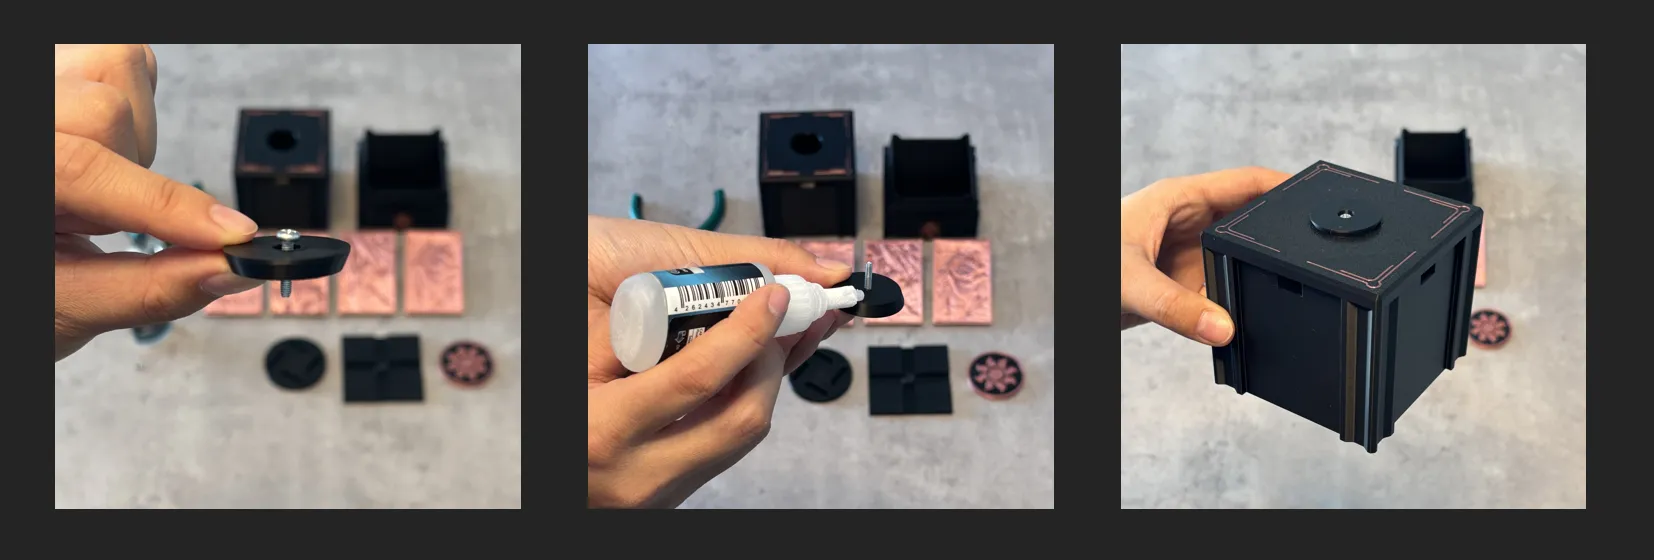
Step 1: Prepare the Cone
- Take the Cone with the wide side facing up, insert the screw through the Cone from the top
- Add a little glue to the narrow end (bottom) of the Cone
- Attach the Cone to the Lid, it should sit in the hole but not slip through
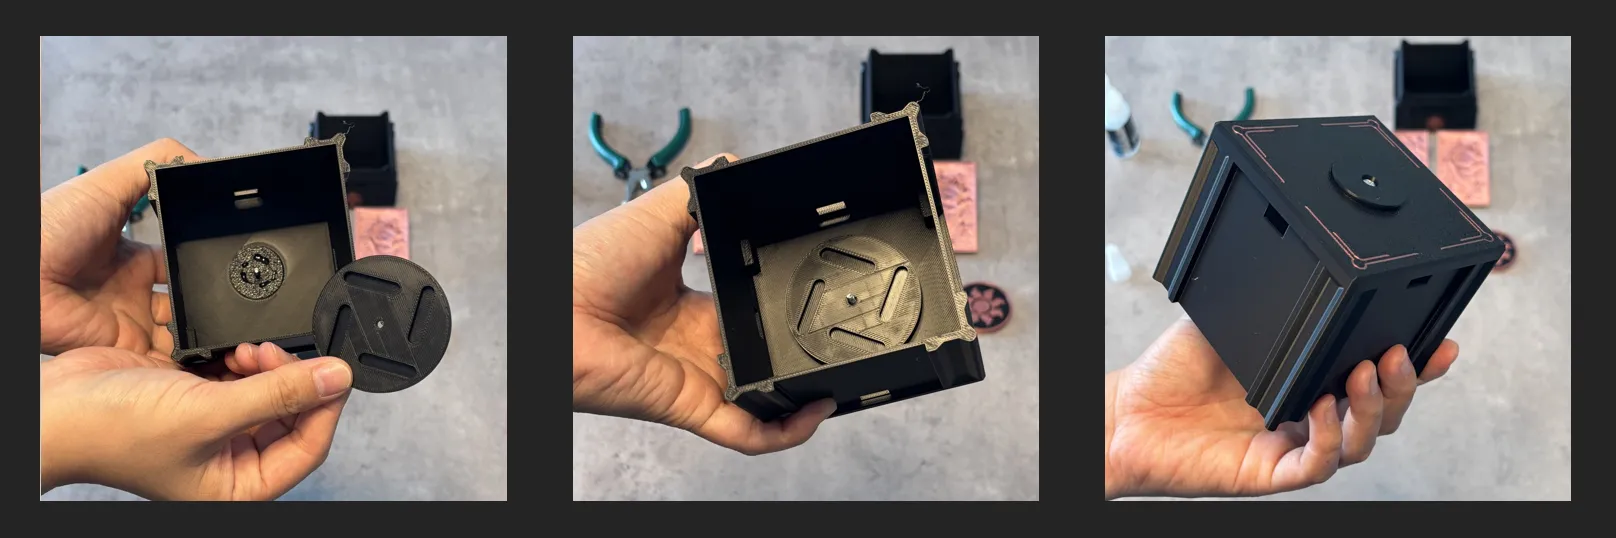
Step 2: Attach the Rail
- Take the round Rail, slide it over the screw and press it onto the glue spot on the Cone
- Make sure the side with the indents (rails for the Panels) is facing away from the Cone
- The Cone on top should still sit snugly
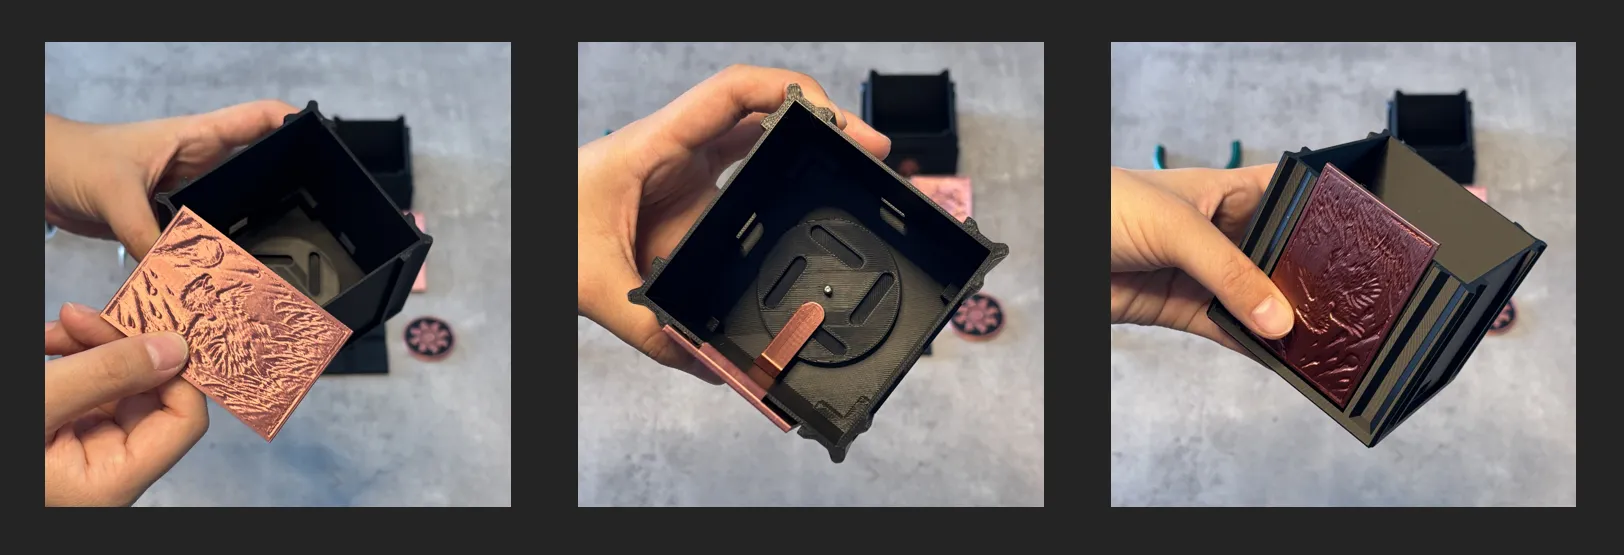
Step 3: Time to insert the Panels
- Slide the guiding-peg-side of the Panel through the rectangular hole on the side of the Lid
- Make sure the little knob on the lever sits inside the rails
- If it doesn’t line up right away, gently twist the round Rail piece until it fits
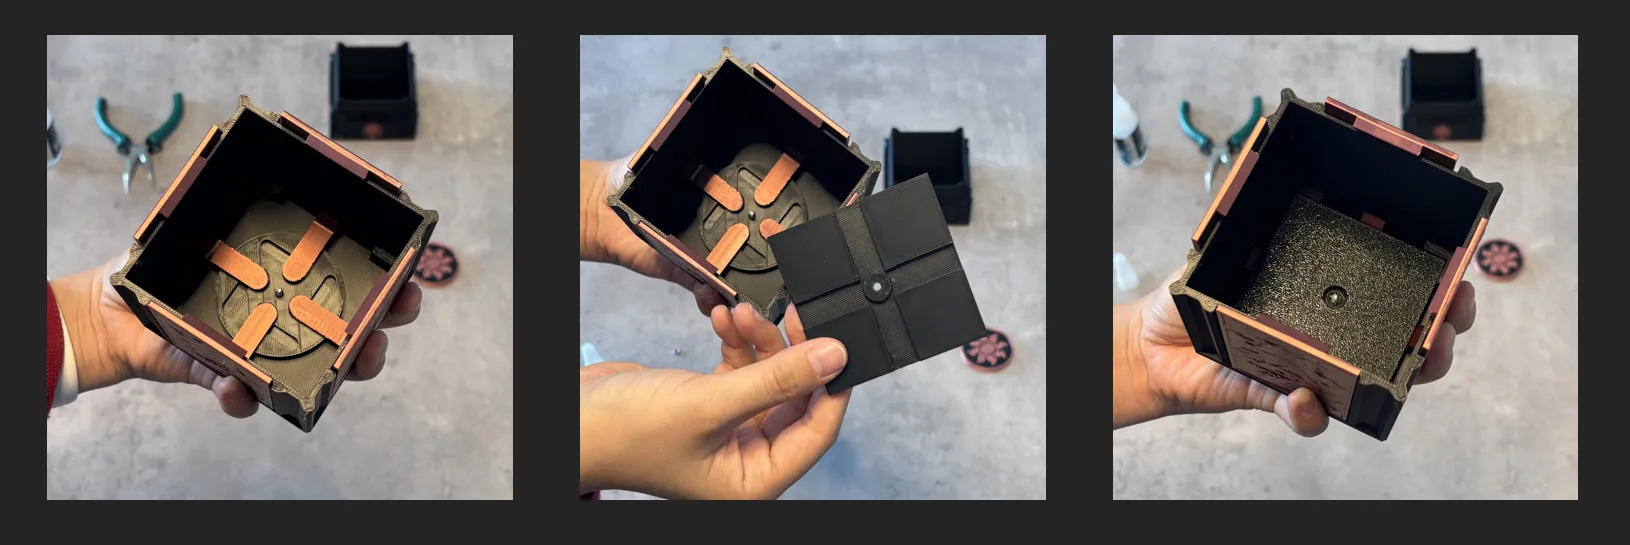
Step 4: Fixate the Panels
- Repeat the same process for the other three sides
- Hold everything tight while placing the square Fixer on the screw, ensure theindents face the pegs of the Panels
- When the Fixer is fully seated, the screw should still have a few millimeters of room at the top
Step 5: Screw everything together
- Secure everything with the nut
- Tighten it so it’s snug, but not overly tight
- If you used quick-drying glue, you can carefully twist the top cone to test the fit. If not, wait and adjust it later once the glue has set
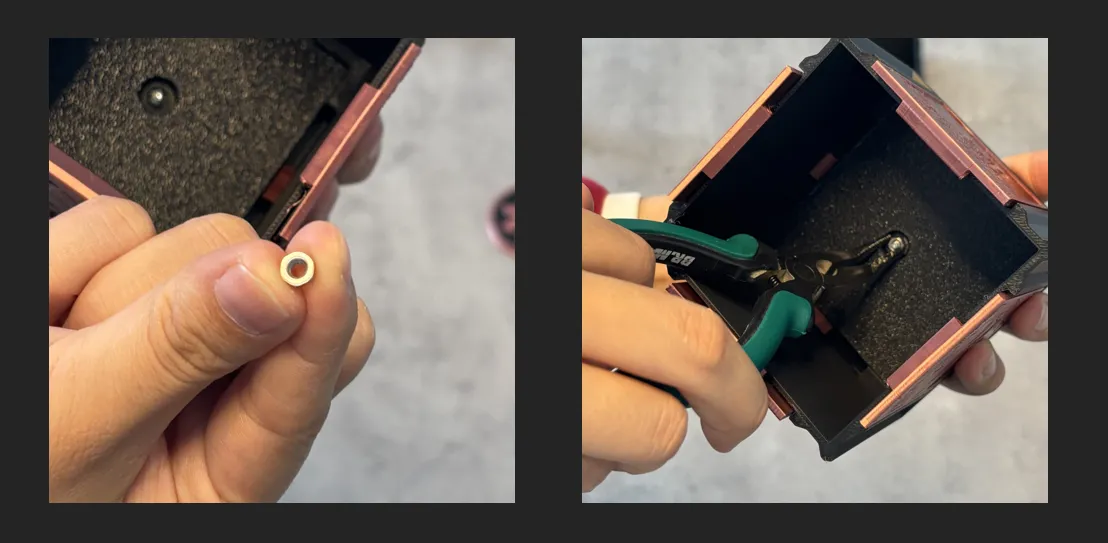
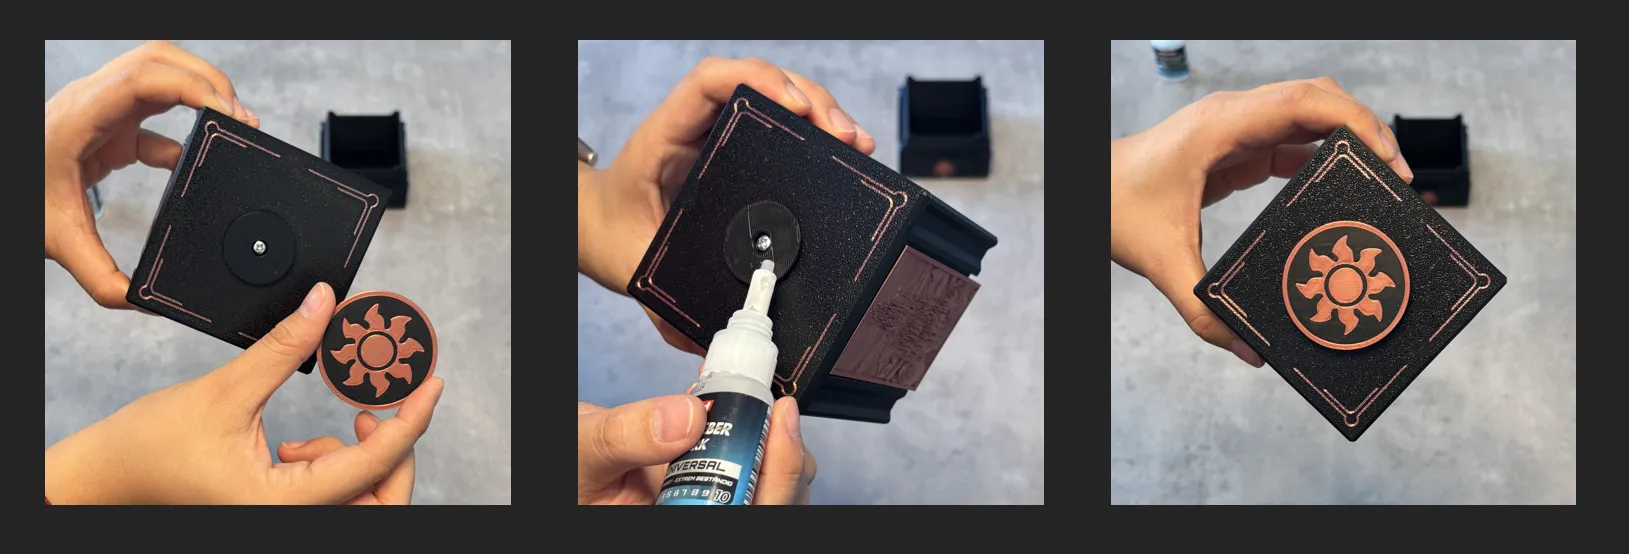
Step 6: Attach the Knob
- Glue the knob to the top of the cone for better grip
- Before glueing, ensure the supports have been removed from the bottom of the Knob. The resulting indentation fits the cone
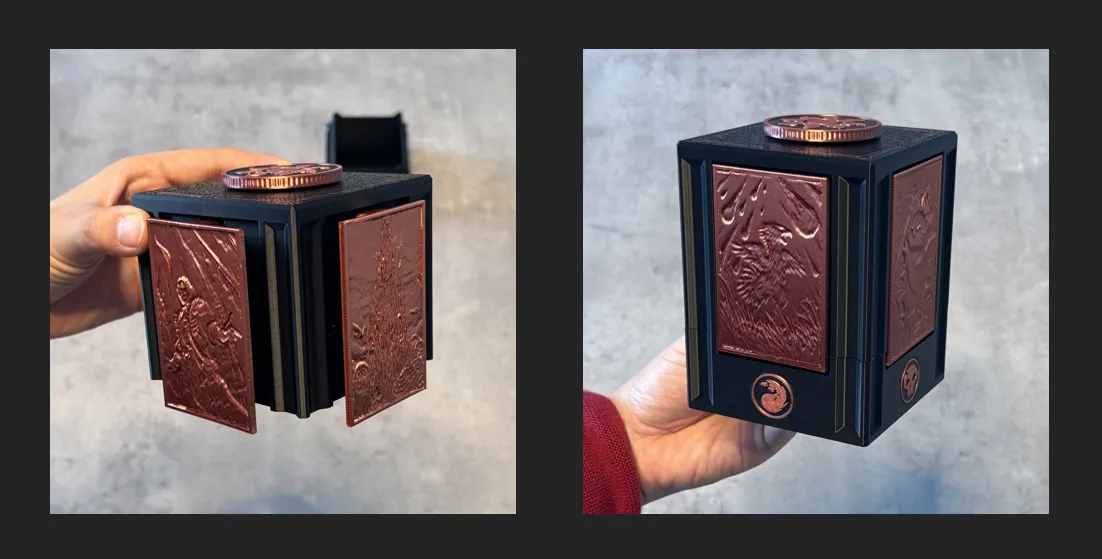
Done! Once the glue has dried, give the top Knob a twist to open the deck box lock, then place it on the Base. Enjoy.
License

This user content is licensed under a Standard Digital File License.
You shall not share, sub-license, sell, rent, host, transfer, or distribute in any way the digital or 3D printed versions of this object, nor any other derivative work of this object in its digital or physical format (including - but not limited to - remixes of this object, and hosting on other digital platforms). The objects may not be used without permission in any way whatsoever in which you charge money, or collect fees.


Comment & Rating (160)