


Print Profile(1)

Bill of Materials


- Garden wire x 1: Around 30cm (12 inches), to pass the rubber bands through the joints.
Description
DESCRIPTION
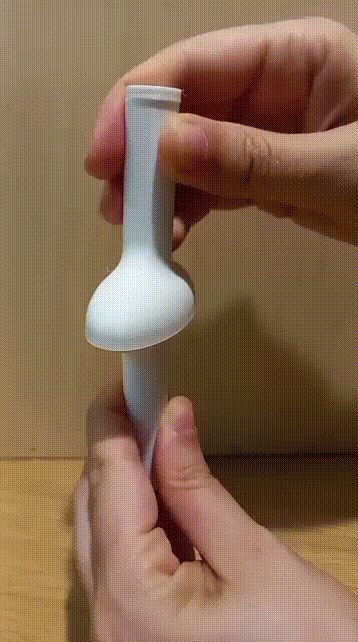
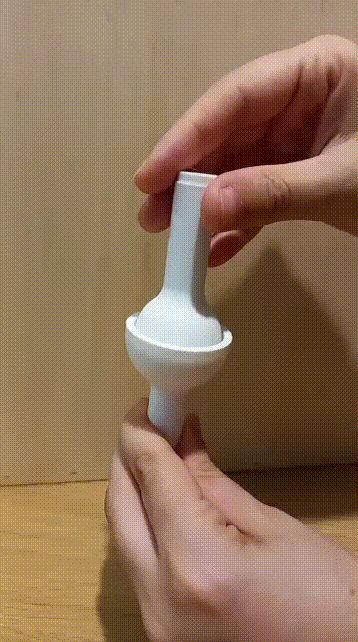
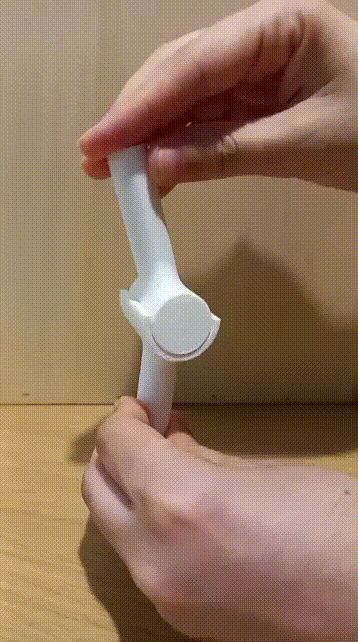
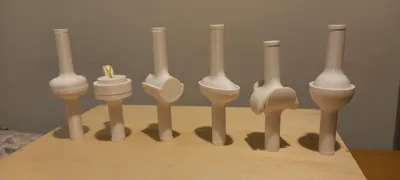
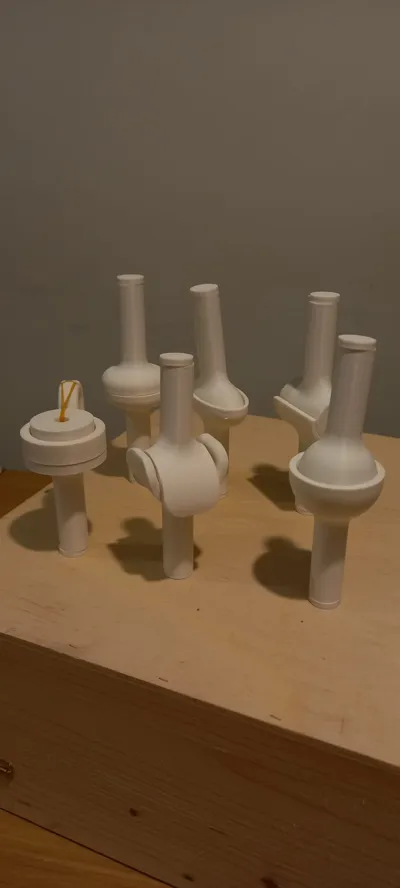
This model set includes 3D-printable representations of the six types of synovial joints, designed for hands-on anatomy and biology education. The system demonstrates common joint types — hinge, ball-and-socket, pivot, saddle, plane, and ellipsoid— allowing students to explore how human joints move in an interactive way.
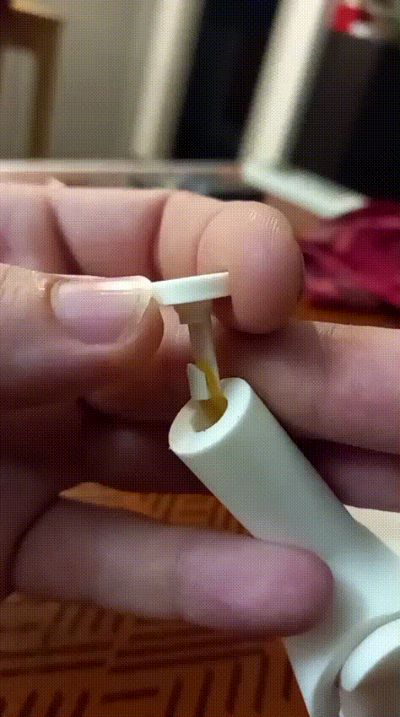
Each joint consists of two main parts connected by a rubber band. To assemble, use a piece of garden wire or similar tool to thread the rubber band through the internal channel of the joint. The band is then secured under tension with small “end caps” that are hooked onto the band and then snap into place inside the joint.
This design keeps the two halves of the joint firmly connected while still allowing realistic movement, closely mimicking the function of real synovial joints. Tension can be adjusted by using different sizes or thicknesses of rubber bands (28 mm bands work well). If a band breaks, the end caps can be easily removed, making maintenance quick and cost-effective.
ASSEMBLY INSTRUCTIONS
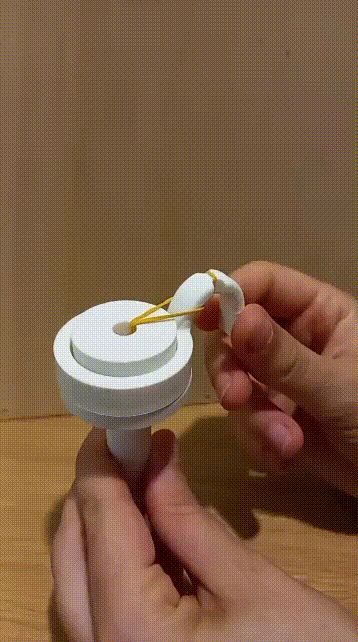
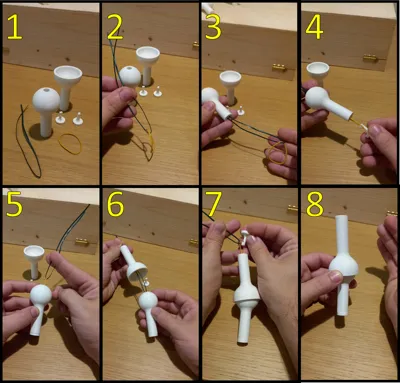
Check the pictures to understand the assembly. Basically:
- Gather all your materials
- Thread the garden wire through the rubber band
- Pass the garden wire through one part of the joint
- Hook the end cap piece to the rubber band
- Pull the wire through the joint piece
- Pass the wire through the second piece of the synovial joint**
- Hook the second end piece to the rubber band
- Remove the wire and enjoy your anatomical model!
**Pivot joint have a dented piece to fix the end of the rubber band. Check images in the description.

FEEDBACK
This work is part of the ongoing educational innovation project 3896843-3D ANATO: Uso de modelos 3D para la enseñanza de la Anatomía Humana en el aula (Department of Human Anatomy and Embryology, University of Valencia, Valencia, Spain). I would love to hear from teachers, students, and education professionals about how useful this design is in a real learning environment. Your feedback will help us improve the model and justify the project’s impact on anatomy education.
You can contact me through my Maker’s World profile or by email at marbell5[at]uv.es.
Comment & Rating (27)