
The Gym Clutch - Everything you need, in one grip.
Print Profile(1)

Description
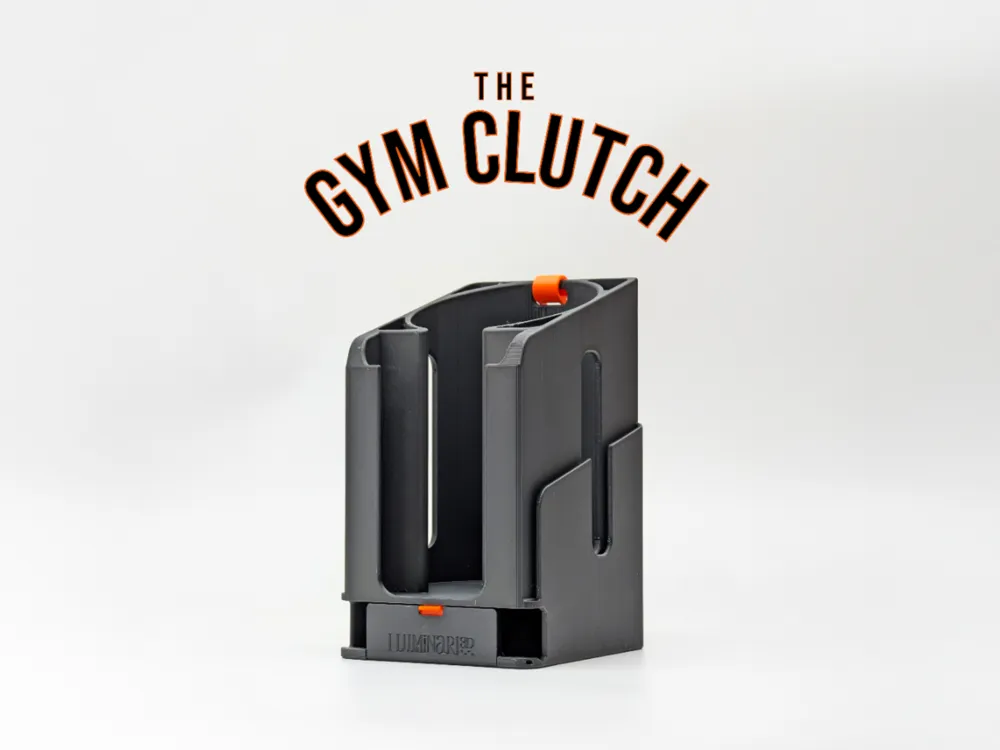
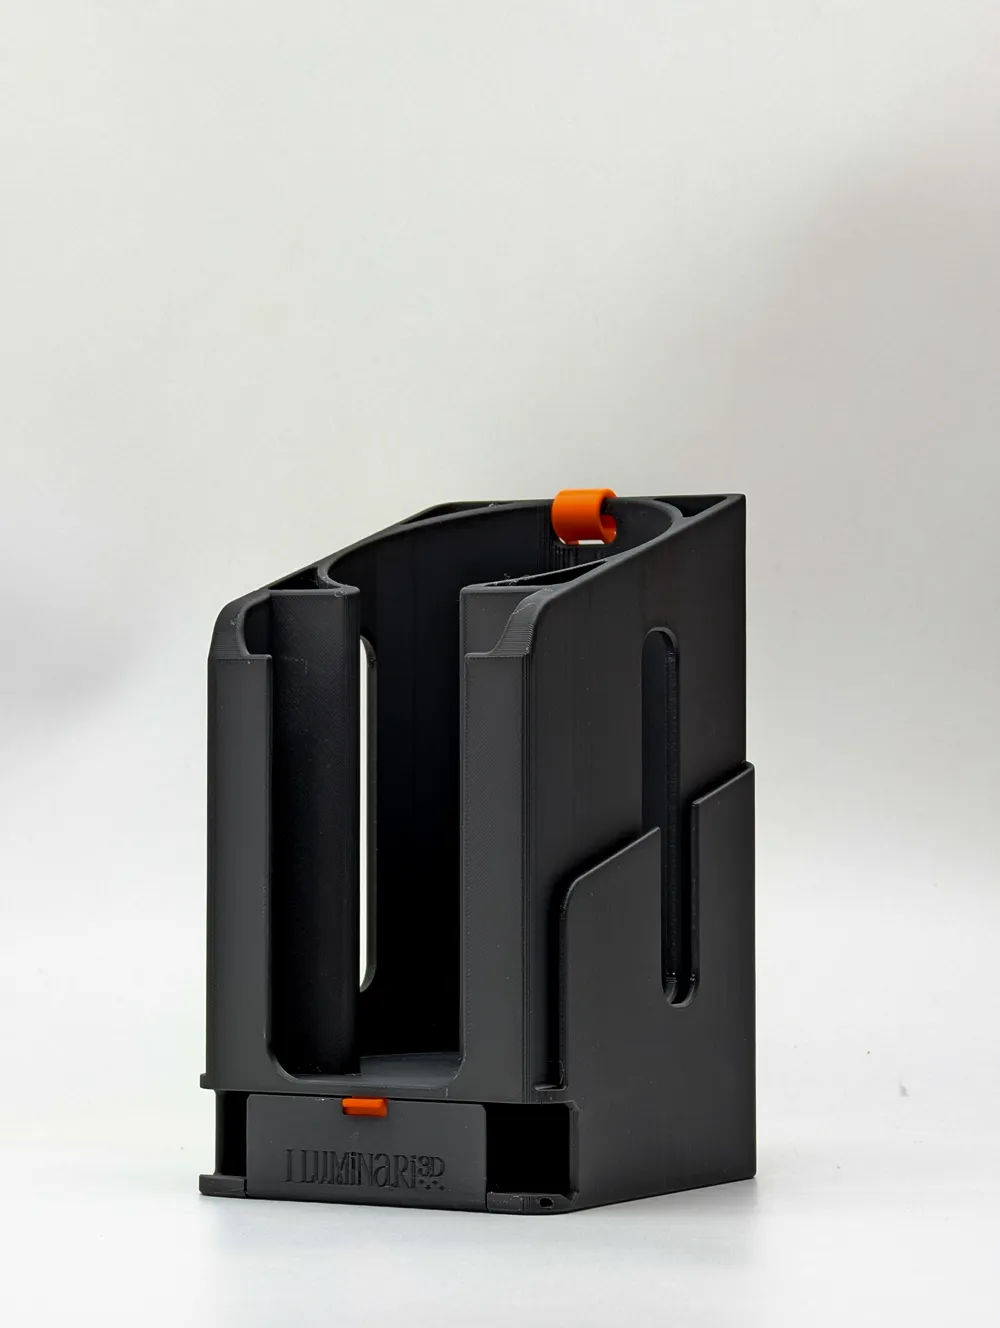
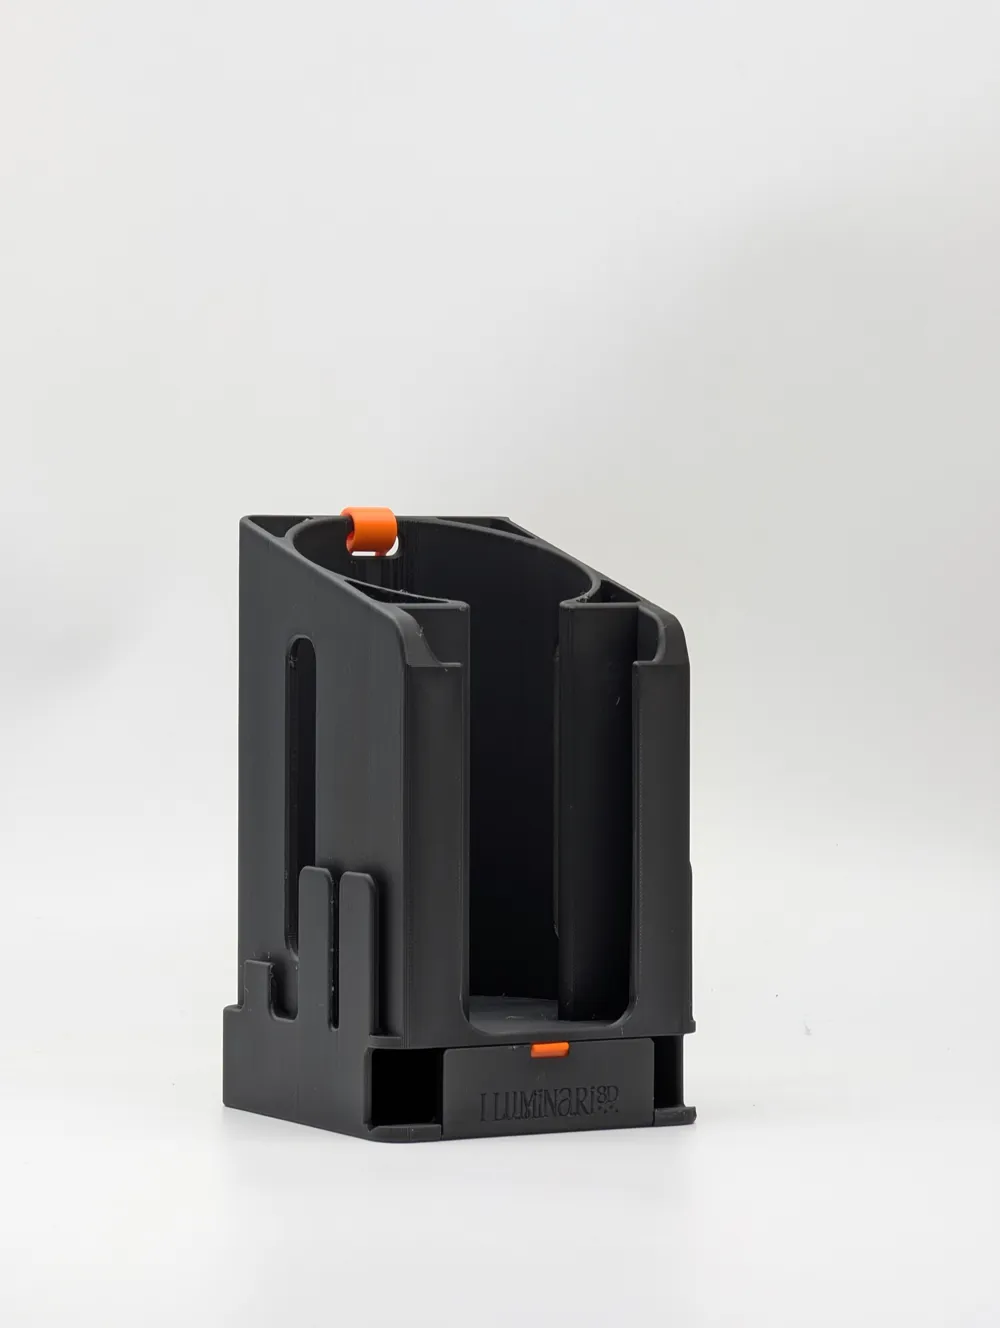
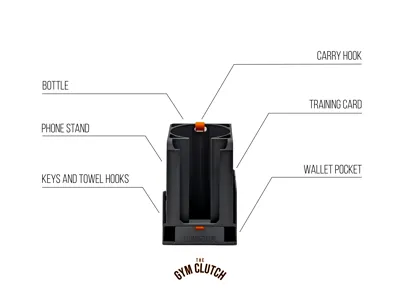
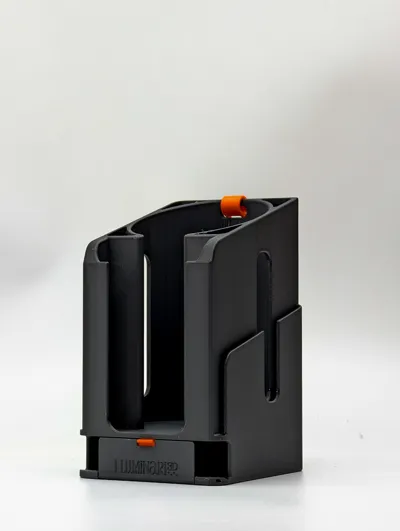
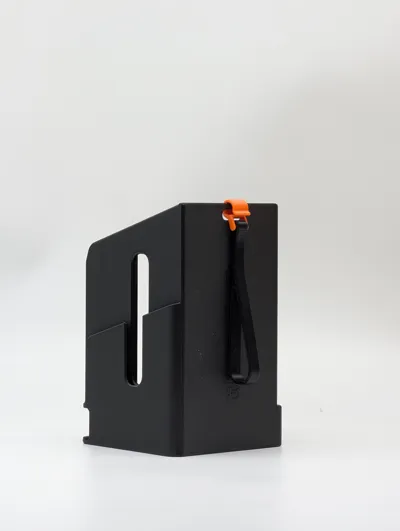
Take your training to the next level with this multifunctional organizer, the ultimate accessory for every fitness enthusiast! Designed to keep everything you need within arm's reach, this workout companion lets you focus solely on your performance. Its smart and compact structure eliminates clutter and the need to carry multiple separate items. Every feature is designed to be practical, secure, and immediately accessible.
Boost Me (for free)
Your perfect gym ally is here! Please verify your bottle's diameter is no more than 90mm and follow the handle instructions. Download the model now! If you like it, please support me with a Boost!
Here are all its features in detail:
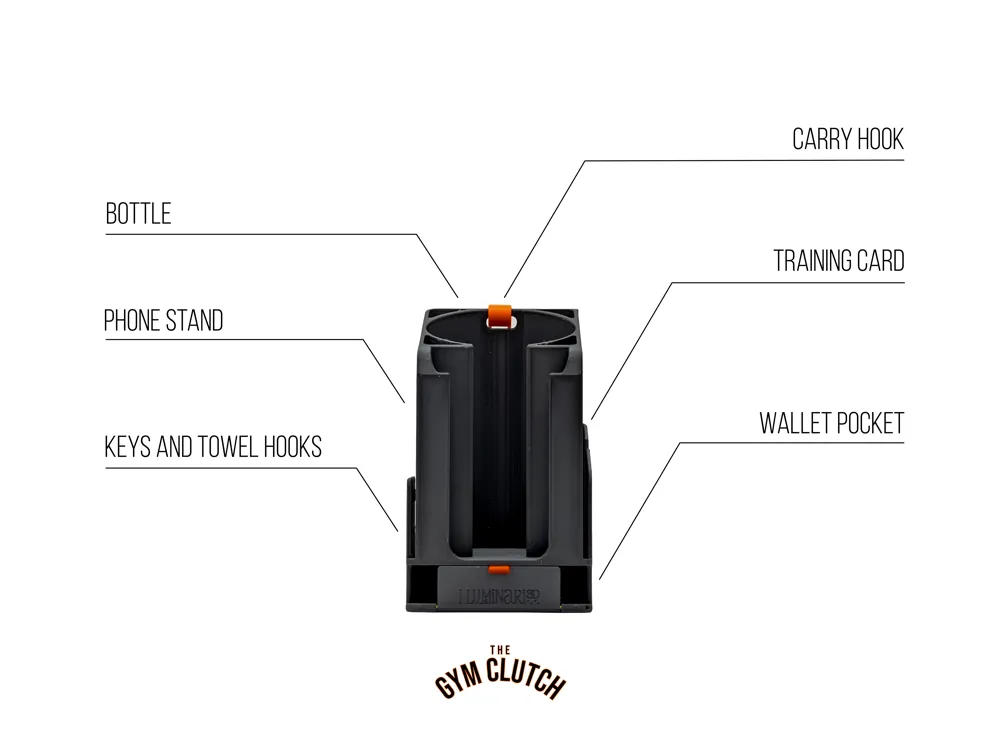
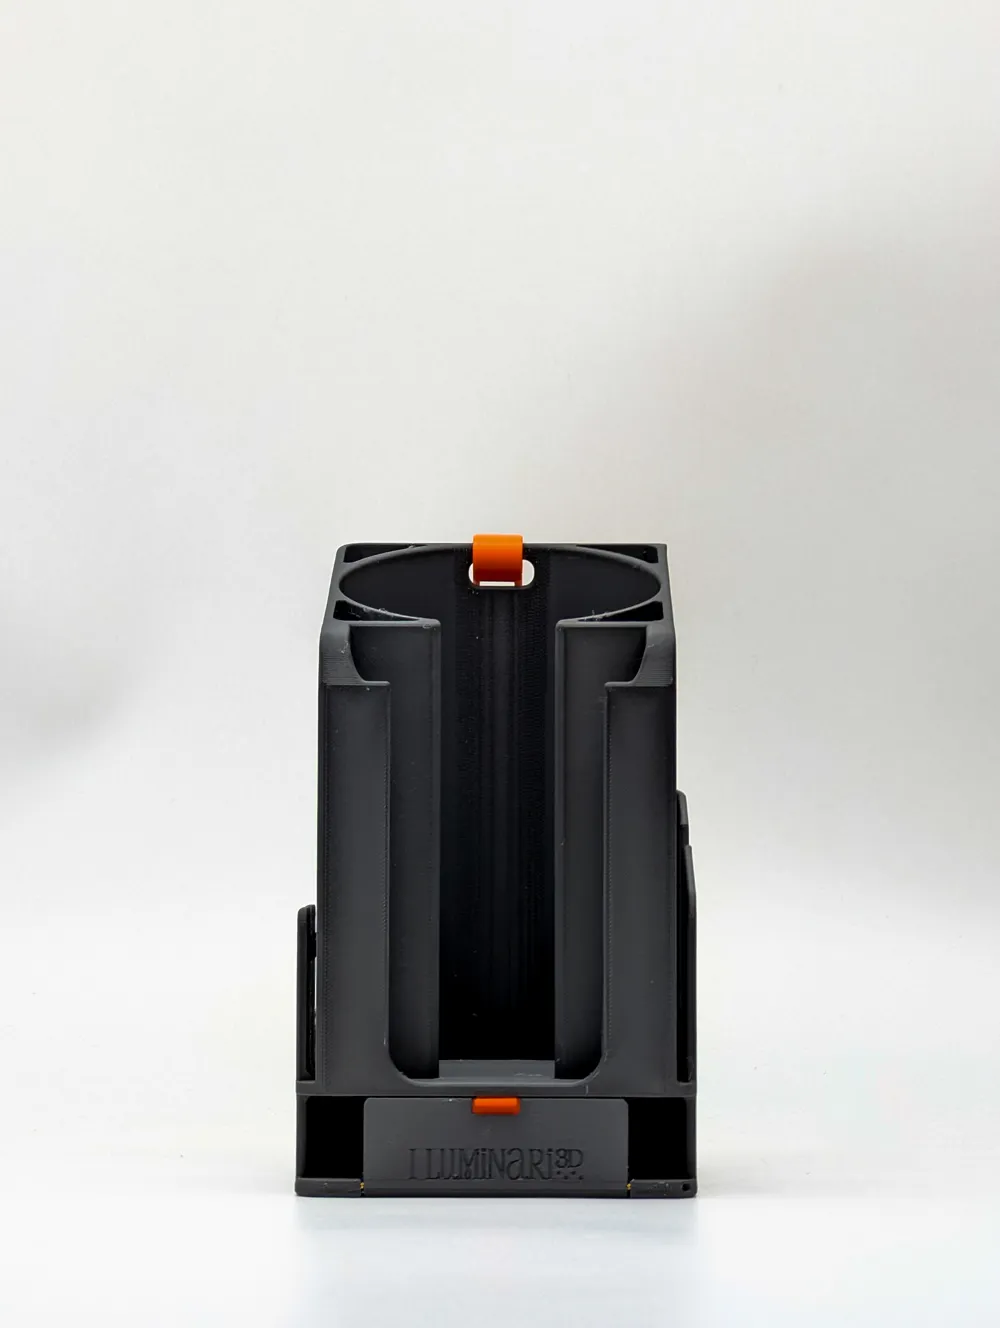
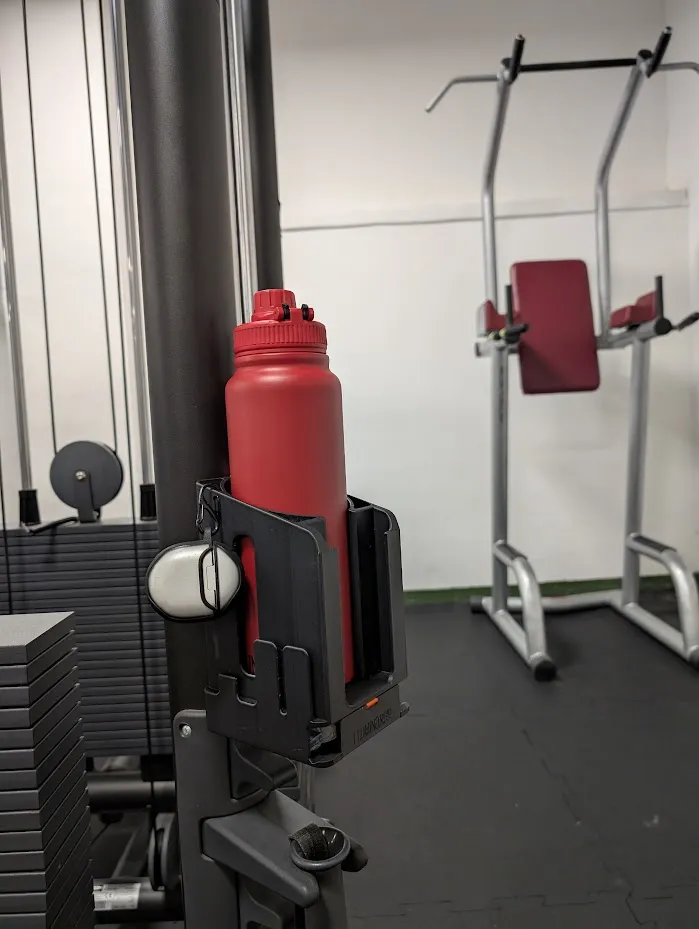
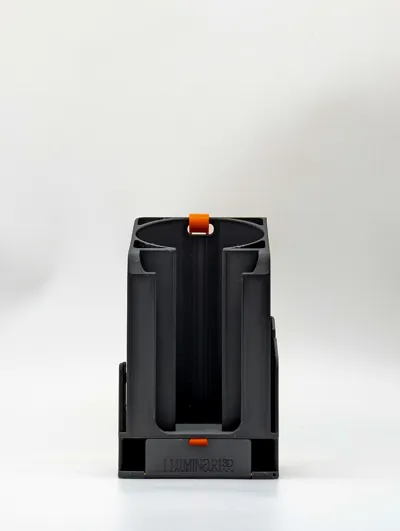
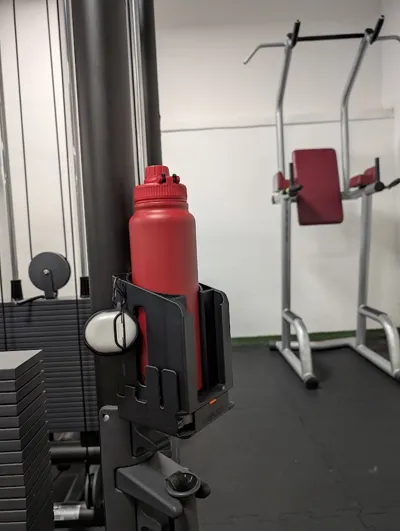
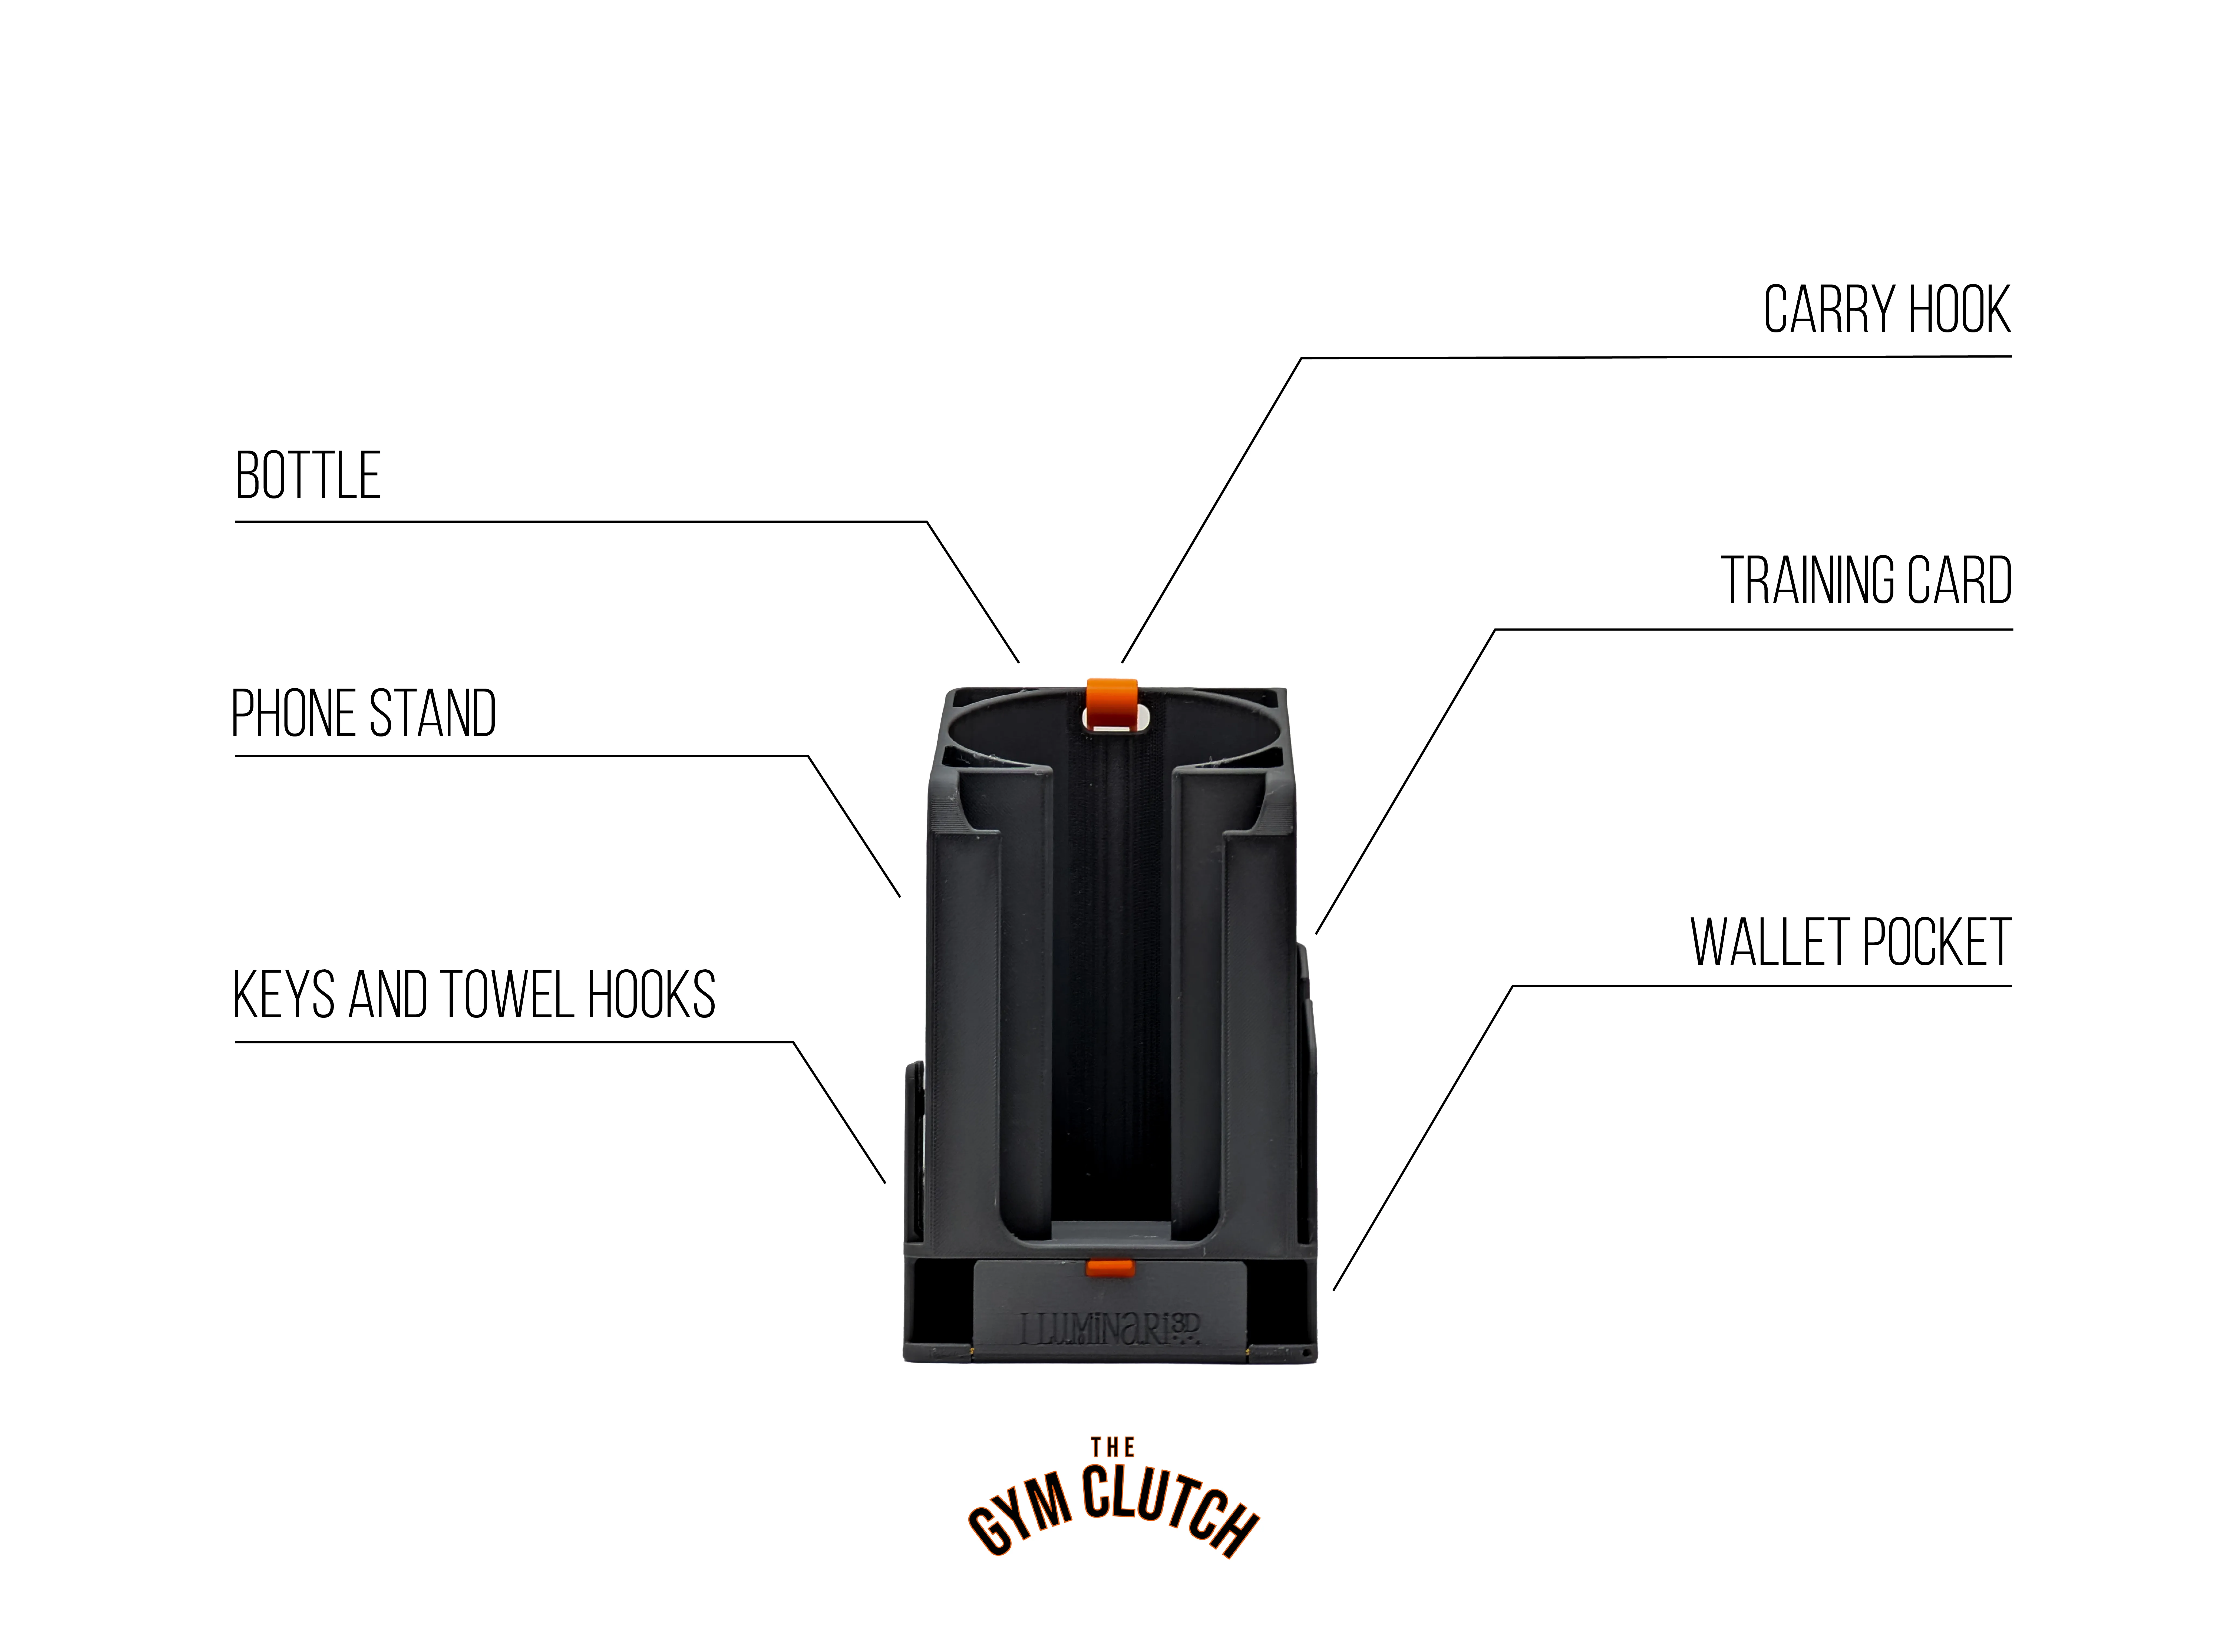
- Bottle Holder (Max ø90mm): Fits bottles and shakers with a maximum diameter of 90mm. Perfect for most models up to 1 liter, including double-walled thermal bottles.
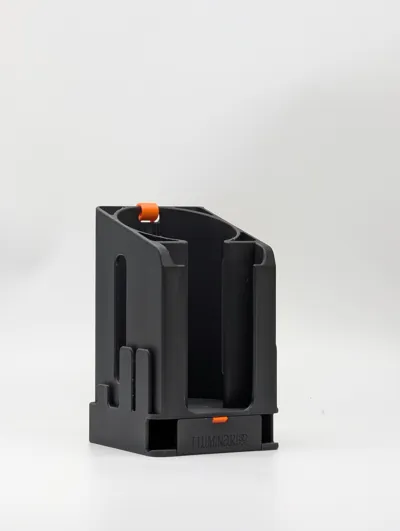
- Smartphone Stand: Place your phone in front of you to easily manage timers, playlists, or digital workout sheets.
- Card Pocket: A custom-fit side slot for your gym training card.
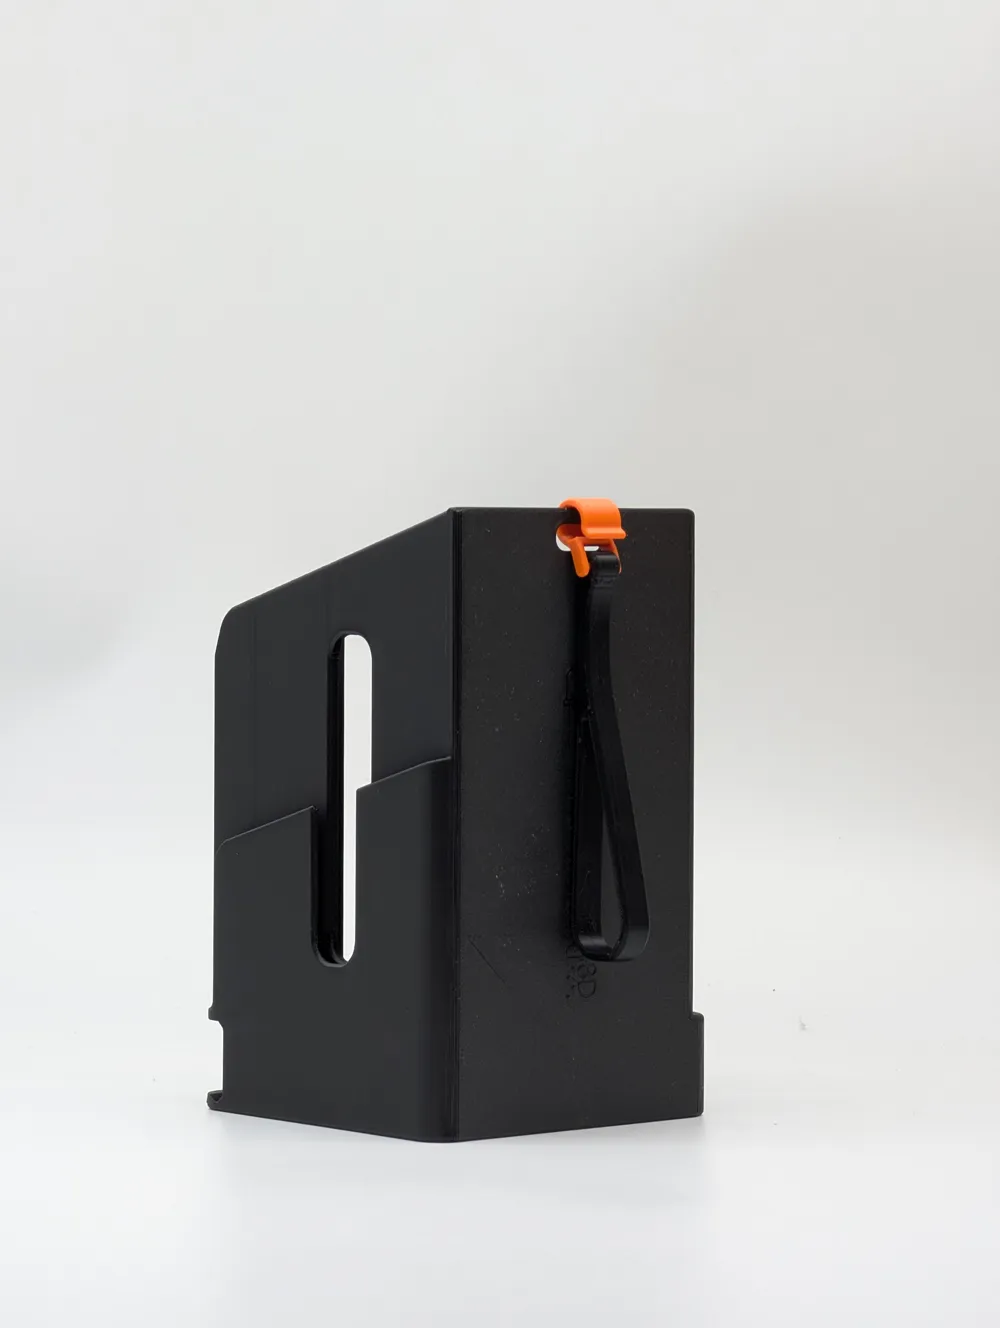
- Smart Hooks: Two side tabs to hang your towel and a hook with a security notch to ensure you never lose your locker keys.
- Hidden Compartment: A secret storage area under the base, ideal for a snack or wallet, secured by a window with a quick-release lever.
- Hybrid Carrying Handle: A stylish handle to carry it around like a clutch. It is created by joining a flexible TPU loop to a rigid PLA/PETG terminal during the printing process (see instructions below).
Specific Printing Instructions for the Handle: The handle requires a simple in-print assembly process to permanently bond the soft and rigid parts.
Follow these steps:
- Print Plate 4 FIRST: This plate contains the flexible TPU loop. Complete this print and remove the part from the build plate.
- Start printing Plate 5: This is the rigid (PLA/PETG) terminal for the handle. The print file is pre-configured with a pause.
- Insert the TPU part: At the print pause, the machine will stop. Take your previously printed TPU part and insert its end into the open slot of the partially printed piece on Plate 5.
- Resume the Print: Once the soft part is inserted, resume the print. The printer will complete the rigid piece, sealing the TPU loop inside.
License

You shall not share, sub-license, sell, rent, host, transfer, or distribute in any way the digital or 3D printed versions of this object, nor any other derivative work of this object in its digital or physical format (including - but not limited to - remixes of this object, and hosting on other digital platforms). The objects may not be used without permission in any way whatsoever in which you charge money, or collect fees.


Comment & Rating (51)