
Evolution R255 TBL zero clearance throat plate
Print Profile(2)


Description
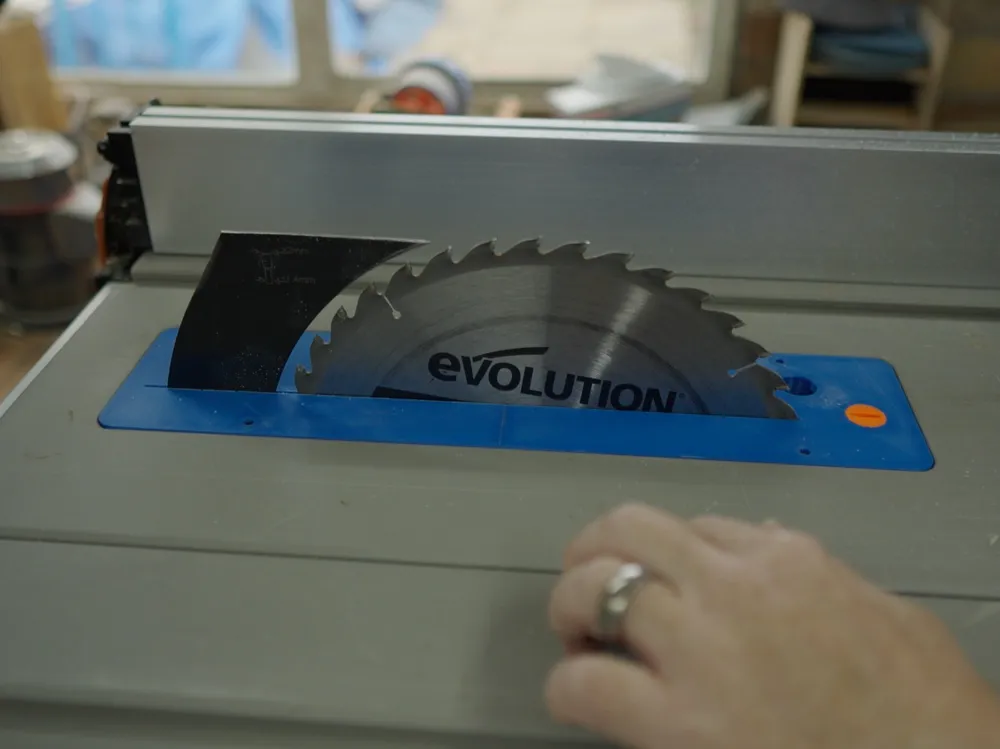
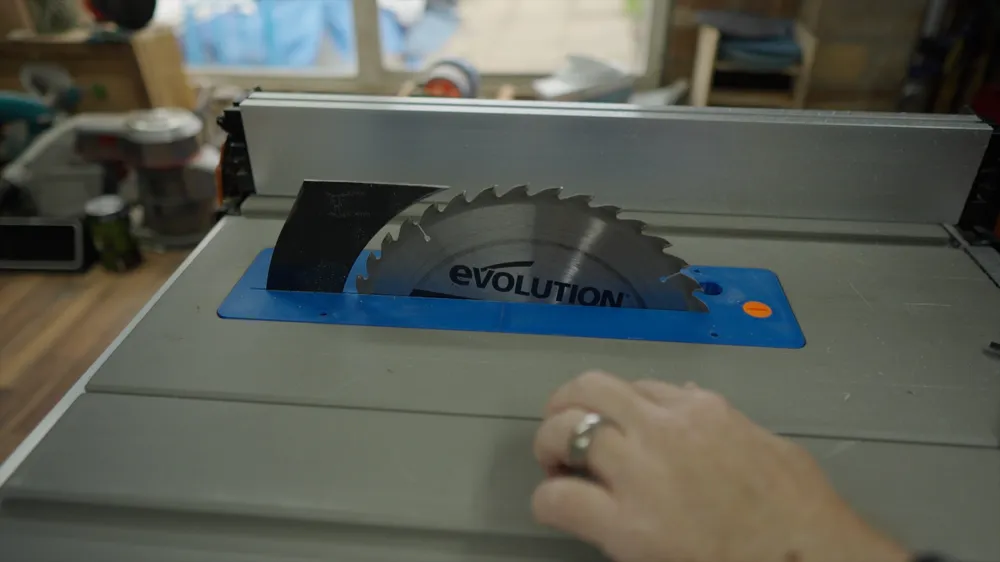
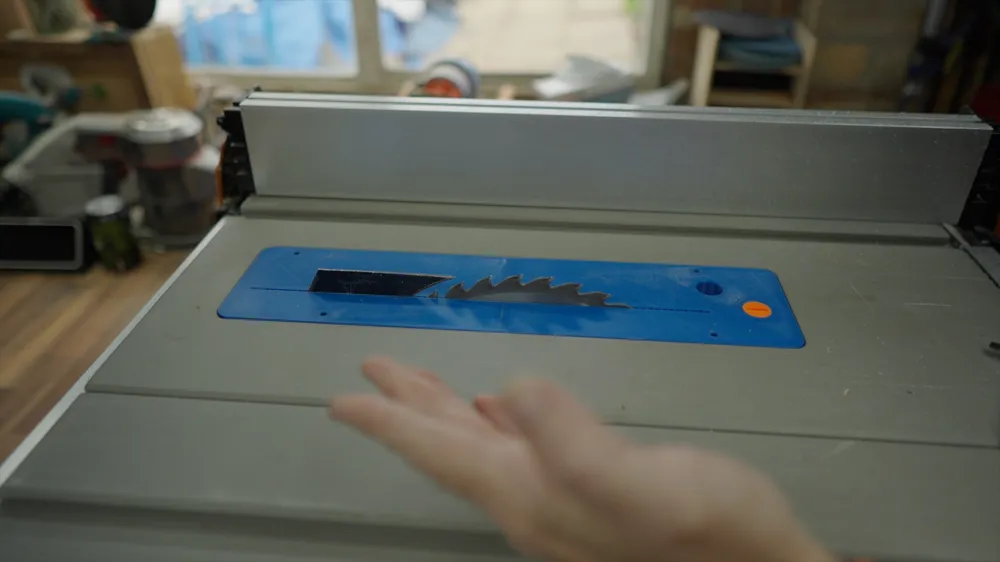
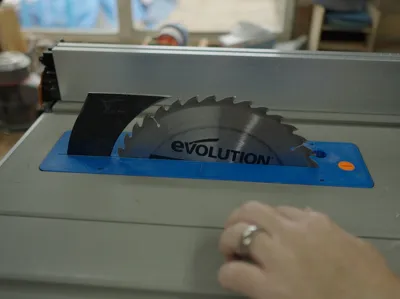
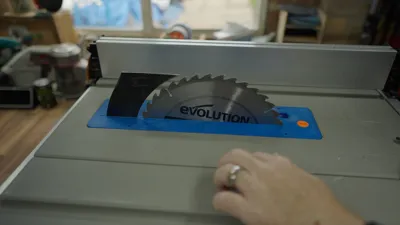
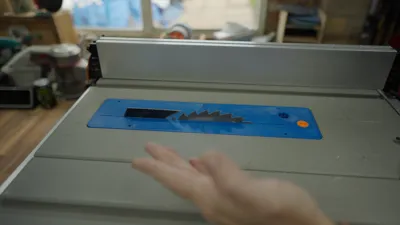
This throat plate is for the Evolution R255 TBL tablesaw released in 2024. I designed this as at the time there was no factory zero clearance insert. I mentioned my design on a video and I've had a LOT of people ask me for it.
A zero clearance throat plate can be an exceptionally helpful addition to a tablesaw. It can help with tidier cuts, and due to the material being fully supported reduces the chance of debris and pieces of wood getting stuck around the blade in the dust shroud.
This throat plate is not for inexperienced tablesaw users. In order to cut the blade hole there are a number of safety factors to take into consideration, and the extension of the hole for the 100% necessary riving knife is a dangerous cut if done on the saw. If you make this cut with a hand saw/coping saw/jigsaw I imagine it would be a safer way of extending the blade hole.
I was going to produce this myself and sell it, however, I am unsure of the liability implications of such a thing, so this is an item that if you print it you will be USING AT YOUR OWN RISK, and I accept no liability for injury or damage should it occur. I am sharing this as it was something that helped me, and so if you're an experienced tablesaw user that works safely I'm hoping it will help you out.
I have printed this with both PLA+ and with PETG, both seemed to work well, however, PETG can chip when cutting the holes a little more than PLA+. I imagine other materials such as ABS or Nylon derivatives could work extremely well.
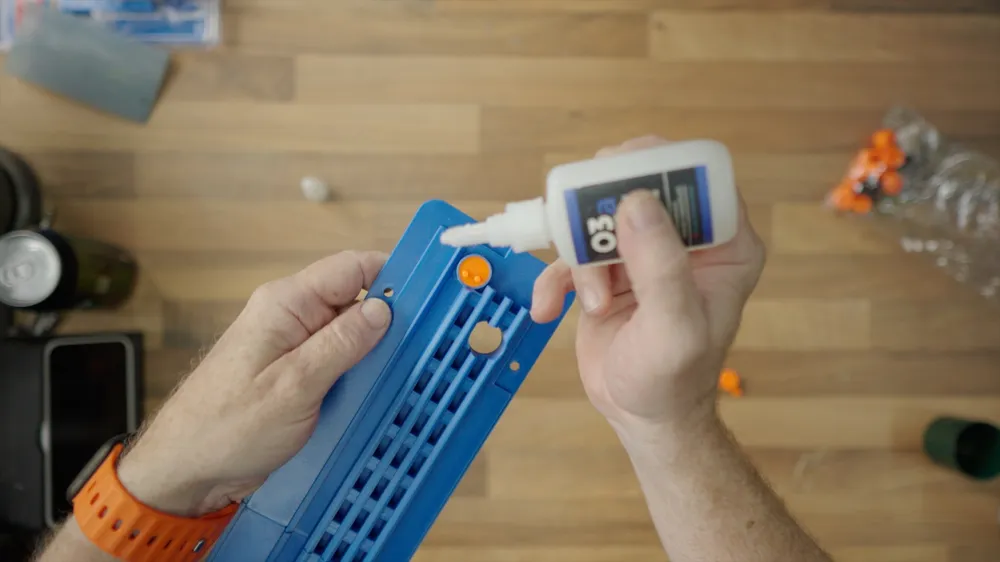
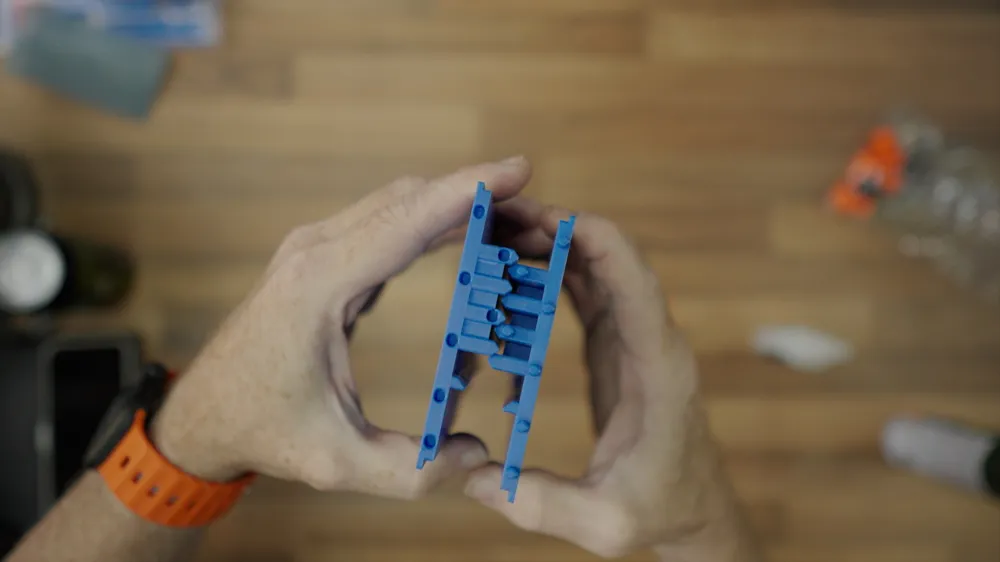
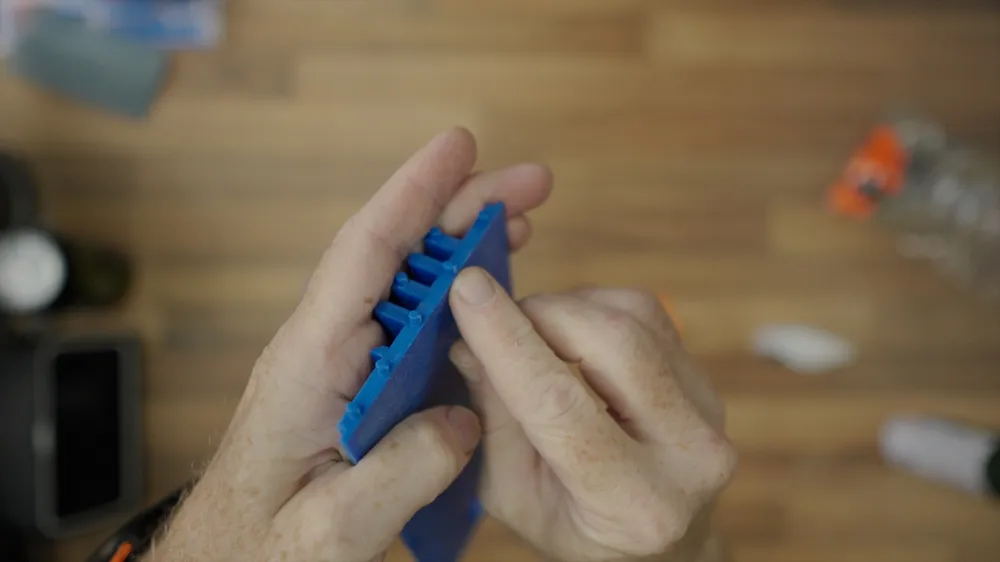
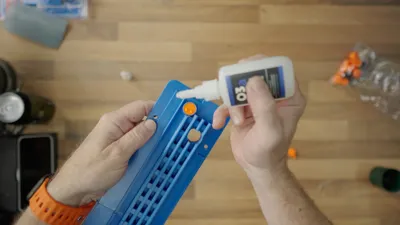
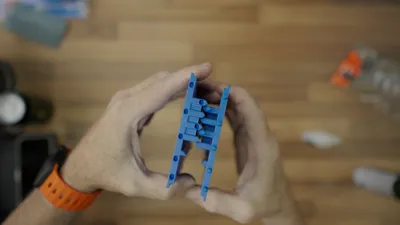
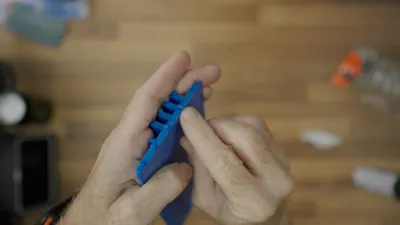
The weird design on the underside is because I incrementally added strengtheners to reduce (but not fully eliminate) any flex in the plate when installed. I could have added a big lump there, but I also wanted to be mindful of the amount of filament being used.
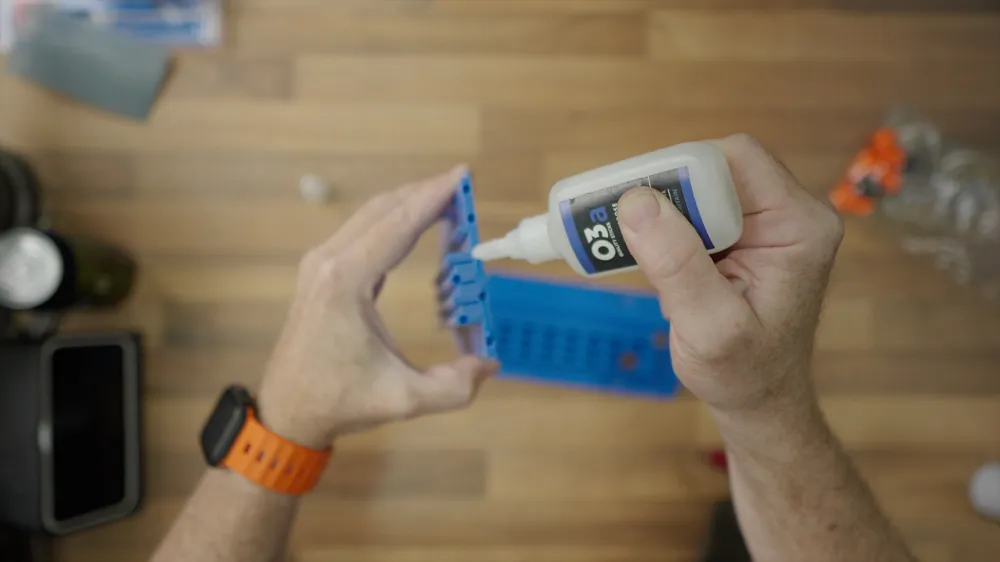
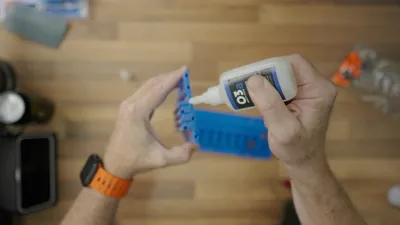
When gluing the lock in place ensure it's not touching any other parts of the place obviously and it really only needs a couple of drops of CA glue in the middle to prevent squeeze out.
I have made a video showing how I cut the holes etc, and glue together. Please check that out here -
No further materials are needed.
THIS PRODUCT IS NOT SOMETHING YOU CAN PRINT TO SELL, I am purely trying to help out the woodworking community.
If however you appreciate my design and the work that went into it and wish to contribute a little to my channel to help keep the lights on then please go here - https://buymeacoffee.com/woodworkjourney
License



Comment & Rating (37)