
MakeGood - Swivel Spoon
Print Profile(4)


Description
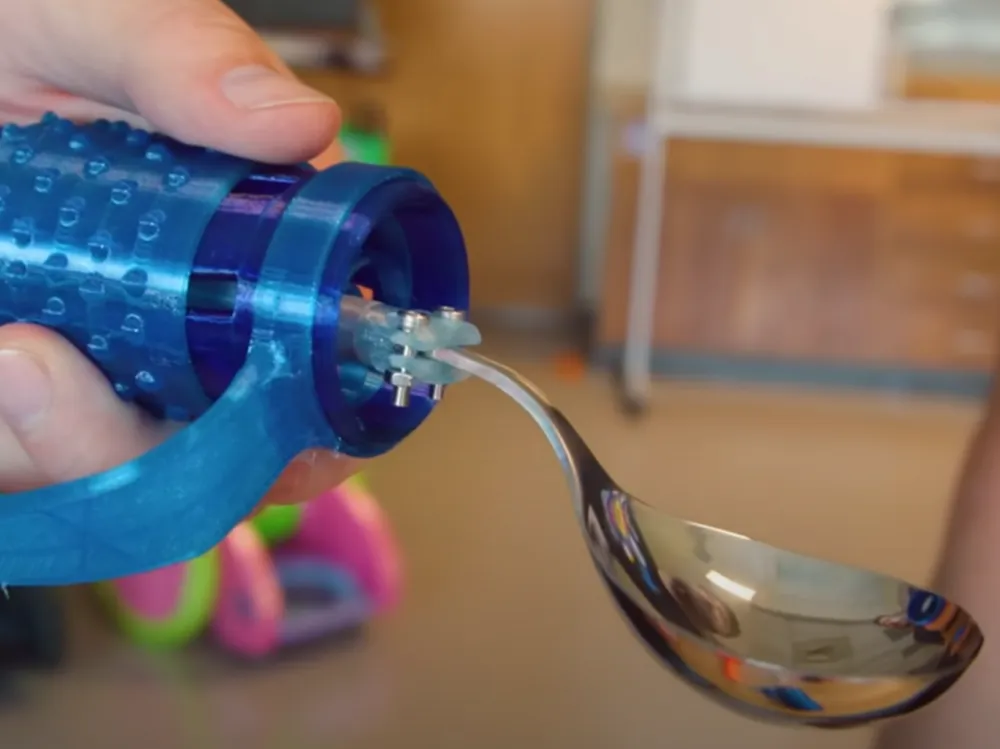
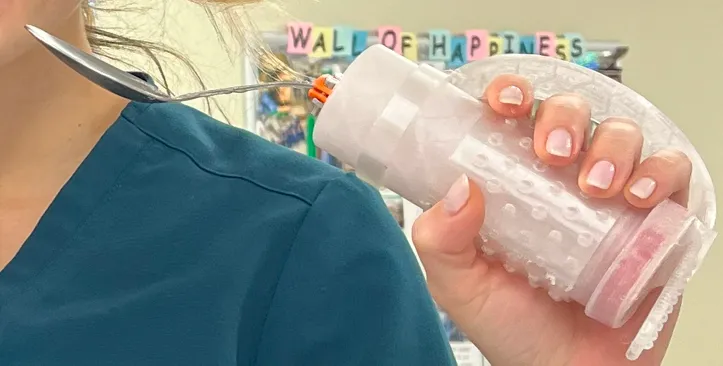
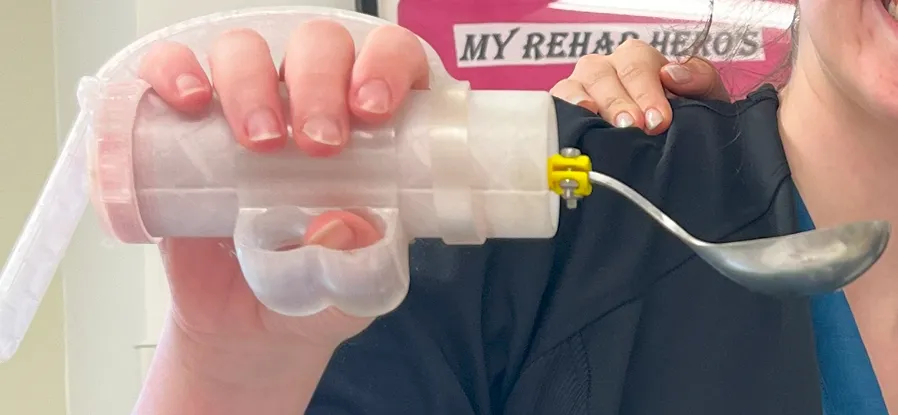
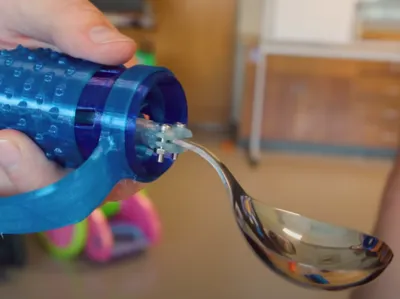
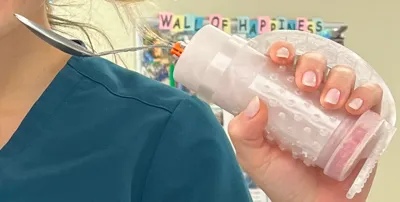
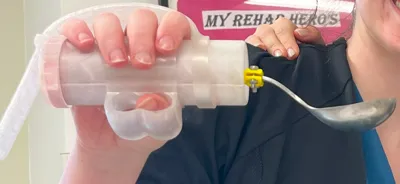
Swivel Spoon- This holder is designed to help individuals with minor tremors and grip weakness maintain independence in using a spoon to eat. This holder is designed to self balance with an integrated ball joint to dampen minor tremors.
NOTE: THIS IS A PROTOTYPE DEVICE AND HAS UNDERGONE LIMITED TESTING. USE AT YOUR OWN RISK.
PLEASE PROVIDE FEEDBACK ON EFFICACY AND HELP MAKE THIS BETTER!!!!
Credit to the nursing staff at Tuoro Infirmary who came up with this awesome idea.
Print Instructions
PETG:
Recommend printing the Axle separately with 4 walls.
Other PETG parts print with standard settings.
TPU:
Print all TPU Parts with 6% infill to have a pliable strap.
Supports are required for Finger Sleeves and Strap Receivers
Note: Case, and TPU accessories are compatible with the device ‘Multi Utility Handle’.
Assembly Instructions
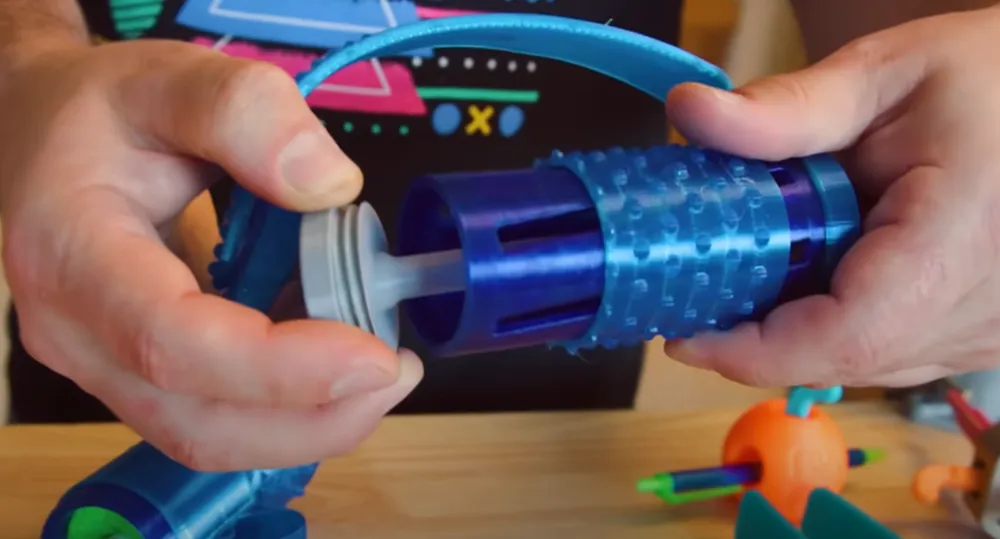
Apply a little superglue in the top indentation of the PETG ‘case’ and insert the TPU 'spoke’ so it sits in the top indentation.
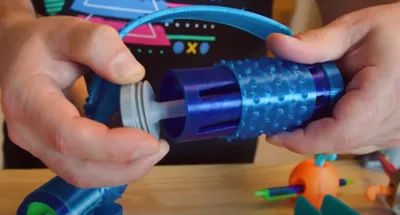
Remove supports from the bottom of the axle ball joint to free joint, then screw into the ‘case’. Ensure the end of the axle fits through the middle of the ‘spoke’
Cut the end off a heavy spoon, leaving around 1.5-2” of tang. Slightly bend the tang to that when mounted (re photos), the spoon end must sit lower than the ‘axle’. This offset will create the self-balancing action. Attach to the ‘utensil end’ using M3 hardware.
Screw in the Spoon+Utensil End assembly into the receiver on the top of the ‘Axle’. This can be tricky. I have found the easiest way is to use one finger to pin the axle against the side of the case, and then screw in the utensil. (I am open to ideas on how to make this better)
Slide on accessories as requested.
License



Comment & Rating (18)