
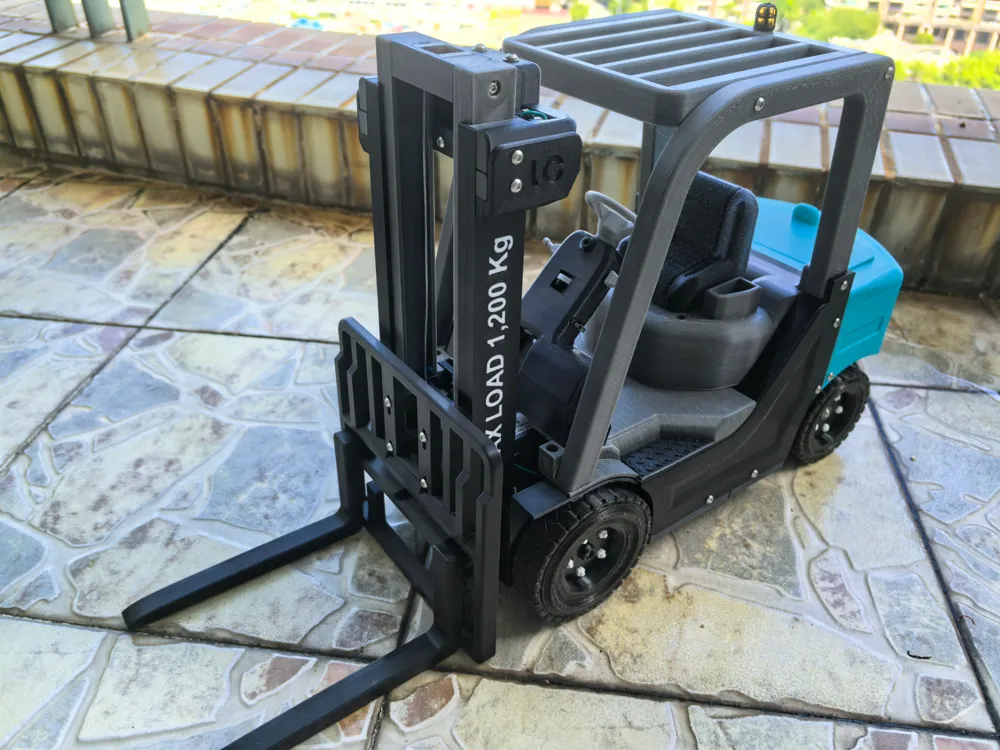
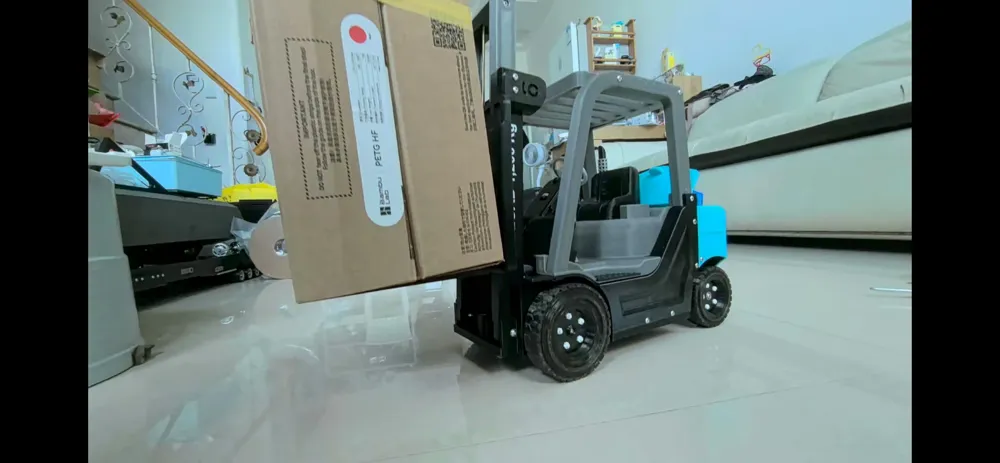
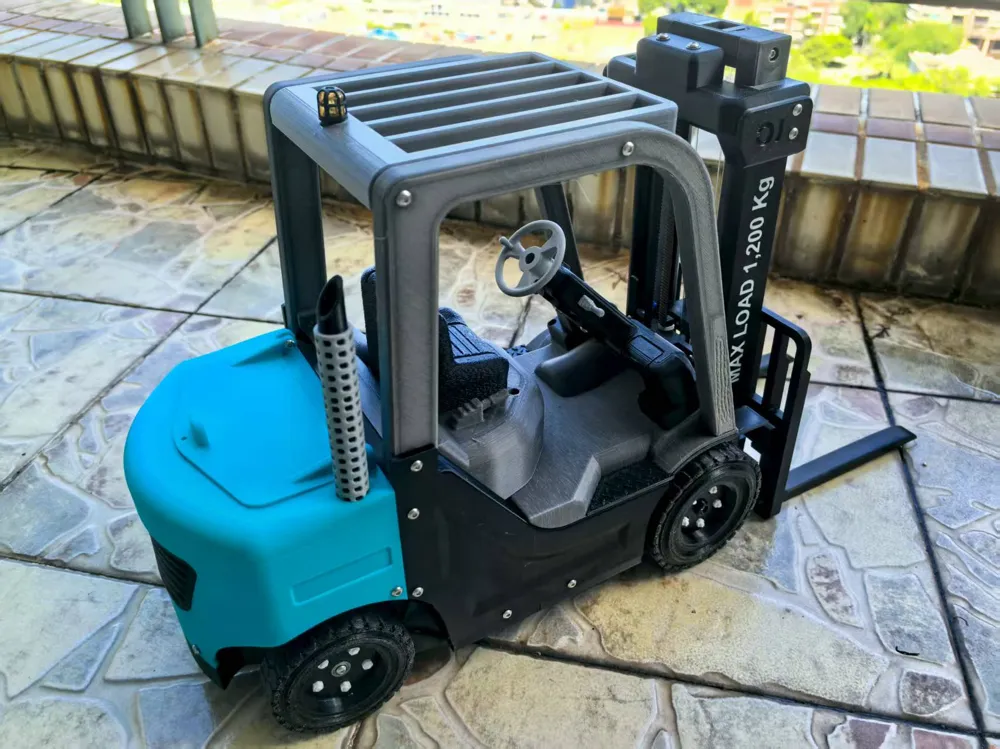
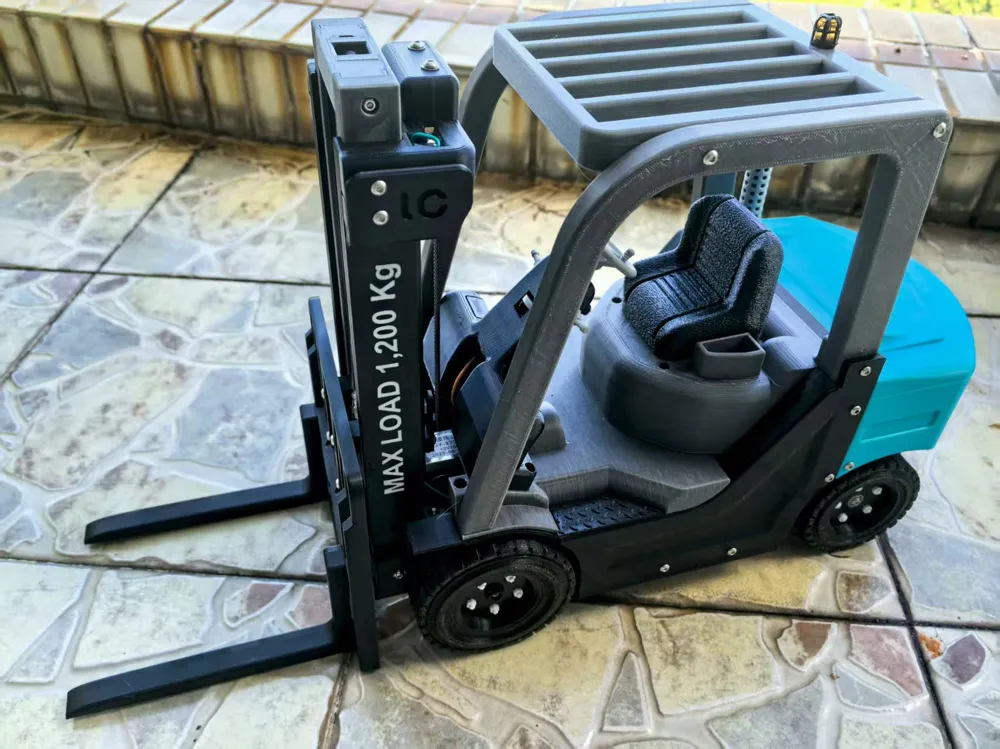
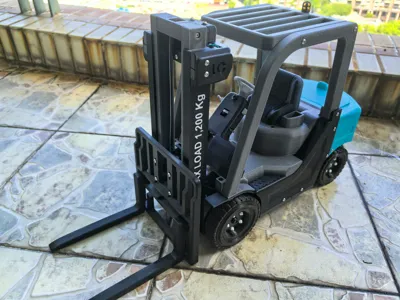
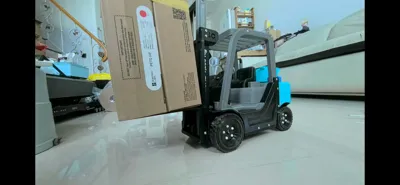
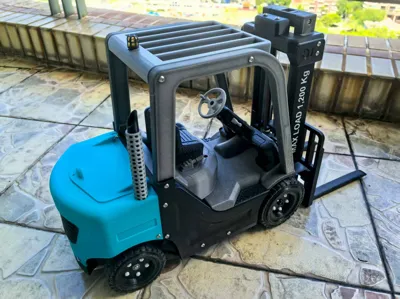
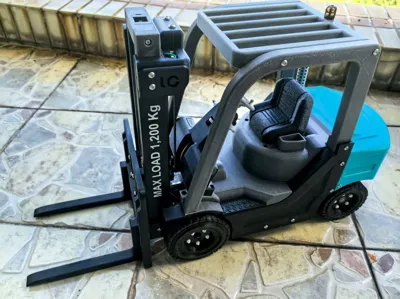
Forklift lift performance upgrade kit by HBY (can lift 2000g after upgrade)
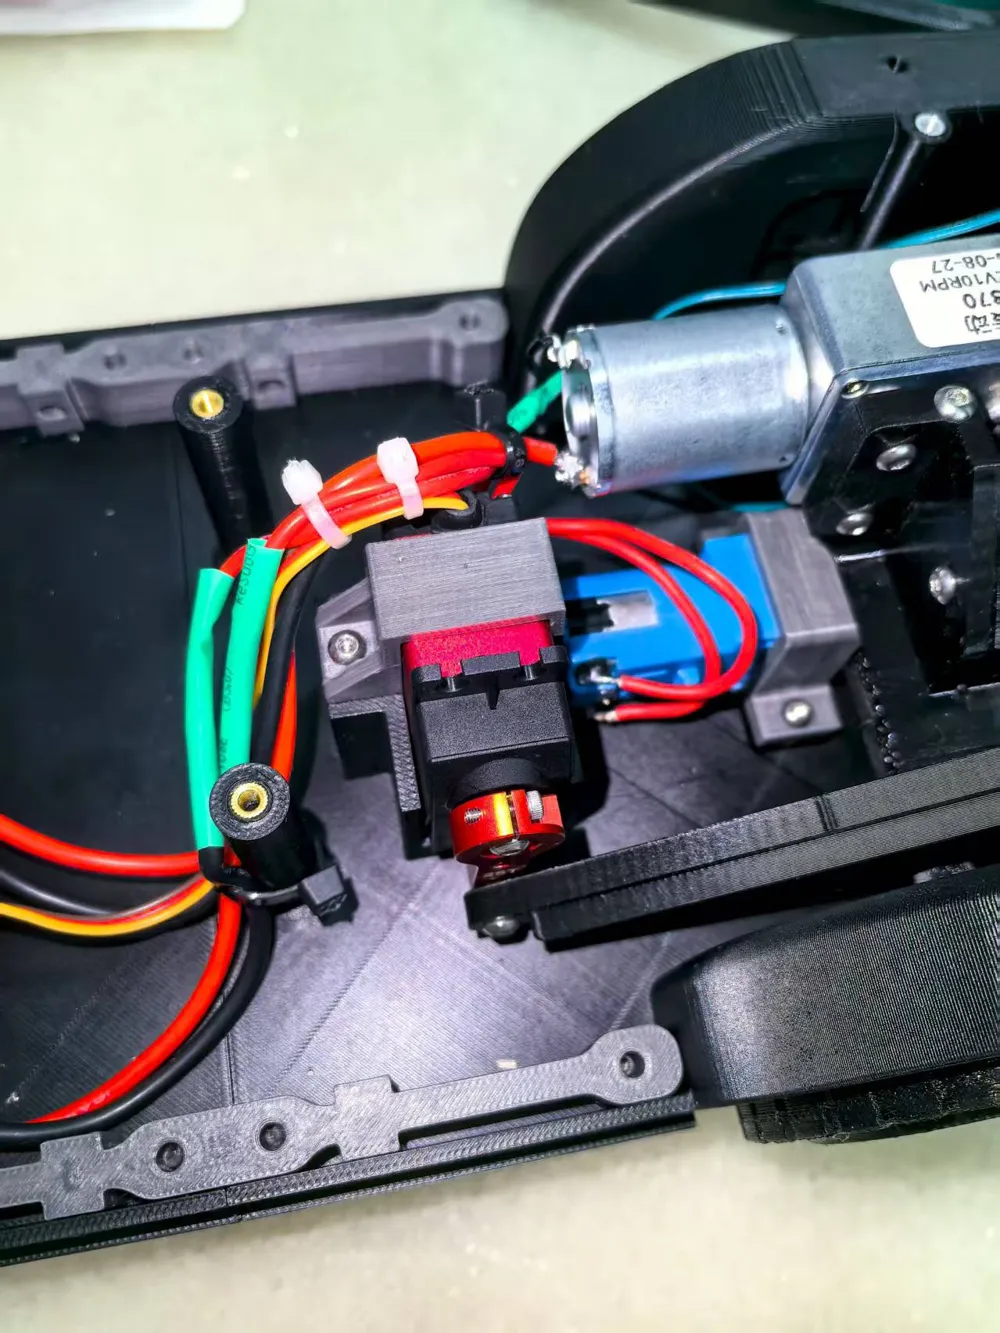
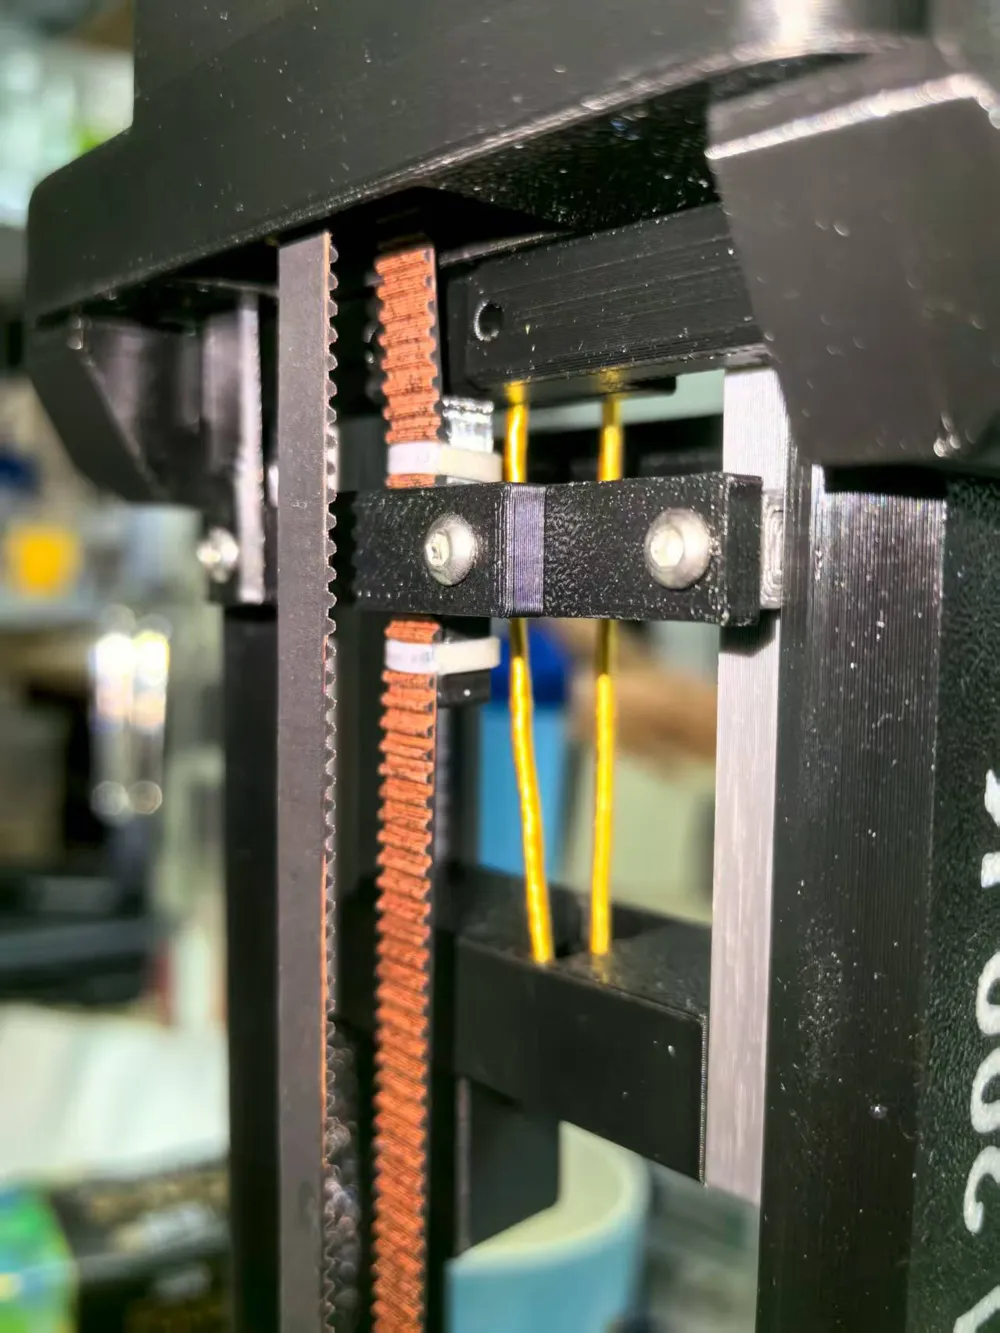
Print Profile(5)


Description
Boost Me (for free)
An optimized upgrade kit based on the following 3D printed forklift: (Due to copyright issues, the original print profile for the complete forklift is not uploaded here; you can search for it on Xianyu yourself)
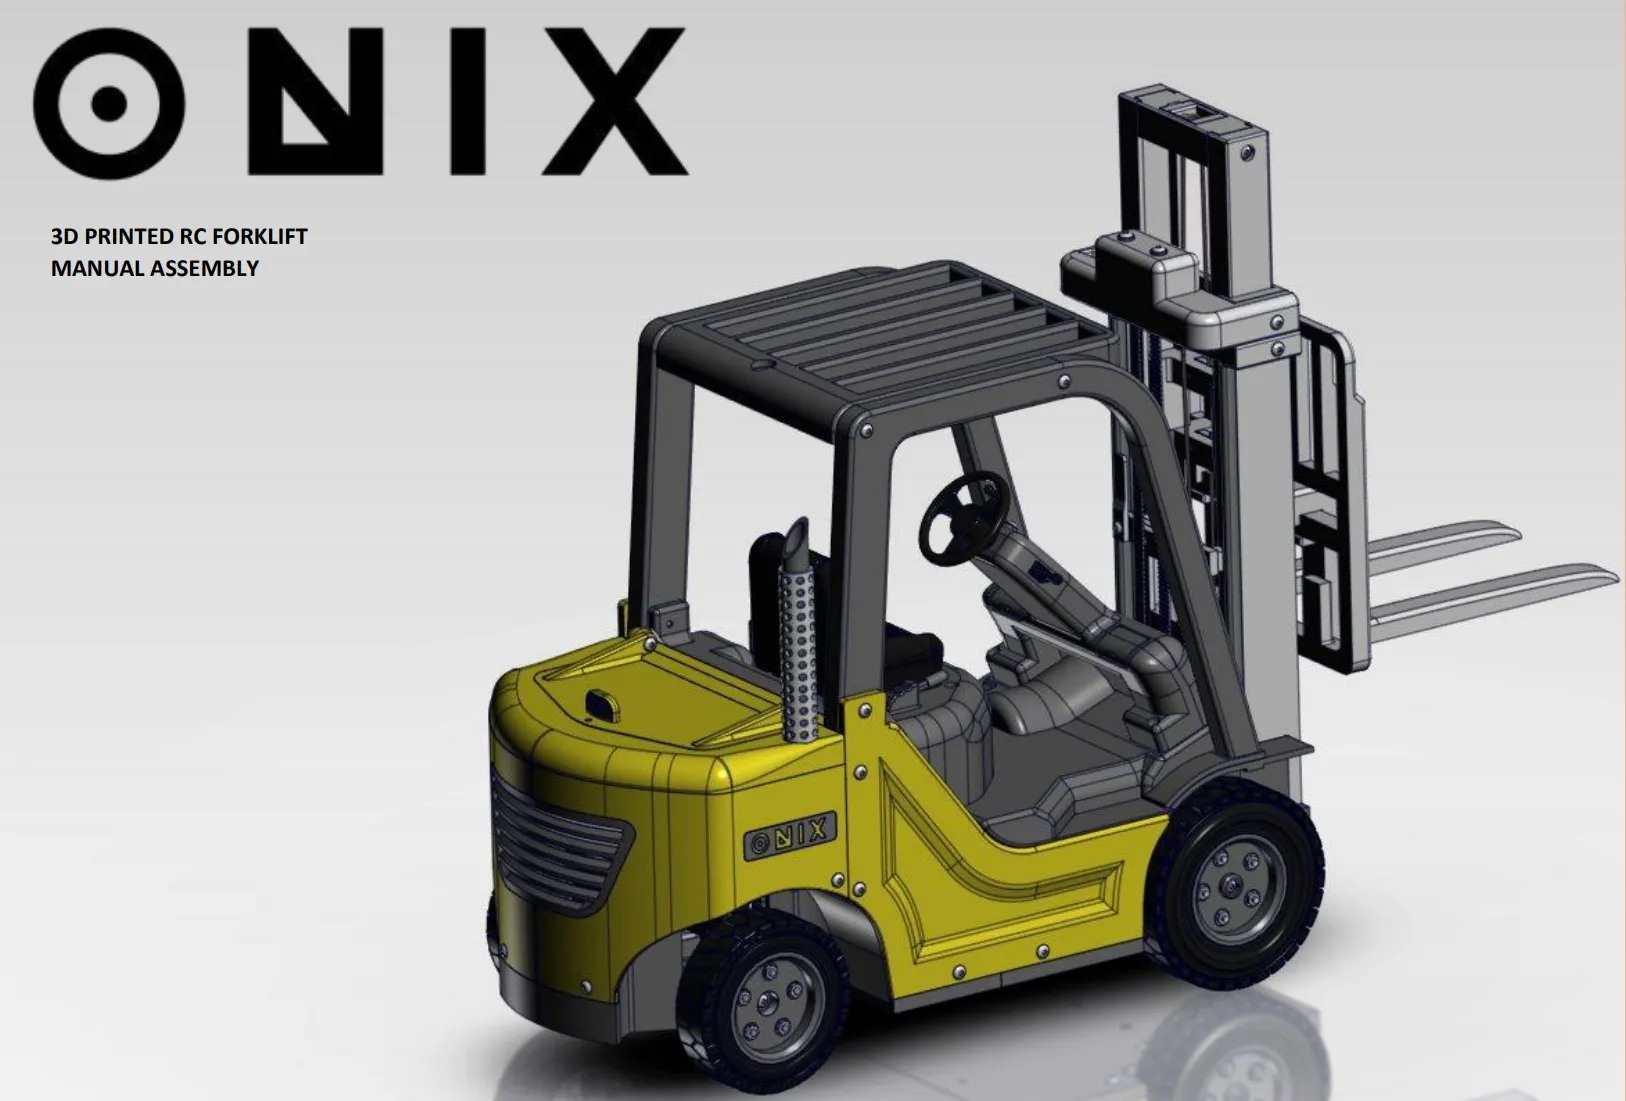
The kit includes the following:
I. Optimized reinforcement of the fork arm lifting structure, enabling it to lift 2000g (two boxes of 3D printing filament) after optimization.
Additional parts to purchase:
1. 1 bearing, outer diameter 19, inner diameter 13, thickness 4
2. 2GT synchronous pulley, 16 teeth, inner bore 6mm, height 14, outer diameter 13mm
3. 1 M3 hex countersunk screw, length 16-18mm
4. 1 M3 hex pan head screw, length 35mm
1 M3 hex pan head screw, length 10mm
5. 1 M3 heat press nut, M3*5*4.2
6. 2 cable ties
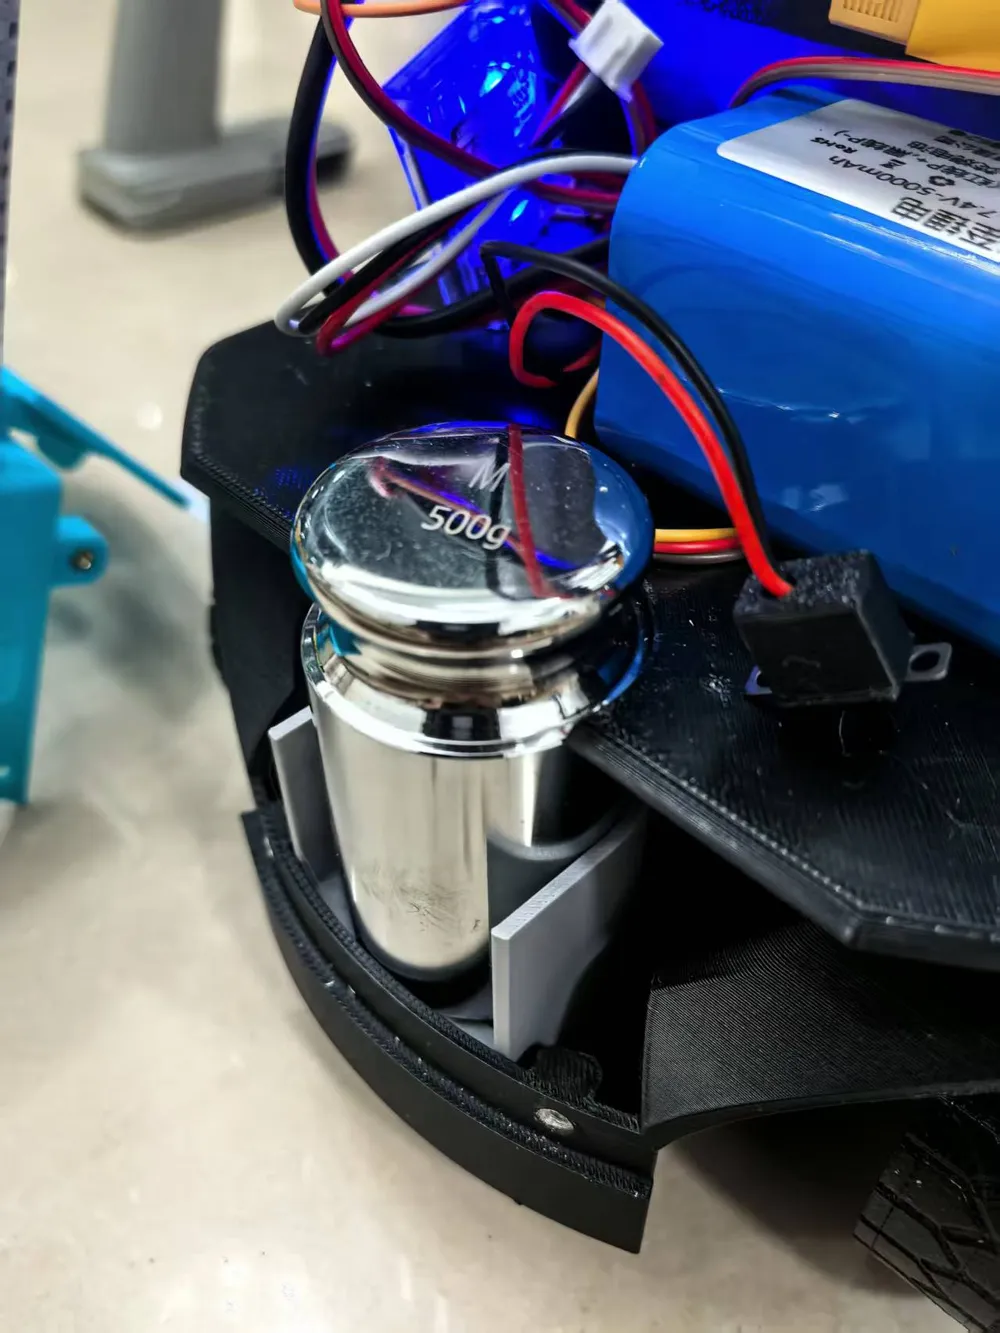
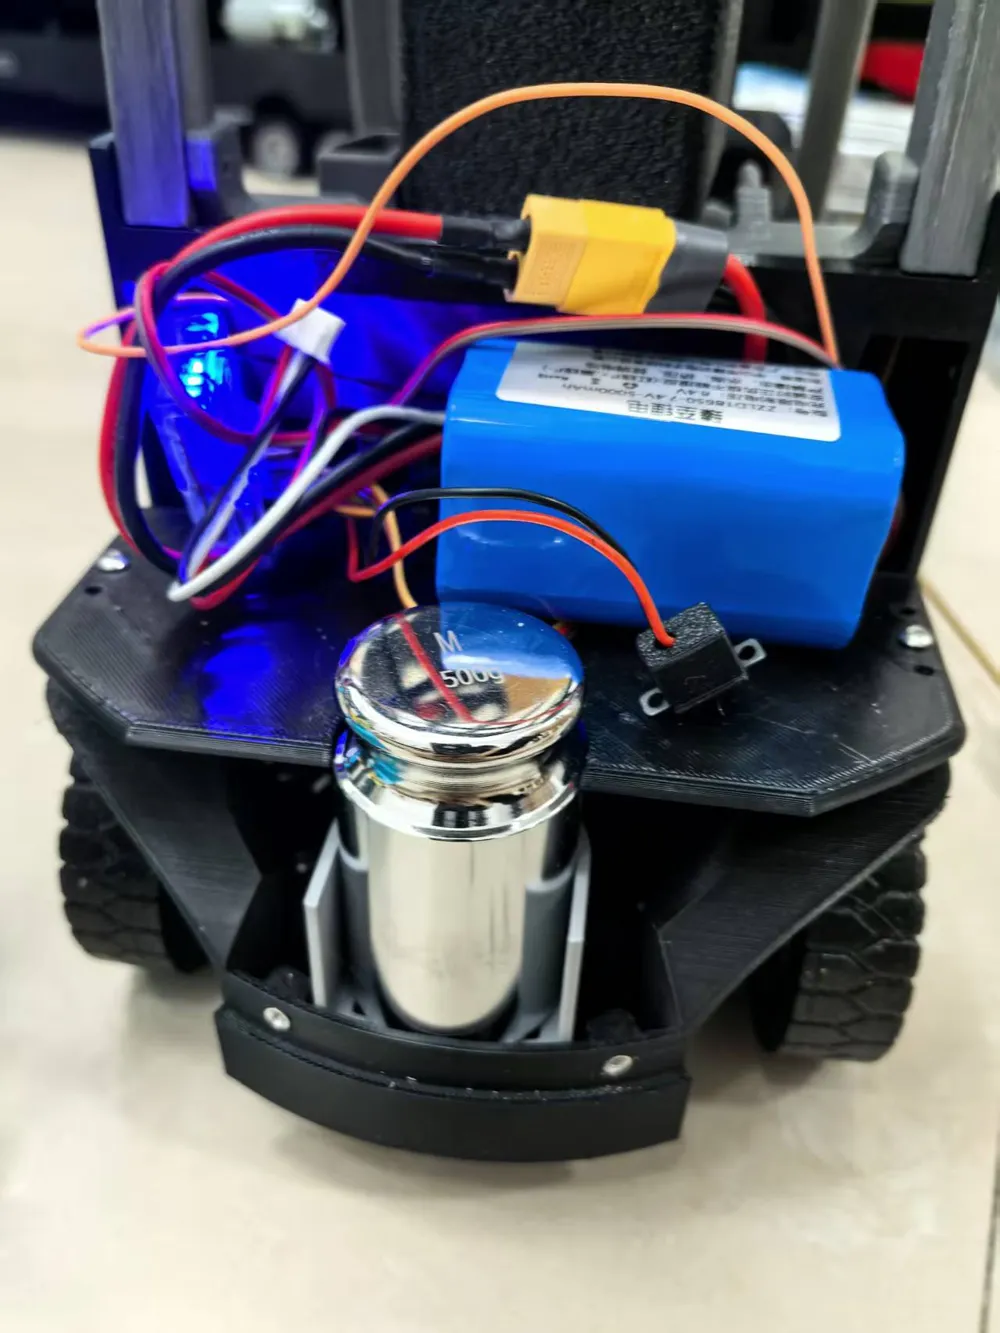
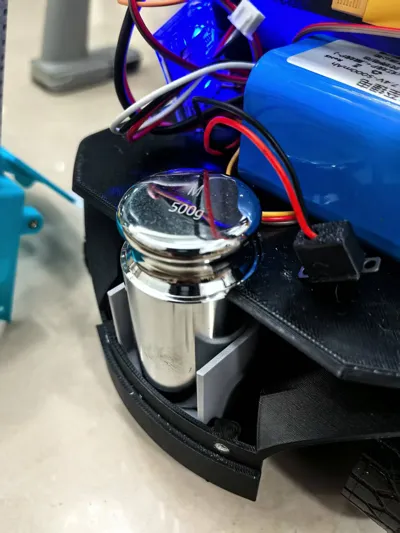
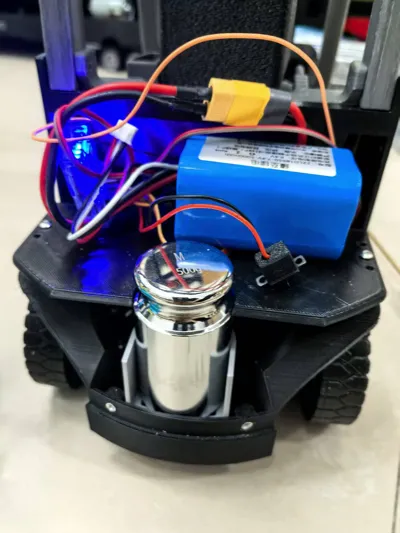
II. Rear interior adapted for additional 500g weight.
Additional parts to purchase:
1. 500g standard weight
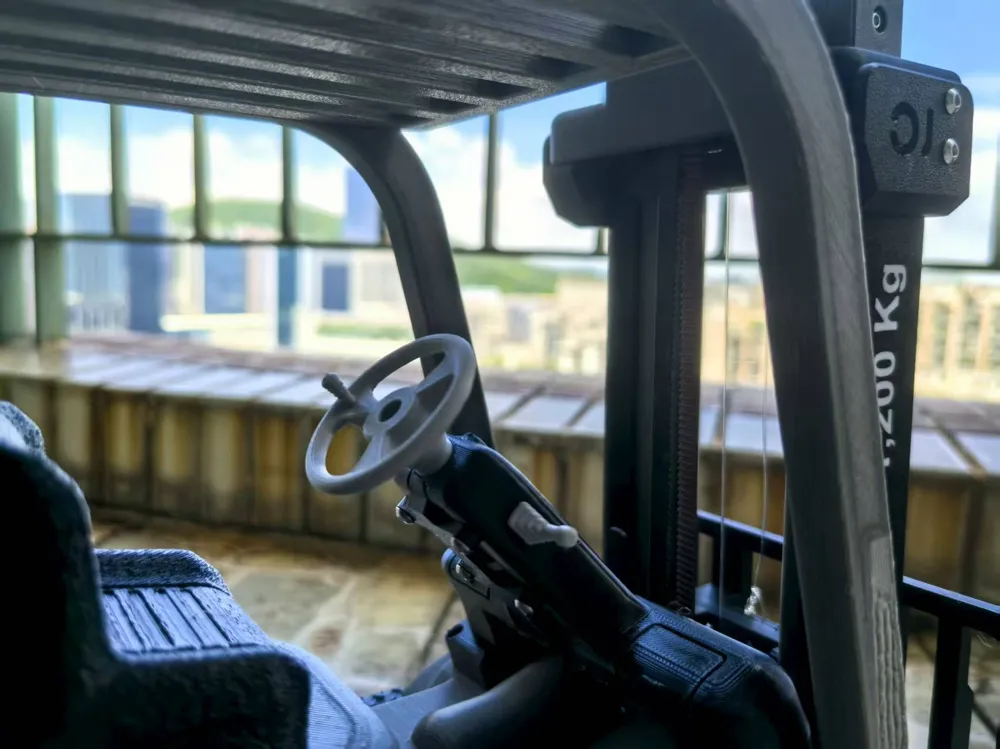
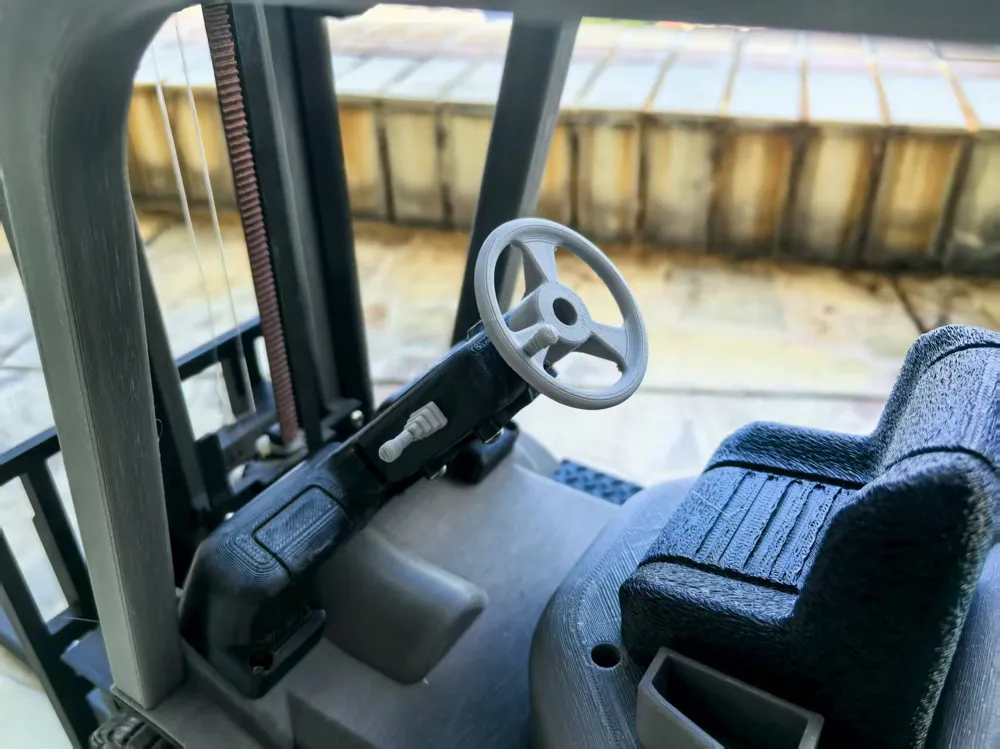
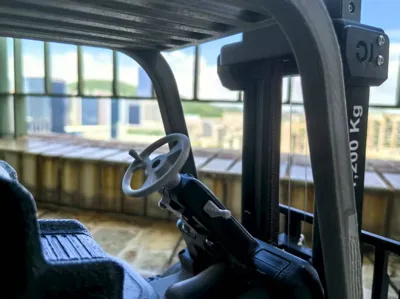
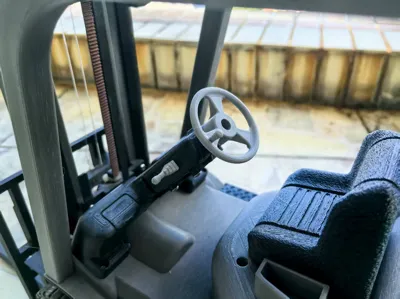
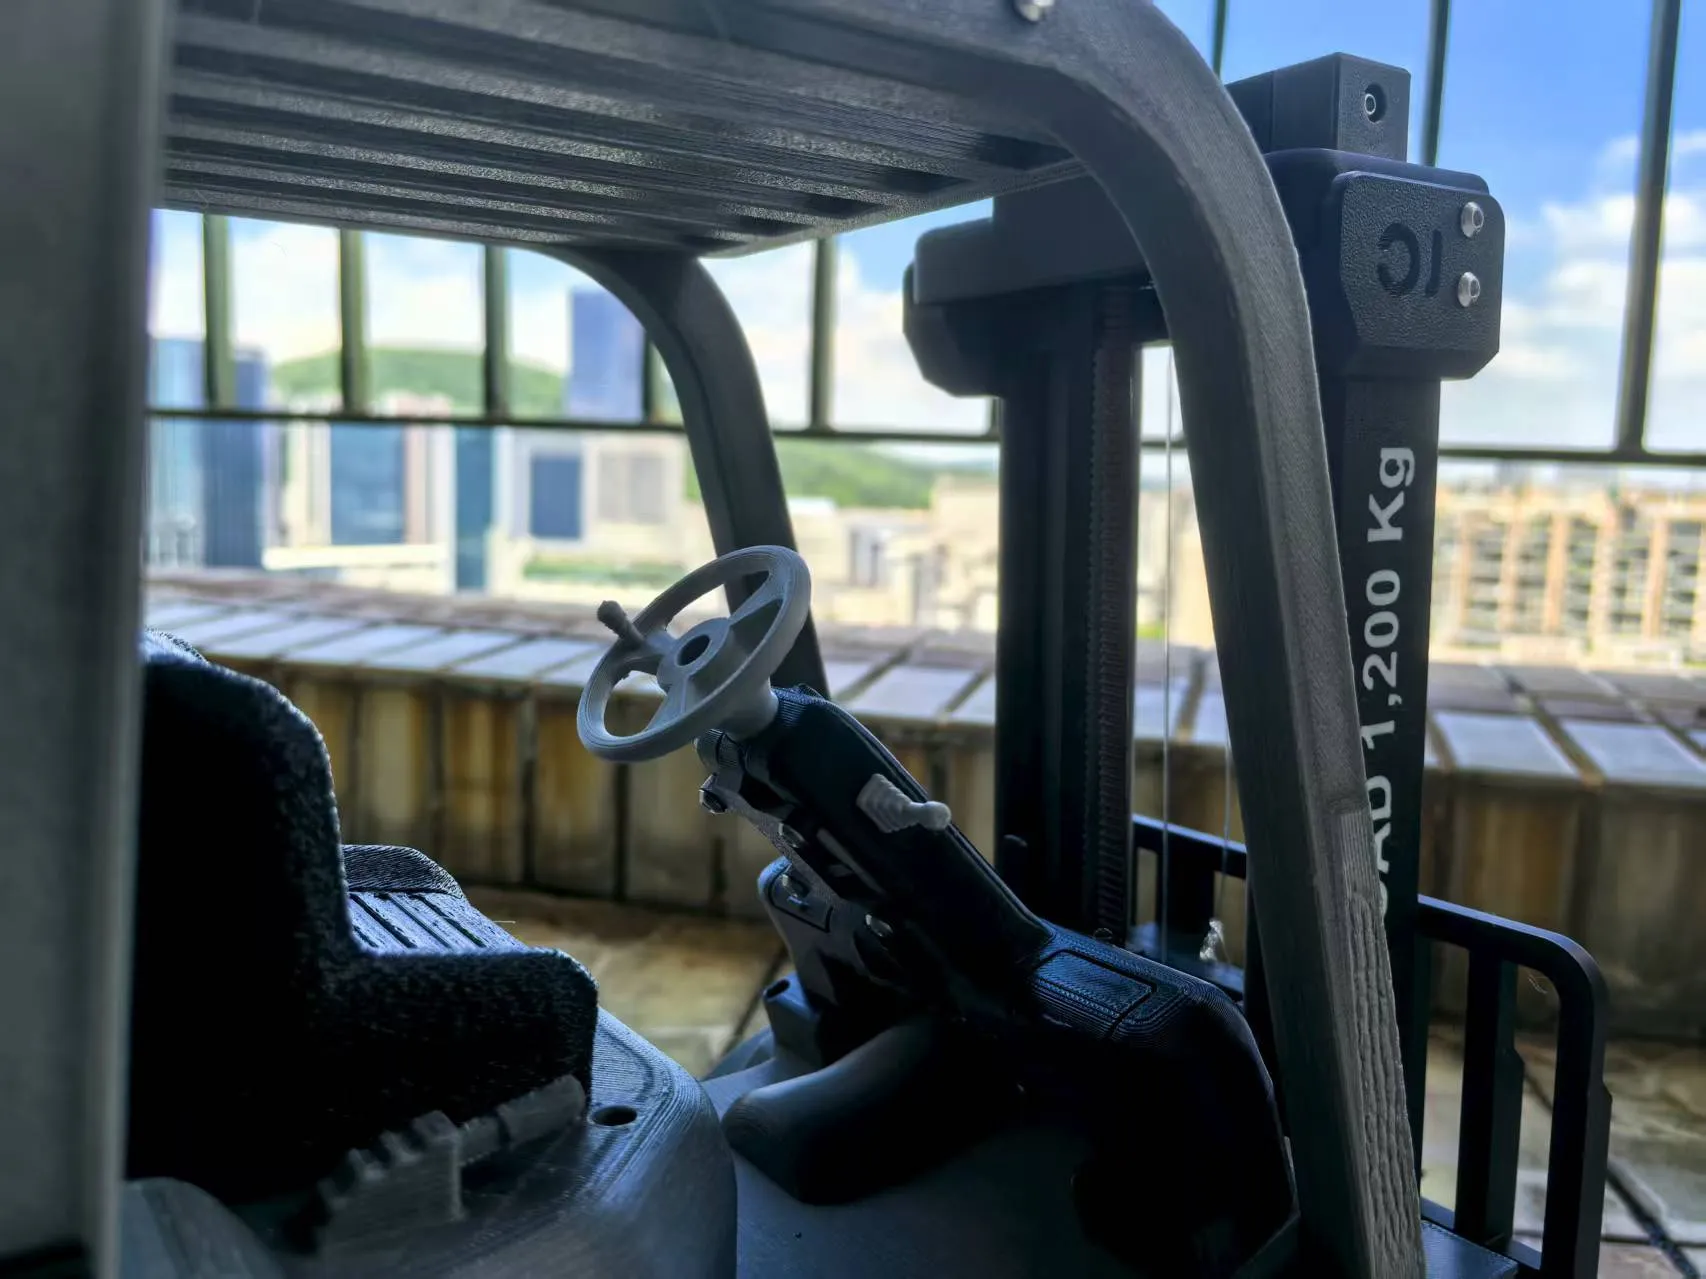
III. The steering wheel can rotate with the direction.
Additional parts to purchase:
1. 1 MG90s servo, 180-360° is fine.
2. One-to-two servo extension cable.
3. 4 M3 hex pan head screws, length 10mm.
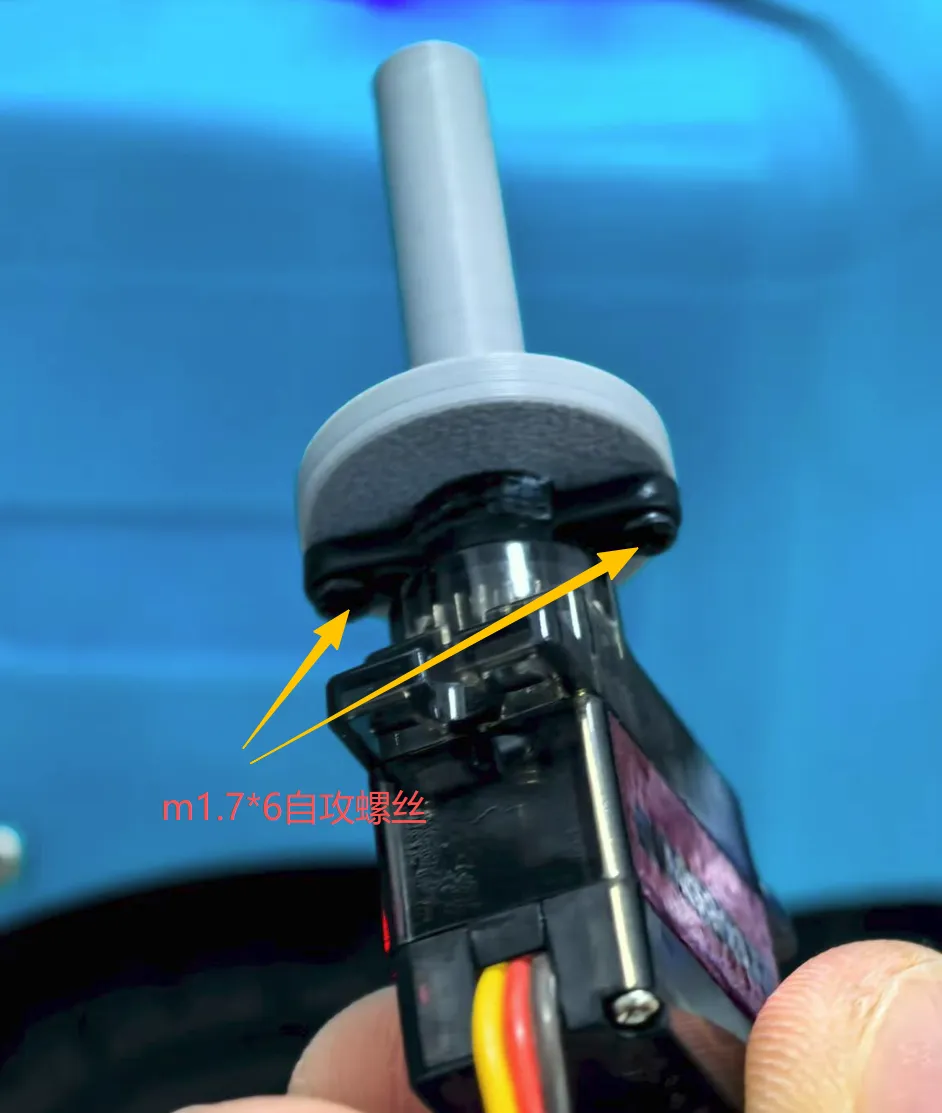
4. 2 self-tapping screws m1.7*6.
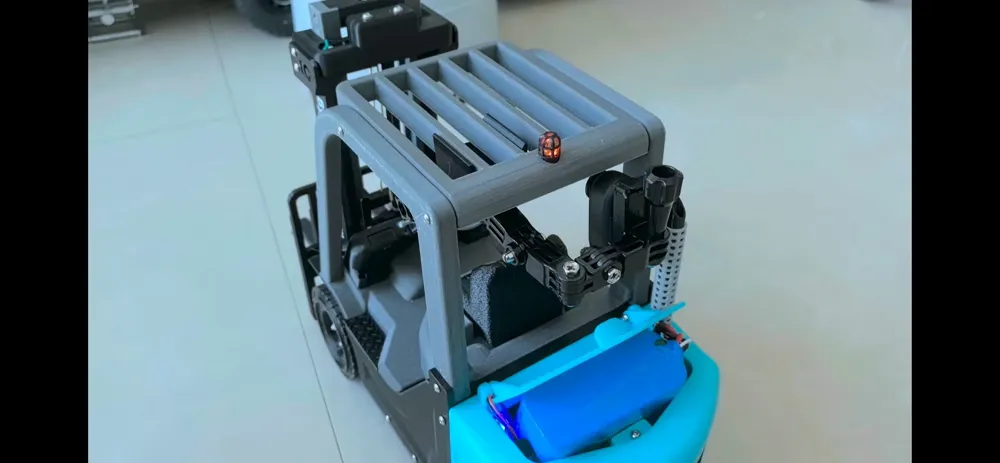
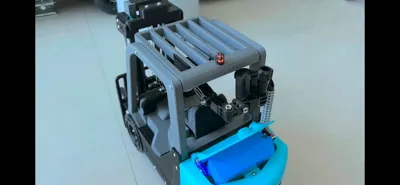
IV. Canopy adds an adapted camera base bracket.
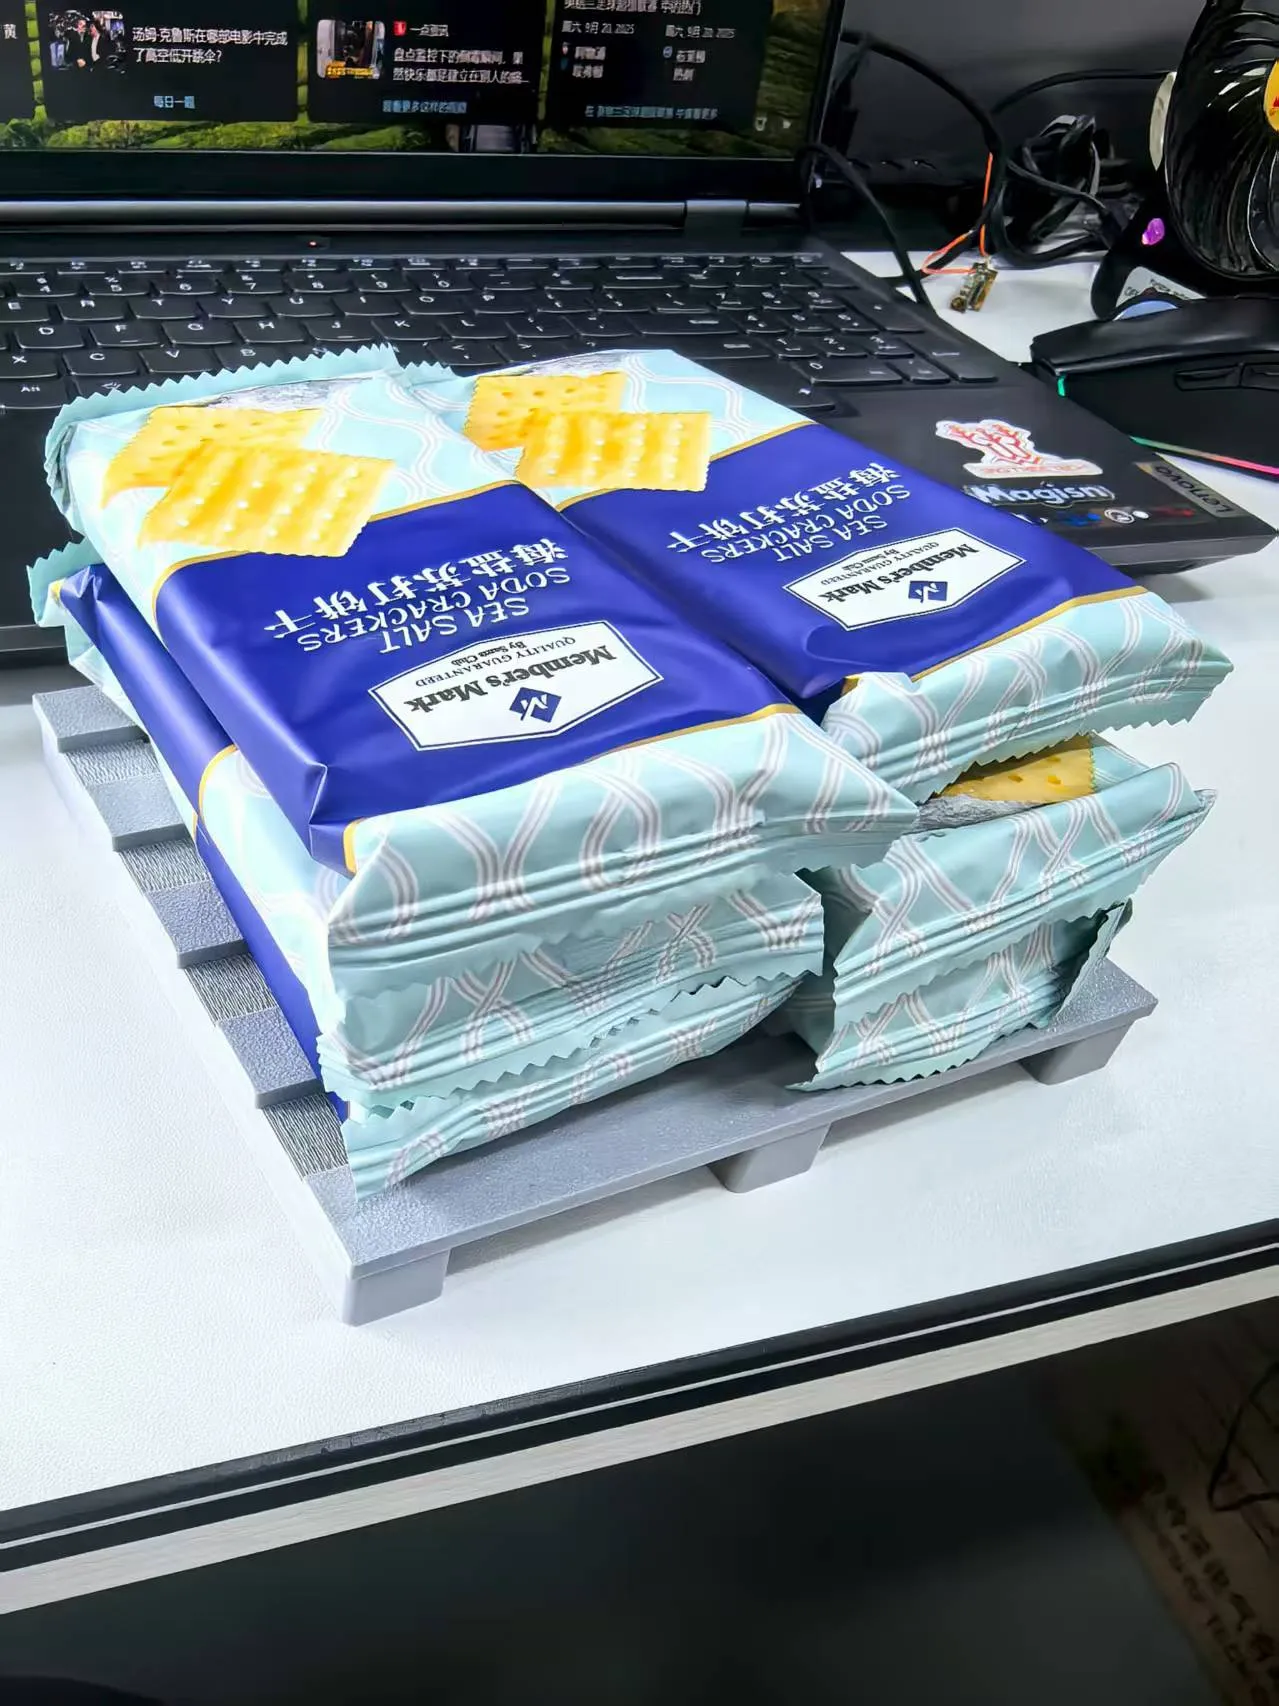
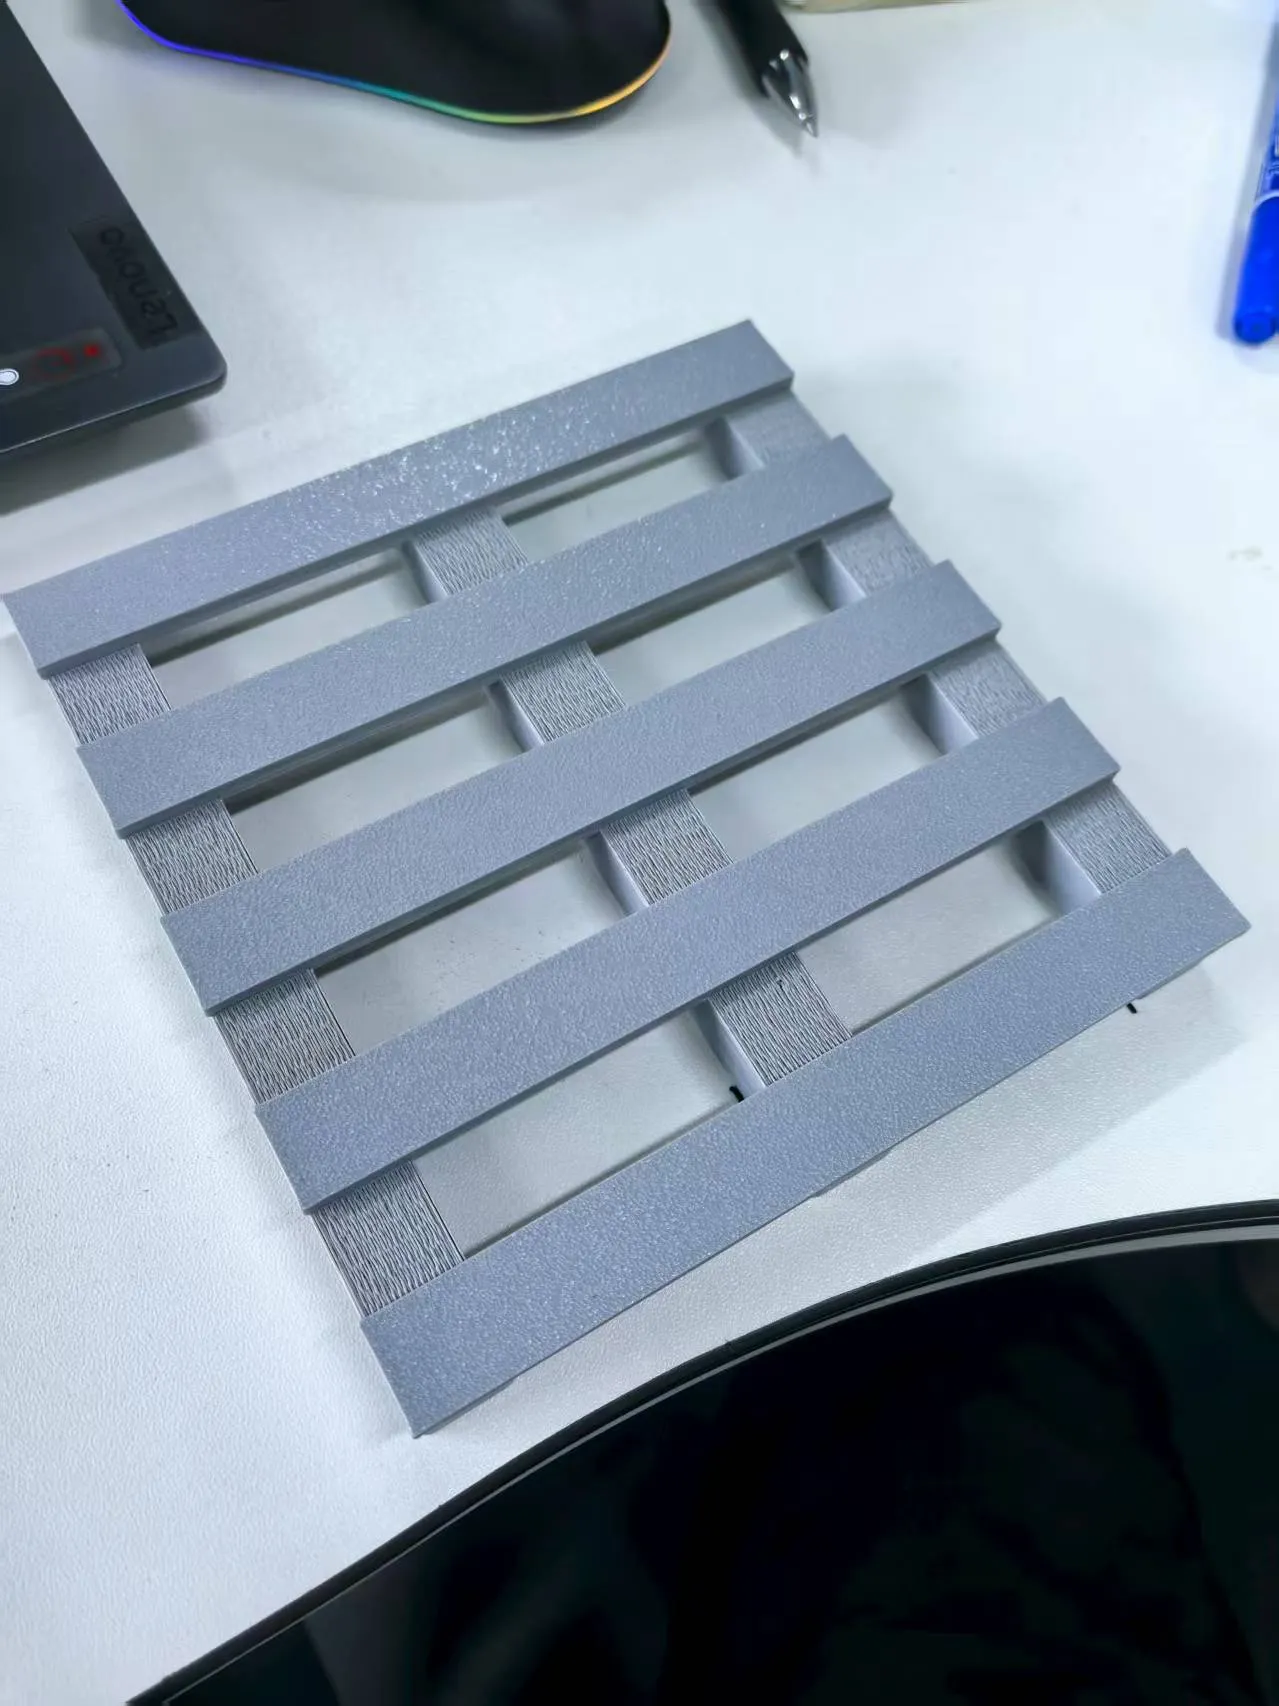
V. New fork plate added.
The above upgrades are divided into five print profiles, choose according to your needs.
Kit One Easy Installation Guide:
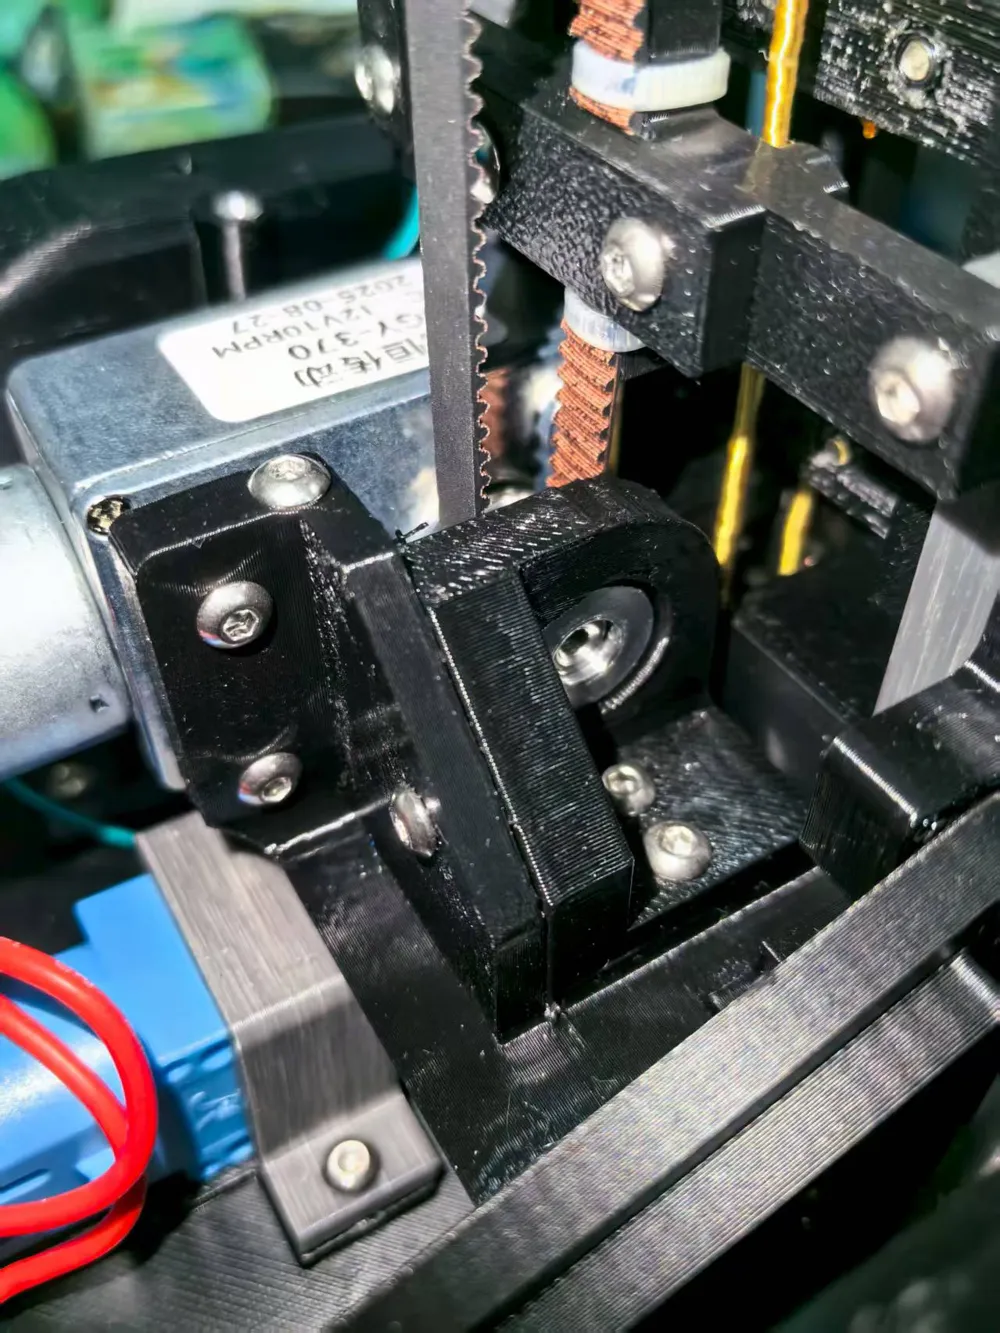
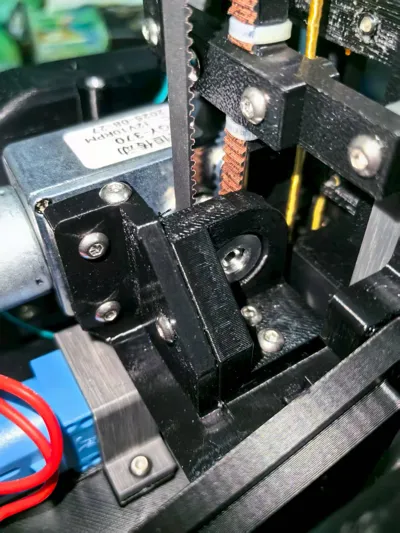
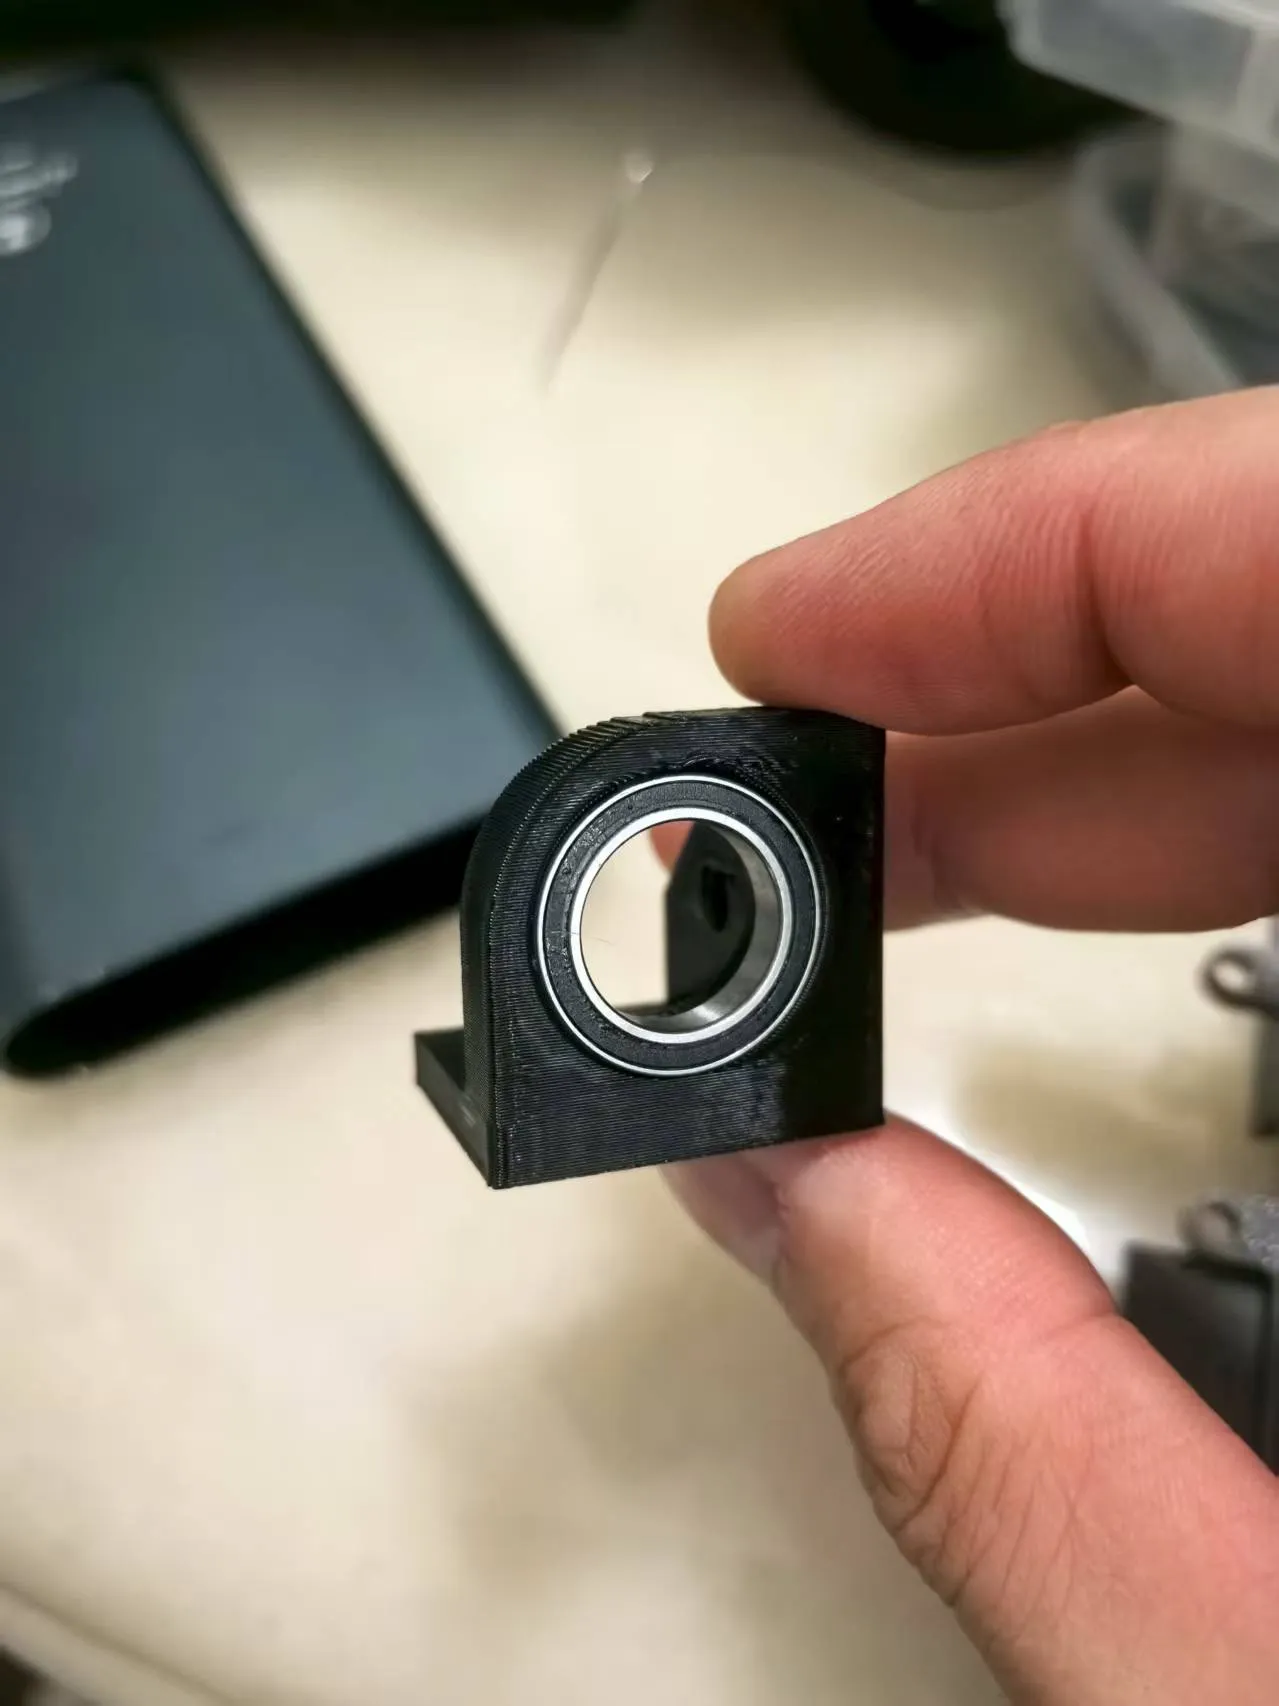
First, insert the bearing into the printed part, as shown in the figure below
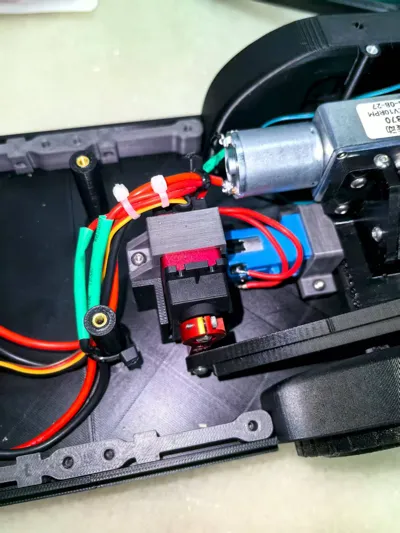
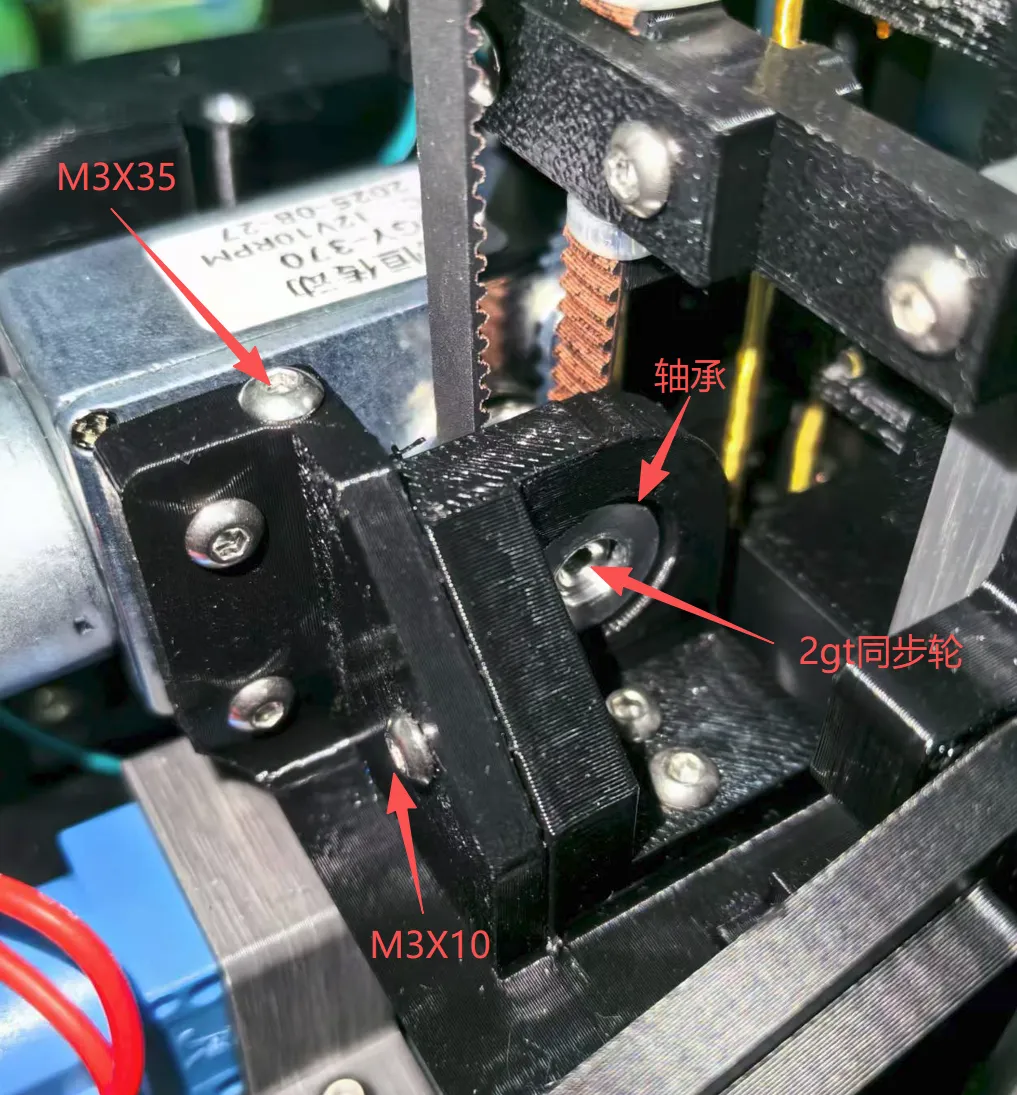
Then install the synchronous pulley onto the motor shaft, insert the part with the bearing into the synchronous pulley. The installation method is the same as the original version, but with an additional M3x10 screw for fastening. After assembly, it is as shown in the figure below
Additionally, the uppermost wheel corresponding to the motor's synchronous pulley also needs optimization. In my version, the nut is at the bottom, while in the original version, the nut is at the top. When the nut is at the top, it can easily be pulled out when lifting heavy objects.
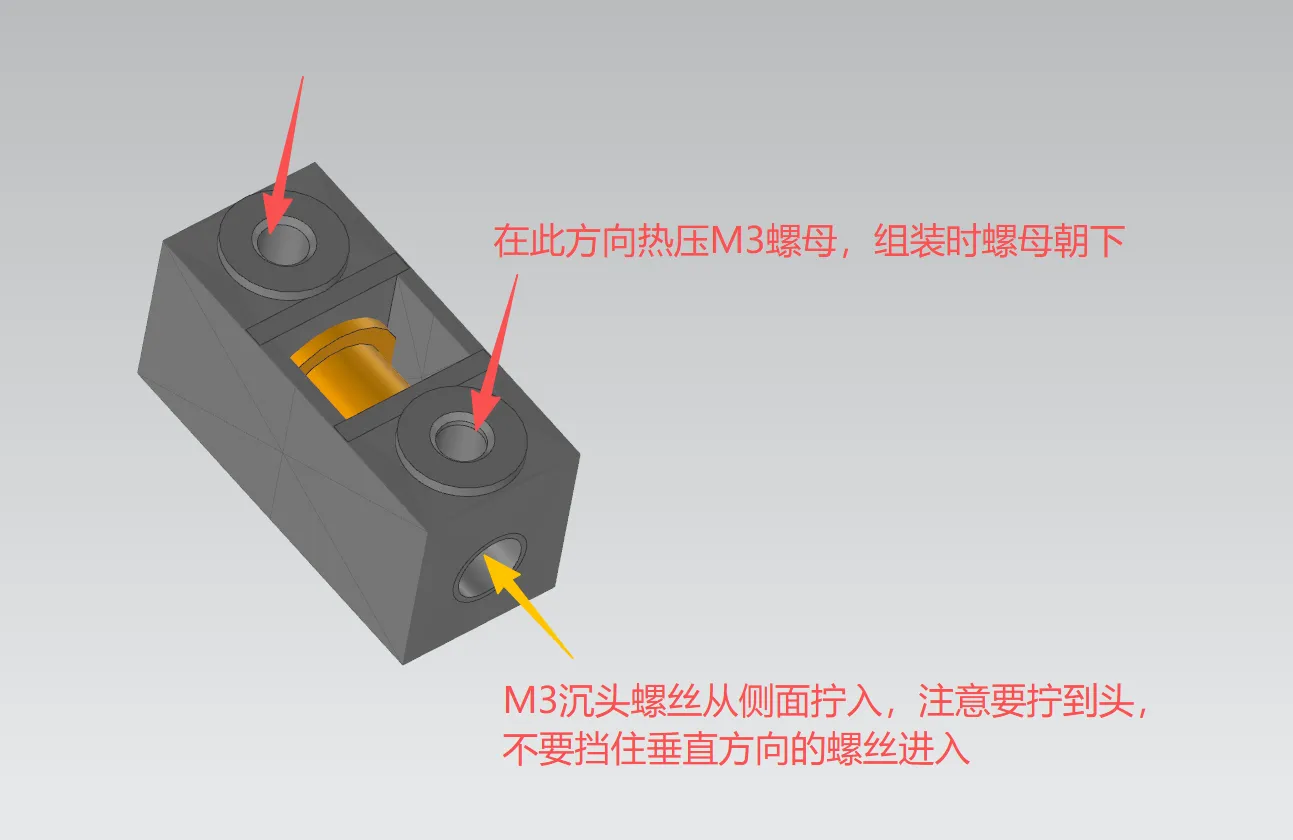
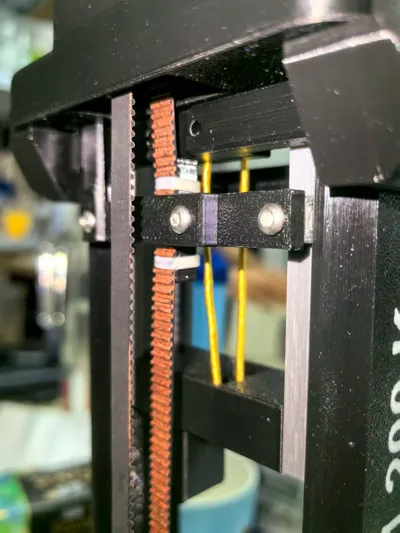
I also added cable ties for synchronous belt fastening to better prevent the synchronous belt from being pulled out. Current tests show it can withstand 2000g. As for the ultimate limit, the fork arm would need to be modified (the fork arm has not been optimized yet).
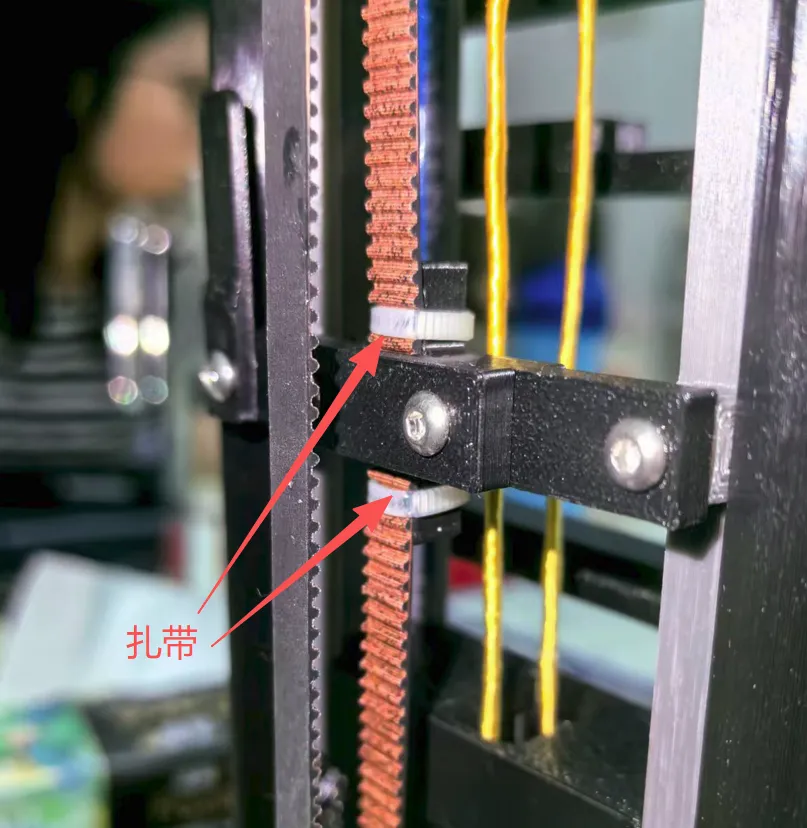
Kit Two Easy Installation Guide:
Installation diagram, no glue needed
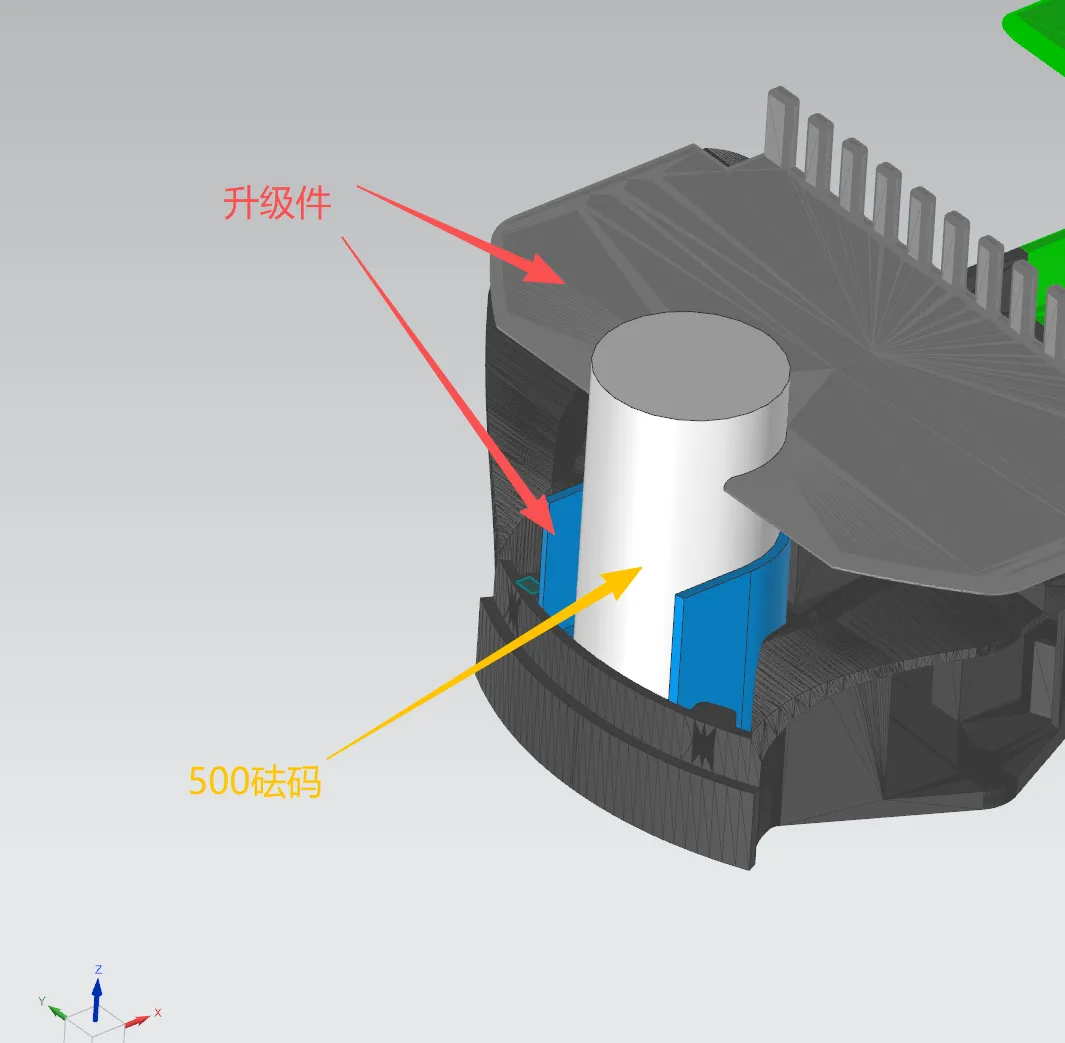
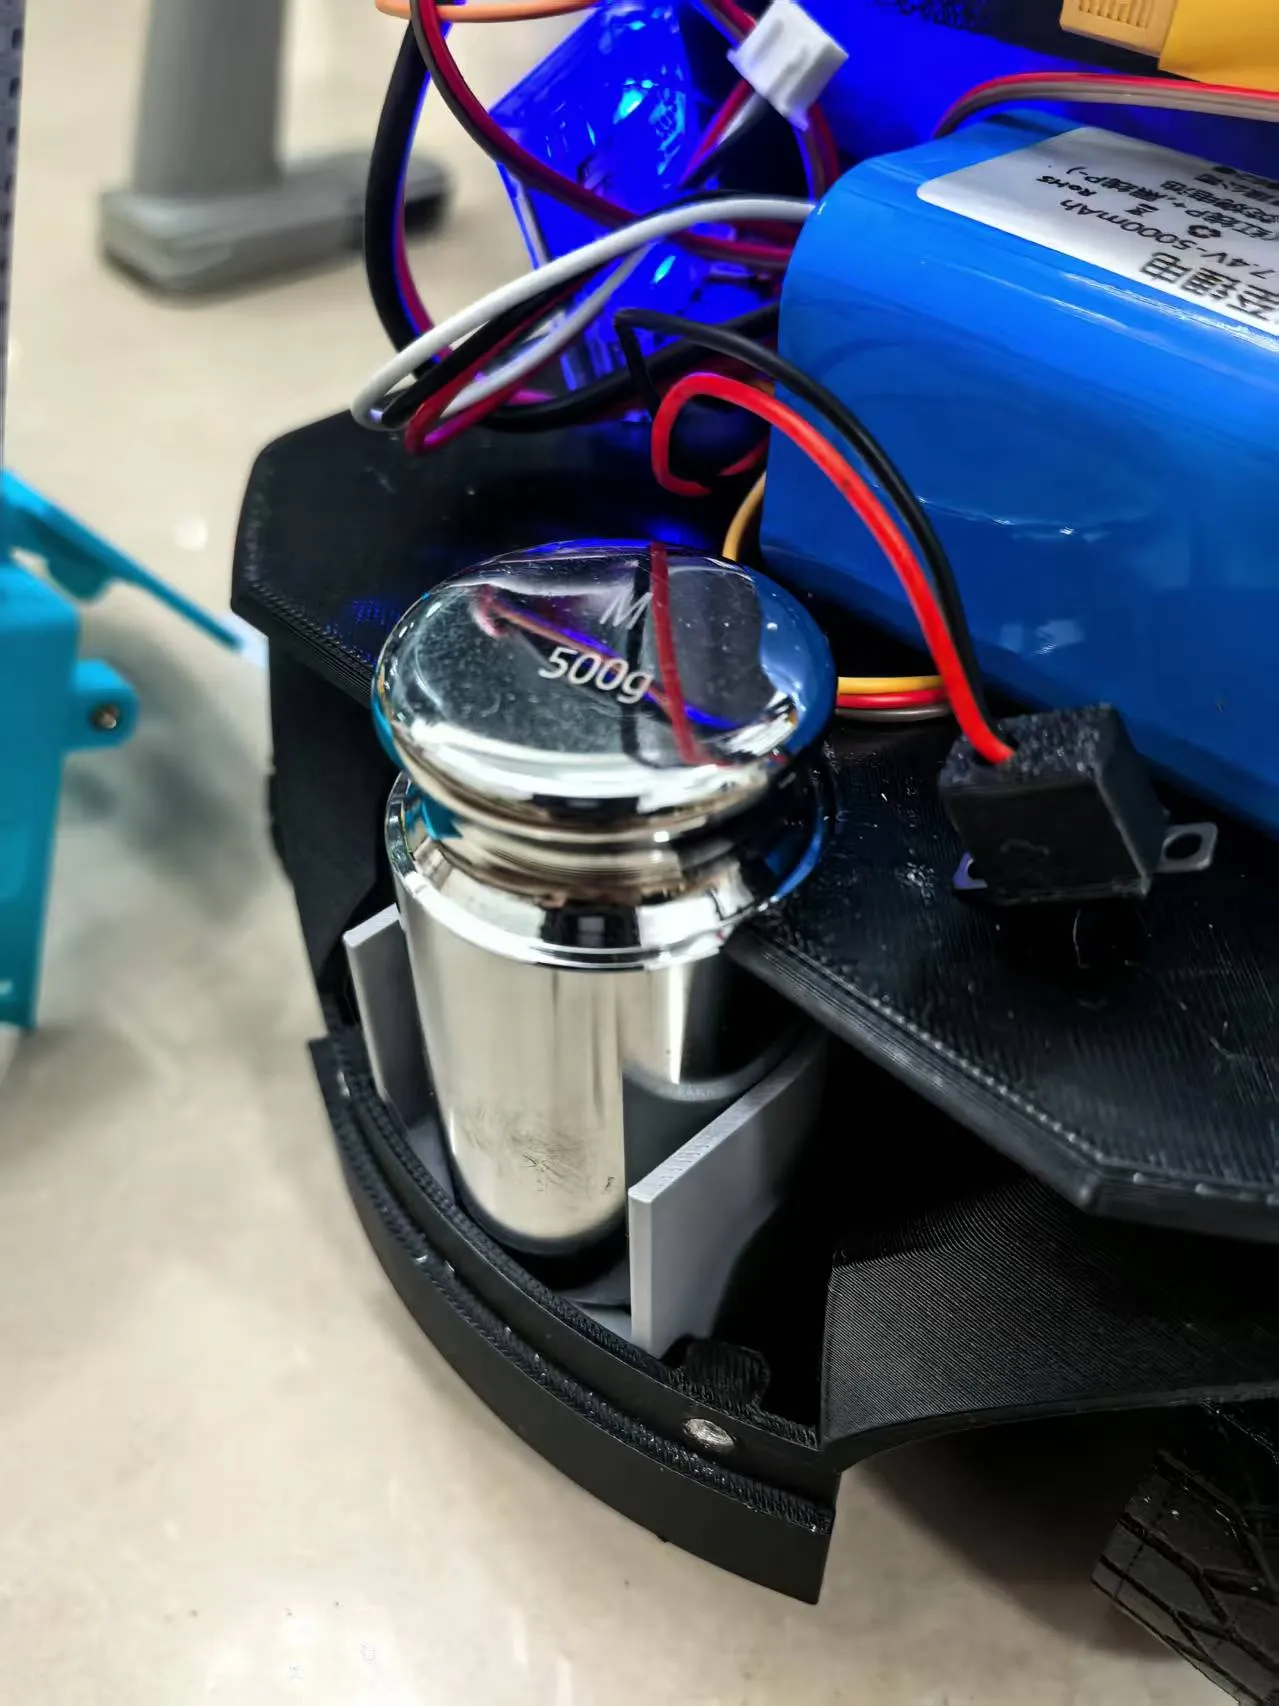
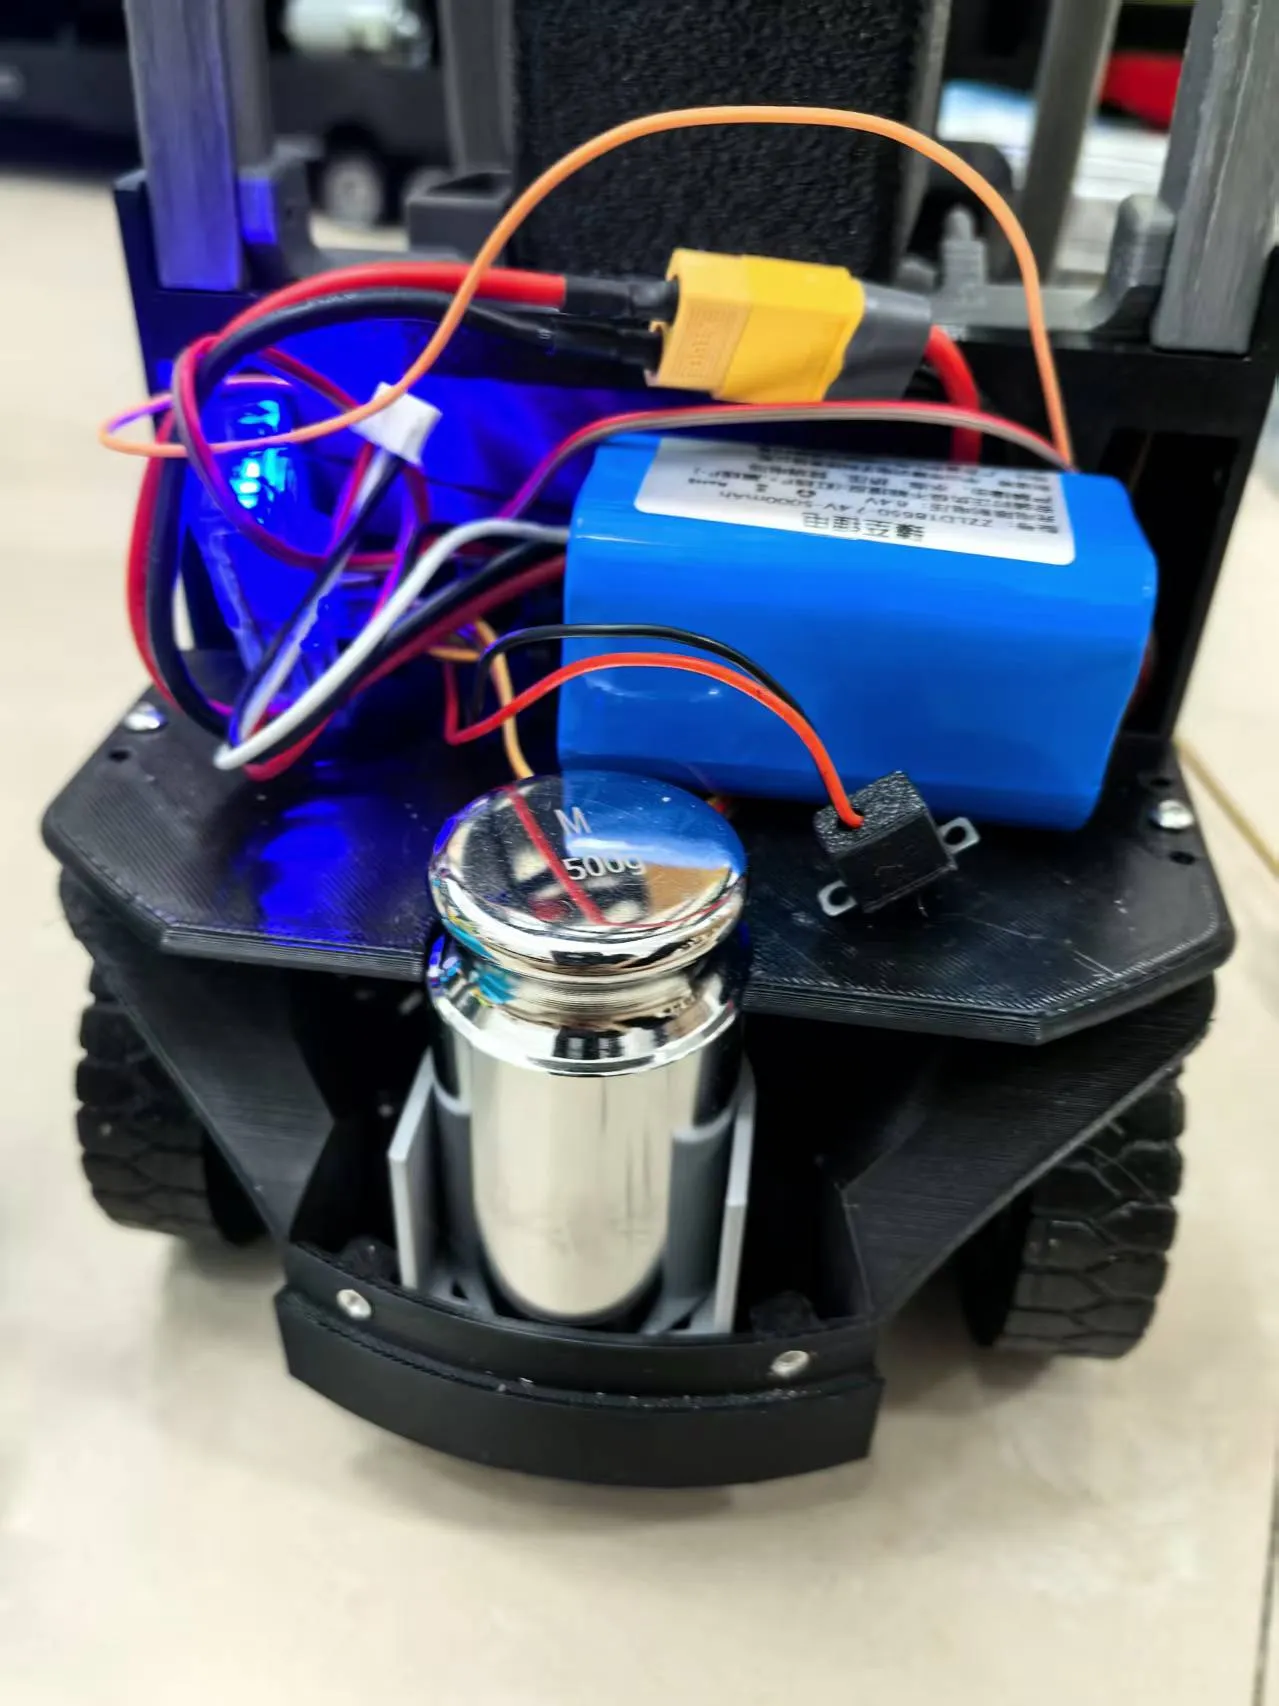
Kit Three Easy Installation Guide:
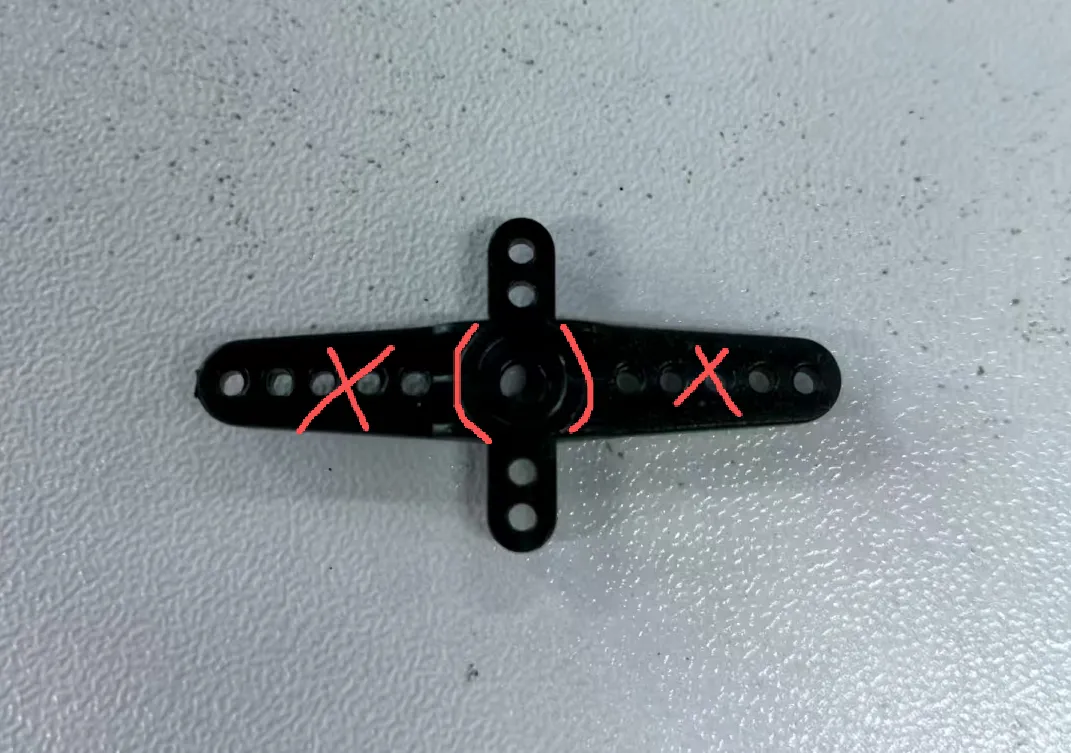
First, take the cross-shaped (two long, two short) accessory that comes with the servo, cut off the two longest sides, and use two M1.7*6 self-tapping screws to attach it to the printed part shown in the figure below
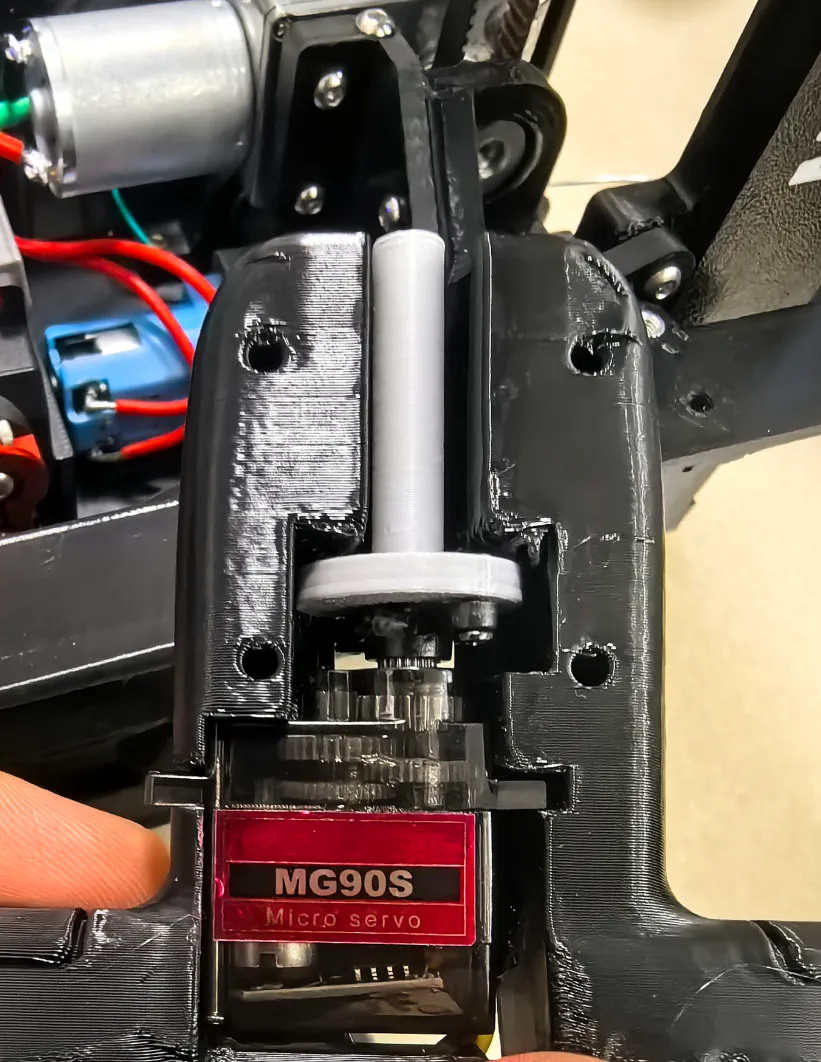
Then press this assembled servo part into the position shown in the figure below
Then fasten the steering wheel and pressure block with screws. The servo cable and the car's steering servo can be connected via a one-to-two splitter and plugged into receiver CH1.
Kit Four Easy Installation Instructions:
The base can be freely clipped between any two vertical ribs on the canopy.
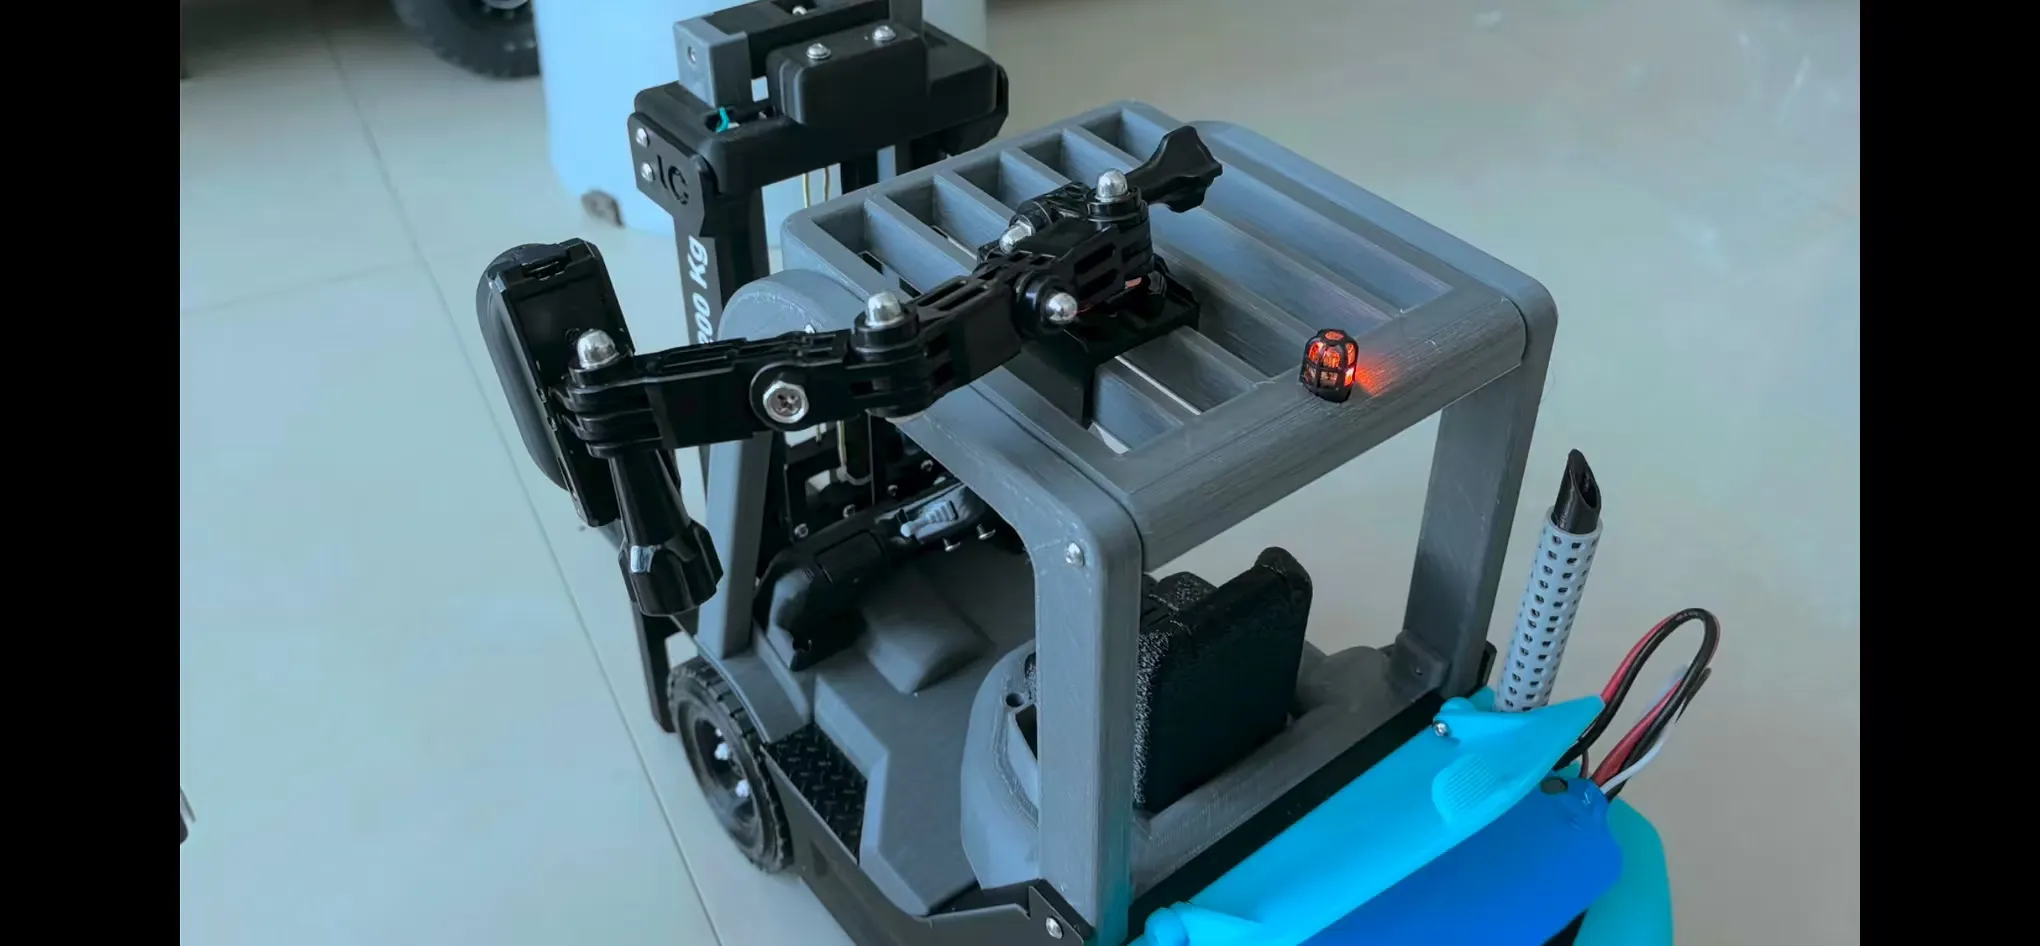
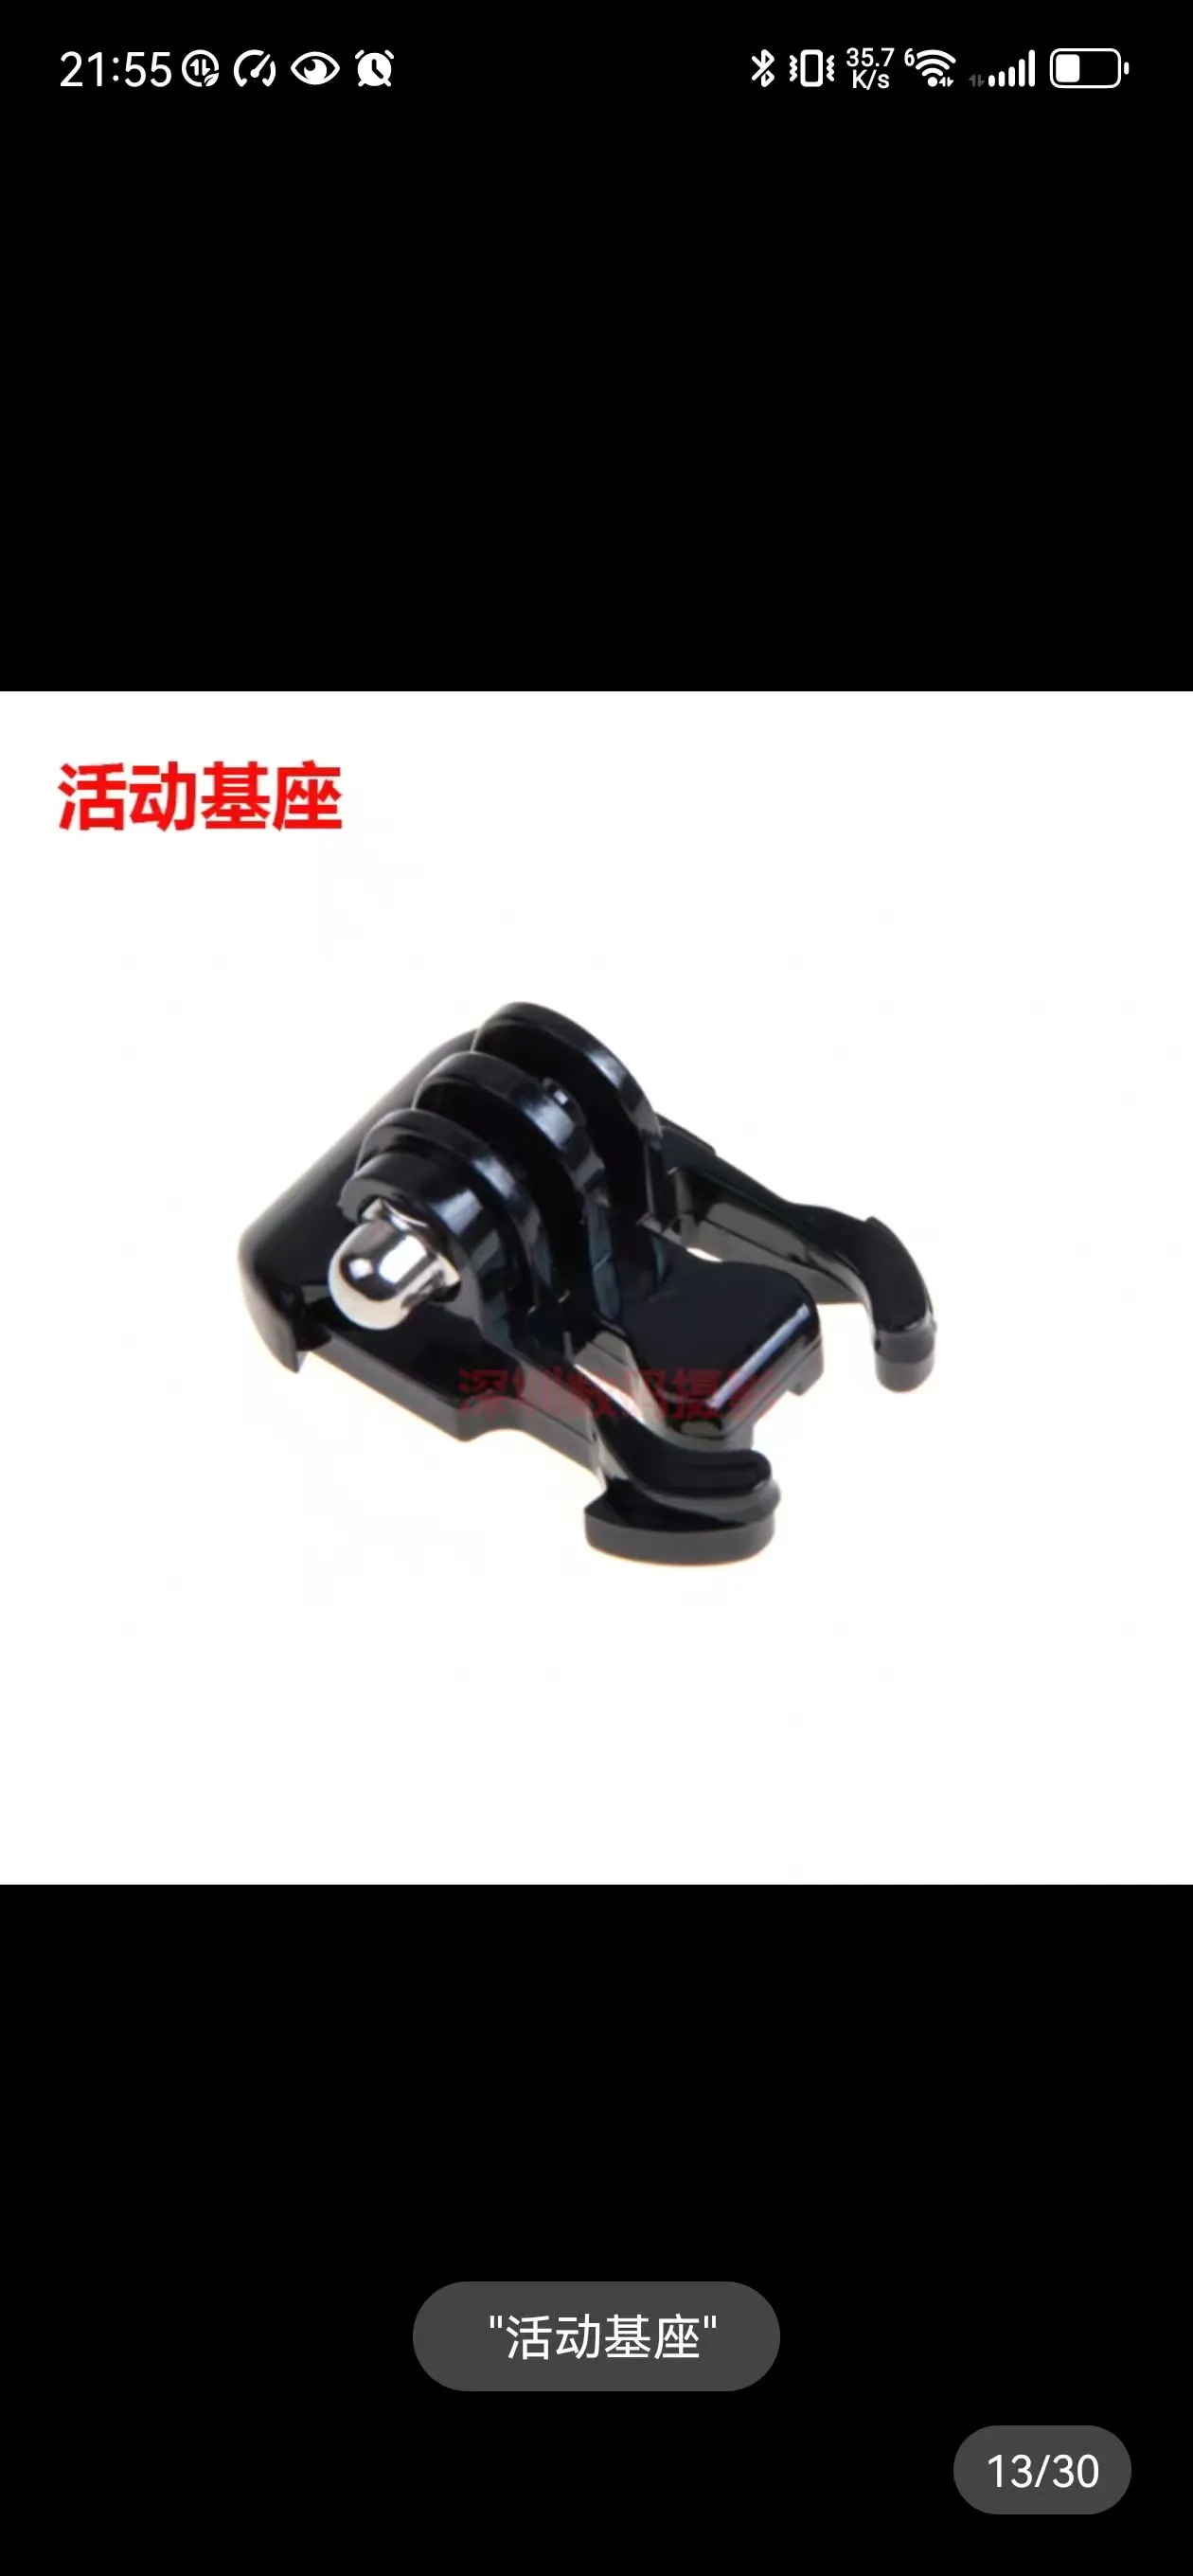
Refer to the purchased camera bracket base:
Kit Five:
License

You shall not share, sub-license, sell, rent, host, transfer, or distribute in any way the digital or 3D printed versions of this object, nor any other derivative work of this object in its digital or physical format (including - but not limited to - remixes of this object, and hosting on other digital platforms). The objects may not be used without permission in any way whatsoever in which you charge money, or collect fees.


Comment & Rating (3)