
Panda Touch Combo Faceplate BIGTREETECH BIQU


Print Profile(4)


Description
My Panda Touch finally arrived - and I love it, but I didn't like the default stand, because I wanted to use both screens side by side. Designing a Faceplate to combine both screens was just the right thing to do.
This Faceplate does not modify or alter any parts of the printer/Panda Touch.
Membership
You can now sell my designs with a MakerWorld Membership! With almost 50 models available, you have plenty of options. Check out my designs and click the Commercial Selling License button to get started! <3
UPDATE v1.02 and v1.02.a | 02/11/24:
- added the circular cutout in the back like in v1.00, so the Glass Top handle doesnt get stuck
comment: There was a problem with the handle of the glass top getting in the way. This update should fix it.
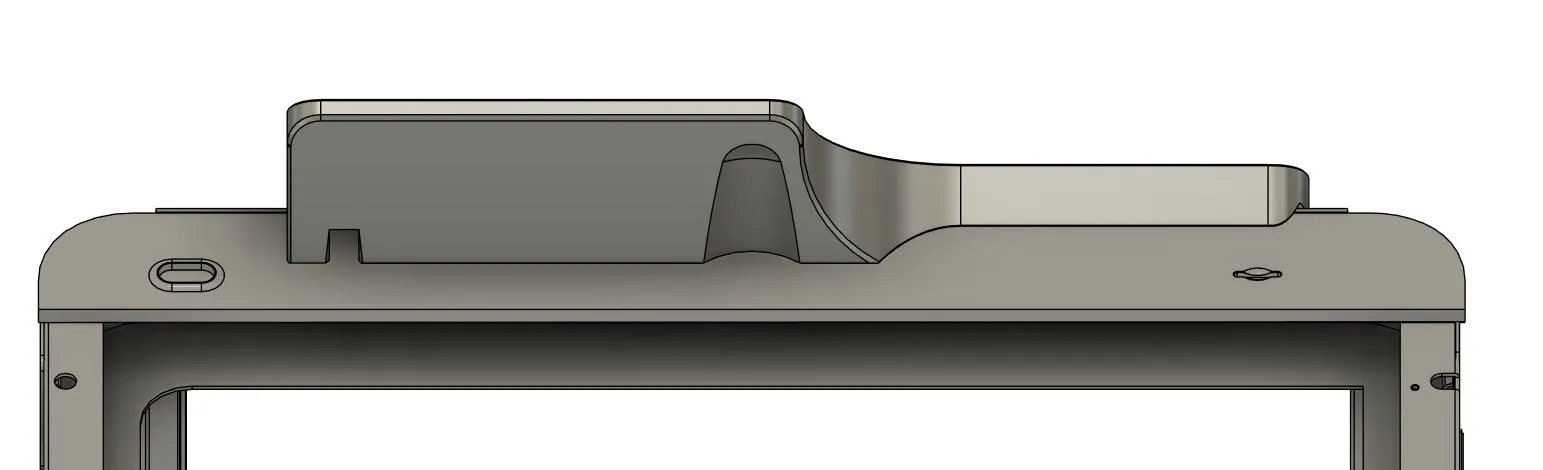
UPDATE v1.01 and v1.01.a | 02/10/24:
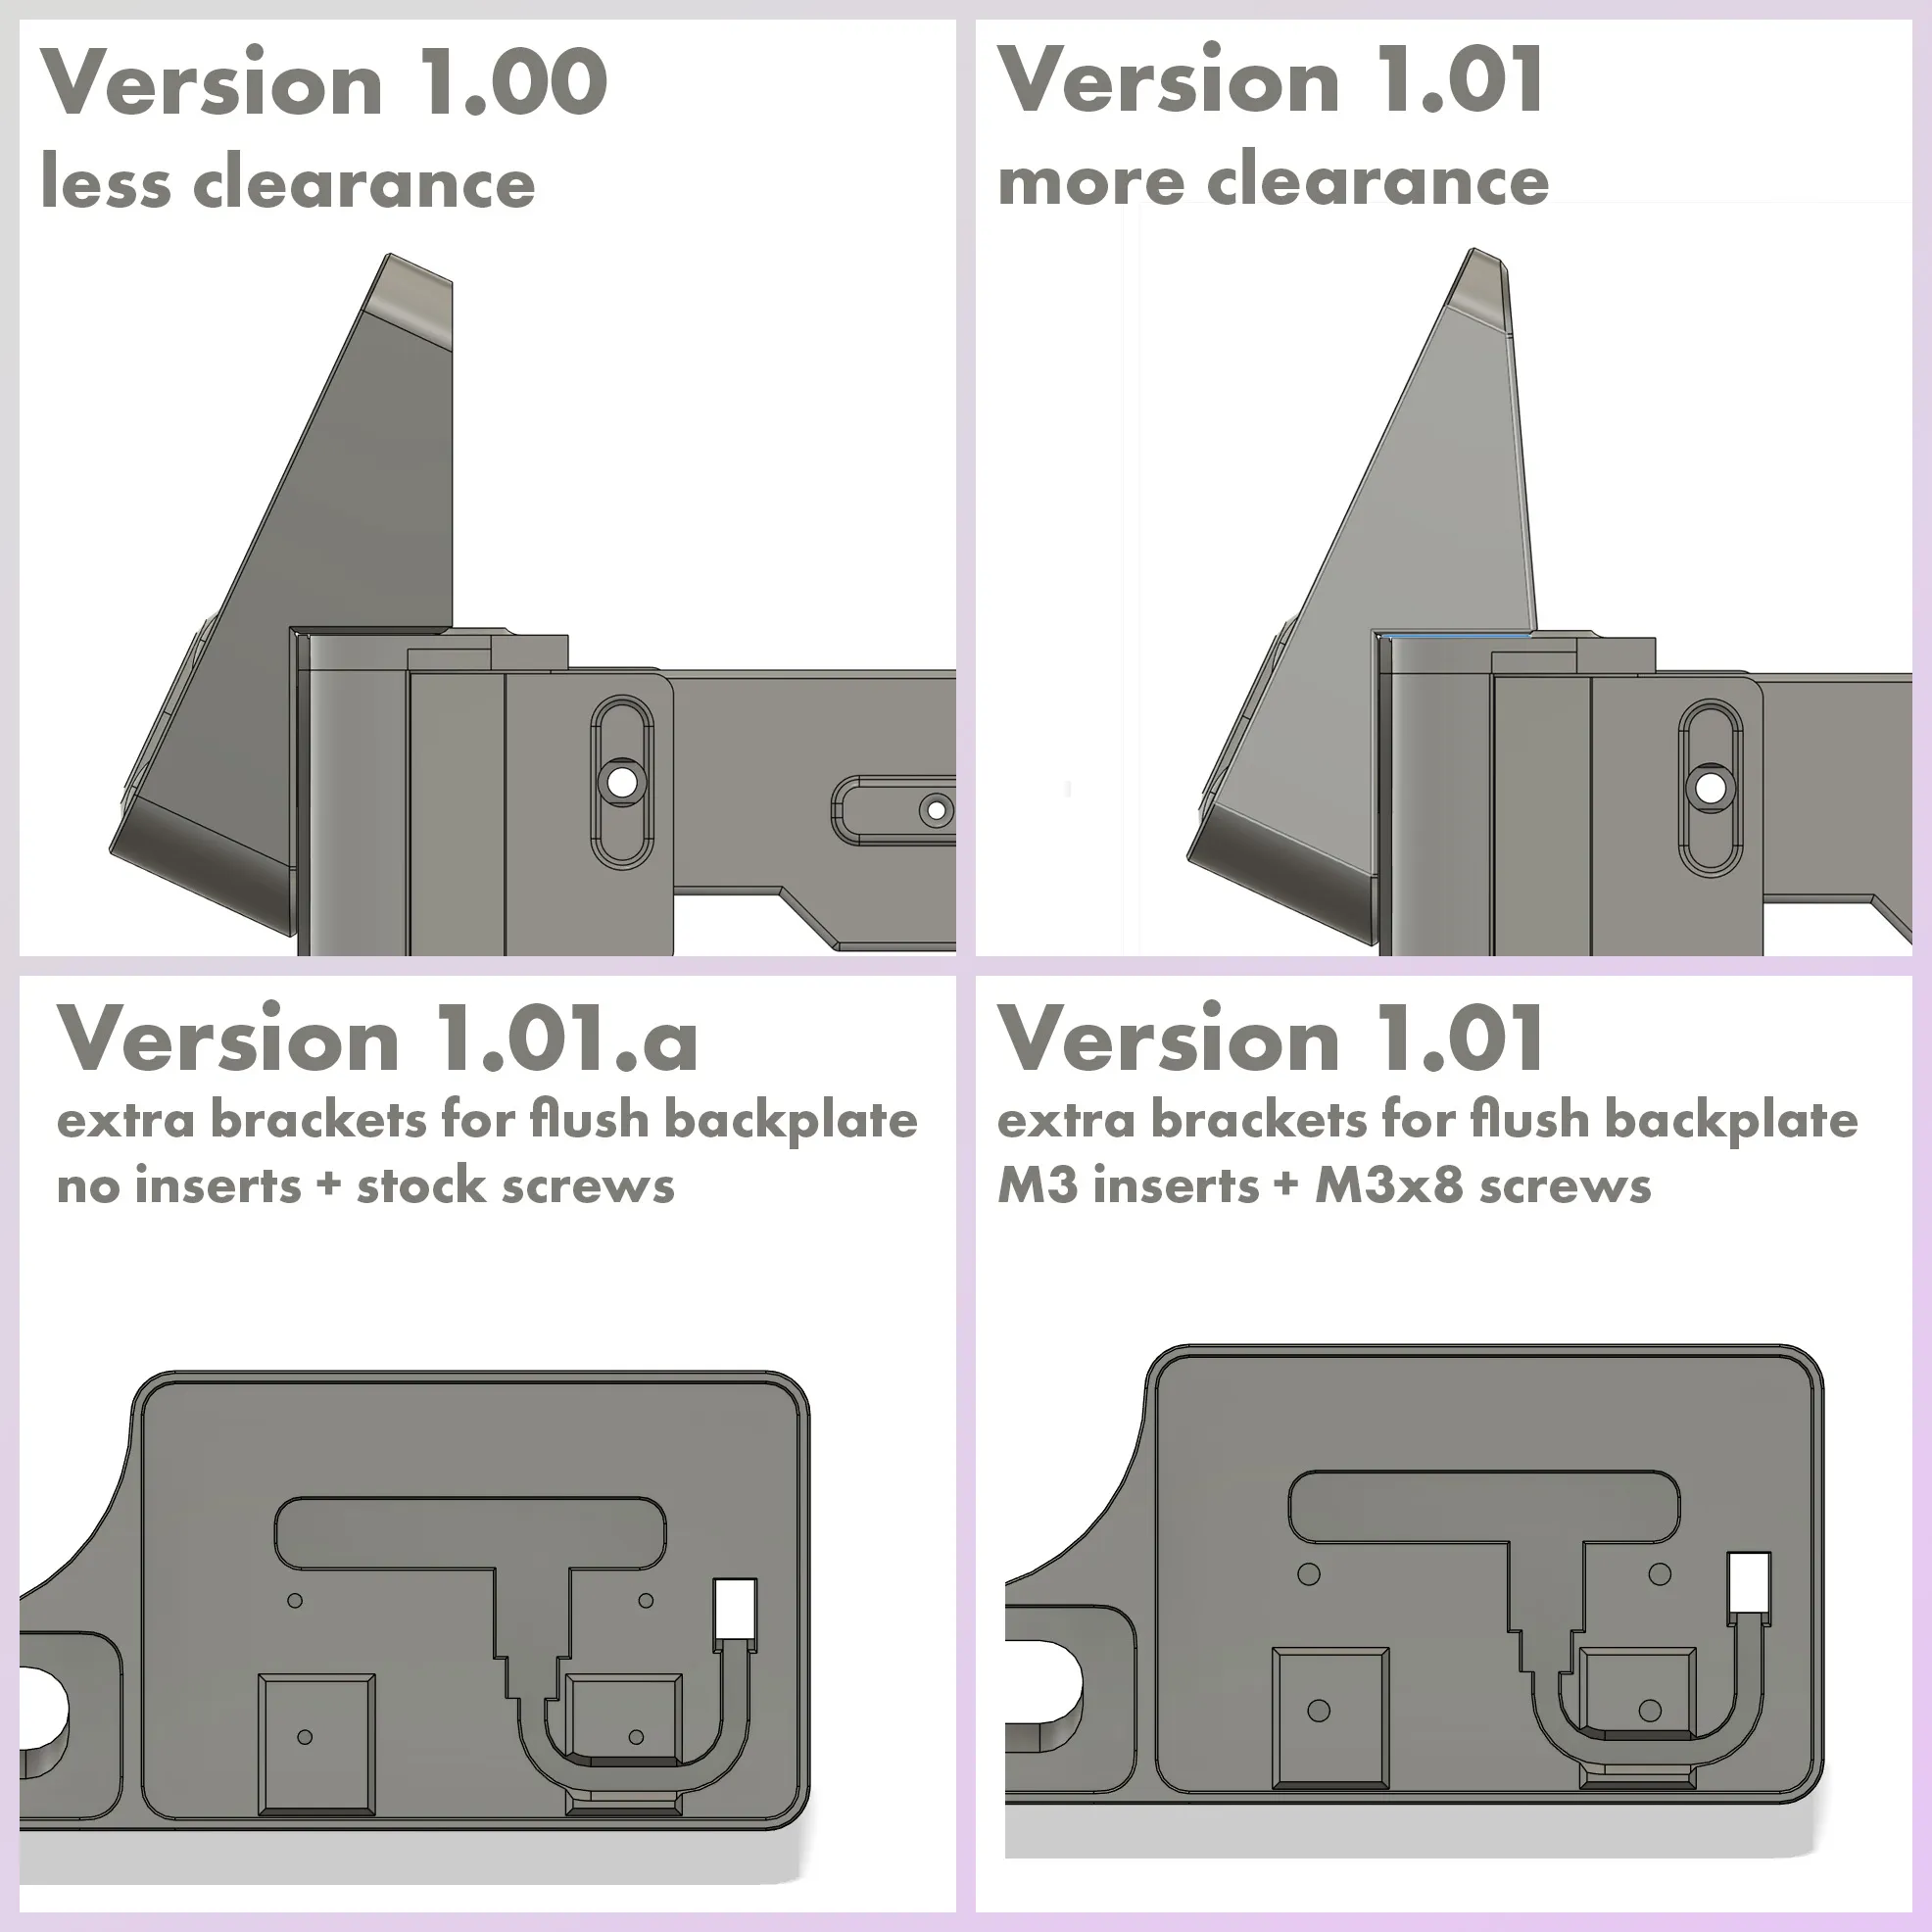
- added extra brackets for the backplate to sit flush when screwed on
- added extra clearance if you are using some kind of riser, which alters the placement of the Glass Top
- added a extra version (v1.01.a) for using no inserts + stock screws (I still recommend using insert version for a proper install)
- v1.00 should still work. Just dont tighten the lowers screws too much
YOU NEED:
4 M3x4.5x4 inserts (max. 5mm length) → only if using V1.01
4 M3x8 countersunk screws → only if using V1.01
150g filament (I used Perlwhite PLA from Amazon Basics)
You also have to know how to remove the LCD screen and where to plug the USB-cable.
Print time is about 4:15h
INSTRUCTIONS:
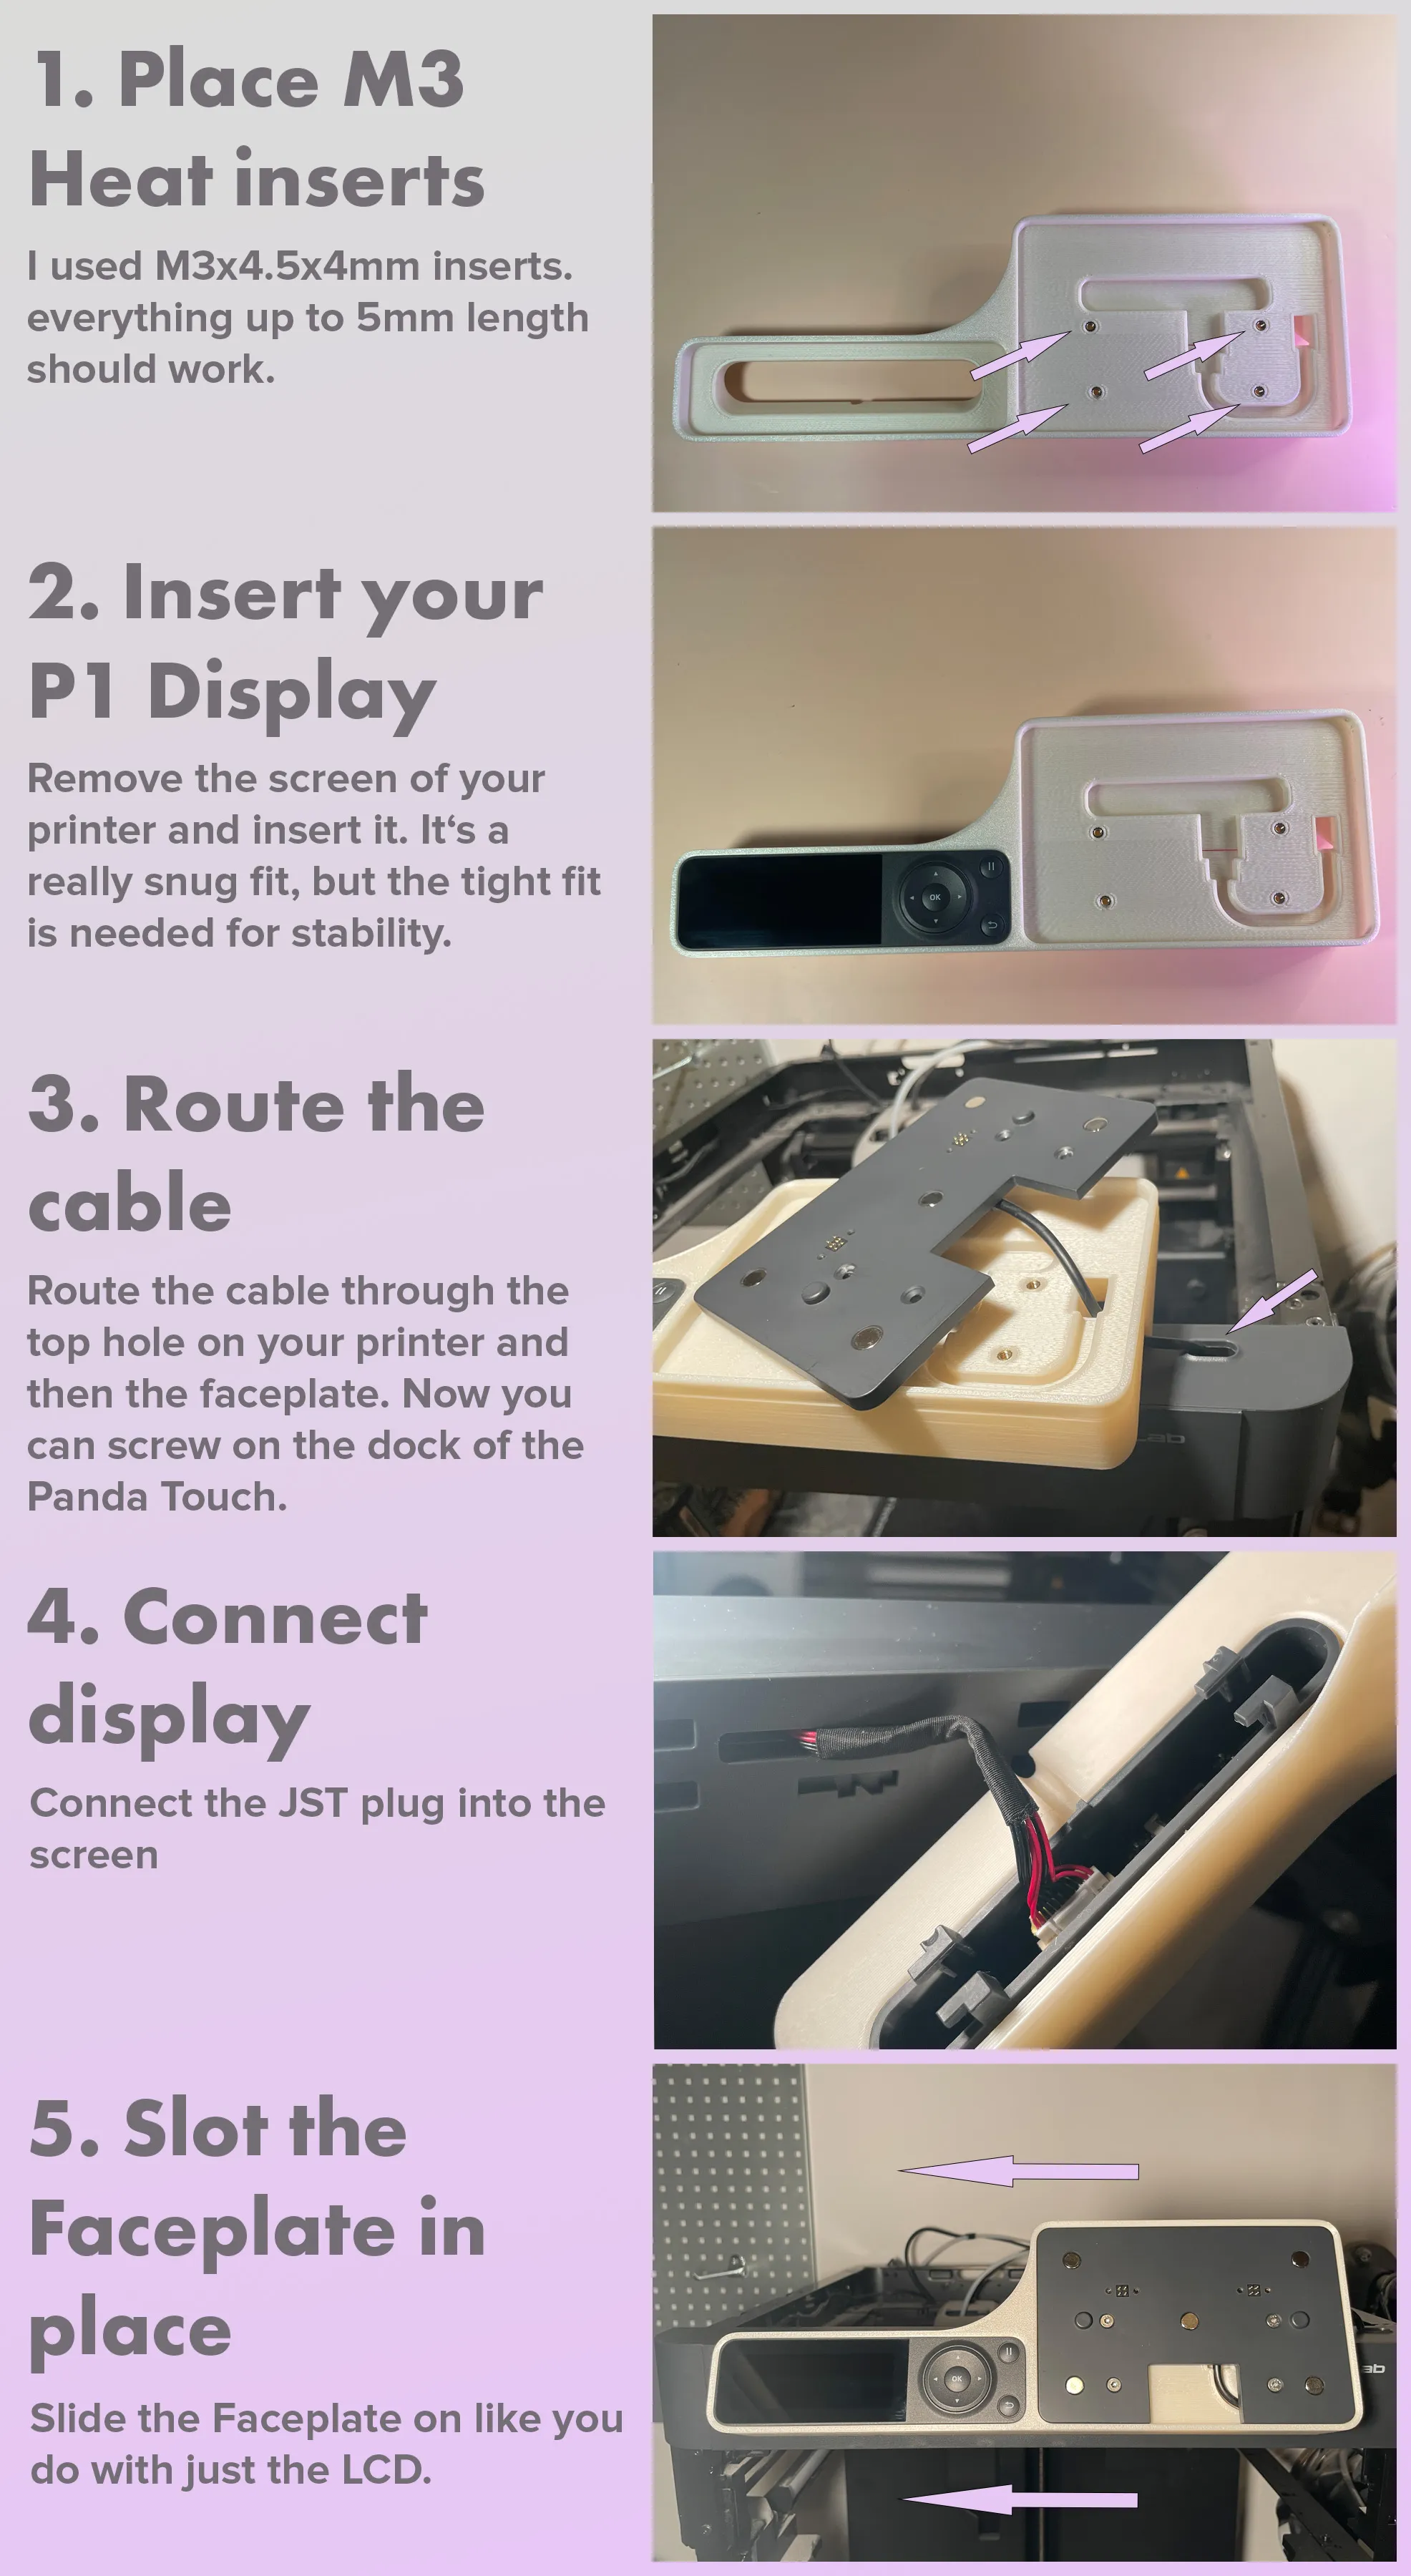
Everything is held in place by the LCD screen. It feels really stable, but I recommend being careful when you remove the screen out of its dock. If you have any questions - feel free to ask.
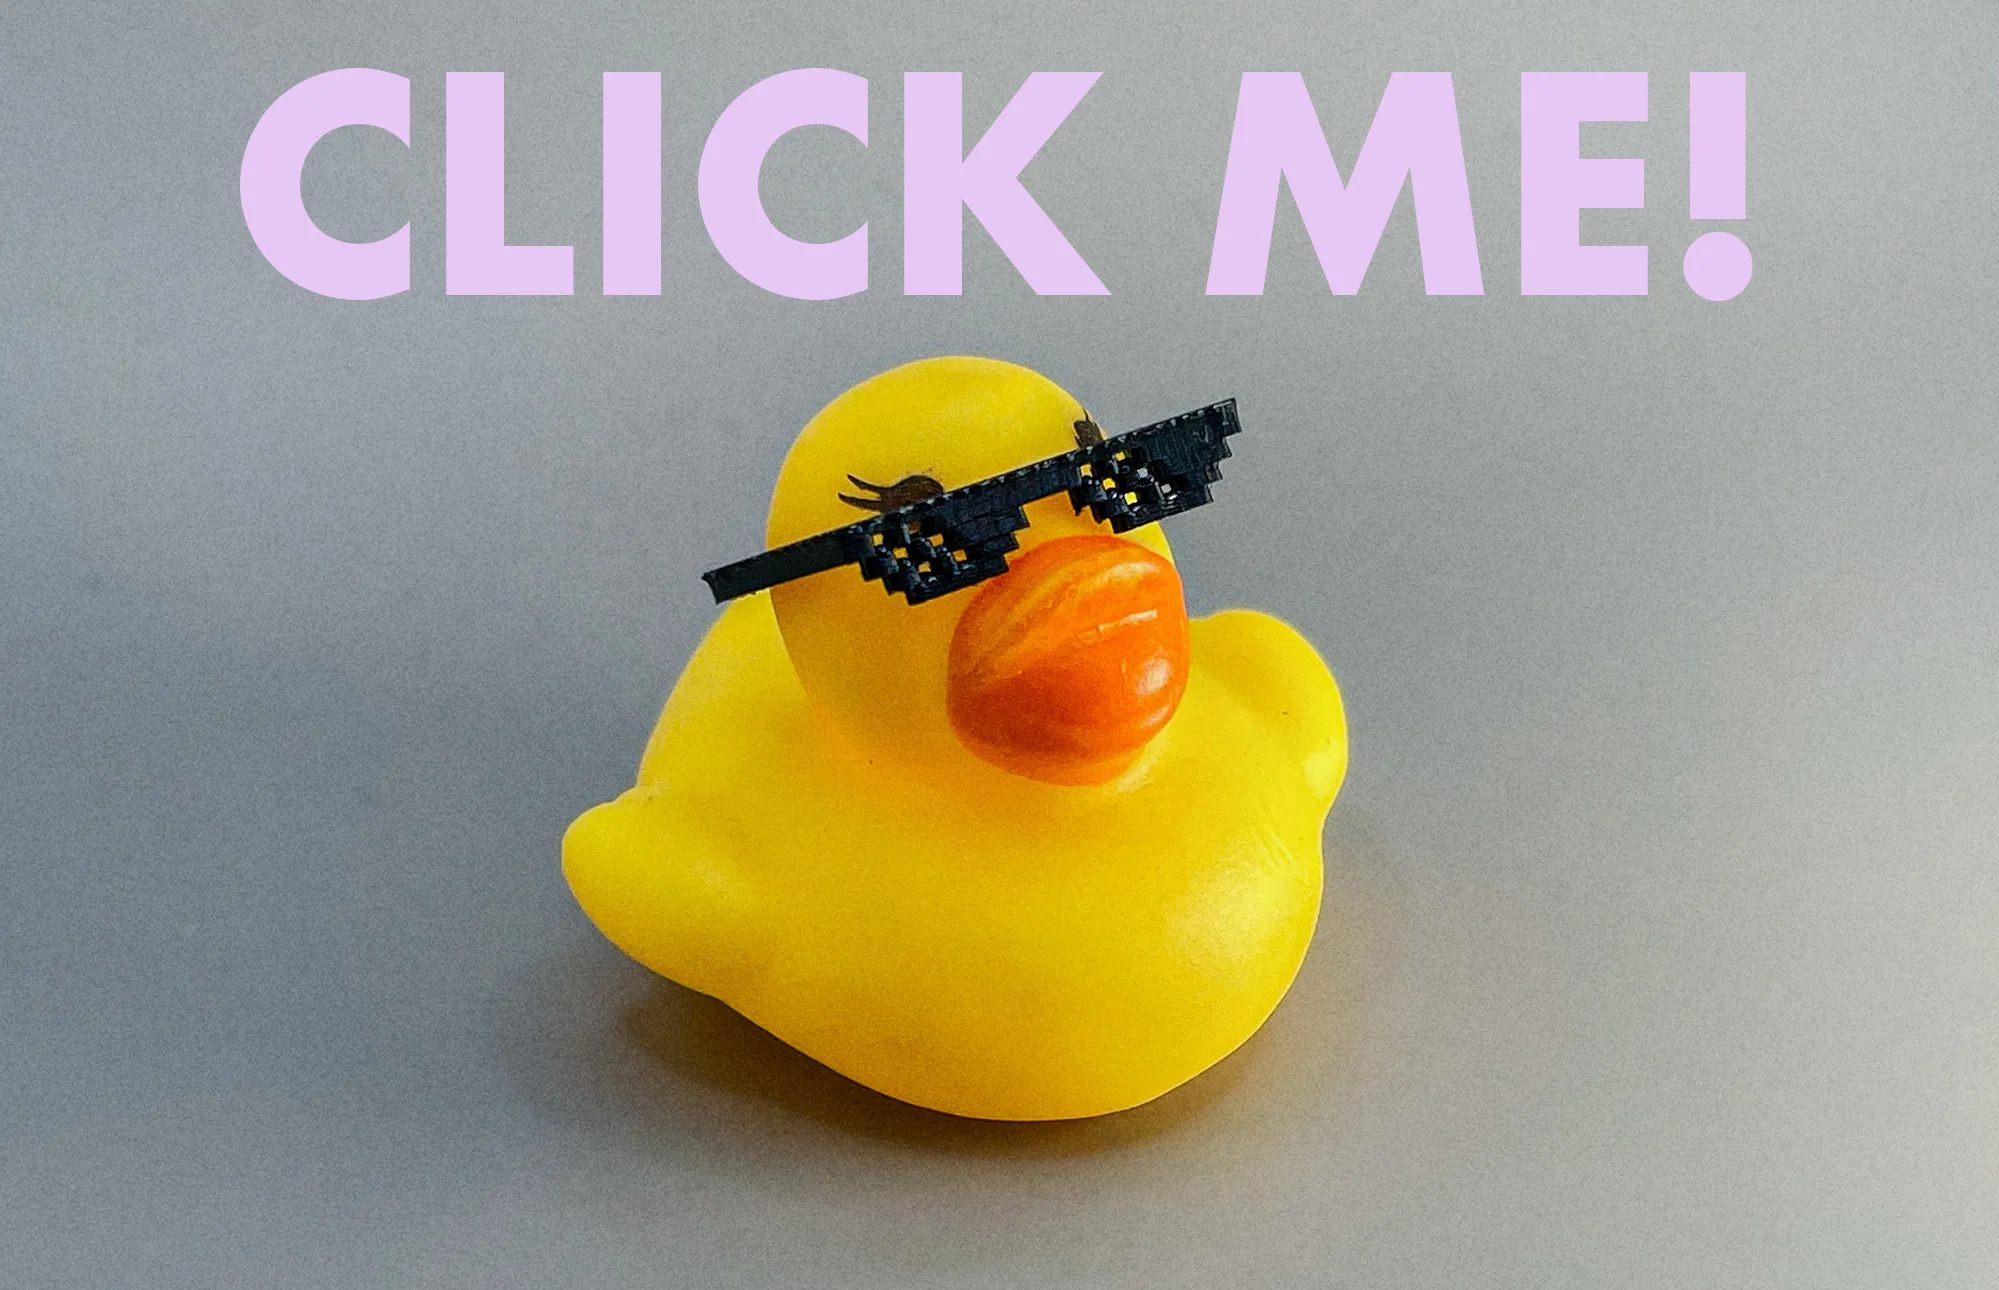
The only thing left is printing this Thug Life Sunglasses for your BTT Ducky.
Membership
You can now sell my designs with a MakerWorld Membership! With almost 50 models available, you have plenty of options. Check out my designs and click the Commercial Selling License button to get started! <3
Boost Me (for free)
Boosts are highly appreciated and help creating more awesome models <3
License

You shall not share, sub-license, sell, rent, host, transfer, or distribute in any way the digital or 3D printed versions of this object, nor any other derivative work of this object in its digital or physical format (including - but not limited to - remixes of this object, and hosting on other digital platforms). The objects may not be used without permission in any way whatsoever in which you charge money, or collect fees.


Comment & Rating (901)