
Print Profile(2)


Bill of Materials

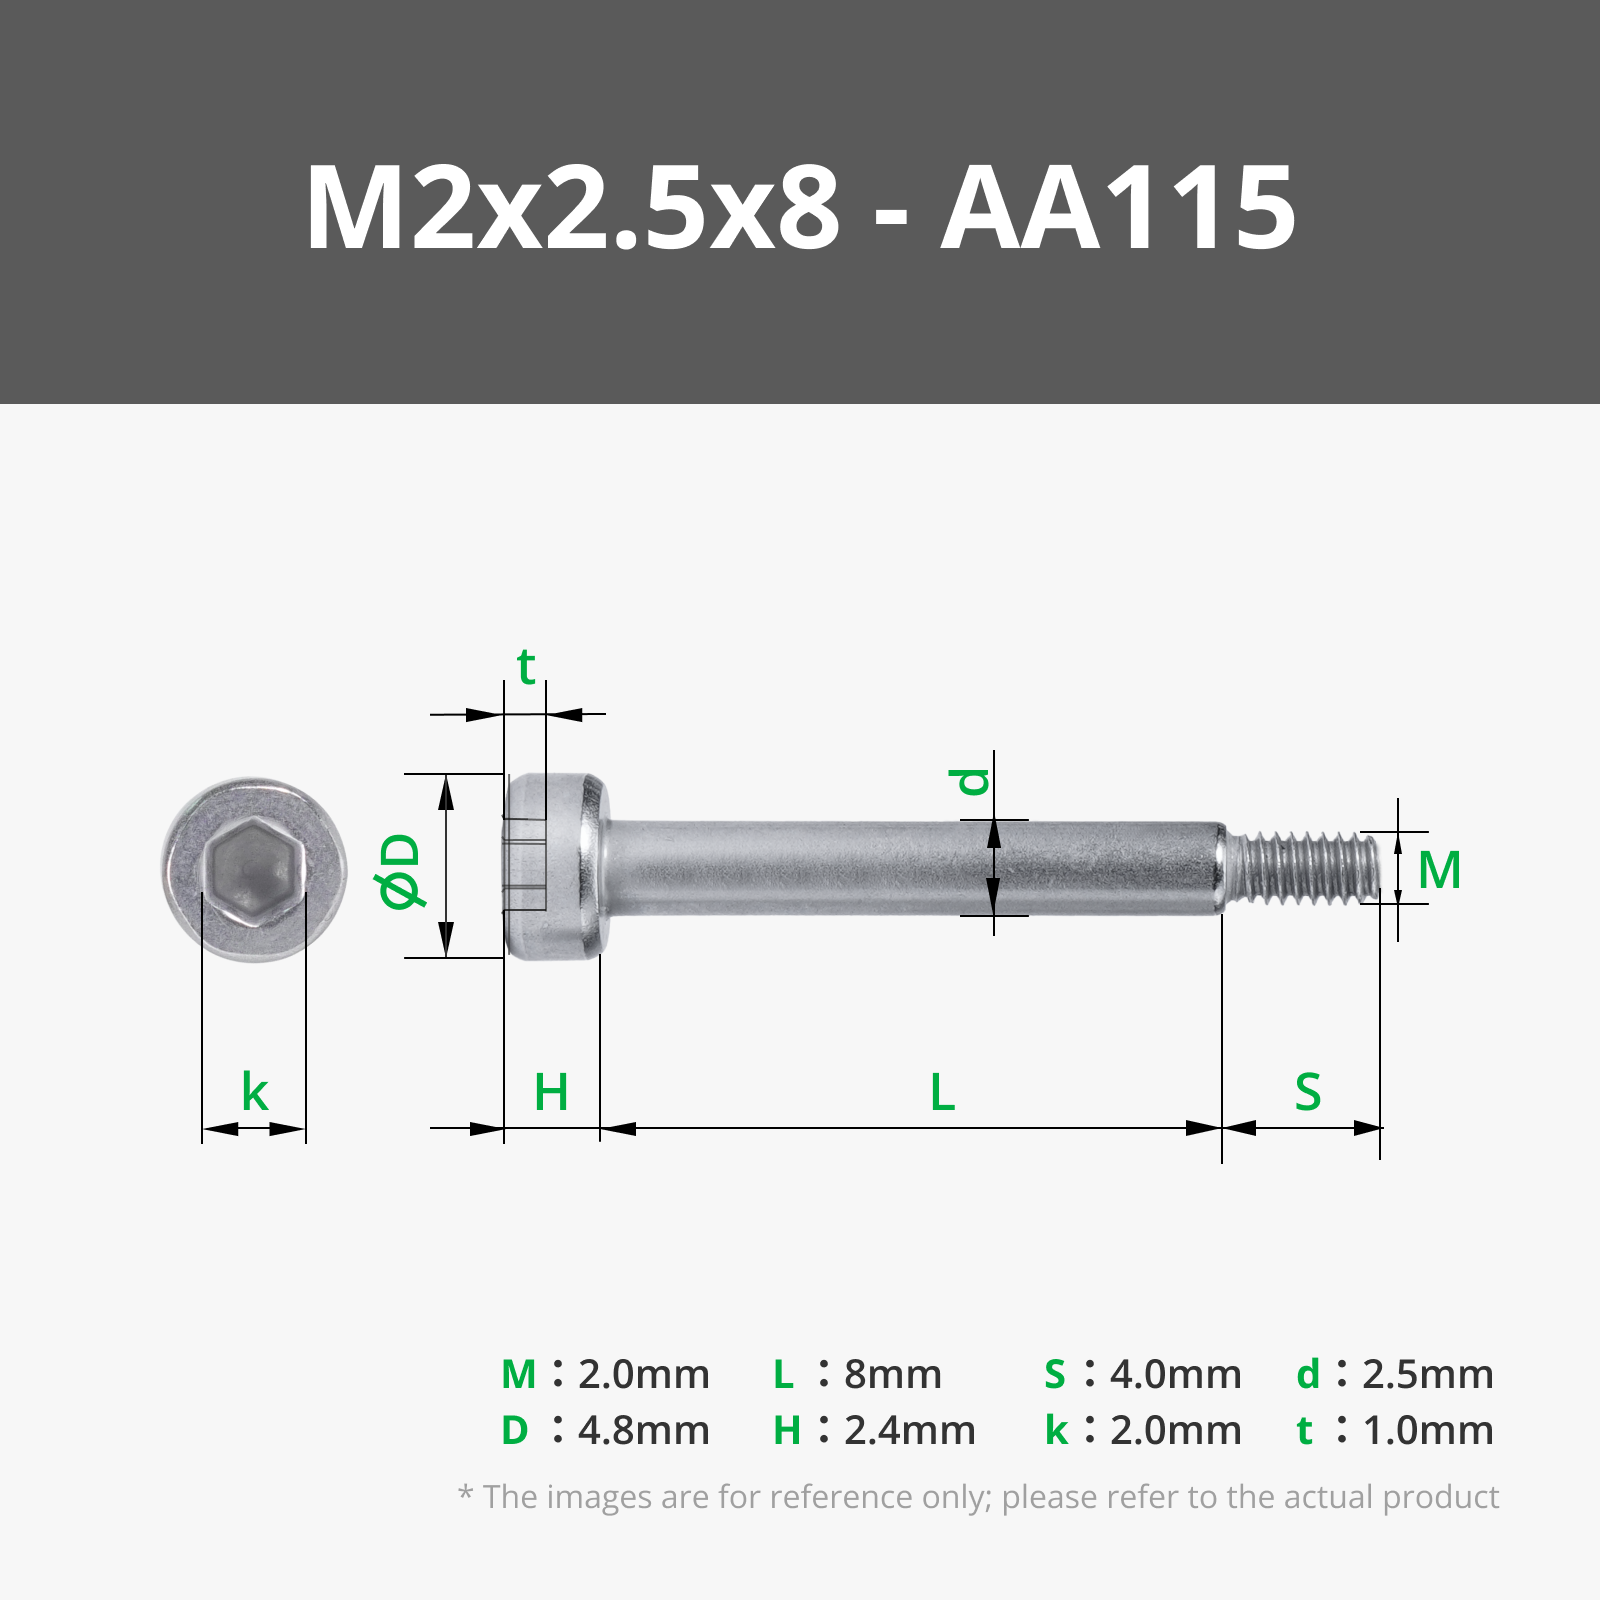
- M2x7 x 2:
Description
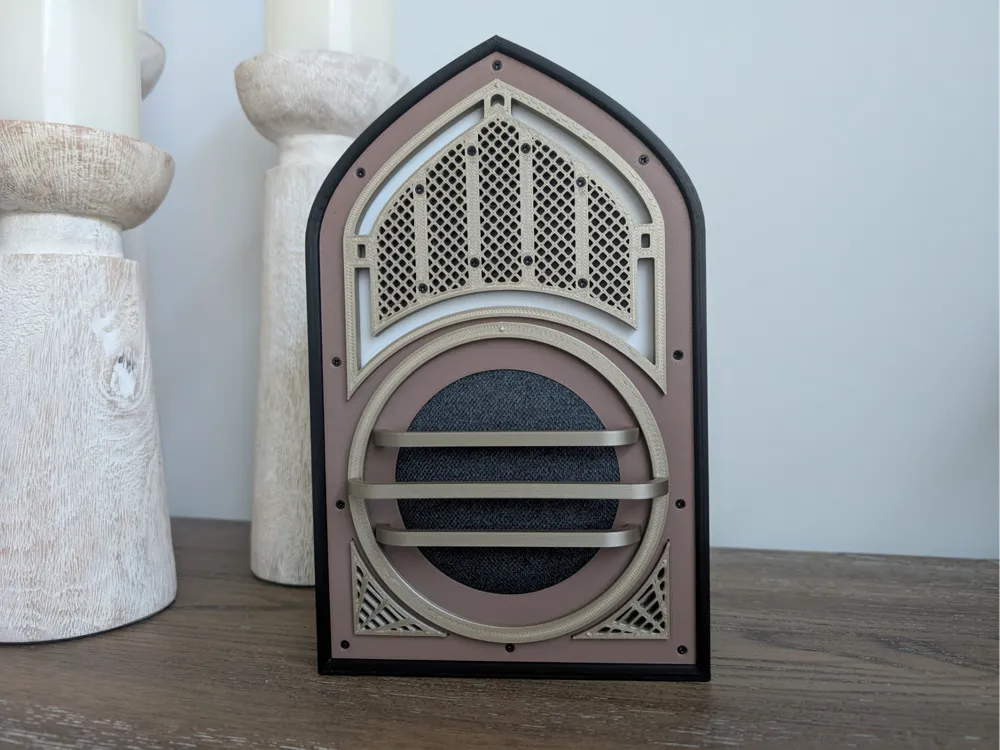
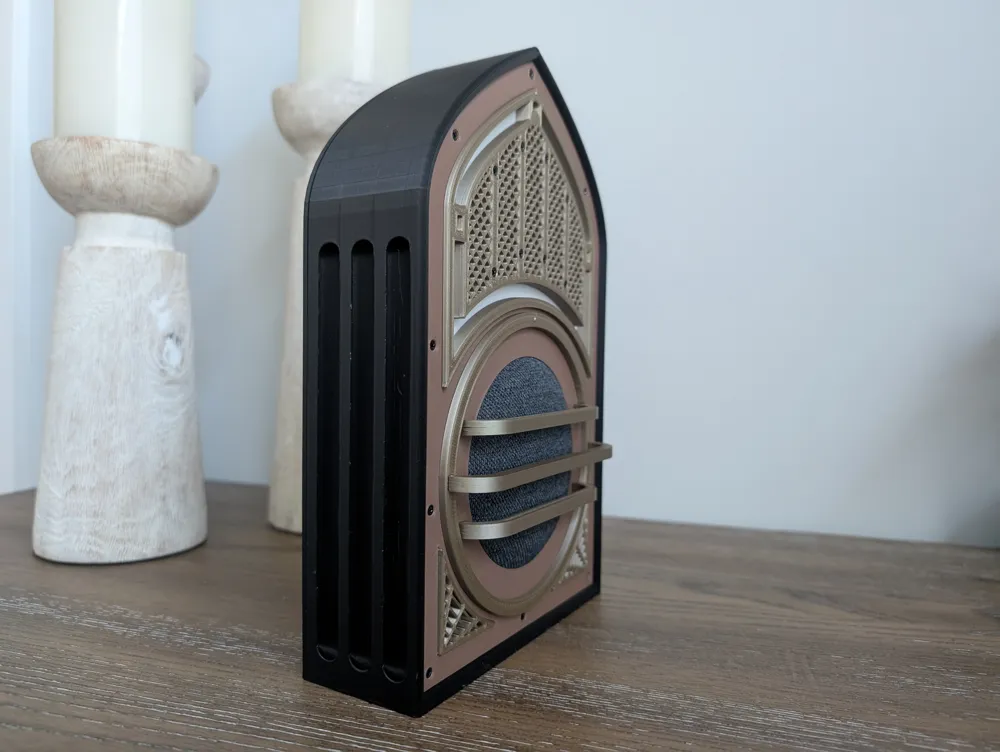
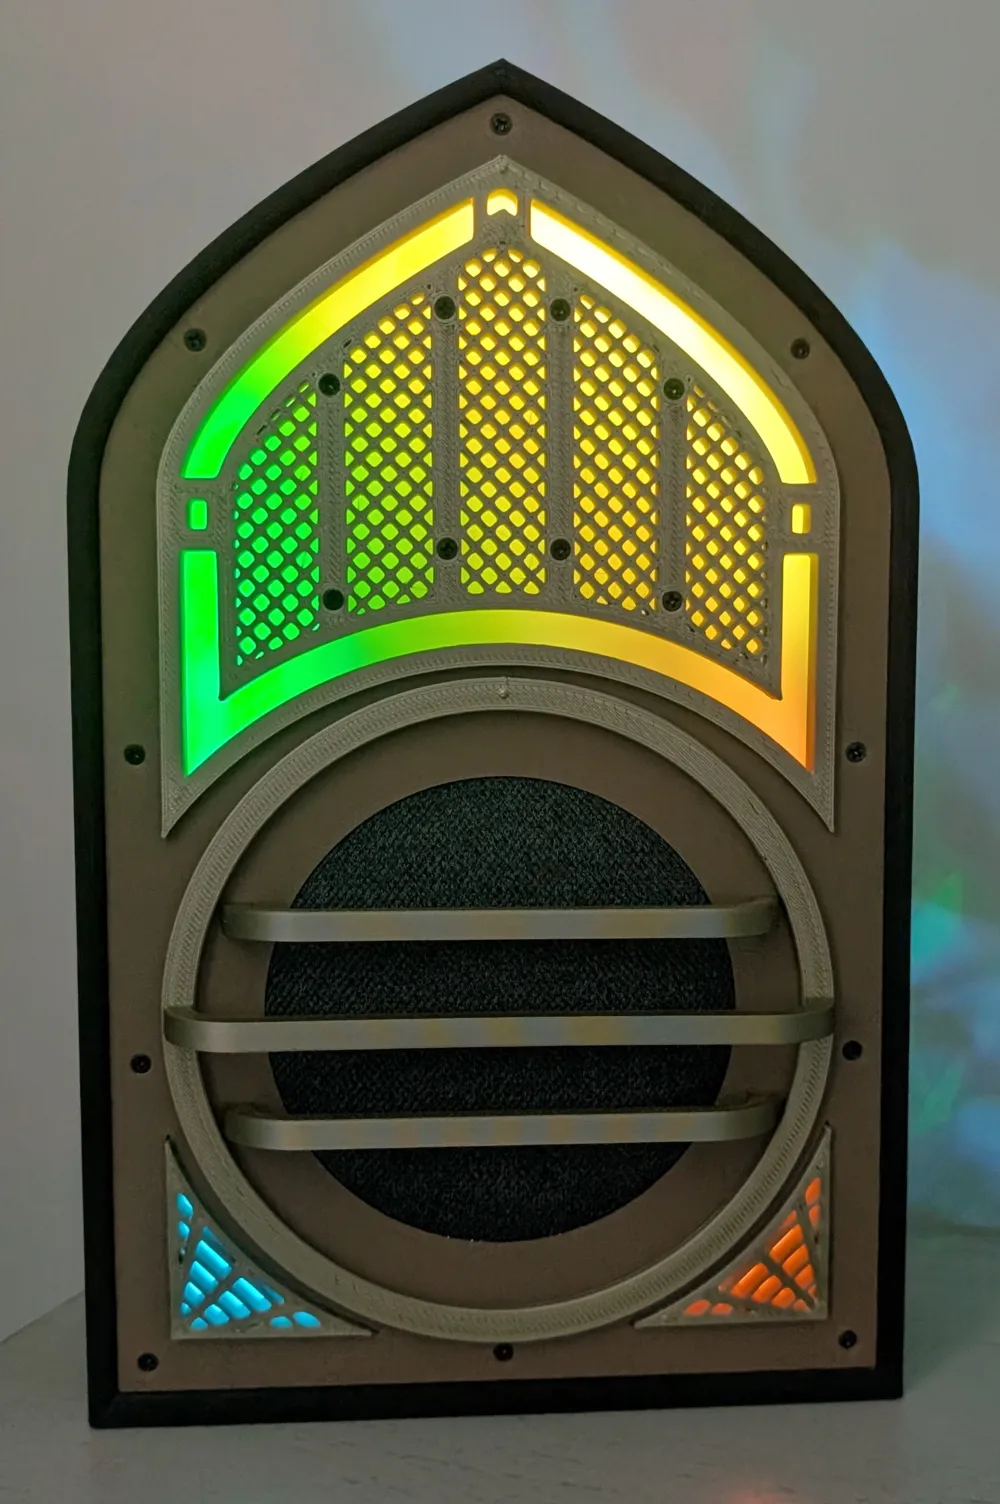
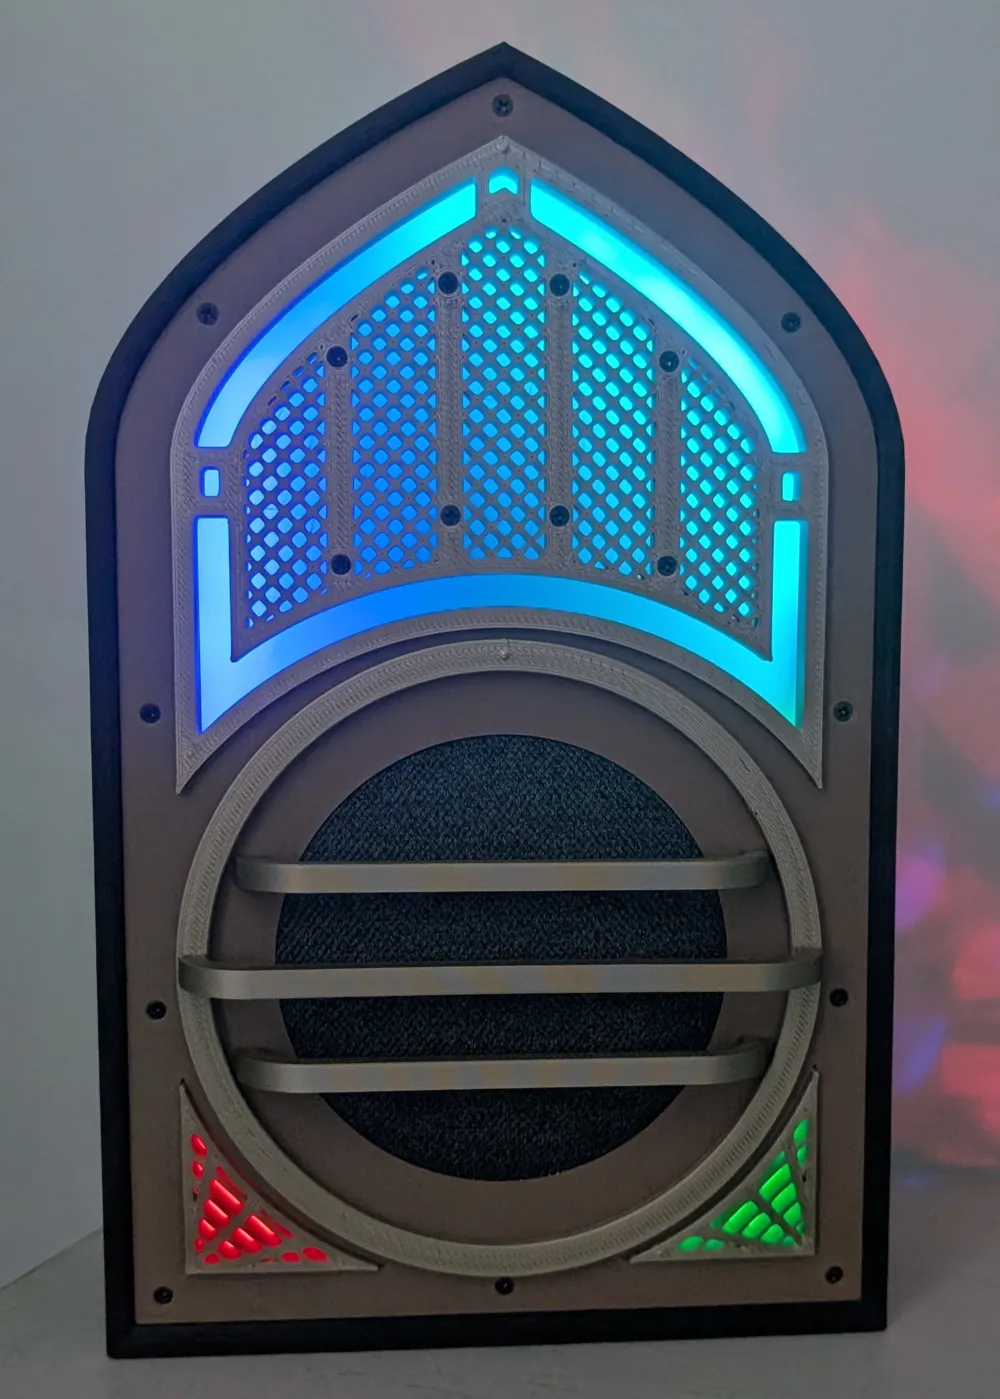
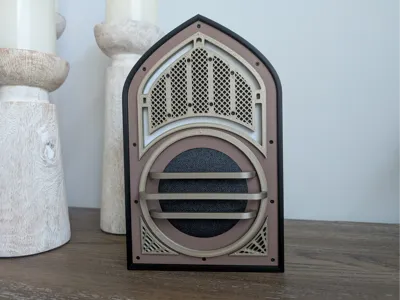
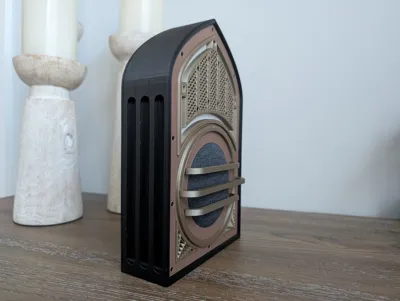
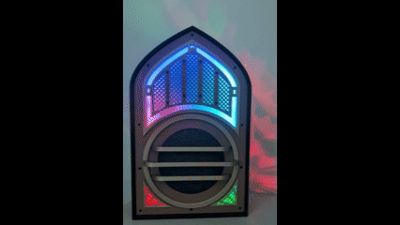
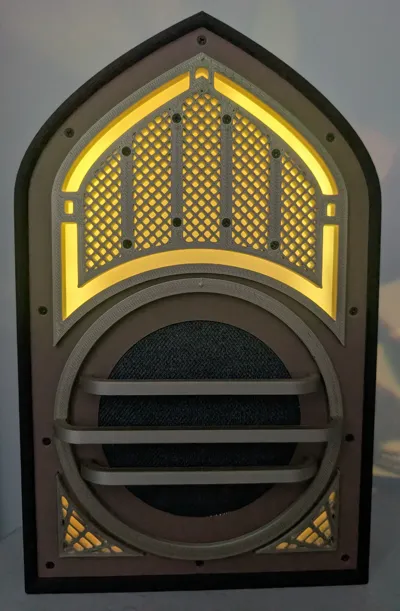
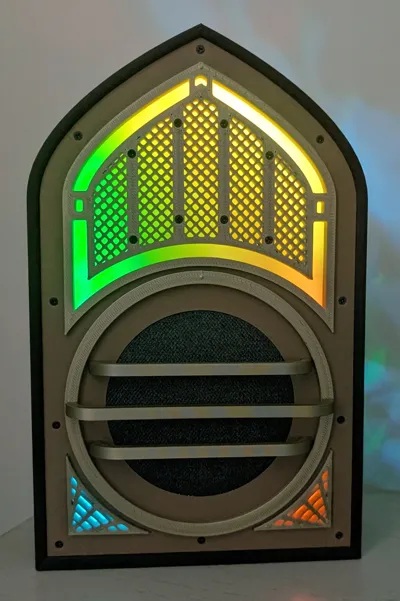
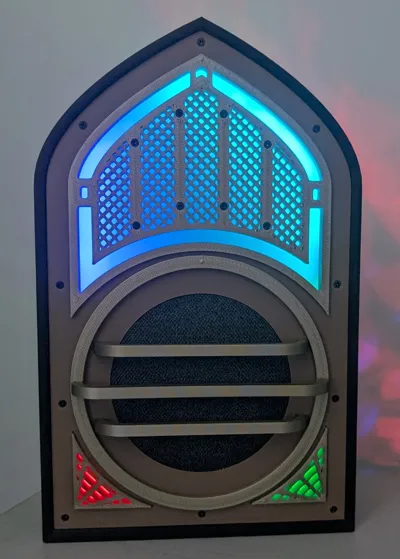
Tired of looking at that old Google Nest Mini sitting on the counter? Fancy it up with this 1930's style antique radio housing!

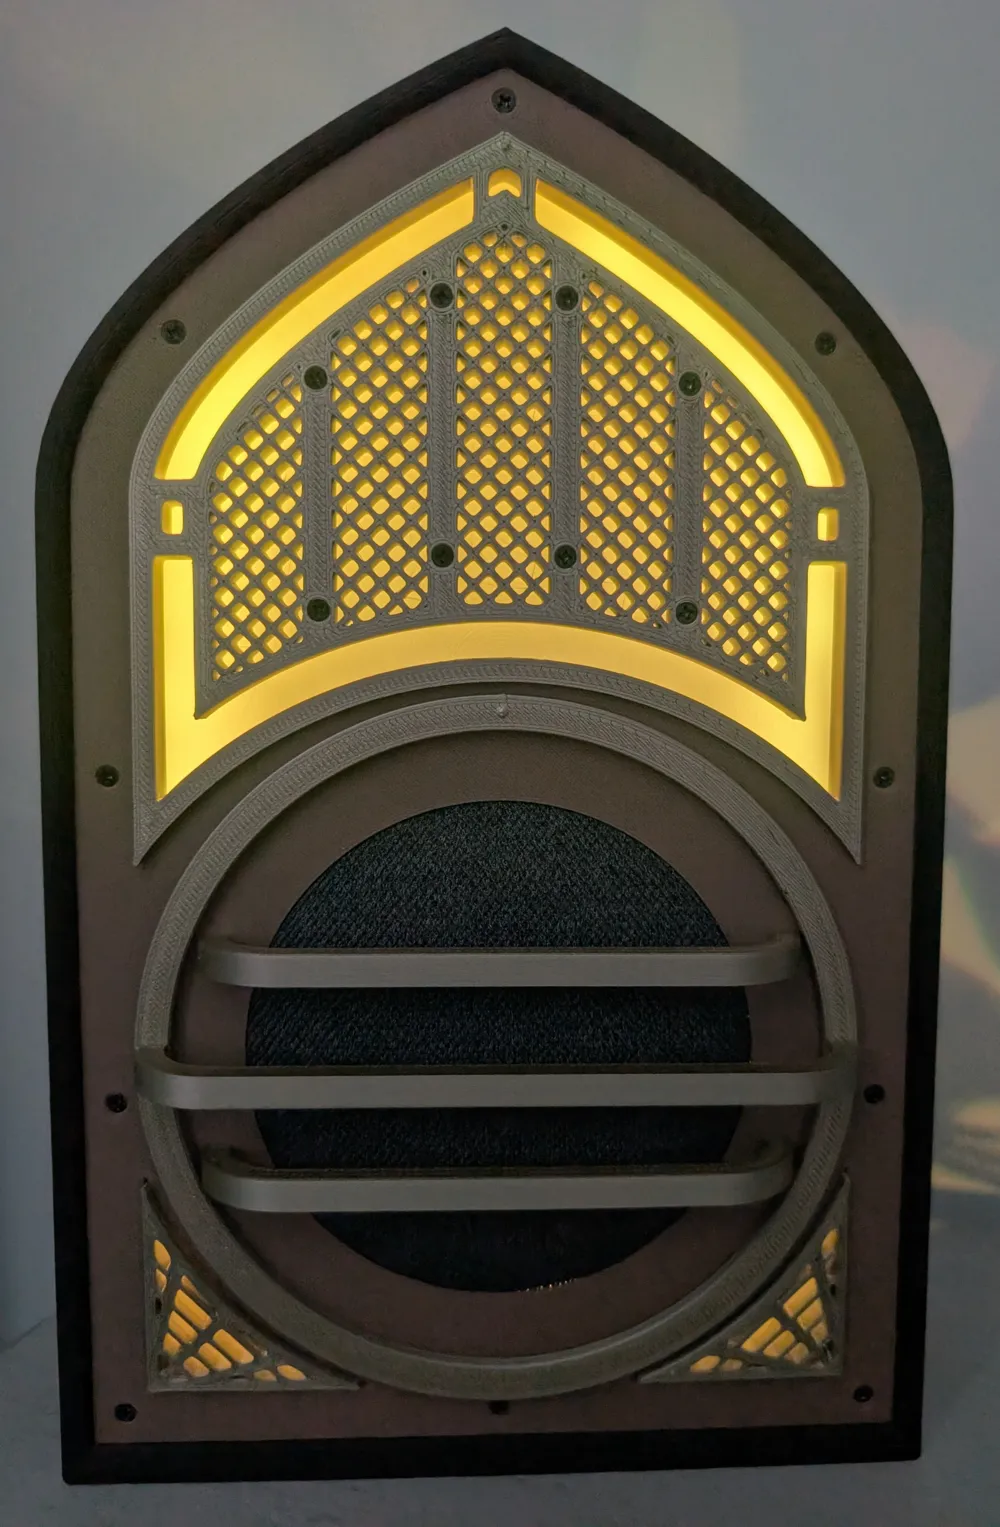
I added a small track inside for an LED strip to be mounted (I recommend using hot glue as well as the adhesive on the LEDs).
You will need some M2 screws to assemble the housing. They hold it all together and add to the antique look.
Parts List:
M2x6 - 15
M2x7 - 2
M2x8 - 7
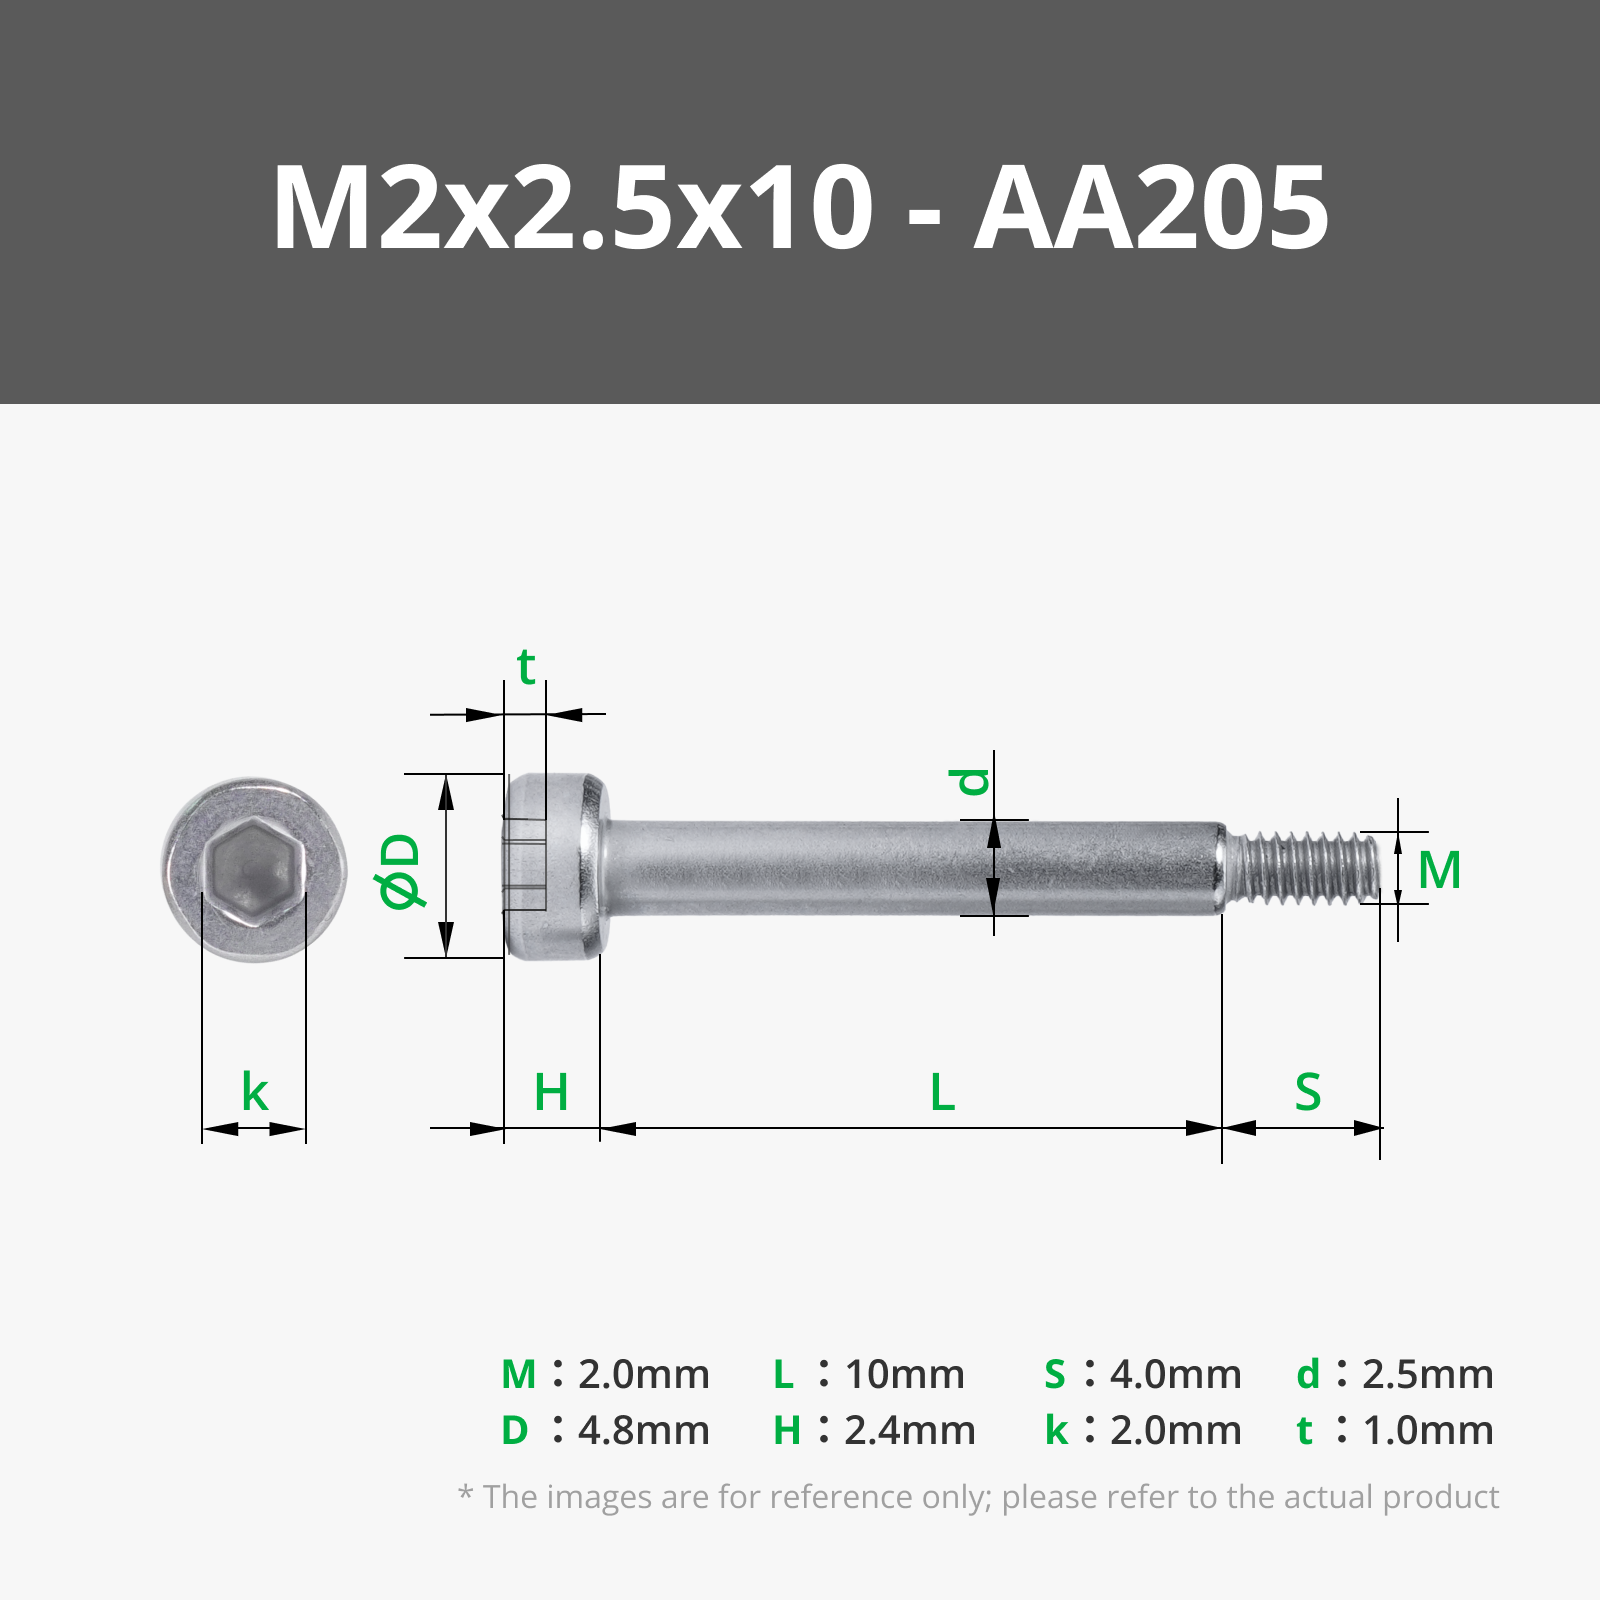
M2x10 - 20
Assembly Guide:
- Start with the small window diffusers and grilles for the bottom. Use 3 M2x6 screws to attach each grille to each diffuser.
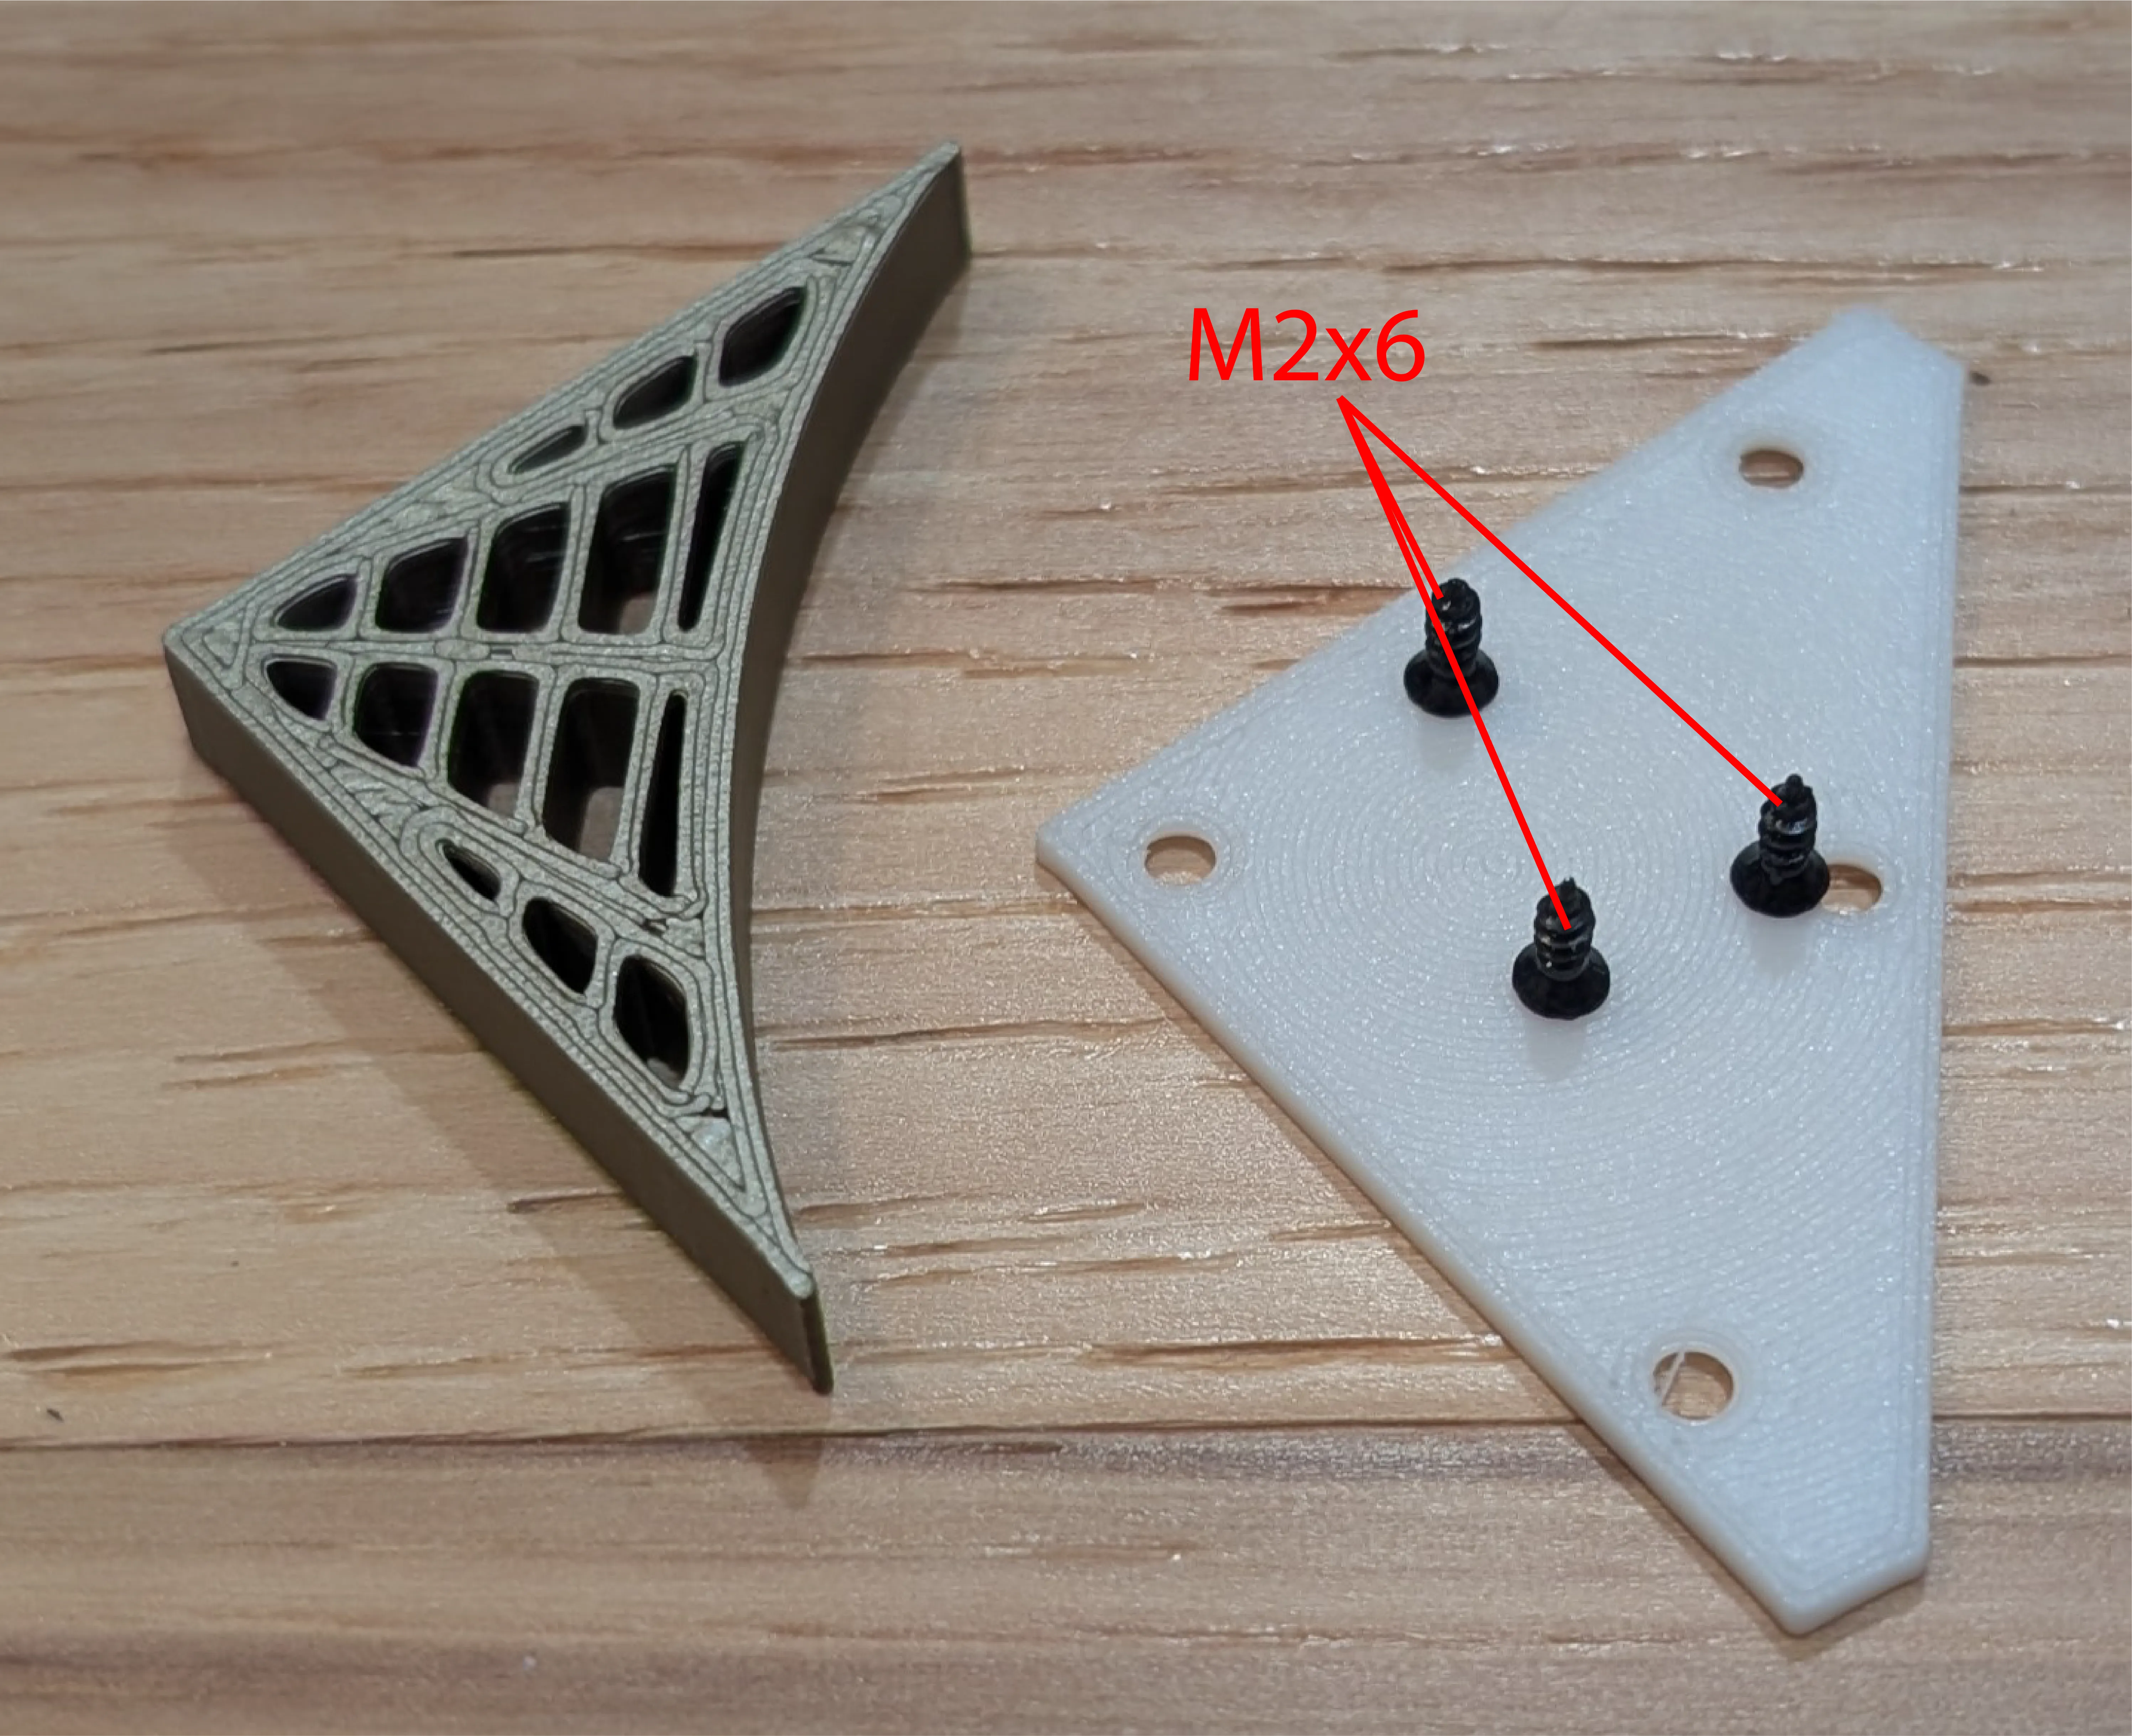
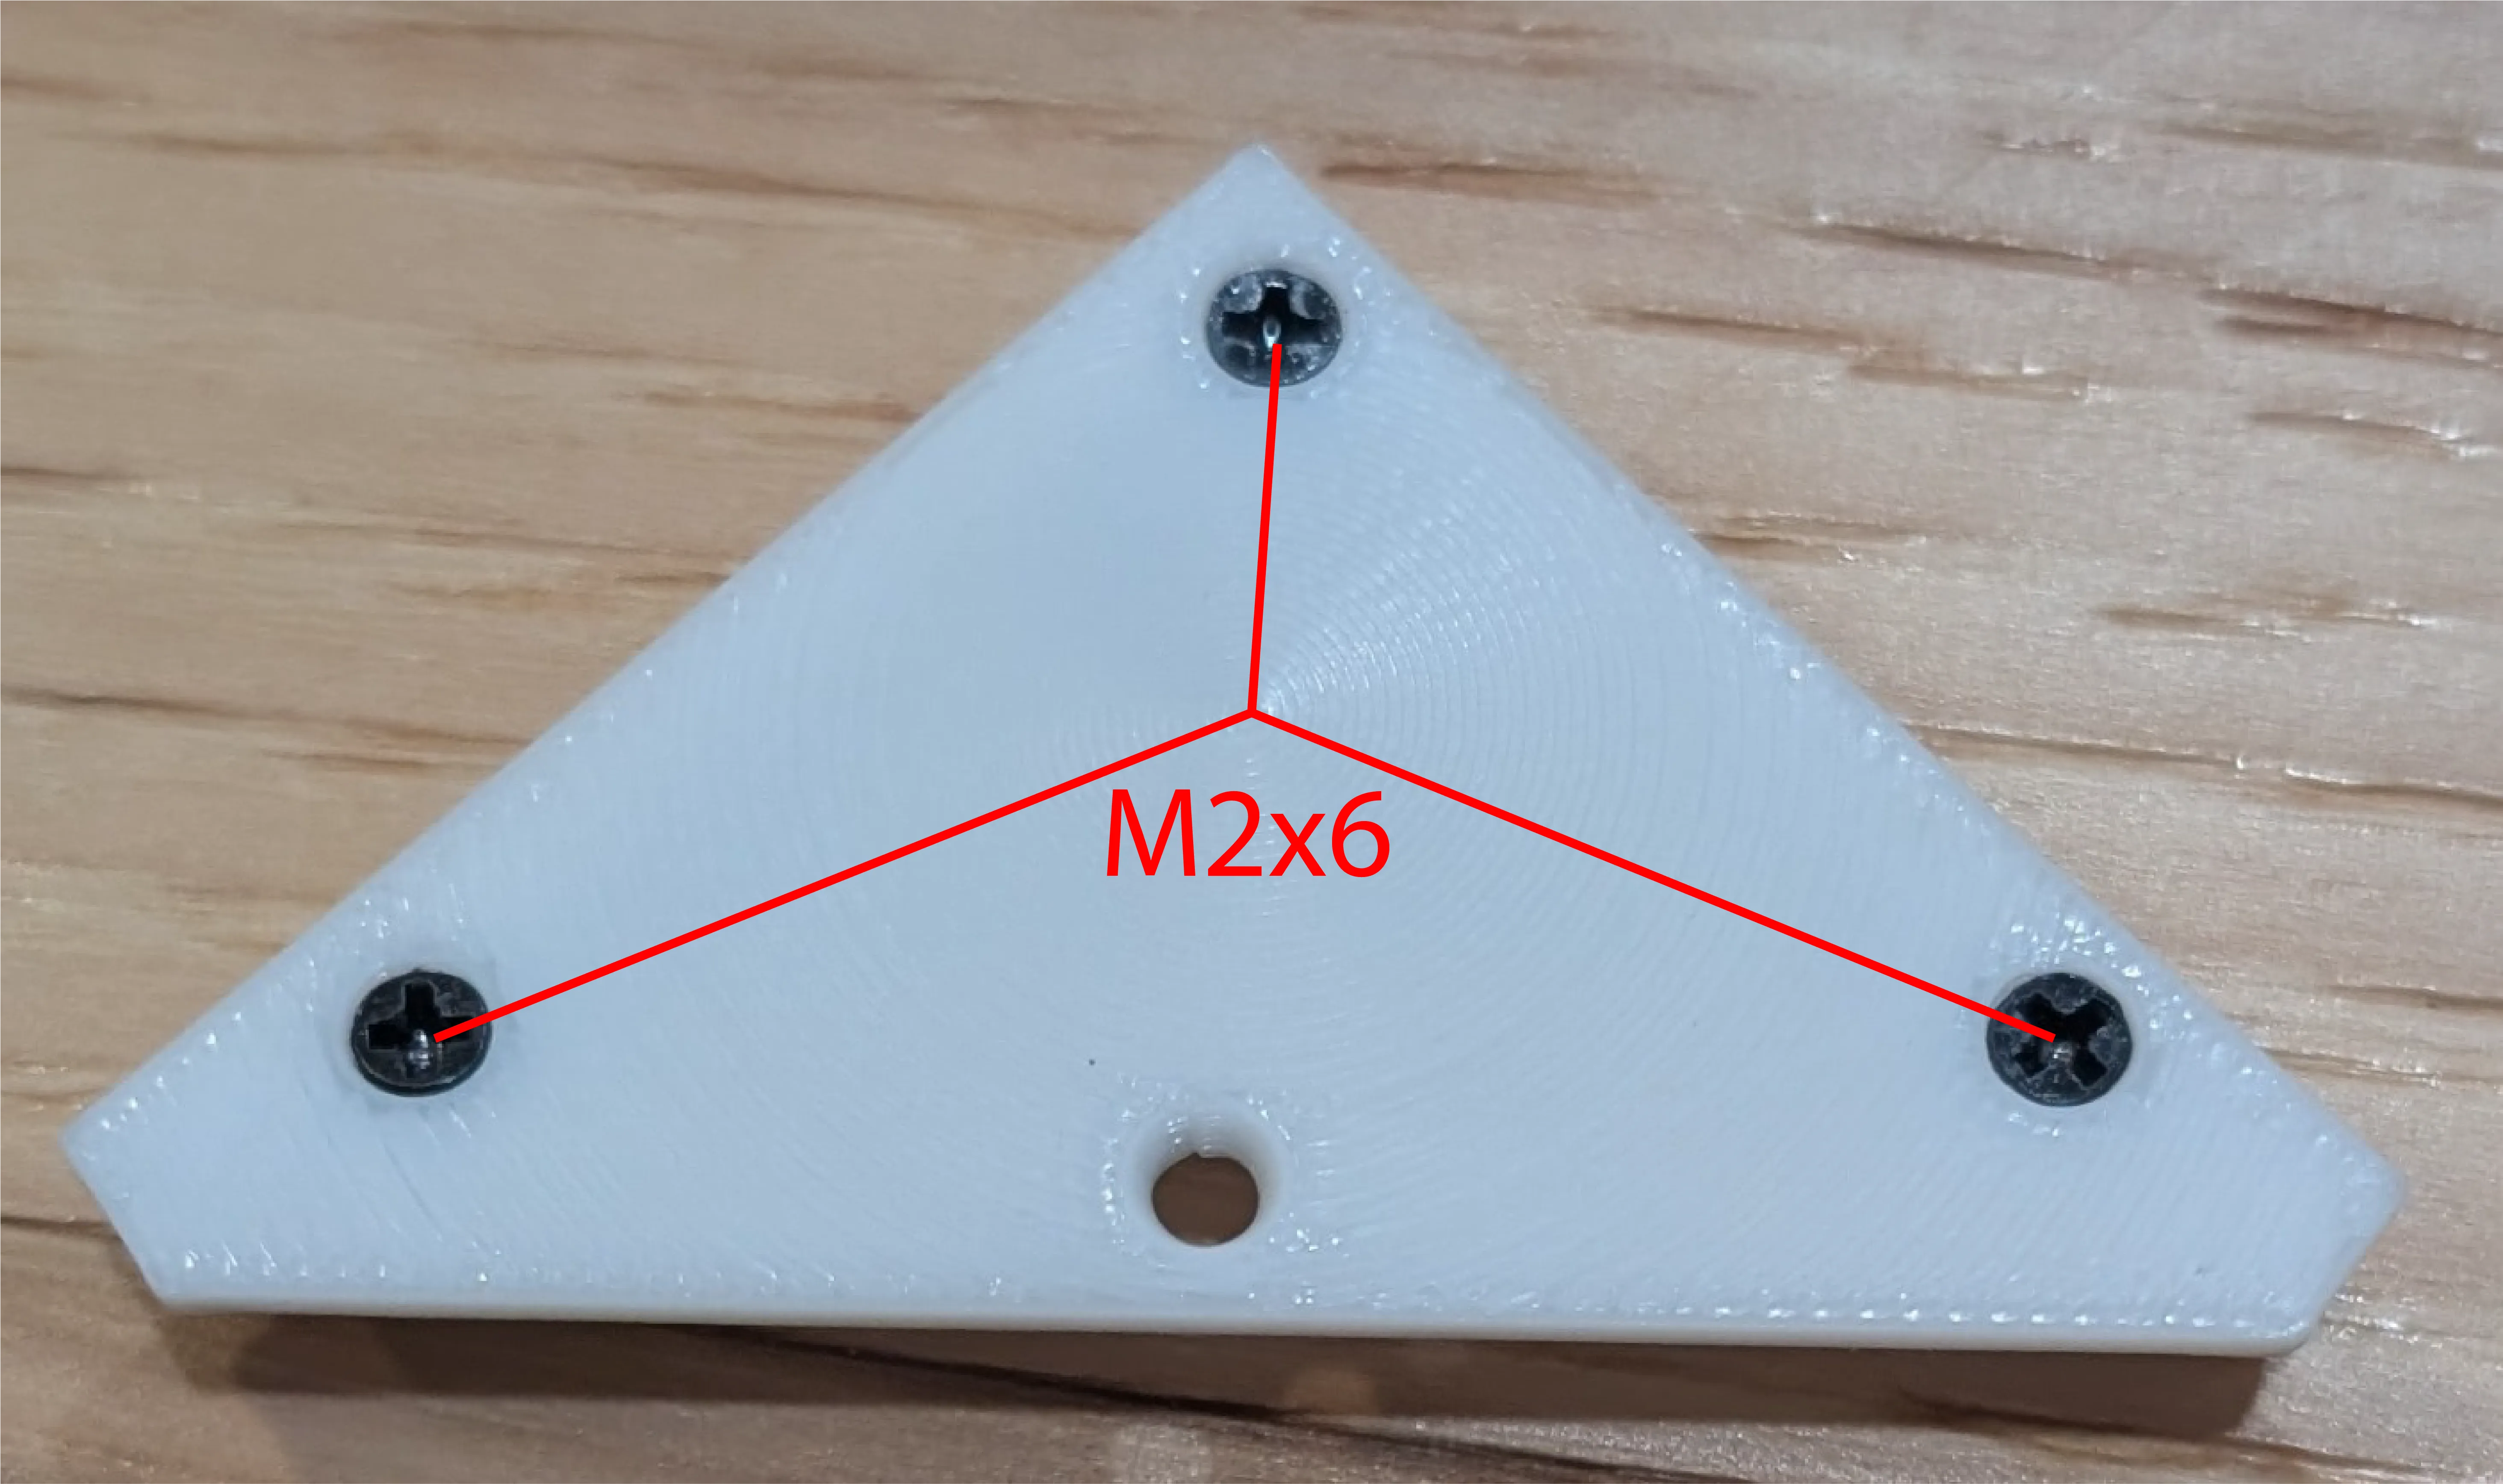
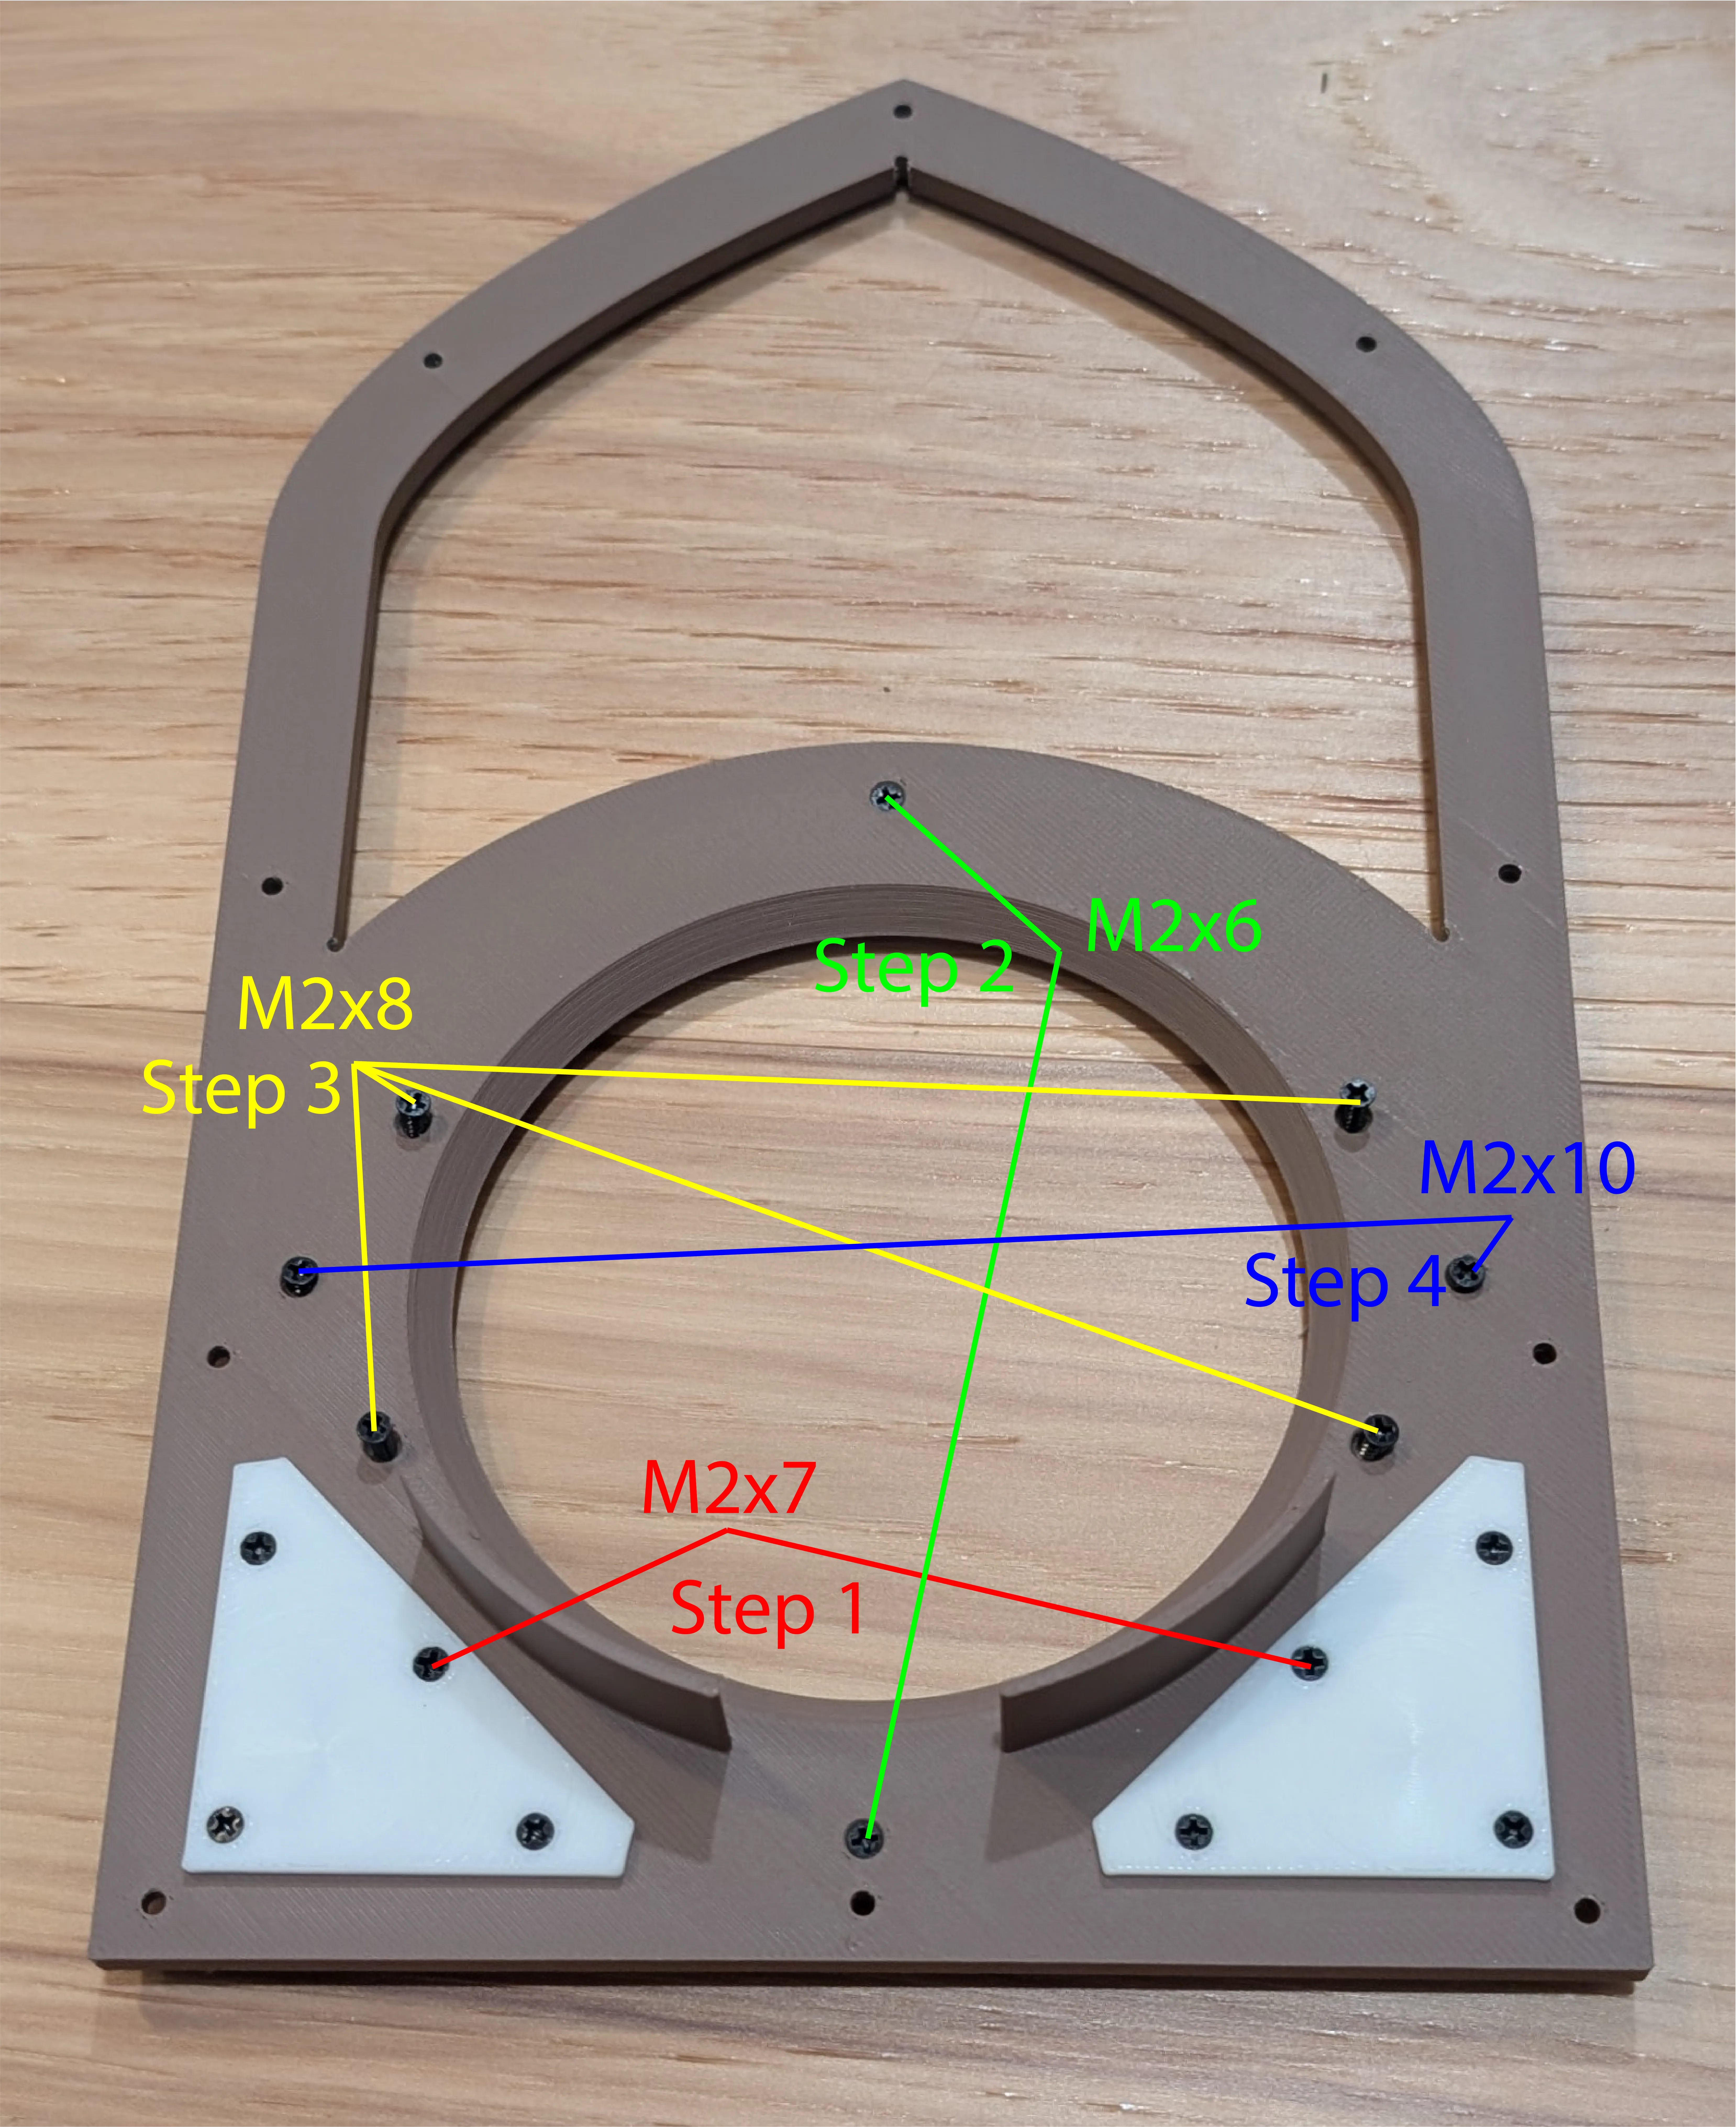
2. With the front panel facing down, slide the grilles into the holes on the front panel. Add the ring to the face of the front panel and align the screw holes. Use 2 M2x7 screws to mount the small diffusers (step 1), going through the face and inserting into the front ring. Then use 2 M2x6 screws to mount the top and bottom of the ring to the Board (Step 2). To mount the front bars to the face, use 4 M2x8 screws for the smaller bars and 2 M2x10 screws for the larger center bar (Step 3-4).
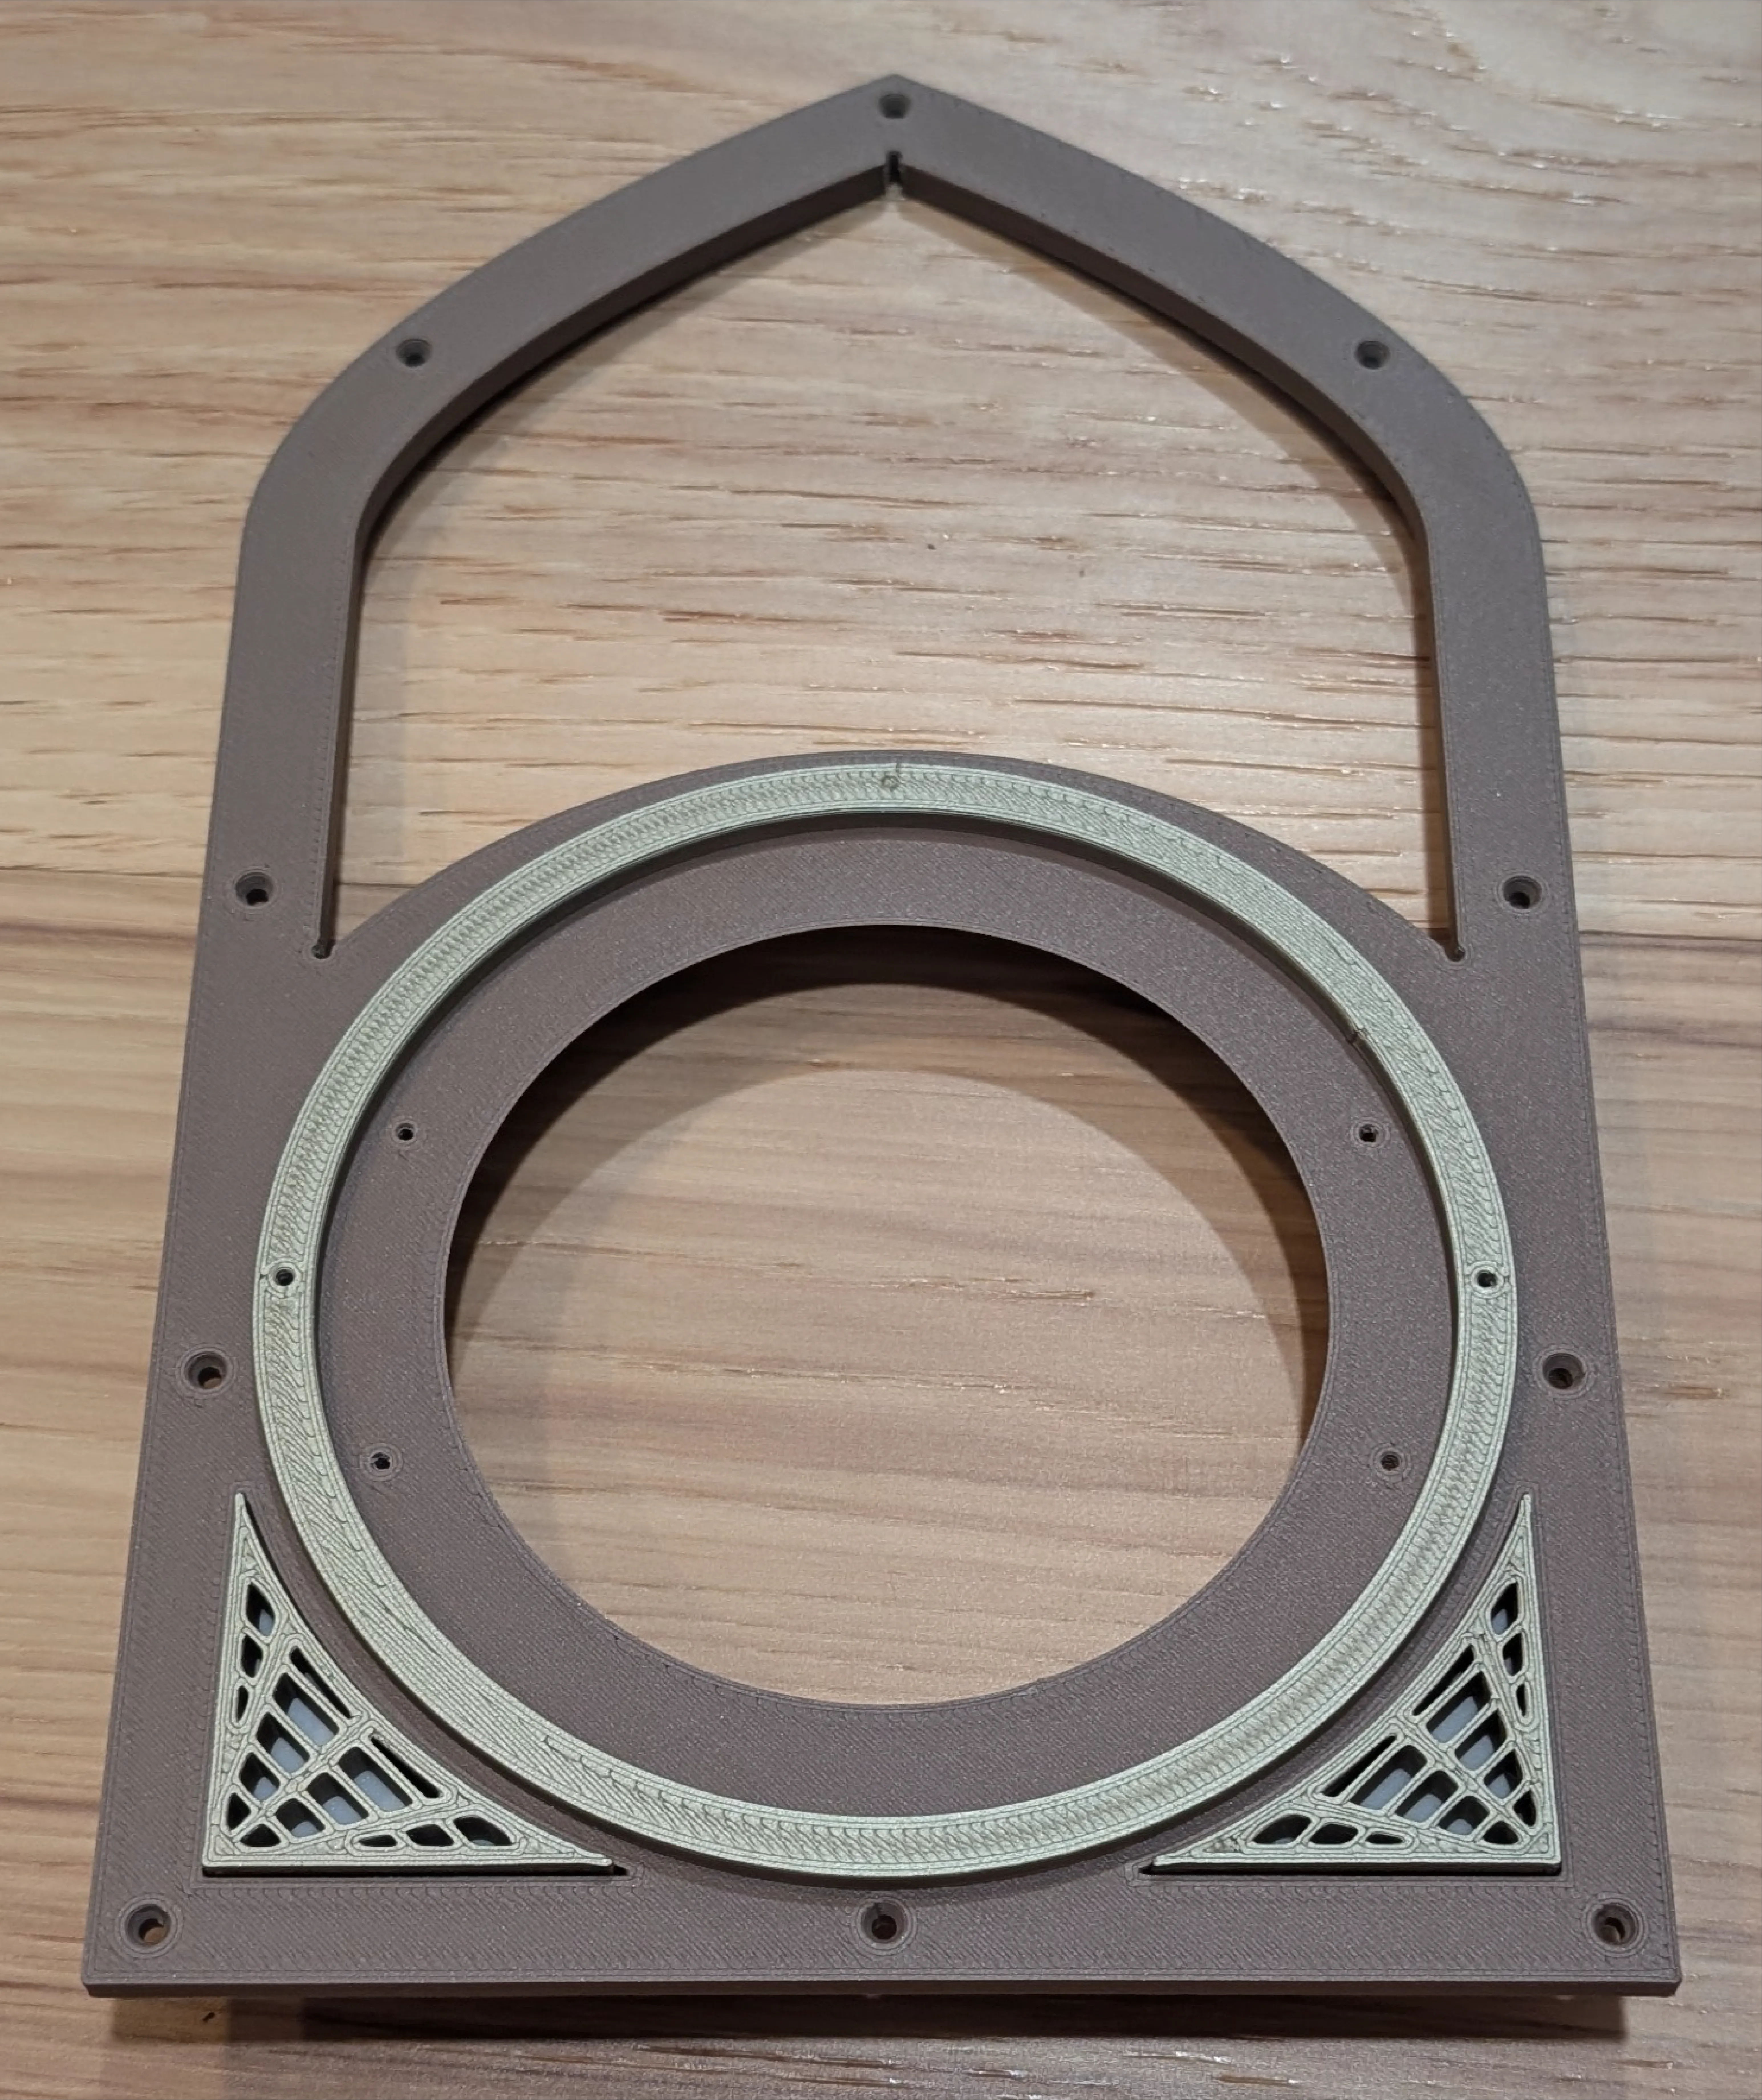
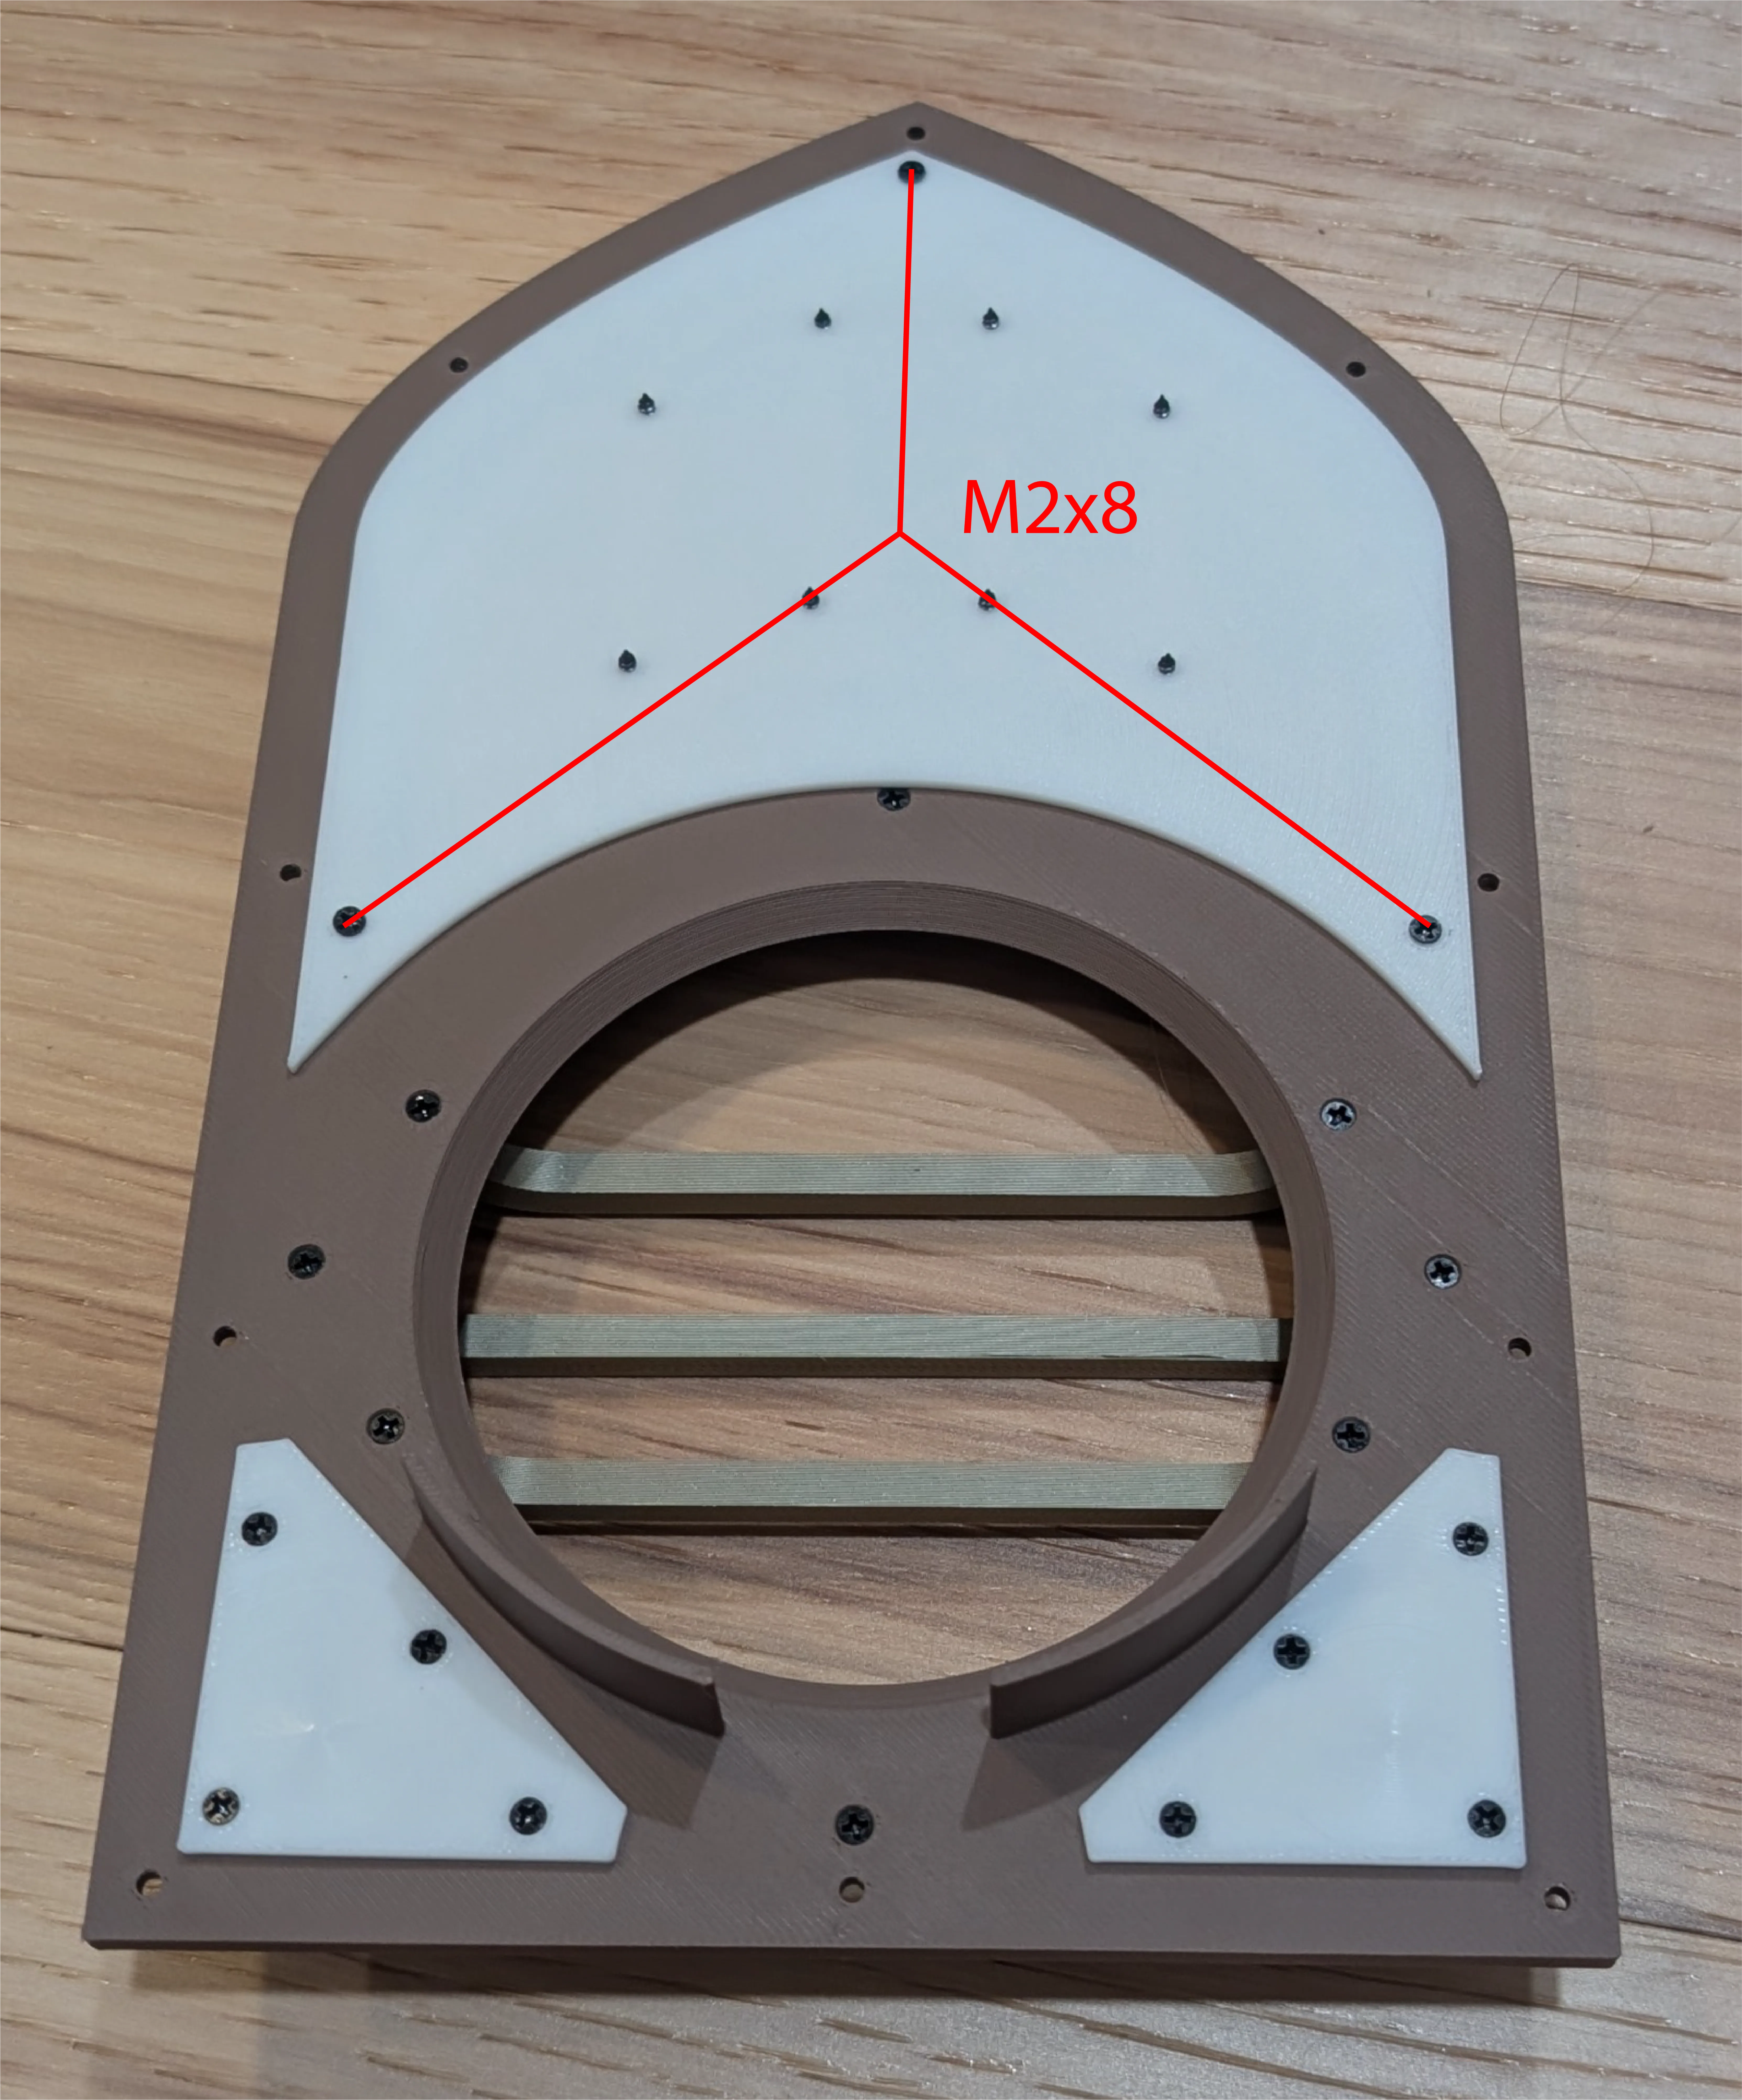
3. Place the upper grille into the opening on the front of the face, and the upper differ on the rear of the face. Align the upper diffuser with the screw holes on the grille. Use 8 M2x10 screws to attach the grille to the diffuser. This will partially hold the entire window onto the face. Then, use 3 M2x8 screws to attach the diffuser through the face and into the grille from the rear.
4. Use 10 M2x10 screws to attach the front face to the main body of the radio and you're almost done! After that, you can place your Google nest mini speaker into the holder ring, and slide the bar/screw assembly onto the back. (Don't over tighten it! one or two rotations is plenty.) Then use 7 (or just 2 on the bottom and one on top) M2x6 screws to attach the back plate and you're done!
Additional Notes:
If you want to add LEDs, just grab any 5v addressable strip off of amazon and cut it to length. There is a small channel inside to guide placement.
License



Comment & Rating (2)