
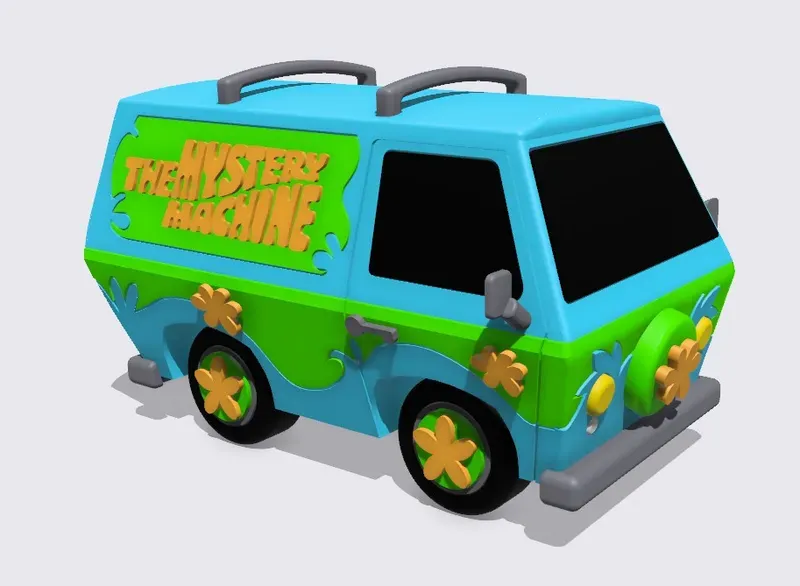
Mystery Machine


Print Profile(3)


Bill of Materials





Description
This is a multi part print that I designed before I bought my Bambu, and I will be uploading an all-in-one version in the future as well.
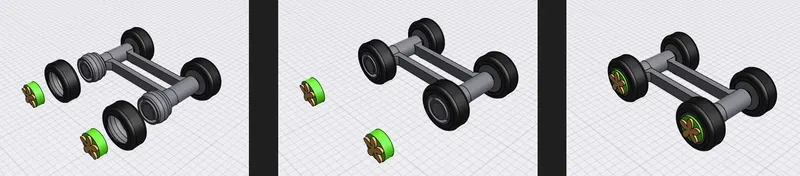
I initially started out making a set of print-in-place tank treads and it ended up as a print-in-place axles/frame/rims so I ran with it and designed a Mystery Machine around them. The rims allow for a hubcap to be attached but they don't need one to function. This was also my first time using TPU for tires and I designed them to slide over the bump on the rims. All assembly photos show the rims for TPU tires.
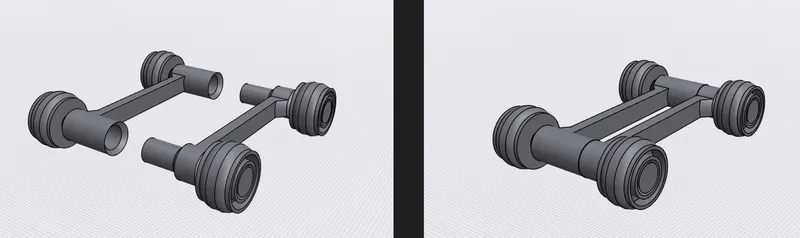
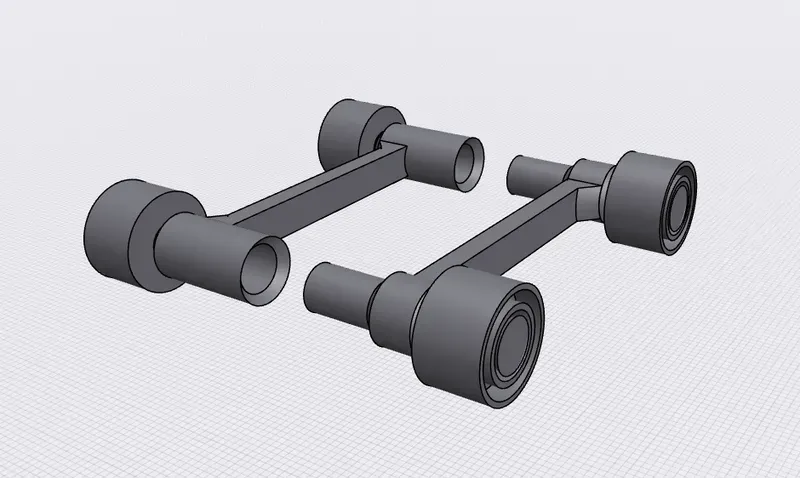
I have also included a set of “regular” axles if you want to print the tires in something other than TPU. These axles don't have the bump on the rims and the tires just slide right on.
PRINTING:
- Everything was printed in PLA except for the tires. They are TPU.
- There are two sets of axles. One for use with TPU tires and one for use with PLA/PETG tires.
- Panels.stl will require a filament change from Green to Orange.
- If you see [x2] or [x4] in the name of a part, then you'll need to print that amount of the part.
ASSEMBLY:
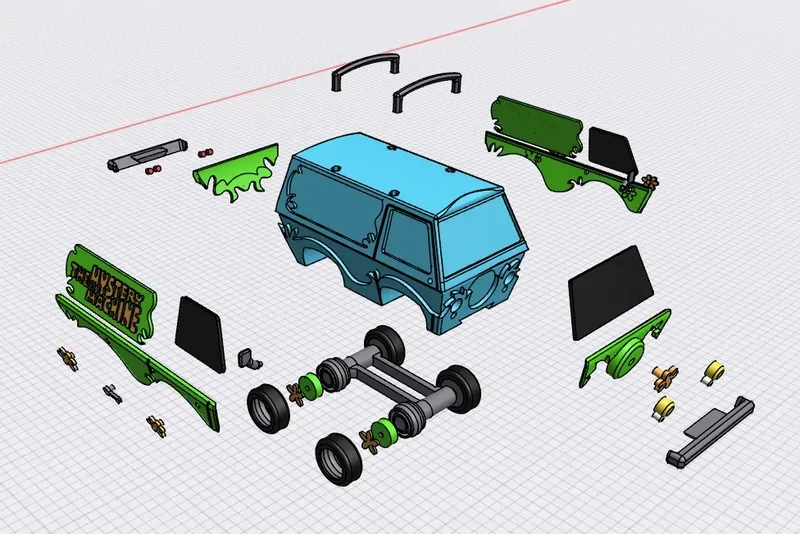
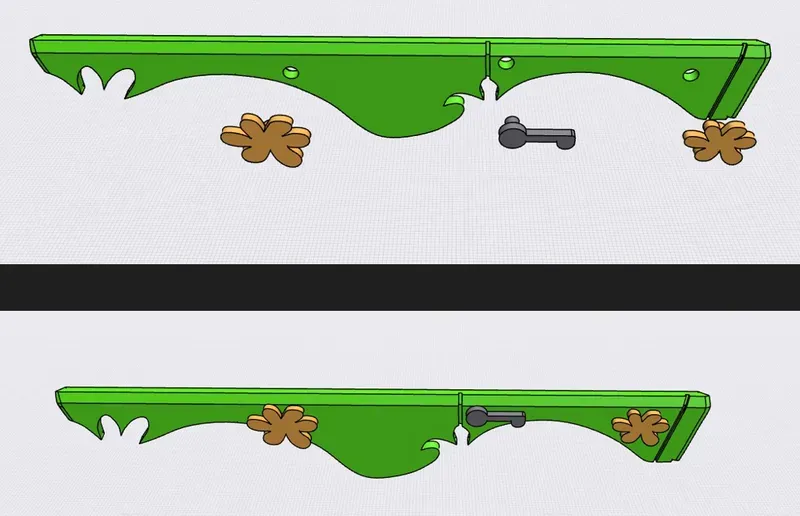
The first thing I would suggest doing is to attach all of the flowers and door handles to each corresponding plate/hubcap. I used glue to secure all flowers and handles, even if the fit was nice and snug.
Tire Flower.stl fits into Front Plate.stl as seen below.
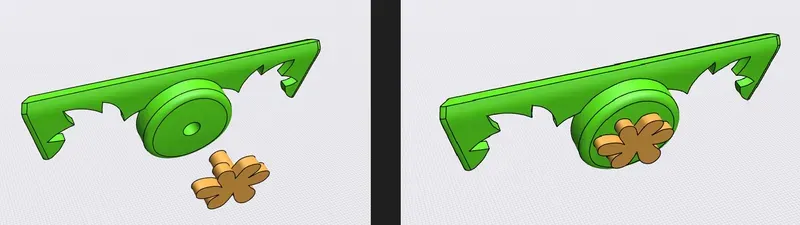
Next, take Right Plate.stl, Back Right Flower.stl, Front Right Flower.stl and Right Door Handle.stl. Attach all as seen in the pictures below. Repeat the steps for the left side and put them off to the side for now.
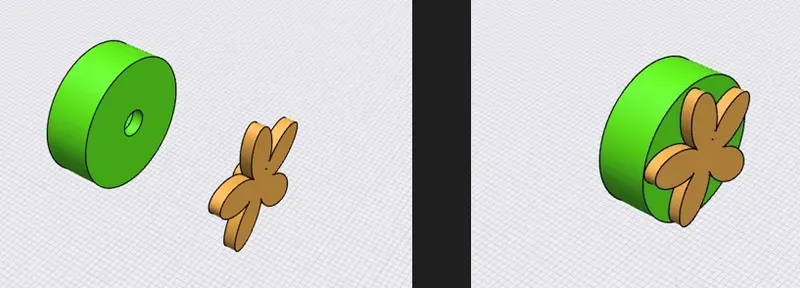
Hubcap Flower [x4].stl fits into Hubcap [x4].stl as seen below.
Once the glue has dried on your hubcaps, grab the tires and rim/axle assembly. I would suggest putting the tires on the rims first and then fit the hubcaps on as seen below.
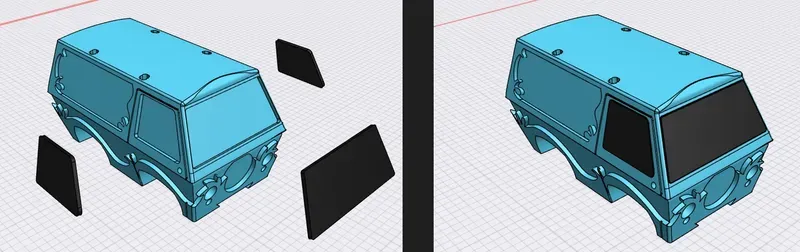
Next, take Body.stl and attach the windows and windshield as seen below. Again, even though the windows fit nice and snug for me, I used a spot of glue to keep them in place.
Next, take Headlights [x2].stl and Fog Lights [x2].stl and attach them to the body.
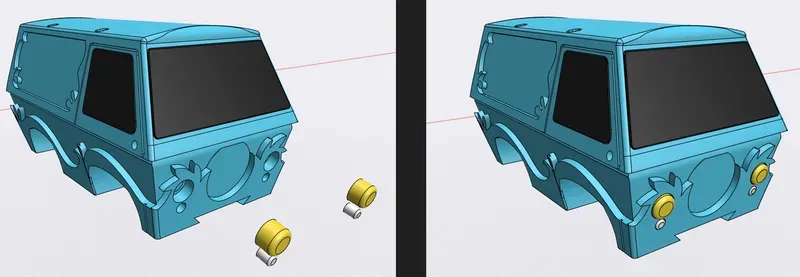
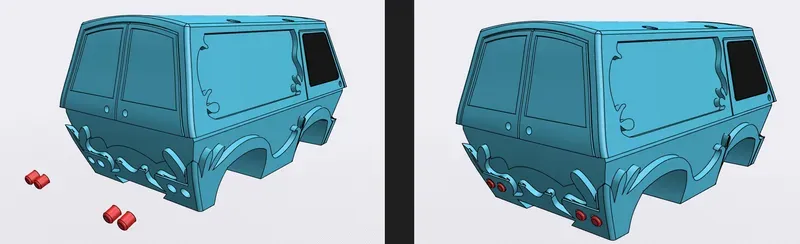
And then the Tail Lights [x4].stl as seen below.
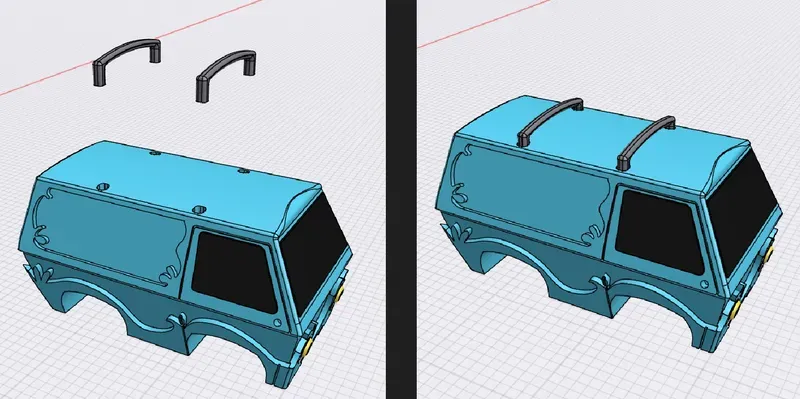
Rack [x2].stl fits into the top of Body.stl as seen below. These are one of the only things that I didn't end up gluing.
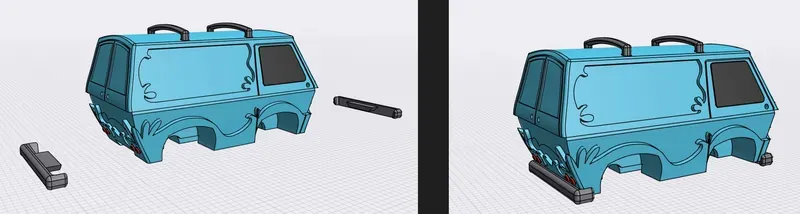
The bumpers fit onto the body via a dovetail joint. They only fit on one way so it should be easy enough.
Next, you can snap the completed wheel assembly into place. It doesn't matter which way you attach the wheel assembly, there is no front, back, top or bottom to it and it will attach to the body any way.
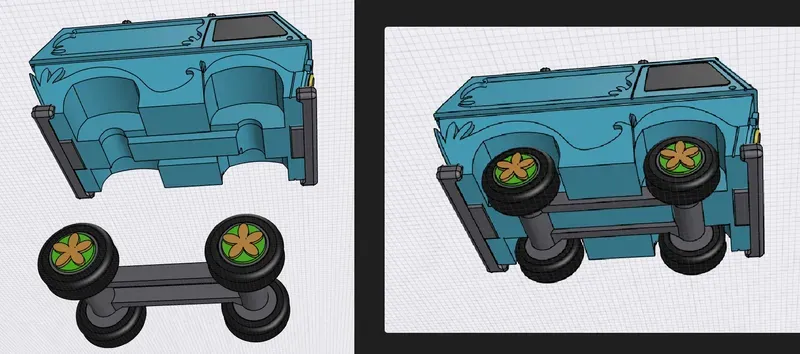
Once you have the wheels on, grab the Back, Front, Left and Right Plates and attach them as seen below. Again, I would suggest using glue to secure, even though the fit is snug.
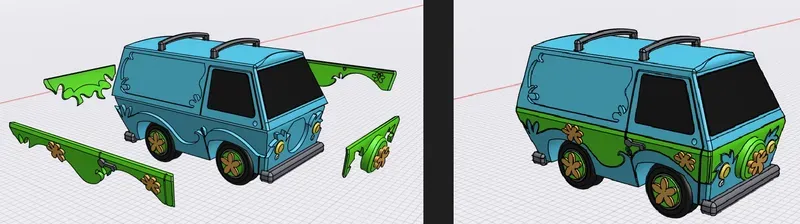
Then attach your panels.
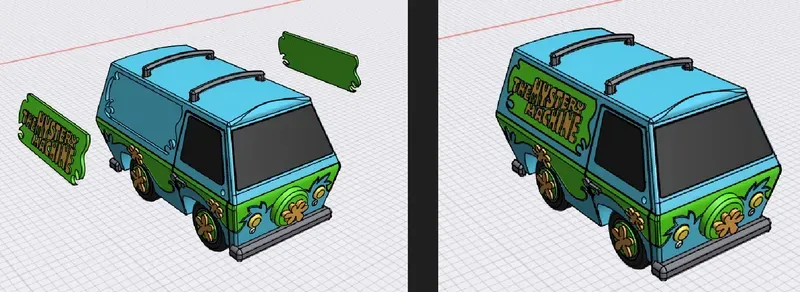
Lastly, attach the door handles to the back of the body and the mirrors to the front.
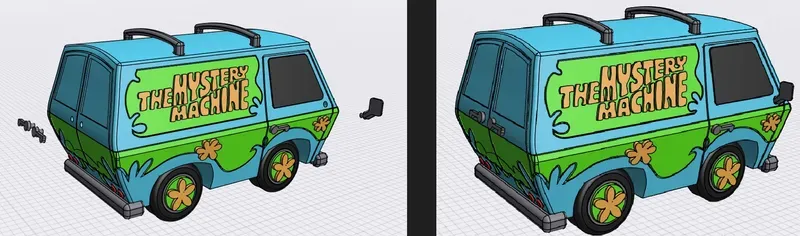
And that's it, you're done. Thanks for reading and happy printing.
License

You shall not share, sub-license, sell, rent, host, transfer, or distribute in any way the digital or 3D printed versions of this object, nor any other derivative work of this object in its digital or physical format (including - but not limited to - remixes of this object, and hosting on other digital platforms). The objects may not be used without permission in any way whatsoever in which you charge money, or collect fees.


Comment & Rating (198)