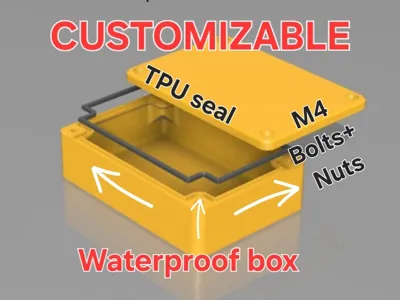
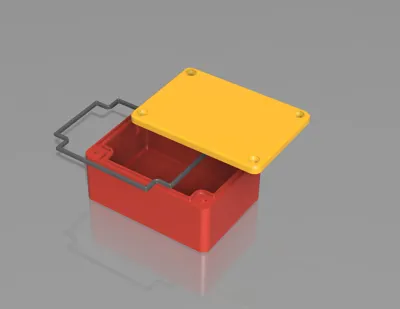
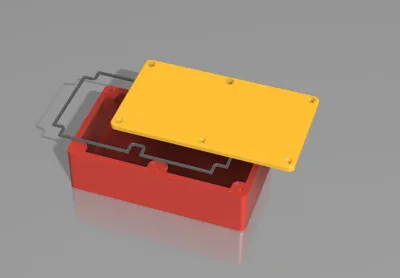
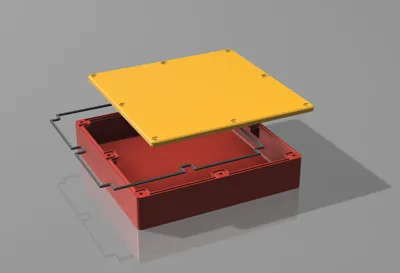
Parametric Waterproof Storage Box with TPU Seal


Print Profile(2)


Description
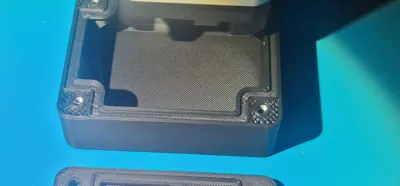
I've made this parametric storage box to be able to keep inside sensible items when i'm fishing from a boat and in case something heappens, water can't go in. Tested with a paper towel in a bowl, 24 hours no water came inside (see pics).
Probably can be used as an underground junction box as well, for electric connections, if you drill cable holes and seal it proper arround the cable, or model small pipes comming in-out and apply heat shrink tubes with adhesive to the cable and over the pipes. If somebody wants that small pipe feature i can do it easy for your cable diameter and send a step file, and you just add a shrink tube over the pipes to seal 100%.
FEATURES OF THIS TYPE:
- It's fully waterproof as tested, and it uses bolts+nuts. Another way to close it would be with heat inserts, but i don't have heat inserts or a tool to sink them in, so i designed with imbeded nuts inside the print ( advantage : i can apply more torque this way to tight the bolt, as there are 2mm of filament on top of the nut keeping it in place).
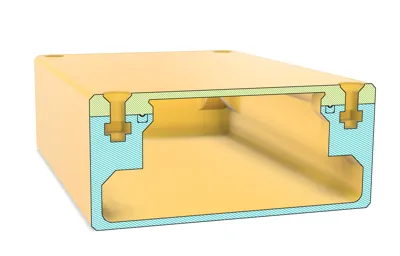
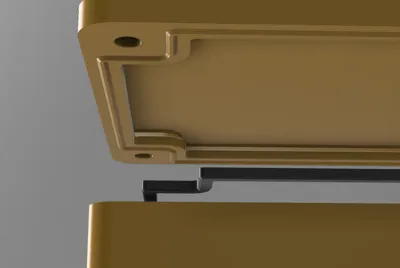
- The TPU seal is generated automatically when you customize any size box (follow instructions to print it).
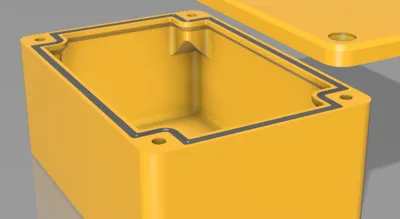
- The corners where the nuts are imbeded in the print, don't go all the way down to the box base (for time and filament saving if the box is tall and for space saving, the whole internal base footprint beeing available this way). No supports needed.
INSTRUCTIONS:
- Customize your box (if you want a large box, go for thicker base for lid, to have it stiff and ridgid between the bolt holes to keep the water out
- Put a pause in your print for the M4 nuts to be inserted (if you're a begginer, the pause you put will be when you see the first blue layer in your slicer. That will be the start of that layer and the pause command is before the layer starts printing).
- Nuts are designed to be fit not too loose in my PLA+, but if your filament shrinks and nuts don't go easy, just take a bolt inside them and hit them with a tiny hammer, slowly not to unstick the box from the build plate. They have a clearance but not all filaments shrinks the same.
- The TPU seal will be generated in the same plate. Generate a 3MF file, print the box+lid with PETG or ASA or PLA+ , but save the seal sepparate and print it with the softest TPU possible. TPU 90A was fine for me, but you can also try some 3mm foam seal cords. TPU has a tiny groove inside so the lid sink in 0.2mm. (inspect the step file if you want to see how is made).
- My print profiles added have exact settings i used for my test (i used PLA+ as it has a good layer adhesion, but PETG might be better).
- You need 4 bolts (M4 x 12mm Countersink) for the standard 2mm base lid thickness, but if you increase that thickness in the customization panel, add longer bolts accordingly. ( in the 2mm lid thickness configuration, total hole from the very top, is 13.2 because i left extra room under the nut. In case you make the lid thickness 3mm, total hole will be 14.2, so a 14mm bolt will fit). Use my step file and a section analyses to measure yourself as well if in doubt).
UPDATE 08.03.2026 - I added parametric files to let you customize more bolts ( 6 or 8 ) for larger boxes that requires the lid to be extra tight.

Please be aware that if you customize this model in MakerWorld and then download it as an STL/3MF file, the downloaded version might have a lower mesh resolution than the original. Curves may look slightly faceted. This seems to be a MakerWorld issue and more and more people push MW to increase STL size limits, is not related to the model itself.
If you're not happy with your STL/3MF slicer preview after download, i can help you, just PM me with your exact customization and i upload a fine quality STL/3MF in my Google Drive, and give you a link to download it from there, or i add a print profile here.
Comment & Rating (49)