
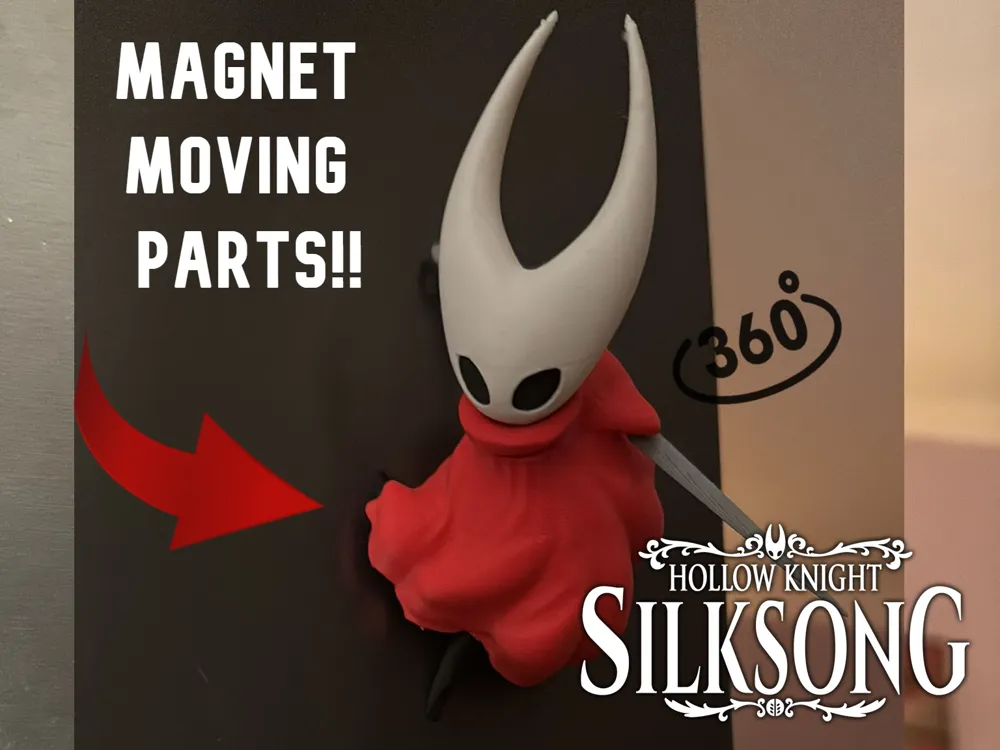
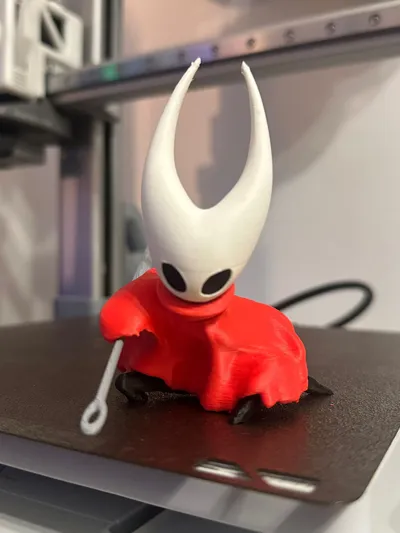
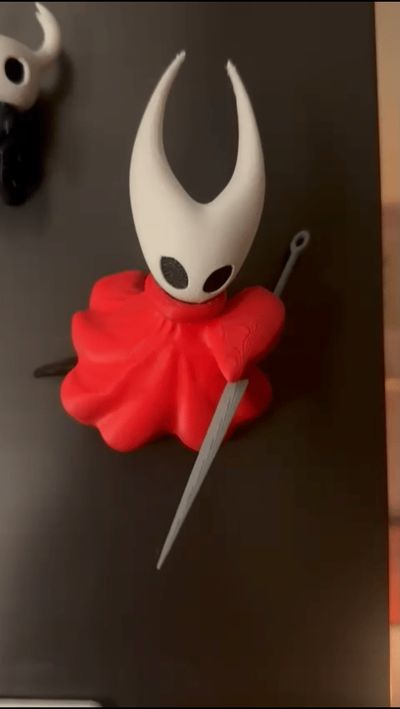
Hornet - Hollow Knight : Silksong Magnet
Print Profile(1)

Bill of Materials

Description
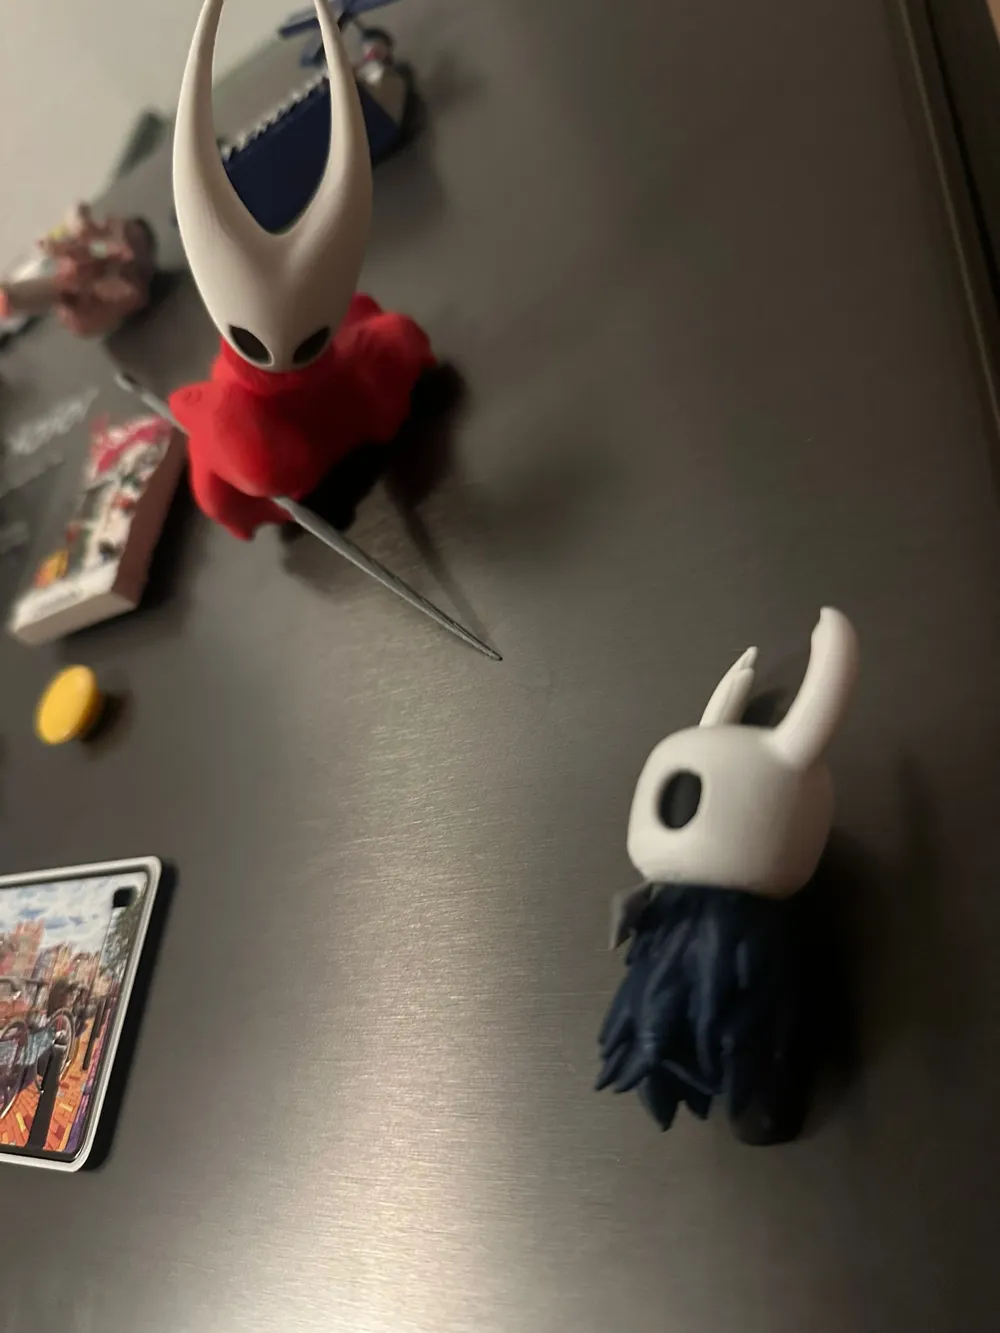
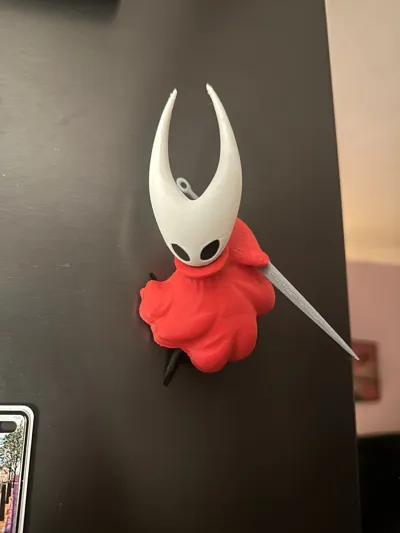
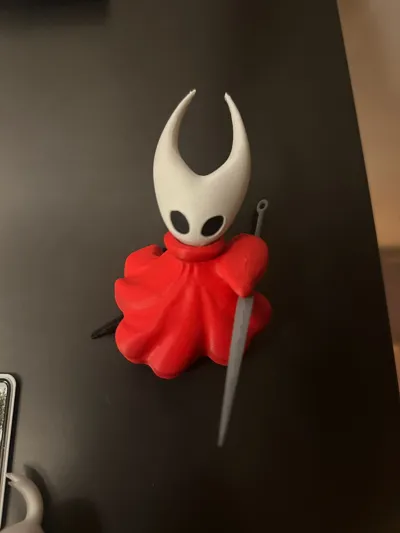
Hello, first of all, I saw this model in a Tiktok video, but I couldn't find it so I made it myself from scratch based entirely on the one in the video
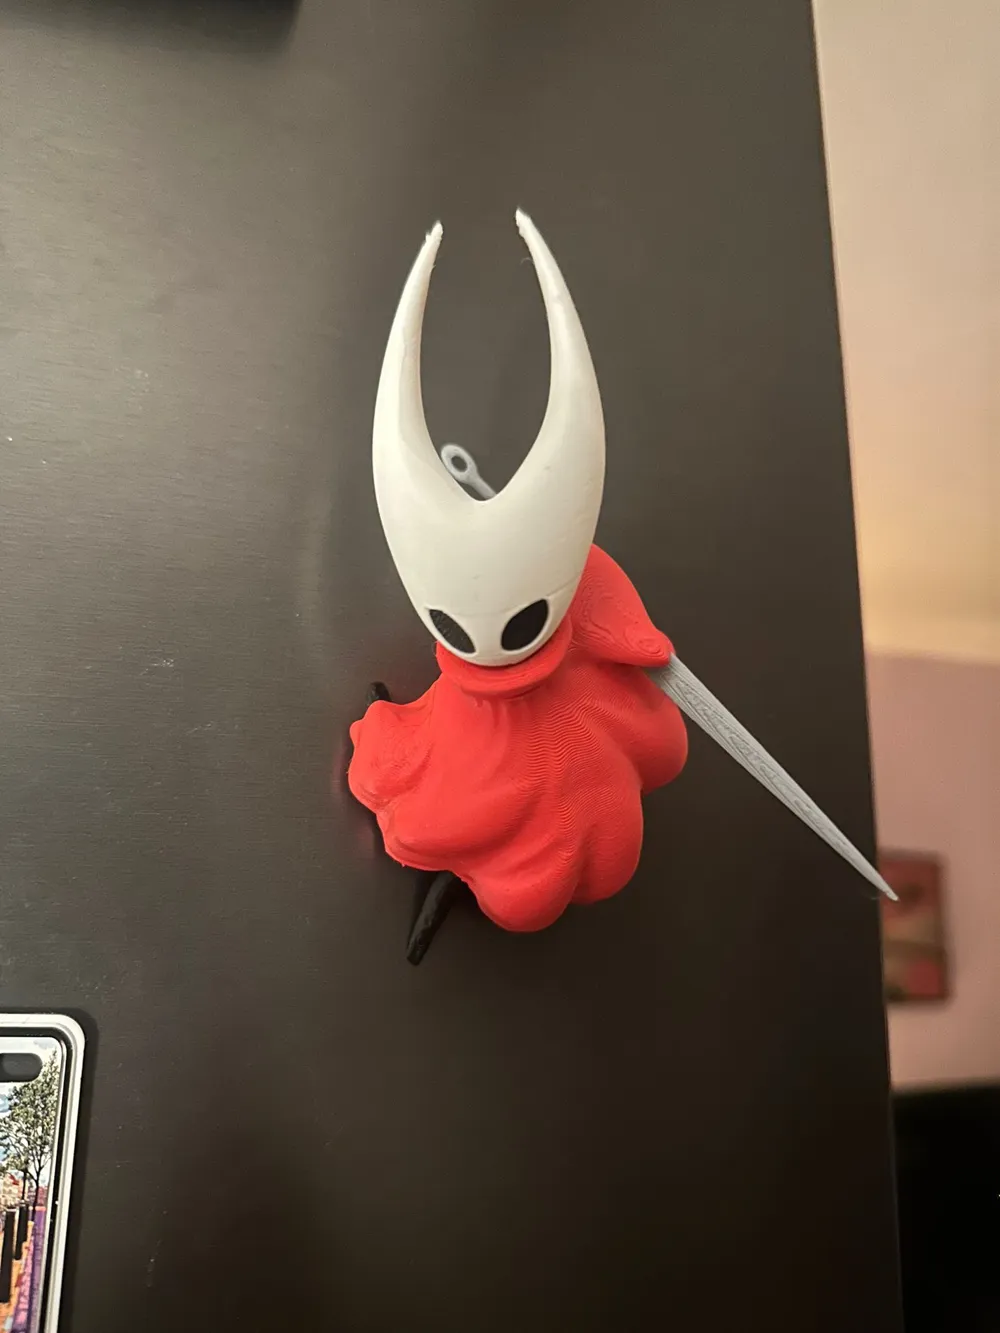
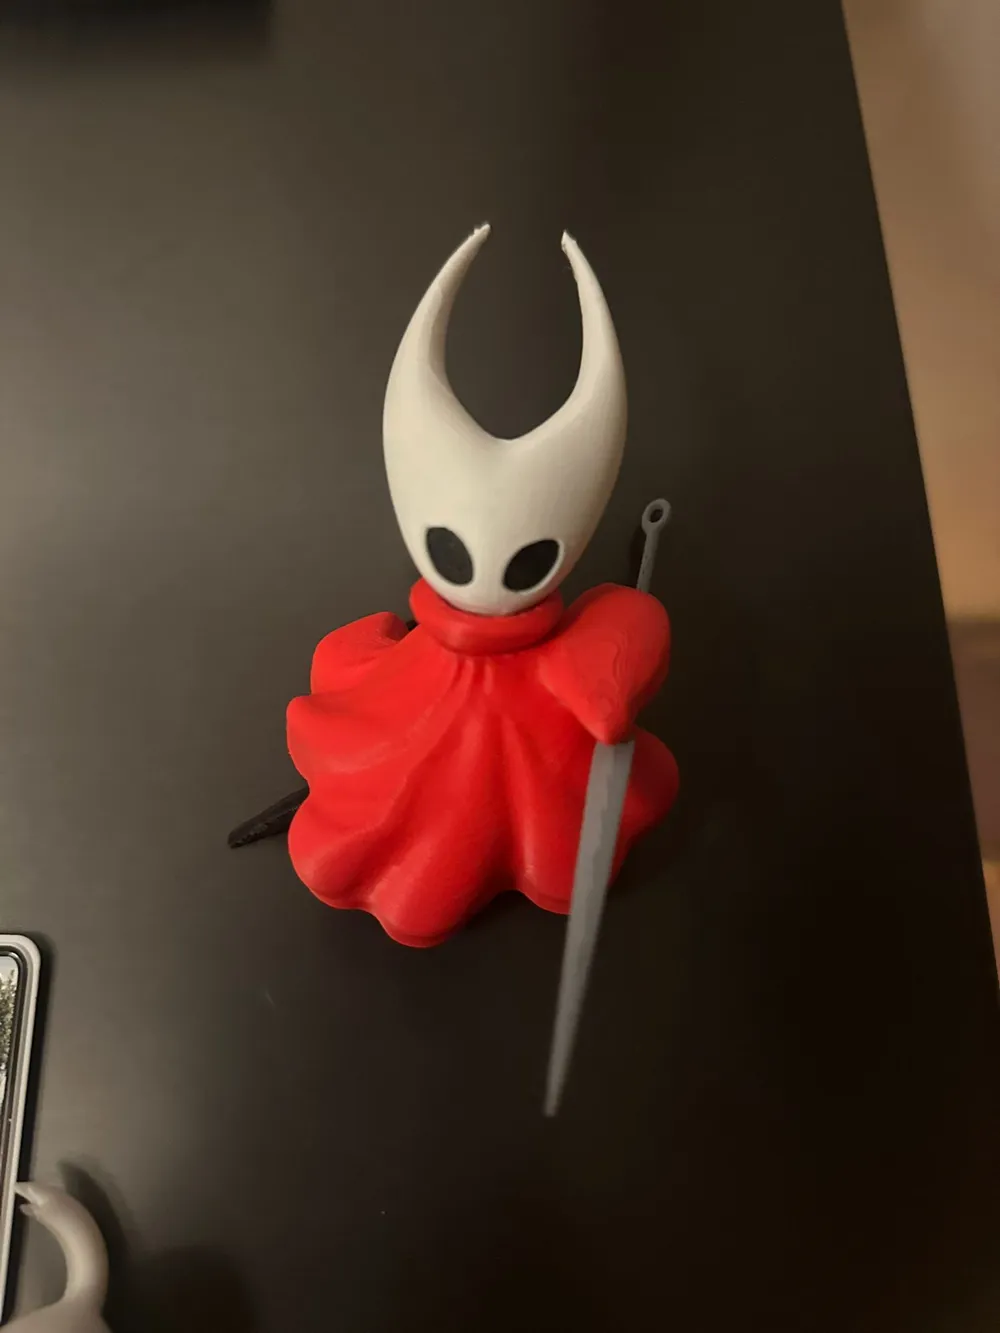
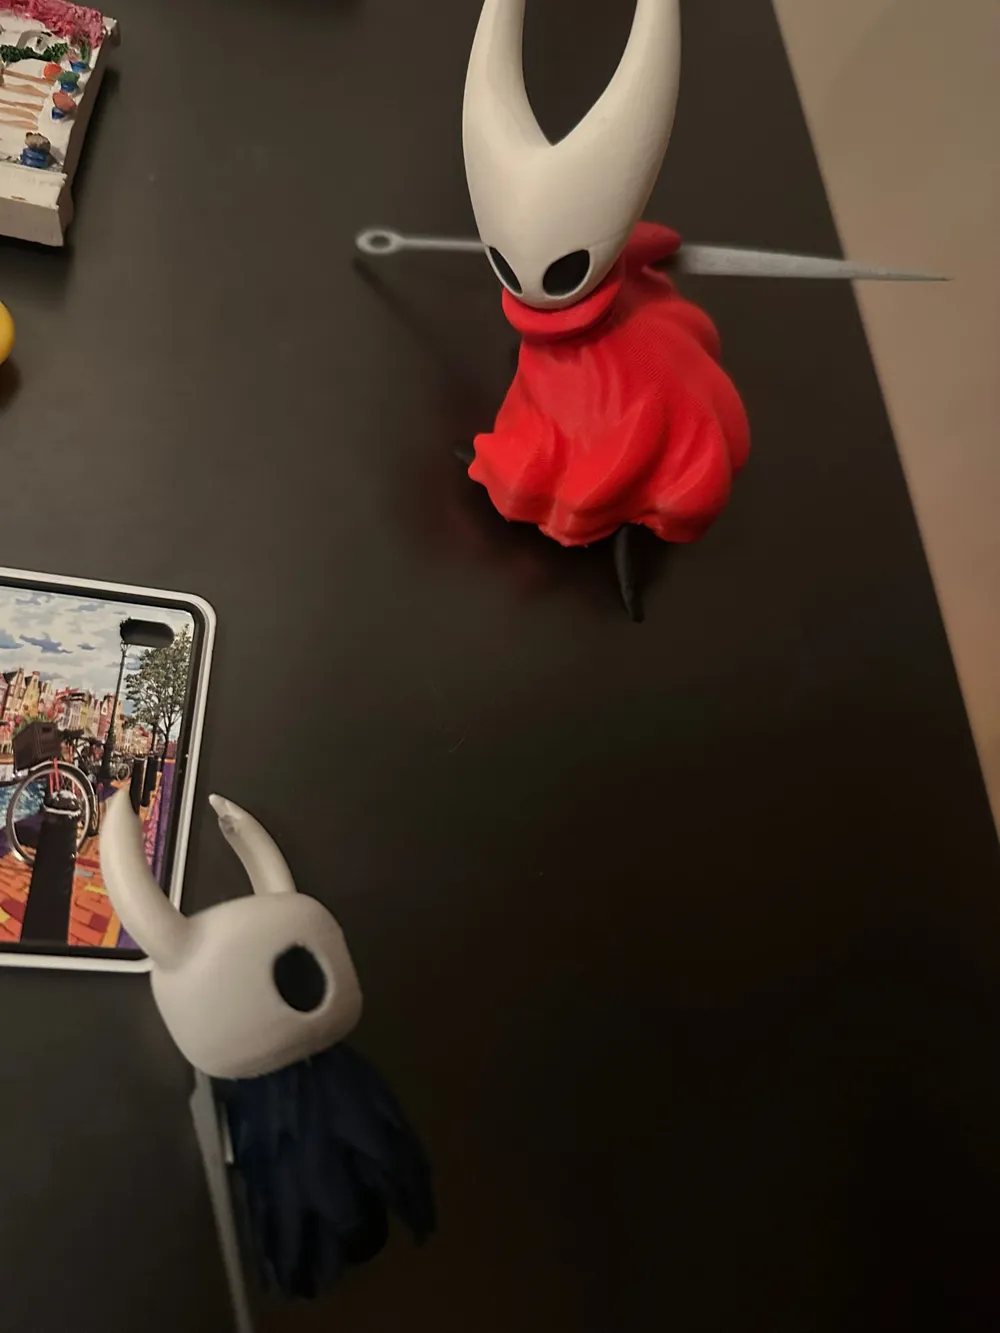

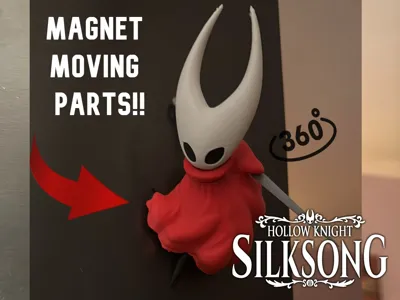
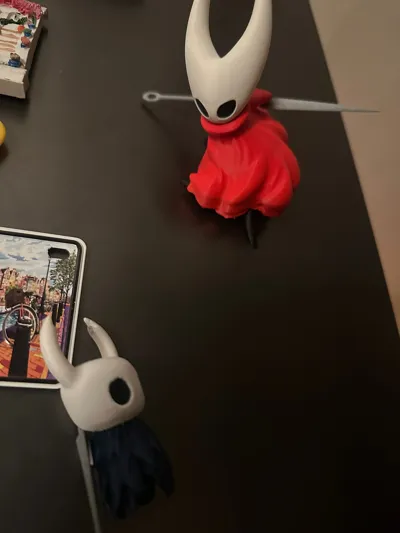
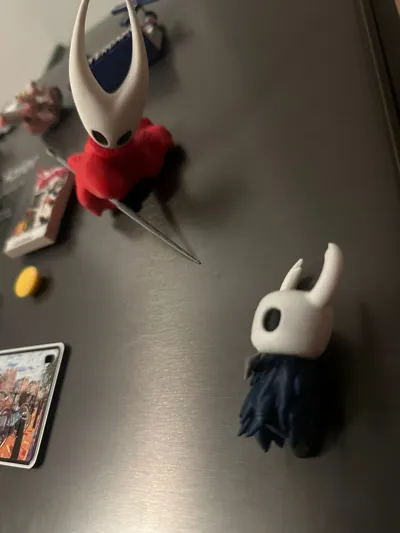
I was very amazed to see that you could rotate the head, change the weapon's position, and by using magnets, you can give Hornet any pose you want while she's hanging
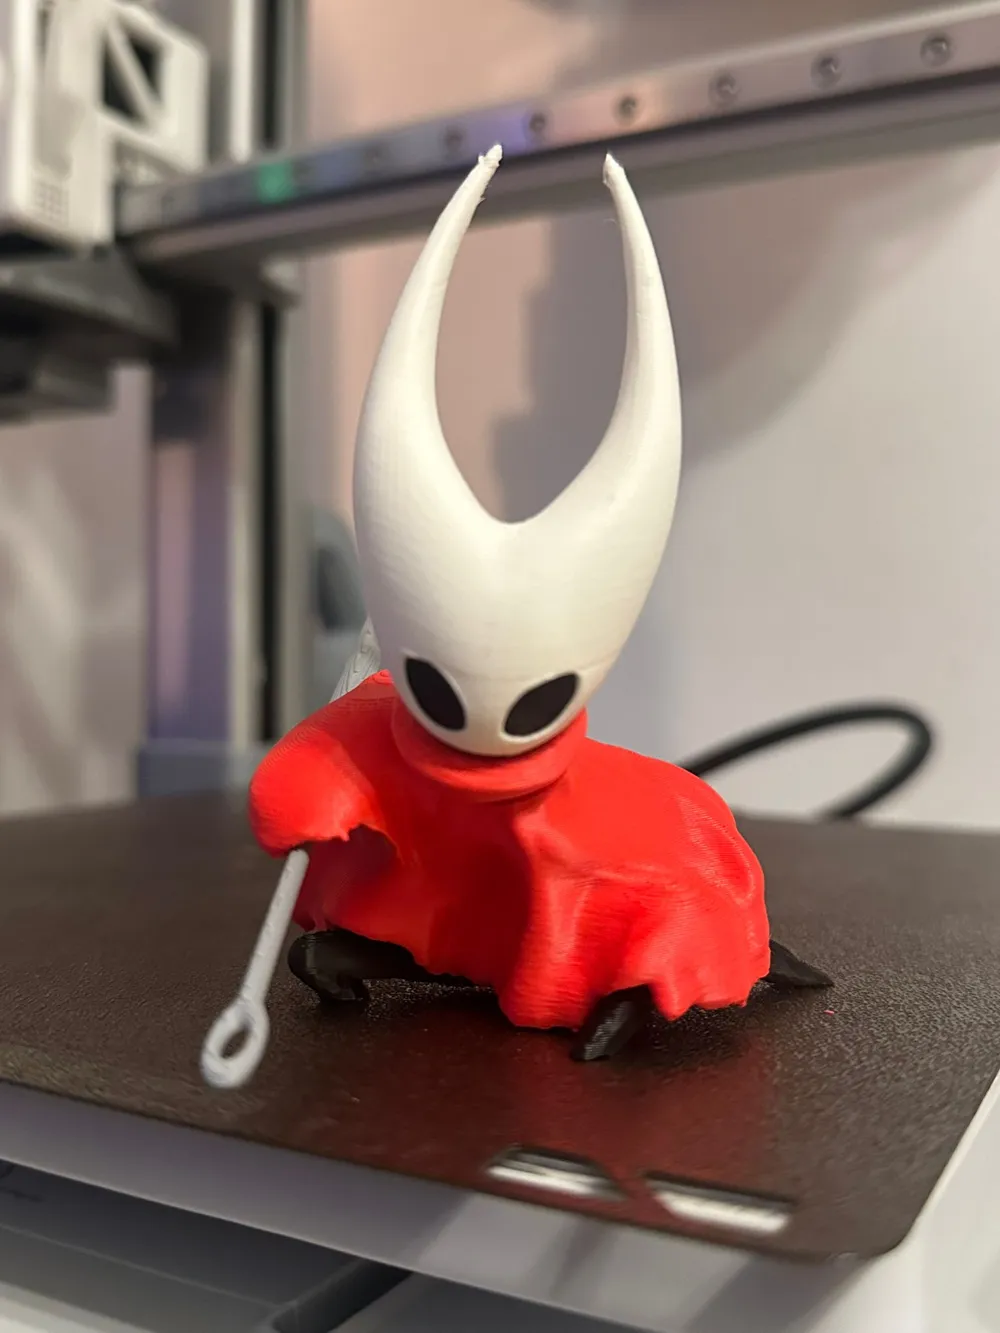
In the print profile, you will see 3 DIFFERENT HEADS, the first one is a whole head, in case you want to paint the eyes. The next head has more space in the eyes, to add the black parts separately. And the last one is the AMS version
MATERIALS:
10 round 8x2mm neodymium magnets are needed for the body and head and for the sword
and glue
Being a much larger model than Hollow Knight, this one weighs more, so we need more magnets
I WILL TRY TO OPTIMIZE IT TO USE FEWER MAGNETS
ASSEMBLY:
Under the cape, you will see two tubes, 2 magnets go into each one, you can try putting only 2 magnets in one of them and leaving the other empty
for the neck we will use 3, as the magnets are together, the magnetic force merges, which will help us hold Hornet's large head
Then in the neck piece we just add one magnet
on the sword we will put one of the rectangular magnets, and another one under the red arm
I know the magnet consumption is high, but it is necessary to ensure the model holds up
The head is glued to the neck with adhesive, be careful how you orient the head, it can affect the result
you can fit the eyes into the head if you have downloaded the multipart version (the best one)
finally we have the black part (arms and feet) this fits in only one way so there is not much chance of error, make sure it fits as snugly as possible
as always, before fixing everything with glue, carefully check the polarity of the magnets and make sure everything works as it should
ONCE AGAIN I WANT TO EMPHASIZE THAT THIS IS A MODEL I MADE VERY QUICKLY AND FOR PERSONAL USE, SO IT IS NOT PERFECT, BUT I WANT TO SHARE IT WITH YOU BECAUSE I LOVE THIS MODEL
Boost Me (for free)
if you like the model you can give a boost so I can keep uploading models
UPDATE: I MODIFIED THE ARM AND WEAPON TO USE ROUND MAGNETS
LET ME KNOW ANY PROBLEMS AND I WILL HELP YOU
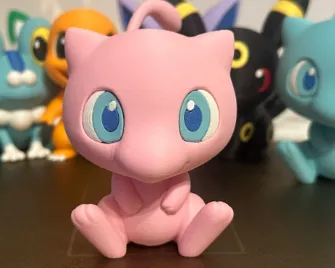
MEW CHIBI IS NOW AVAILABLE: https://makerworld.com/es/models/2001608-mew-chibi#profileId-2155245
License

You shall not share, sub-license, sell, rent, host, transfer, or distribute in any way the digital or 3D printed versions of this object, nor any other derivative work of this object in its digital or physical format (including - but not limited to - remixes of this object, and hosting on other digital platforms). The objects may not be used without permission in any way whatsoever in which you charge money, or collect fees.


Comment & Rating (195)