Segway Ninebot S GoKart Wheel Cover ( Go Kart )


Print Profile(1)

Description
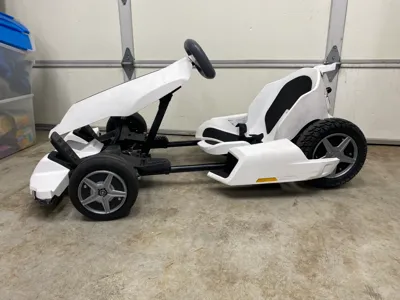
This is a wheel cover for the Segway Ninebot S Gokart Kit. You can use the front wheel cover for the GoKart Pro and Pro 2 because the wheels are the same. The reason why I made these covers is because I upgraded to taller and wider tires and the original wheel covers no longer fit.
No supports needed for these prints, but the front wheel I would suggest using an AMS to make the color of the wheel different from the disc rotor. Or you can manually add a pause for filament color change.
Rear Wheel (Ninebot S and Mini Pro only / GoKart Kit)
The rear wheel cover only fits the Ninebot S (Gokart Kit) with the wheel cover that has the 4 screws holes towards the middle. The Ninebot S-Max (GoKart Pro and Pro 2) wheels are different.
Hardware (both wheels):
- (6) M3x12mm screw https://www.amazon.com/M3-0-5x10mm-Socket-Stainless-Machine-M3x10-100/dp/B0CFQNBD3J
- (2) M3x10mm screw https://www.amazon.com/M3-0-5x10mm-Socket-Stainless-Machine-M3x10-100/dp/B0CFQQYZ86
Or you can get a kit like this that have a few different sizes: https://www.amazon.com/HELIFOUNER-Pieces-Socket-Washers-Stainless/dp/B09GRNF2WD
Front Wheel (GoKart Kit, Pro , Pro 2)
The front cover should fit all the Go-kart models because they all use the same wheel. I have both the Kit and Pro version, and the wheels/tires are interchangeable. There are 3 different size spacer that is included, just in case the 7.5mm version is too big or small. Please take a look at the pictures to more details on the installation.
Hardware (both wheels):
- (4) M5 x 70mm https://www.amazon.com/dp/B0CG1MTZS7
Rear Wheel Cover Installation:
There are only 4 screw holes but notice that one hole that sit lower that the other 3. The one hole that is lower, you will need to use the shorter M3x10mm screw

Front Wheel Cover Installation:
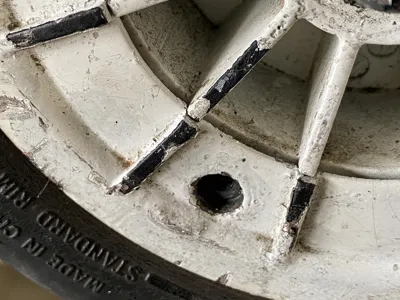
1. The First thing you need to do is removed any 2 screws that are directly across from each other, like shown in the image below.

2. This image is to show you how the screw hole looks like right after I removed the original screws.

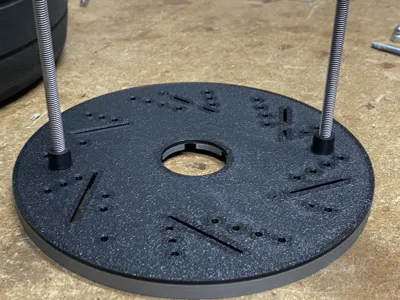
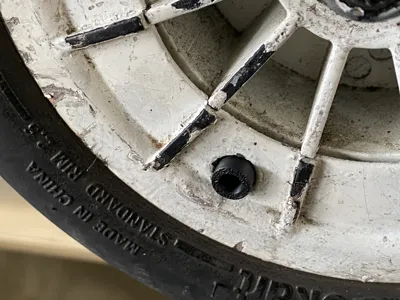
3. The image below shows you how the spacer should fit. The purpose of the spacer is to give the 3D printed wheel cover extra support and not just an empty gap that will cause it to break as you tighten the screw. This image is only to show you the placement of the spacer, but I recommend following the process in the next image, so the spacer does not fall as you assemble it.

4. I would suggest inserting the screw through the 3D printed wheel cover and the spacer behind it, so the spacer does not fall off when you install the cover. You should be able to reuse the original M5 acorn nut to complete the assembly.

5. Finally, this is how it should look like after you are done.

This remix is based on

License
You shall not share, sub-license, sell, rent, host, transfer, or distribute in any way the digital or 3D printed versions of this object, nor any other derivative work of this object in its digital or physical format (including - but not limited to - remixes of this object, and hosting on other digital platforms). The objects may not be used without permission in any way whatsoever in which you charge money, or collect fees.
Comment & Rating (2)