
Automatic Side-Opening Knife - Auto-Deploy
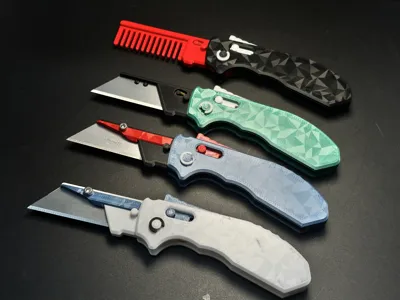
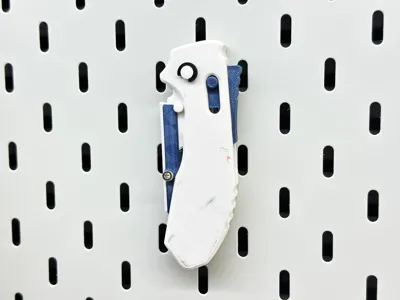
Print Profile(4)


Bill of Materials


Description
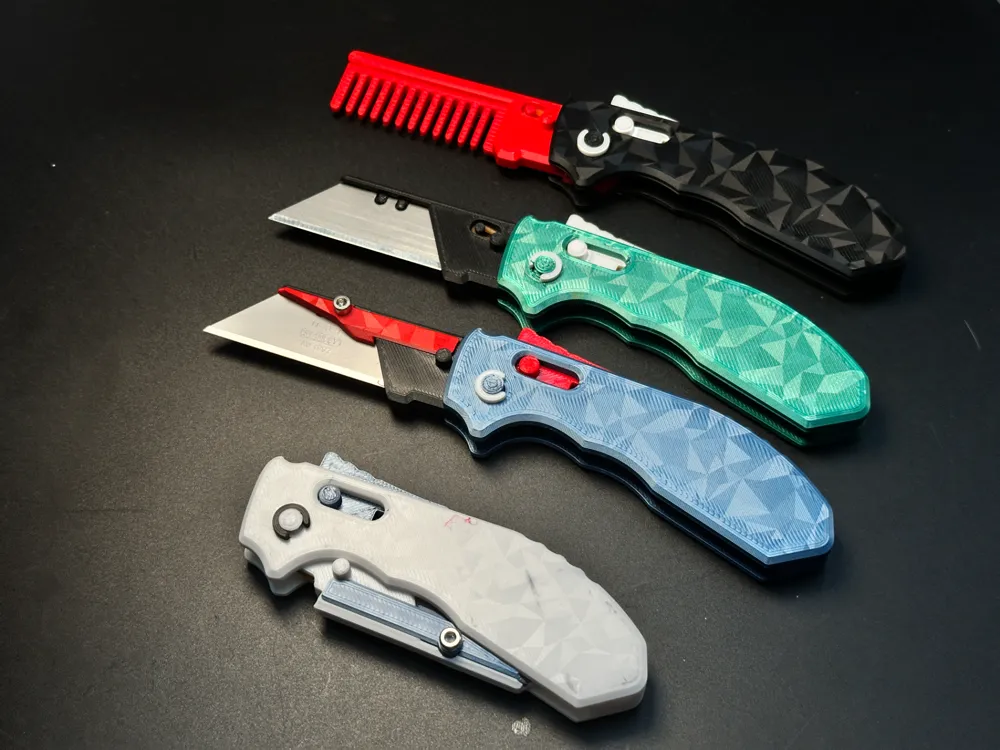
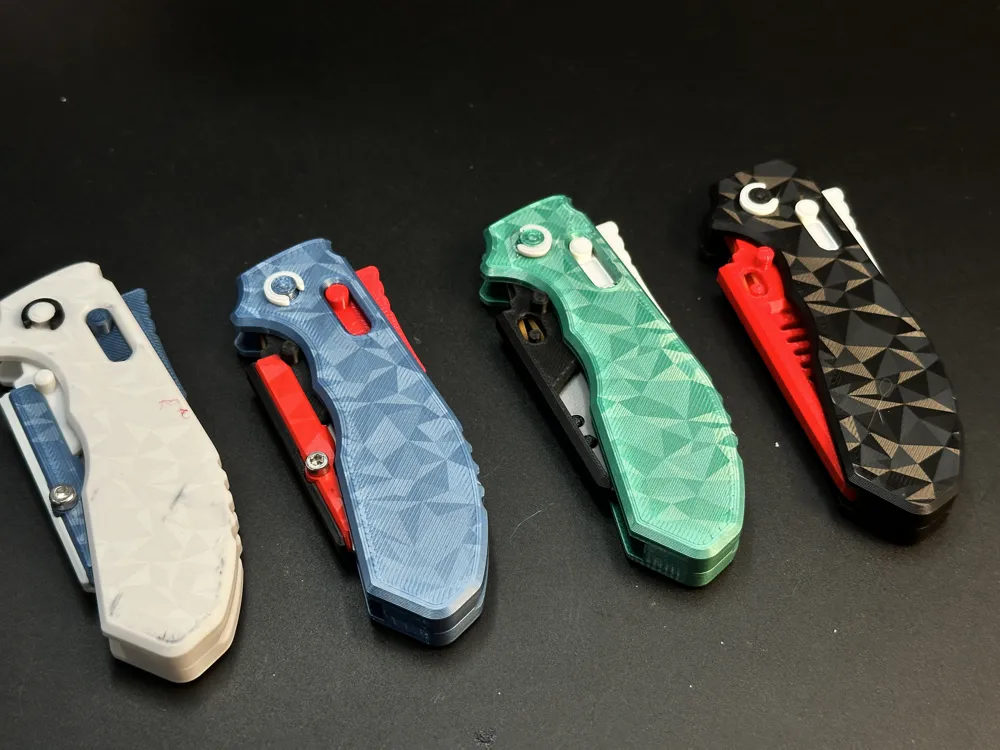
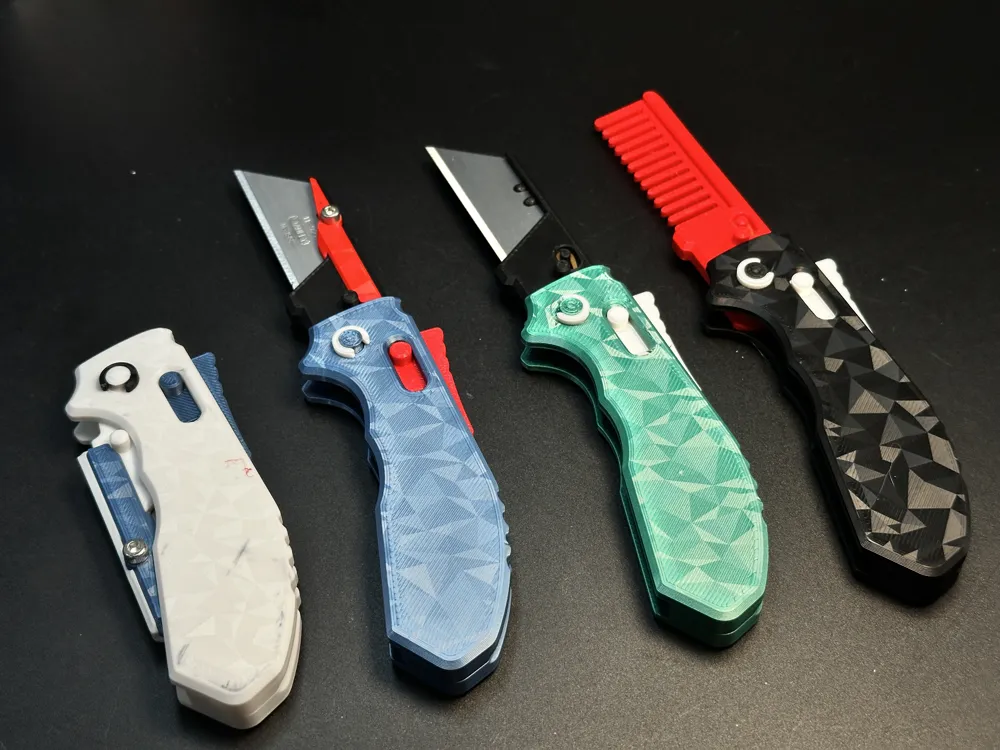
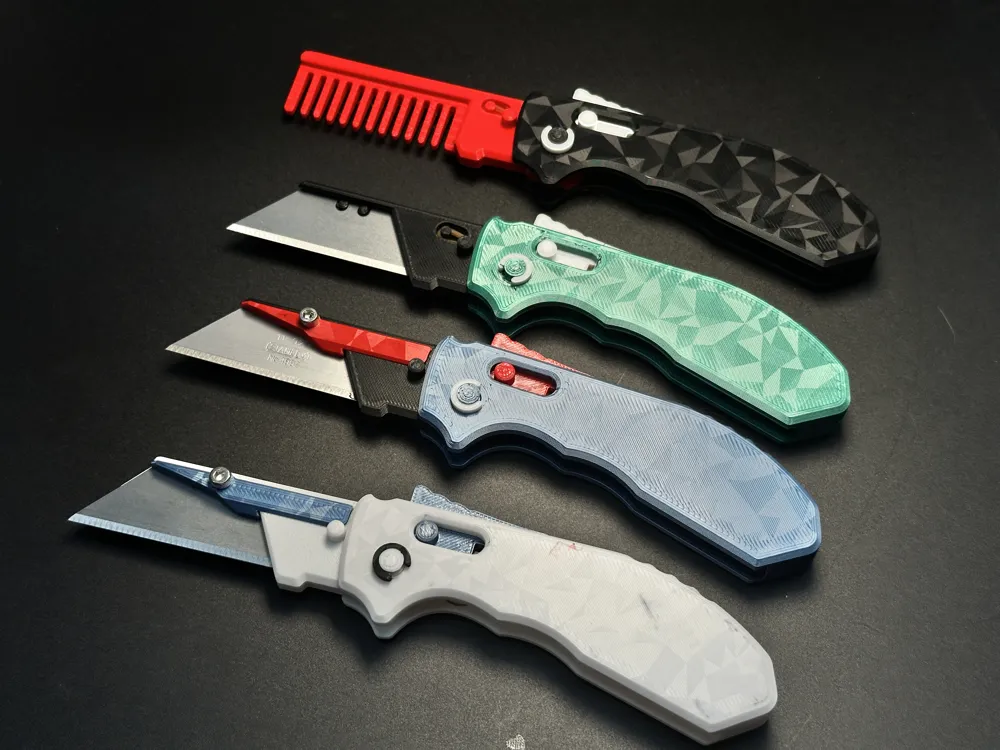
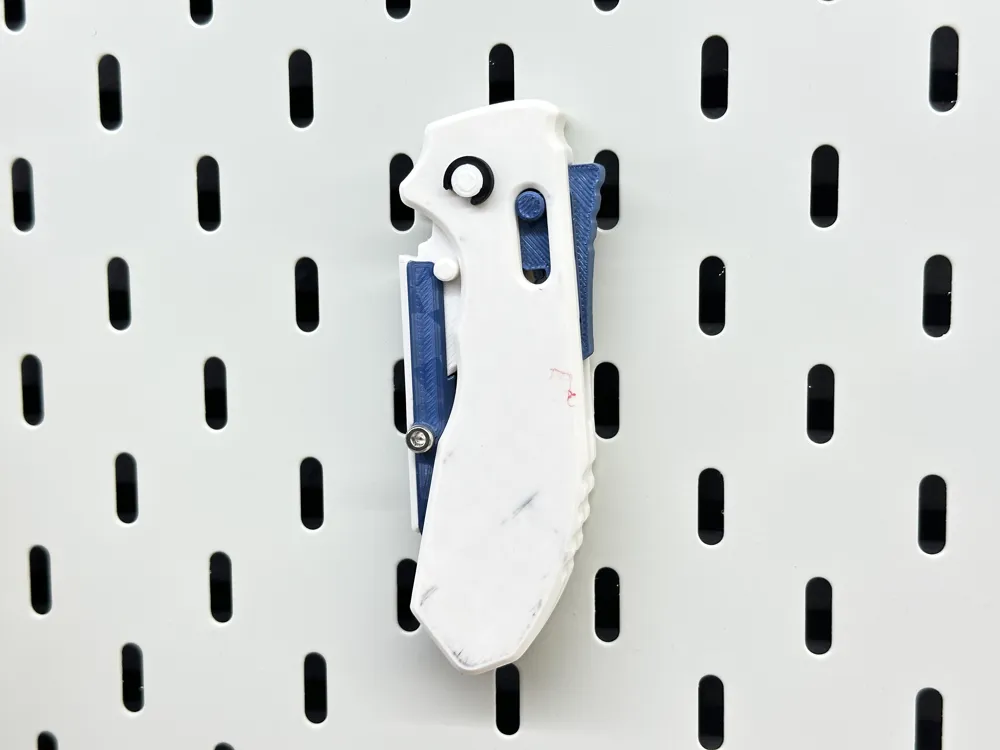
This is an automatically deploying side-opening spring-assisted knife, featuring an optional magnetic attachment that allows it to adhere to metal surfaces
Simply push the button to automatically deploy and lock the blade. It uses a reliable axis lock mechanism. See the GIF below for operation.

Printing is simple and fast, requiring only 2 small support structures that are easy to remove without affecting any visible surfaces. Print time is just over an hour.
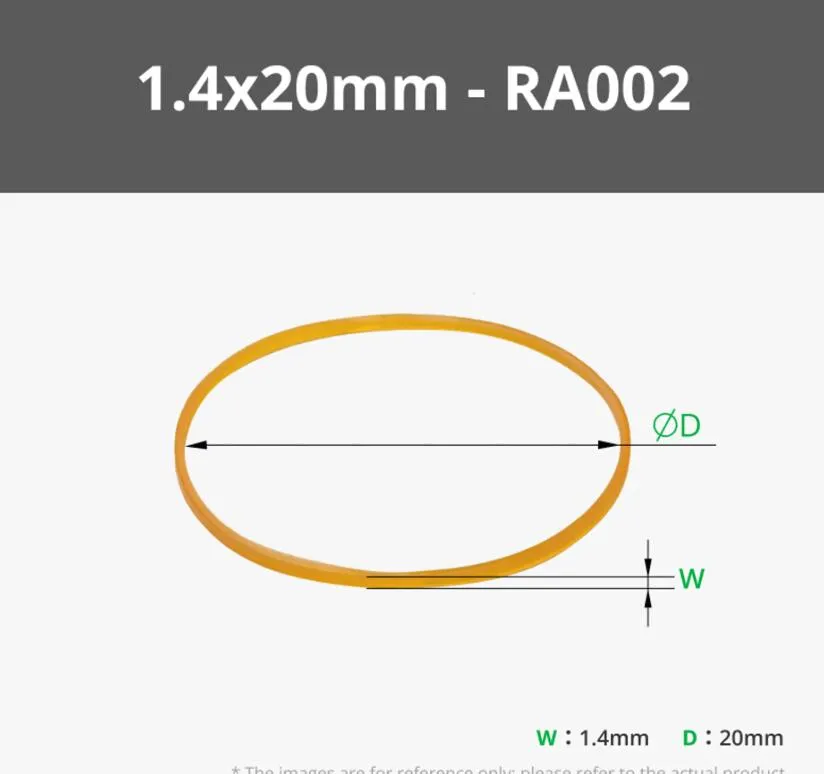
Assembly requires one rubber band (approx. 2cm in diameter). I use bands from the "Maker's Beginner Kit." Similar sizes work, but avoid longer bands as reduced elasticity may fail to deploy the blade.
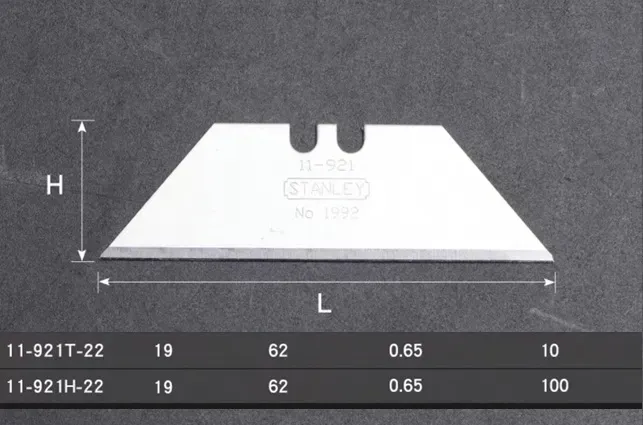
The blade used is a Stanley brand blade with a length of 62mm. Please do not use larger blades, as they may not fit. Slightly smaller blades might cause wiggle or play
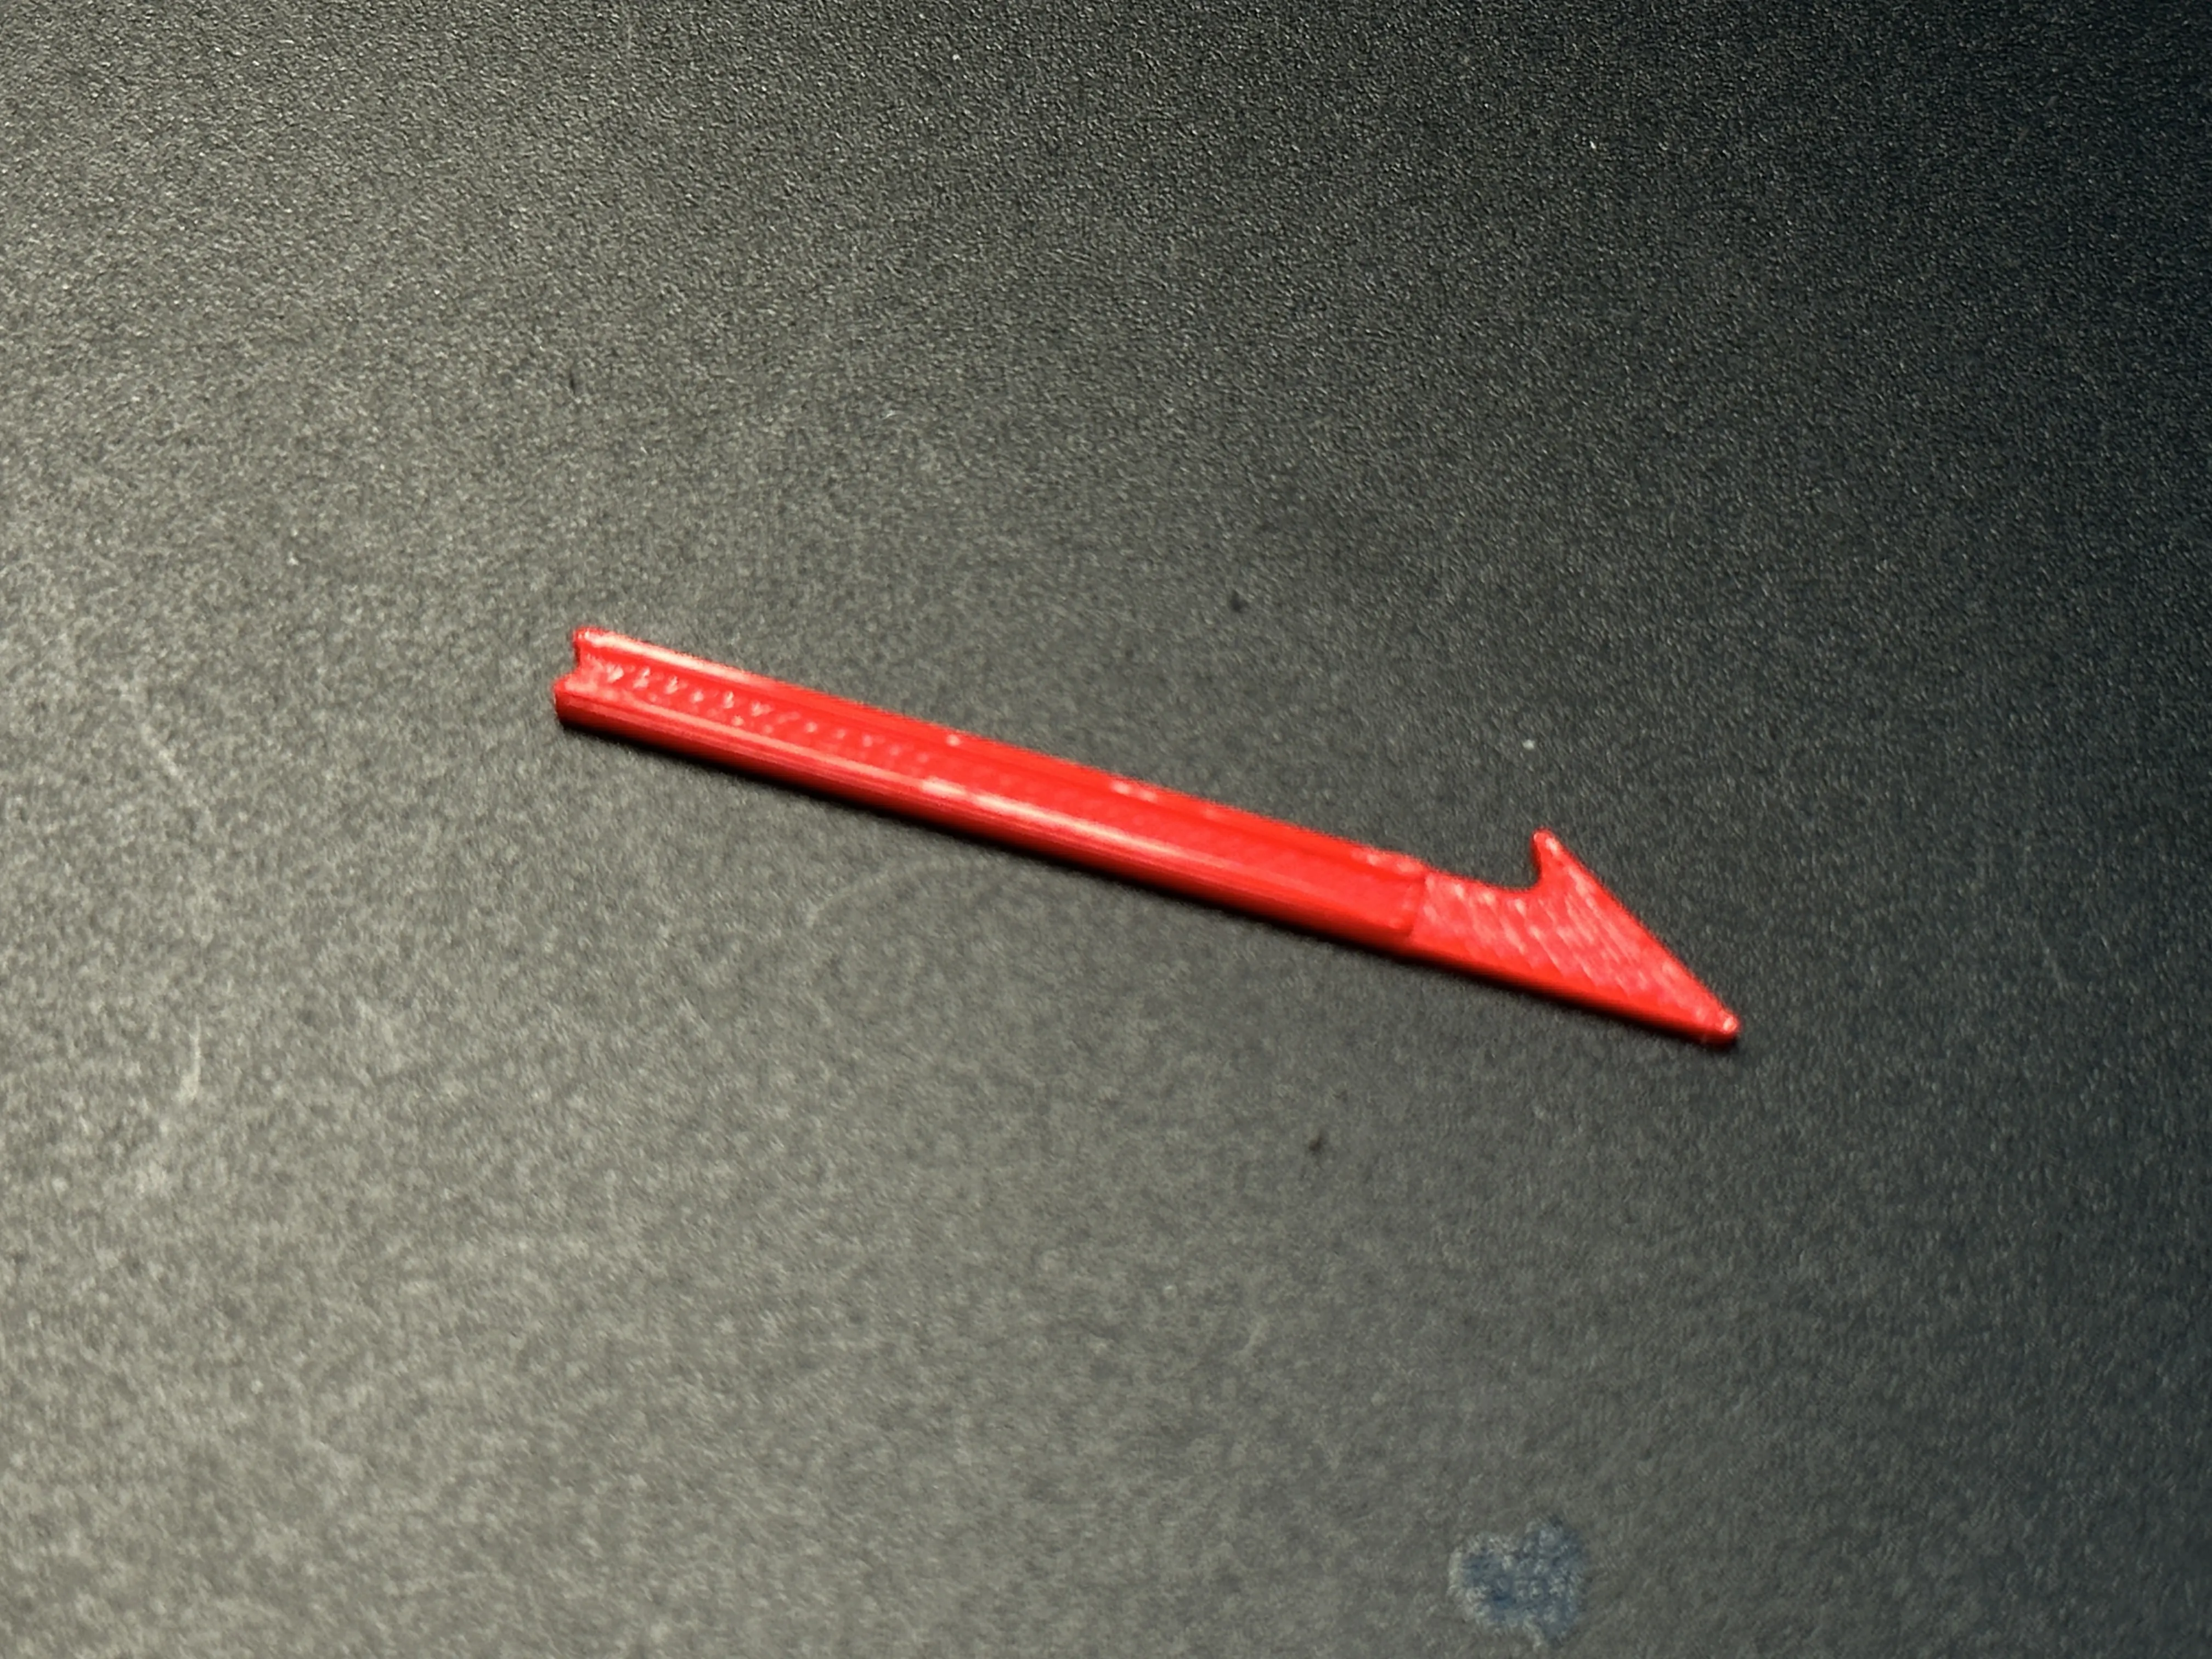
Tweezers are recommended but not essential—I include a 3D-printed tool to assist with band installation. I’ve assembled 4 knives using this tool; while less convenient than tweezers, it gets the job done.
For a sturdier and more polished finish, you can optionally use an M3-8mm screw and nut to secure the blade.
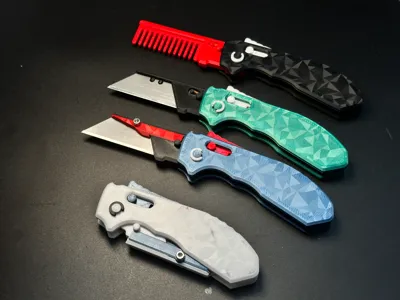
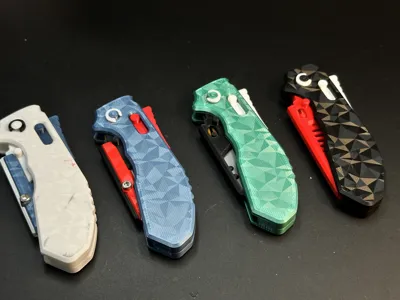
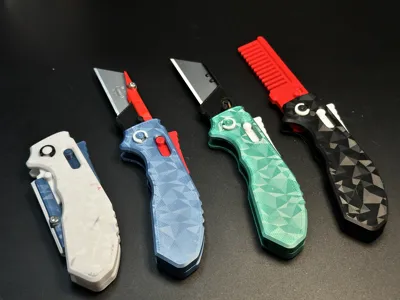
Available Versions:
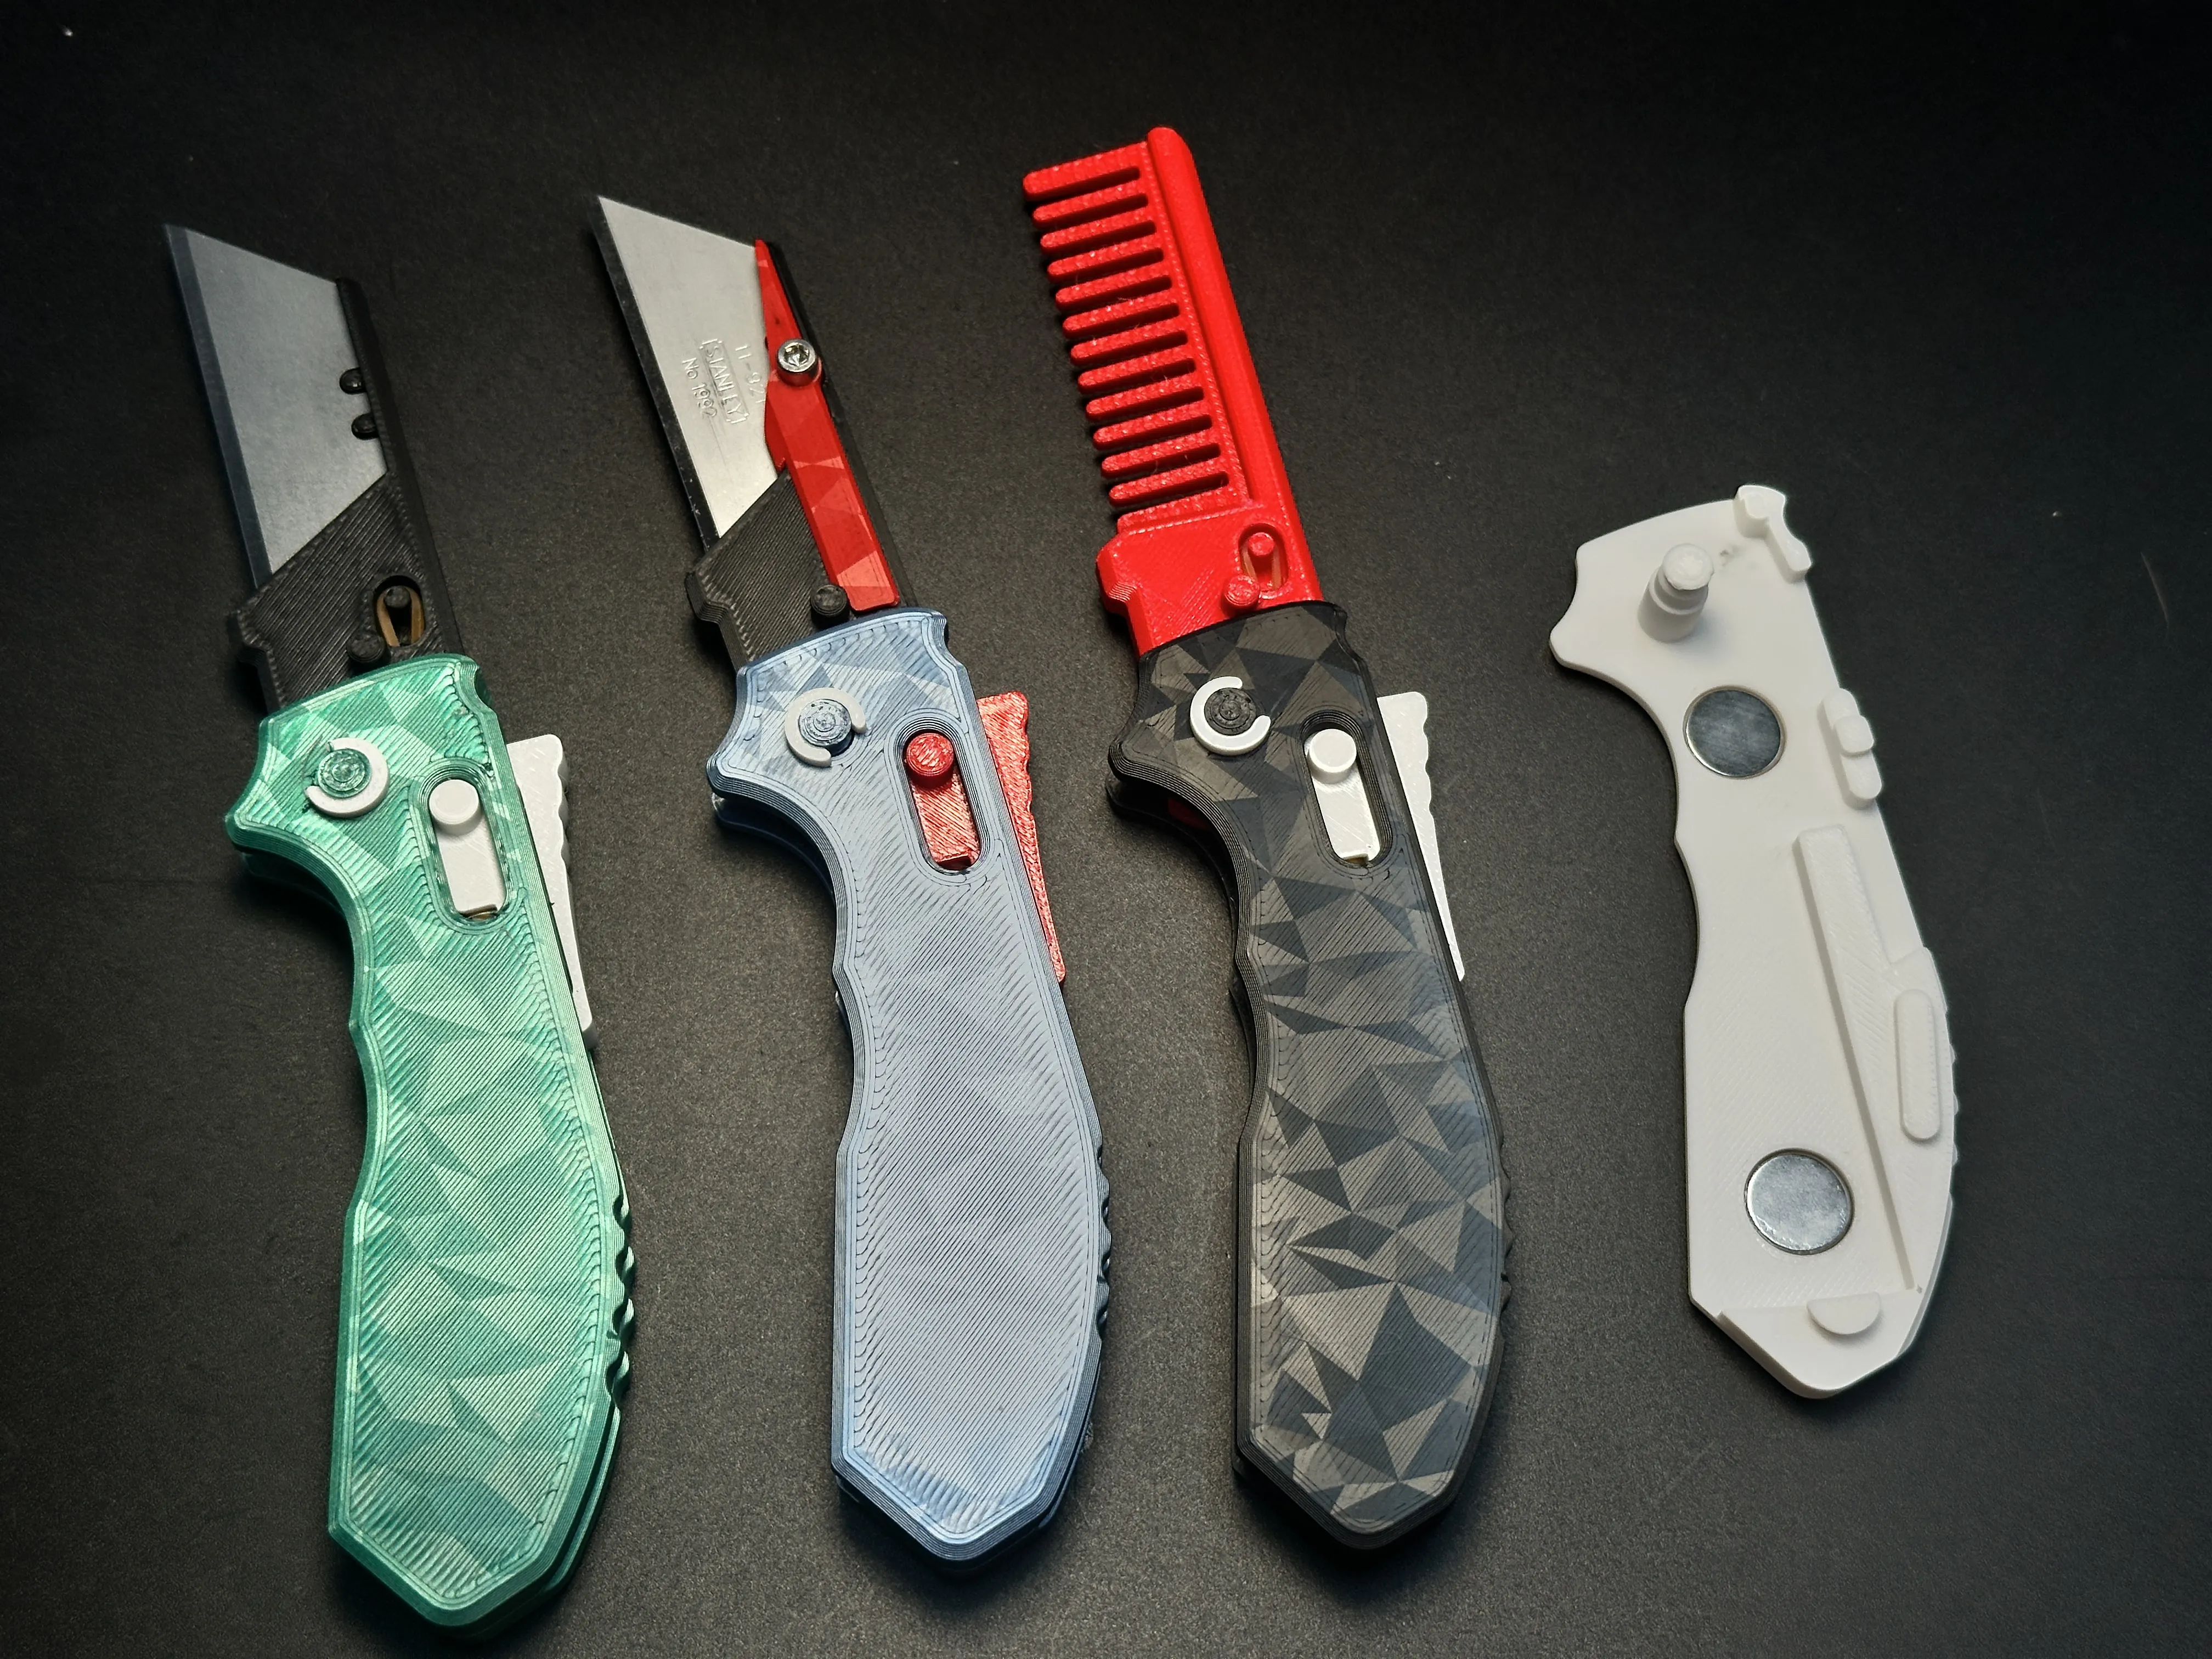
1.Basic Version (requires only a rubber band)
2.Reinforced Version (recommended; requires rubber band + M3-8mm screw/nut)
3.Comb Version (requires only a rubber band)
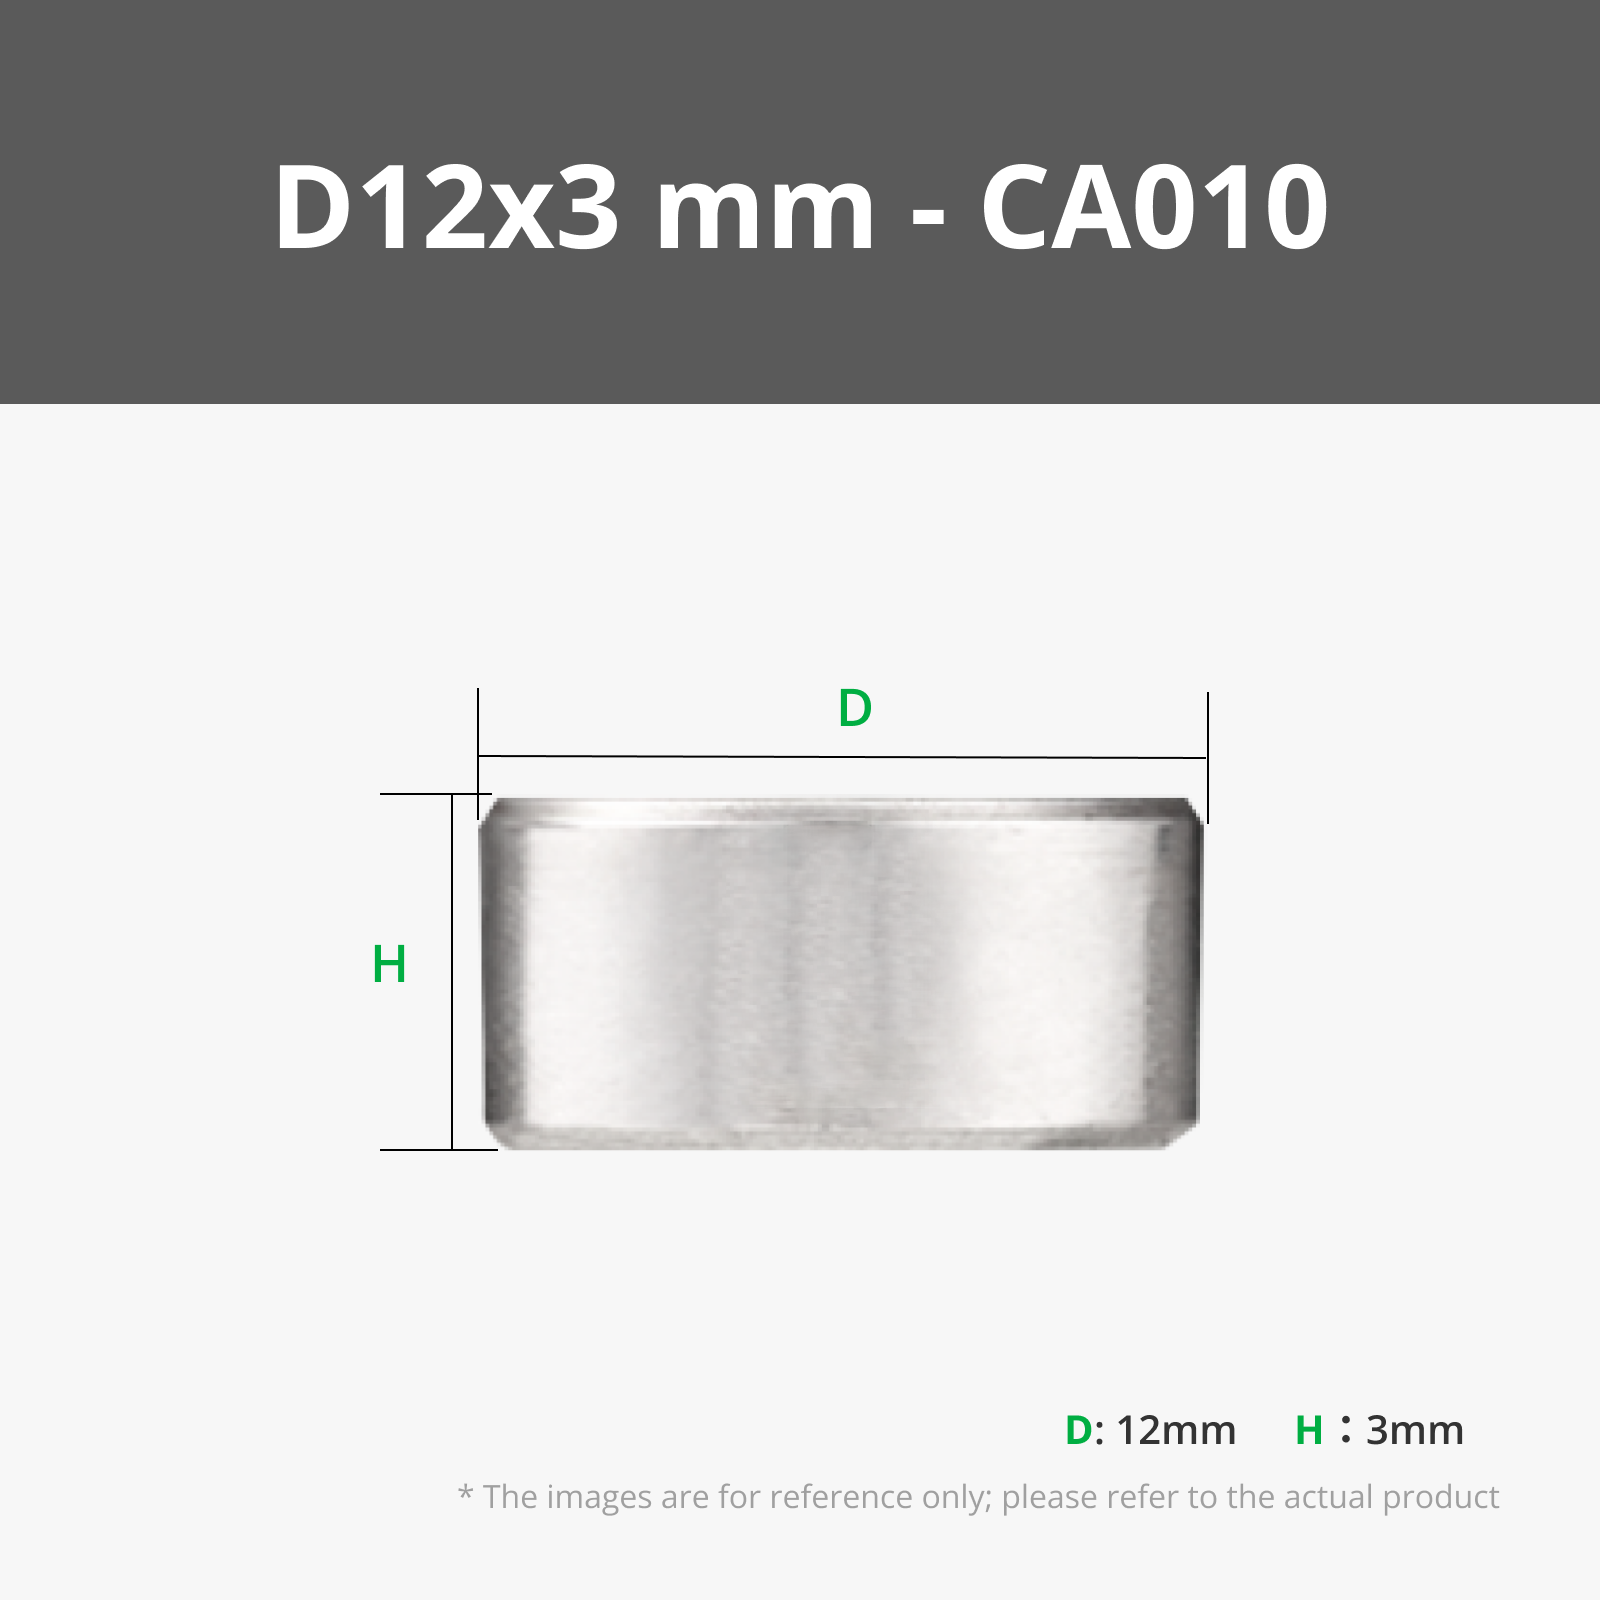
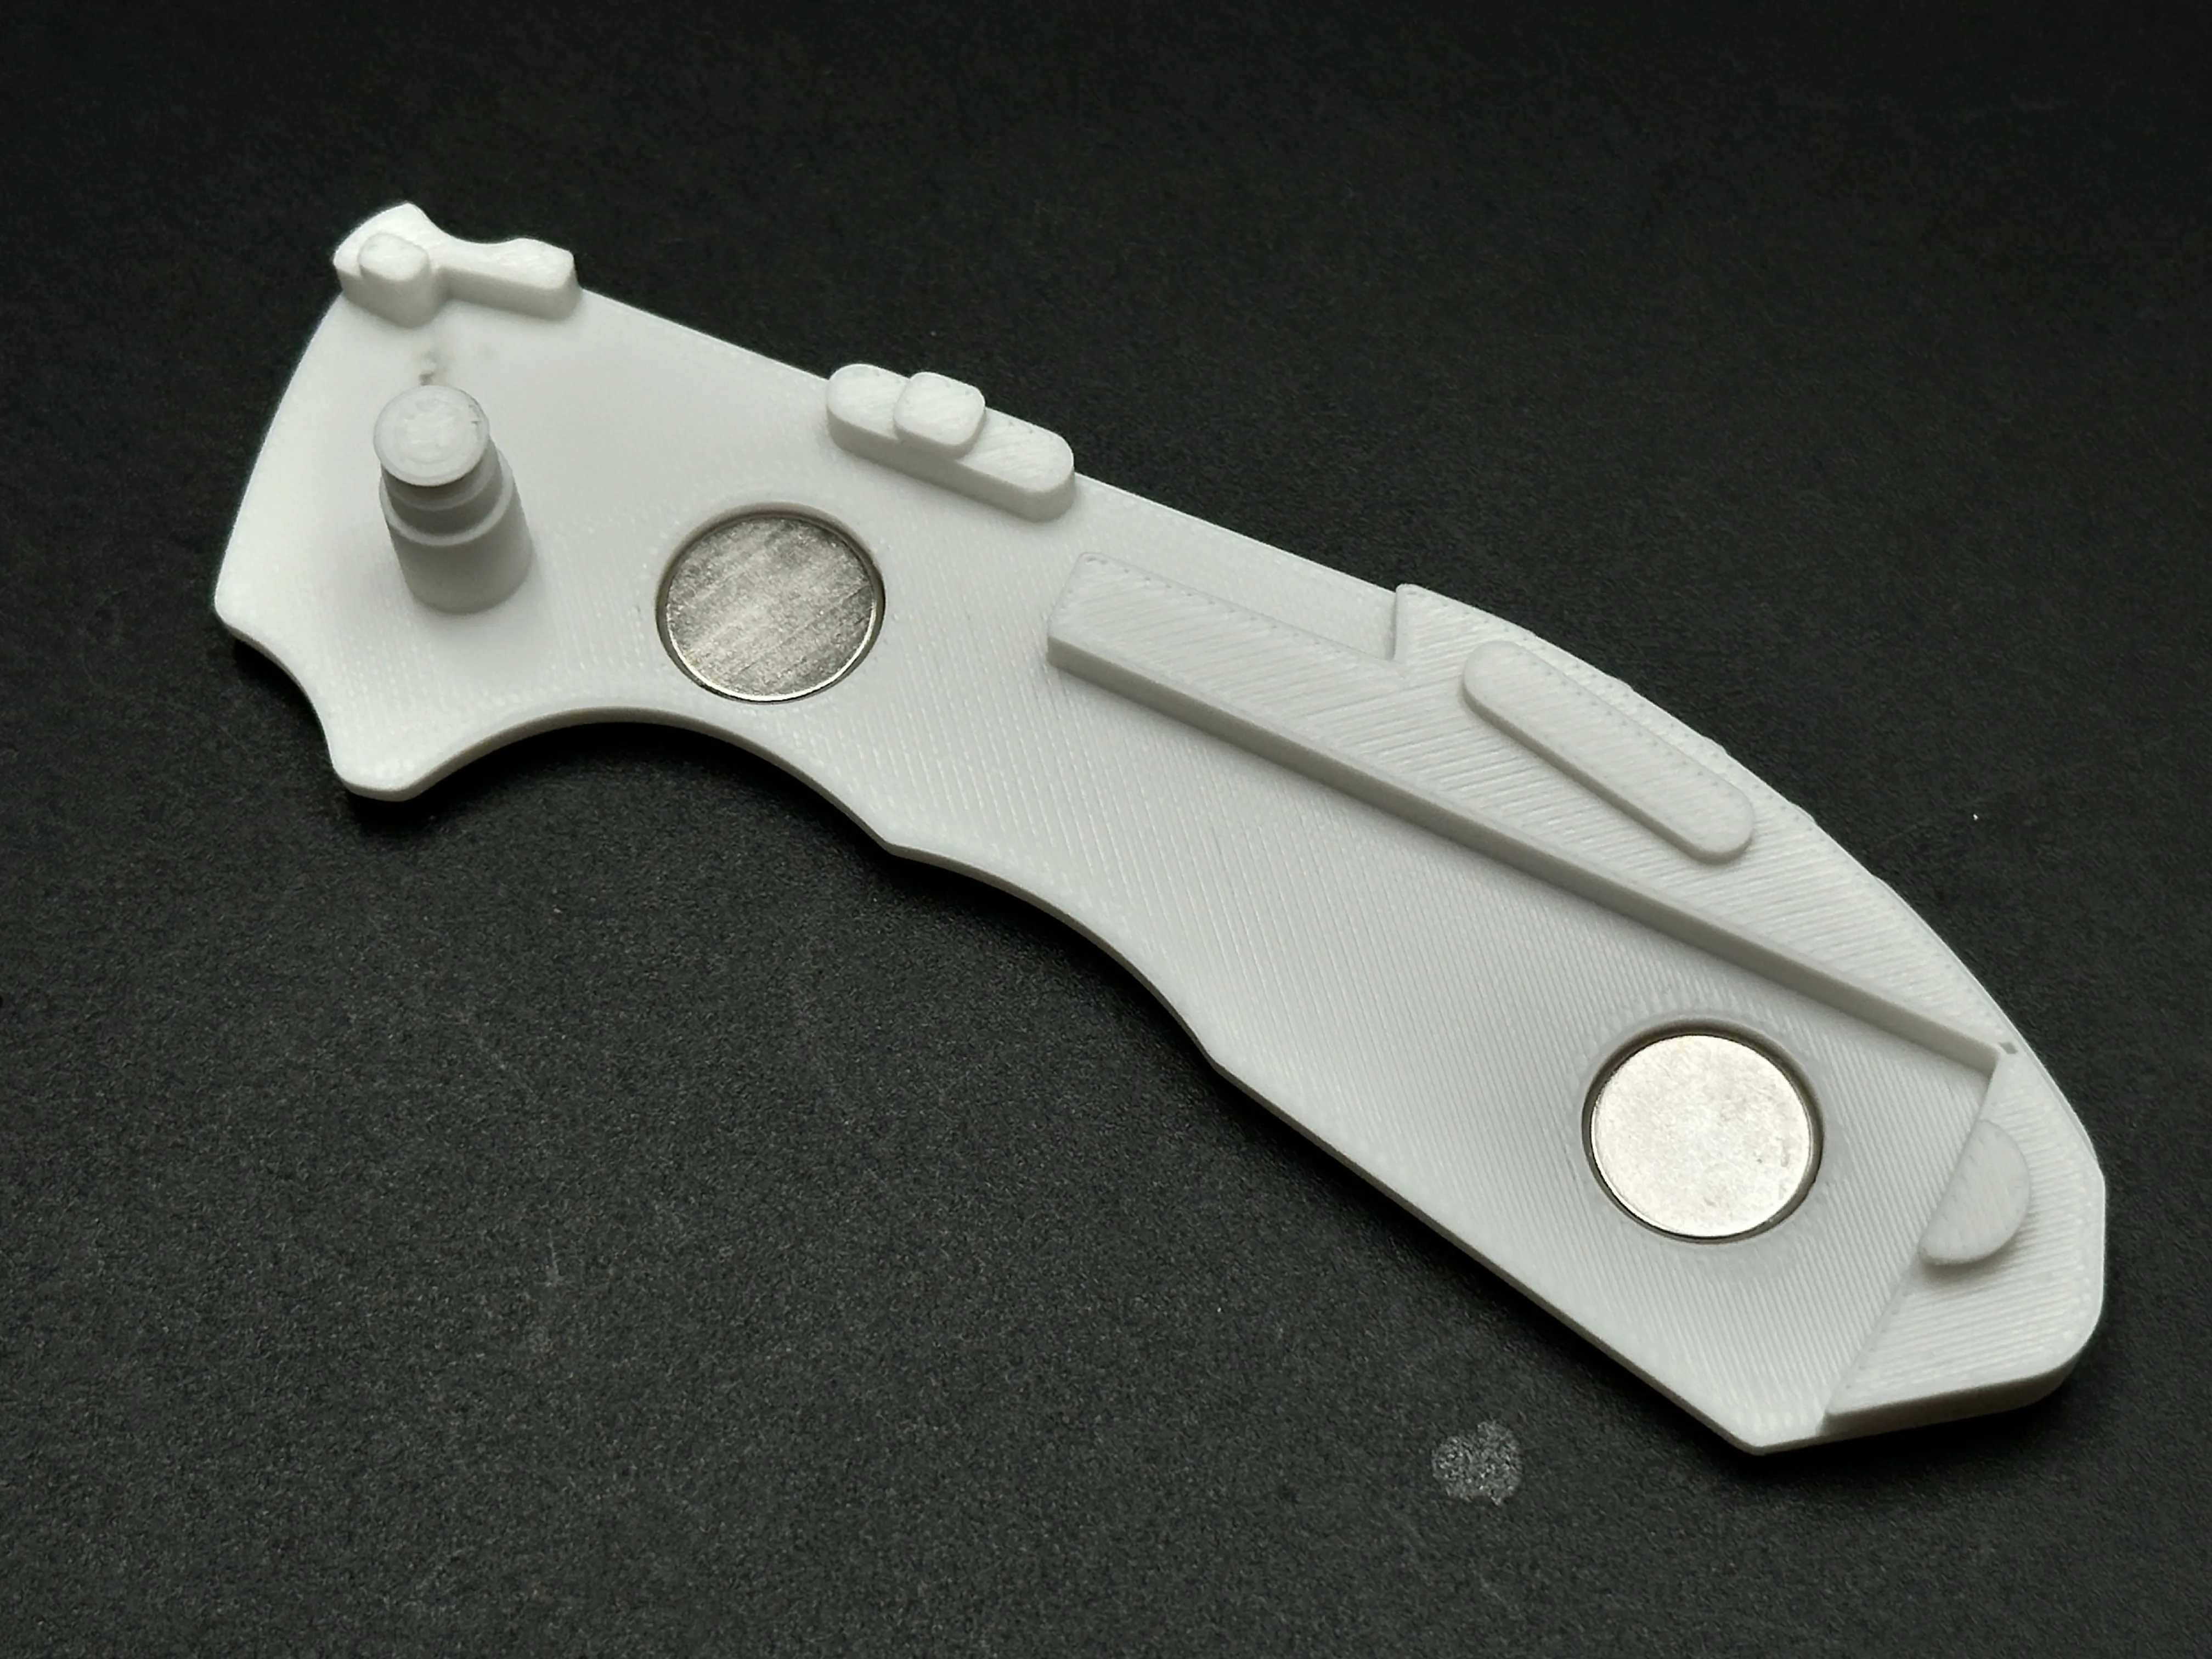
4.Magnetic Handle (fits up to 2 magnets: 12mm diameter × 3mm thickness)
Assembly Tips: Watch my video tutorial for visual guidance.
Assembly Steps:
1.Part Overview
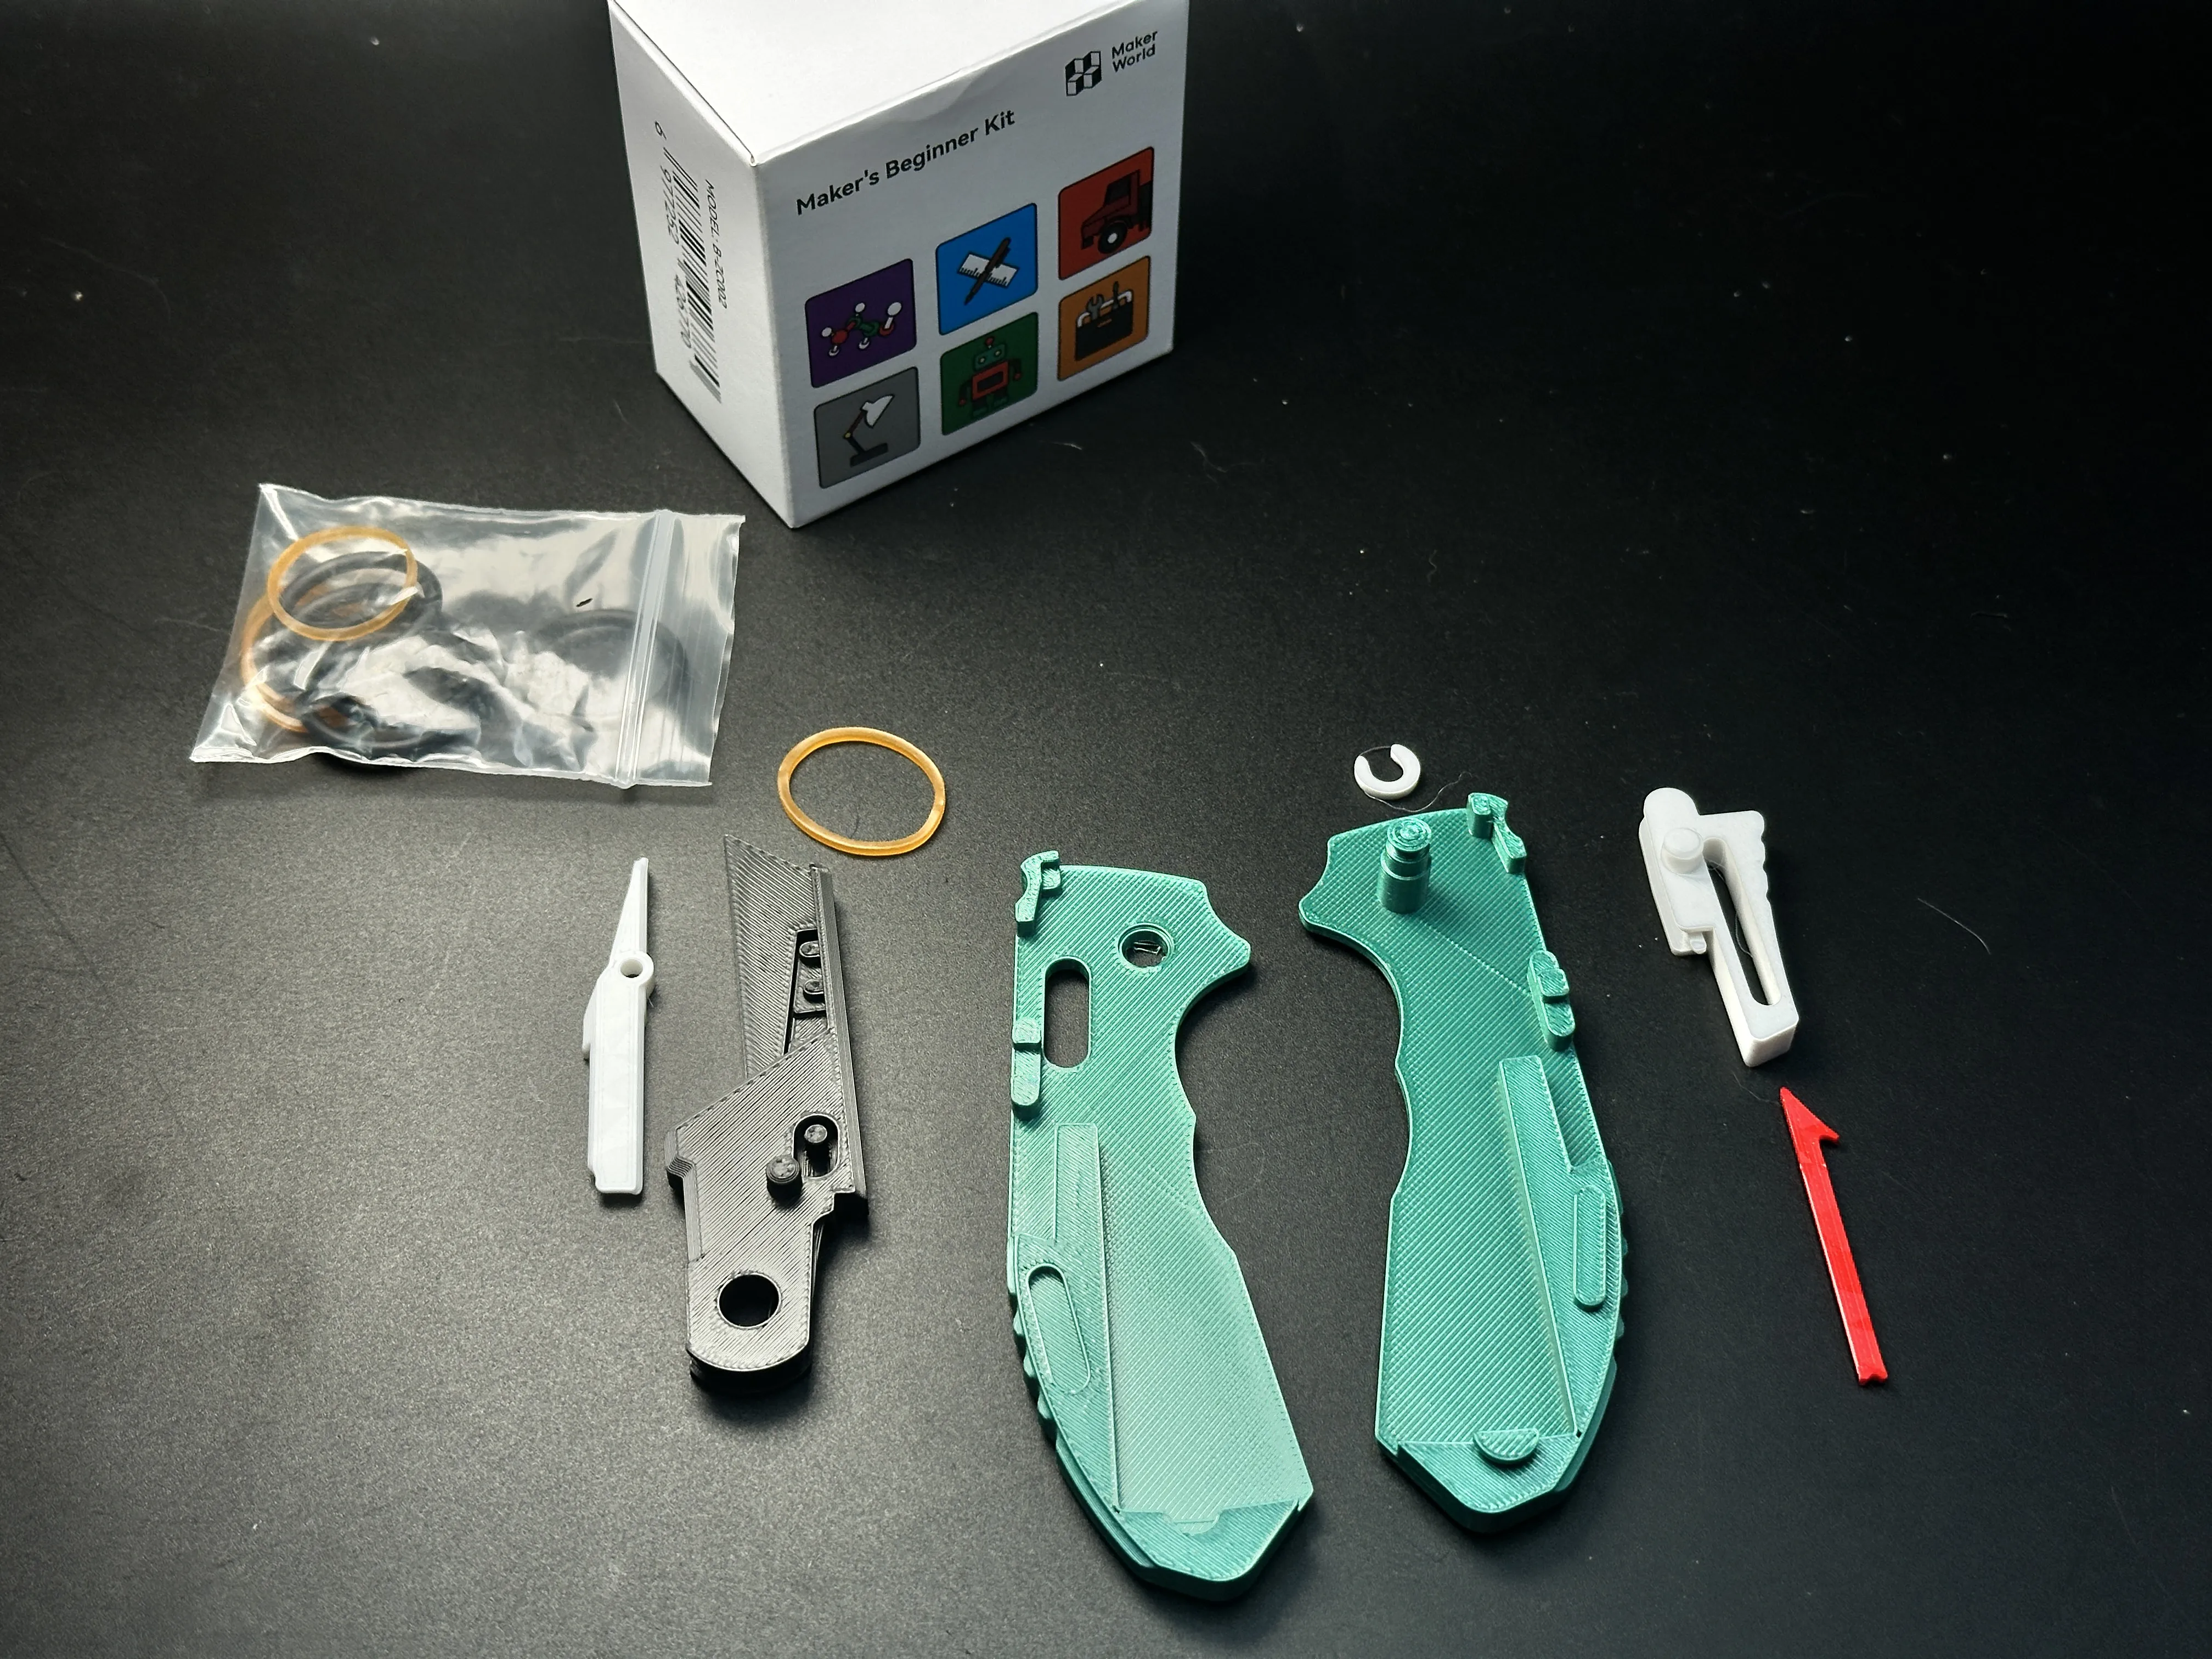
2.For Magnetic Handle: Install magnets first. The slots fit up to 2 magnets (12mm×3mm); smaller magnets also work. Secure with glue to prevent magnets from dislodging and blocking blade deployment.
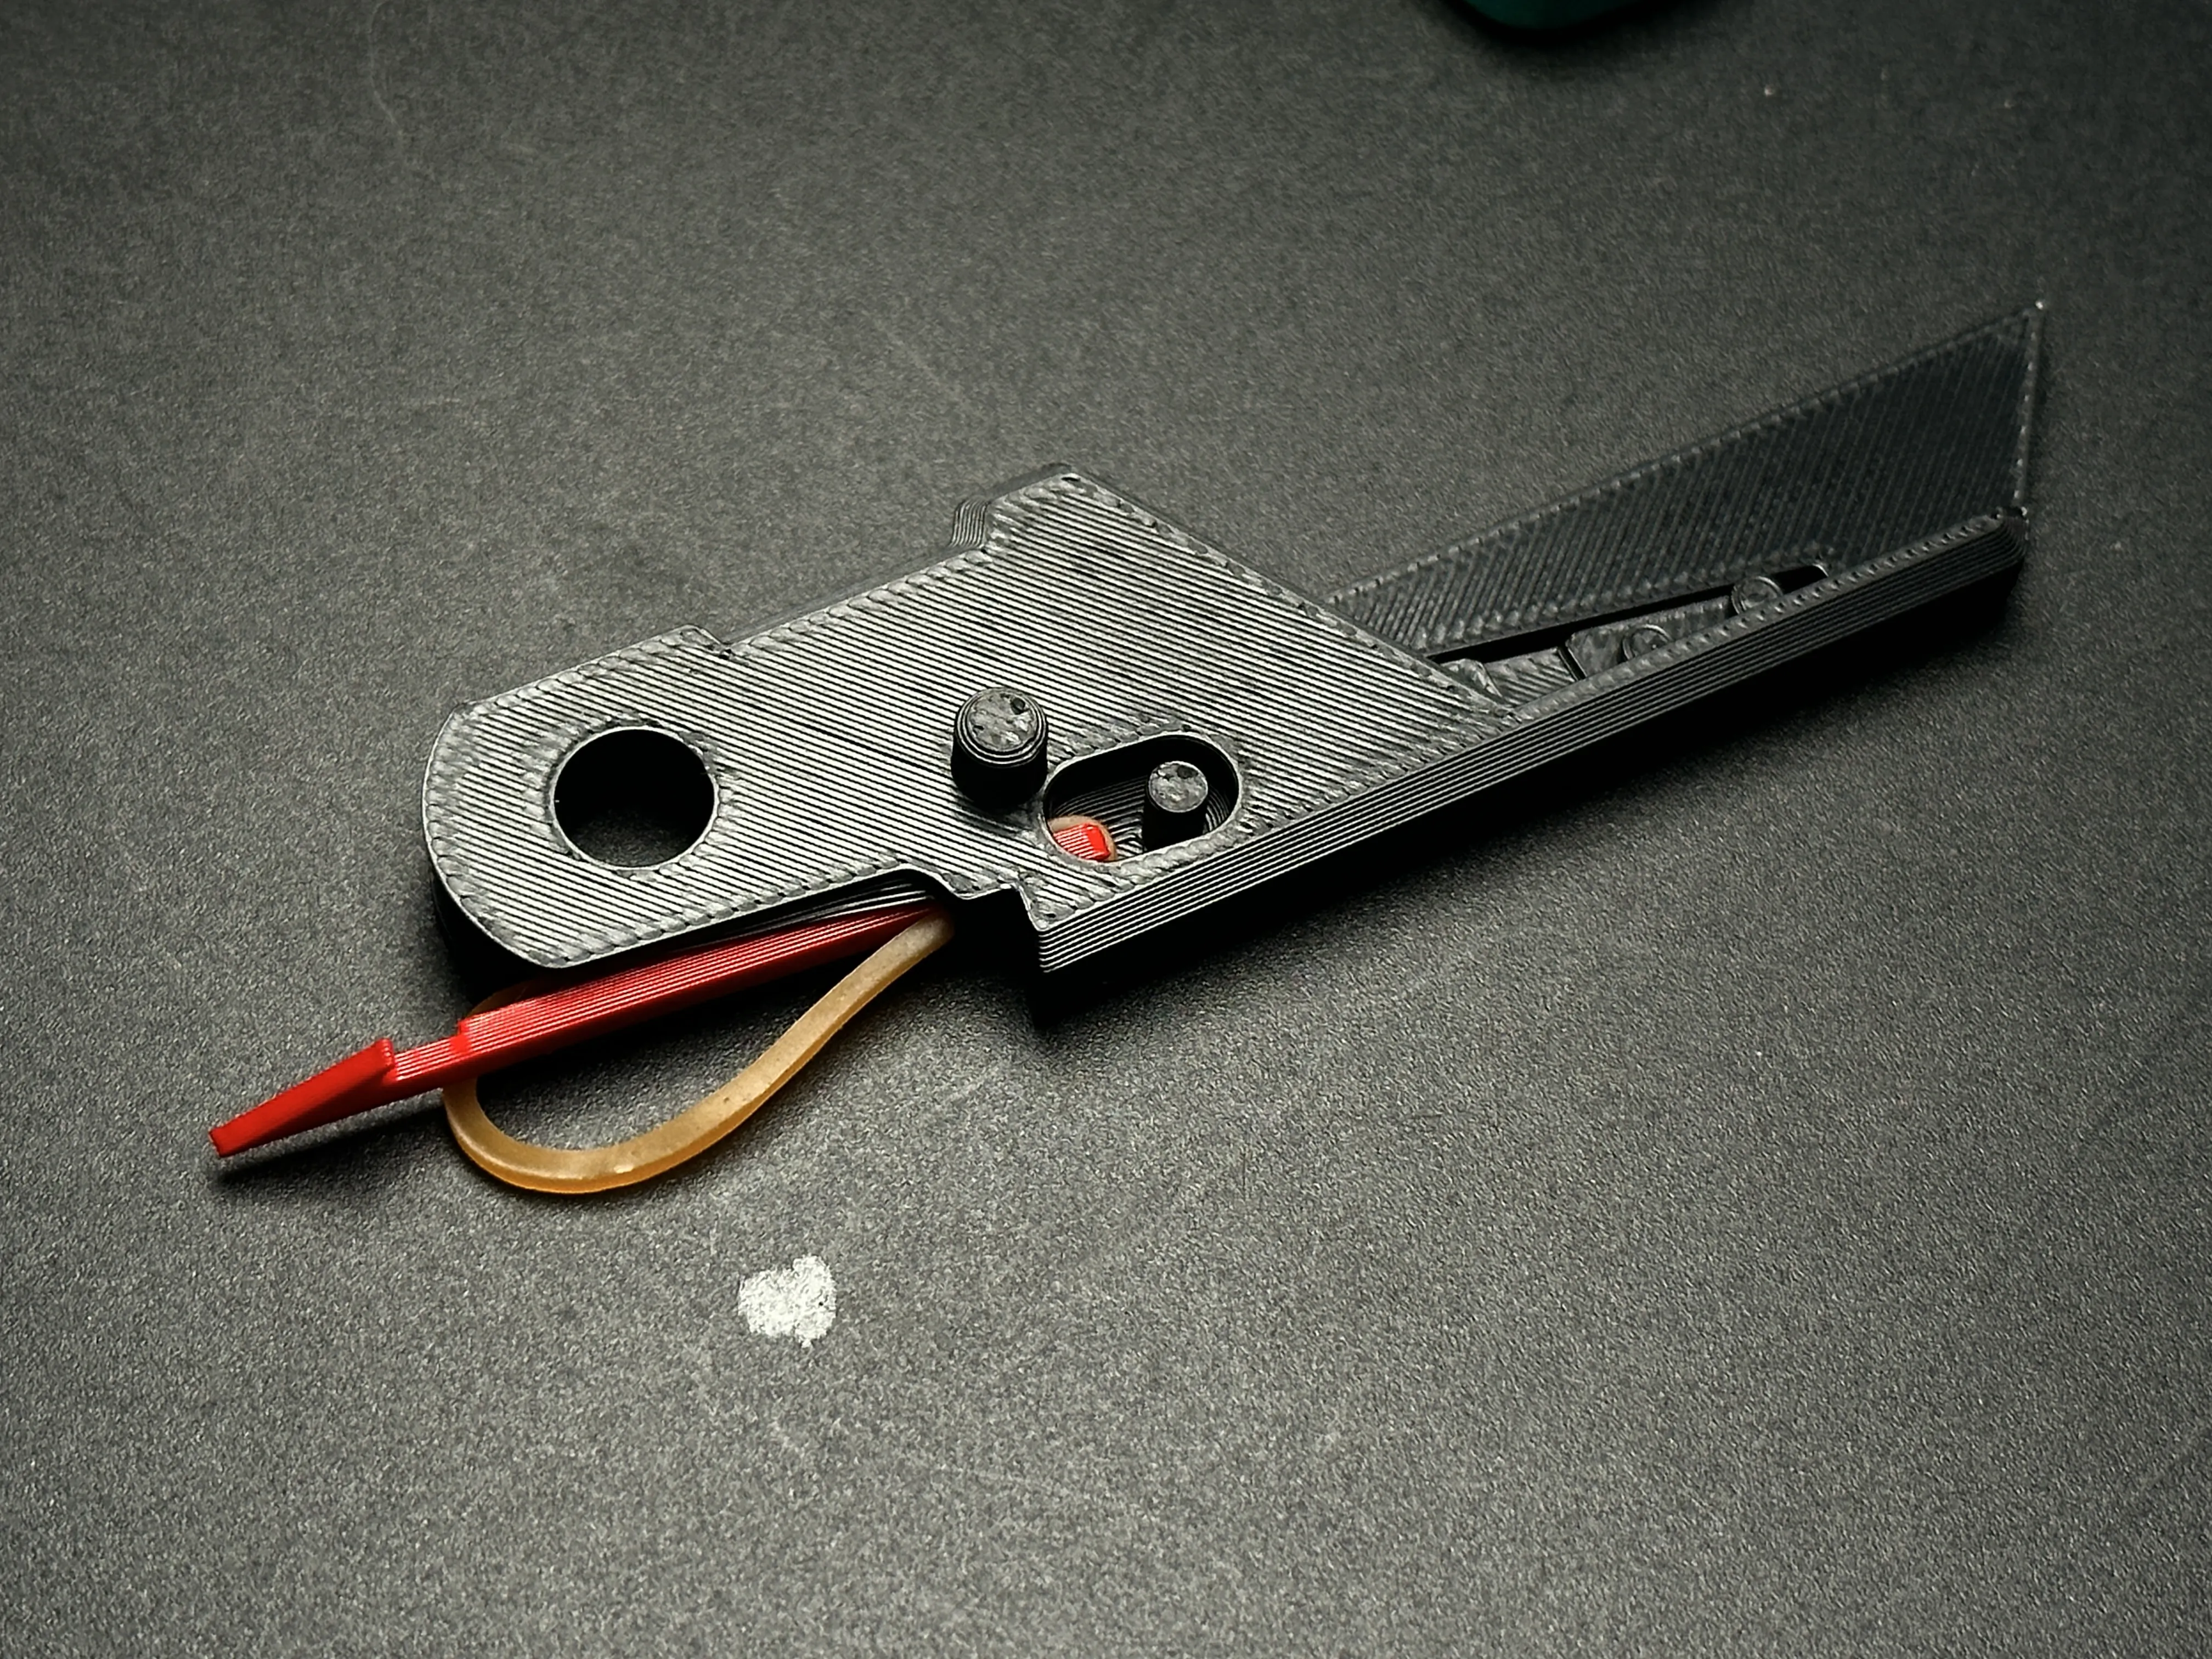
3.Use tweezers or the 3D-printed tool to thread the rubber band through the blade holder’s hole and secure it.
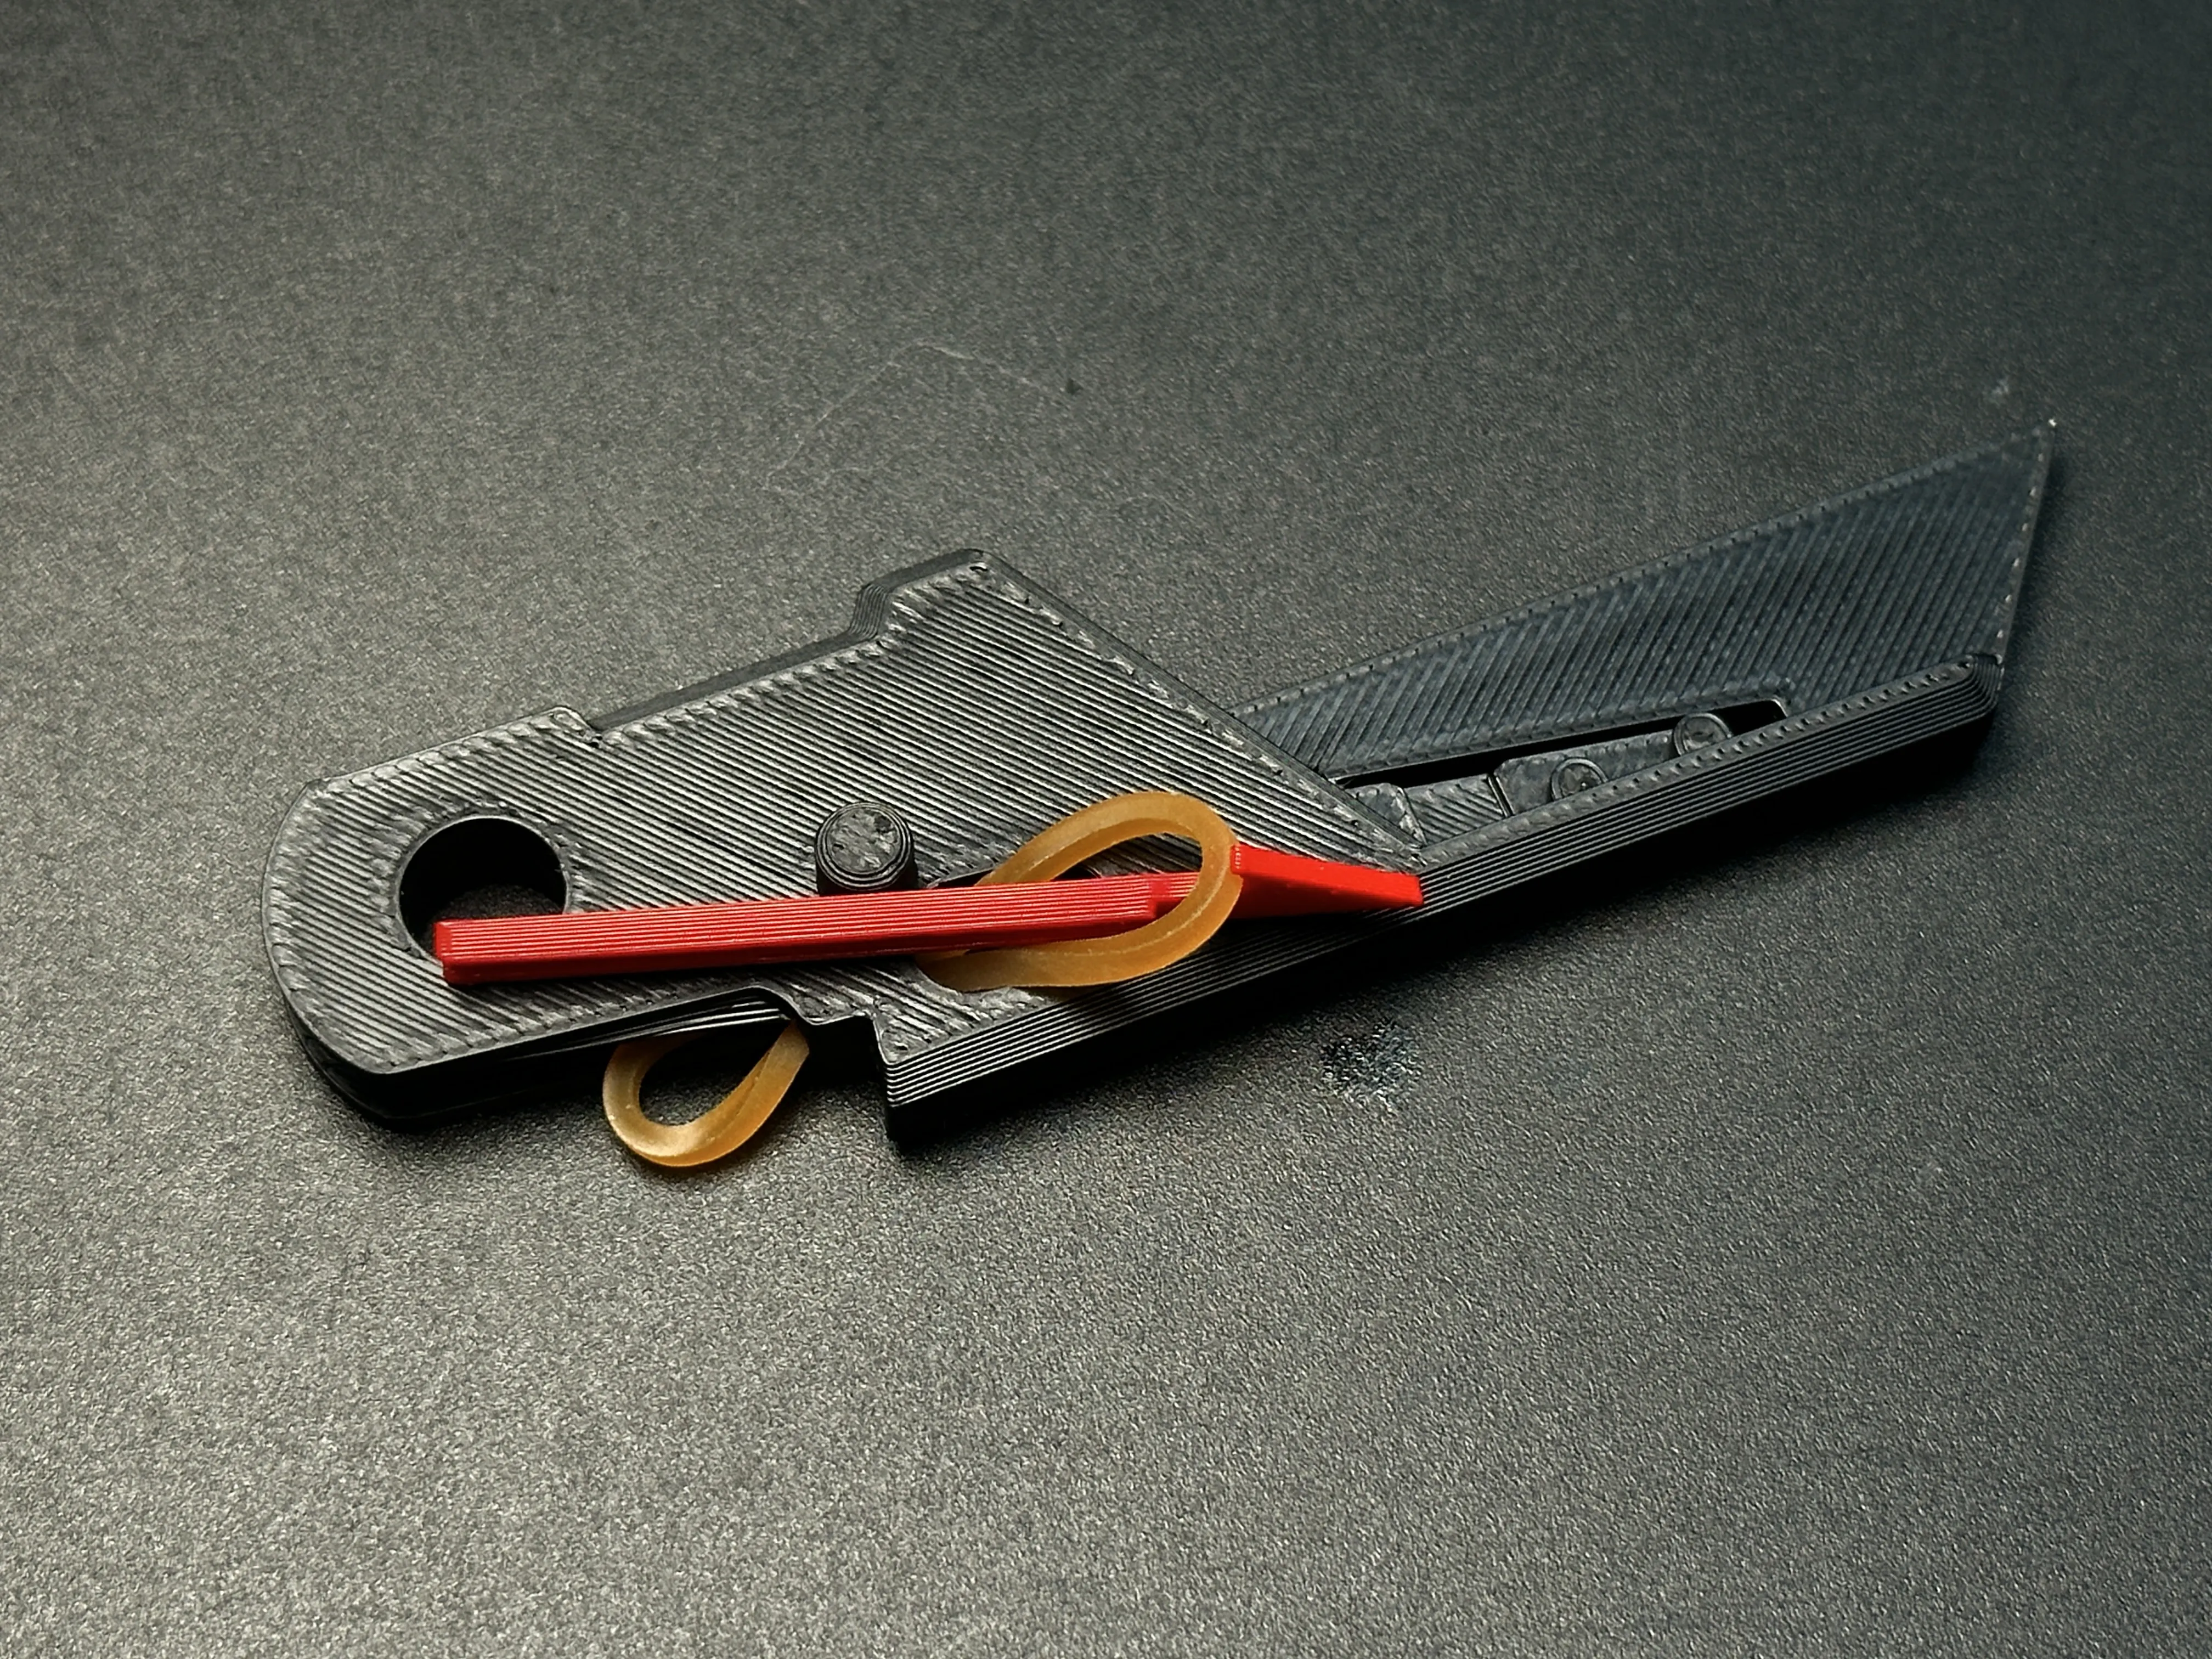
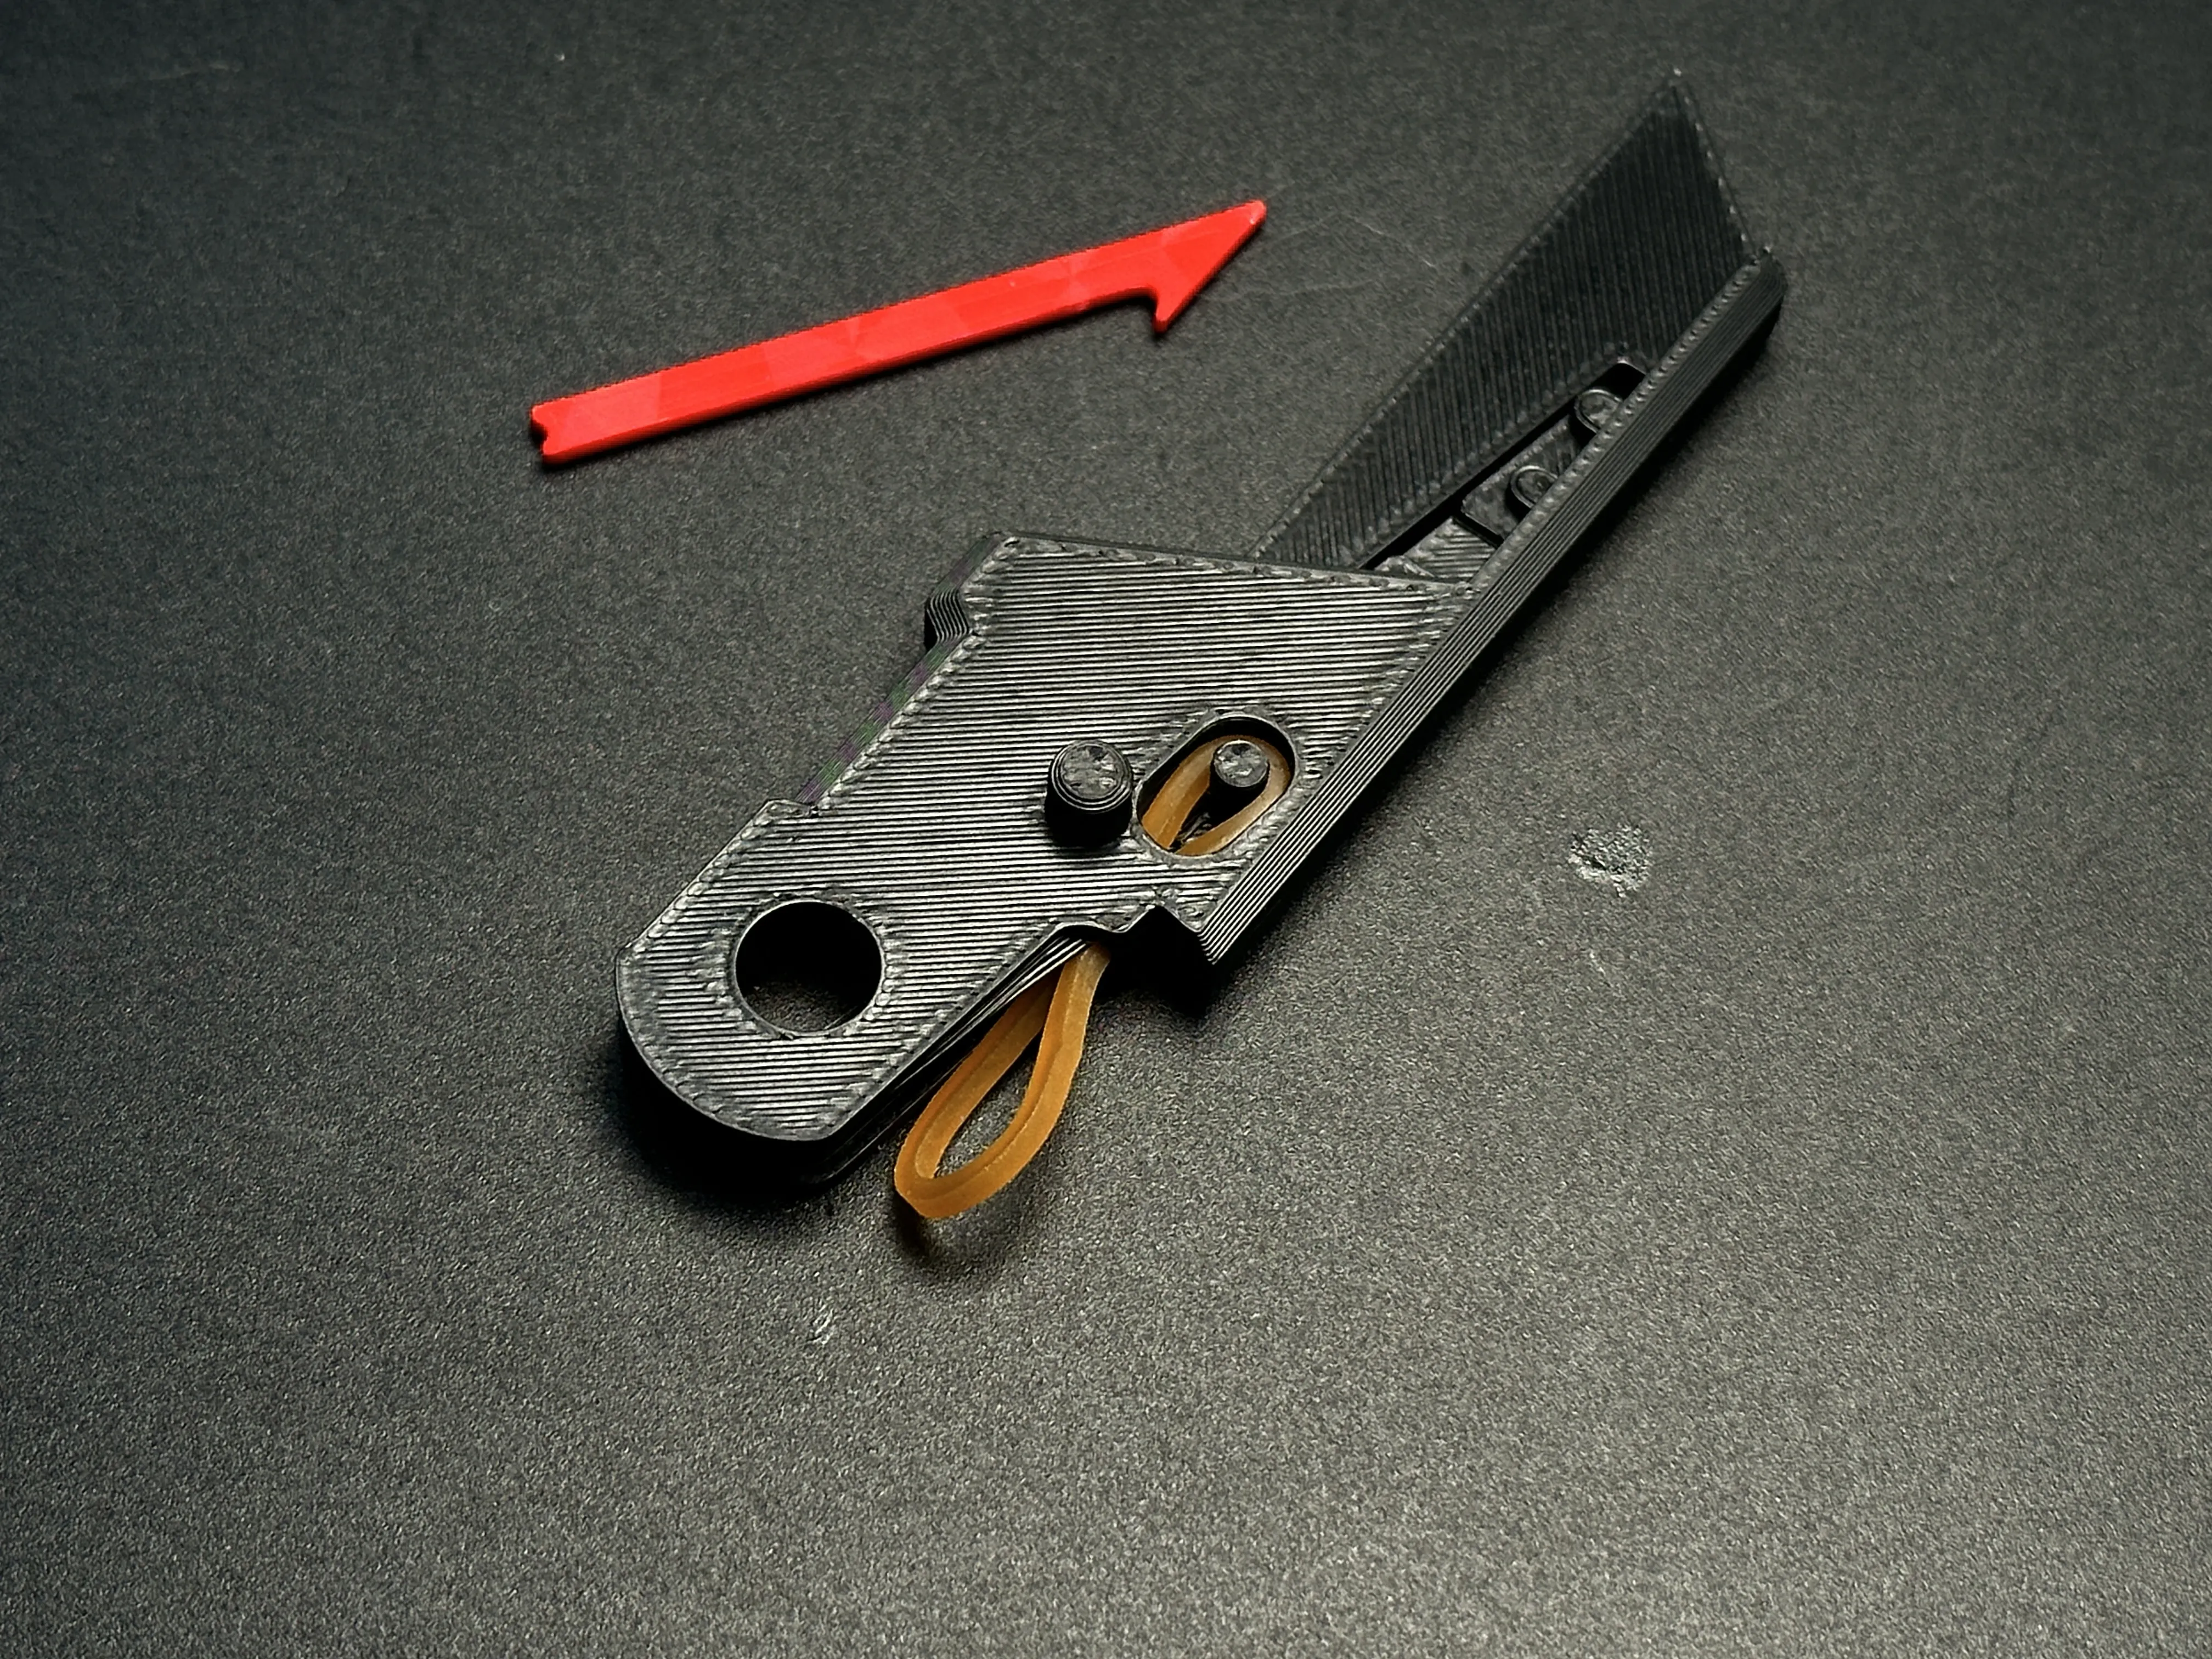
4.Attach the other end of the band to the protrusion on the locking mechanism.
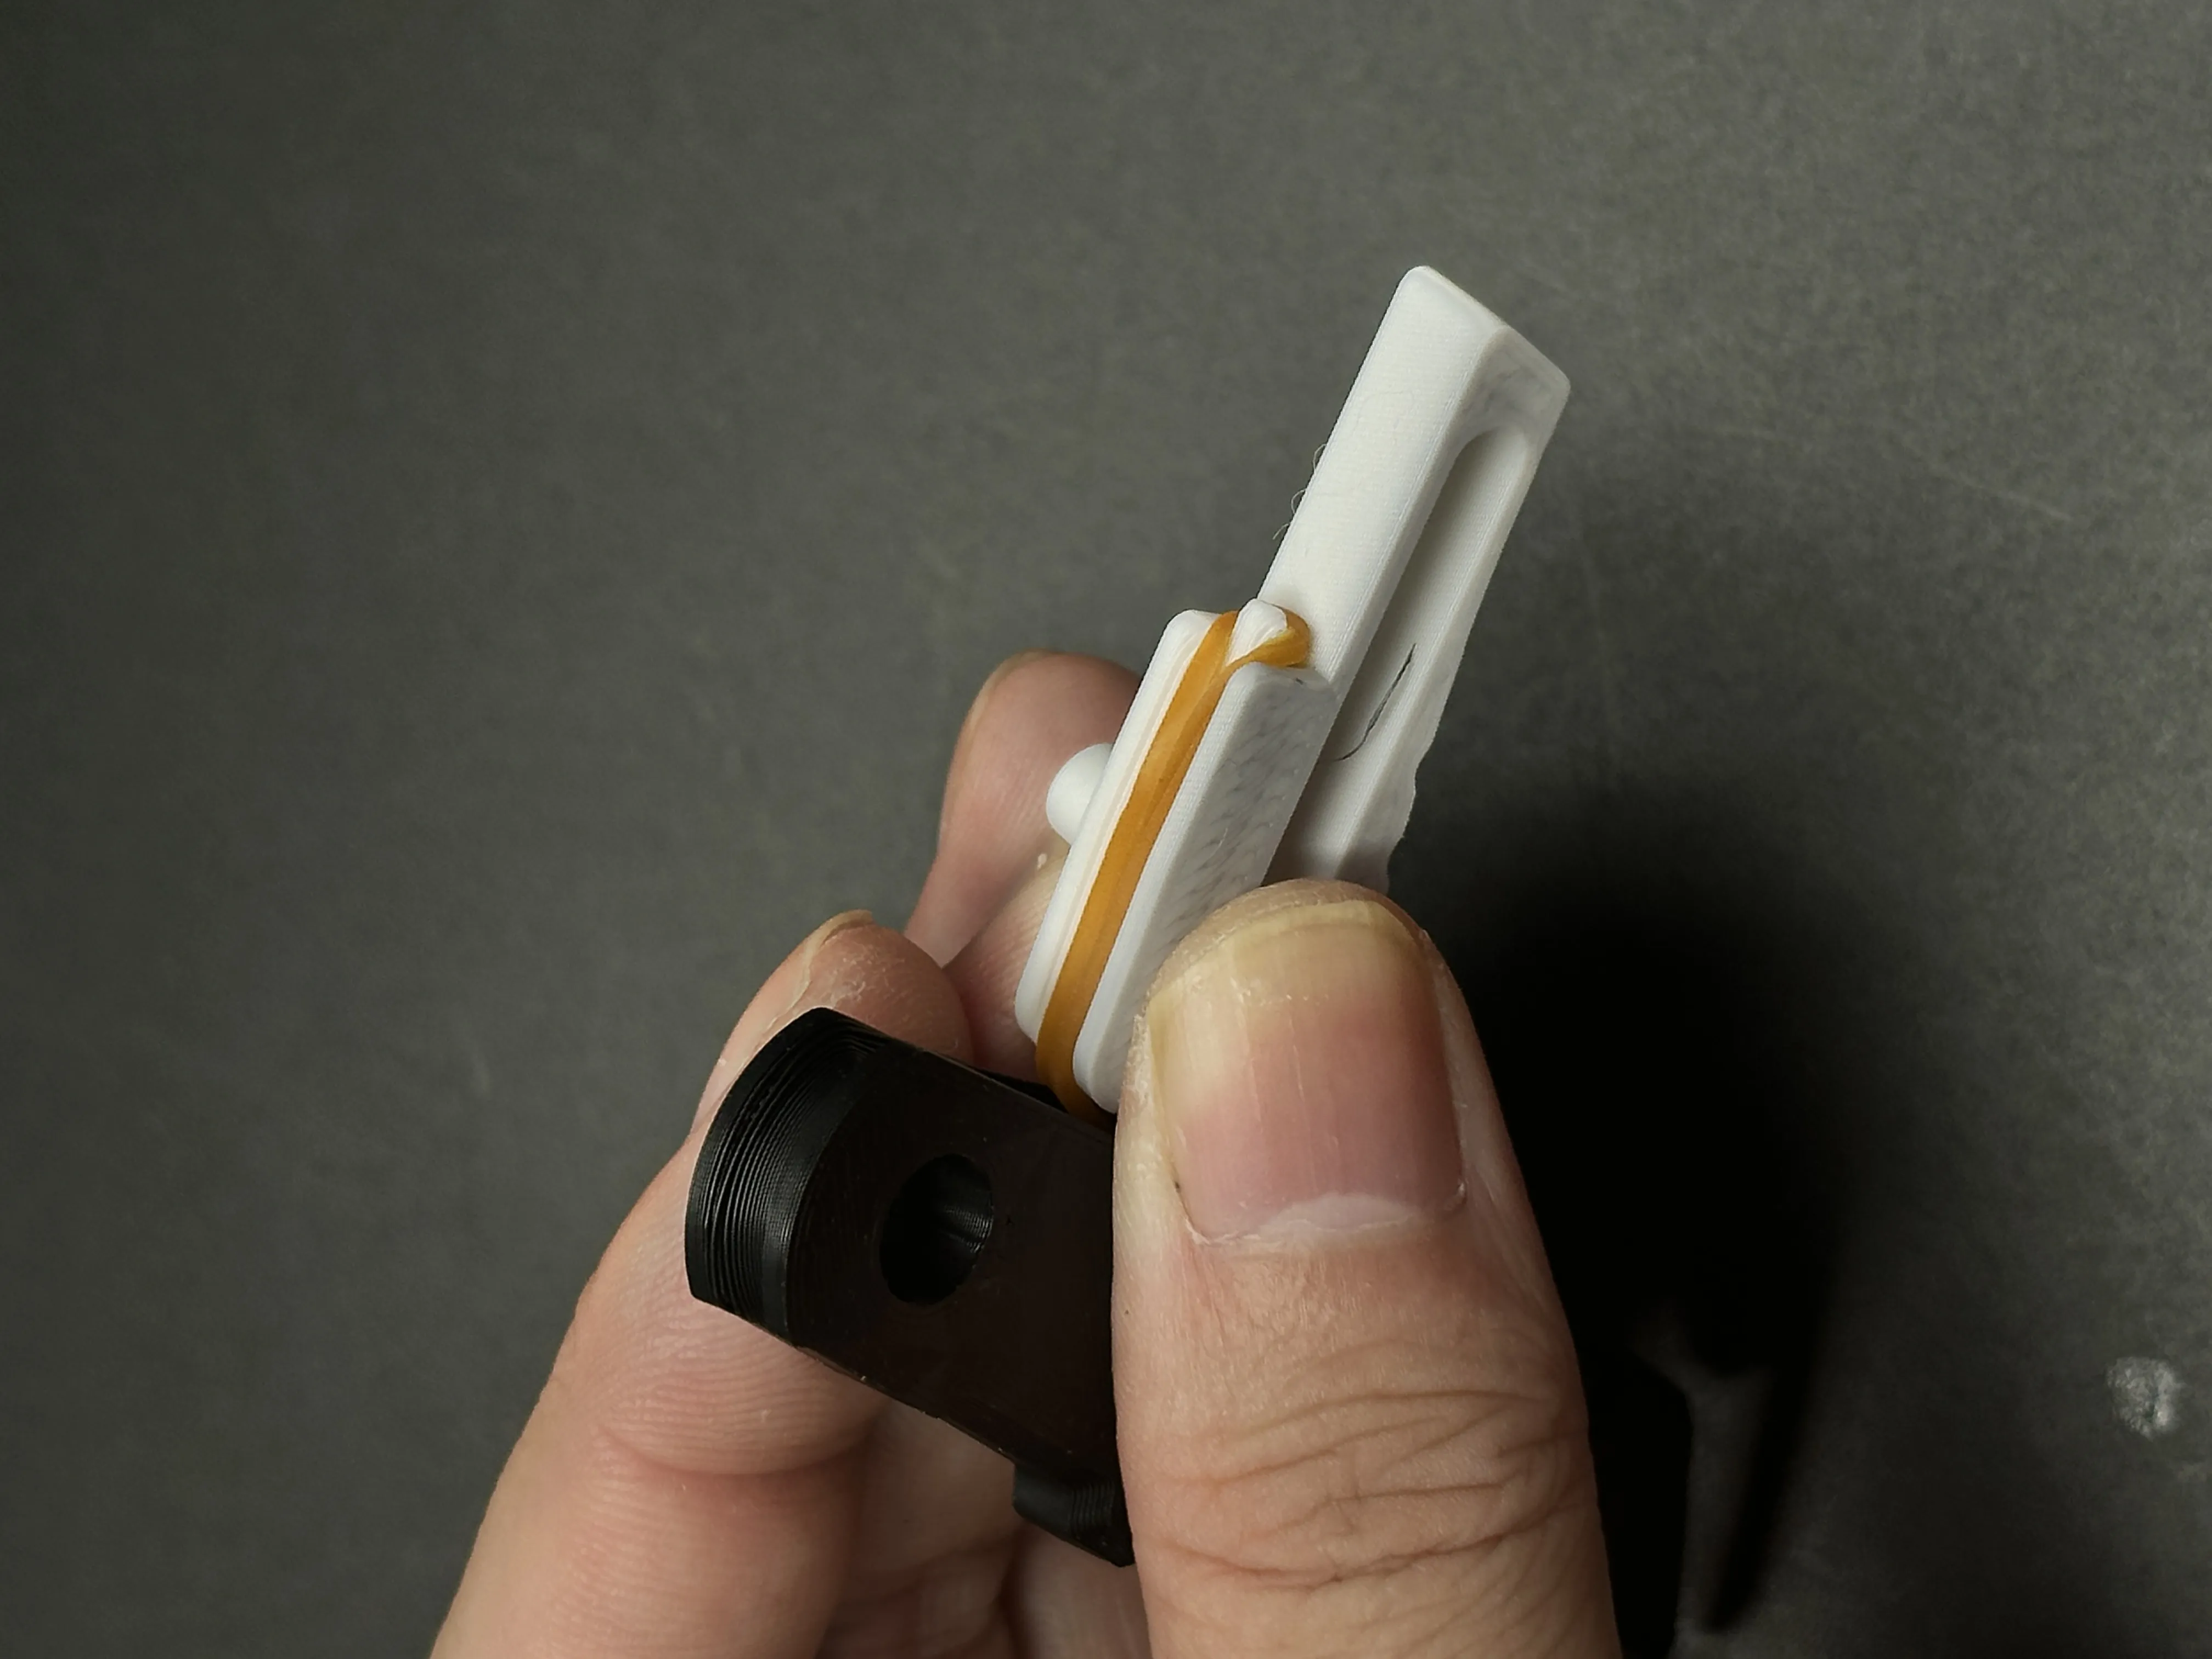
5.Install the blade holder and locking mechanism into the handle. Test functionality at this stage.
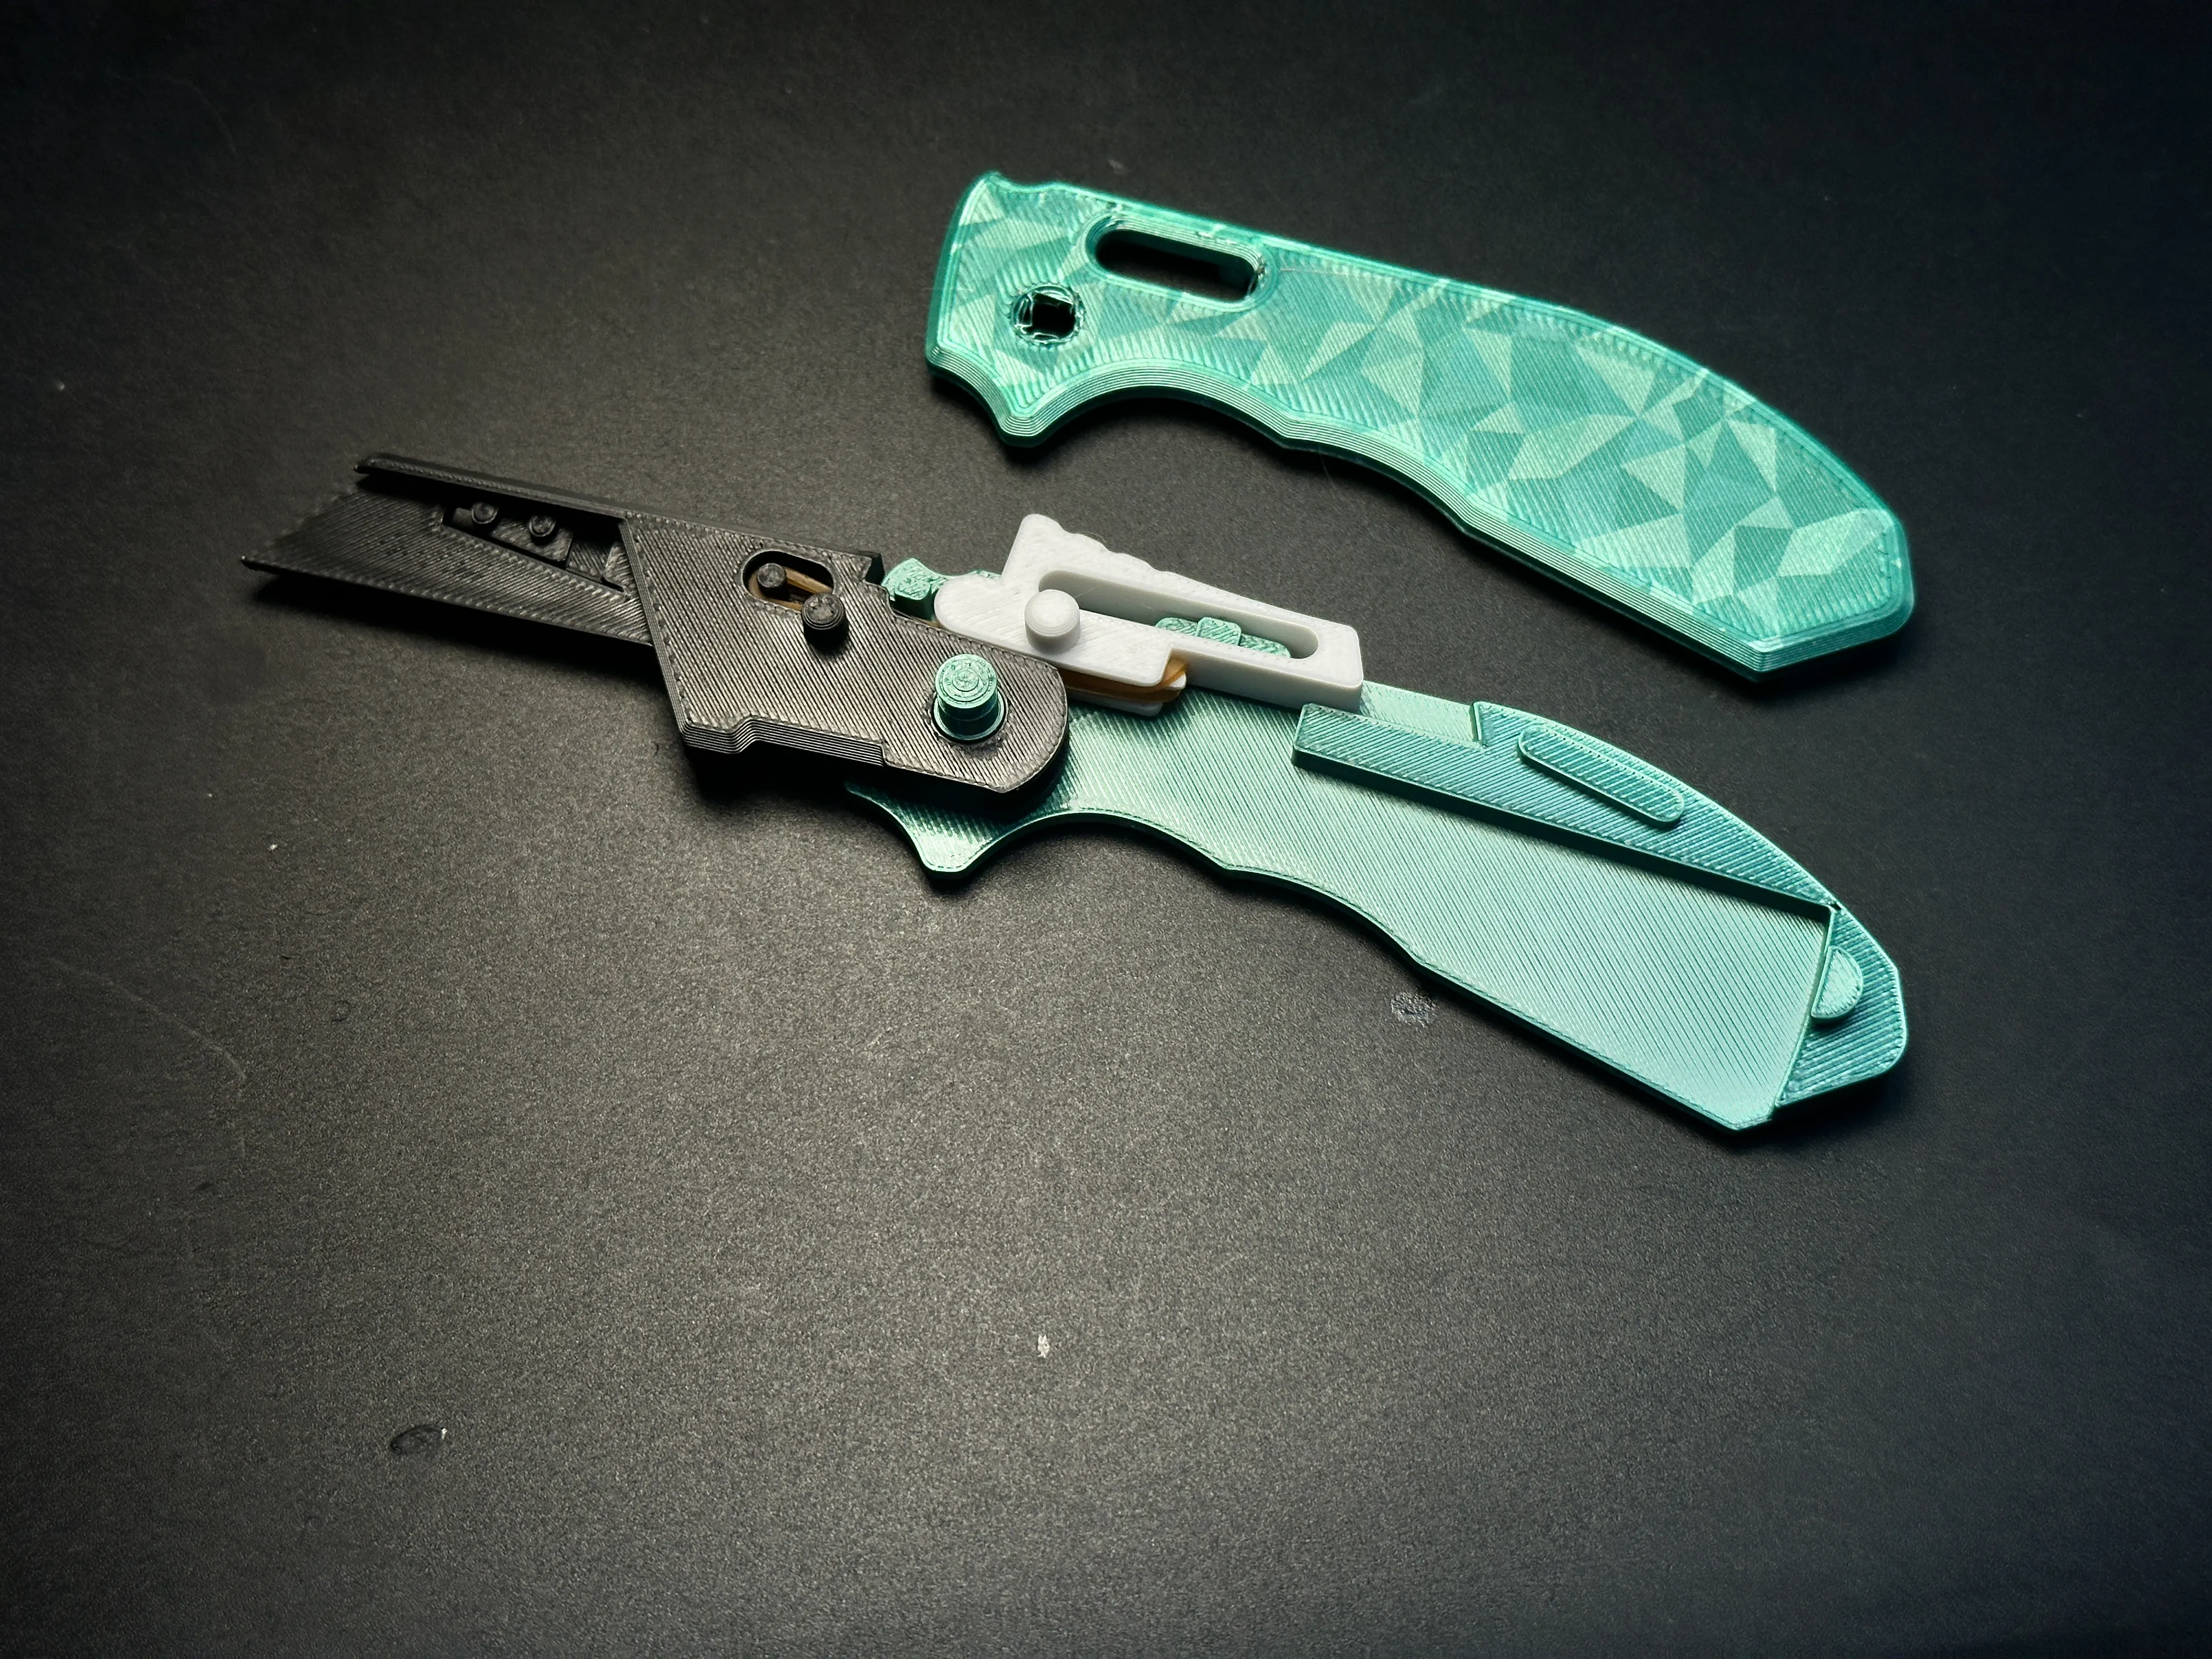
6.Close the other handle half: first snap the rear clasp, then align and join the handles. Secure with a circlip.
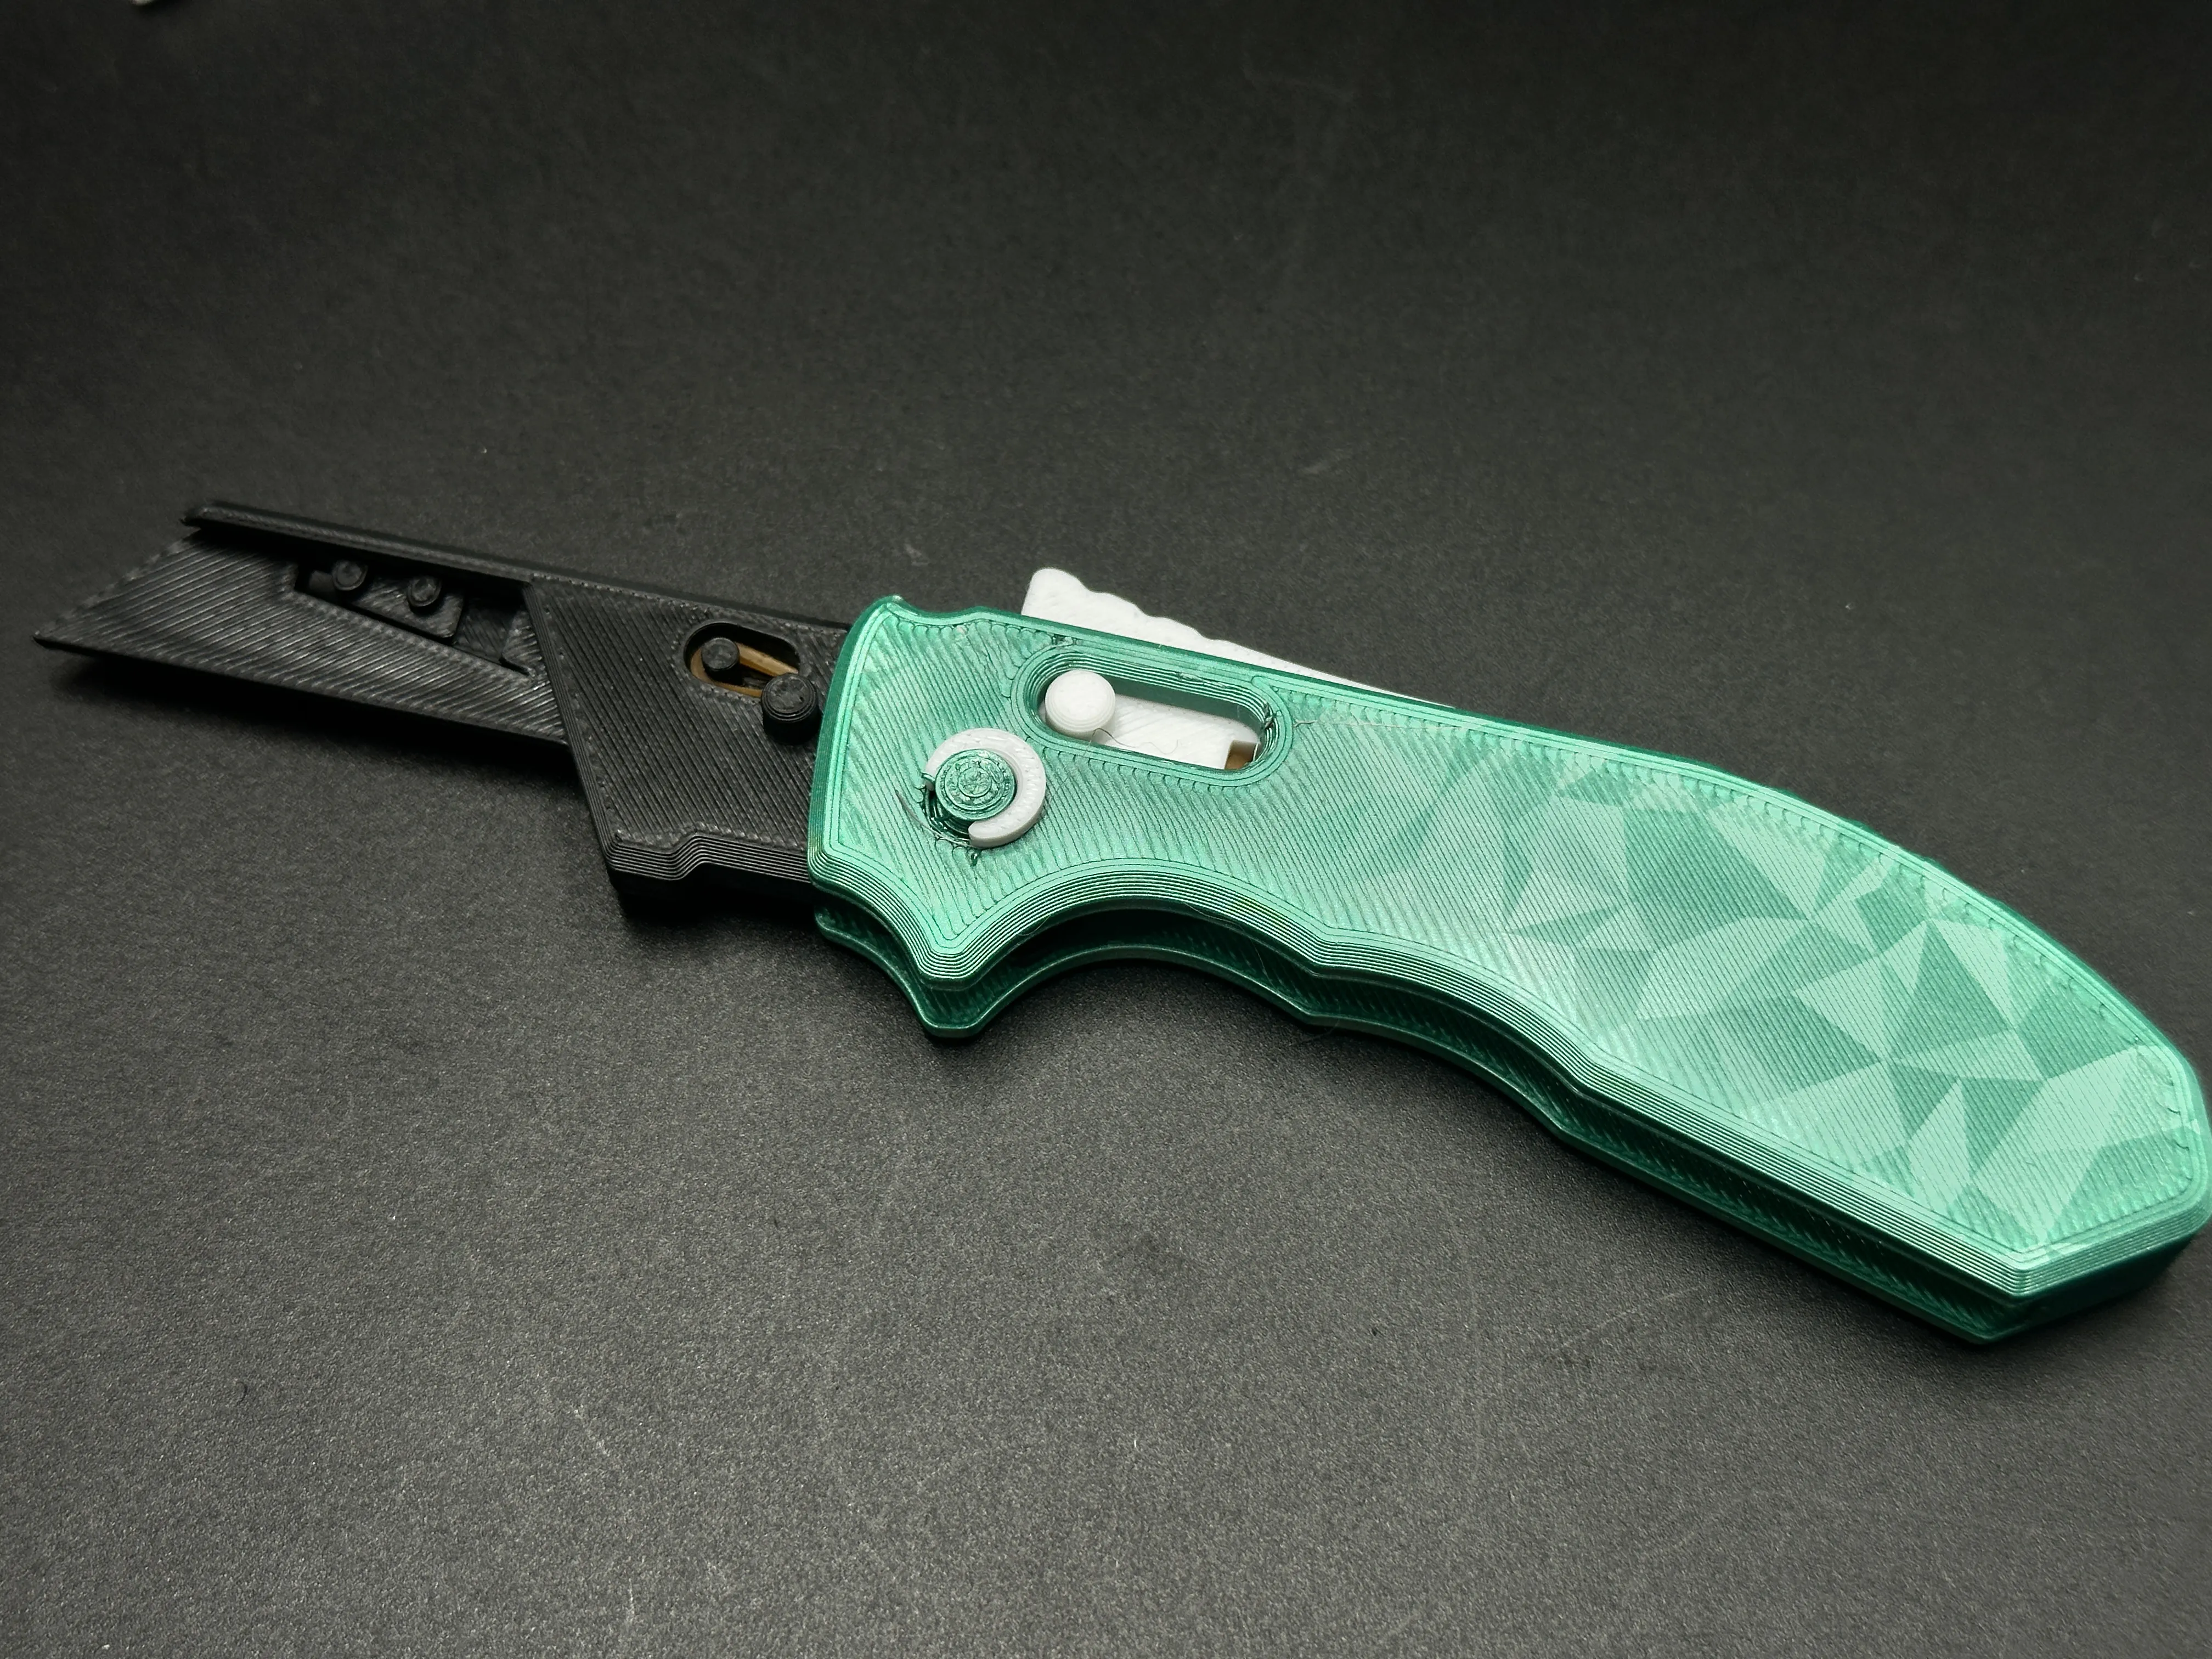
7.Install the Blade: For the basic version, insert the blade directly. For the reinforced version, use the M3-8mm screw and nut to fix the blade. The screw version includes a cover plate to conceal the rubber band for a cleaner look.
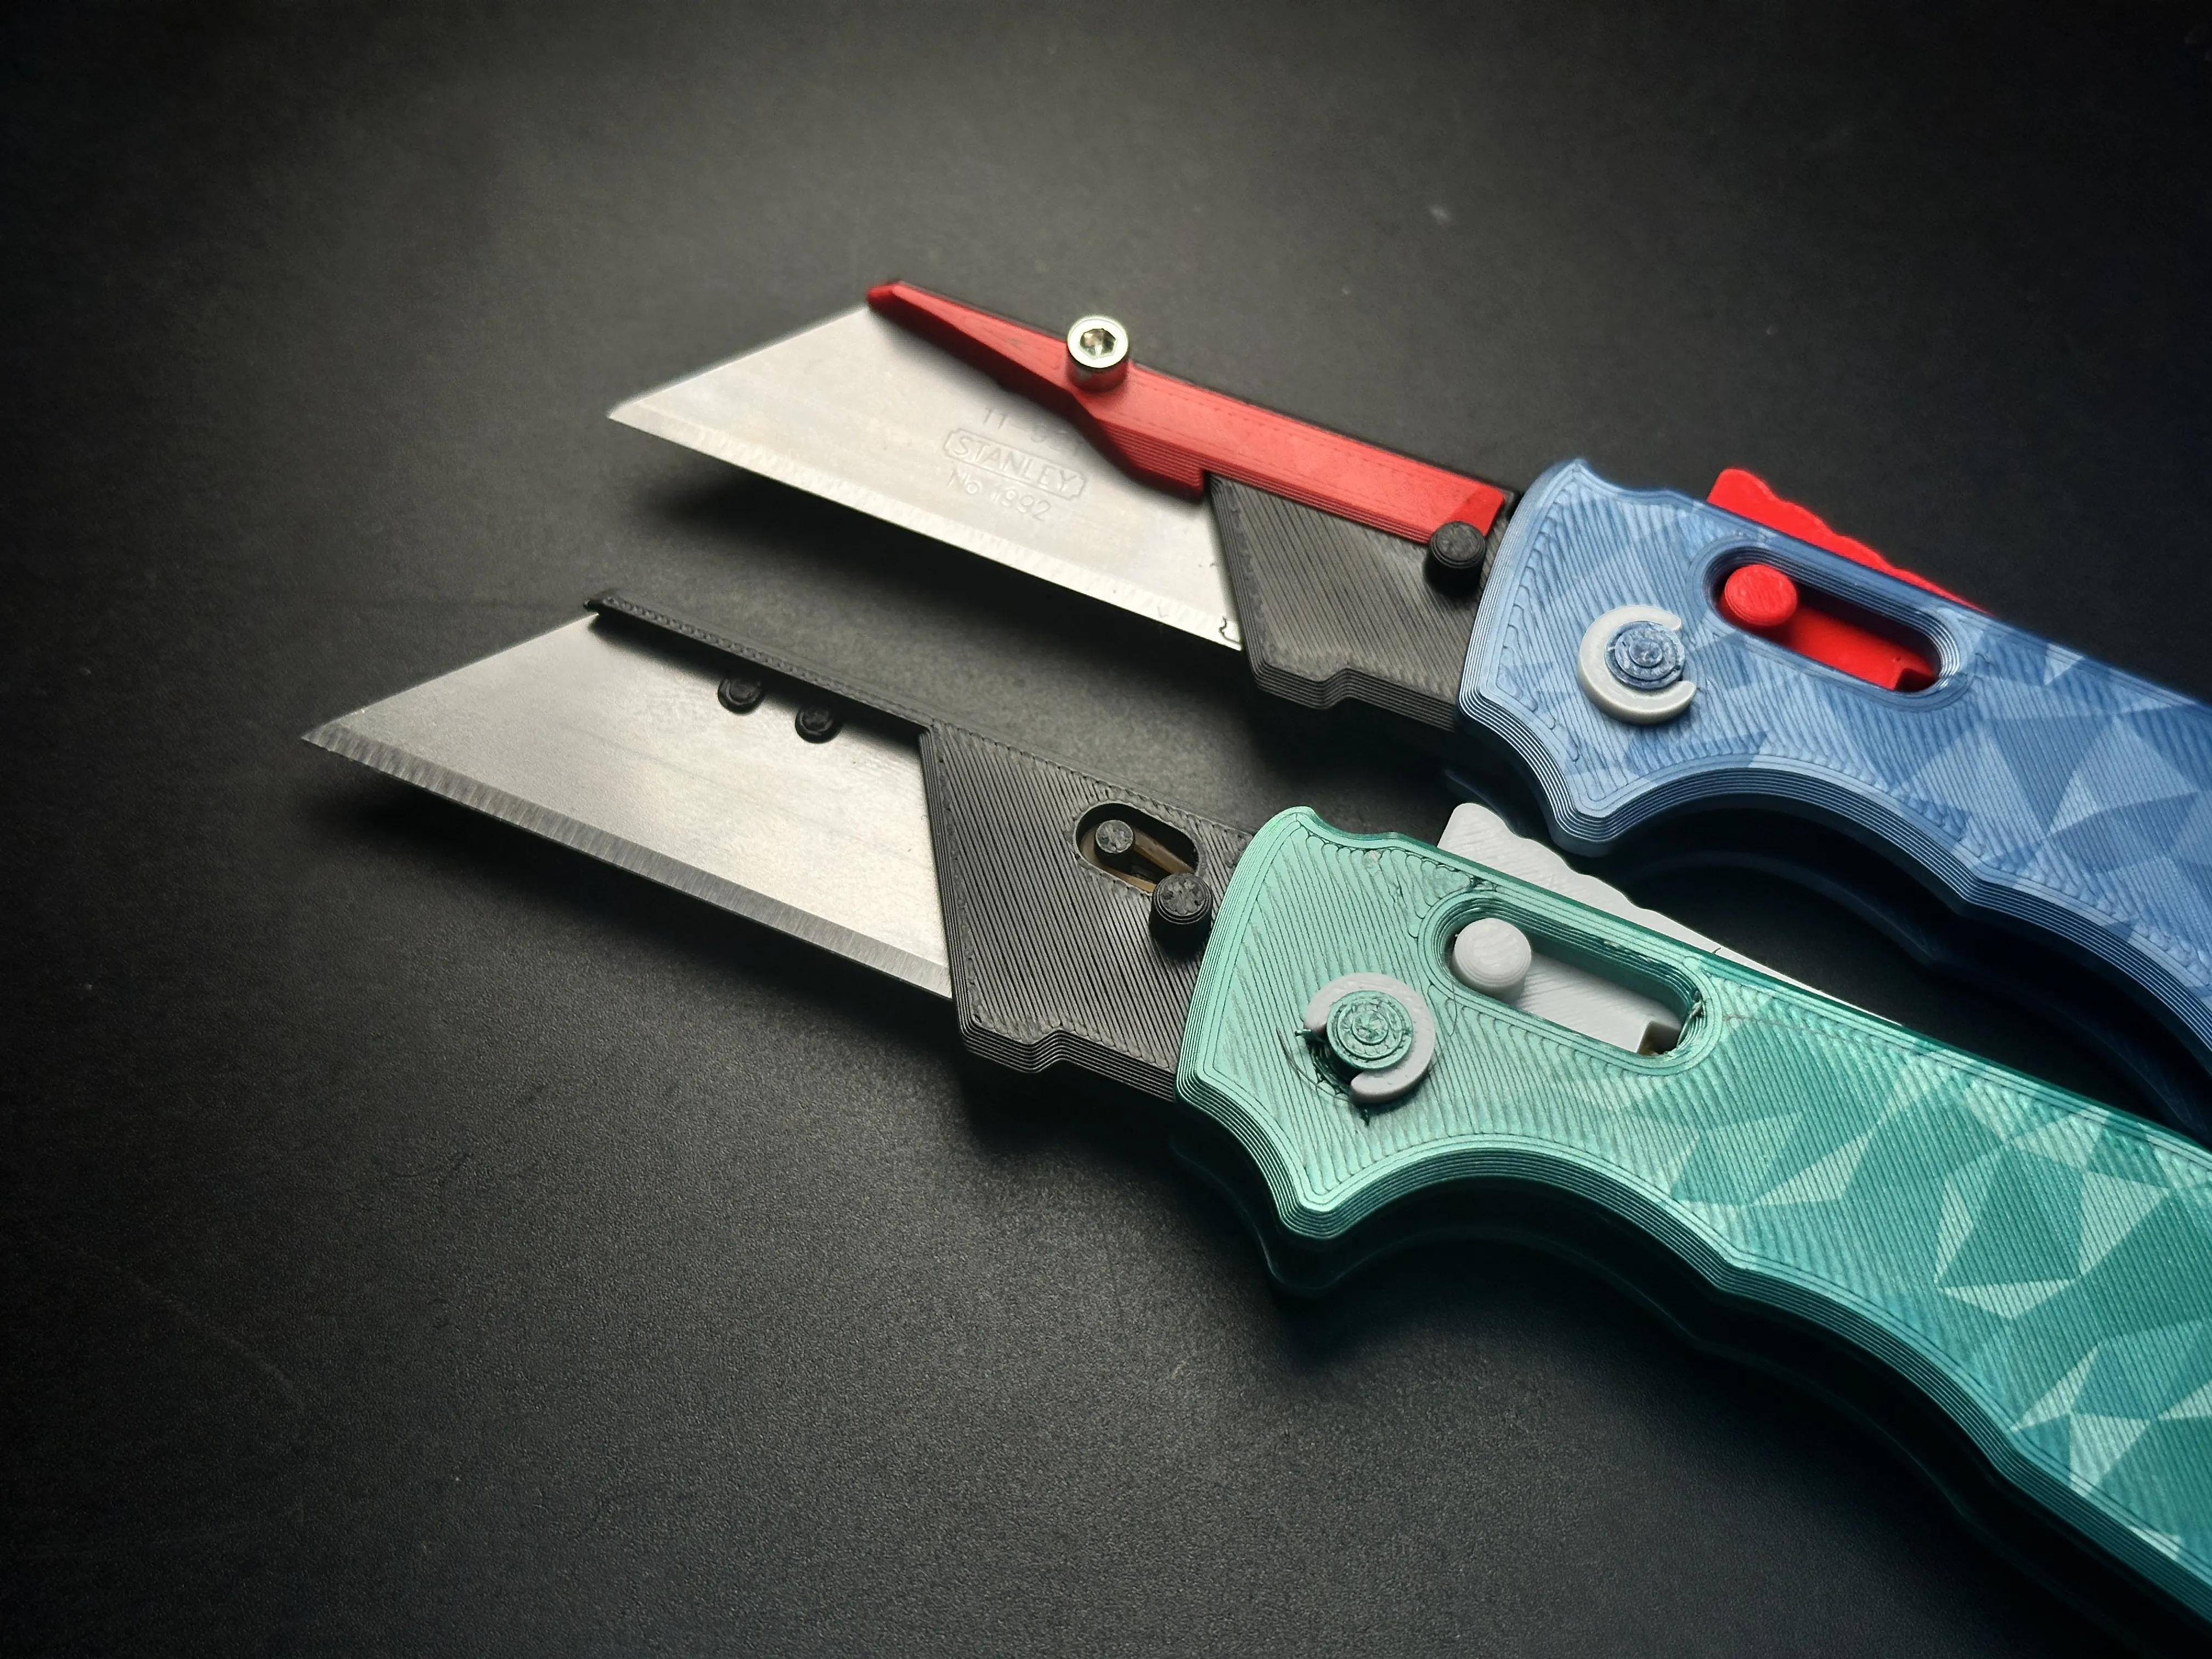
The strength of 3D-printed knives cannot be guaranteed and they are suitable only for light-duty tasks, such as cutting paper or opening Amazon packages. Unless otherwise specified, all of my knife designs are intended for light-duty use only.
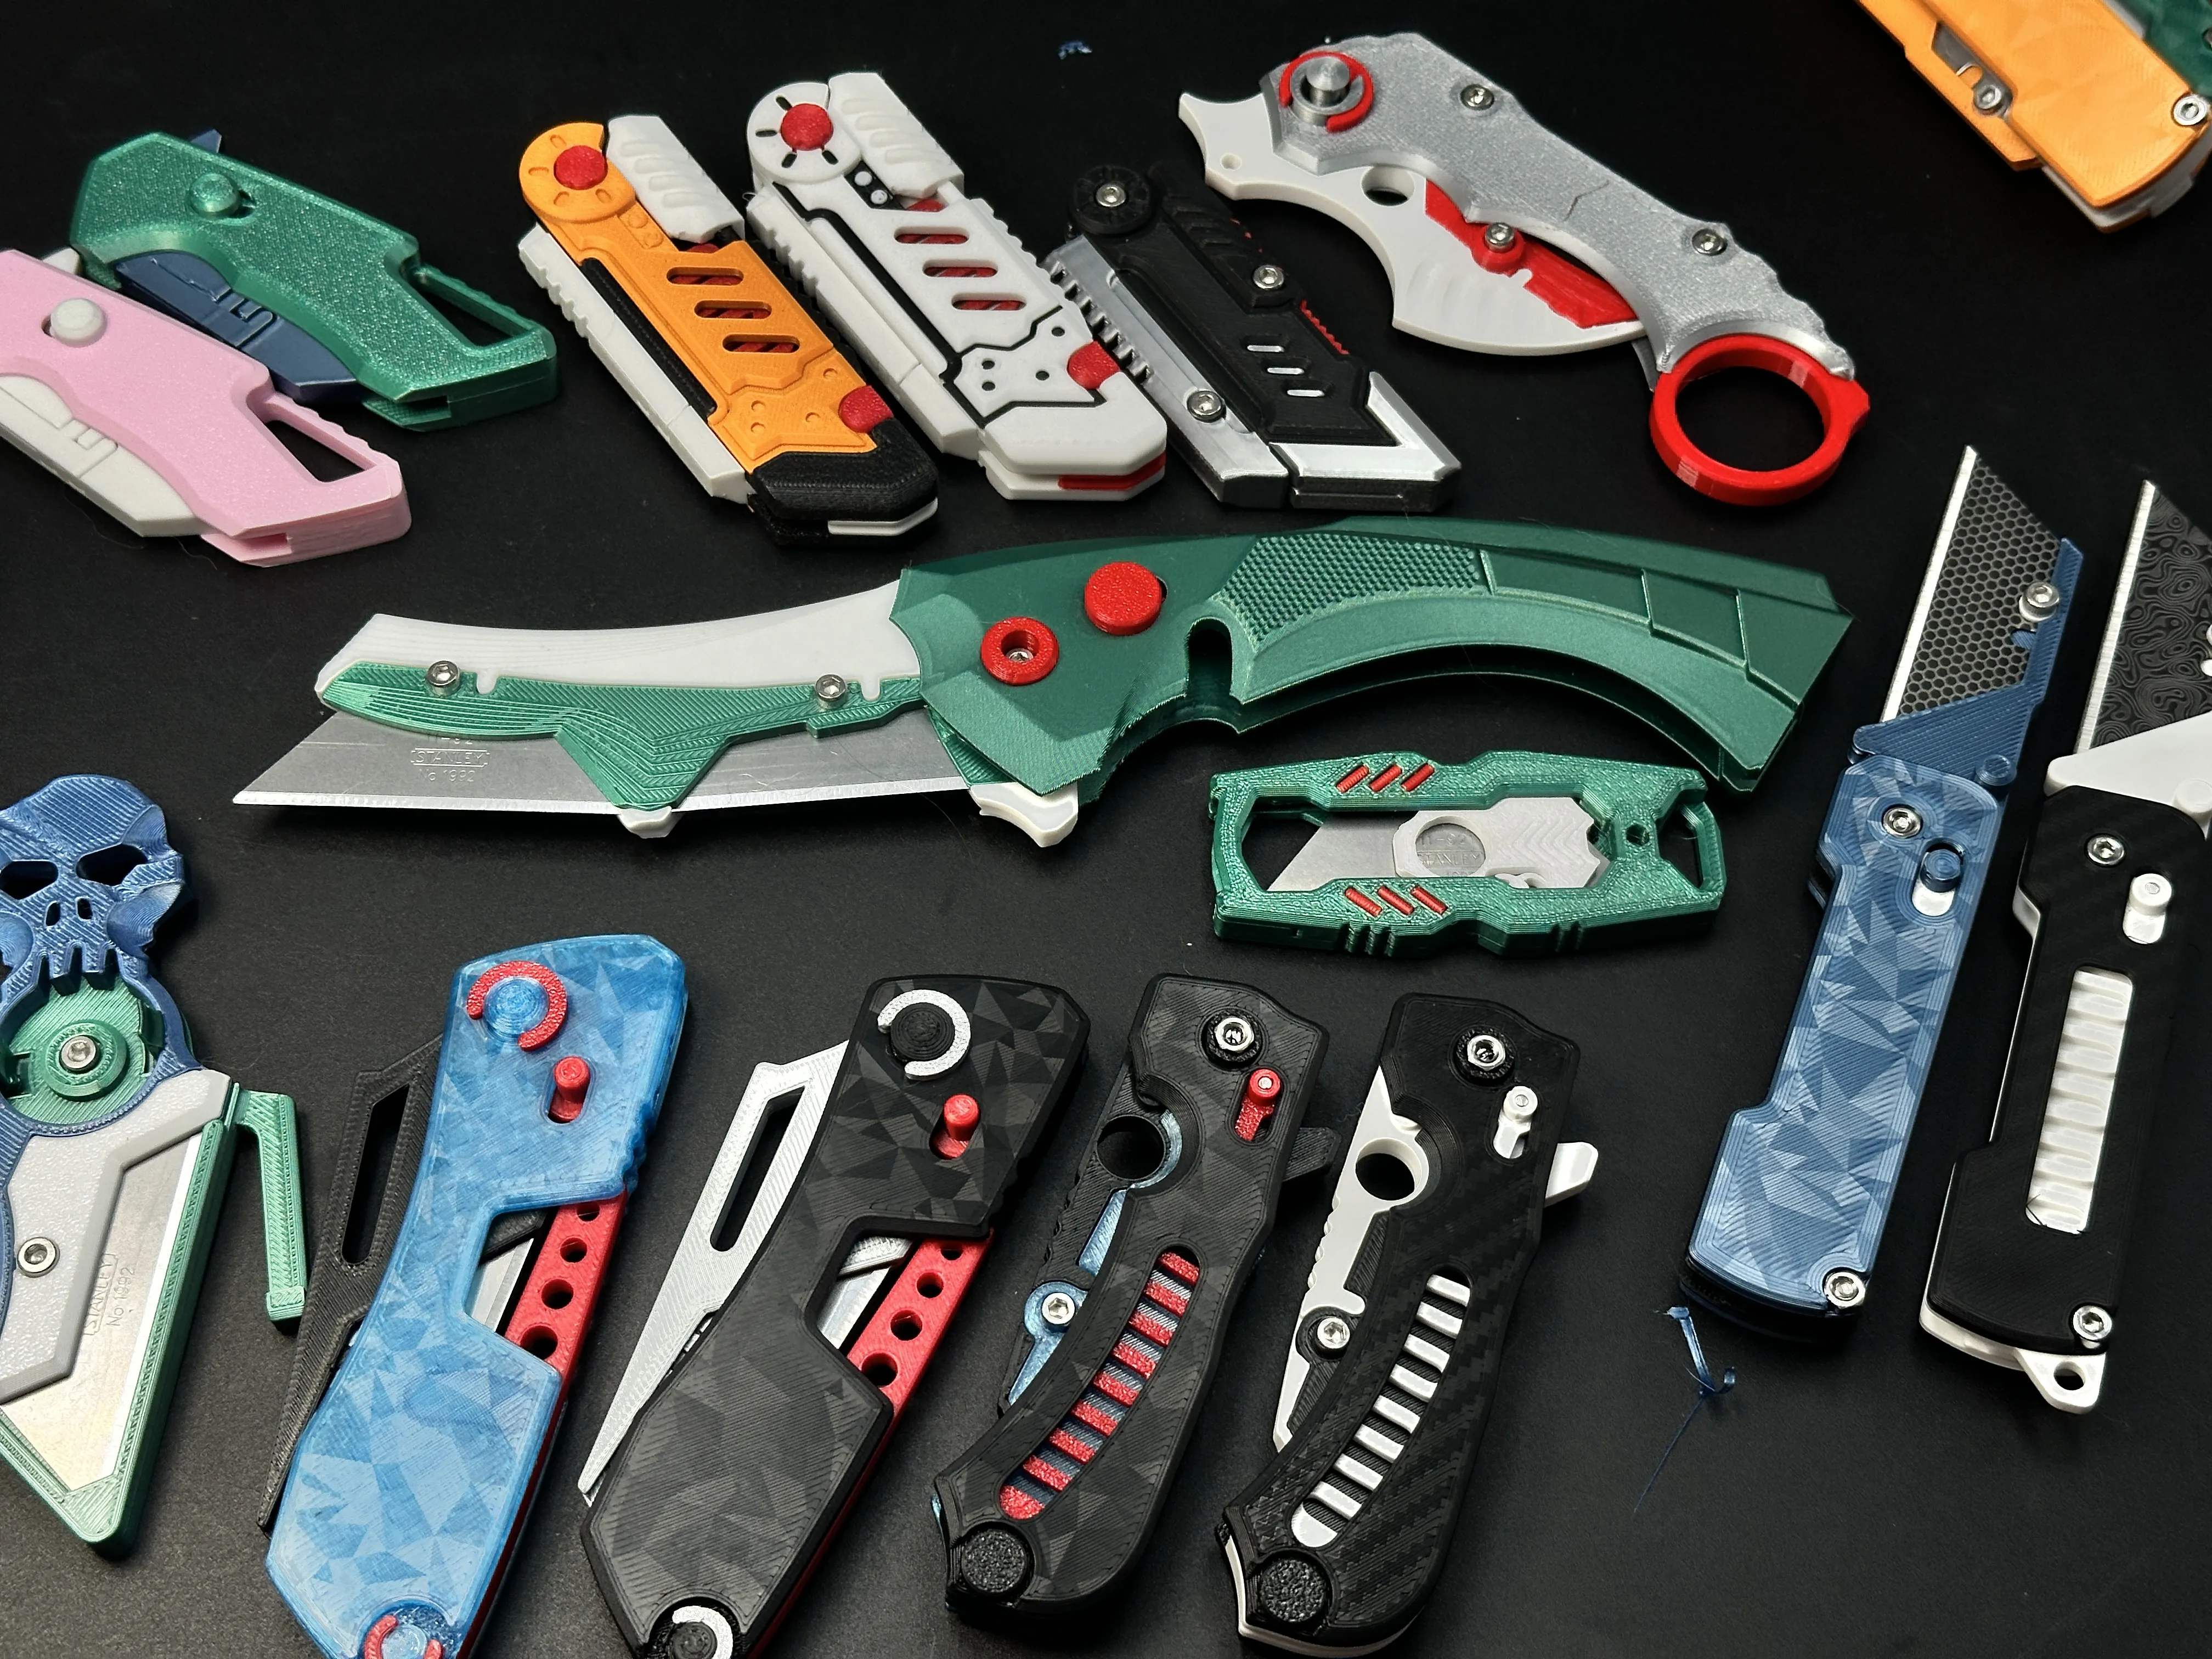
My similar projects, click on the picture
Membership
License

You shall not share, sub-license, sell, rent, host, transfer, or distribute in any way the digital or 3D printed versions of this object, nor any other derivative work of this object in its digital or physical format (including - but not limited to - remixes of this object, and hosting on other digital platforms). The objects may not be used without permission in any way whatsoever in which you charge money, or collect fees.


Comment & Rating (112)