
MaxFlow² Parametric Silica Desiccant Spool Dry Box
Print Profile(31)





Description

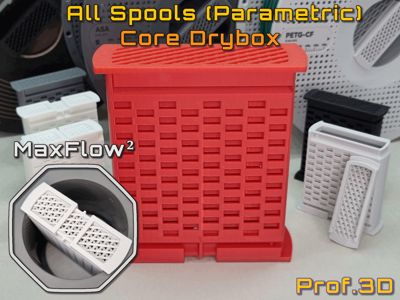
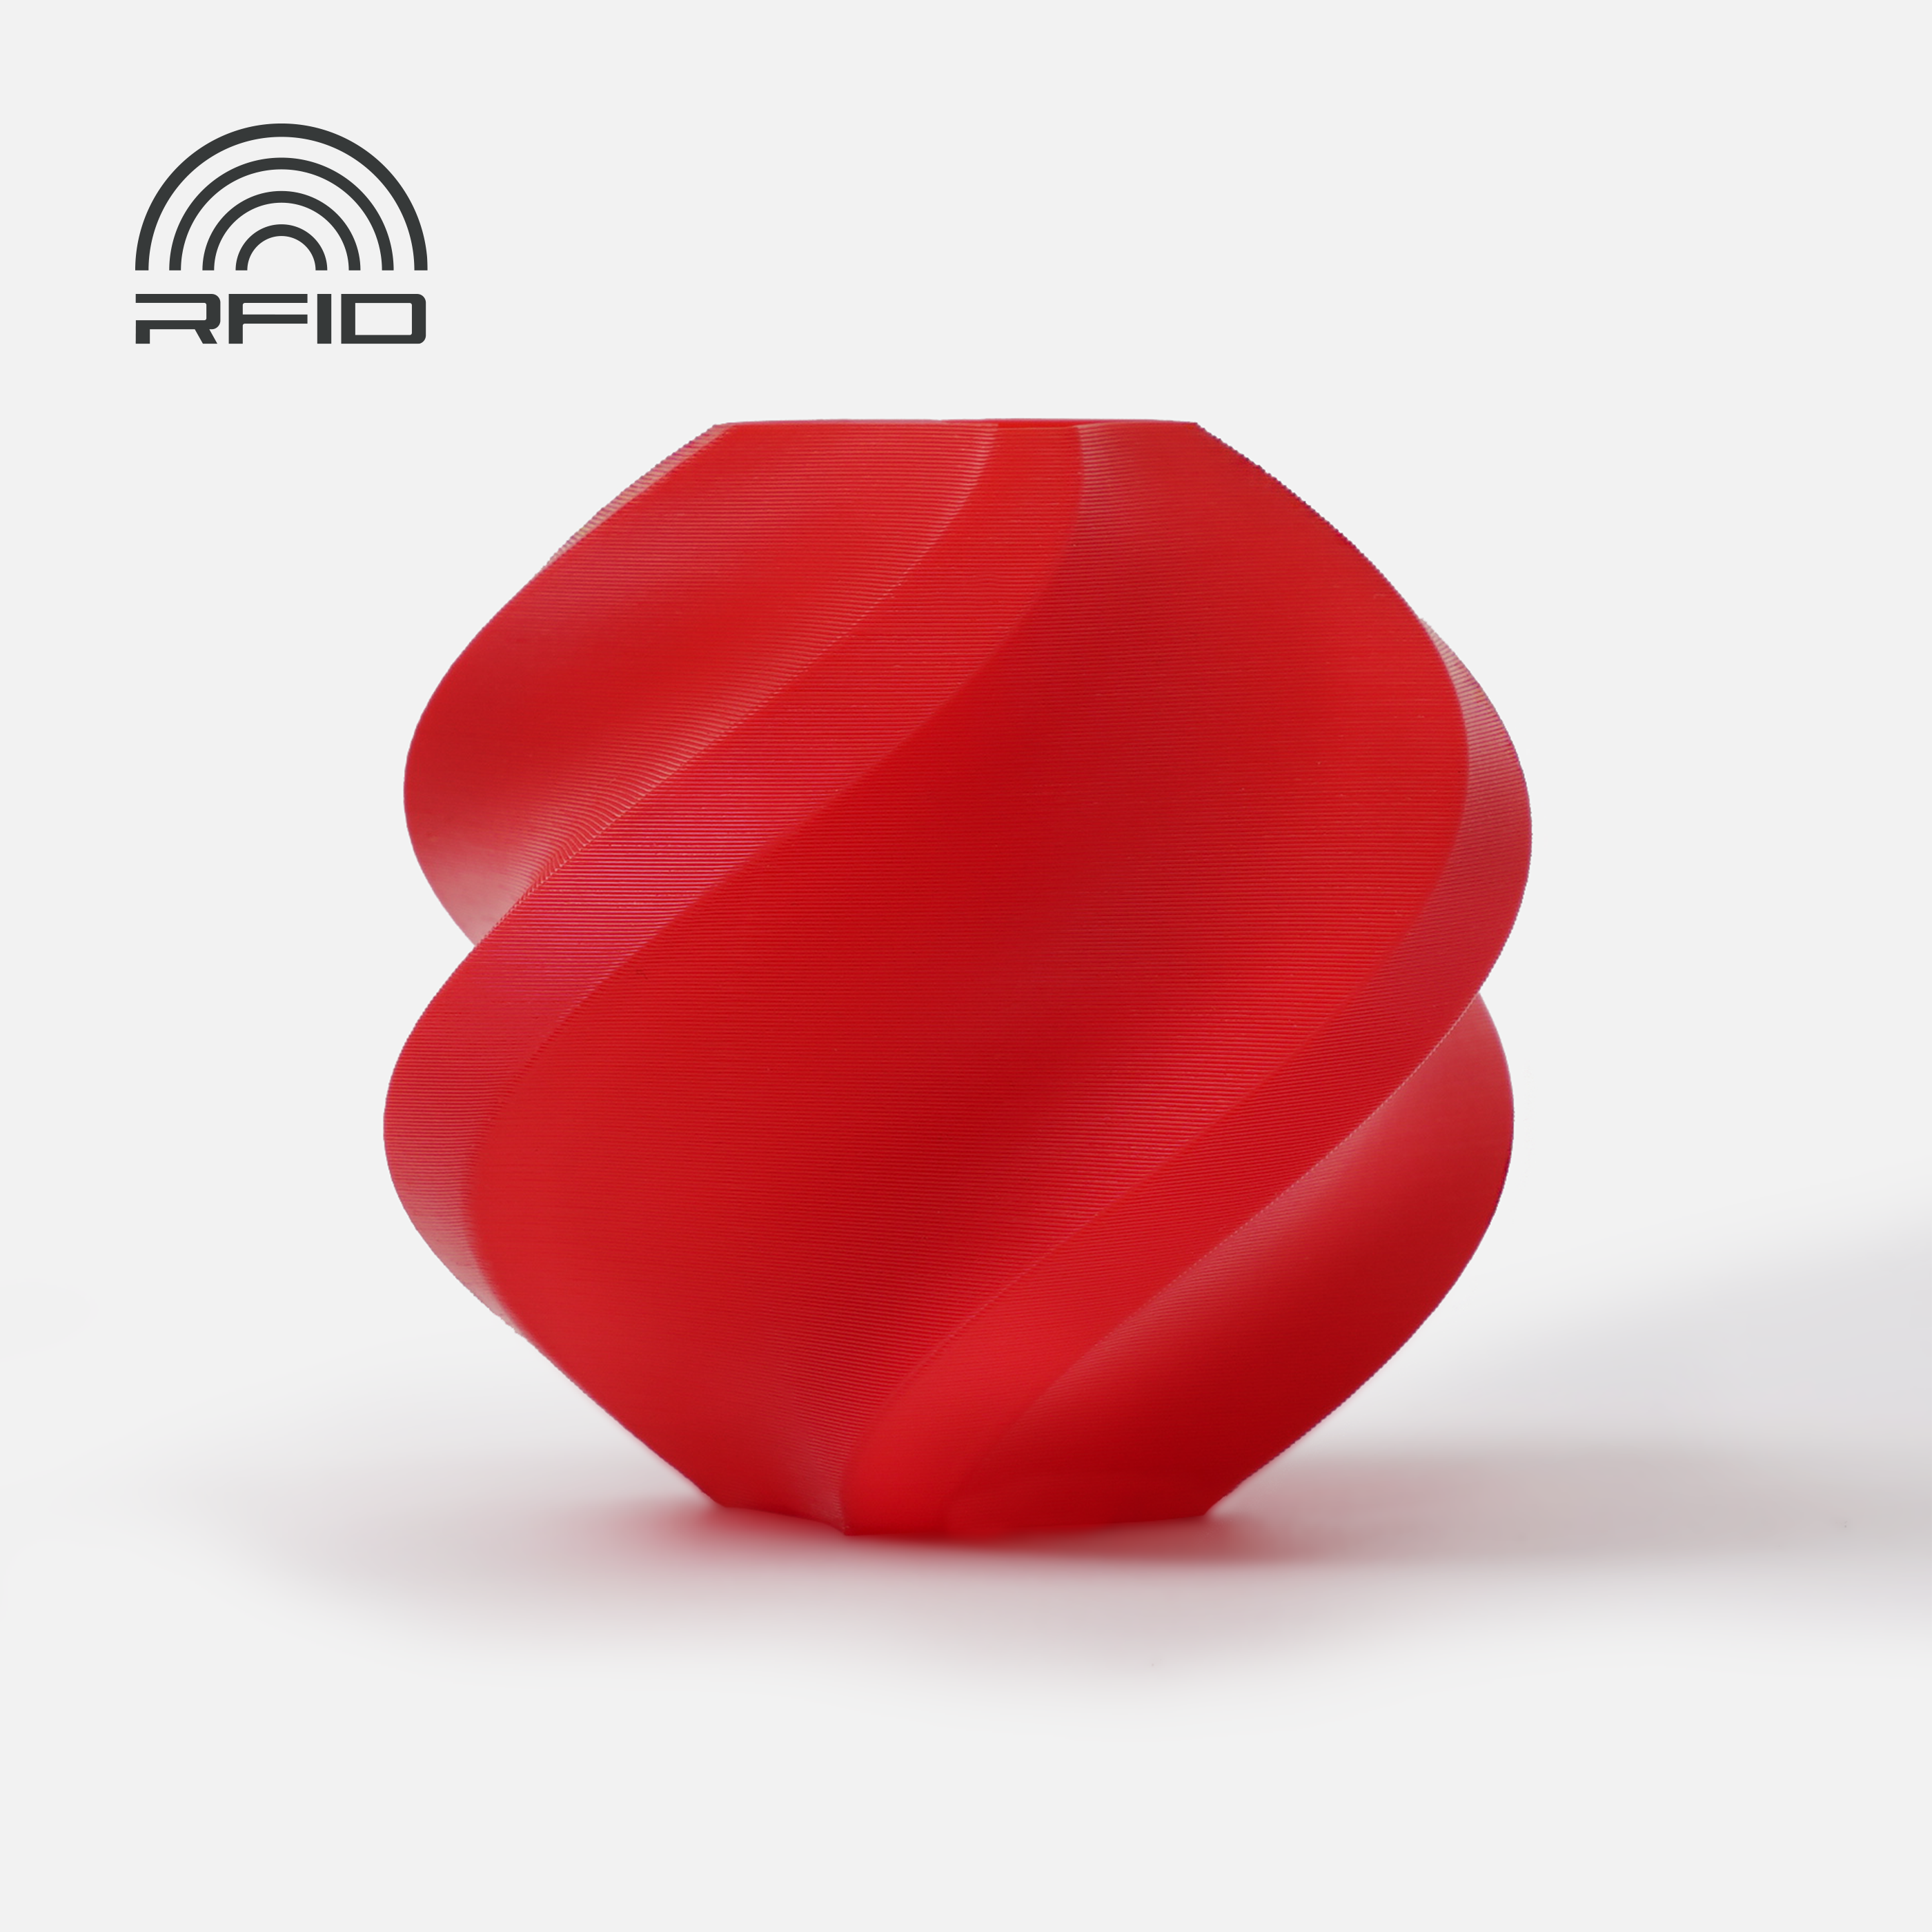
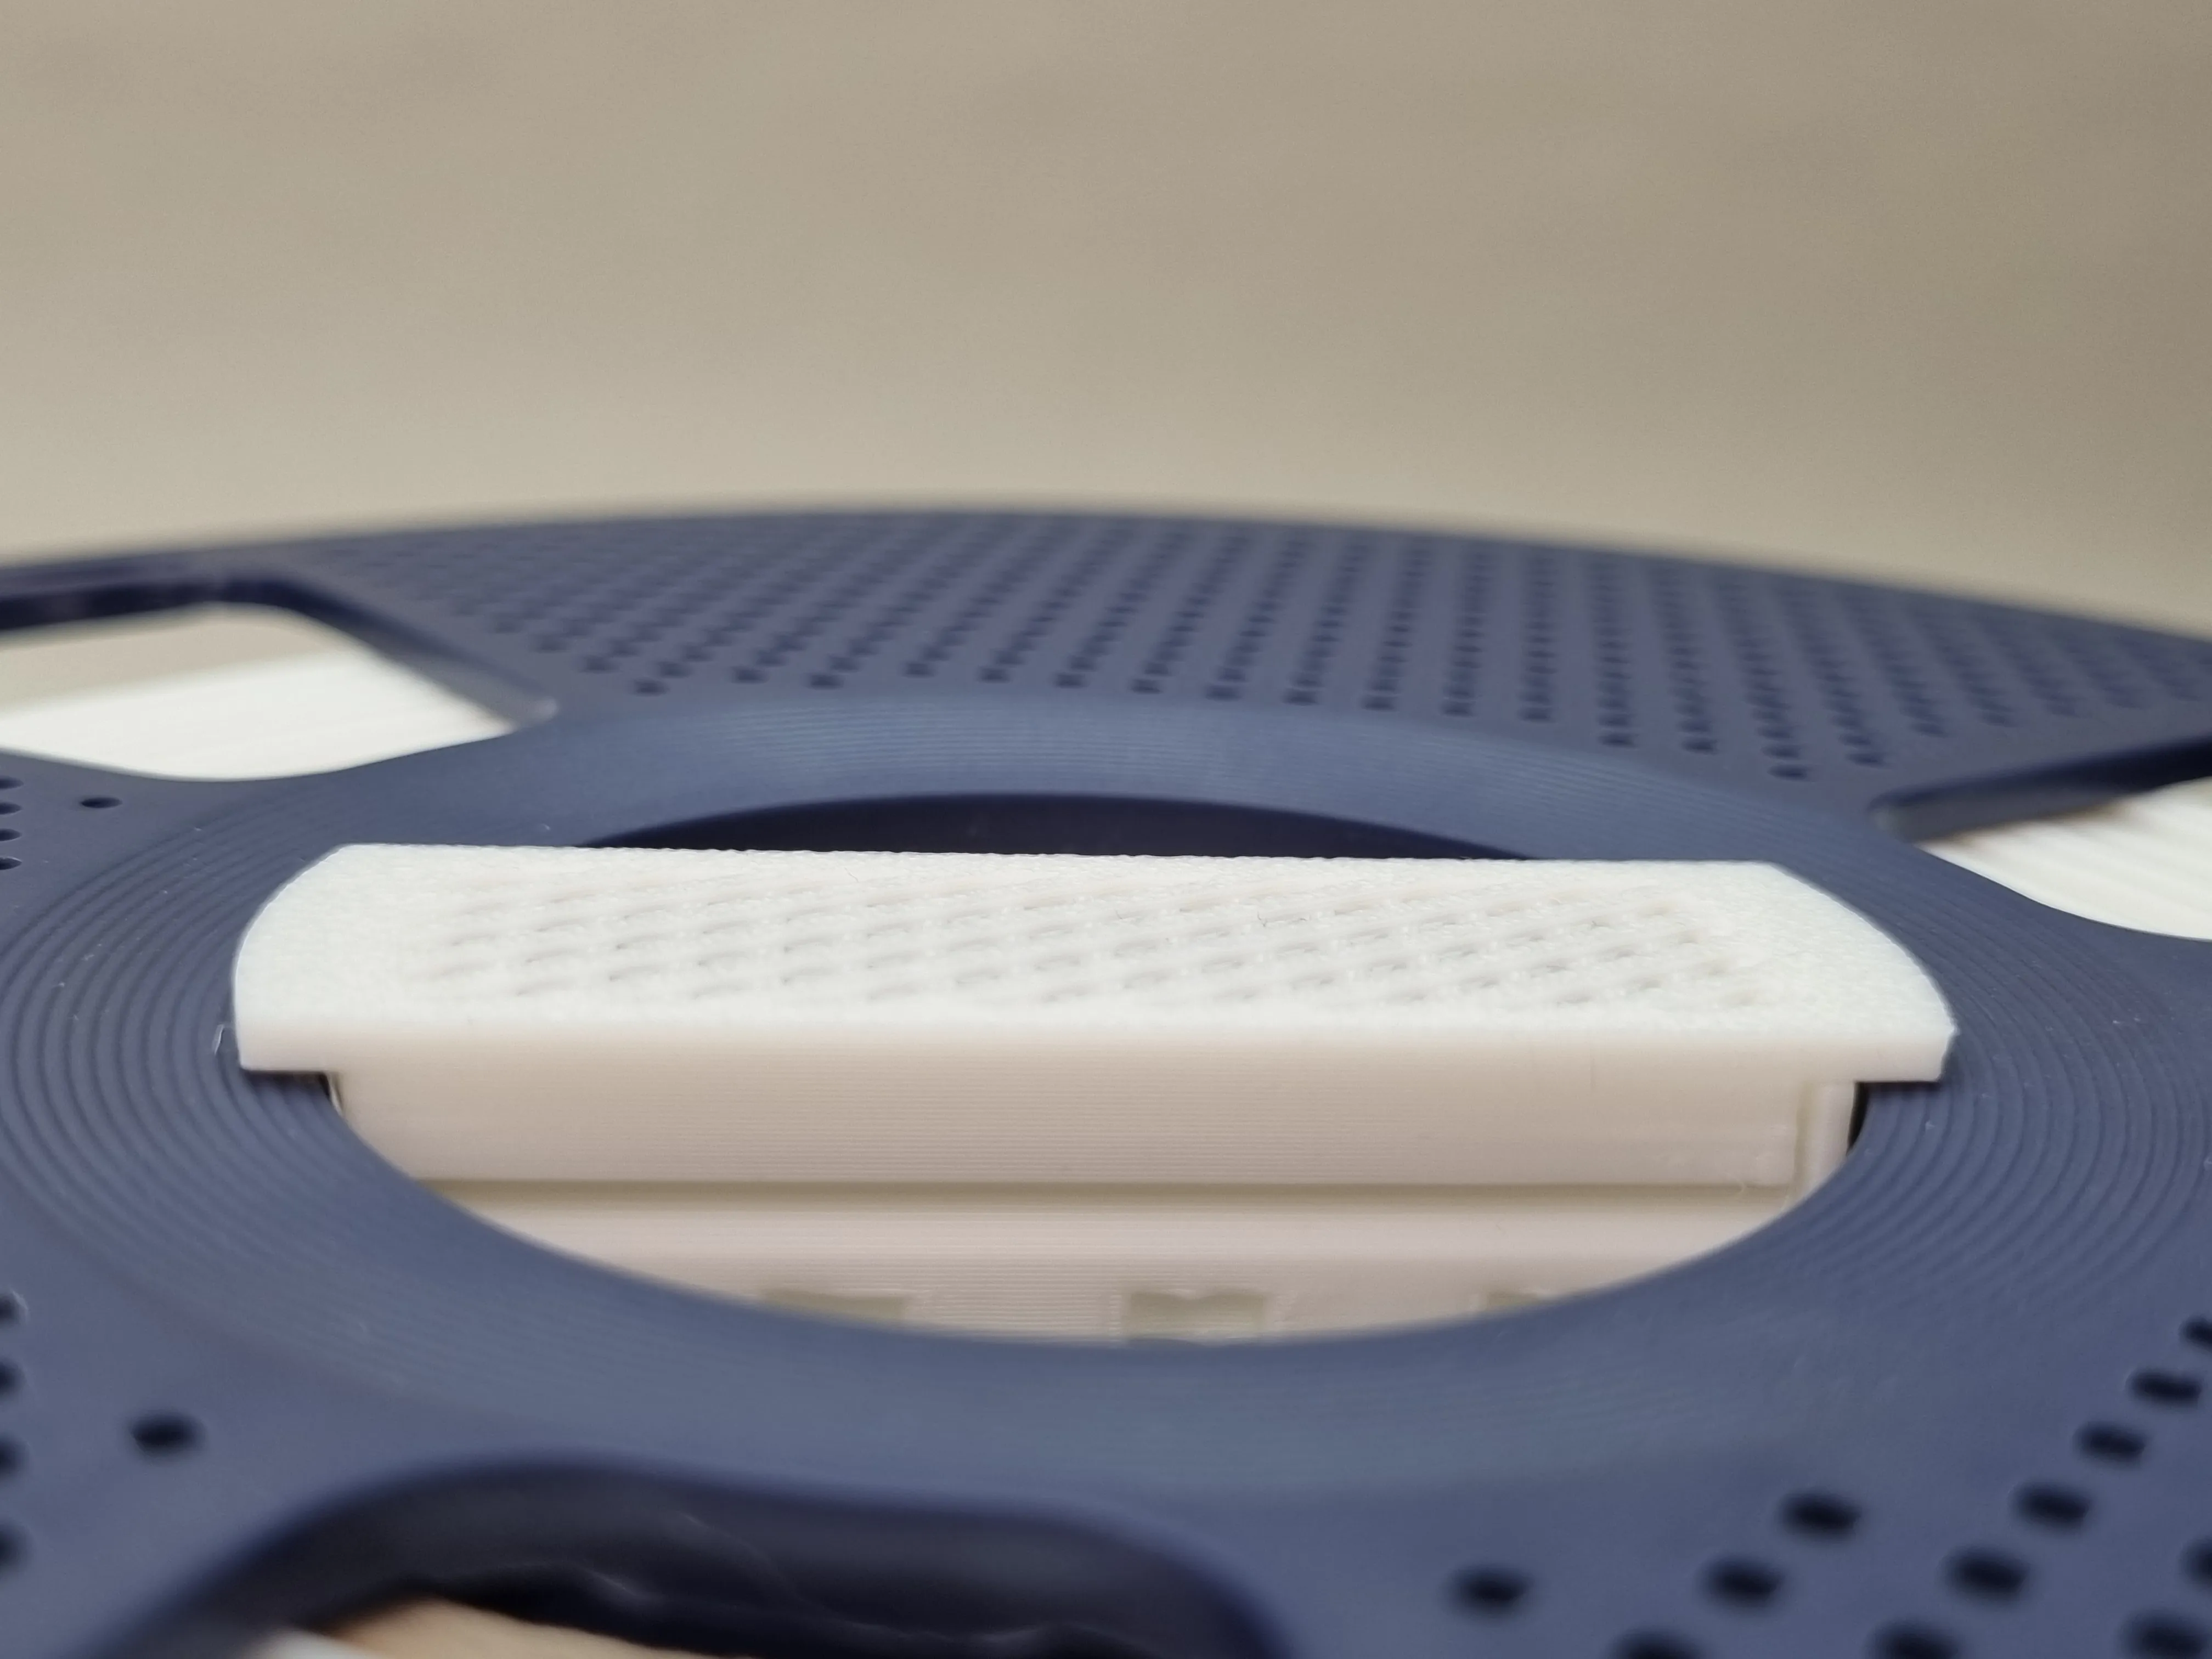
Parametric MaxFlow² desiccant core for filament spools. Bambu, Sunlu, eSun, any spool! Cubic design maximizes air exchange for superior drying and regeneration. Click Lock system prevents accidental opening when shaking or dropping spools. Tested performance beats standard containers.
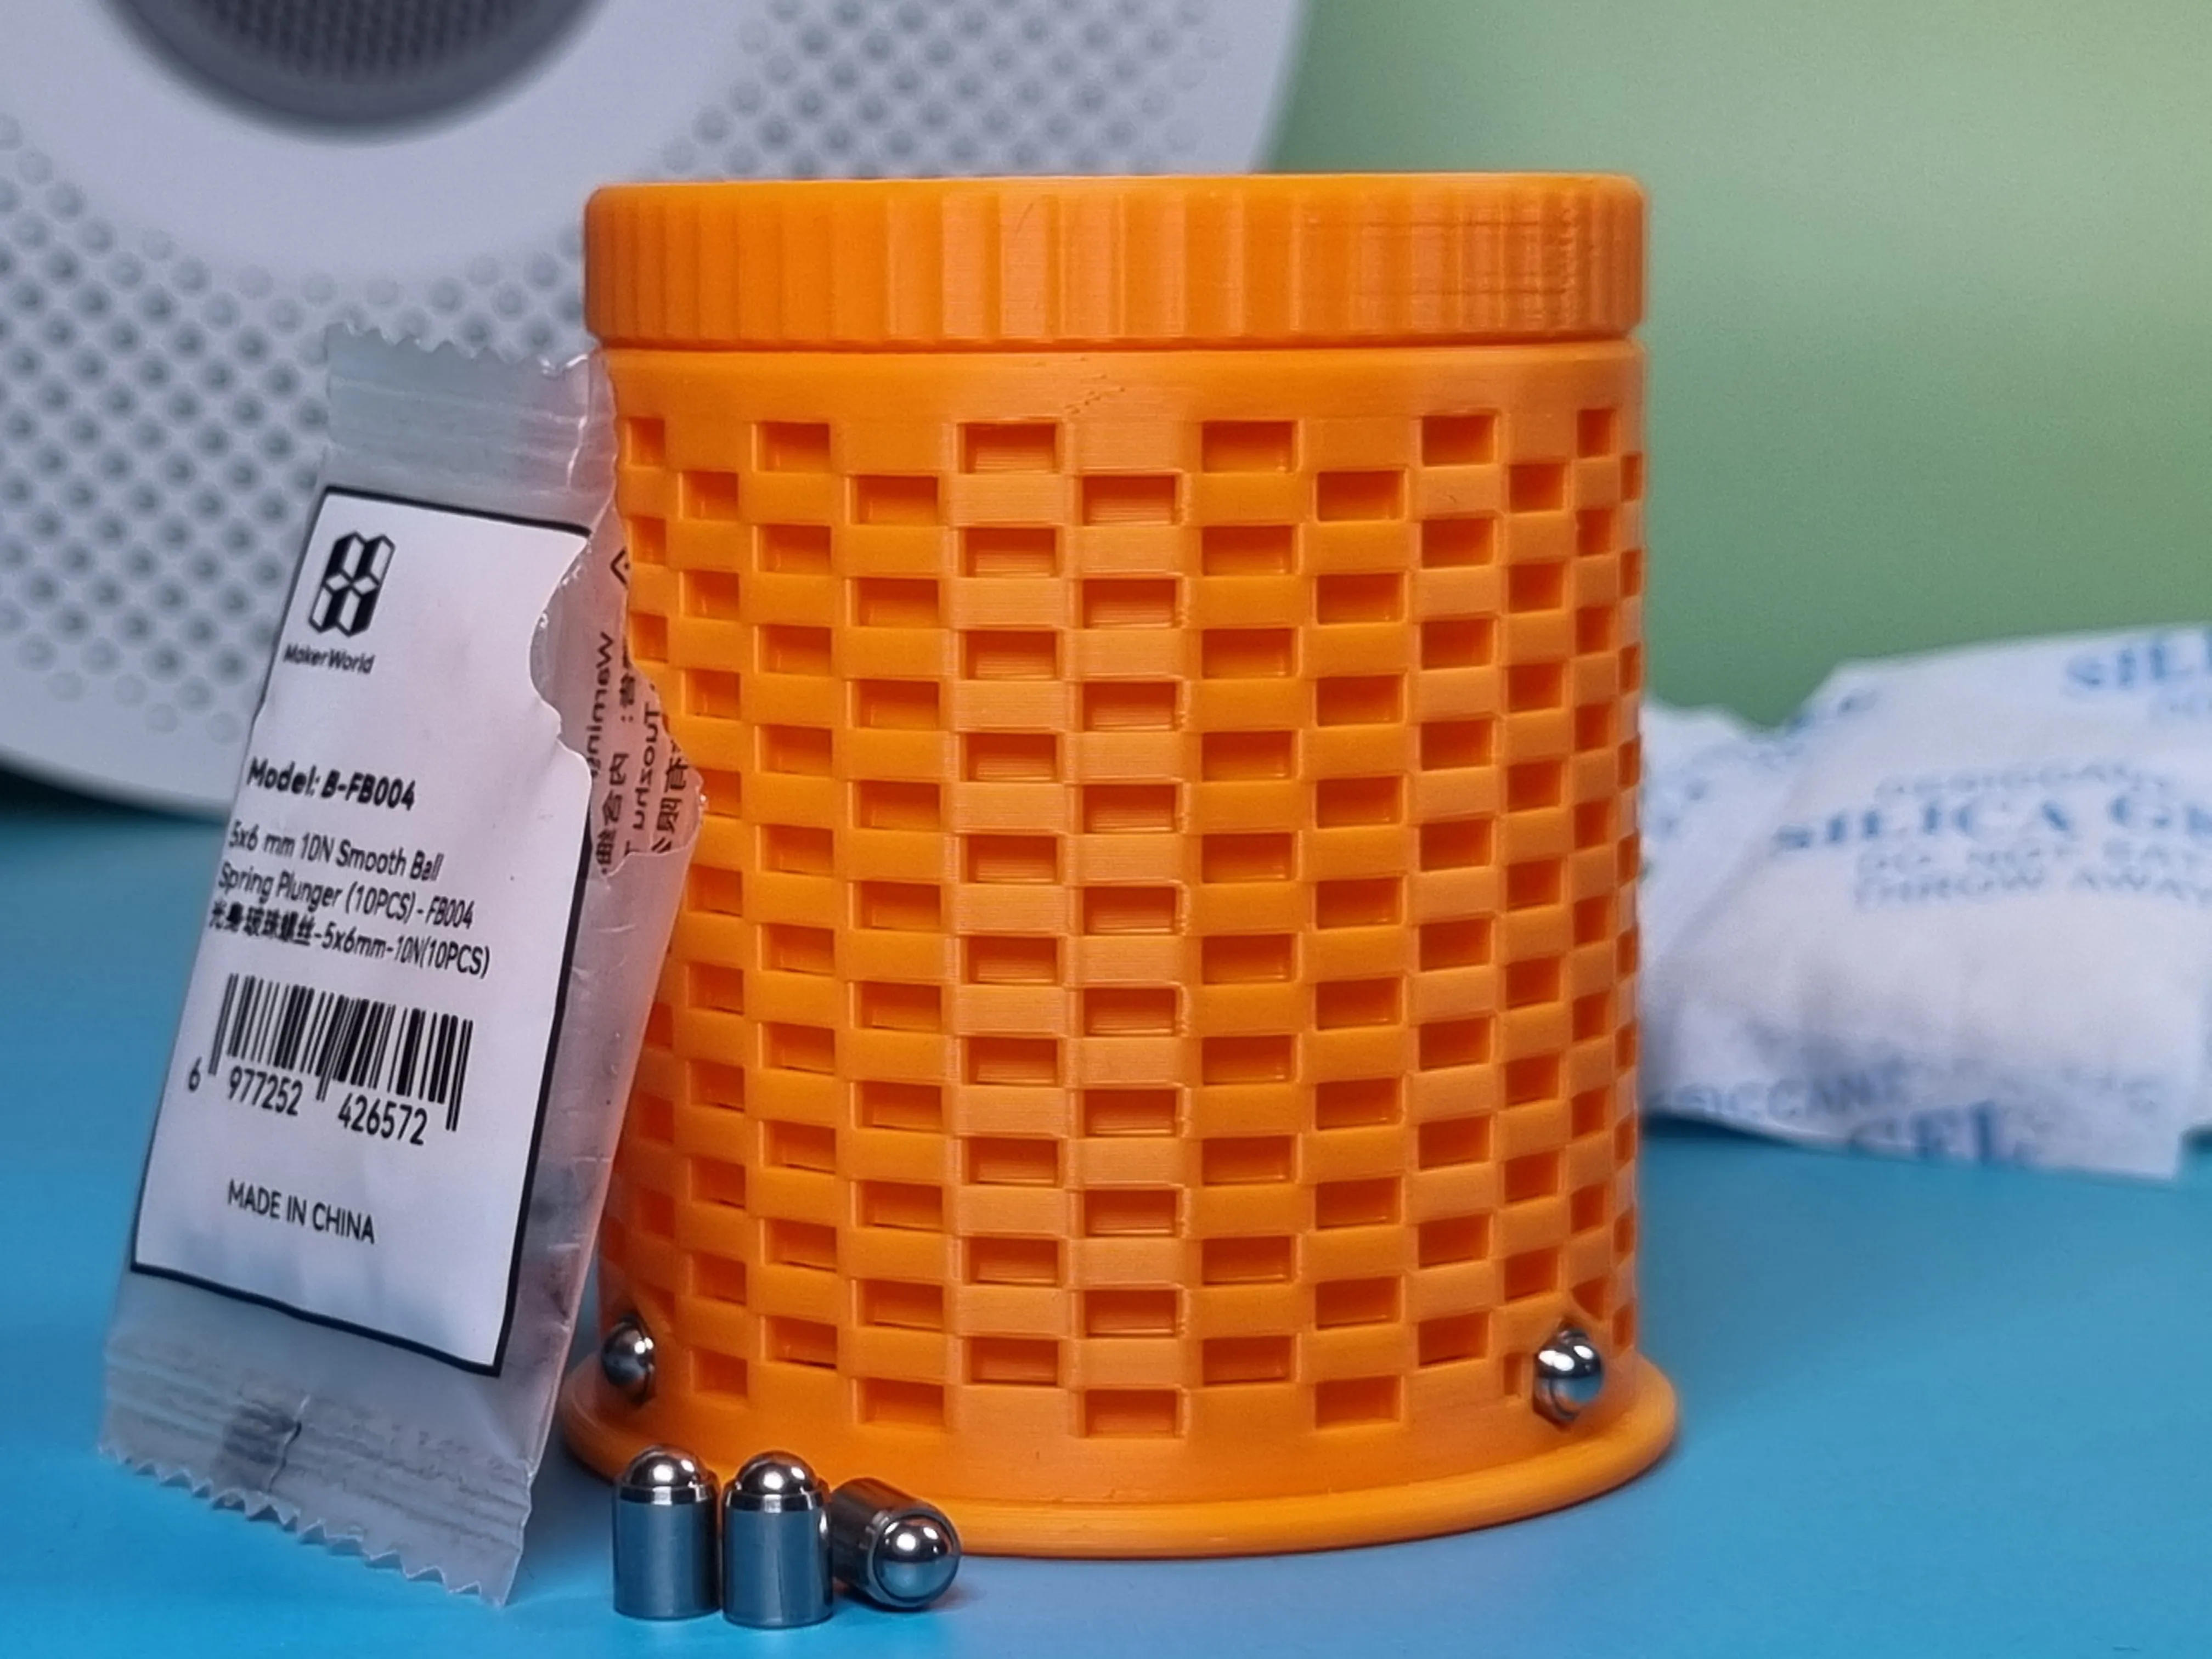 Designed as part of an evolving system for filament storage and moisture control.
Each desiccant holder is conceived, printed, and tested in real day to day use, not just tuned for screenshots. Airflow, capacity, refill handling, AMS compatibility, and long term durability are explored across multiple iterations. Spool Desiccant Collection: Spool Drying ⧸ Dry Filament
Follow me If dry filament matters to you. A like or a boost directly supports further testing and new designs driven by daily use, not trends. |
Model History
v2 2025/12/18 - parametric model maker code updated, print profiles updated.
Sporadic issues with irregular walls resolved. Clean walls for everyone!
v1 2025/09/09 - initial release
MaxFlow², what can you expect?
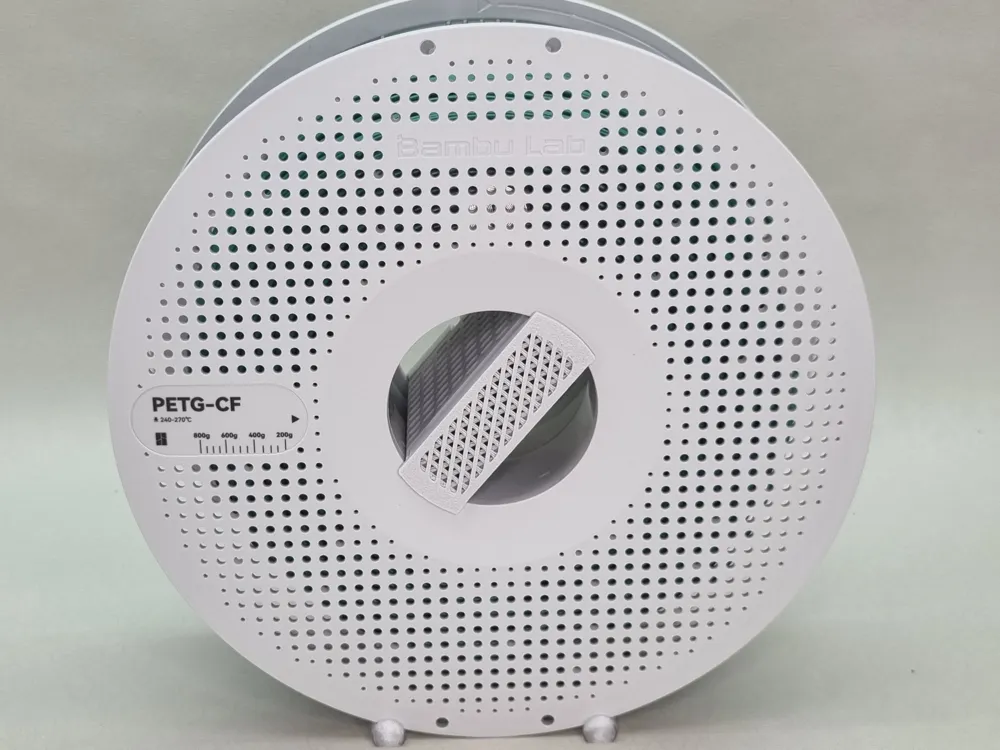
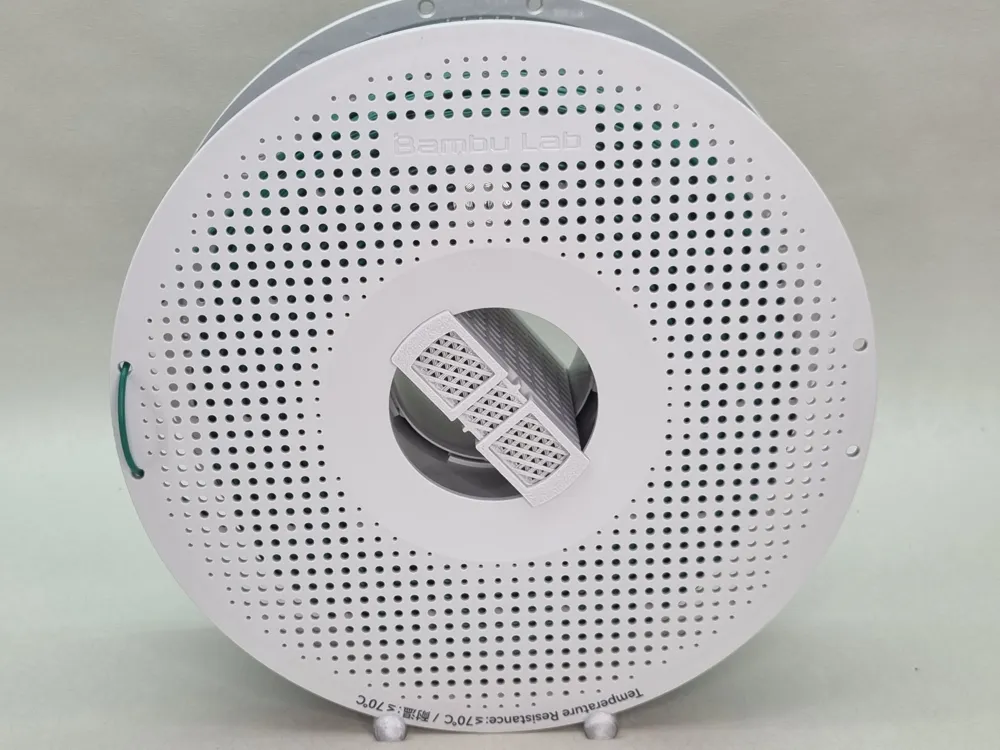
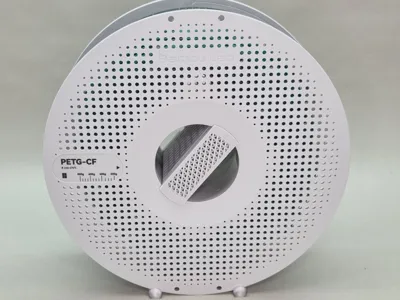
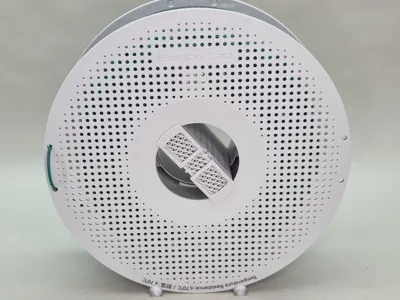
The MaxFlow² (MaxFlow “Squared”) core insert is designed as a cubic desiccant holder that drops into Bambu Lab spool centers. The squared design maximizes surface area exposure for air exchange, which improves both drying performance and regeneration efficiency compared to other desiccant containers.
You can regenerate these in whatever you've got available. I've tested them in my AMS 2 Pro, AMS HT, SUΝLU S2 FilaDryer, right on the heated bed, even just tossed them in my kitchen oven. I spent far too much time running tests at different temperatures and durations to make sure this actually works like I claim it does.
MaxFlow² uses Click Lock connections everywhere. Lid clicks shut, the unit clicks into the spool core. No fumbling with screws or trying to thread anything together. But here's the thing that matters most to me: once it's locked in, it stays locked. I've literally thrown spools across my workshop and never had one pop open and scatter silica gel everywhere. Learned that lesson the hard way with other designs and even my own older designs…
Look, if you think I'm overselling this thing, go ahead and test it yourself. Print one, fill it up, compare it to whatever else you're using. This design outperforms everything else I've tried, and I don't make compromises on stuff that's supposed to keep my filament dry. Just check out my other models if you want to judge whether I'm obsessed with filament drying...
Ready-made profiles and known spools (sorted by Brand name)
Core diameter and spool height are specified in millimetres. The specifications refer to the settings in Model Maker. In Model Maker, a tolerance of 0.4 mm is deducted from the core diameter and the spool height is rounded up to 0.2 mm.
The following information has been verified by me through test printing and use in the respective spool.
| Filament Brand | ID Ø | H ↕ | Additional Information |
|---|---|---|---|
| Acccreate | 53.8 | 53.2 | |
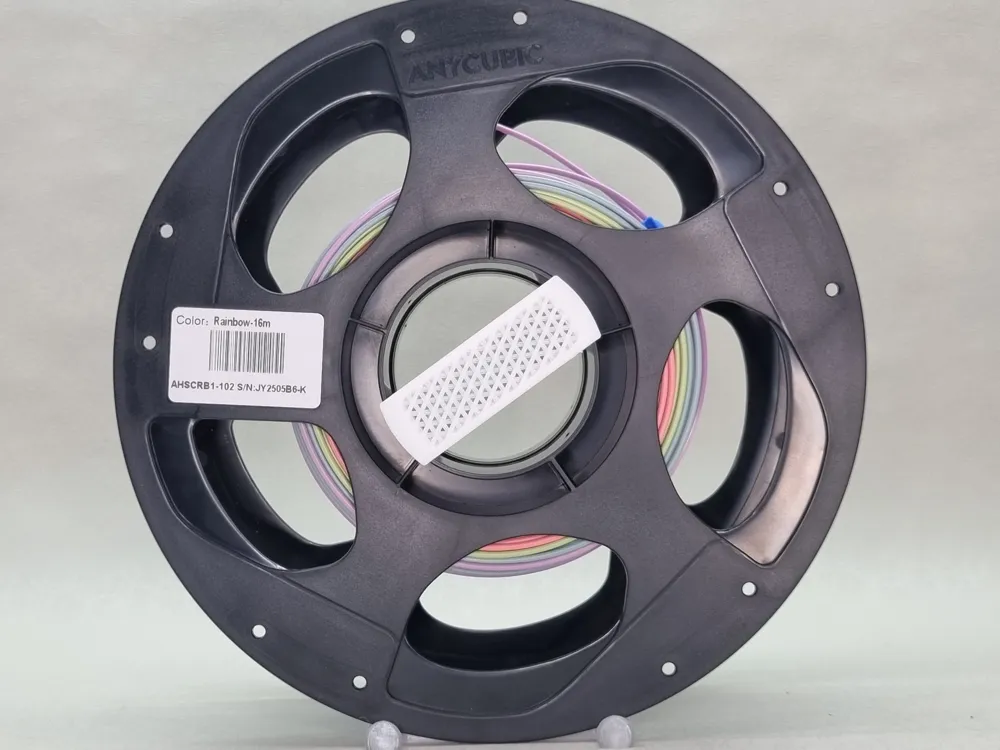
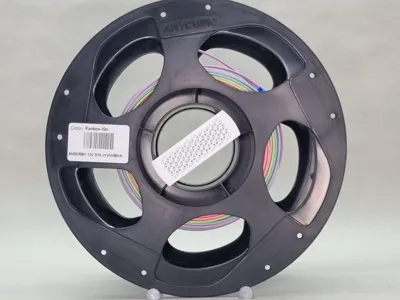
| Anycubic | 55.0 | 66.6 | |
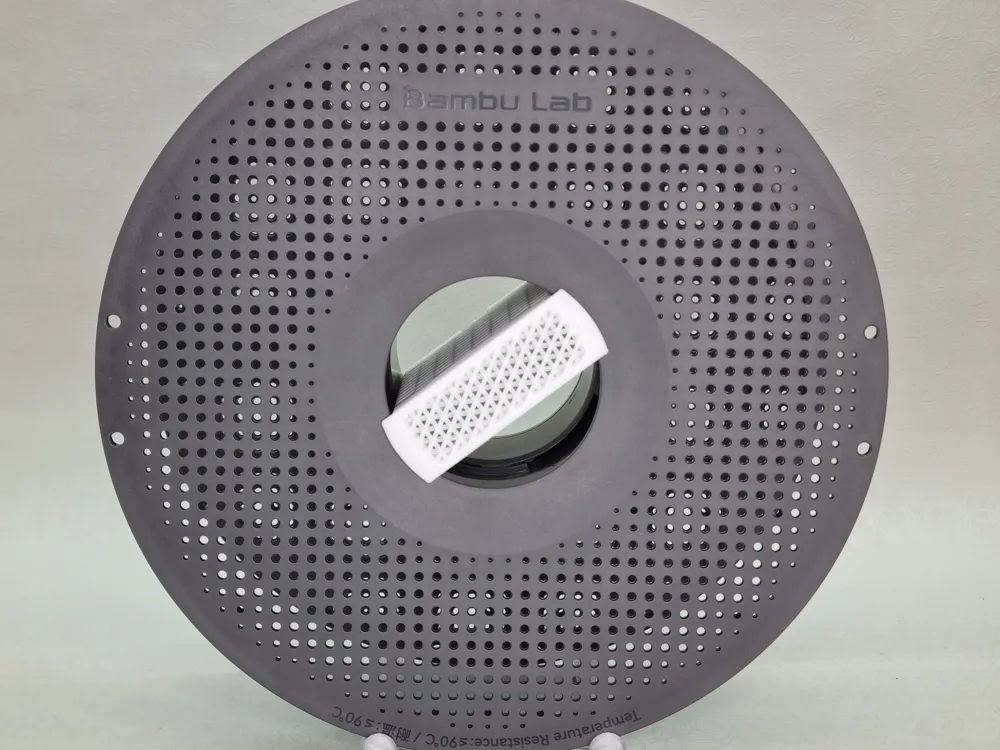
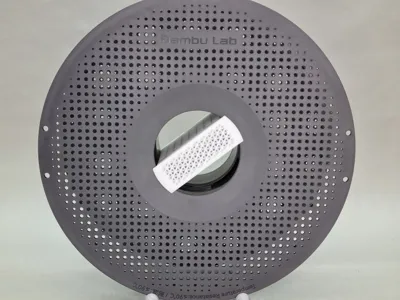
| Bambu Lab | 55.0 | 62.2 | Reusable |
| Bambu Lab | 55.0 | 62.2 | Reusable HT |
| Bambu Lab | 55.0 | 66.0 | Cardboard HT |
| ERYONE | 56.0 | 62.8 | Cardboard |
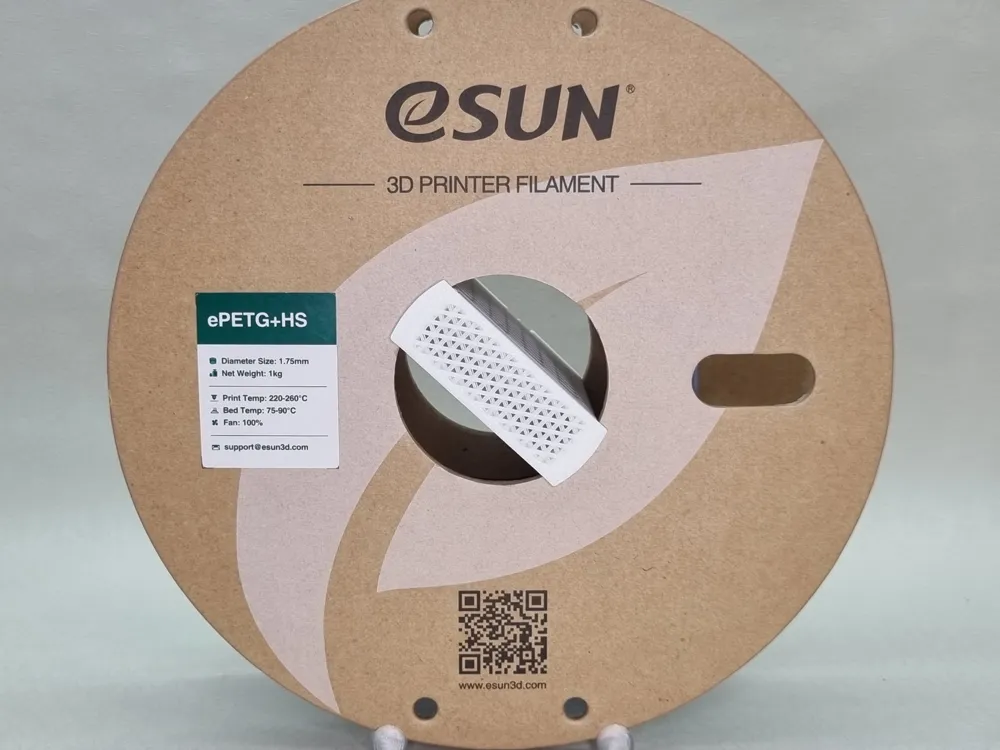
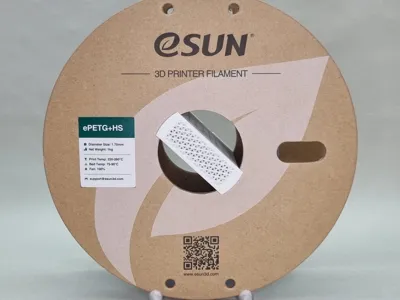
| eSUN | 54.0 | 63.0 | Cardboard |
| fiberlogy | 52.2 | 55.4 | new |
| Filamentwerk | 52.6 | 61.4 | |
| Flashforge | 52.8 | 53.2 | |
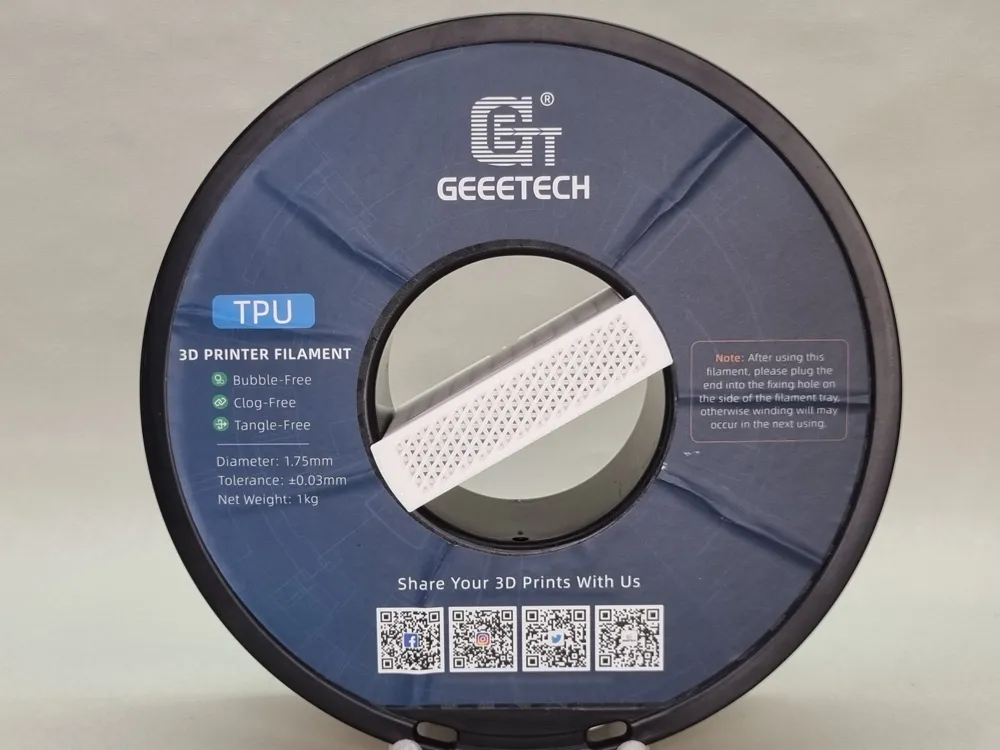
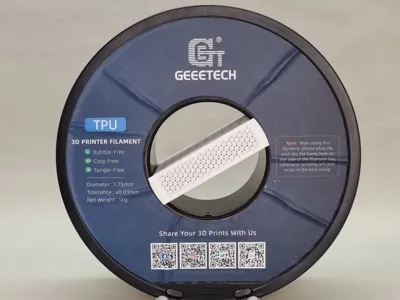
| Geeetech | 75.0 | 57.8 | |
| Geeetech | 75.0 | 59.8 | Old Version |
| Giantarm | 75.0 | 57.8 | |
| GratKit | 53.0 | 63.4 | Cardboard |
| JAYO | 54.5 | 60.2 | Cardboard |
| Kaisertech | 56.8 | 91.6 | |
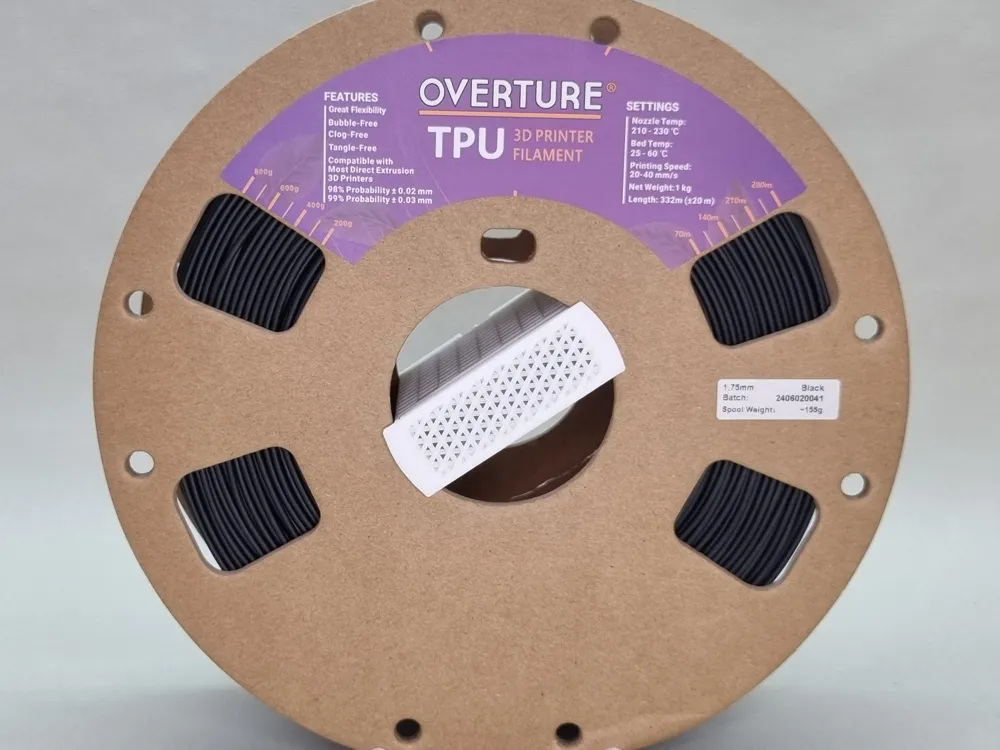
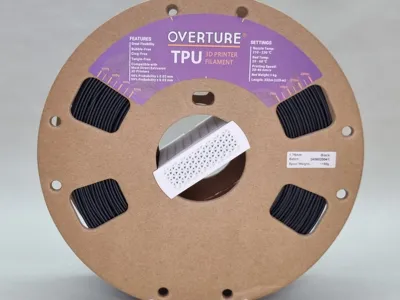
| Overture | 55.0 | 66.0 | Cardboard |
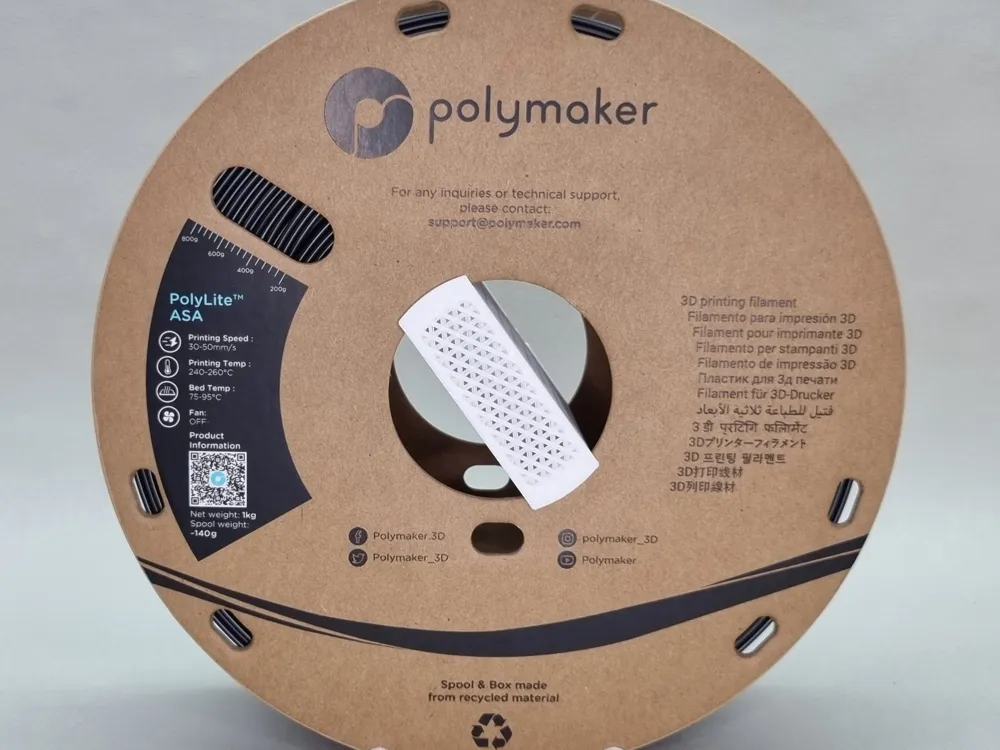
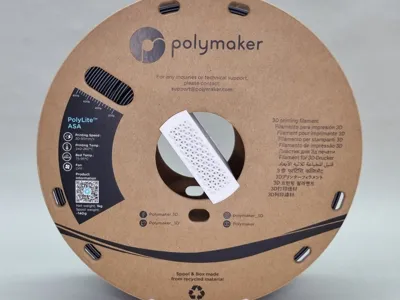
| Polymaker | 55.0 | 66.0 | Cardboard |
| PRIMAVALUE | 52.5 | 76.6 | |
| SUNLU | 55.0 | 63.6 | Version 3 from 2025 (Gen 3) |
| SUNLU | 63.0 | 58.4 | Version 2 from 2024 (Gen 2) |
| SUNLU | 72.5 | 61.0 | Clear High Temperature |
| SUNLU | 72.5 | 61.0 | Version 1 (Gen 1) |
Share your perfect fit
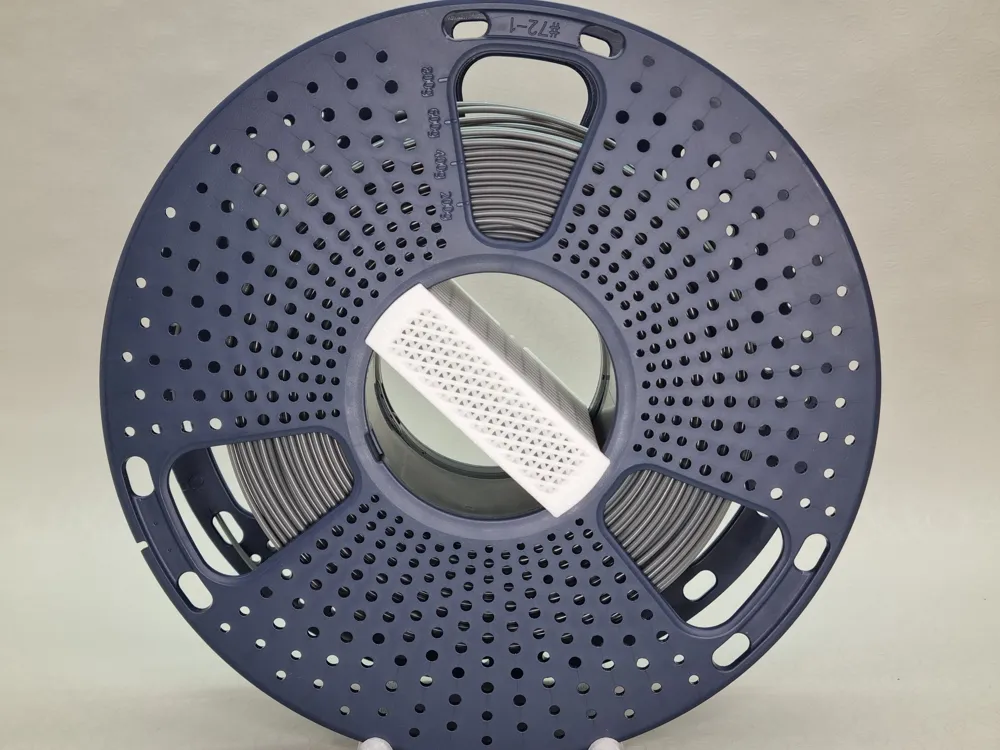
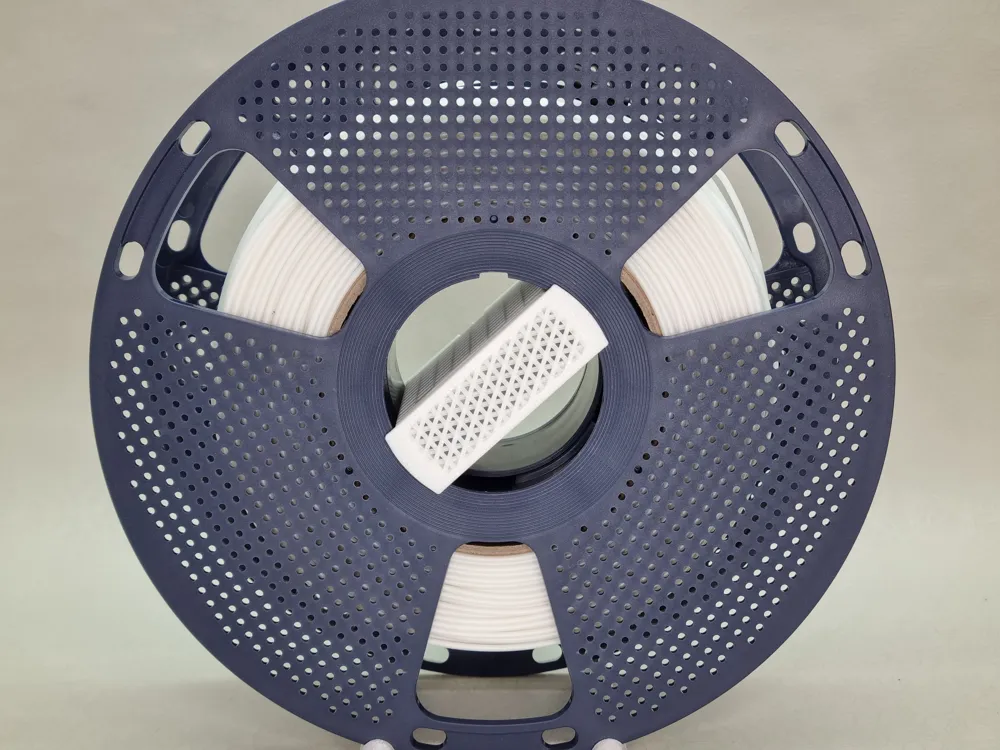
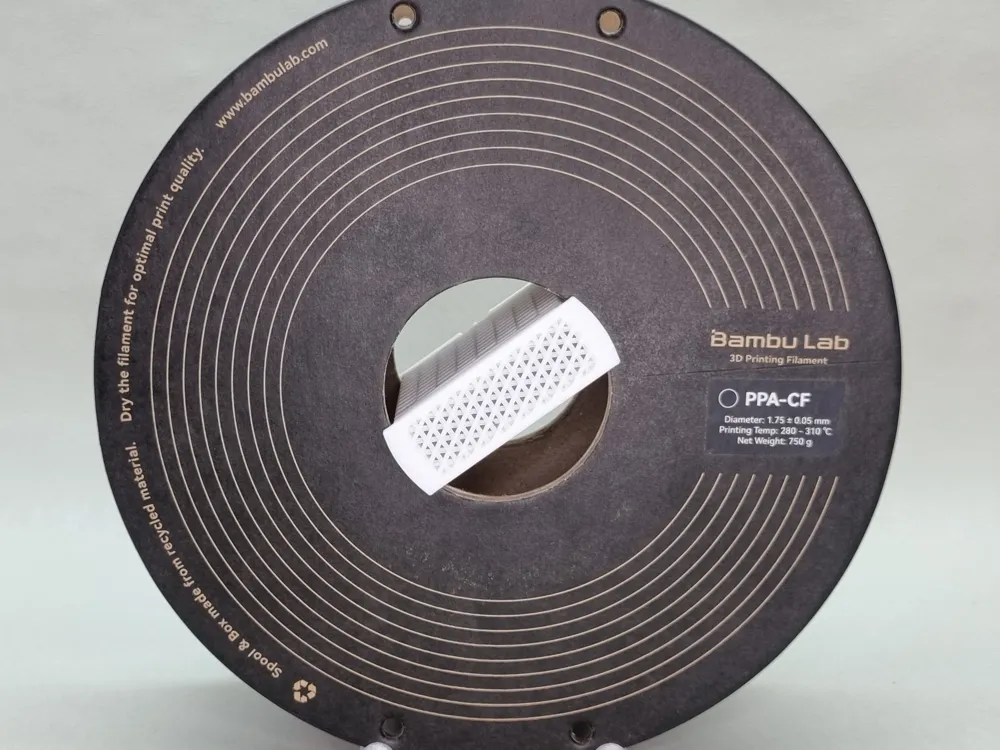
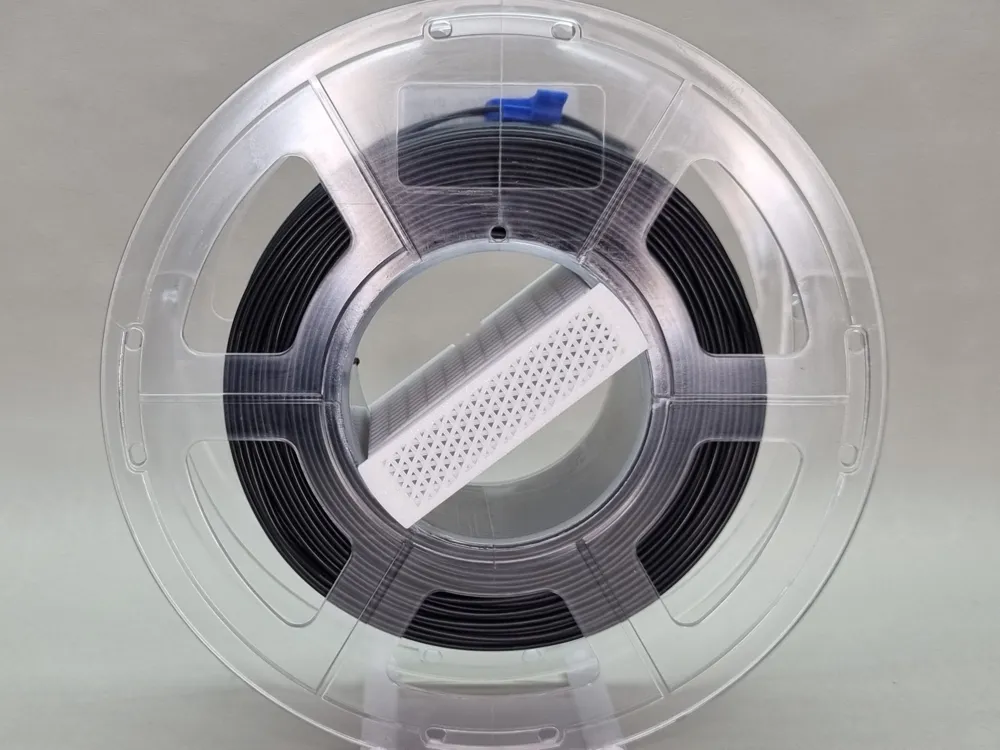
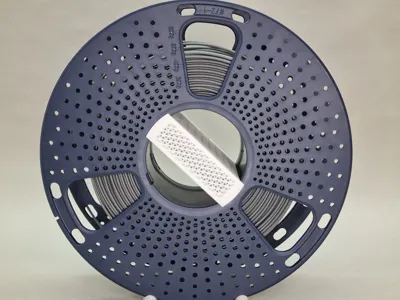
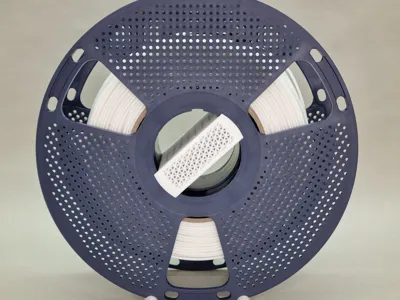
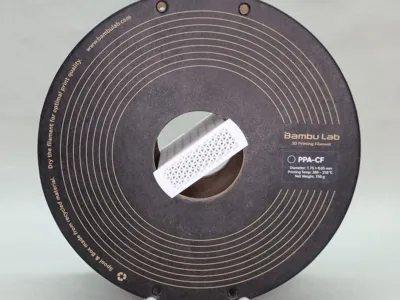
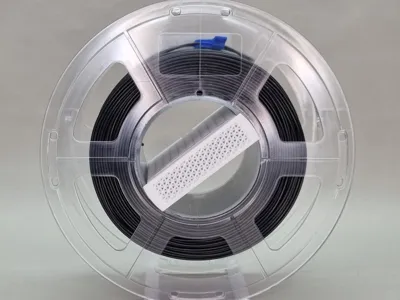
This model is fully customizable in height, diameter, click strength and nozzle diameter. Its true strength unfolds when the community contributes print profiles for different spools. Print, test fit and fine tune your parameters, then upload a profile with a clear photo of the spool and the installed Parametric MaxFlow².
All essential settings have already been defined on the model level in the Parametric Model Maker. These include a required layer height of 0.2 mm (also for 0.6 mm nozzles), the Arachne wall generator, and 30 percent rectilinear infill. Just Upload the .3mf output from the Model Maker.
Please use the naming format "DiameterxHeigh Brandname", for example "56.4.0x61.4 Shenqun 3D".
The container must sit flush in the spool without gaps or protrusion and the slide locks must snap in securely so that it will not come loose when shaken.
You do not need to enable the option to “award MakerReward points to the designer”. Please keep the points for providing a good profile.
How do you use it?
Are you using a 0.4 mm nozzle? Perfect, take a look at the print profiles, they are all optimized for 0.4 mm. If you want to use a 0.6 mm nozzle for technical filaments or need mouse ears for diffucult filaments, write down the diameter and height of the profile, go to Customise and create your own optimized model.
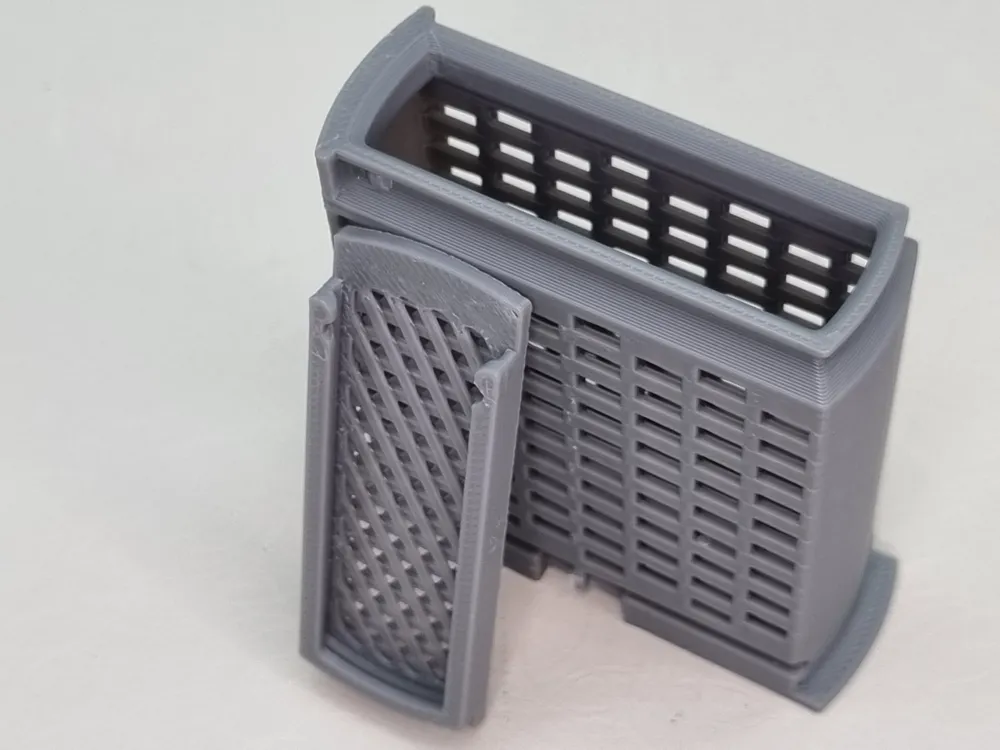
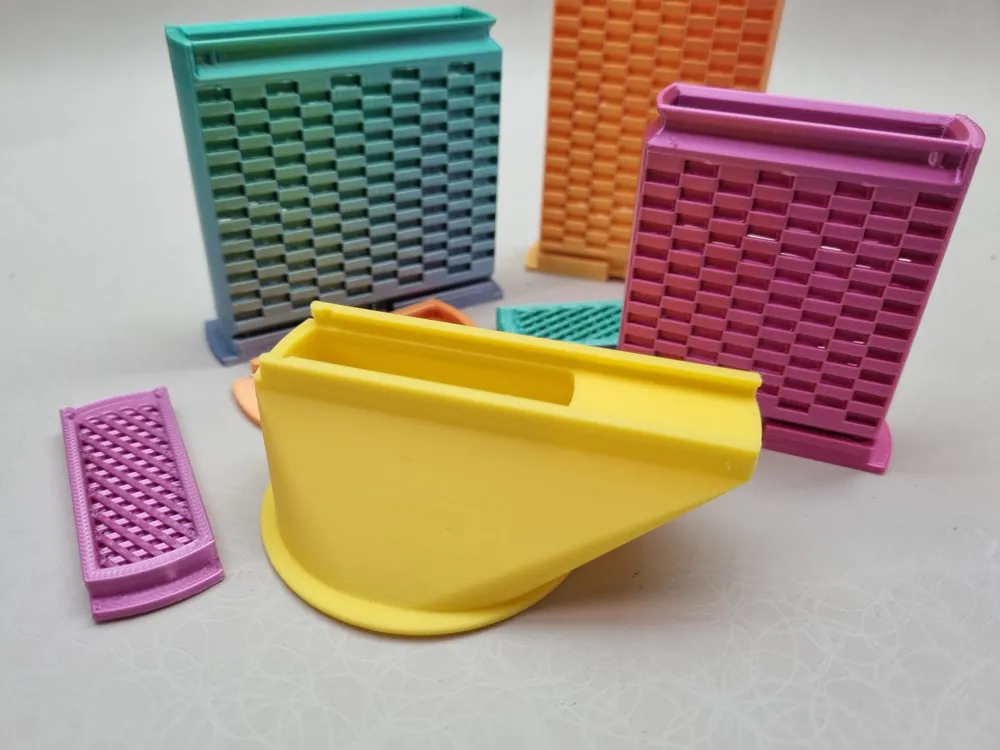

After printing, slide the short Slide Locks onto the bottom of the container with the straight side first. I designed it this way so you can't mess up the orientation. Once these snap on, you're good to go.

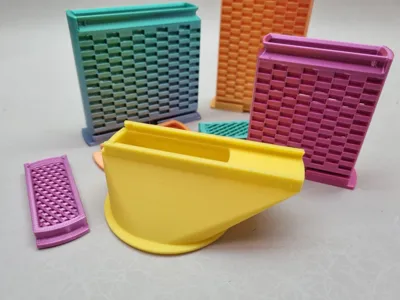
I got tired of spilling silica gel beads everywhere when trying to fill narrow containers, so each MaxFlow² model comes with matching funnels that slide on instead of the lid. Makes filling so much cleaner and faster. Trust me, you'll appreciate this when you're dealing with loose beads. Pop the lid back on, drop the whole thing bottom first into your spool, then just pull those Slide Locks outward. They'll click into place and lock the MaxFlow² securely in the spool core. I've shaken these pretty hard during testing and they stay put.
Stay a while and listen
I've developed several dozen filament drying models over the years and learned a lot in the process. The amount of desiccant matters, but it's far from the only factor. What matters most is that the desiccant has high surface area exposure to air while avoiding thick layers.
Desiccant doesn't get used up evenly. It works from the outside in. With thick layers, the unused desiccant in the center gets blocked by the exhausted outer layer, and drying performance drops off. What you actually want is fast, aggressive drying that quickly recovers from moisture shocks when you open storage boxes, lift AMS lids, or vent vacuum bags.
This is exactly where MaxFlow² shines. The cubic design maximizes surface area while keeping layer thickness minimal. Instead of a deep pile of beads where only the top layer does any work, you get maximum exposure across the entire desiccant load. When moisture hits your setup, this thing responds immediately instead of slowly working through depleted outer layers.
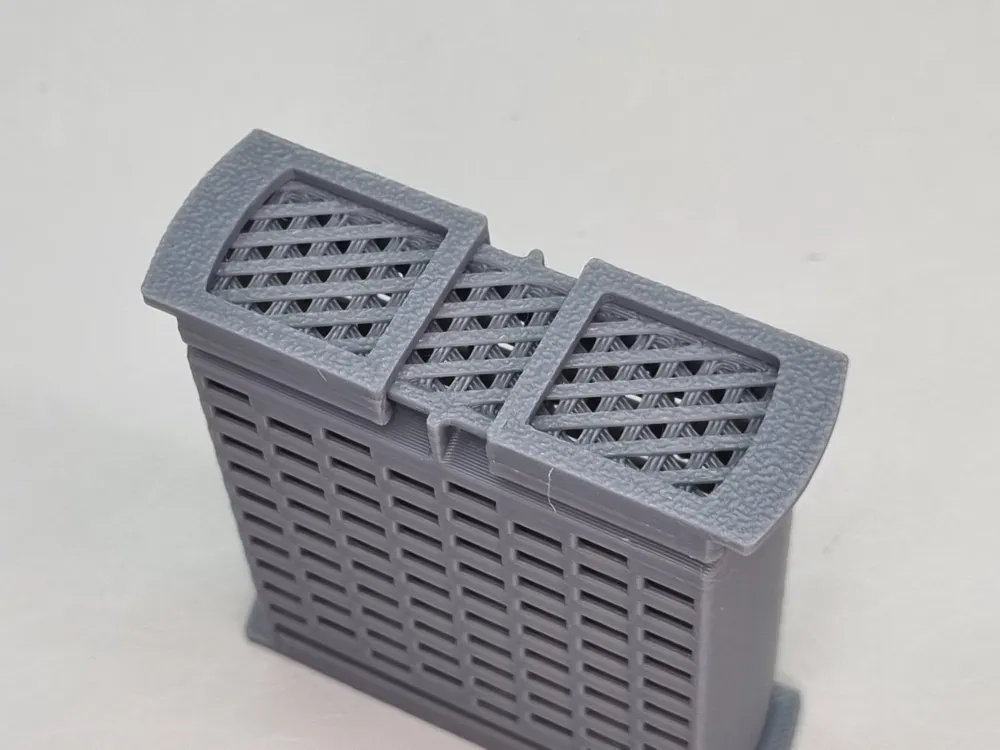
With MaxFlow², three designs from my past come together. The sliding Click Lock lid system comes from one of my earliest models. The woven walls that can print heavily perforated surfaces with minimal retracts at full speed come from my No Spill Core dryboxes like Fast, Tuff and Wiry. The custom mesh in the bottom and lid skips infill tricks and slicer hacks, instead printing an incredibly robust and precisely controlled perforated surface.
MaxFlow² Drying Performance – Tested Across Real Conditions
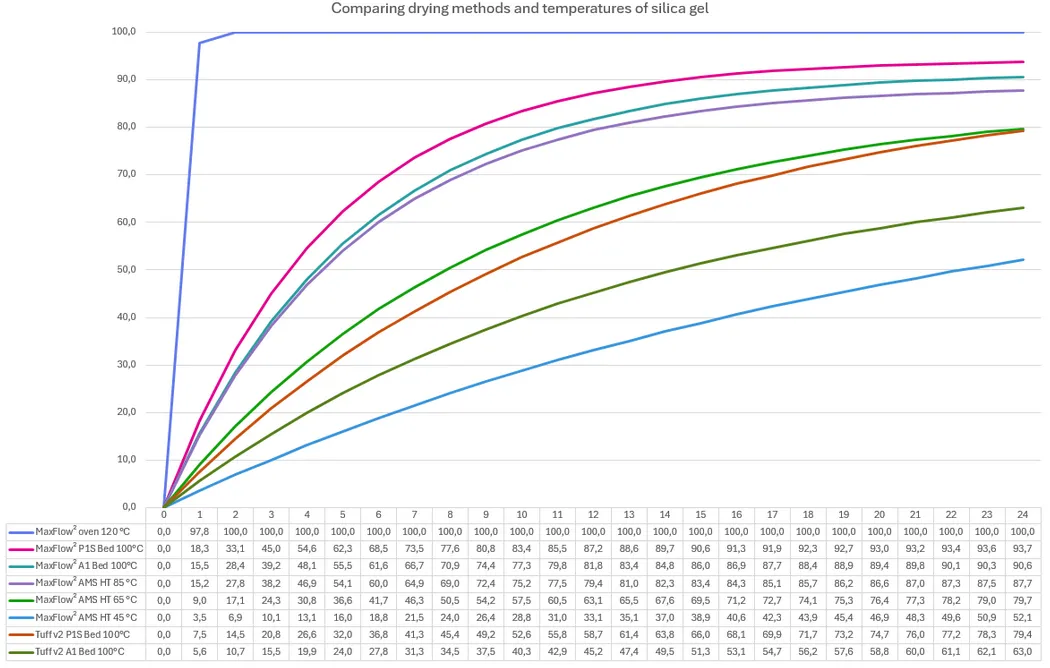
With the MaxFlow² in a convection oven at 120 °C, the benchmark of complete silica gel regeneration is defined. This curve represents the 100 % line, the reference against which all other drying methods are measured.
On the P1S and A1 beds at 100 °C, MaxFlow² shows the steepest and fastest rise. By the 12 h mark it already reaches more than 80 % of the reference and continues to climb, making it the most effective option for the typical overnight drying cycle used for filament.
The AMS HT at 85 °C and 65 °C performs more slowly but still delivers strong results, reaching 70 % - 80 % in 12 h.
At 45 °C the drying process is noticeably slower, but silica gel still reaches nearly half of its recovery after 12 h. While this level is lower than at higher temperatures, regular drying at 45 °C is enough to keep the material functional and ready for use.
For comparison, my Tuff v2 design, a meshed cylinder that fills the entire spool core, dries significantly less efficiently. Even at 100 °C it lags well behind MaxFlow², showing that airflow and surface exchange matter more than bulk volume.
With the reference set by the MaxFlow² in a convection oven at 120 °C, the results confirm the claim: under realistic conditions, MaxFlow² regenerates silica gel faster than any other tested method and comes closest to the benchmark within twelve hours.
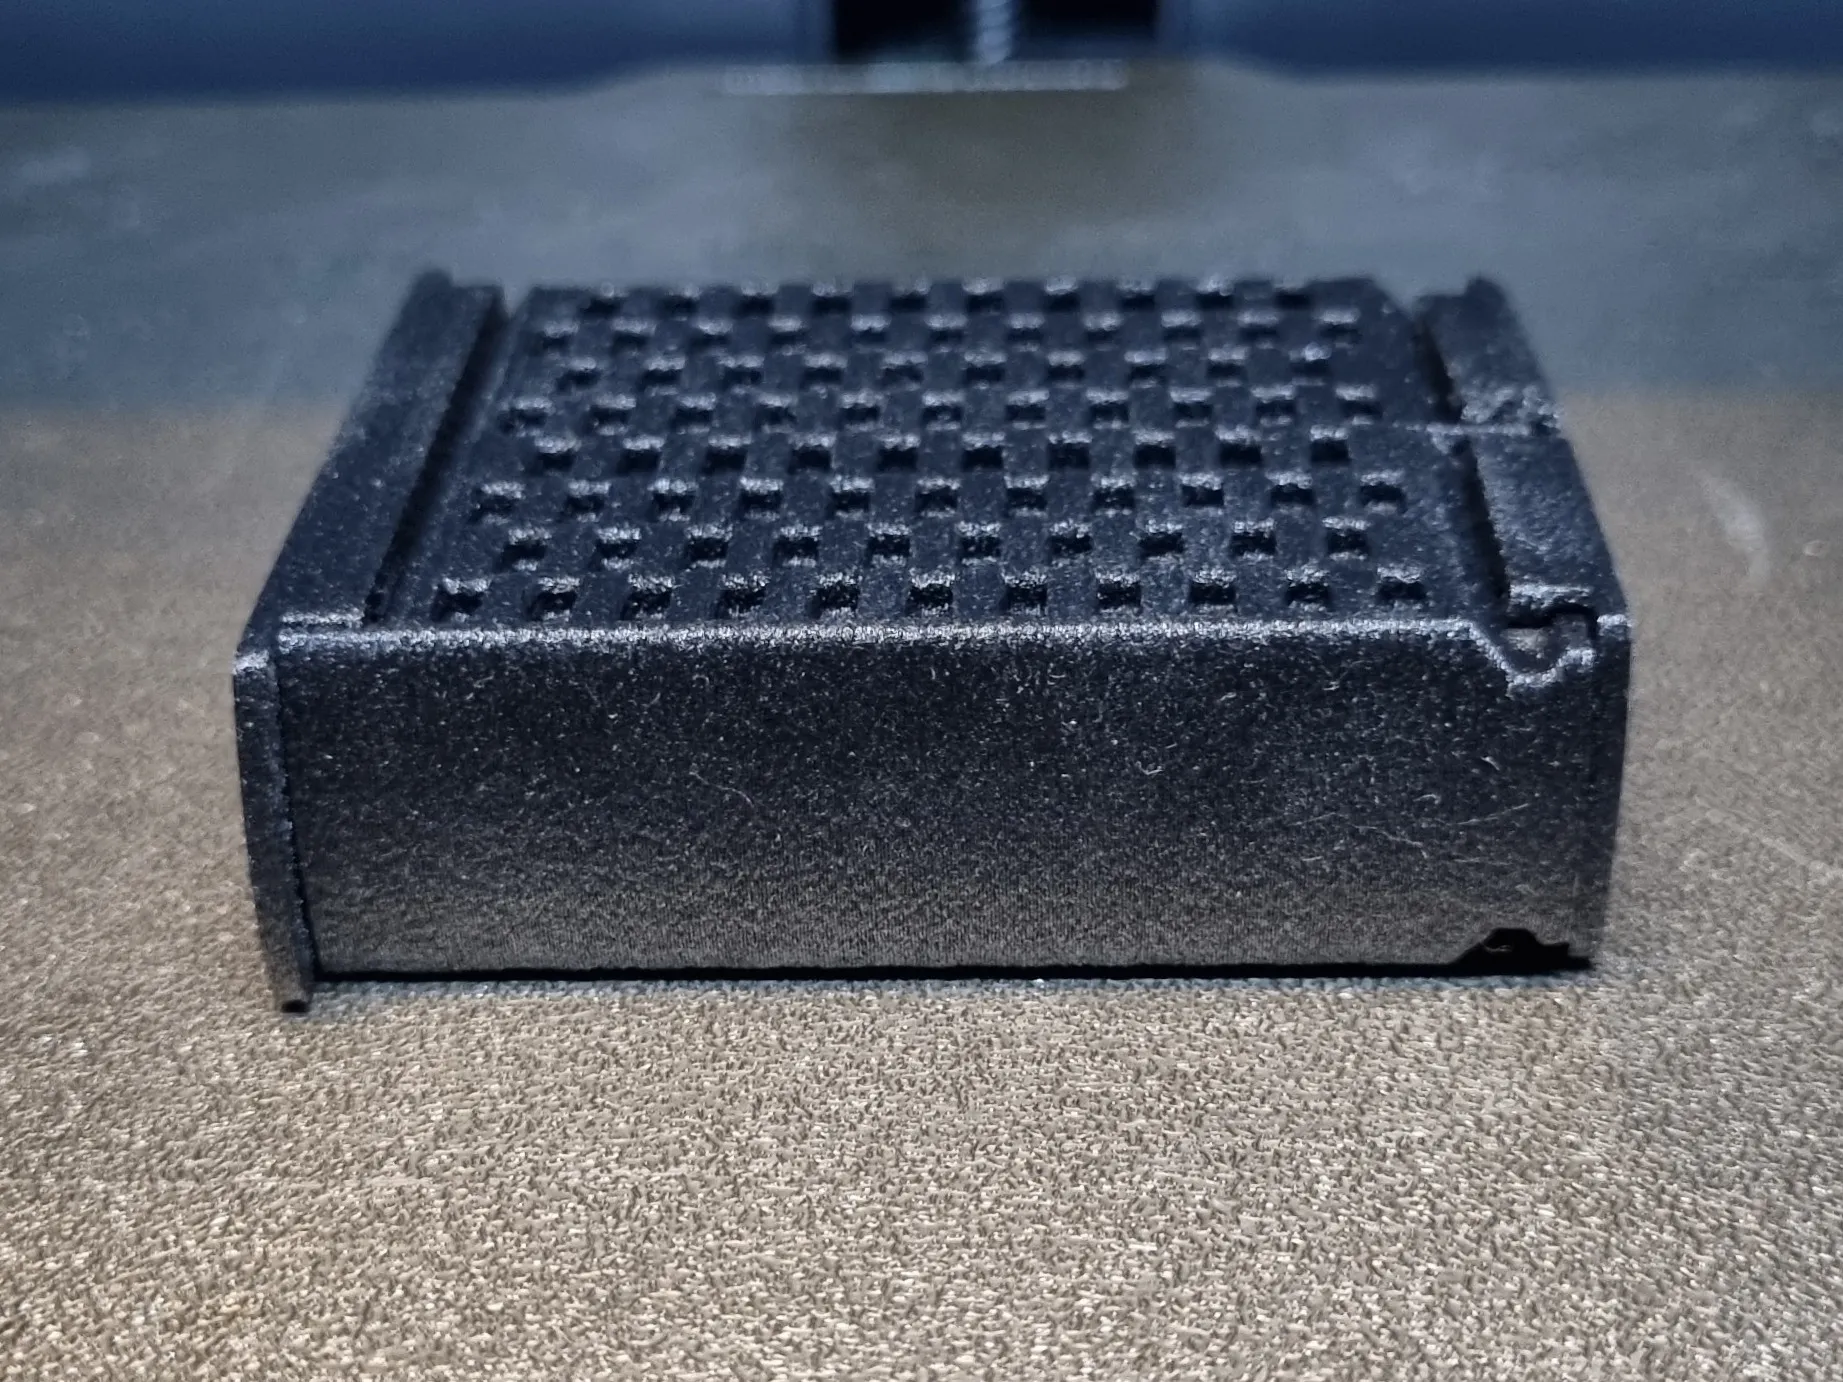
And Here's What That Looks Like in the Finished Model
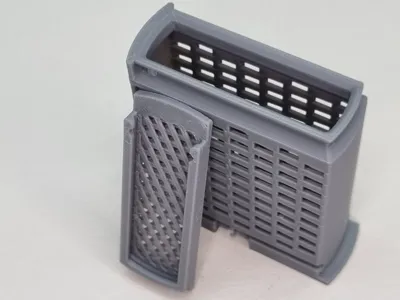
Smooth container top with internal chamfer makes filling easy right to the brim. No grooves where desiccant gets stuck, no threads that grind when you close it.
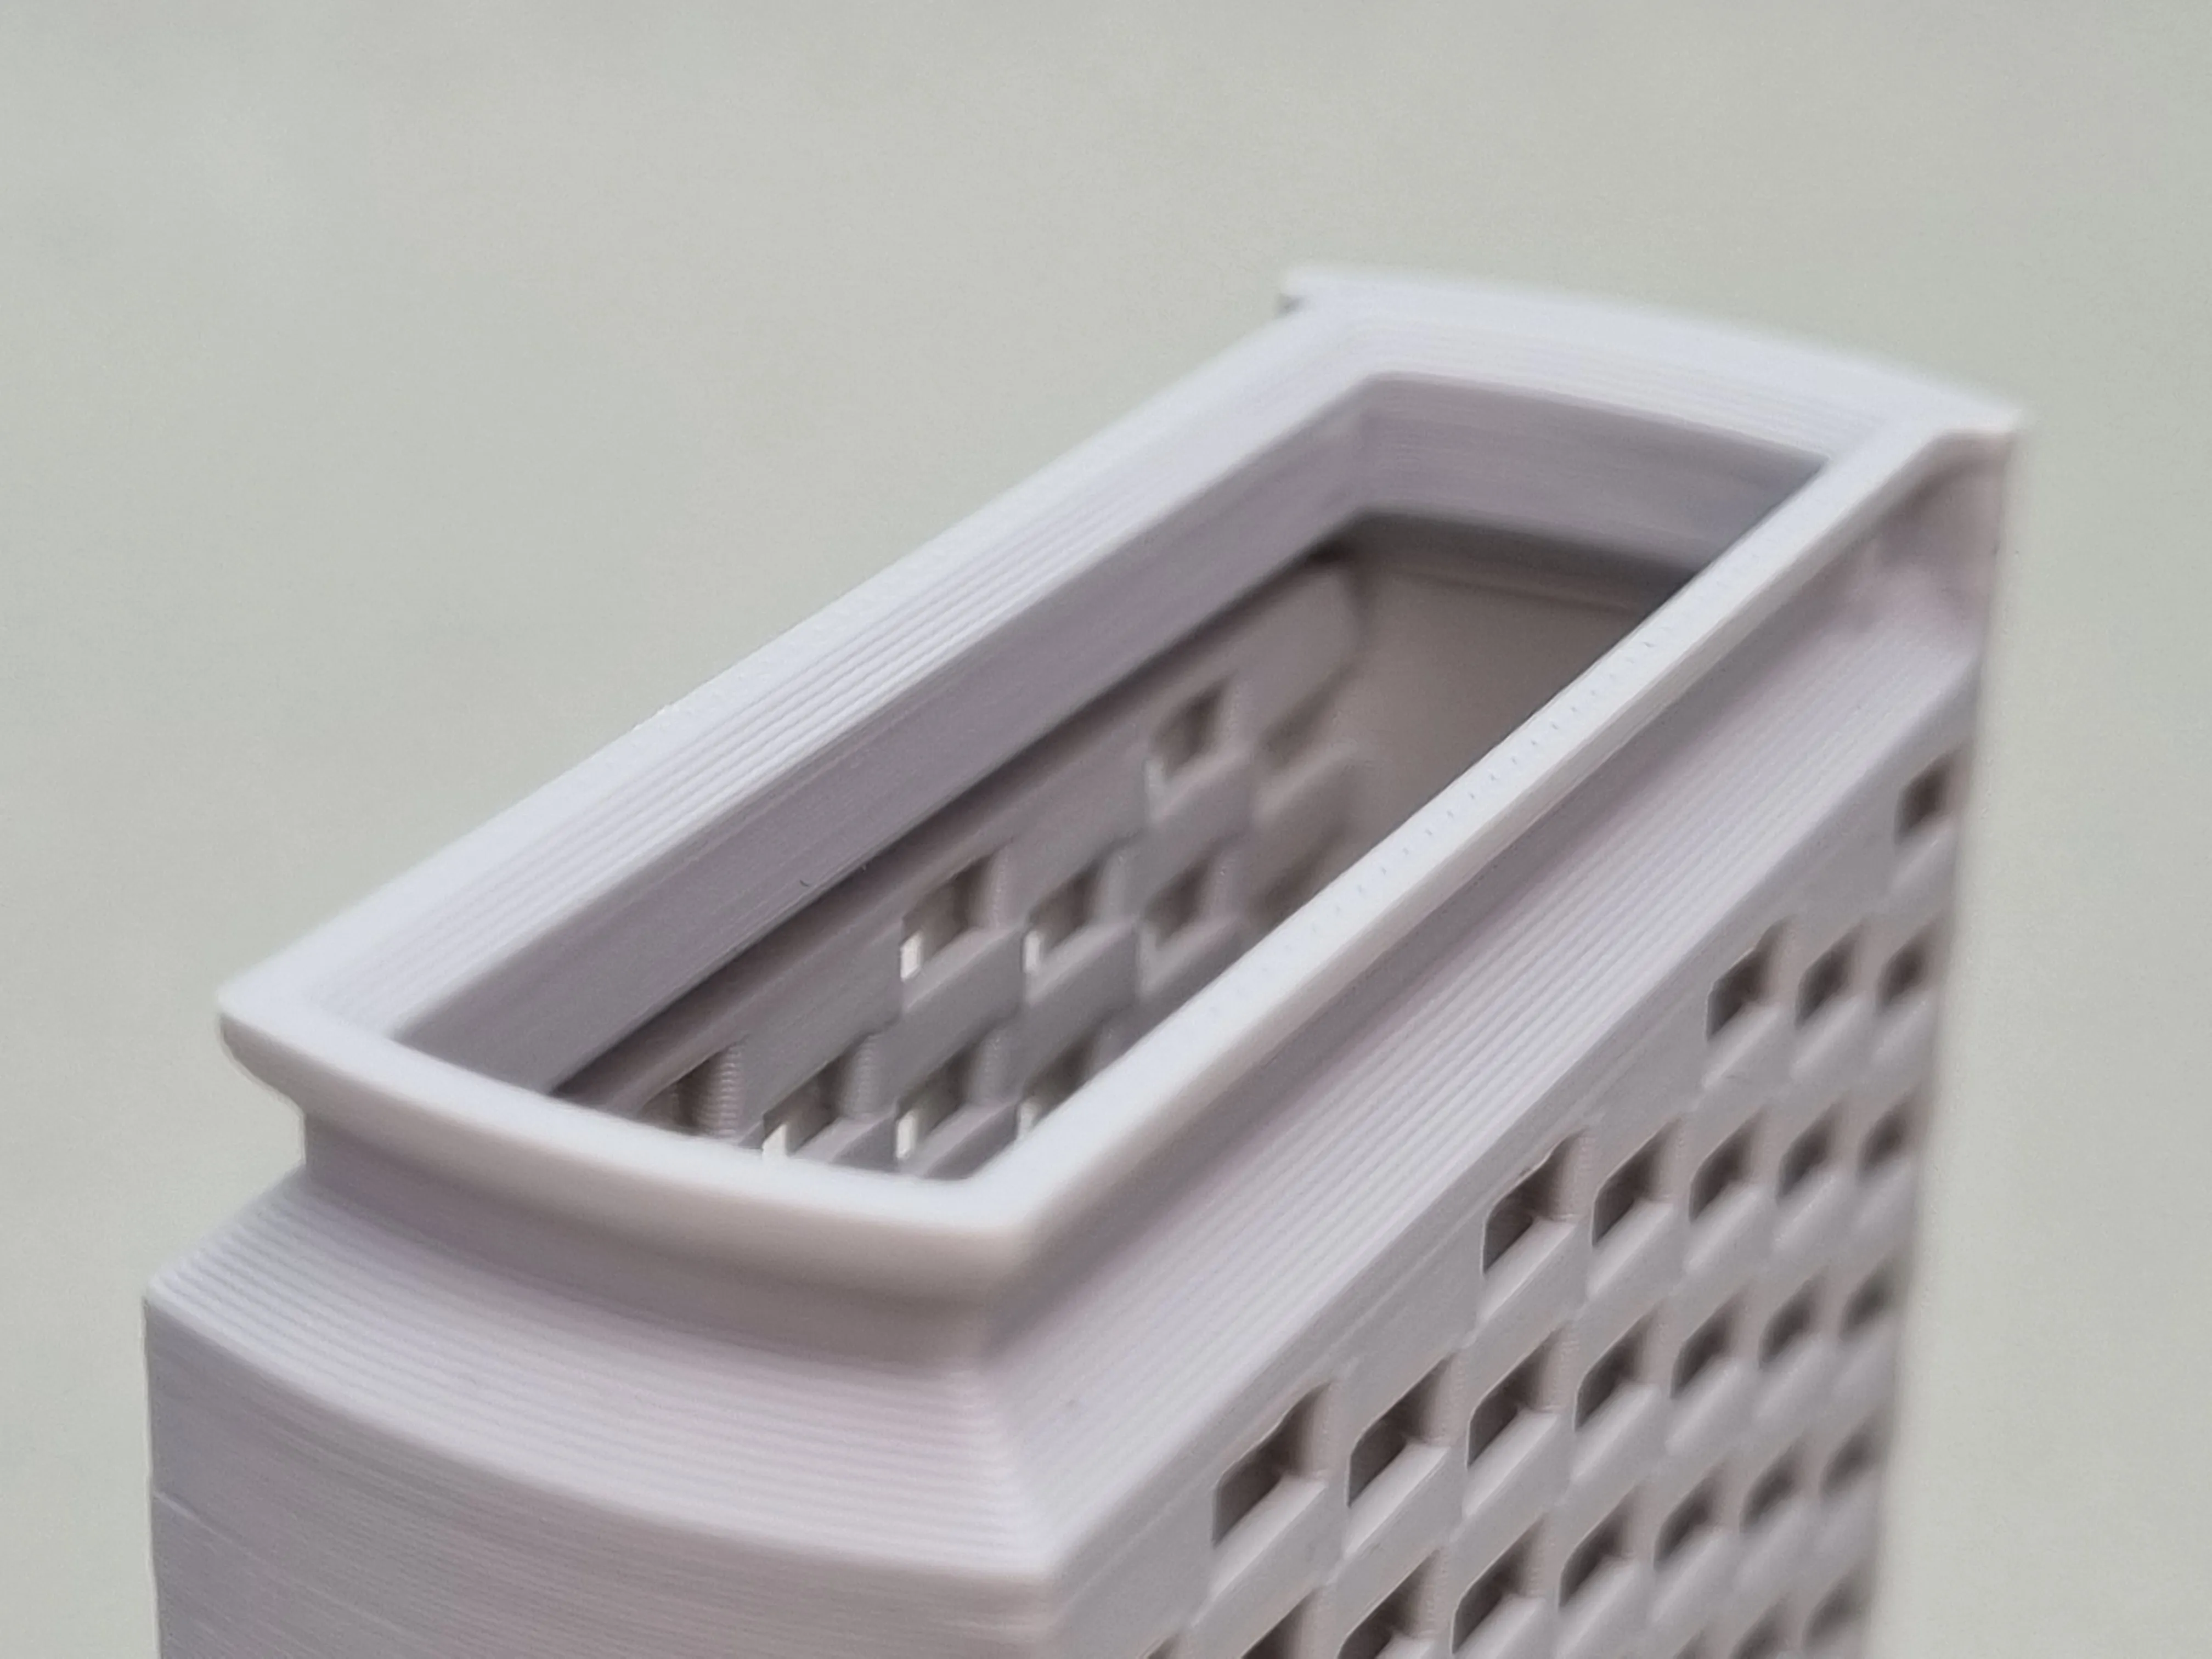
Click Lock tabs and notches give you tactile and clearly audible clicking that secures the sliders and lid reliably until you unlock them.
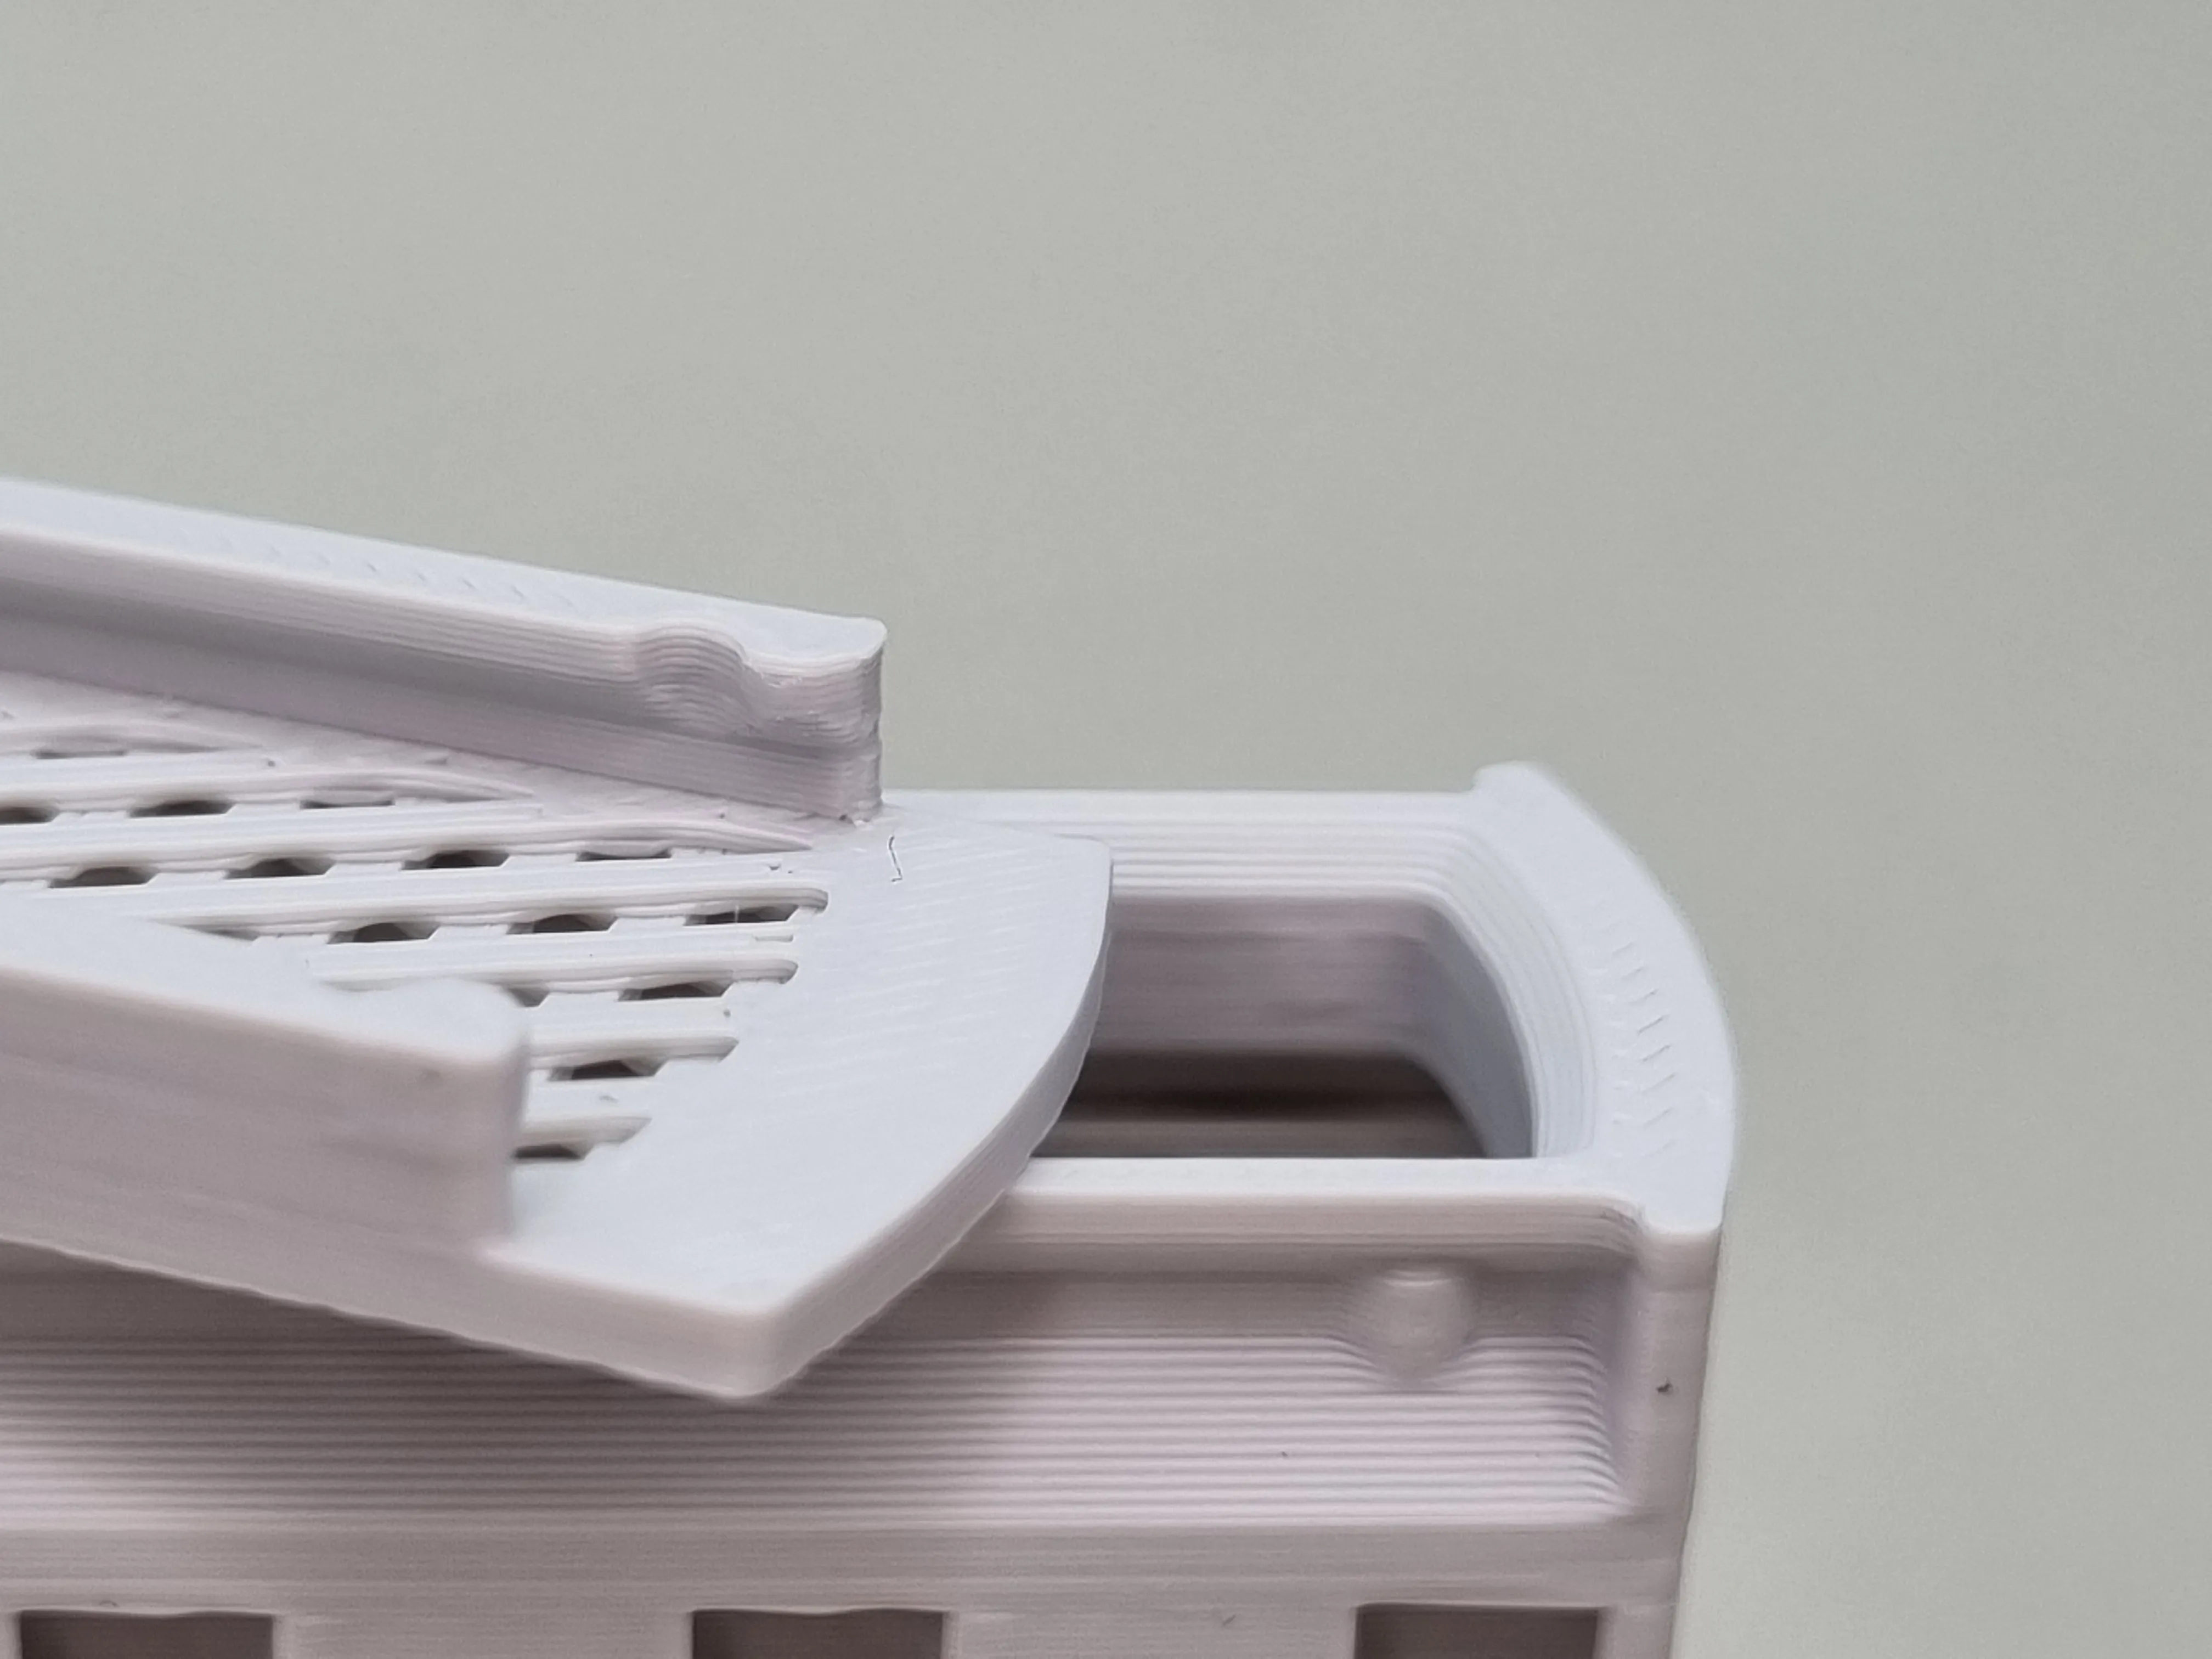
The lid absolutely cannot open when installed. This is a deliberate design choice. No accidental spilling because you grabbed the wrong end.
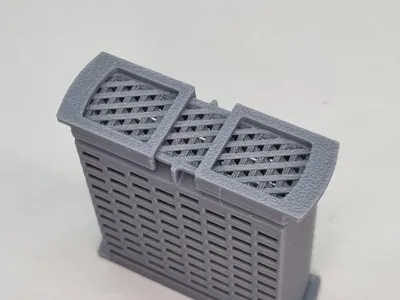
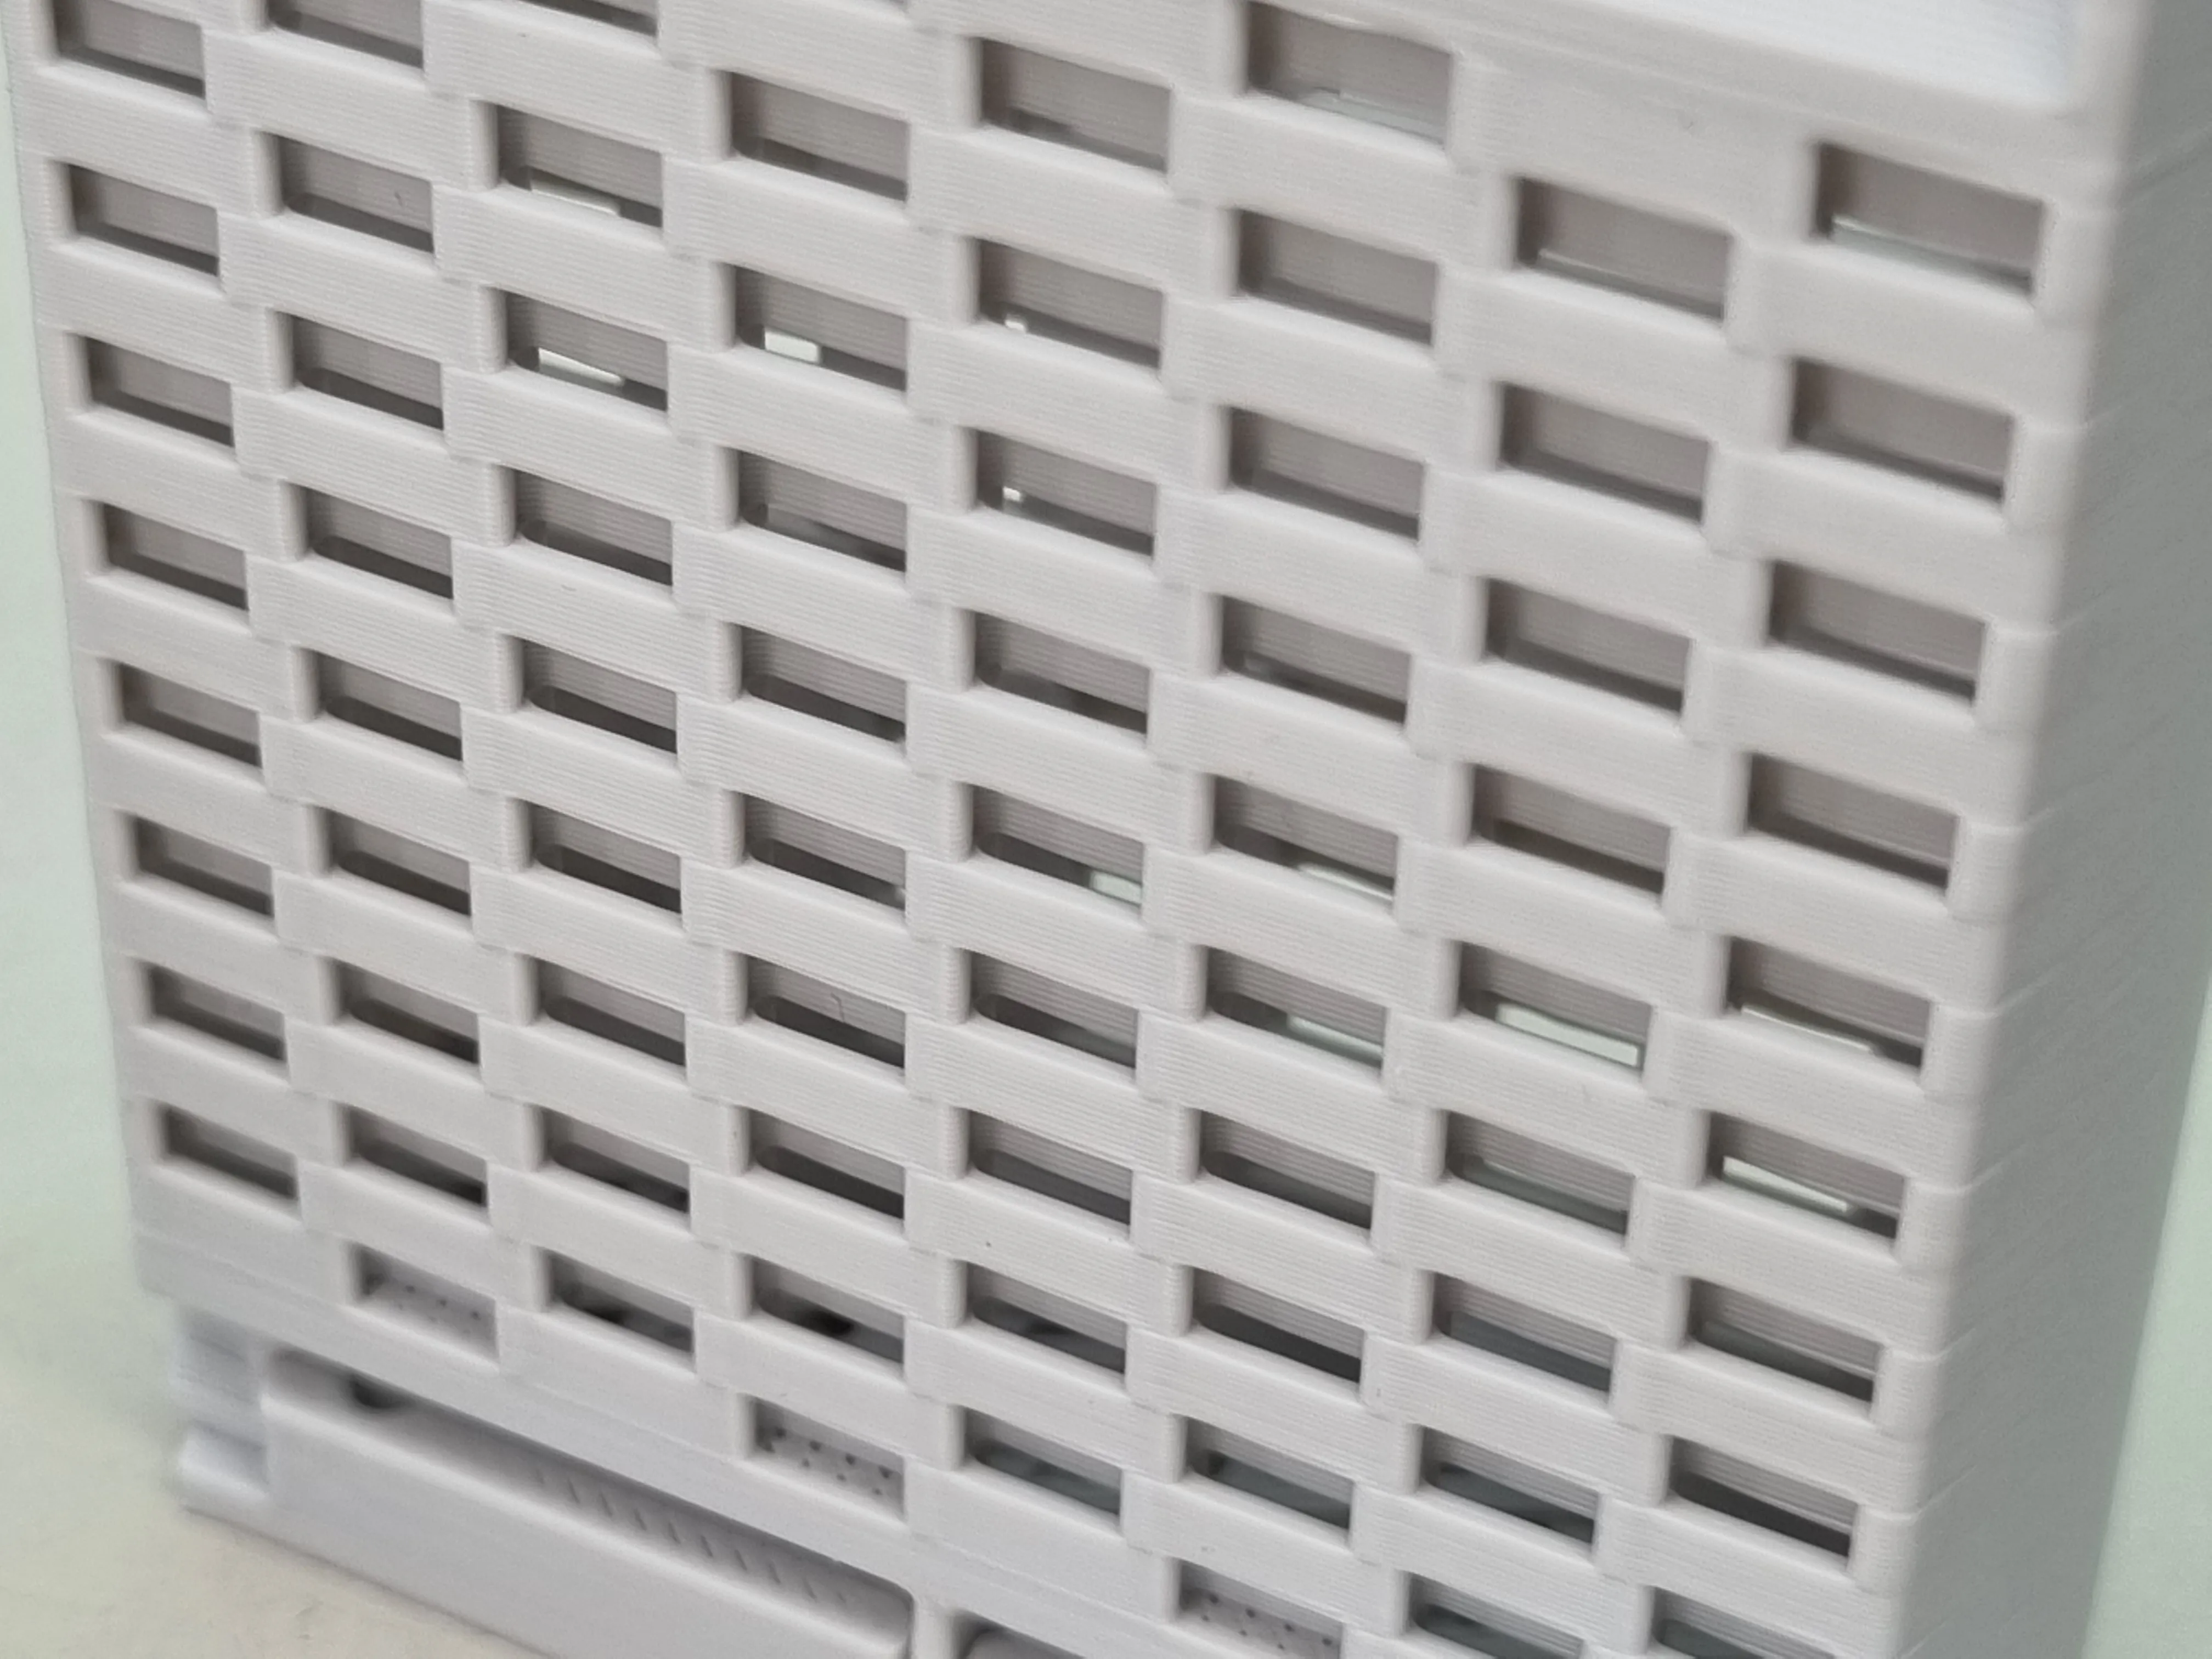
Woven side walls with a carefully planned path. Exactly two clean extrusions wide with straight bridges. Maximizing the Z surface creates stable, torsion resistant walls that print easily.
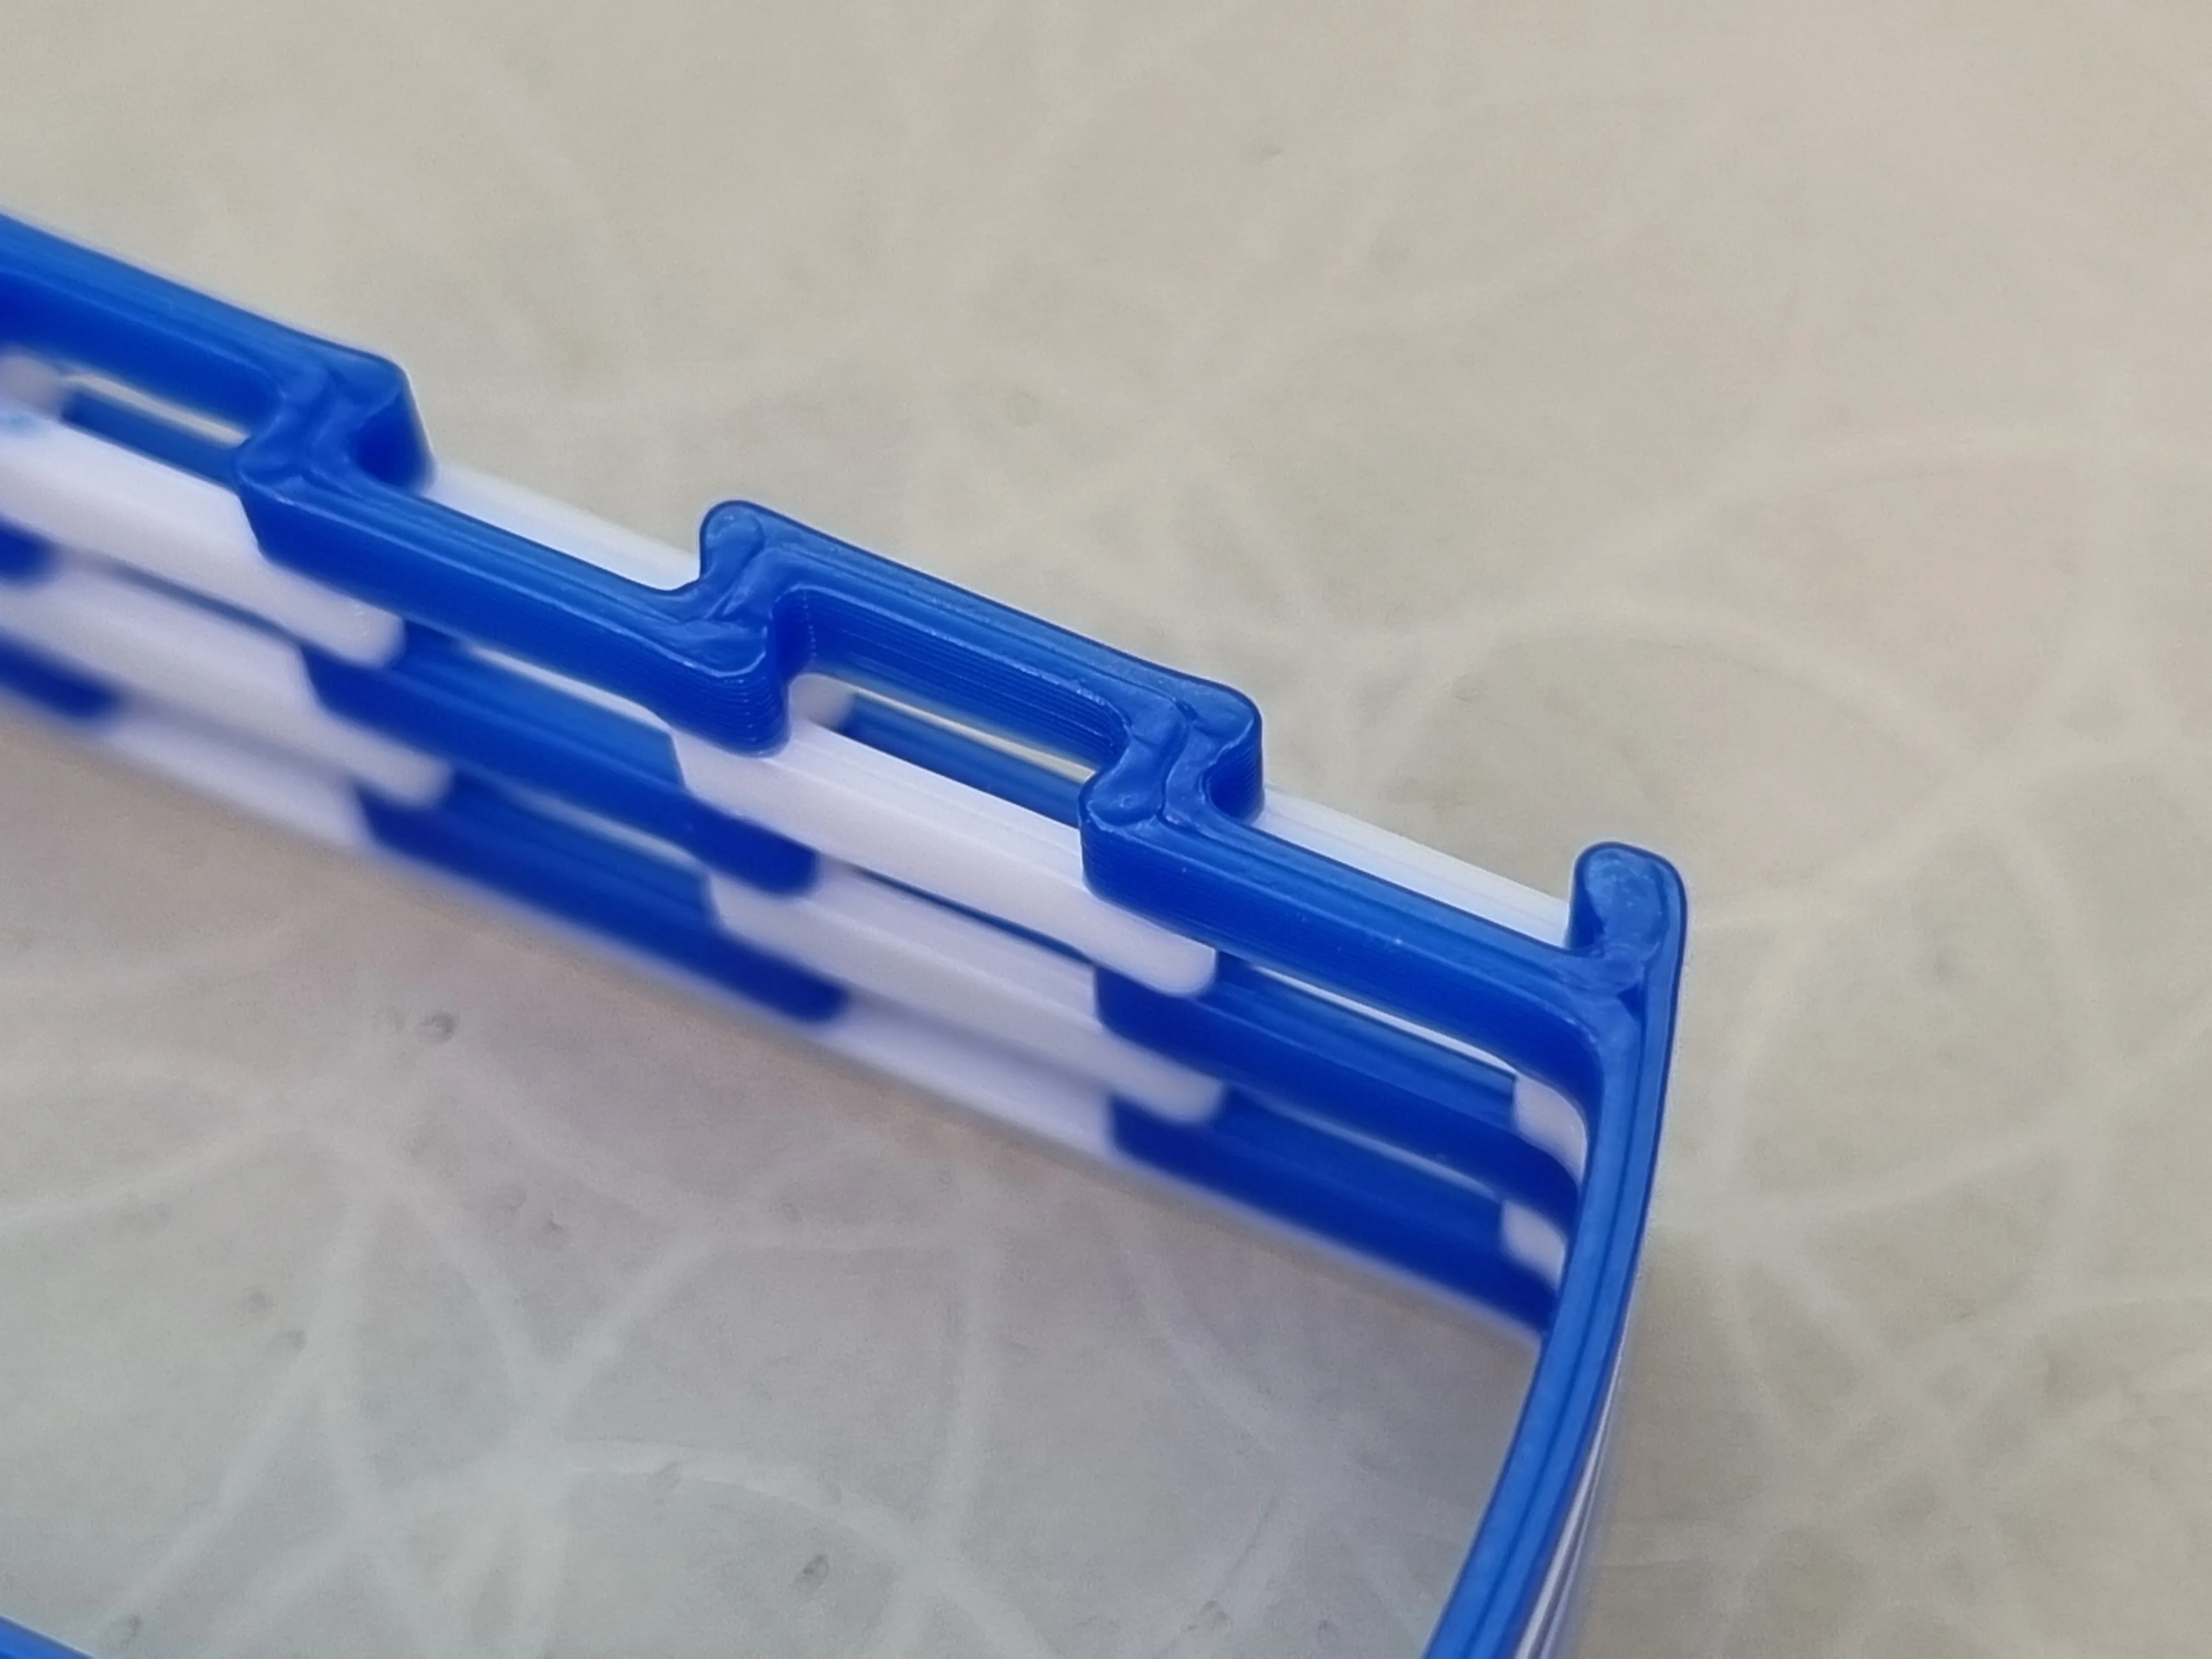
Wall thickness optimization eliminates the need for infill passes. Every wall layer has exactly two retracts, one for switching from outer to inner wall and one for the layer change. This lets you print the model with demanding filaments with practically zero stringing.
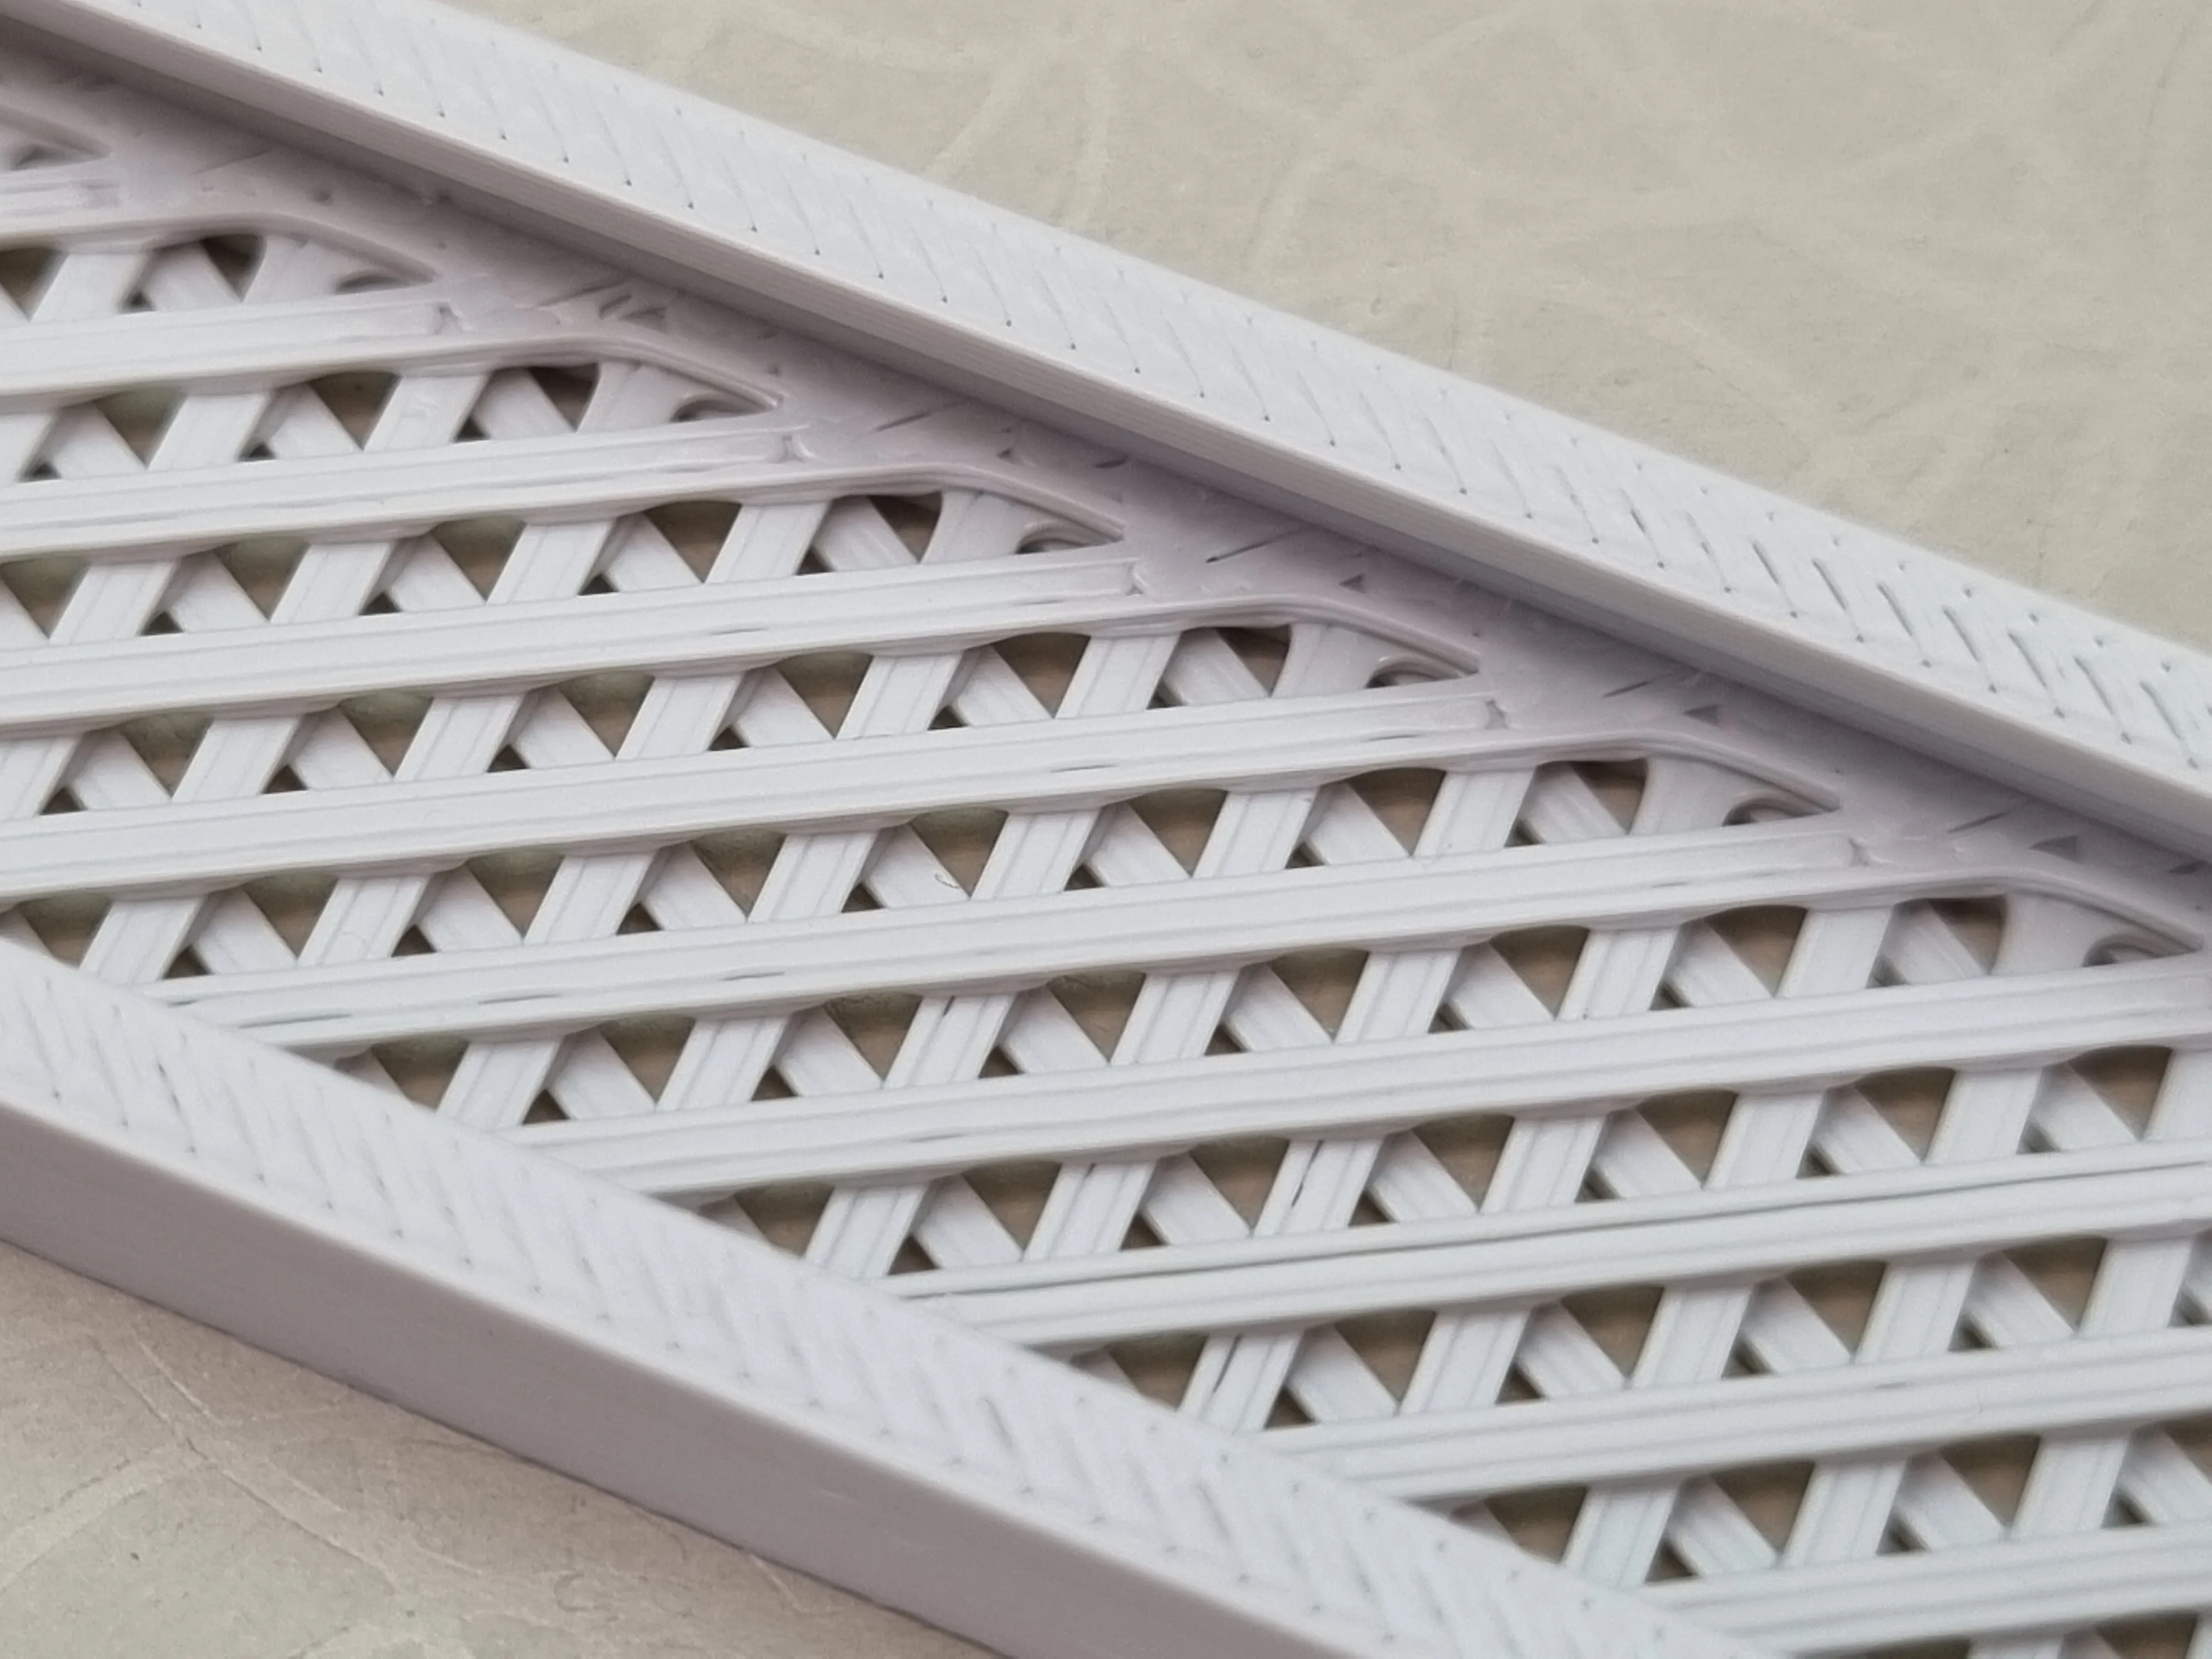
Tri-Mesh bottom and lid skip slicer hacks and infill magic. Clearly defined paths print a robust grid that adheres well to the print bed and delivers the same excellent results with virtually any slicer.
A Note on Silica Gel Desiccant
For everyday use, I just cut open those little sachets that come with filament, electronics, food, whatever. Been doing this for years and it works great. Just double check they actually contain silica gel and not some cheap clay substitute. Orange silica gel is another solid option that I trust. You can even mix orange beads with the reclaimed packet stuff and they play nice together.
Now here's where I get serious about safety. Blue silica gel might look pretty, but it's nasty stuff. Contains either Crystal Violet (CAS No. 548-62-9) which is possibly carcinogenic, or Cobalt(II)Chloride (CAS No. 7791-13-1) which flat out is carcinogenic.
I don't care what the marketing says about "eco friendly" or "safe formula" or whatever. If it's blue, there's cancer causing chemicals in there. Period. Don't get fooled by fancy packaging on this stuff. Blue equals bad news, no exceptions. You want to keep your filament dry, not poison yourself doing it.
If it's blue, skip it. You’ve been warned.
Clean your Bed!
Some say use dish soap, I say absolutely not. Half of it’s meant for your hands, and what’s good for hands is bad for your print bed. My secret sauce? Heavy-duty bathroom cleaner: the kind that fights grime, limescale, and even urine stains. Put on gloves (I don't), apply it with a soft sponge, and when adhesion drops, flip to the scrub side and rub one out. Rinse it off with hot water and wipe with a microfiber cloth before it goes back on. And that’s how I keep my prints sticking like they should!
And once your bed is sparkling clean, don’t you dare touch it with your greasy sausage fingers, keep those filthy paws off!
Pro tip: For certain materials like polyamide, polycarbonate, or ASA, a good adhesion promoter can save your day and make removal easier. I once printed ASA-CF straight on PEI and had a truly bad time getting it off. Products like Magigoo PA and Magigoo PC, or the 3DLAC stick that I love for ASA and ABS can really help. And TPU too. That stuff can cling to PEI like there’s no tomorrow. With these products, even TPU lets go without a fight!
Sure, it’s still a little battle, but the kind you want, because you definitely don’t want it popping off mid-print!
Dry your Filament realy good
When filament absorbs moisture, the water turns to steam as it passes through the hotend. This creates audible popping or crackling sounds, often called "popping." Each pop is a tiny steam explosion inside the nozzle, which causes inconsistent extrusion, micro bubbles, and poor surface quality. These internal bursts can also weaken the part structurally. If you hear popping, your filament is wet and it's time to dry it.
Moisture is one of the biggest enemies of good prints. Materials like Nylon (PA), PVA, TPU, PETG, and PC are highly hygroscopic and can absorb water from the air in just a few hours, leading to stringing, bubbles, weak layer adhesion, and brittle parts. Even PLA, while less sensitive, will absorb moisture over time. This causes hydrolysis, a chemical breakdown that makes PLA brittle and ruins its print quality. If you want strong, clean, reliable prints, drying your filament is essential, no matter the material.
Filament Recommendations
Pick a filament that matches your temperature range and workflow. If you want to dry your silica gel and filament together in the AMS 2 Pro, your filament needs to handle at least 65°C (PETG). For the AMS HT, go with something that takes 85°C (HT-PLA). On the heated bed, aim for 100°C capability (ASA/HT-PLA), and if you're using your kitchen oven, better target 140°C (PA6-GF) since home ovens aren't exactly precision instruments.
HT-PLA surprised me during testing when properly annealed. I've also tested PETG-HF, PETG-CF, ASA, and PA6-GF with good results.
For ASA (0.4mm nozzle) and PA6-GF (0.6mm nozzle), you want solid bed adhesion, a warm chamber, and mouse ears are your friend. I like using adhesion helpers like 3dlac stick or Magigoo PA. After printing, I let the models cool down slowly in the chamber instead of yanking them out right away.
You can get all these filaments directly from Bambu Lab except the HT-PLA, which is what I do. My HT-PLA comes from Polymaker and got a two hour post treatment at 85°C in the AMS-HT.
Part #2 in my Core Tools Design Journey.
Boost Me (for free)
Support for this model helps fund 3D printing in a local school in Lower Saxony, Germany. Contributions go toward printers and filament for student maker and robotics clubs, including preparation for "Jugend forscht" competitions. Likes, follows, and boosts help increase visibility and indirectly support hands-on technical education.
Translation Notice: I am not a native English speaker. I write all descriptions in English to ensure the best automated translation into other languages. To make the text smoother and more readable, I use language tools to refine my wording.
Bill of Materials Notice: Hero Shot models are usually printed in Bambu Lab PLA Basic, primarily Pumpkin Orange, Purple and Matte Charcoal Black. The Bill of Materials contains the recommended filament for the model, which may differ from the filament used for the photos.
Purchases made via the BOM support my work through the Maker World Commission Incentive at no extra cost to you.
License

You shall not share, sub-license, sell, rent, host, transfer, or distribute in any way the digital or 3D printed versions of this object, nor any other derivative work of this object in its digital or physical format (including - but not limited to - remixes of this object, and hosting on other digital platforms). The objects may not be used without permission in any way whatsoever in which you charge money, or collect fees.


Comment & Rating (307)