Spectra S1 PLUS Breast Pump Organizer


Print Profile(3)

Bill of Materials
- Super Glue x 1:
Description
** THIS MODEL IS ONLY FOR S1 PLUS MODEL WITH FLAT SIDED CUP **
IM WORKING ON A v2 VERSION TO HELP WITH FITMENT ISSUES AND ADDING SUPPORT FOR OTHER VERSIONS OF THE PUMP
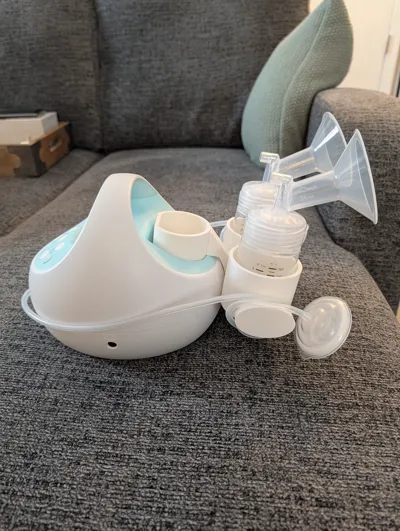
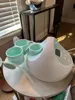
Spectra Breast Pump Organizer
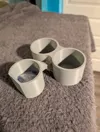
This is an organizer for the Spectra breast pump. The Spectra only has 1 bottle holder integrated into it, and nothing to help keep the tubes tidy, so I decided to try and 3D model one from scratch. I have seen a few of these similar items on TikTok, but I have a 3D printer and wanted to venture into 3D modeling something from scratch myself. I have a Bambu A1 mini, so I designed it to be modular and print in pieces. I tried to make it as print-friendly as possible, but since it's my first time and first model, I welcome feedback on how to improve. It is printed in pieces with pegs and holes to line up and glue together. The pieces fit perfectly, and the bond is very strong using super glue.
Features:
- 2 bottle holders - One for each bottle
- Tubing organization - Wrap tubes around extended side pieces and clip the ends into integrated slot
- Additional storage compartment - Don't lose the utility of the built in holder, perfect for nipple cream, or anything else that you need handy!
Printing and Assembly Instructions:
- Print with supports enabled - doesn't need many, and they come off nicely
- Dry fit the model together first before gluing it together
- Ensure the right and left organizers are orientated properly before gluing. The cut outs for the tubing to be clipped in should be facing upwards
License
You shall not share, sub-license, sell, rent, host, transfer, or distribute in any way the digital or 3D printed versions of this object, nor any other derivative work of this object in its digital or physical format (including - but not limited to - remixes of this object, and hosting on other digital platforms). The objects may not be used without permission in any way whatsoever in which you charge money, or collect fees.
Comment & Rating (158)