
Print Profile(1)

Bill of Materials


Description
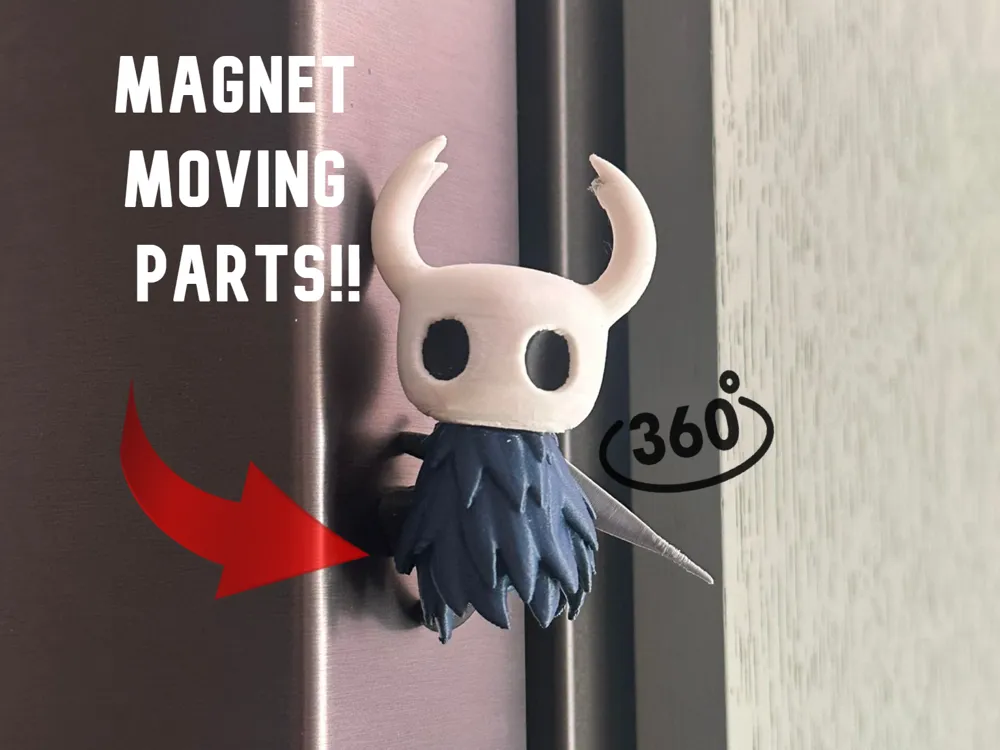
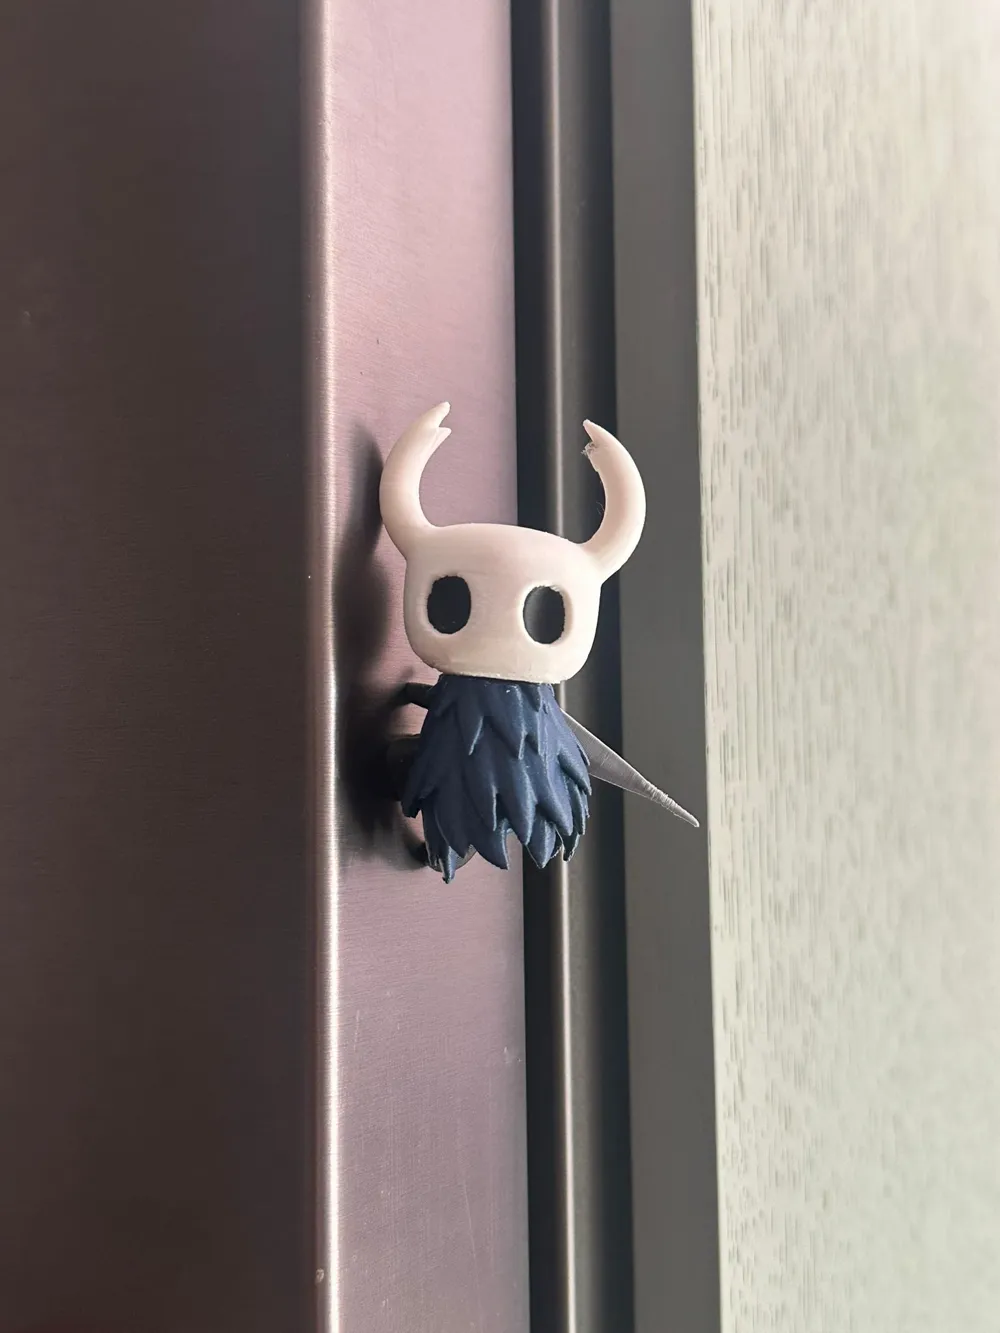
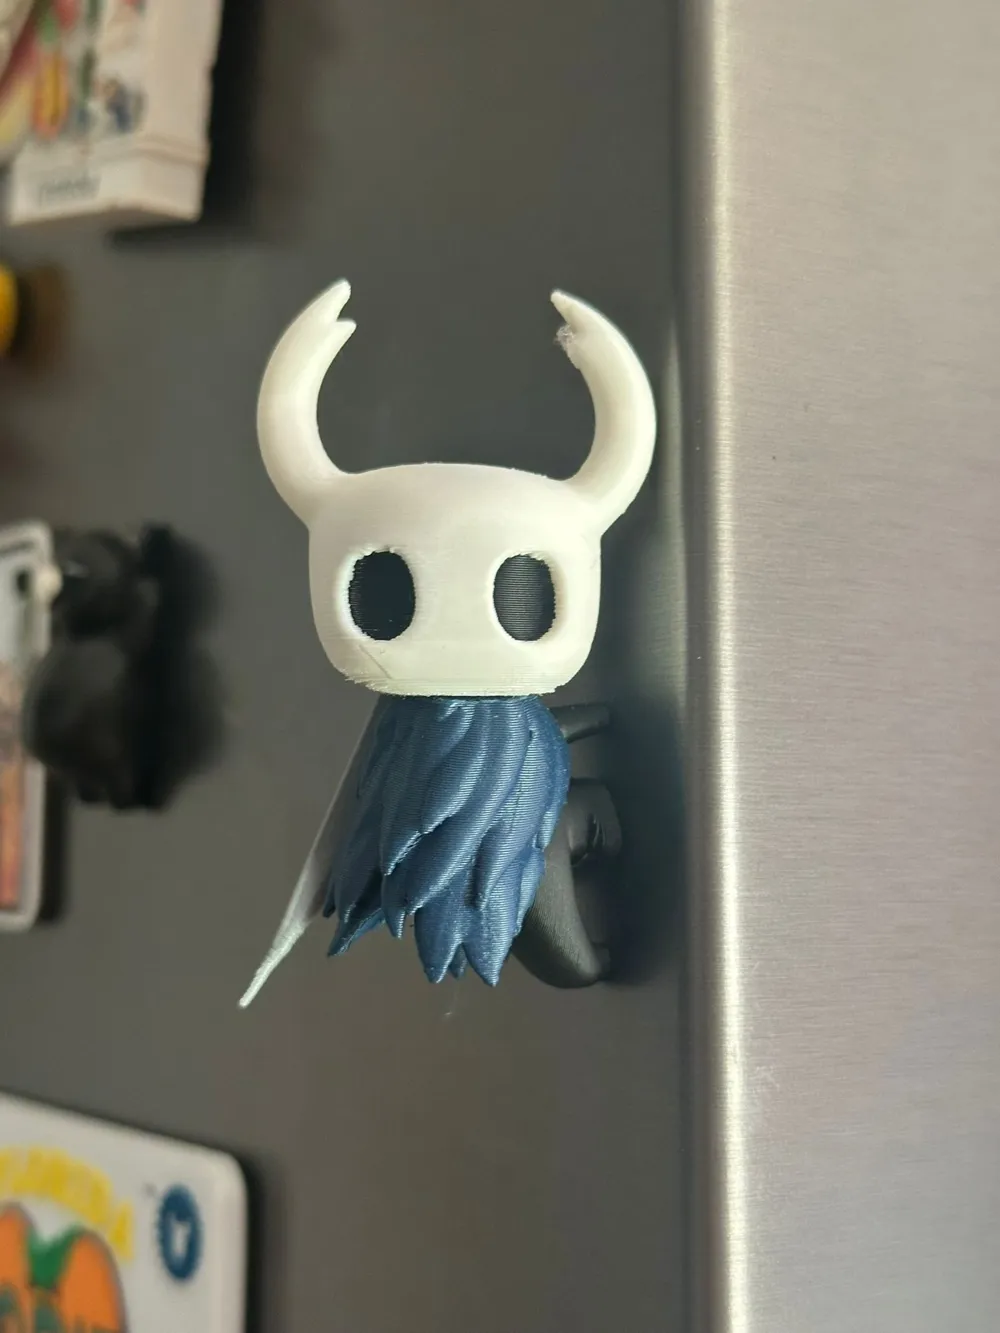
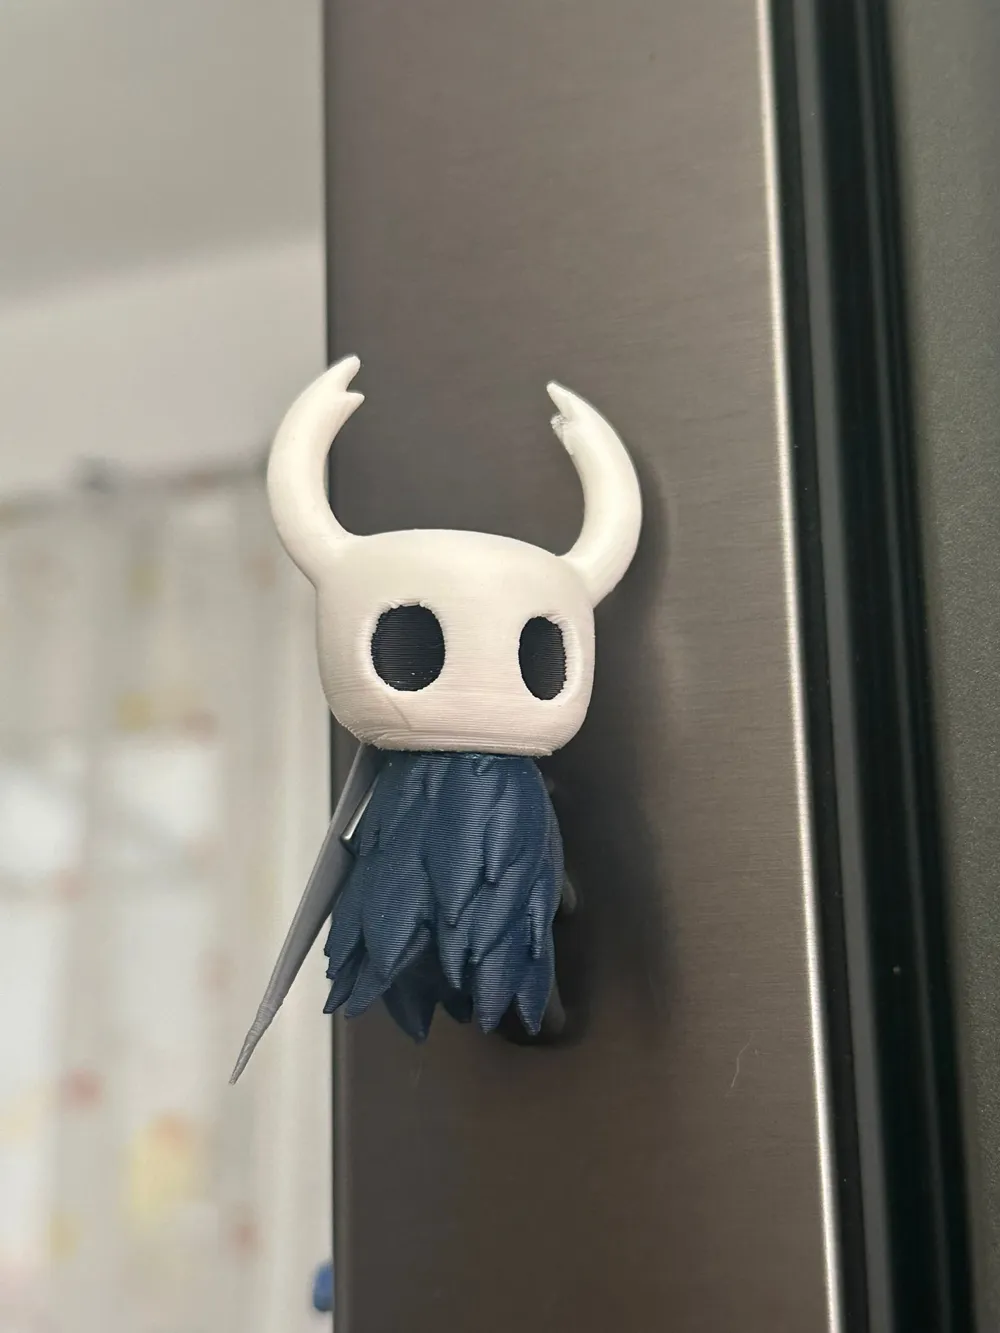
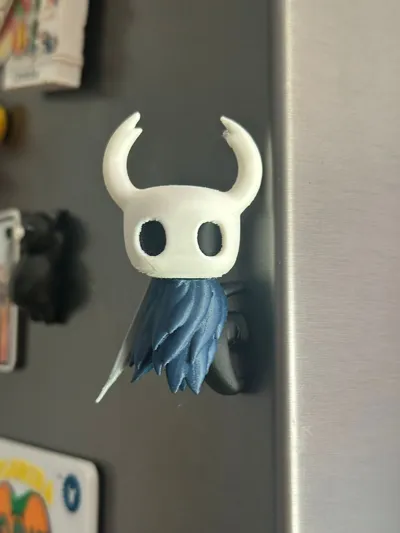
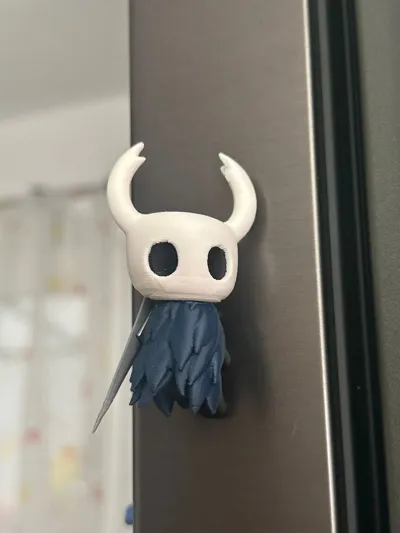
Hello, first of all, I saw this model in a Tiktok video, but I couldn't find it so I made it myself from scratch based entirely on the one in the video. the model is a version made in an afternoon, so it can be expected not to be of great quality, I am aware of this

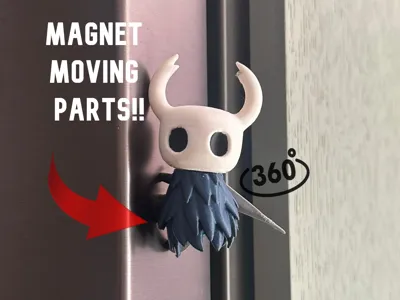
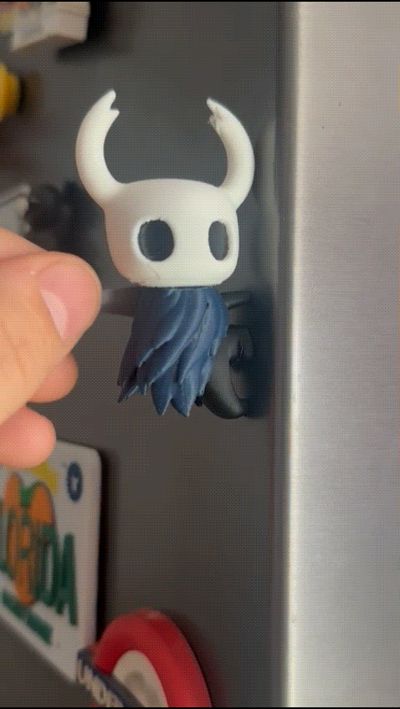
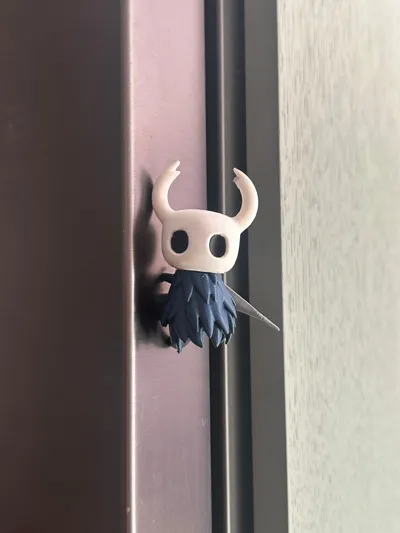
I was very surprised to see that you could rotate the head, change the weapon's position, by using magnets you can give Hollow Knight any pose you want while it's hanging, you can make it hang to the left and to the right, no matter where it looks you can always place the sword on its back
MATERIALS:
6 ROUND 8X2MM NEODYMIUM MAGNETS ARE NEEDED FOR THE BODY AND THE HEAD AND THE SWORD
AND GLUE
IT IS VERY IMPORTANT TO COMPLETELY REMOVE ALL SUPPORTS, IN THE BLUE PART THERE ARE SUPPORTS INSIDE MAKE SURE NOTHING IS LEFT
ASSEMBLY ORDER:
Upon inspecting the blue part, we will see that it has an opening and a small chamber inside, we must ensure that the first magnet (1) we glue is the one on the left, then the one on the right (2), the latter was personally difficult for me to place as it is a magnet and it is very easy for it to try to stick to magnet number 1. before placing the magnets, you must take into account the polarity of the magnet you have placed in the sword, I leave you an example in photos
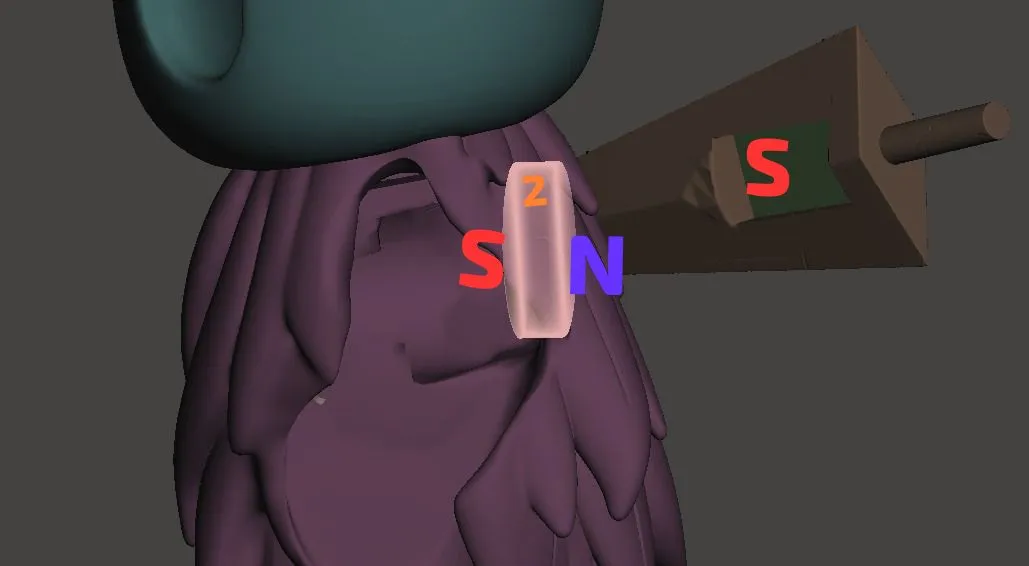
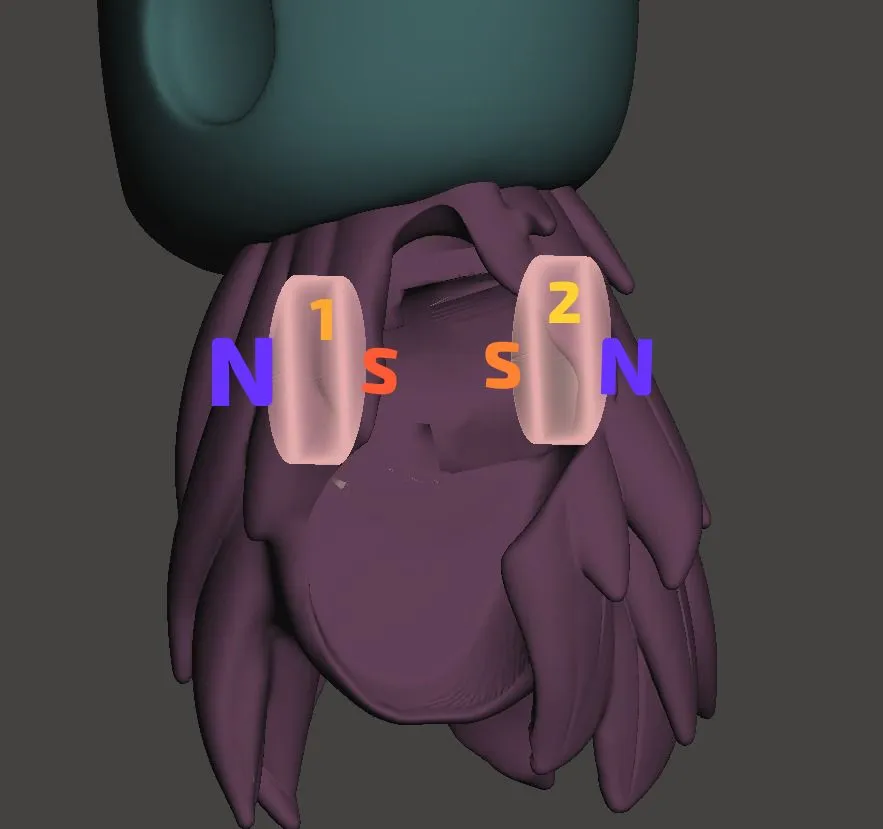
The goal of this is for the sword to be magnetized on both sides and on the same face, otherwise, it would turn over and the magnet would be exposed
a recommendation is to use a flashlight to illuminate the inside of the piece while placing the magnets, it is a very small piece and it is difficult to work with it
IMPORTANT: WHEN PLACING THE BLACK PIECE, DO NOT INSERT IT FROM ABOVE, THE WAY TO FIT IT IS FROM THE BOTTOM BY APPLYING PRESSURE, IT WILL END UP FITTING, IT MAY BE TIGHT BUT IT WILL FIT
THE REMAINING MAGNETS ARE NOT VERY DIFFICULT, EVEN SO, ASK FOR HELP IF YOU NEED IT
ONCE AGAIN I WANT TO EMPHASIZE THAT THIS IS A MODEL I MADE VERY QUICKLY AND FOR PERSONAL USE, SO IT IS NOT PERFECT, BUT I WANT TO SHARE IT WITH YOU BECAUSE I LOVE THIS MODEL
UPDATE: I ADDED A NEW VERSION OF THE BLACK BODY, WITH MORE SPACE SO IT DOES NOT HIT THE INTERIOR MAGNETS, NOW IT SHOULD FIT MORE EASILY
UPDATE: I ADDED A NEW SWORD, THIS ONE NEEDS A ROUND MAGNET LIKE THE REST OF THE ASSEMBLY
UPDATE: I ADDED A MULTI-PIECE HEAD AND EYES, TO PRINT WITHOUT THE NEED FOR AMS, YOU SHOULD KNOW THAT THE ADDED HEAD HAS A SPECIFIC SPACE FOR THE EYES, THE PREVIOUS HEAD DOES NOT WORK
YOU CAN NOW FIND THE HORNET MAGNET, THE PROTAGONIST OF SILKSONG:
makerworld.com/es/models/1786812-hornet-hollow-knight-silksong-magnet#profileId-1903962
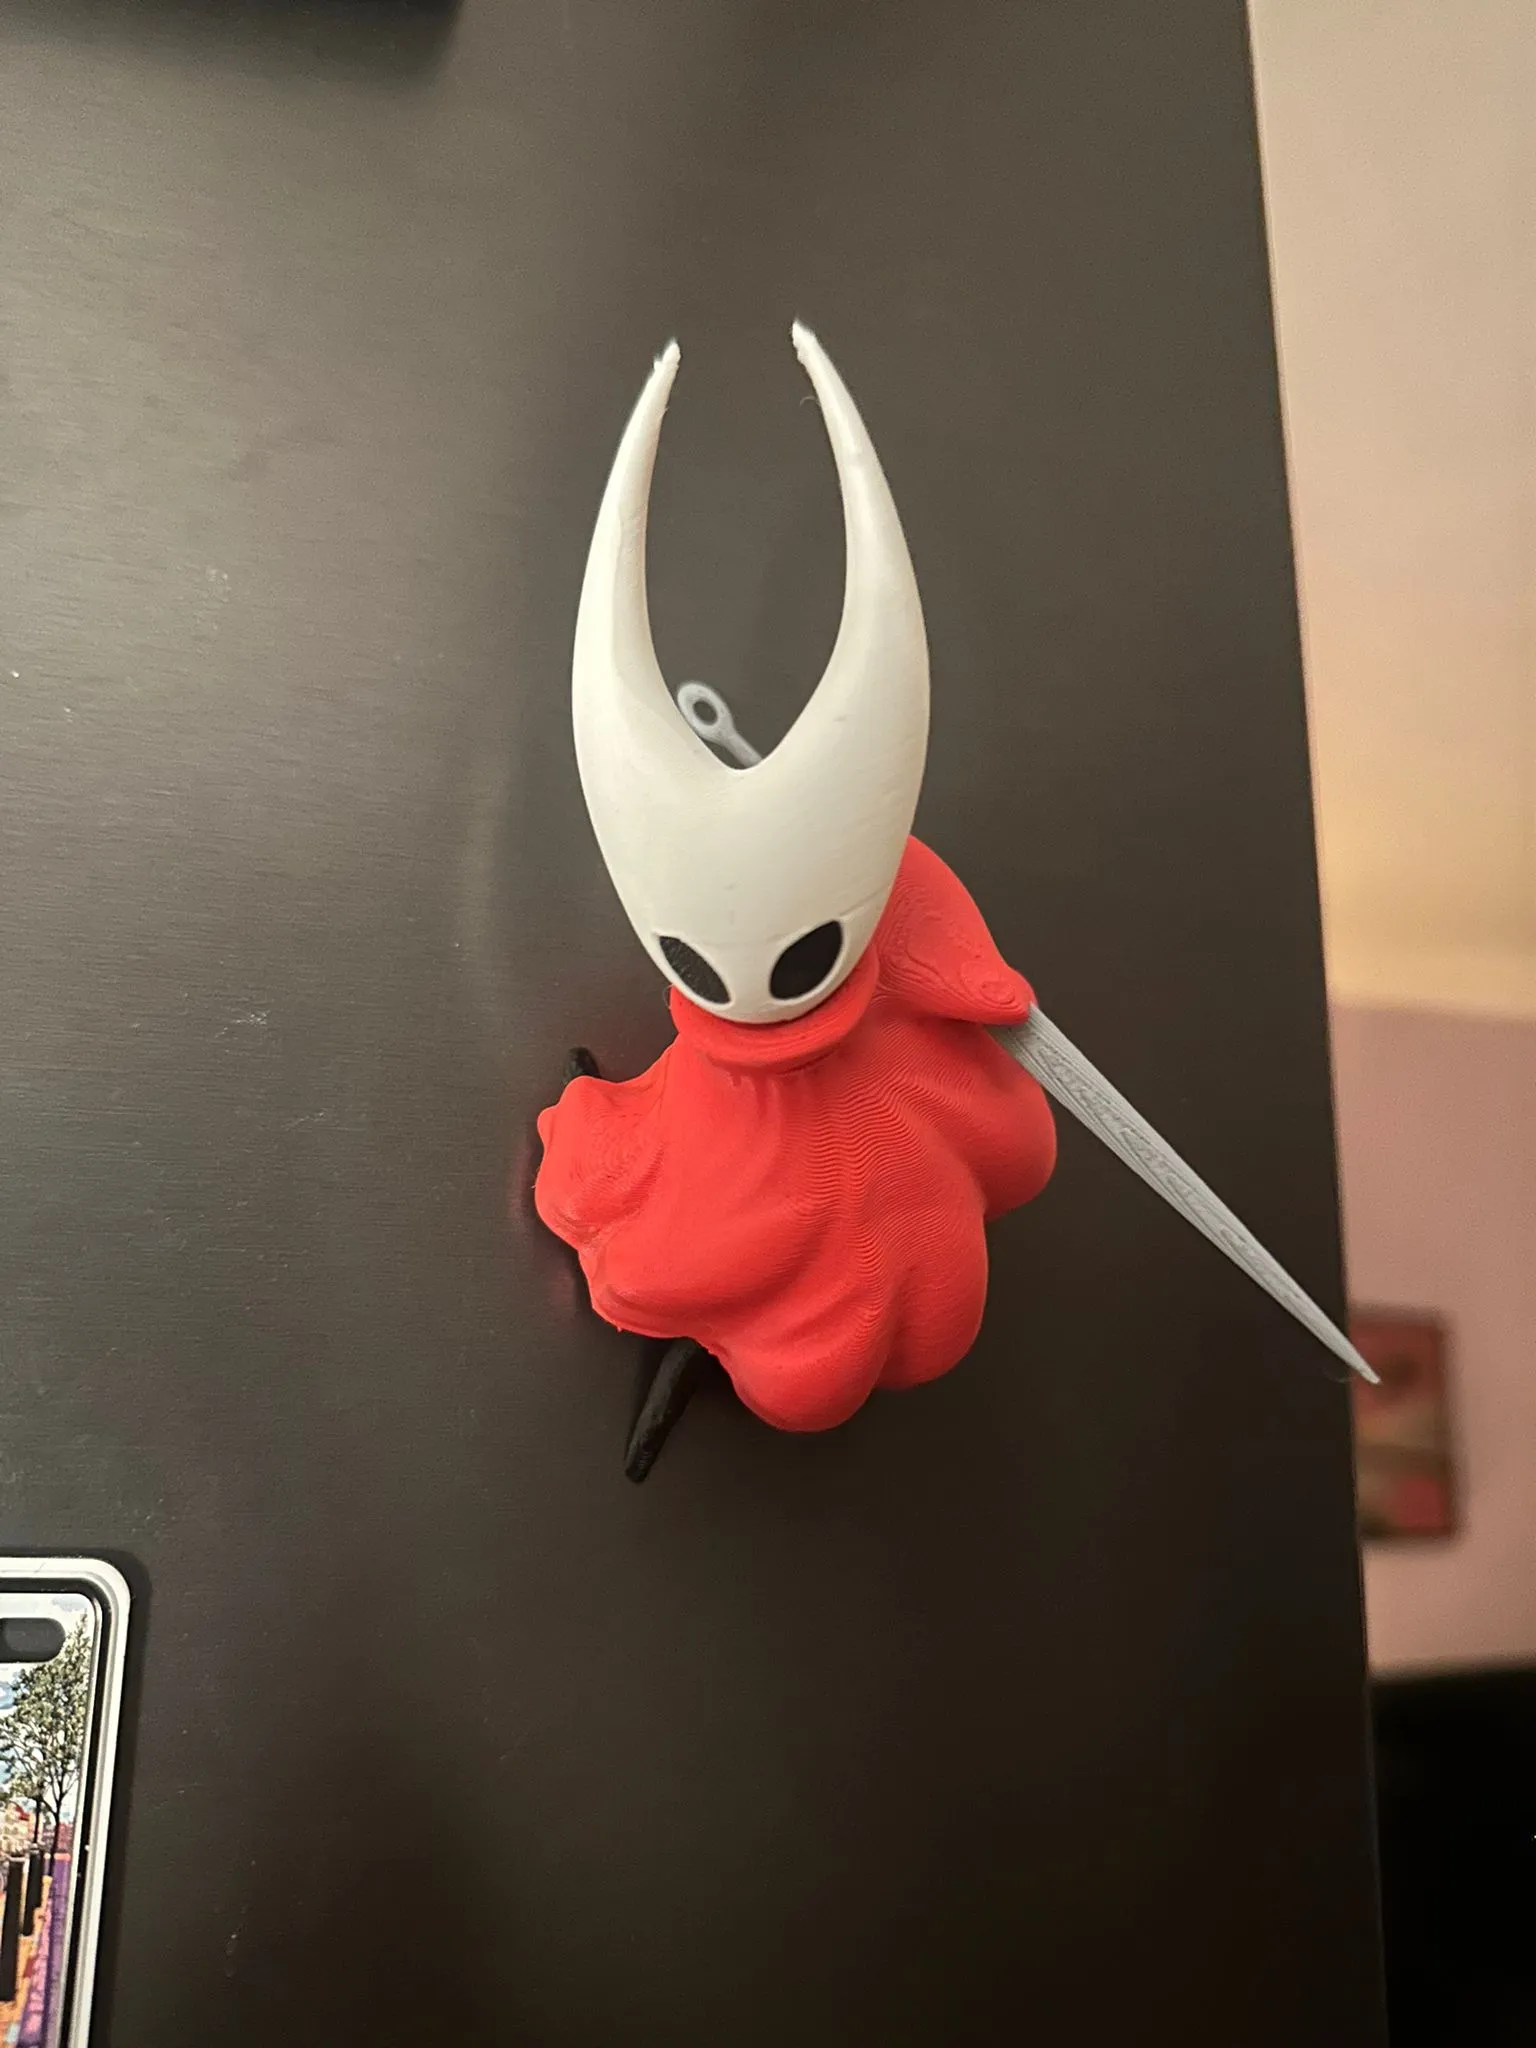
LET ME KNOW ANY PROBLEMS AND I WILL HELP YOU
License

You shall not share, sub-license, sell, rent, host, transfer, or distribute in any way the digital or 3D printed versions of this object, nor any other derivative work of this object in its digital or physical format (including - but not limited to - remixes of this object, and hosting on other digital platforms). The objects may not be used without permission in any way whatsoever in which you charge money, or collect fees.


Comment & Rating (171)