
Smart Speaker Retro Radio Housing
Print Profile(5)


Description
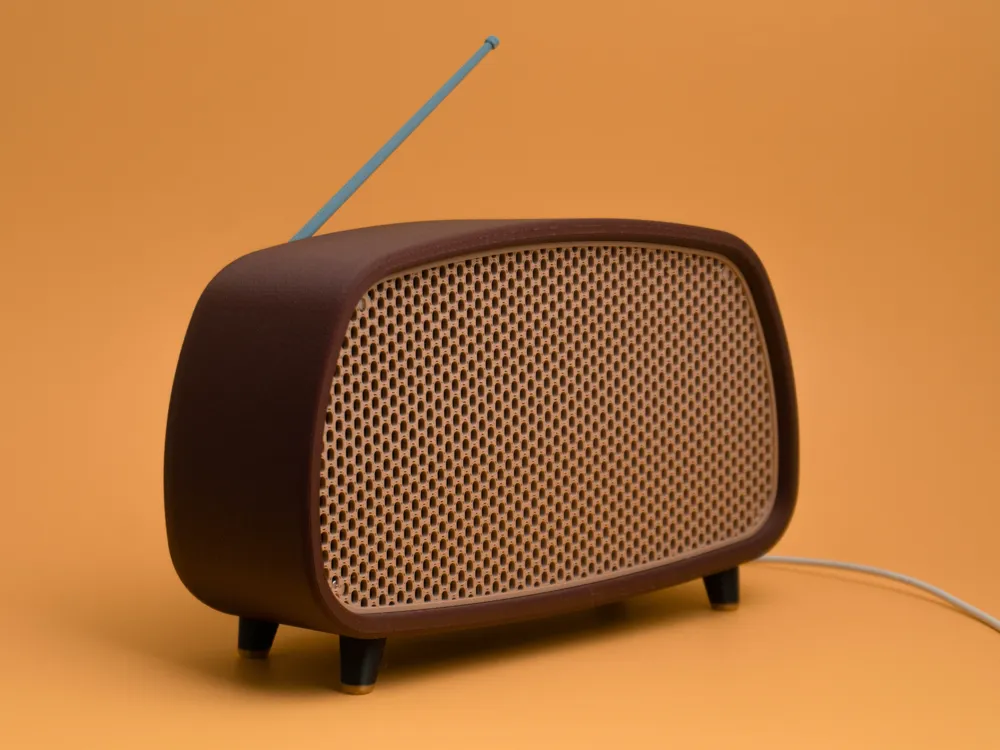
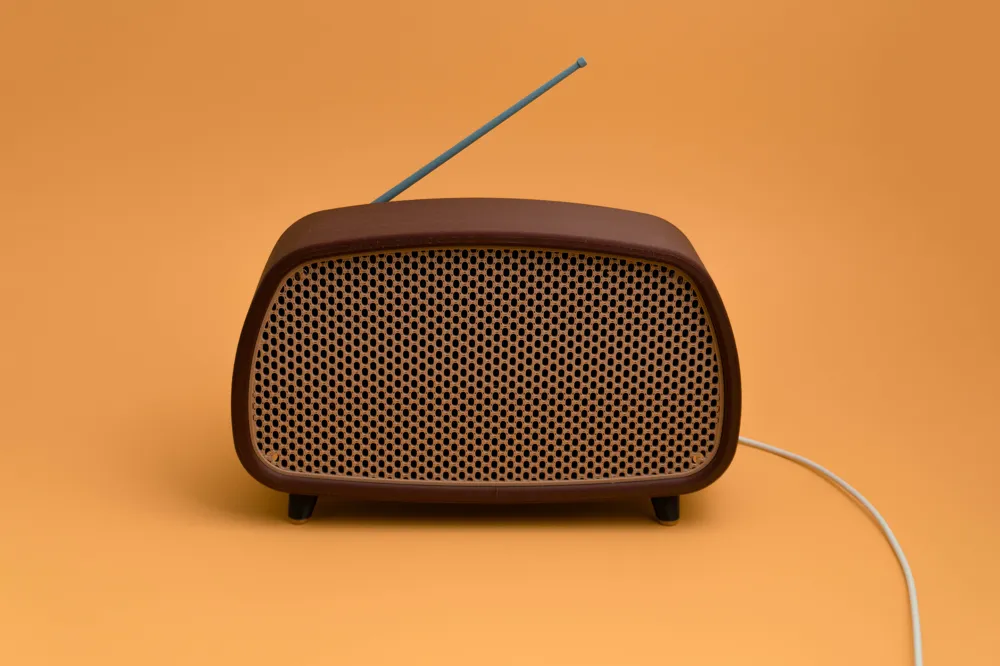
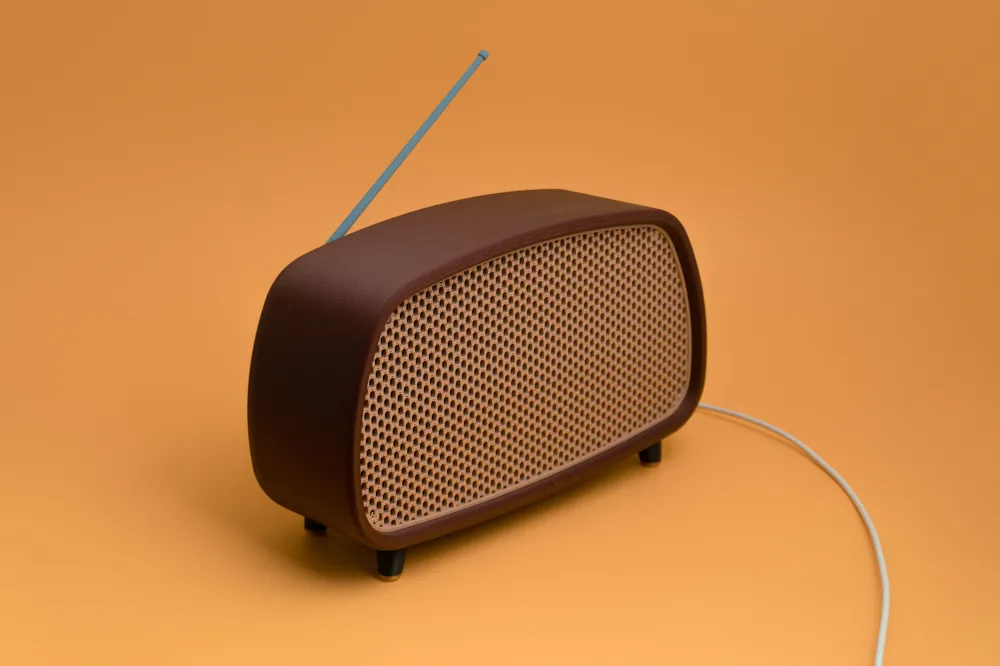
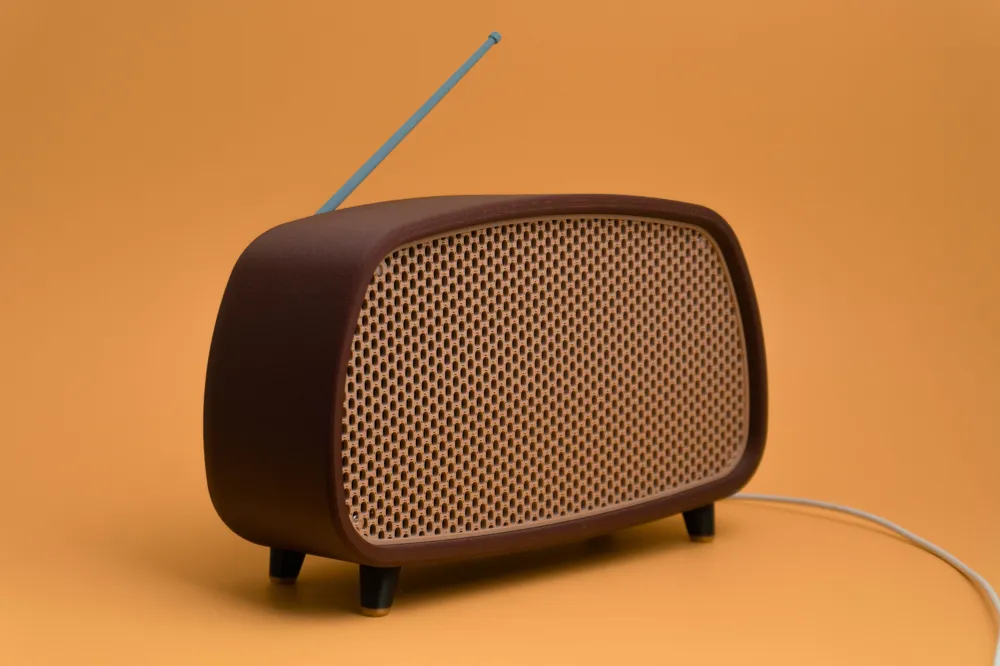
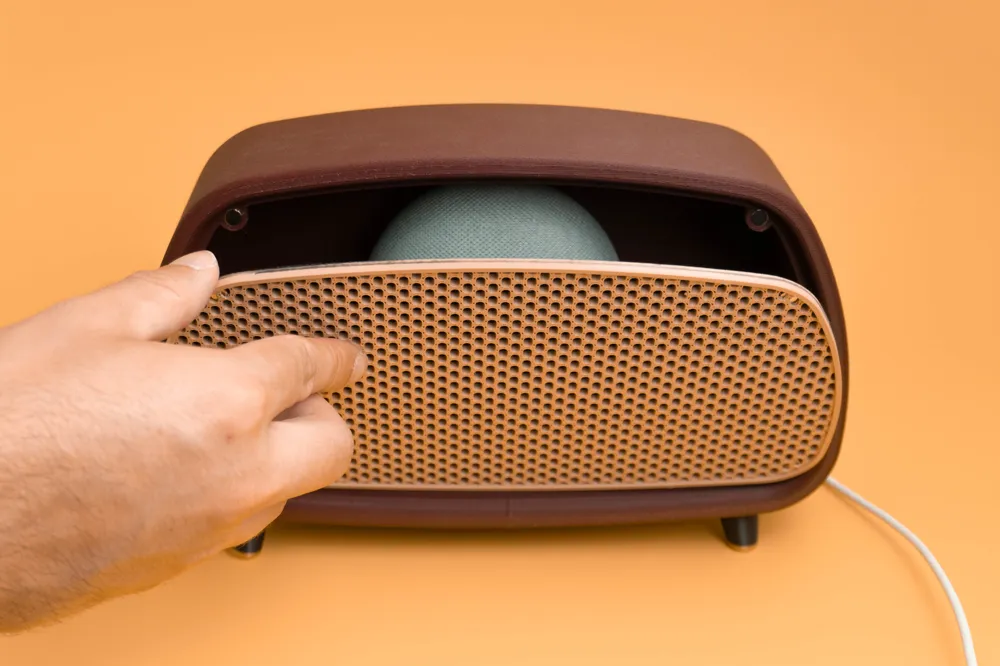
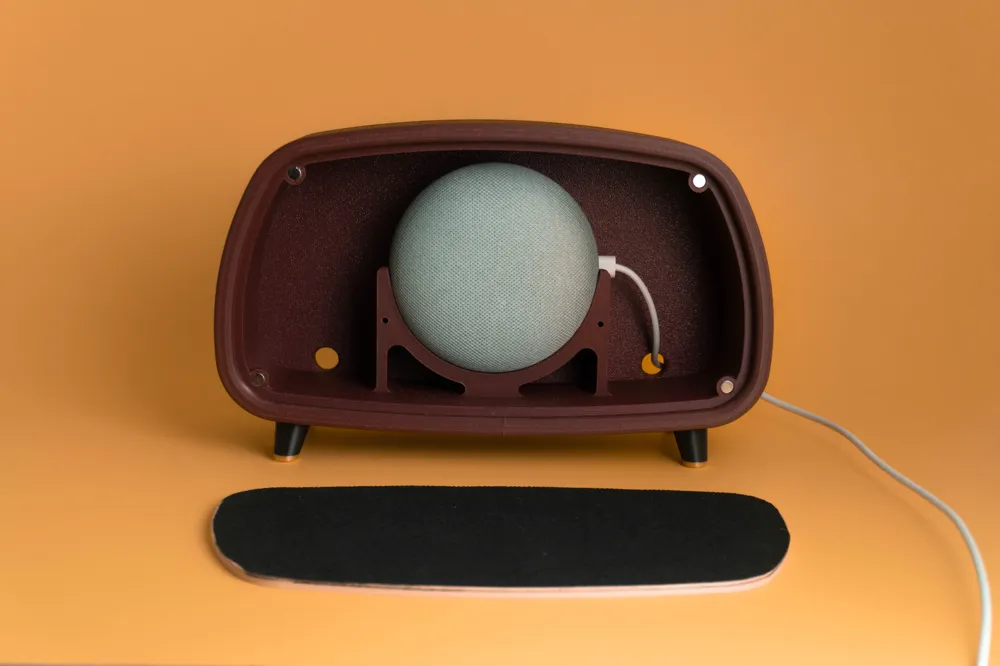
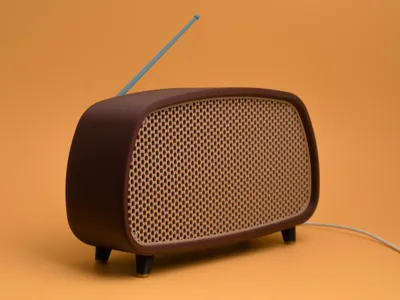
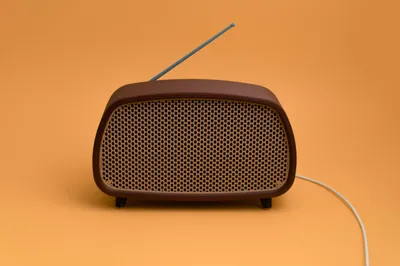
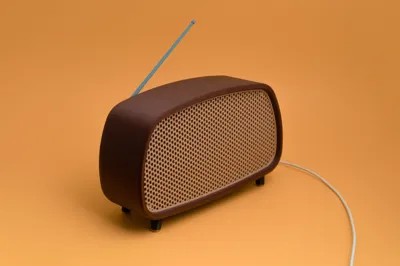
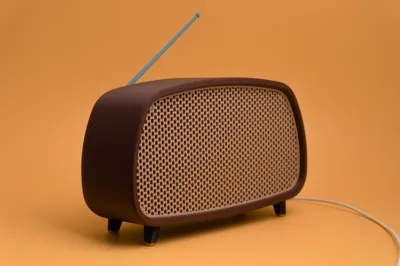
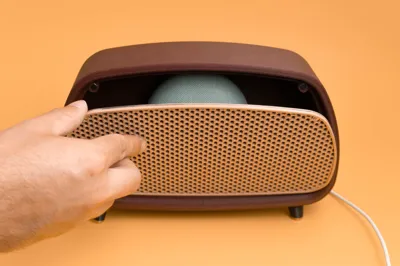
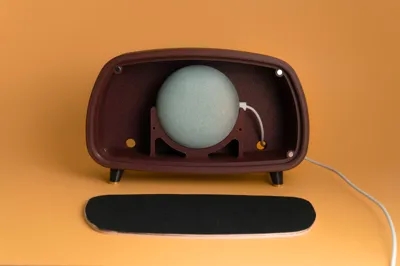
Give your Smart Speaker a unique retro twist with this Retro Radio Housing!
Designed to look like an old vintage radio, this decorative case hides your smart speaker while letting the sound flow through.
It’s the perfect blend of modern smart home tech and nostalgic style.
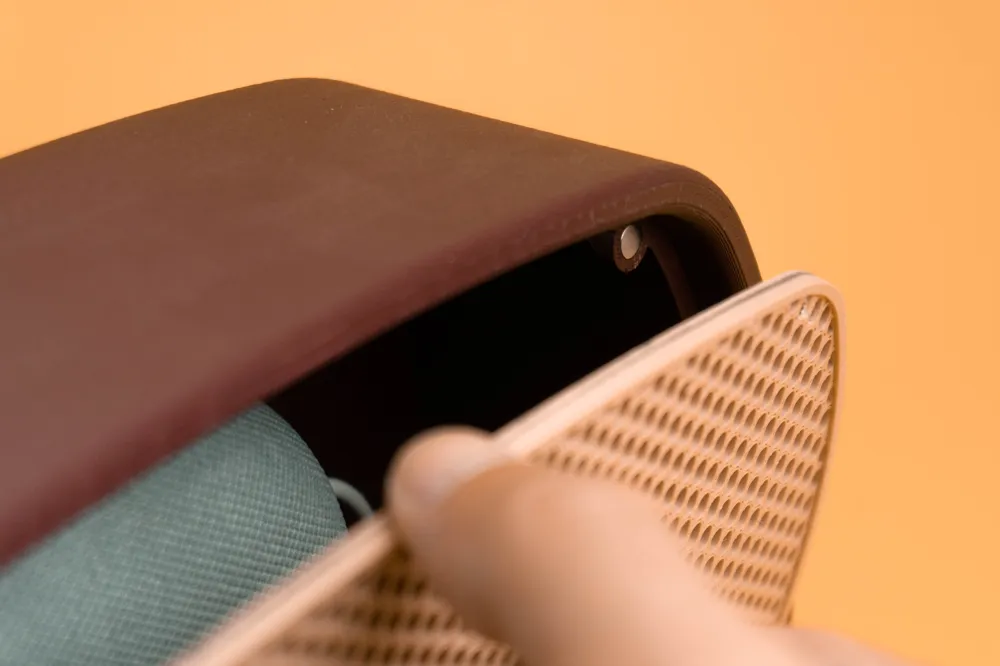
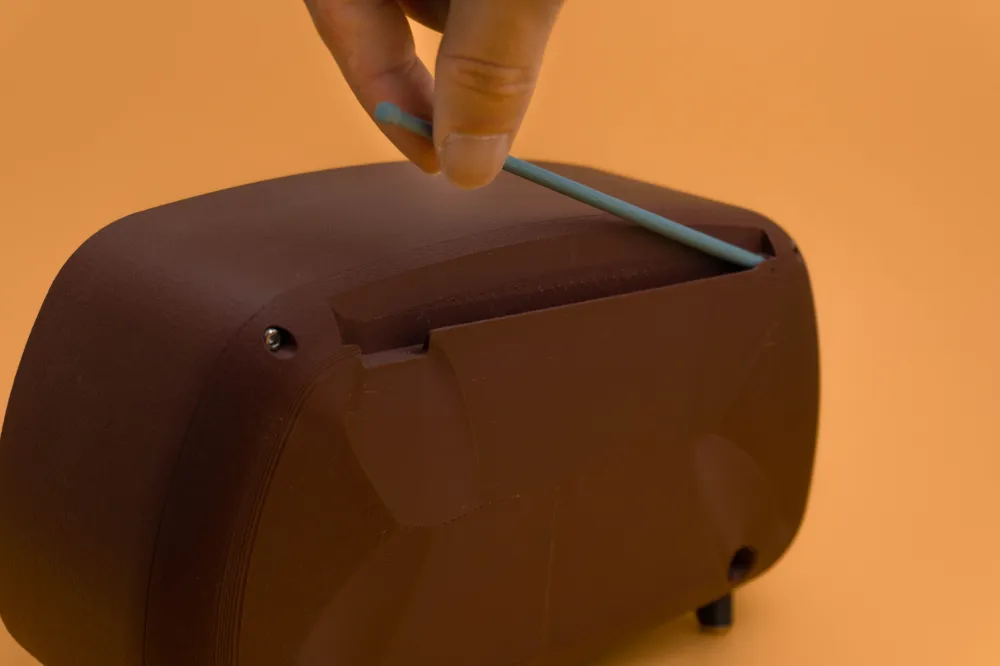
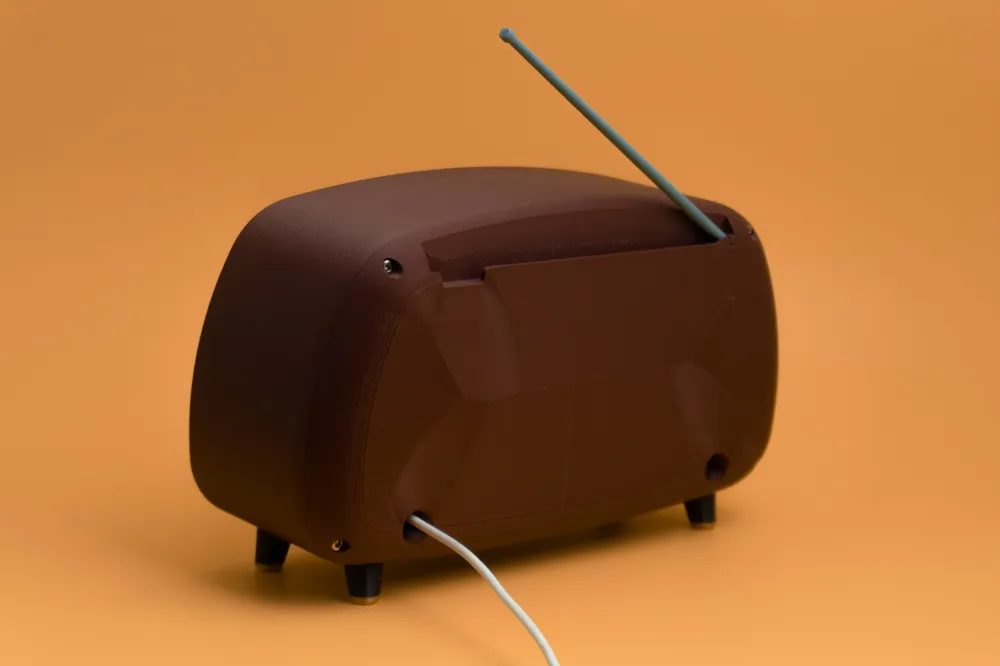
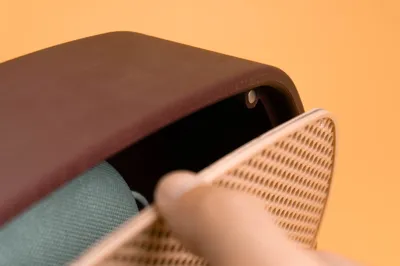
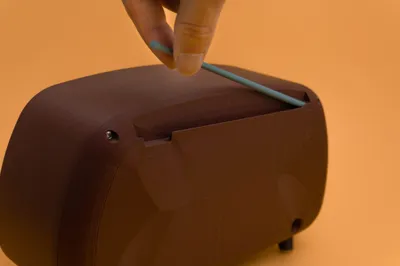
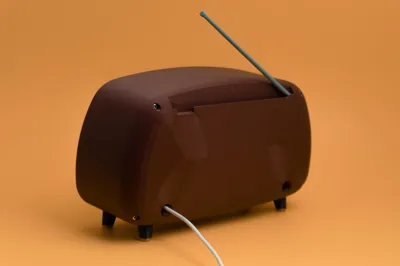
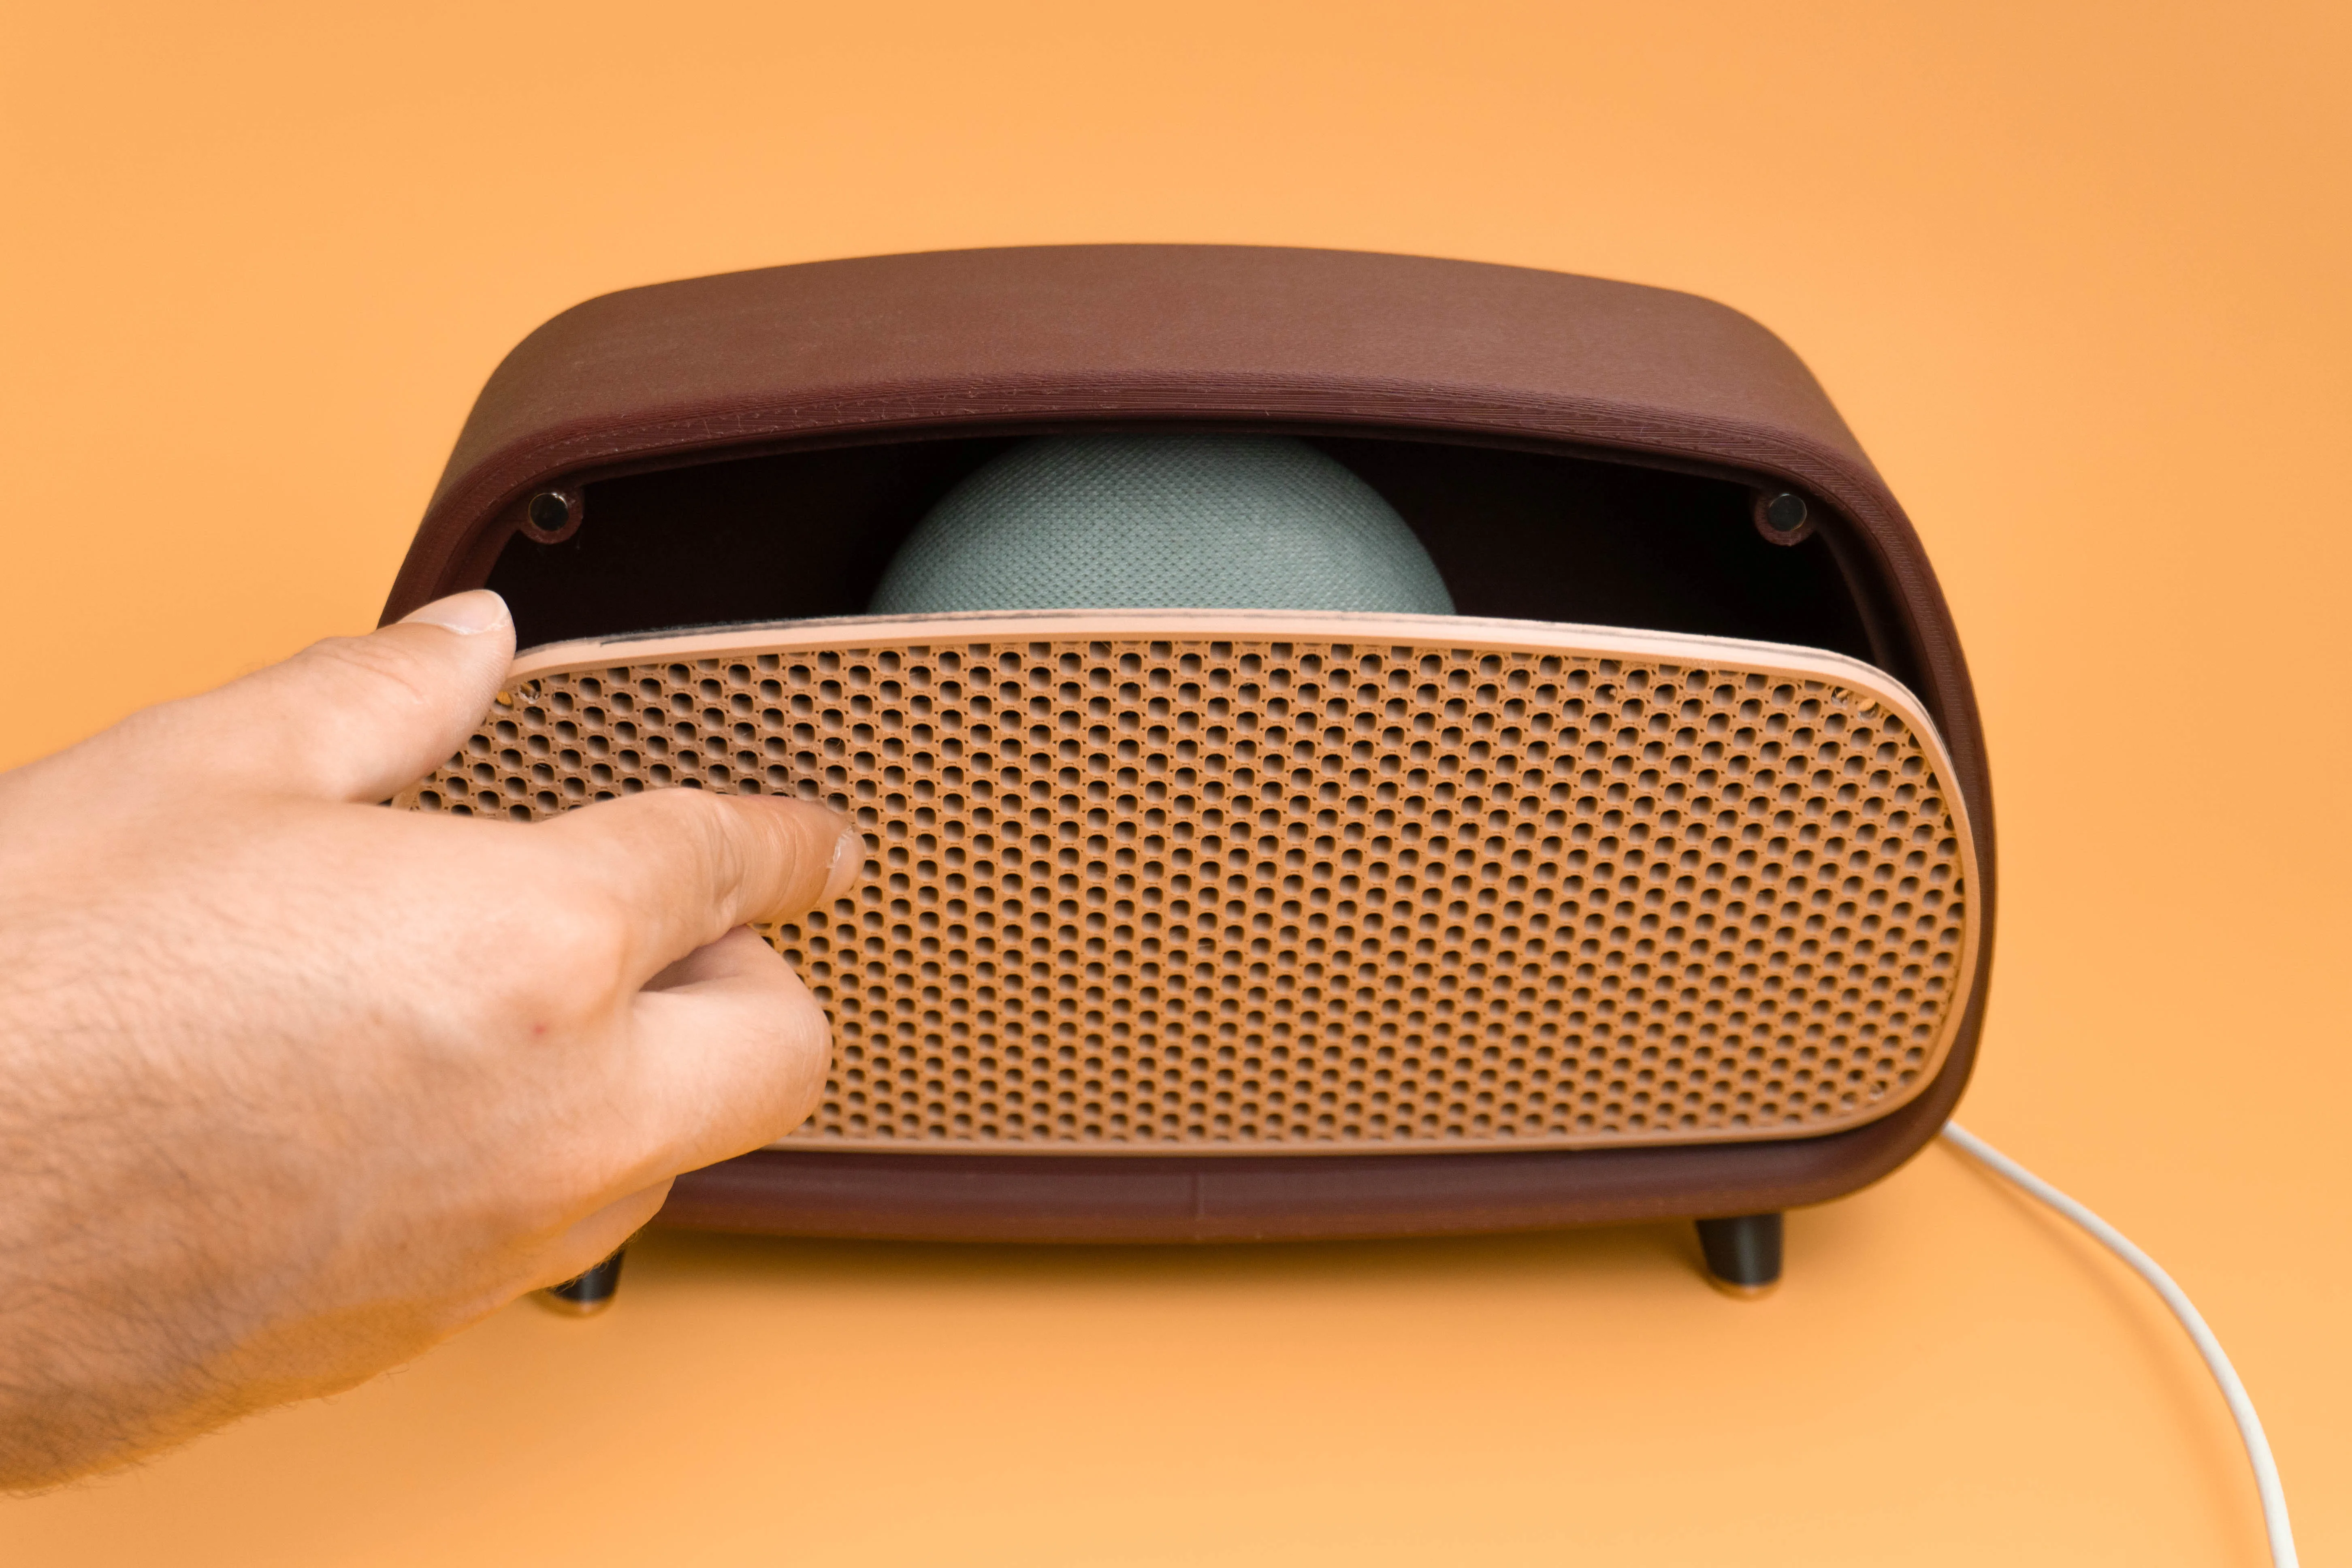
It features a magnetic cover grid so you can access your Smart Speaker easily and a foldable decorative antenna at the back.
ℹ️ EDIT 2025-09-16:
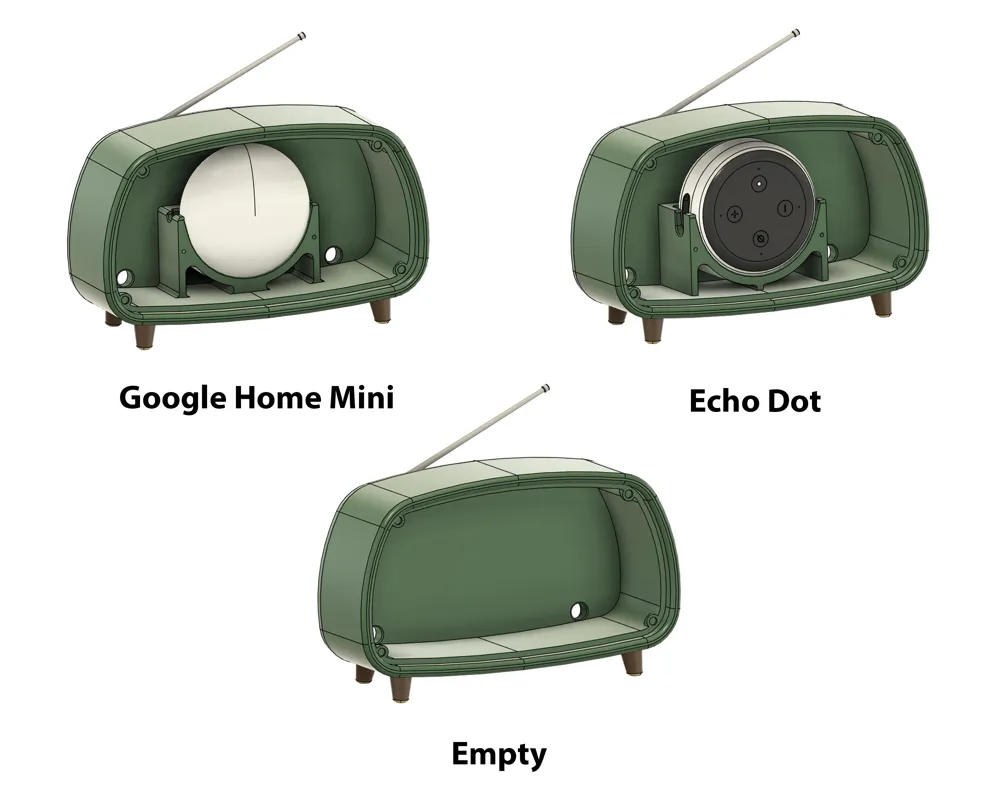
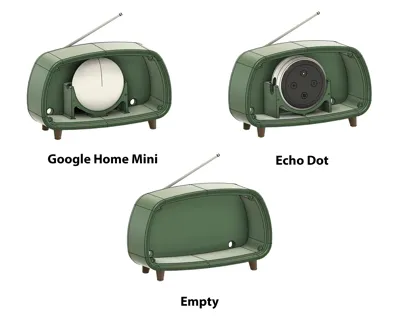
- After many request I added two new versions of the main body:
- Added Echo Dot (3rd gen) main body
- Added Empty main body
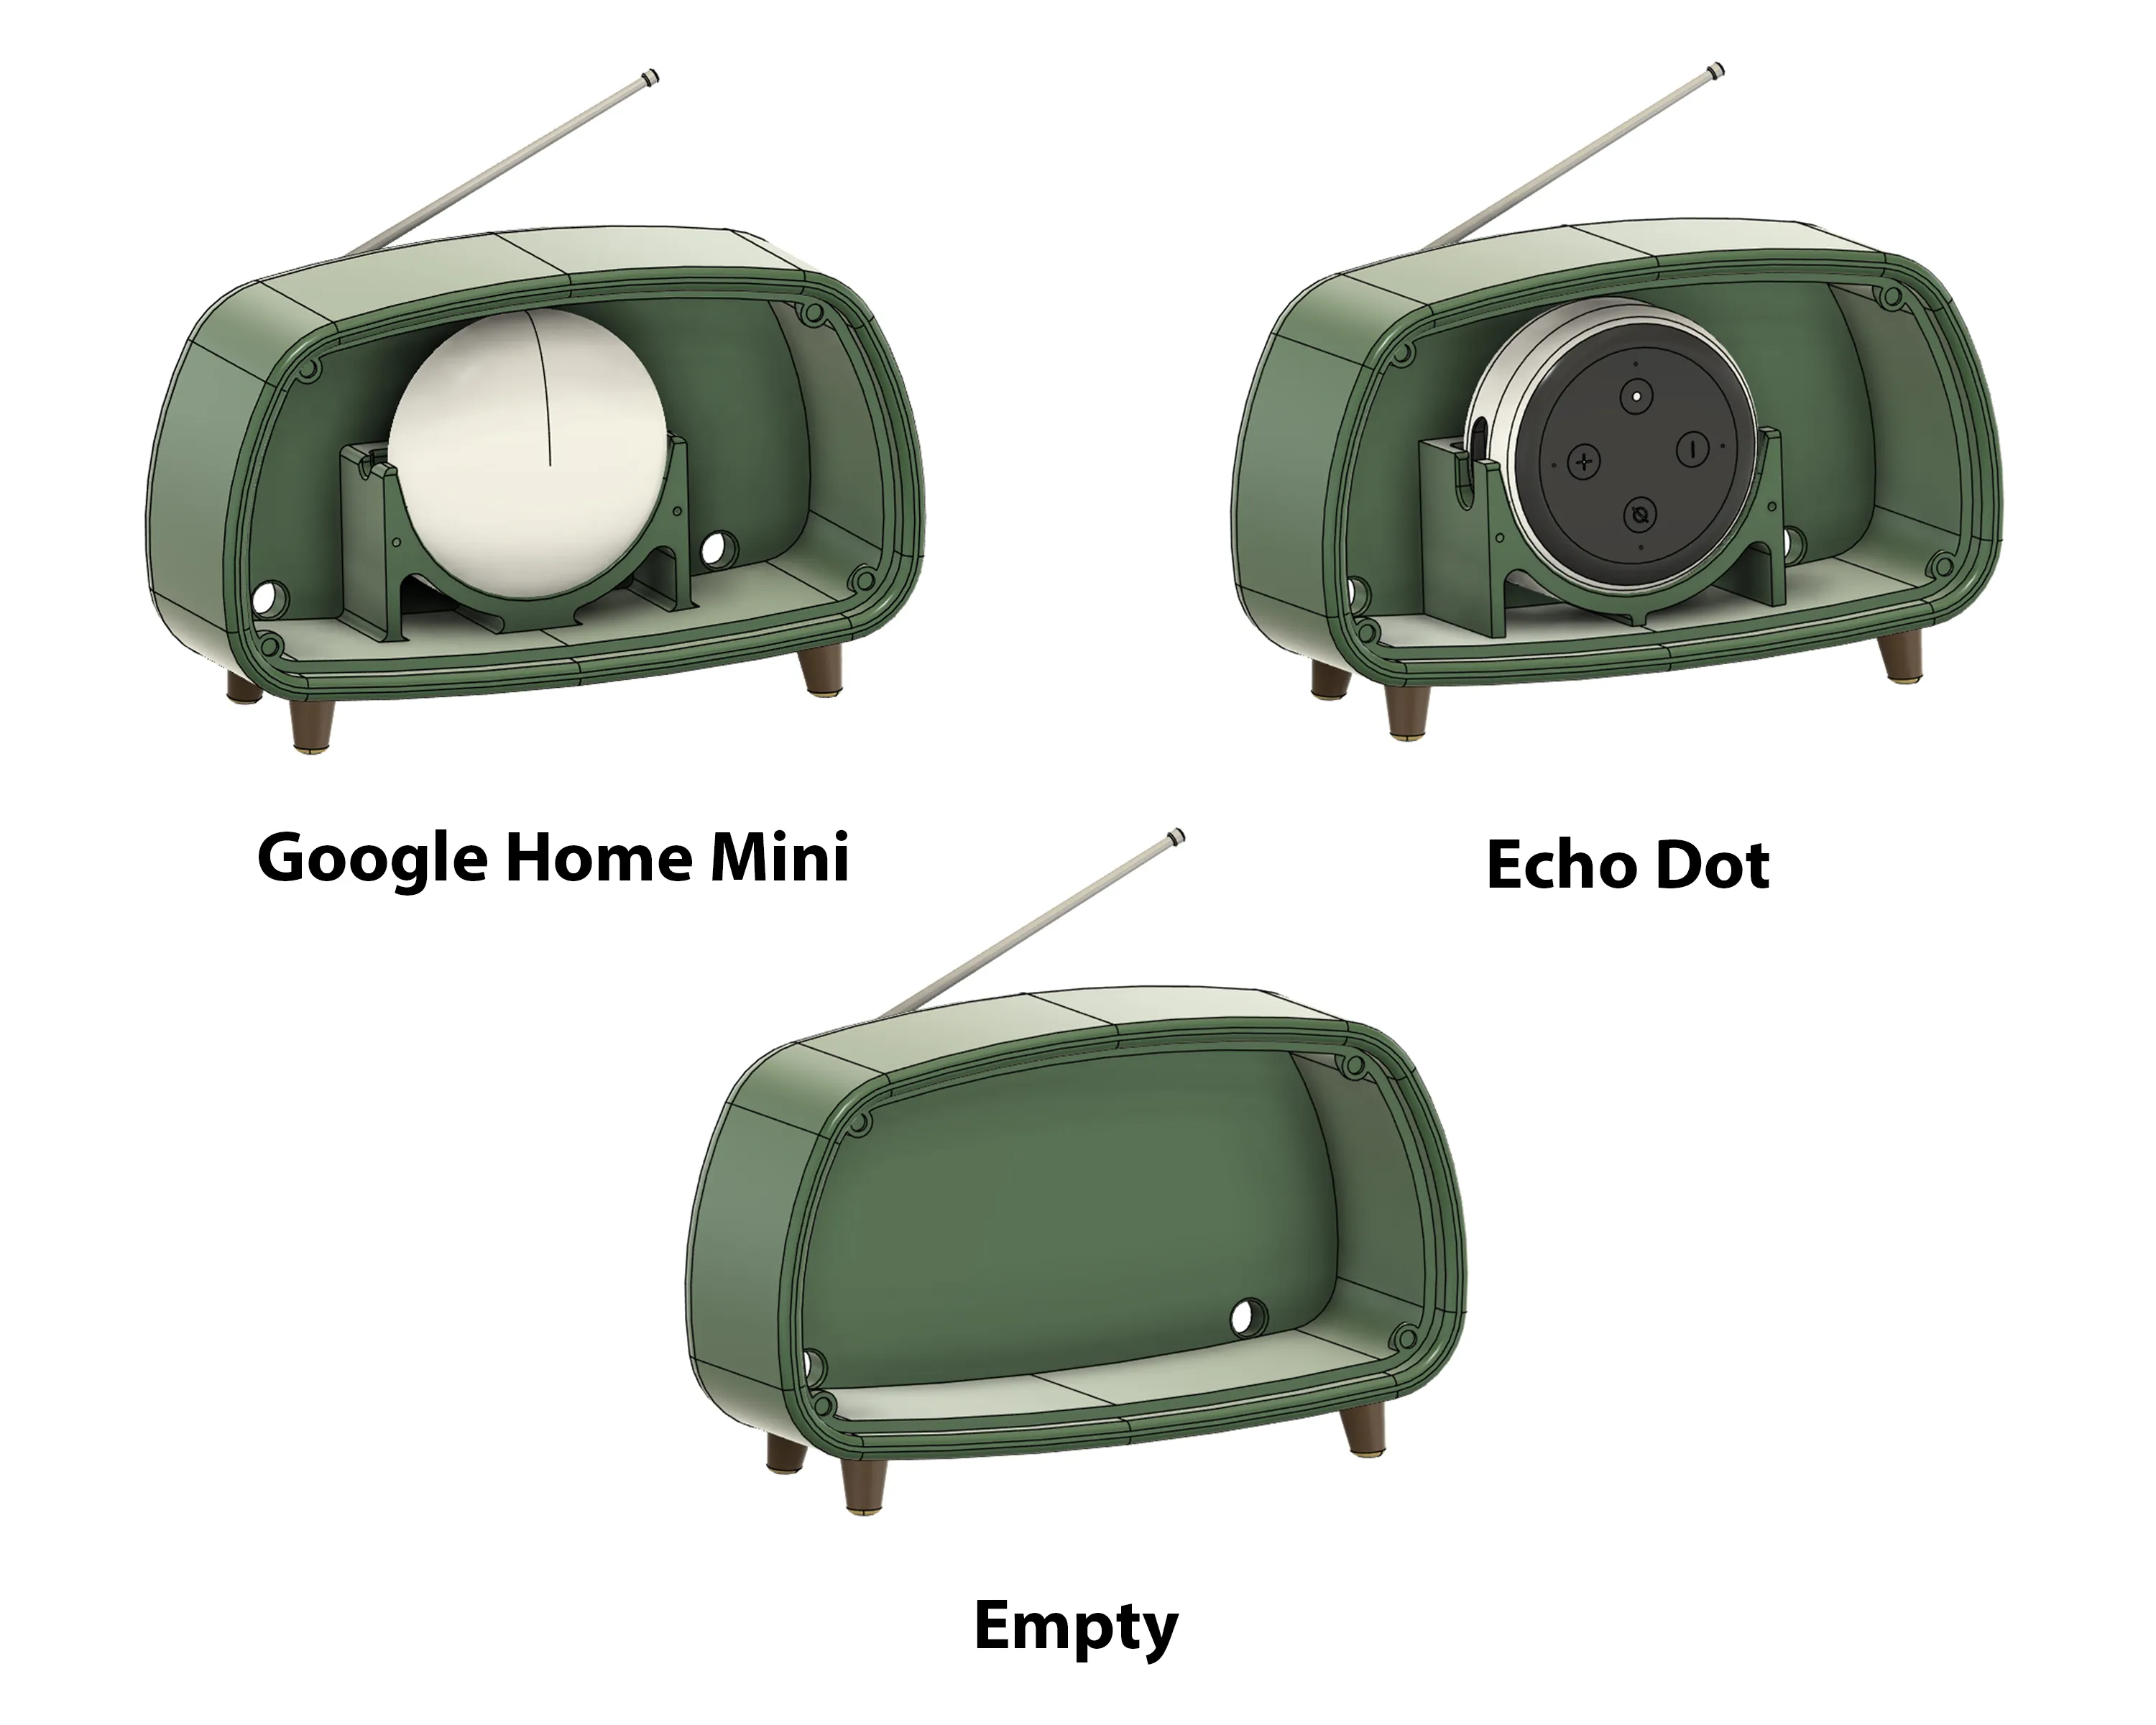
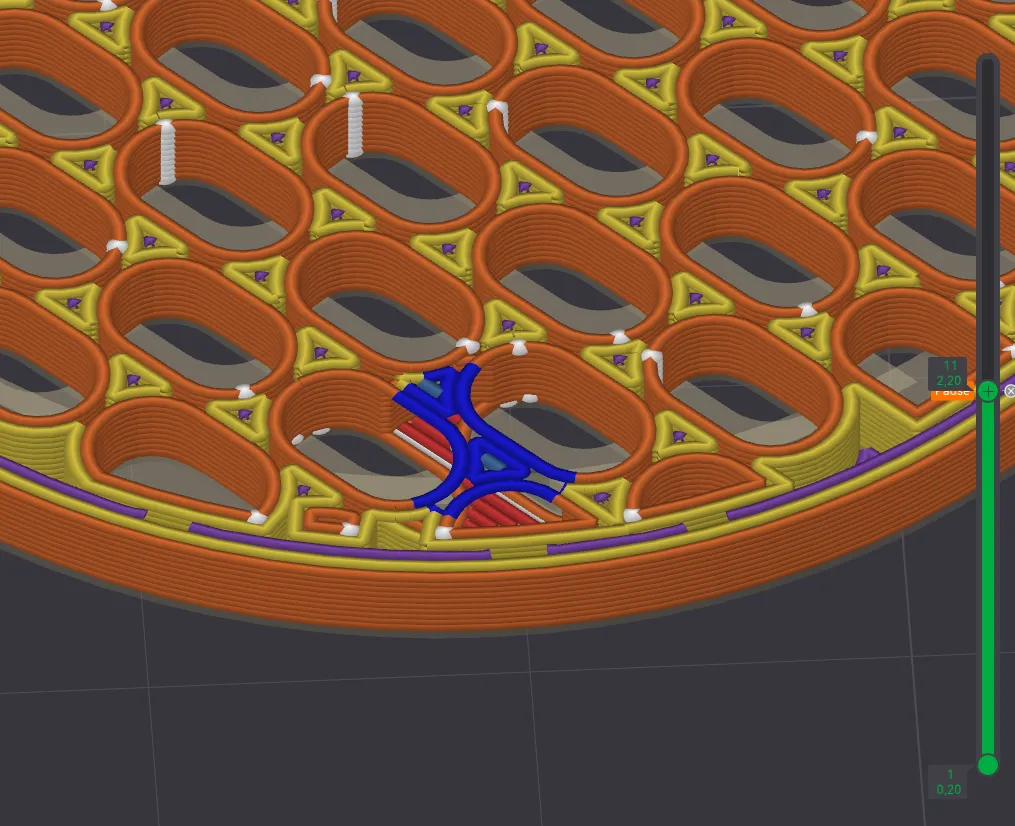
- I also updated the print profiles, now the pause is INCLUDED by default on the front grid, please remove it if you don't need it.
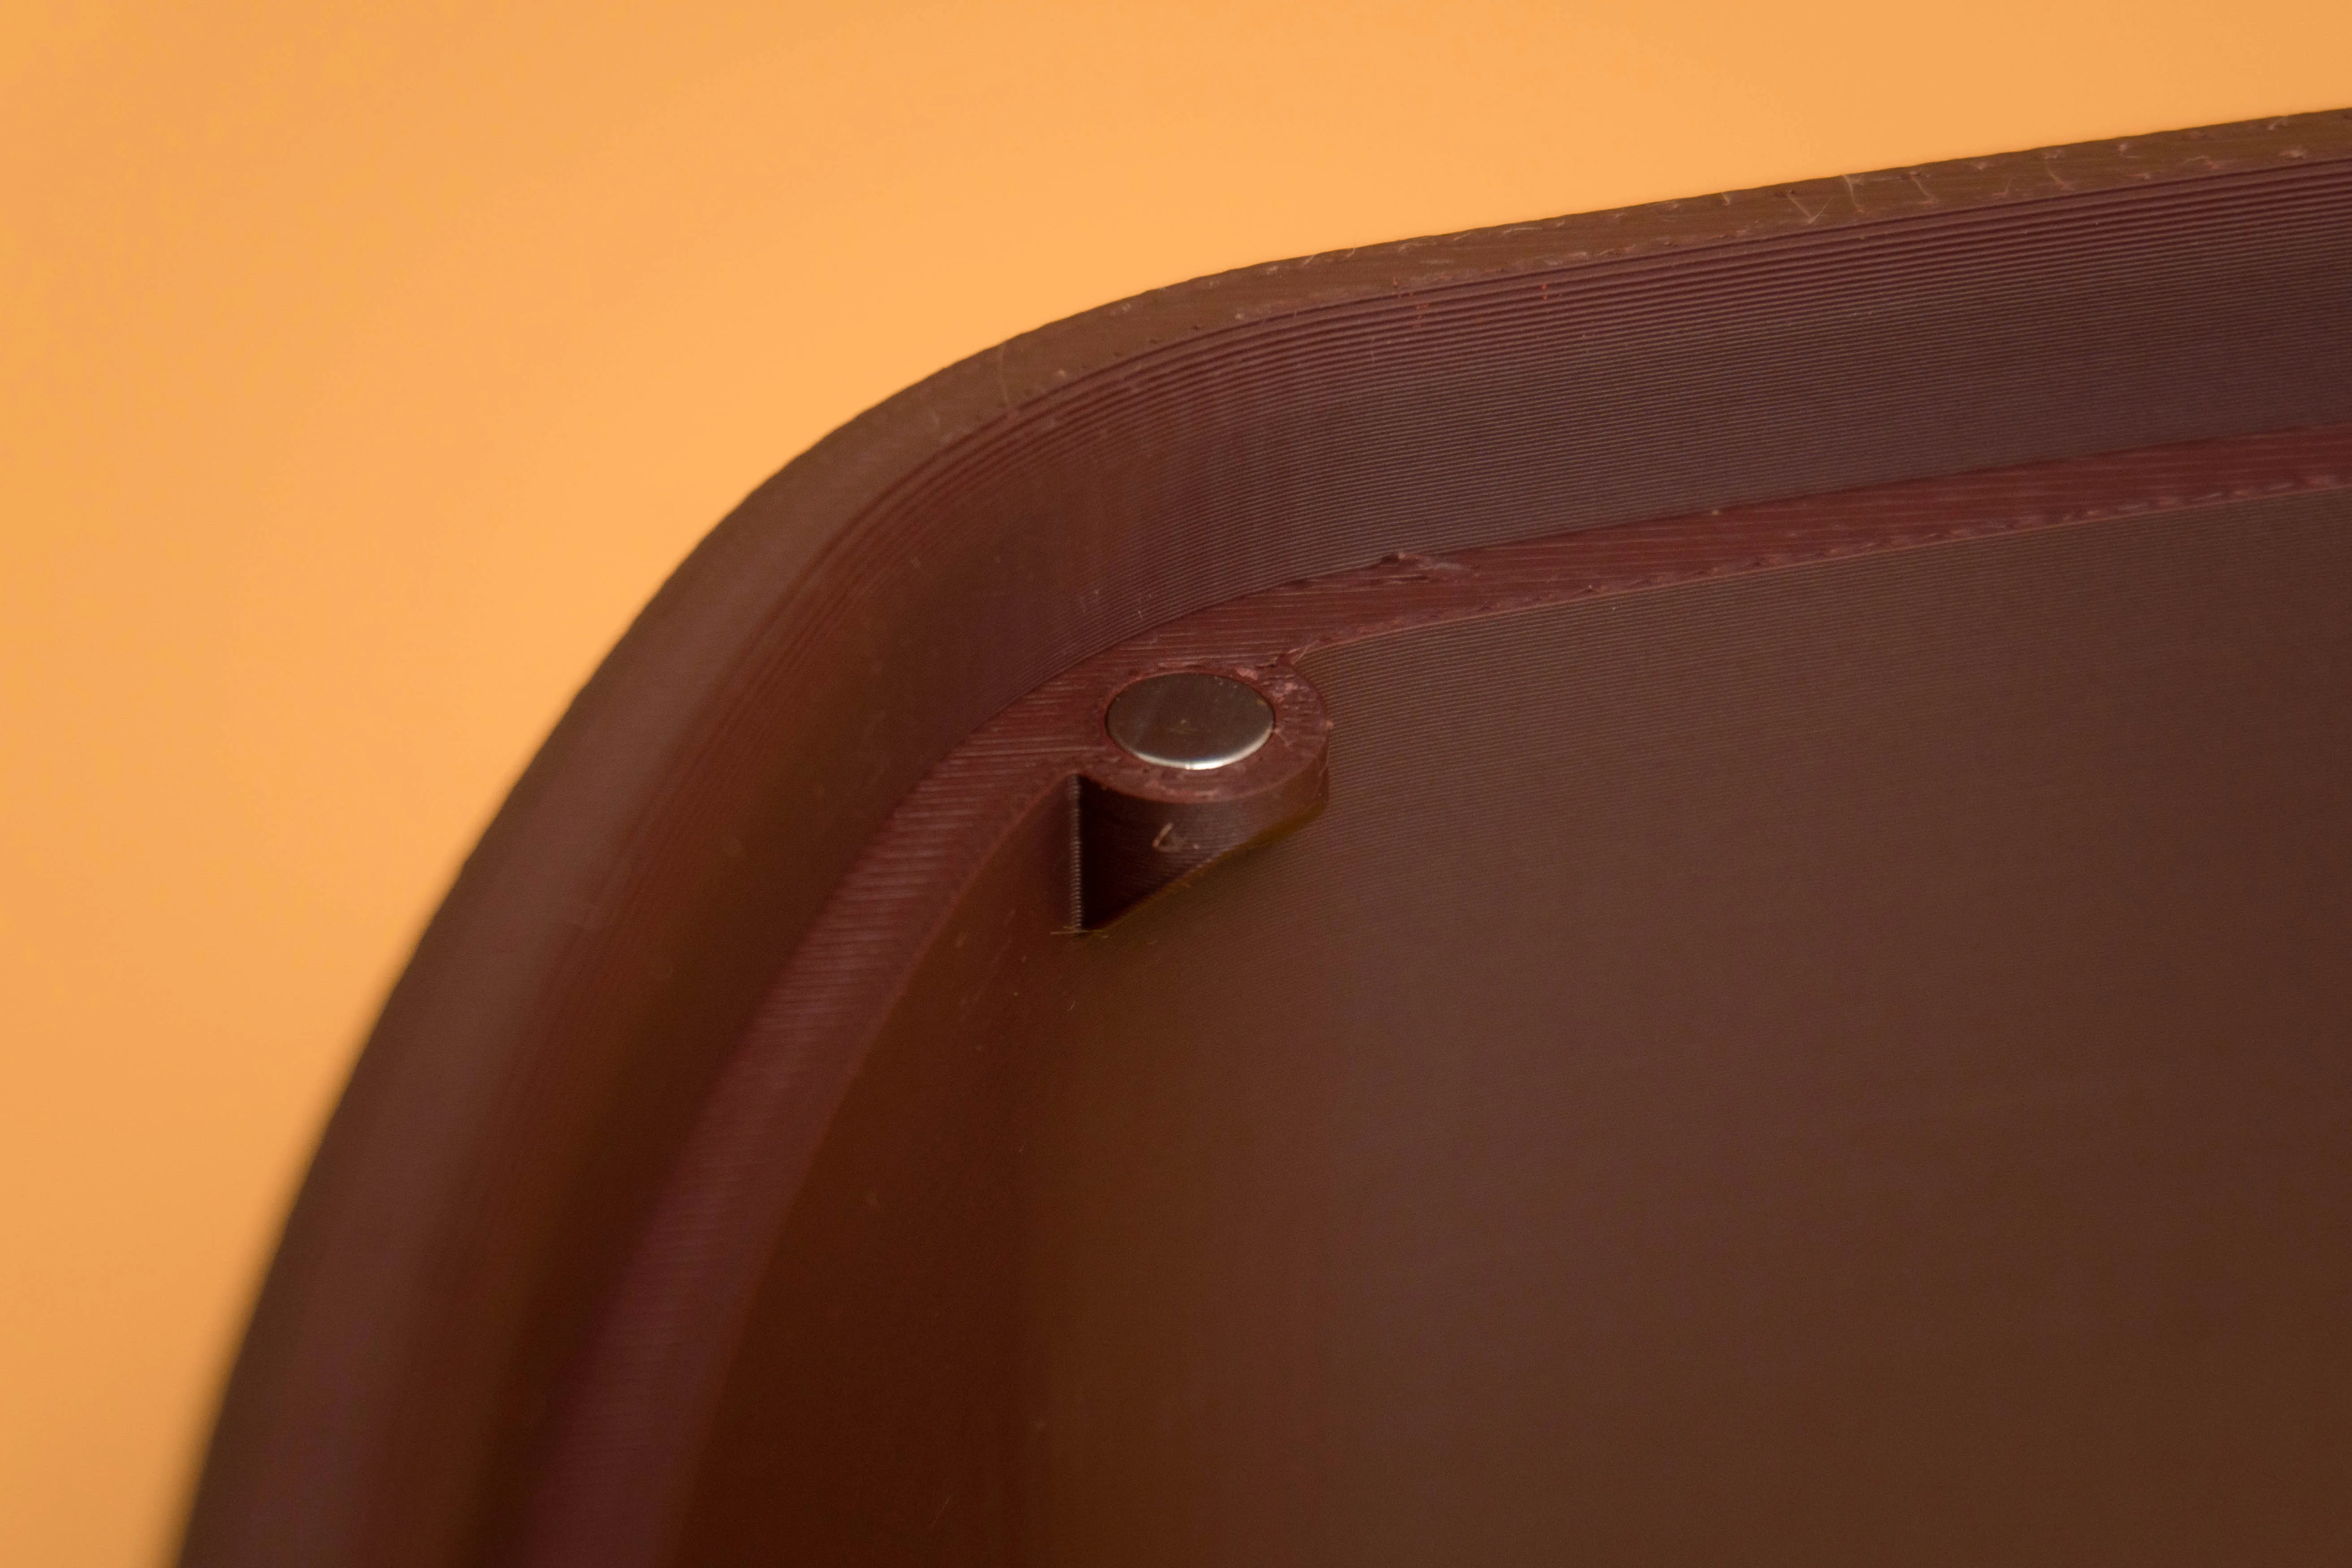
⚠️ NOTE: The magnets needs to be inserted INSIDE the grid as I didn't want to have to glue them, so you'll have to pause the print to insert them.
Pause needs to be done at layer 11 (based on 0.2mm layer height from my print profile).
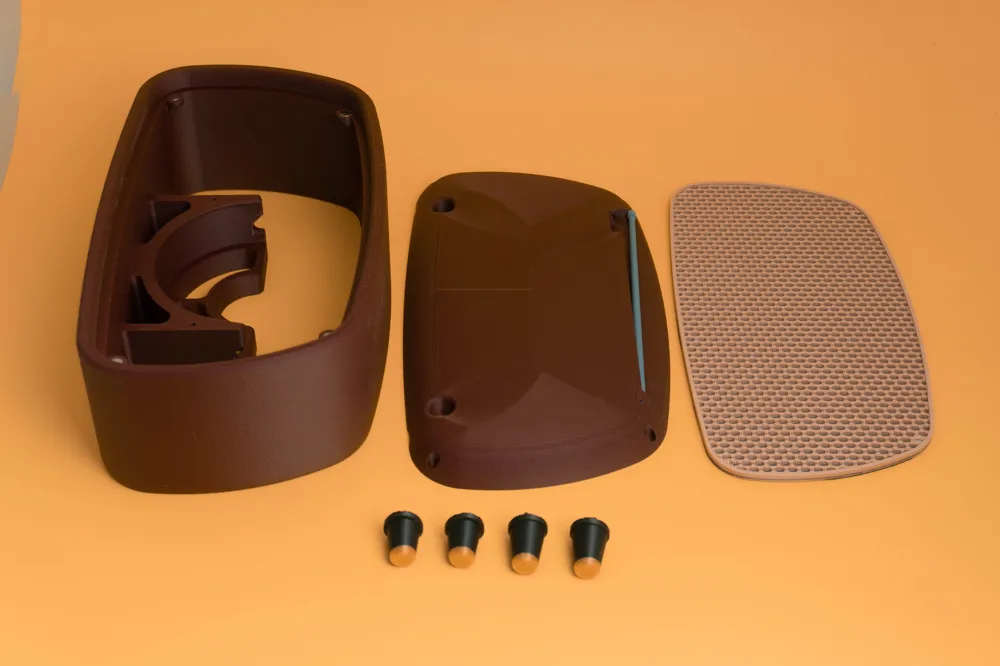
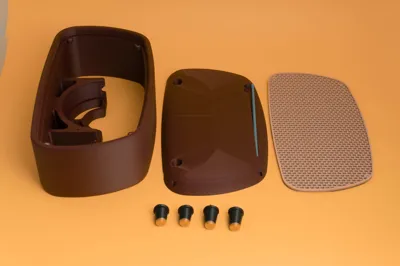
List of material:
| Item | Quantity |
| 6 x 2mm round magnets | 8 (optional but highly recommanded) |
| M3 x 10mm hex screws | 4 |
| Piece of black fabric (approx 250 x 150 mm) | 1 (optional) |
| Glue | N/A |
Assembly steps:
1. Insert 4x 6*2mm magnets into the main body:
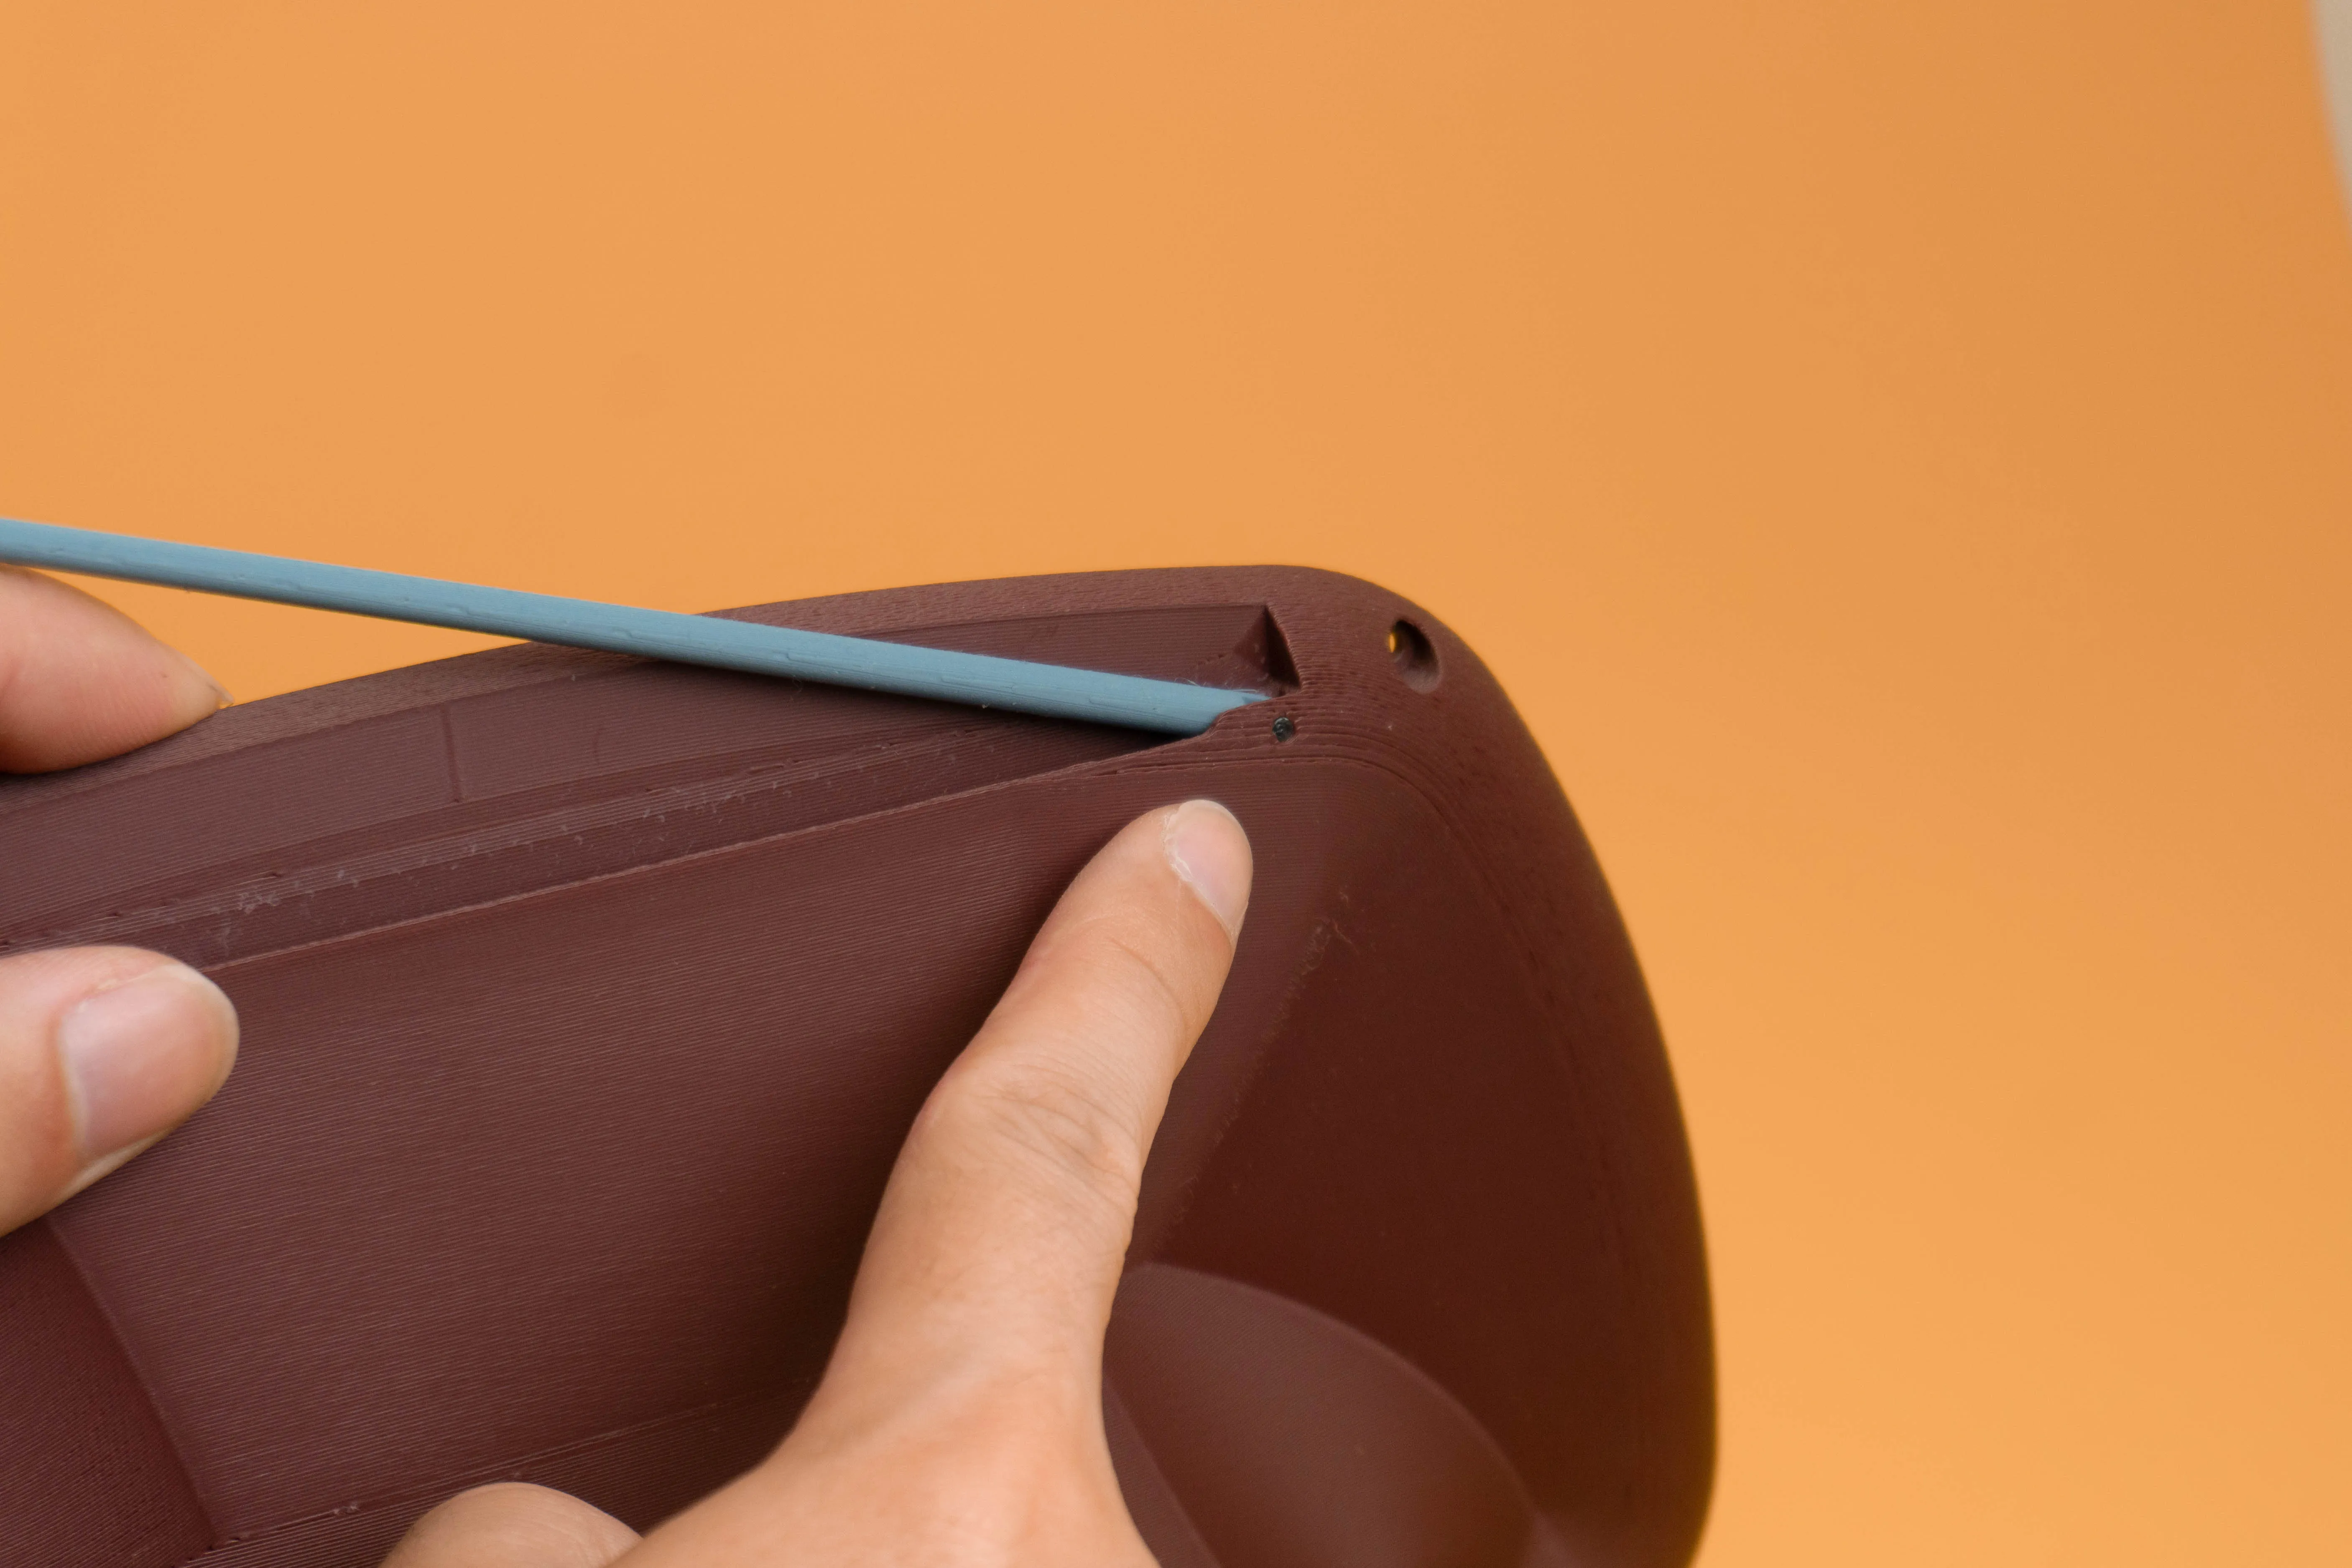
2. Glue the two antenna parts together and install the assembled antenna on the back cover with the axis pin:
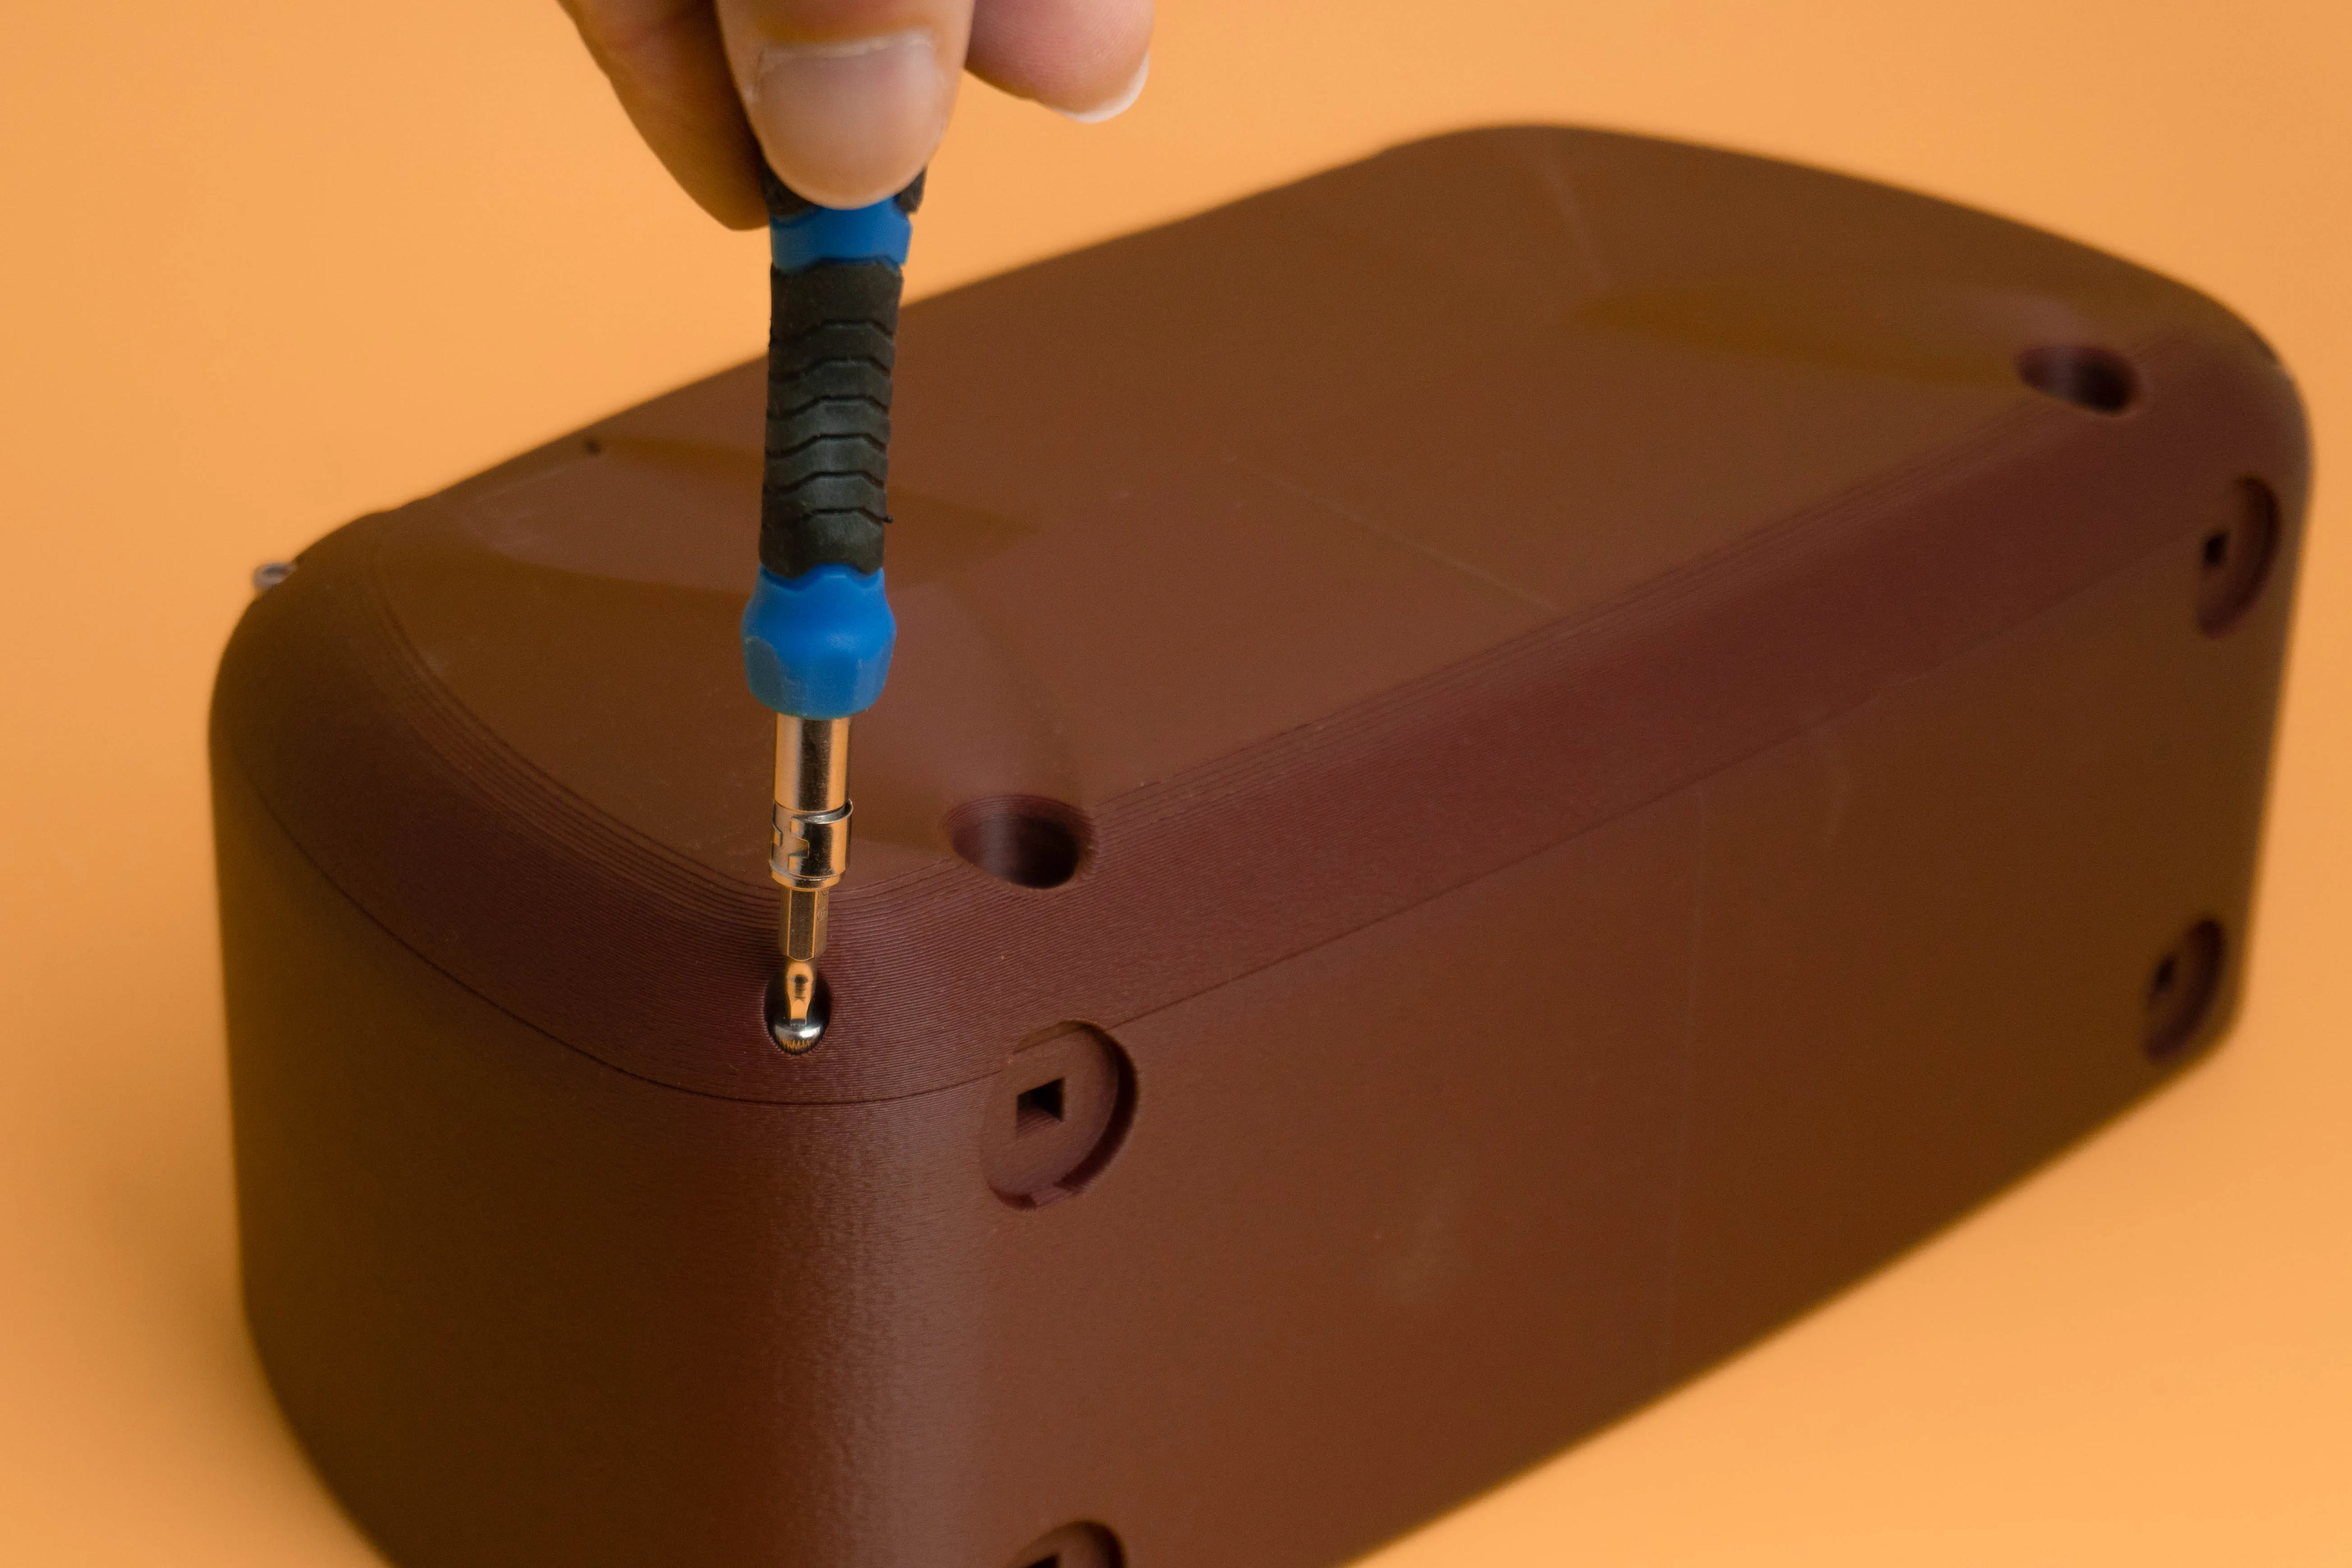
3. Screw the back cover on the main body using 4 M3 x 10mm screws:
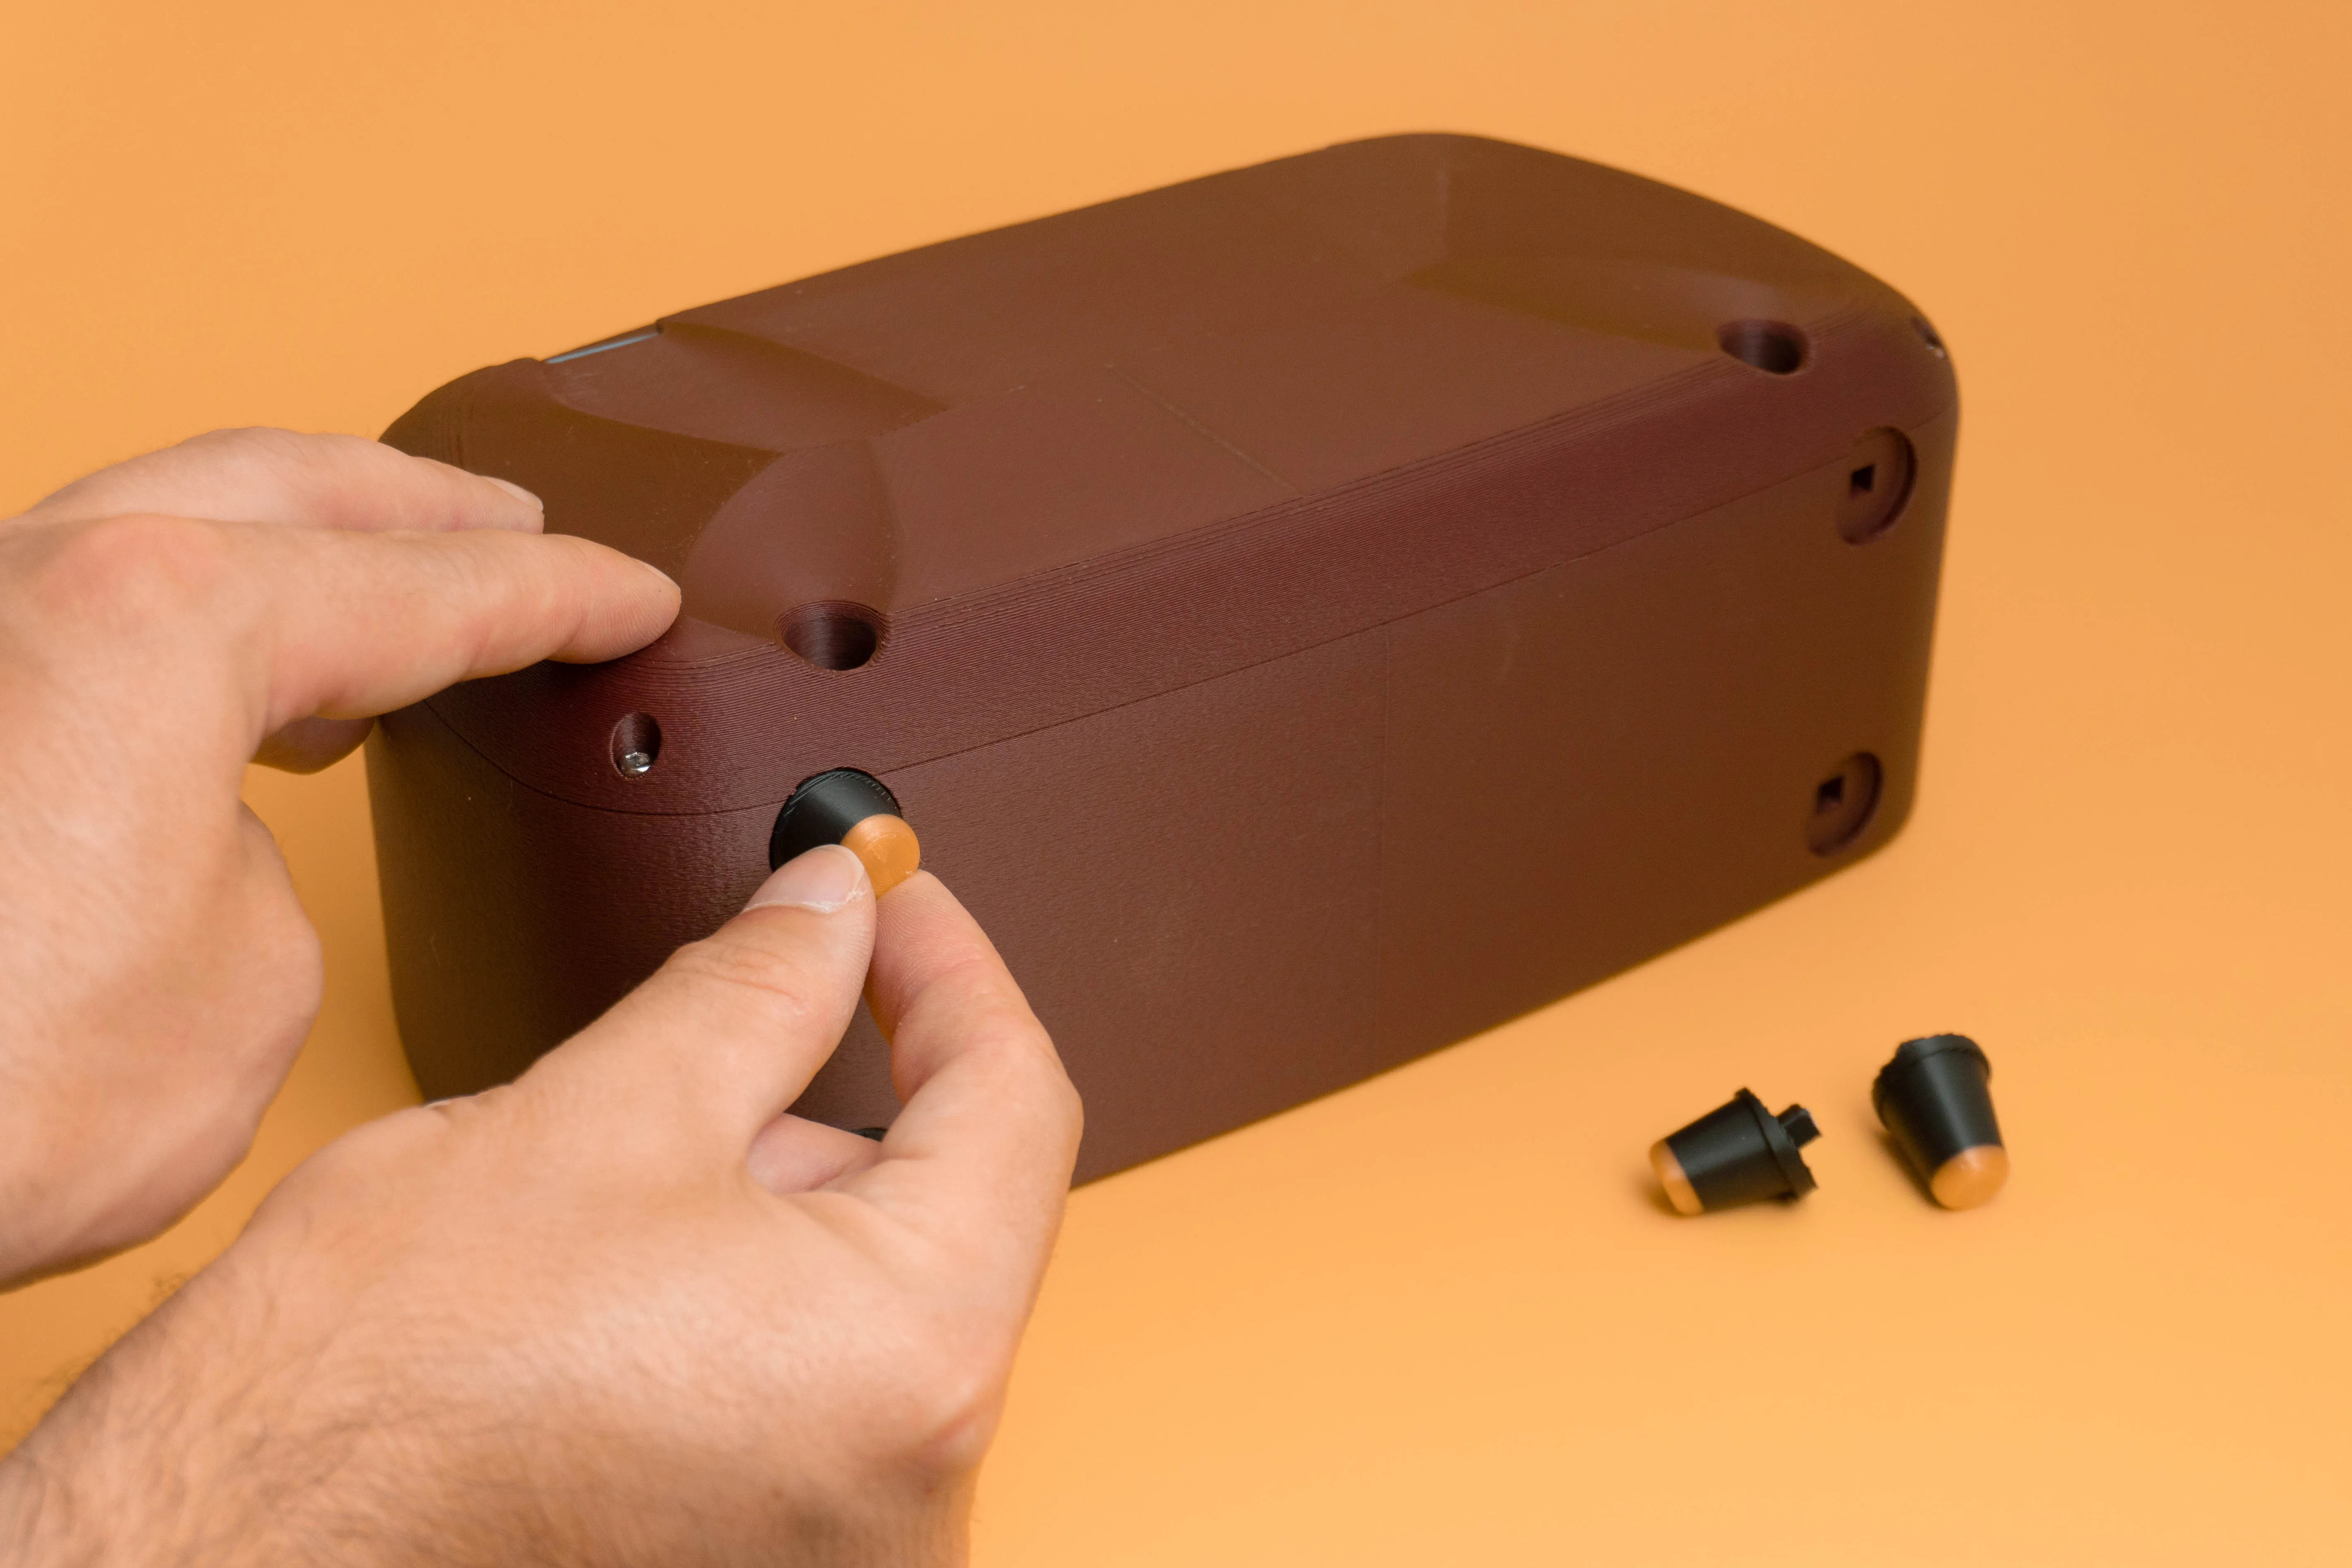
4. Add the four legs to the main body and secure them with some glue if needed:
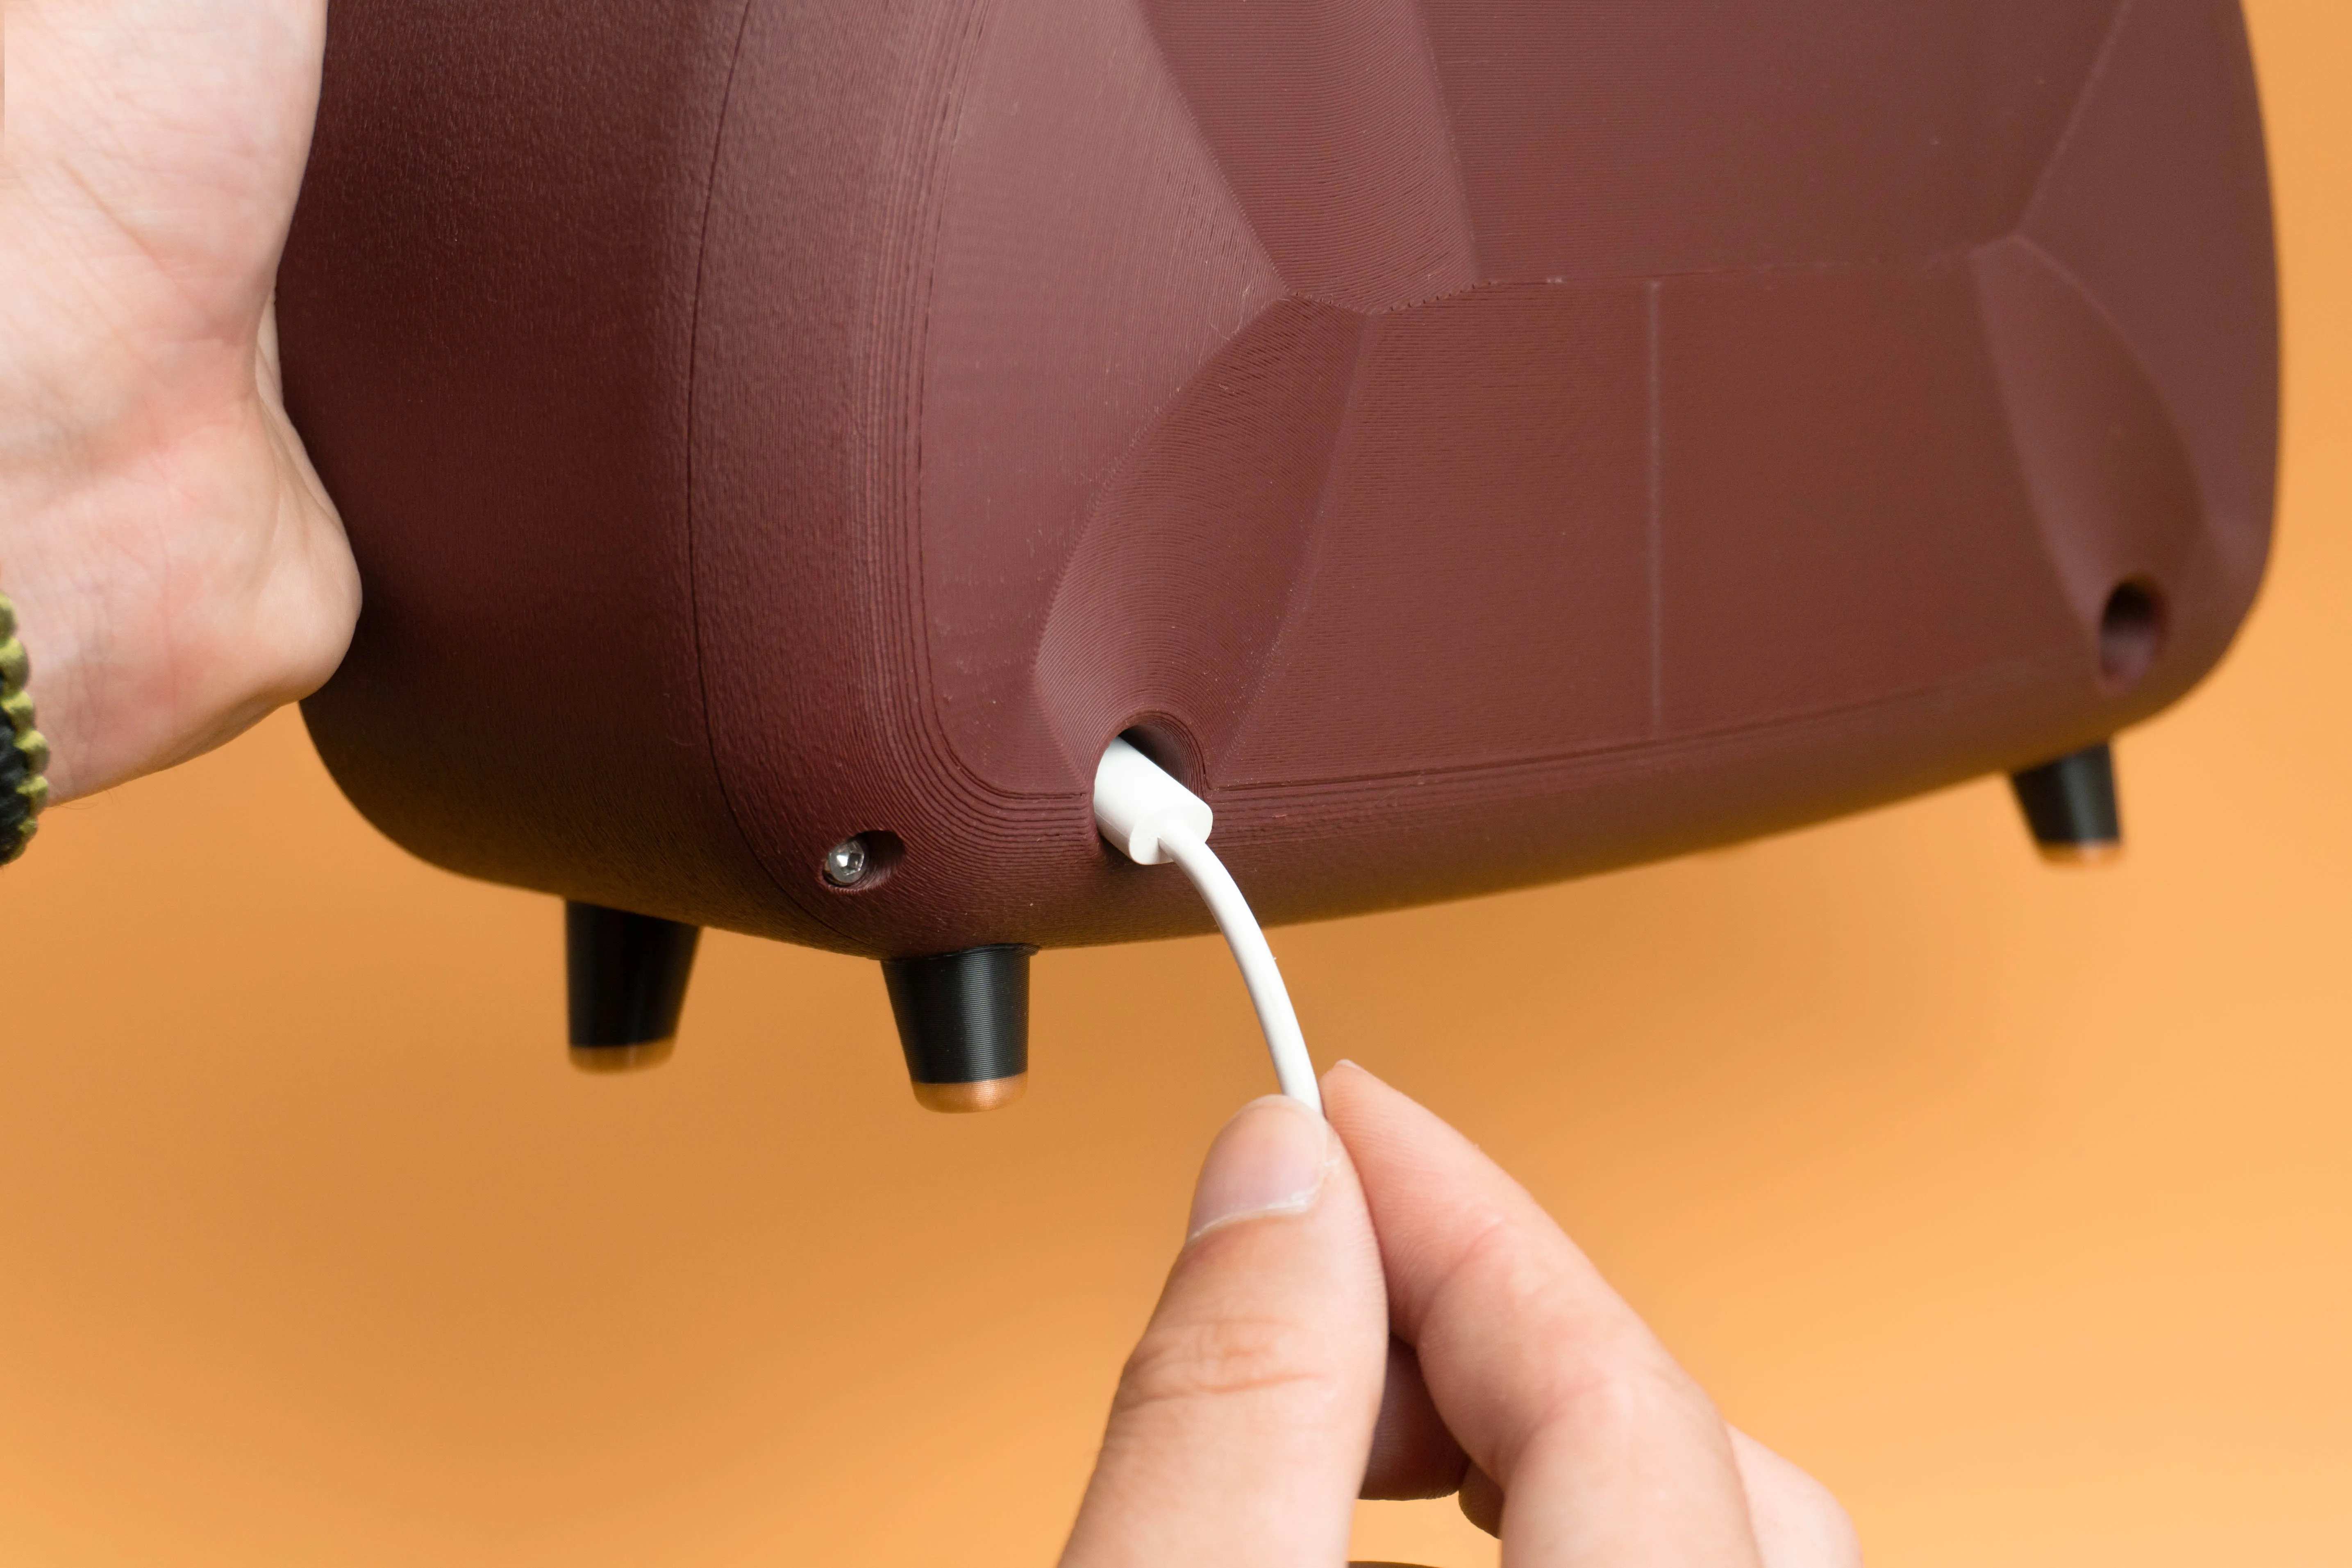
5. Pass the smart speaker in one of the rear side holes:
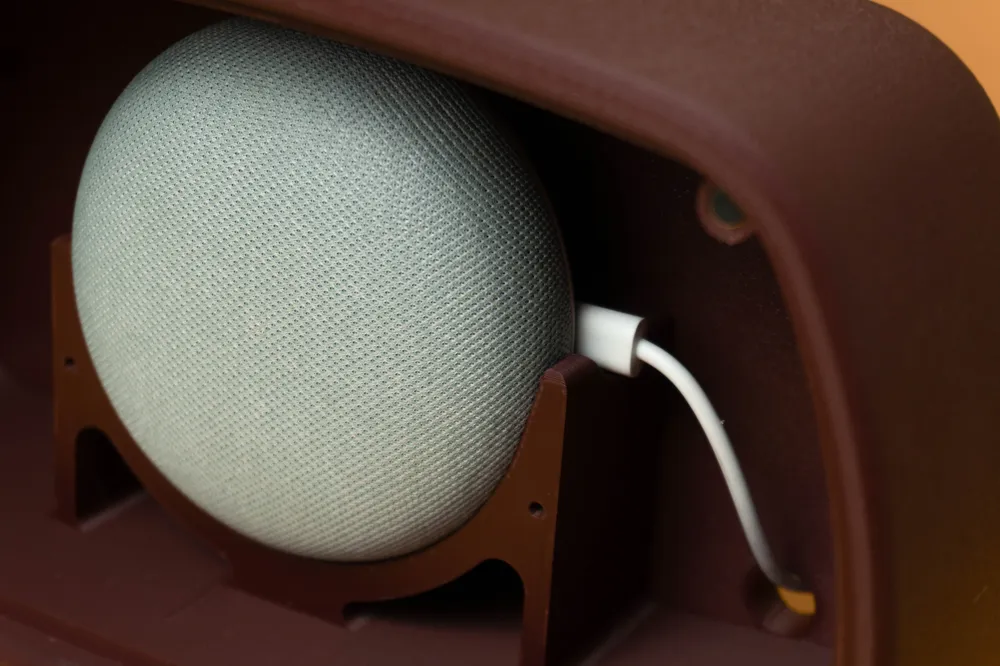
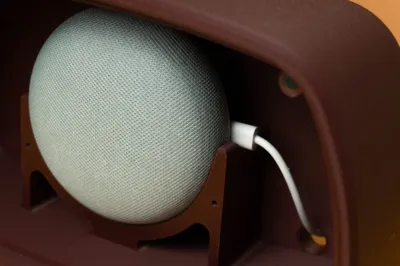
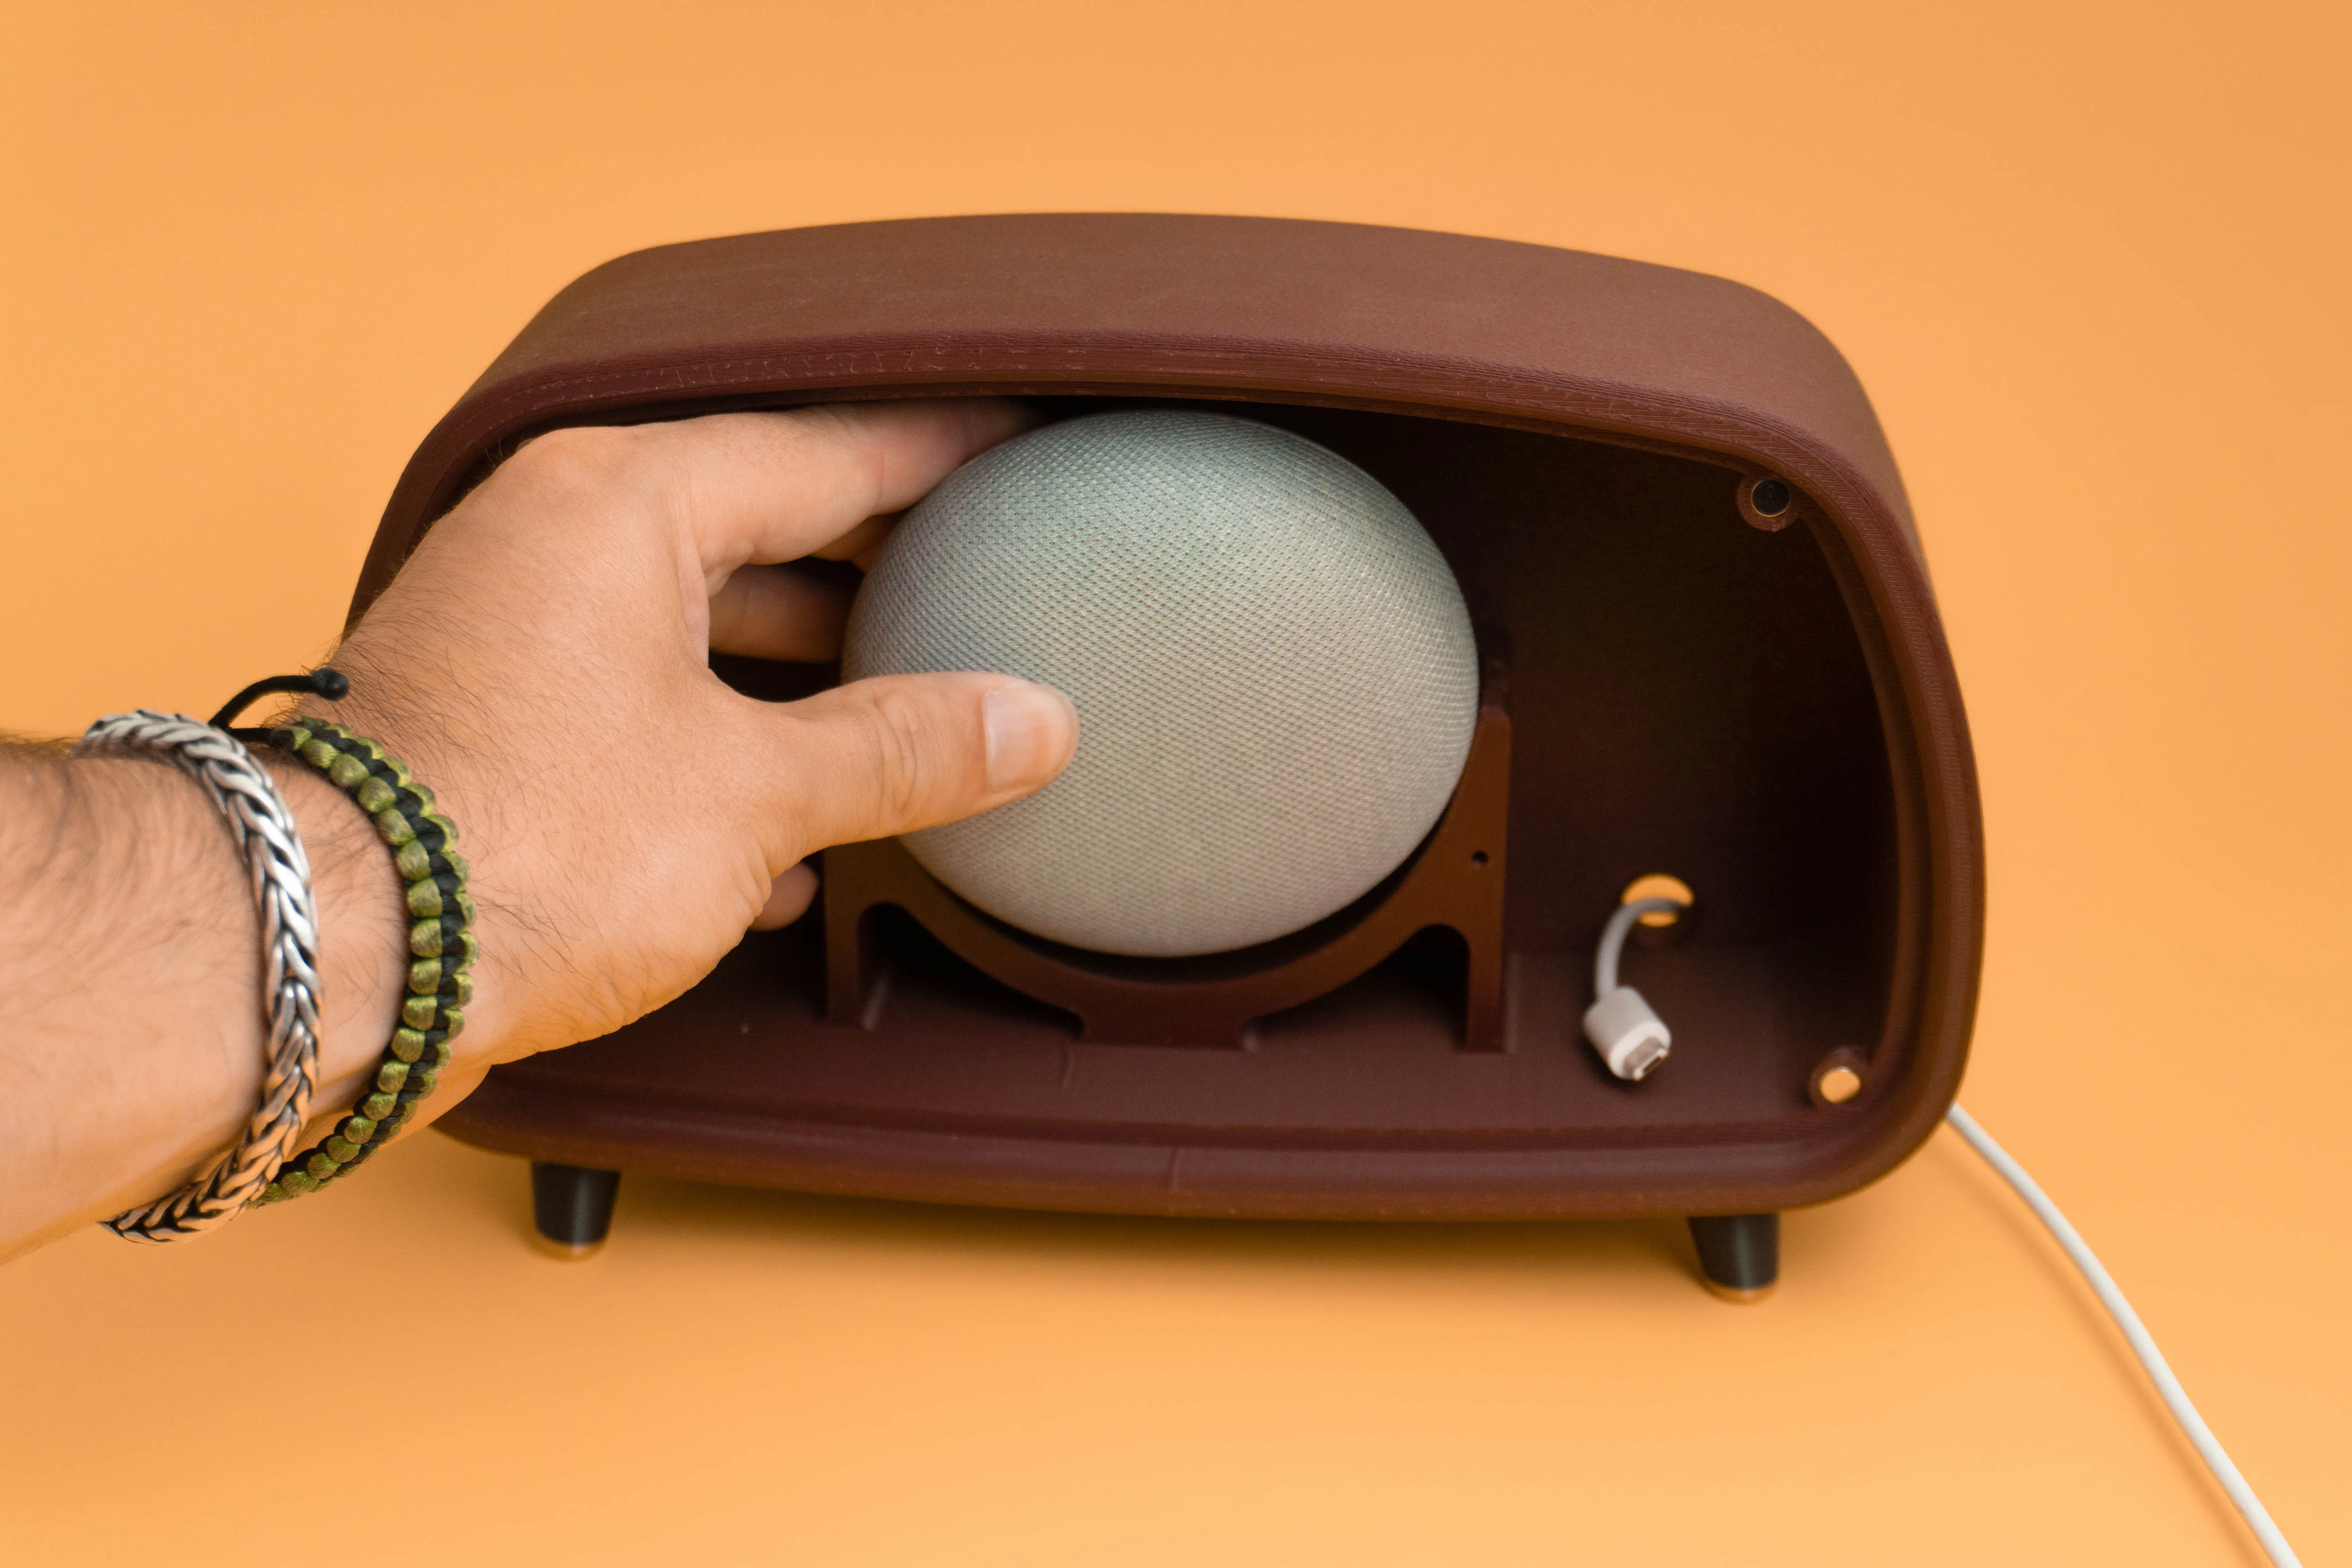
6. Install your Smart speaker into the internal support and connect the power cable:
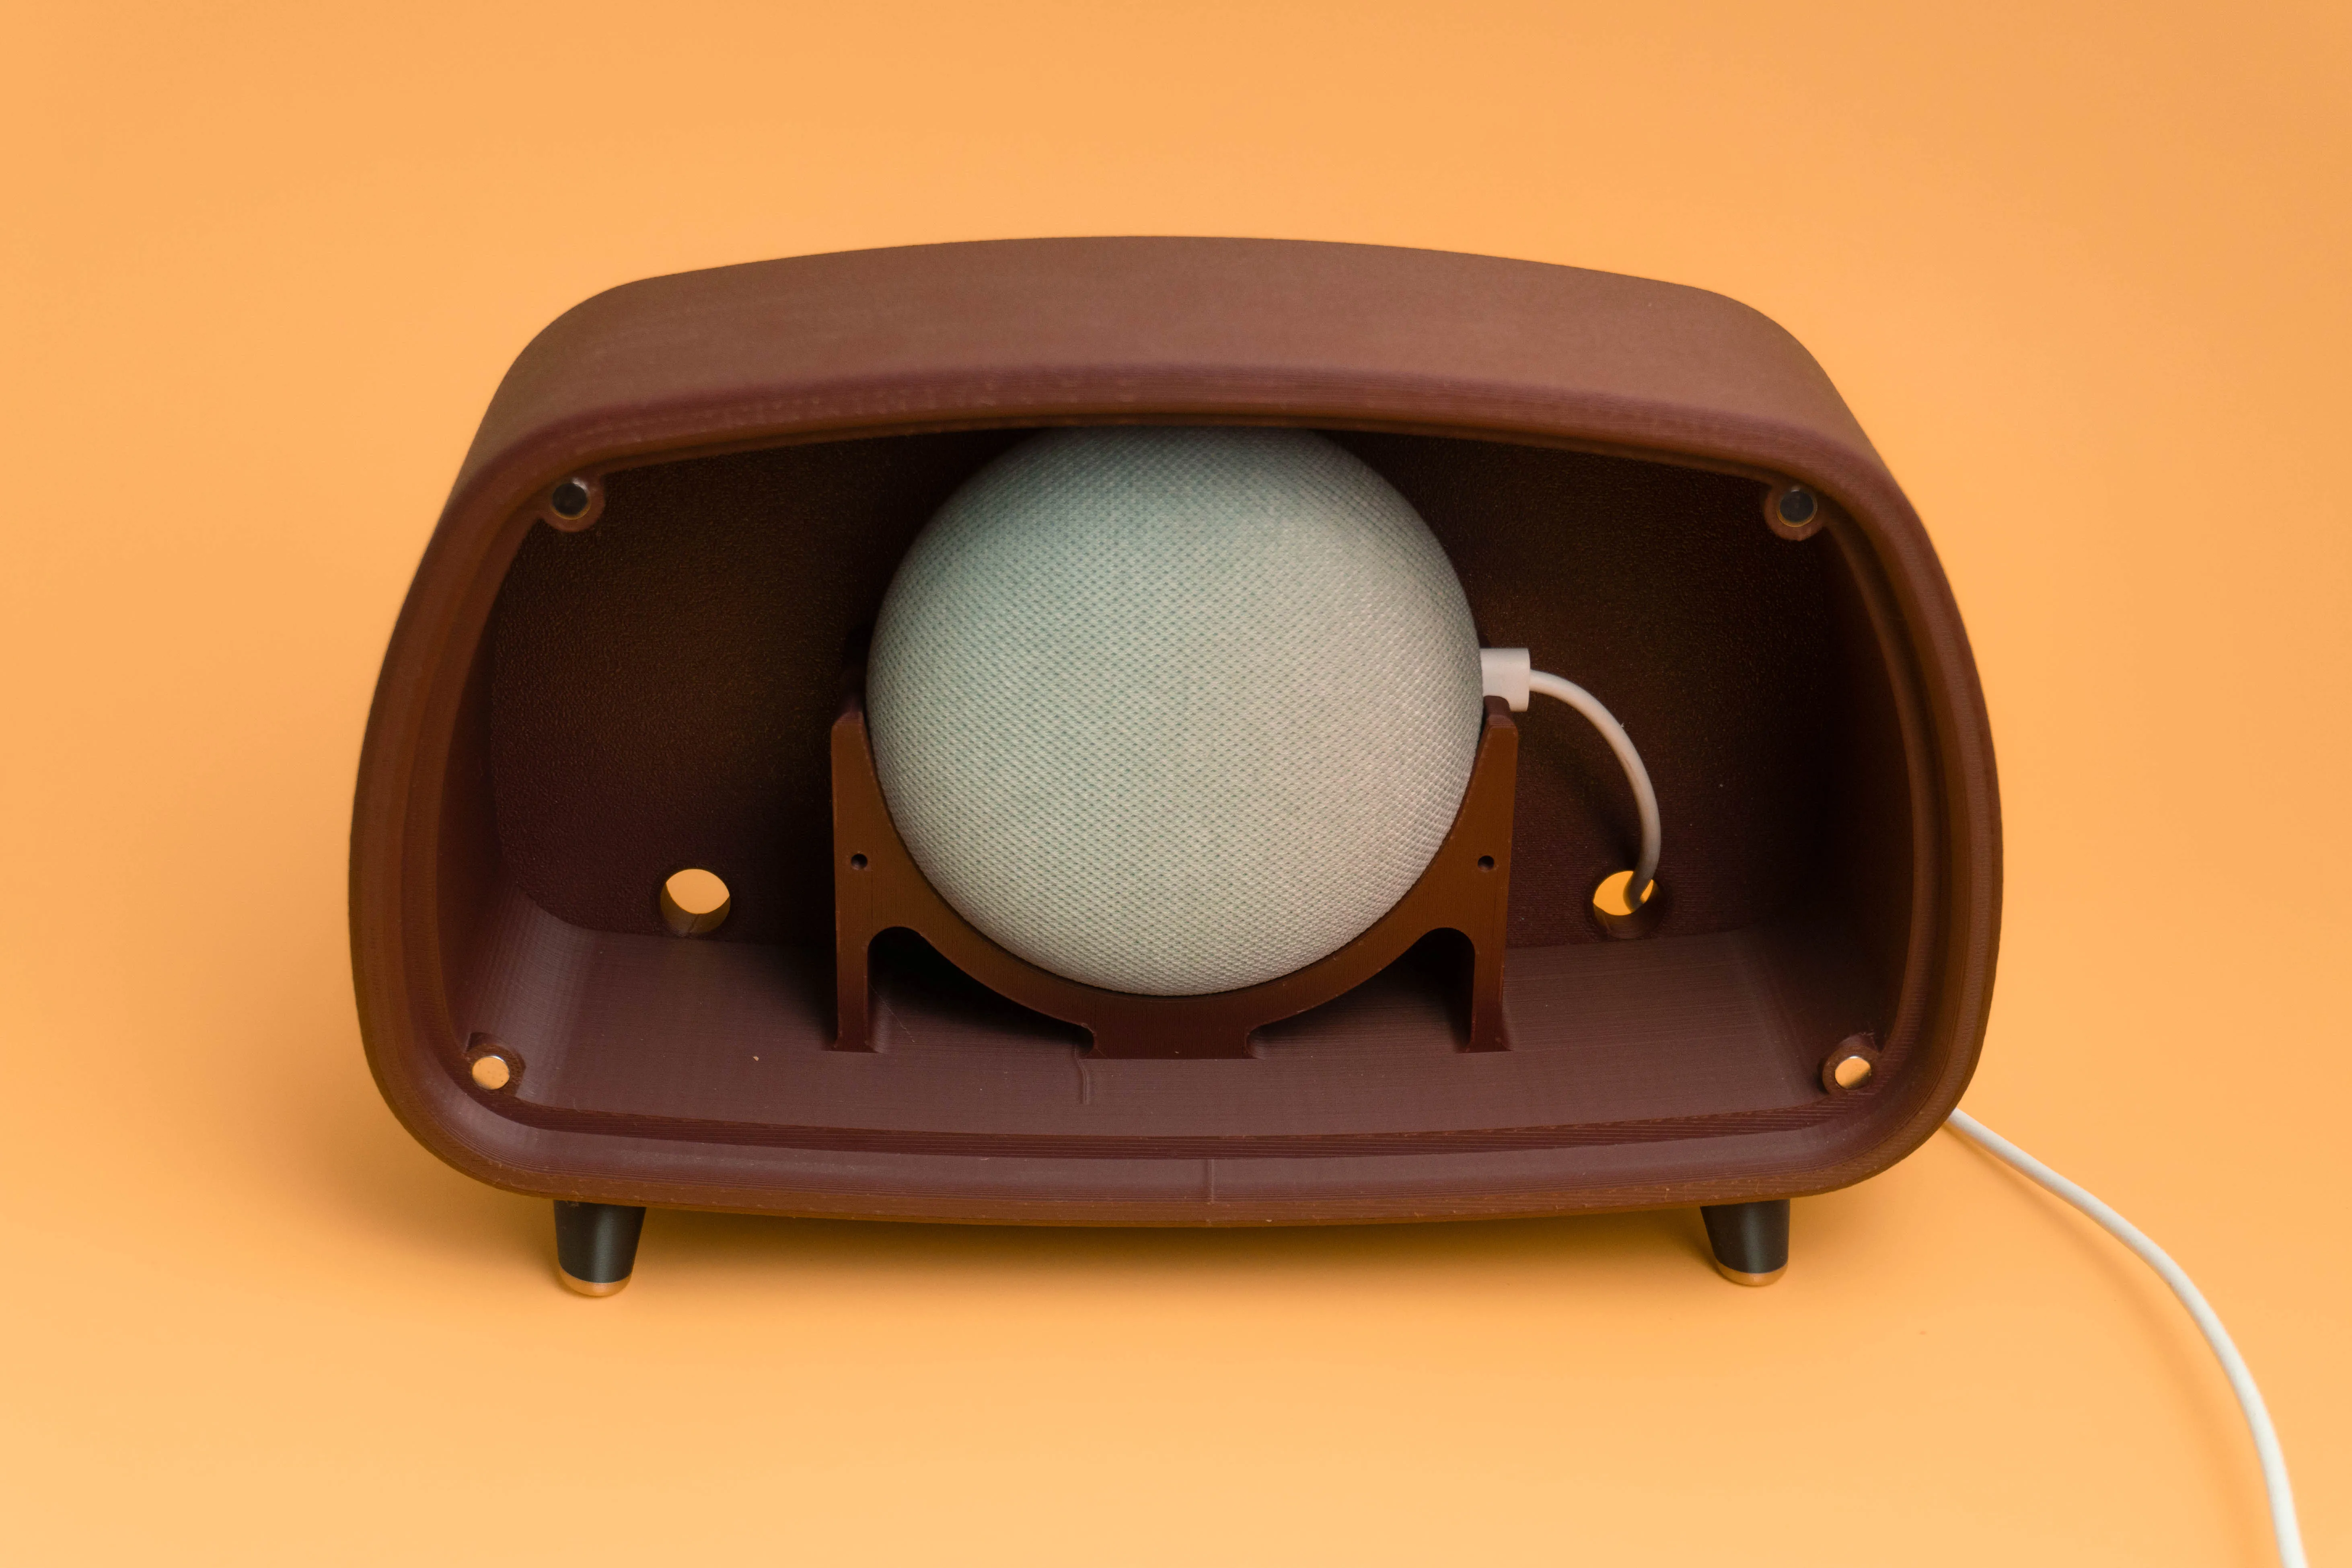
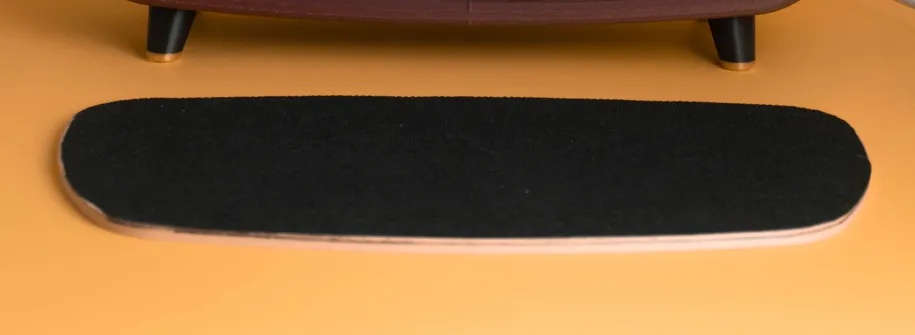
7. Cut a piece of thin black fabric and glue it at the back of the front grid to better hide the inside of the housing and to prevent dust from going inside. (Optional step)
8. Hide the Smart speaker with the Front grid:
9. Done assembly:
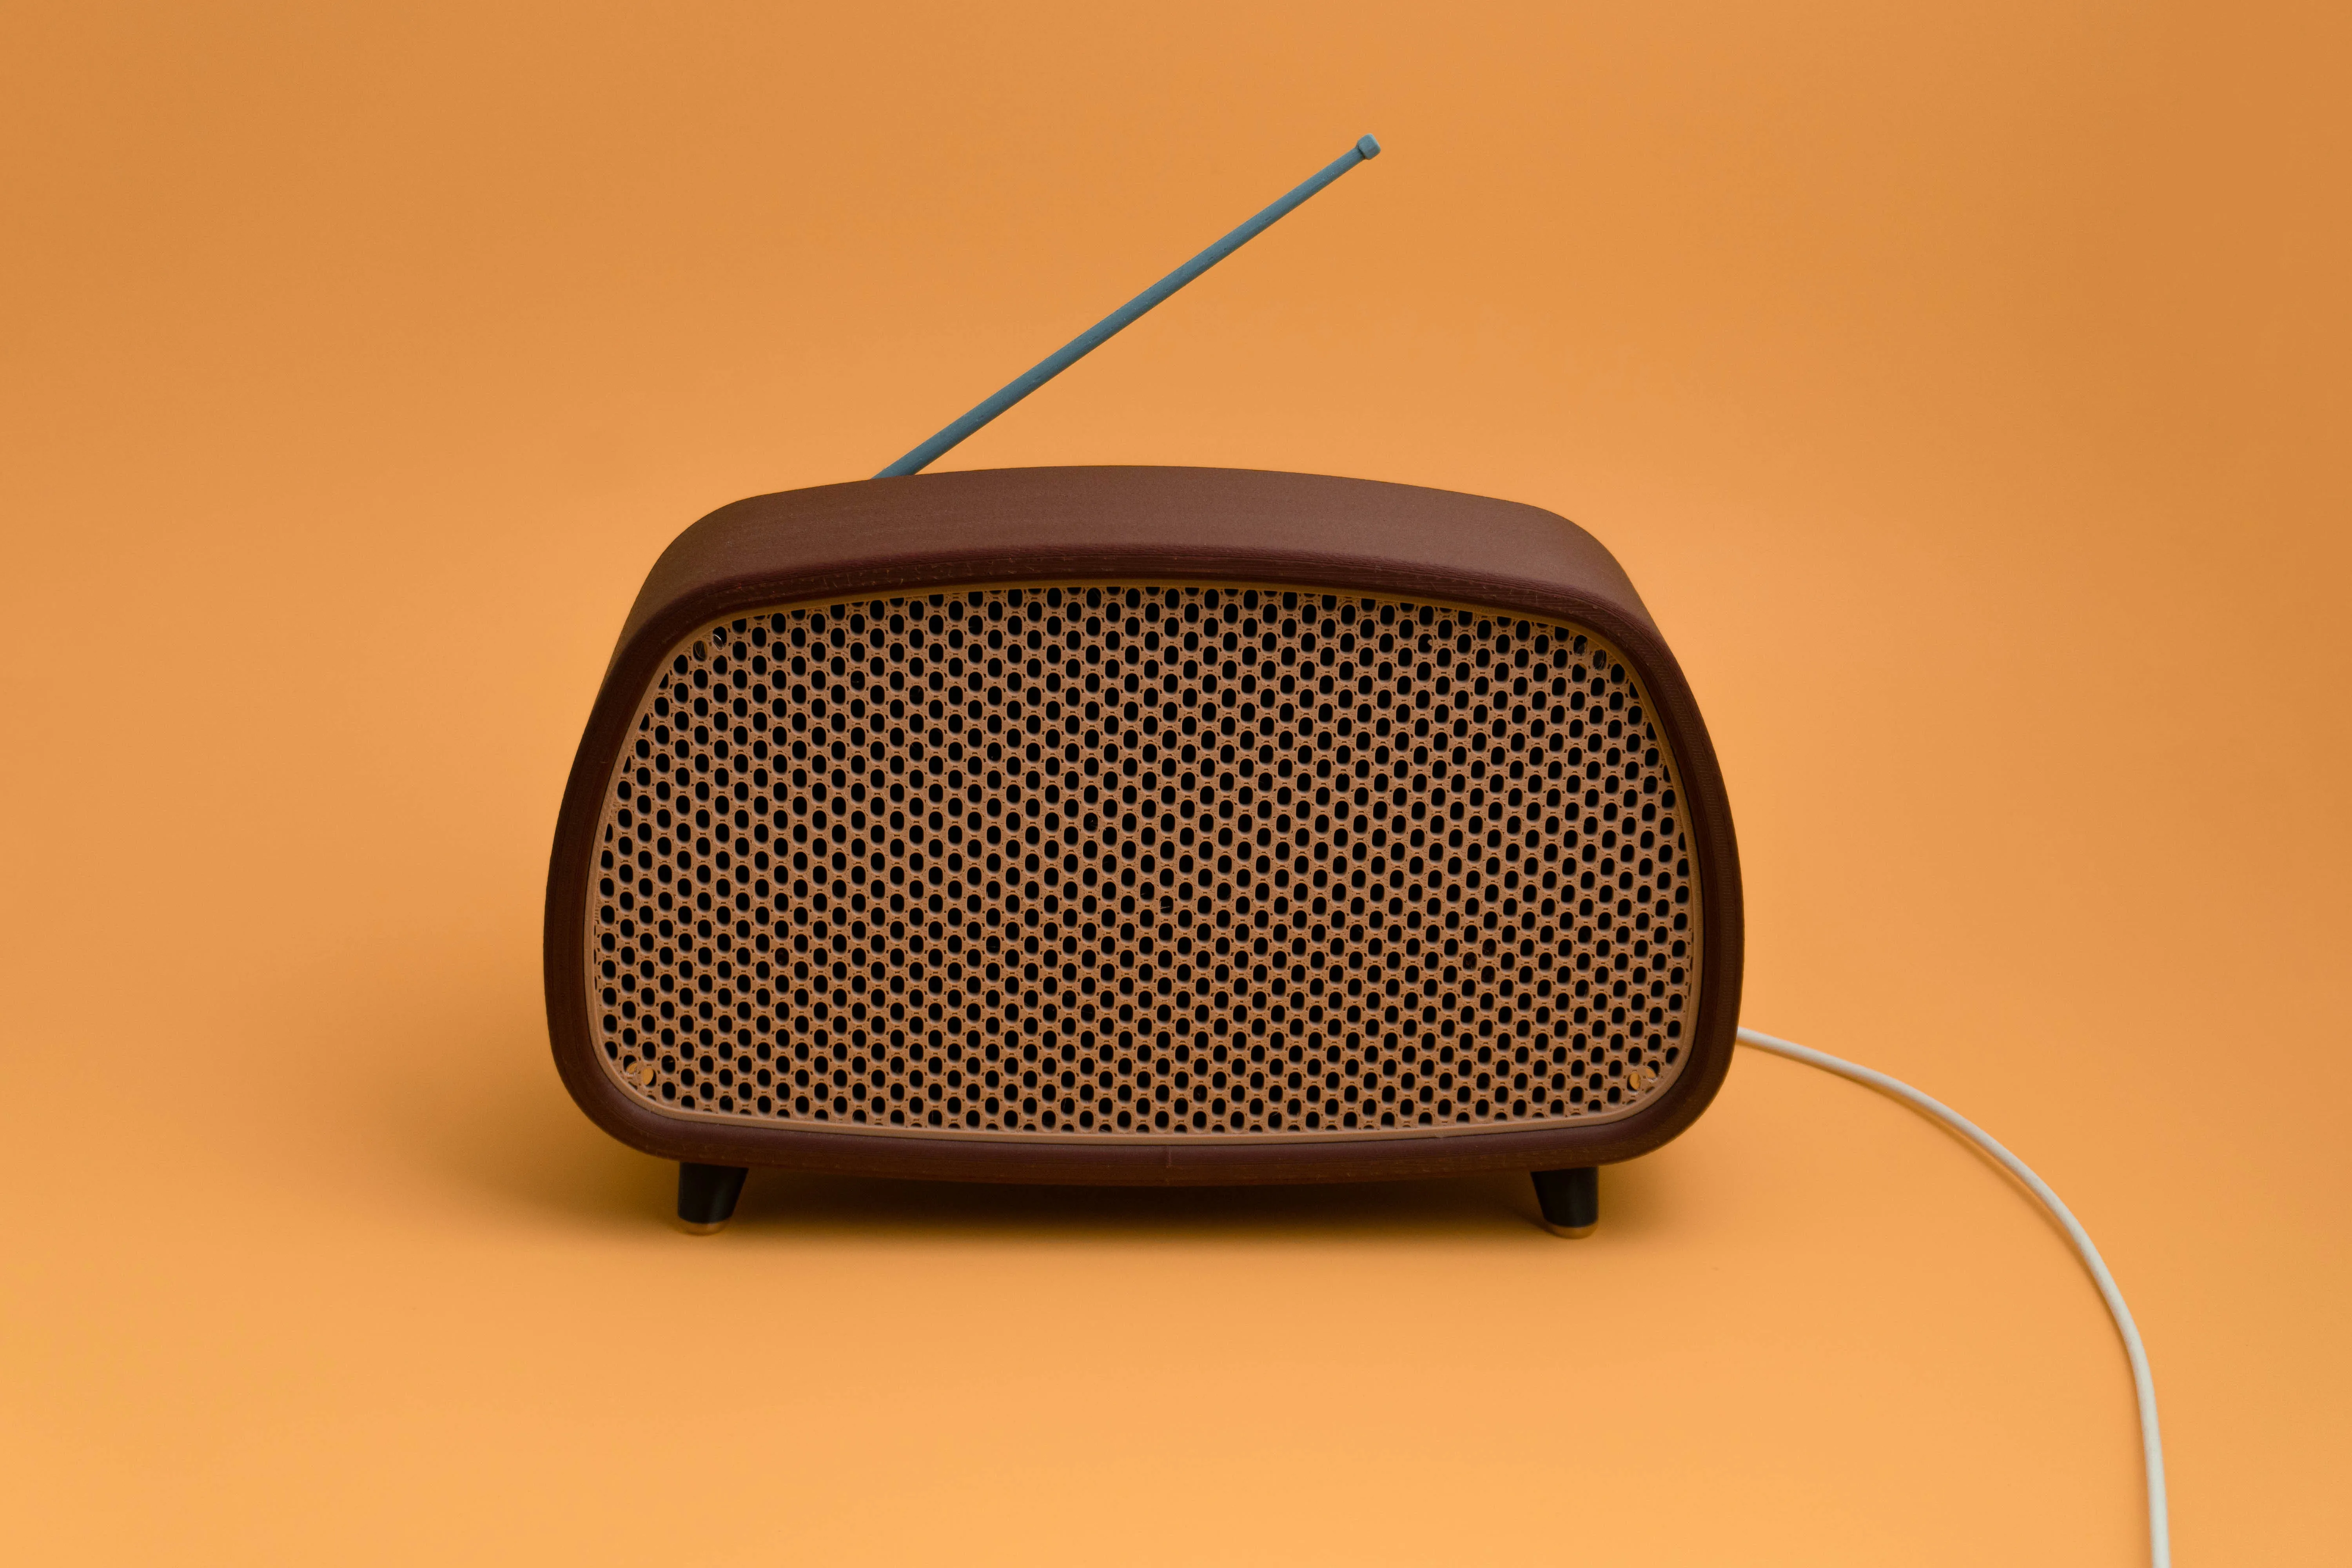
So what are you waiting to turn your everyday smart speaker into a stylish retro radio and bring a touch of old-school charm to your home?
Filament used:
- Eryone Matte PLA - Ruby Red
- Polymaker Panchroma™ Matte PLA - Peanut
- Eryone Standard PLA - Black
- Polymaker Panchroma™ Silk PLA - Silk Gold
Boost Me (for free)
As my work take of lot of time and trial and errors to provide you good and unique designs, please consider boosting me. Much appreciated!
License



Comment & Rating (330)