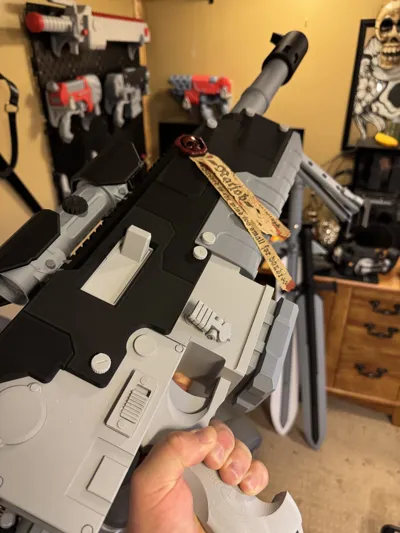
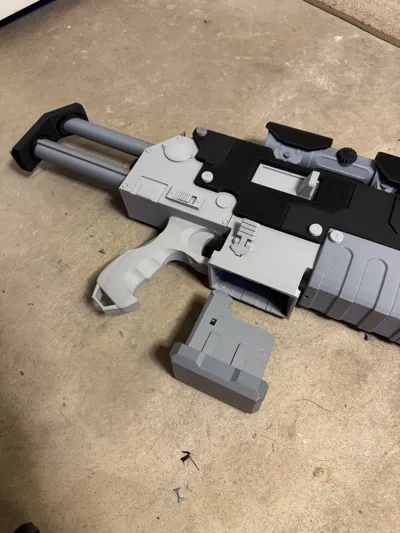
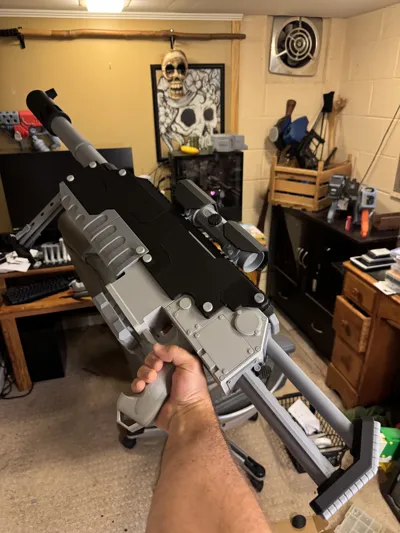
Ratjob's Grimdark Inspired Bolter Sniper Mk.1


Print Profile(1)

Bill of Materials


Description
Description
+++Begin Transmission+++
Arm yourself brethren! The enemies of Mankind are at the gates and they will not rest until every last one of us has succumbed to their will.
Take this Full SIzed Grimdark Boltgun and use it to break their spirits, crush their hubris and grind their flesh into the mud in the name of the Emperor!
Burn the Heretic, Purge the Unclean, Suffer not the Xenos to Live!
In the name of Mankind go forth and take this anointed weapon and spread the will of the God-Emperor across the stars.
+++Blessed is the Mind Too Small For Doubt+++
It has been a long time coming, but This Techpriest has finally sanctified the Grimdark boltgun.
For those of you out there new to my models, welcome! Please enjoy building this model that I have been working on for over 2 years (on and off).
Please follow this guide for the assembly. Guide.
This model is a COMPLETE Kit for the making of a Bolter Sniper from scratch, an upgrade model is also available if you have already printed Rajob's Grimdark Bolter Mk.1 and want to upgrade it to a Sniper.
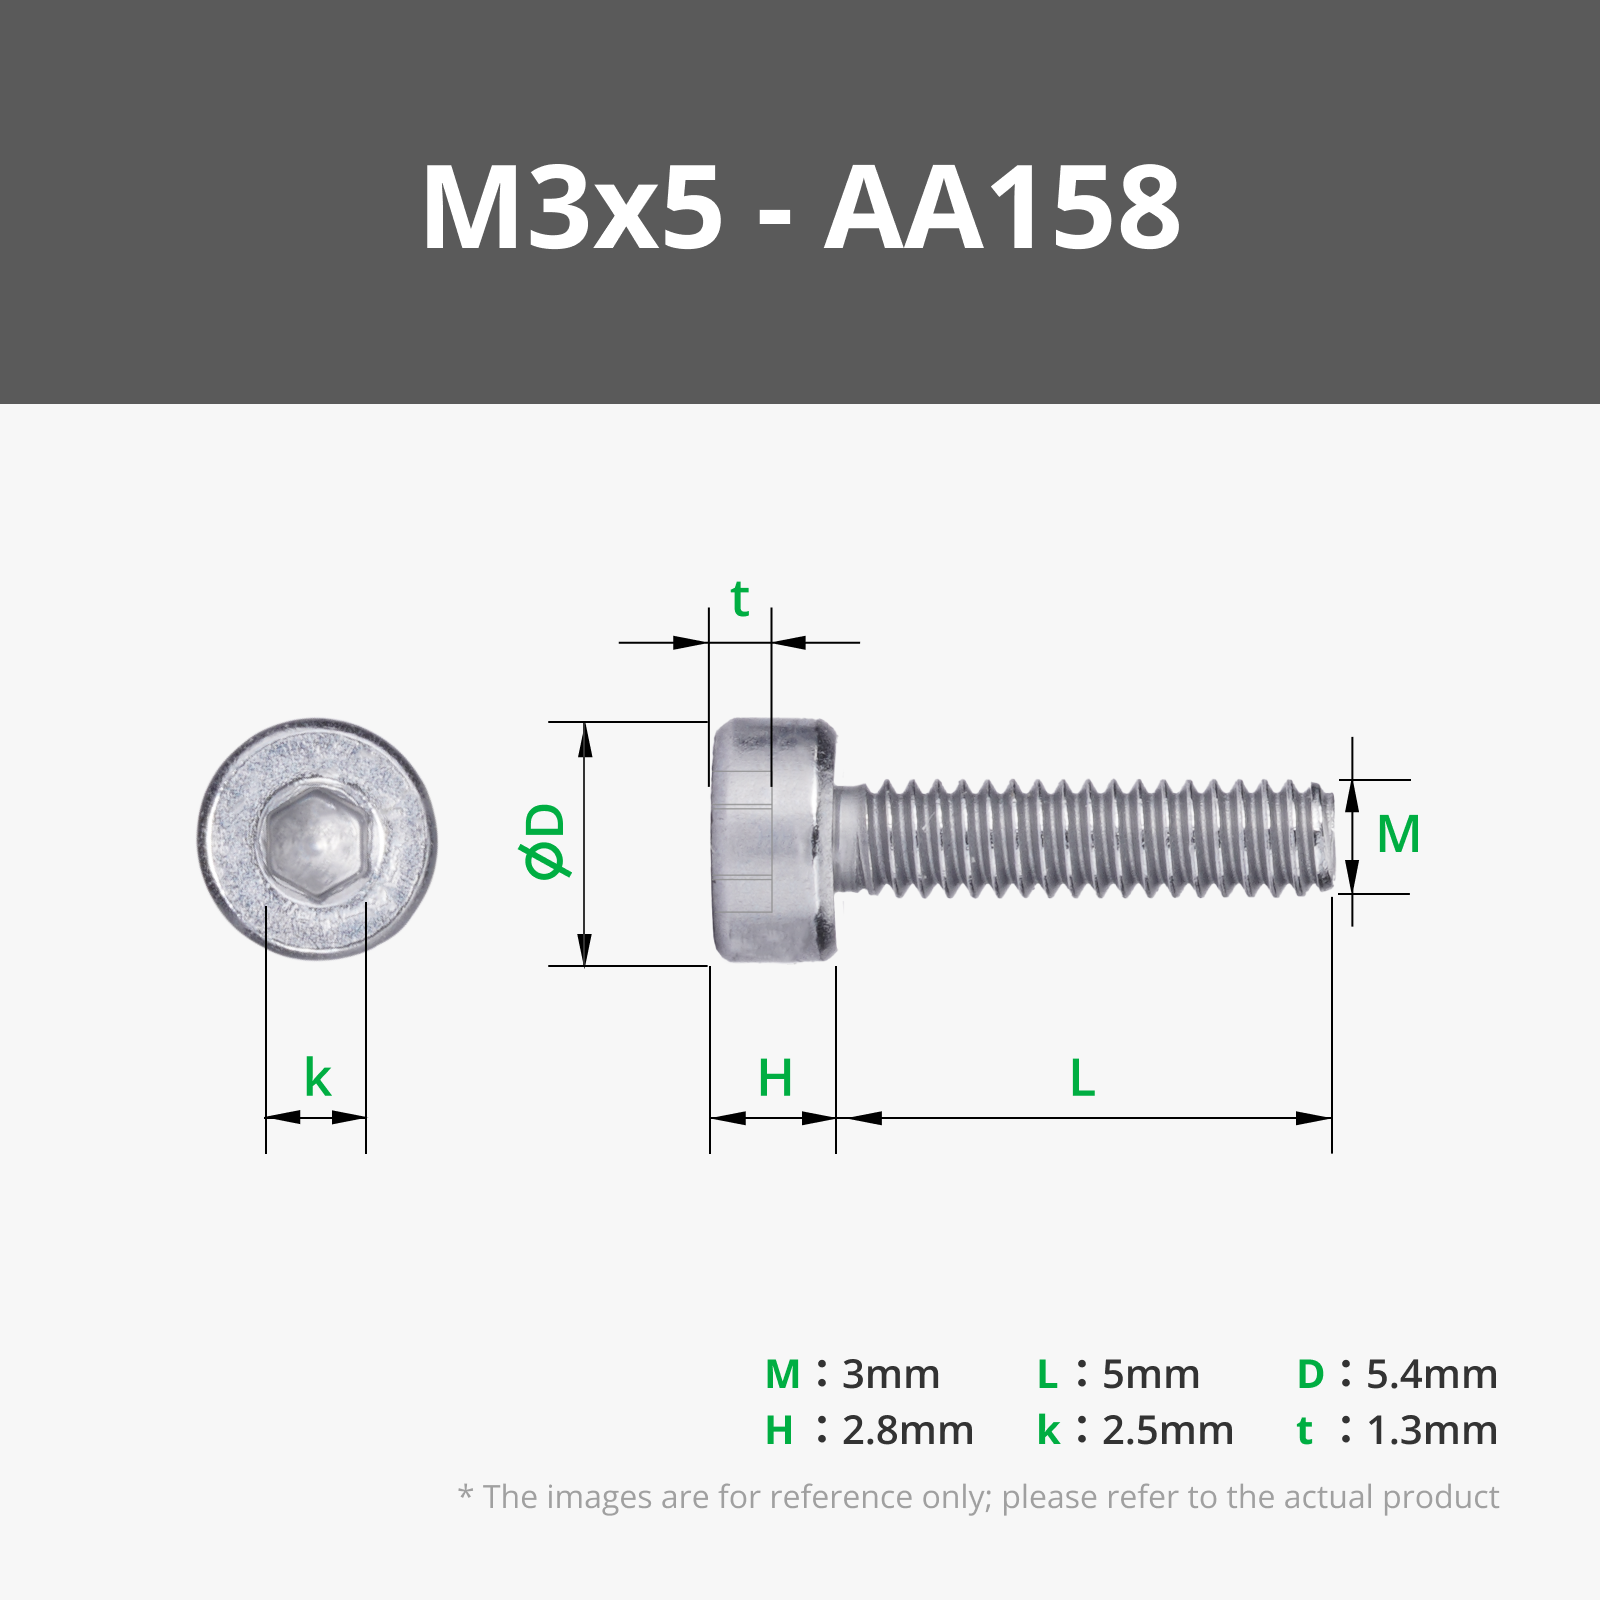
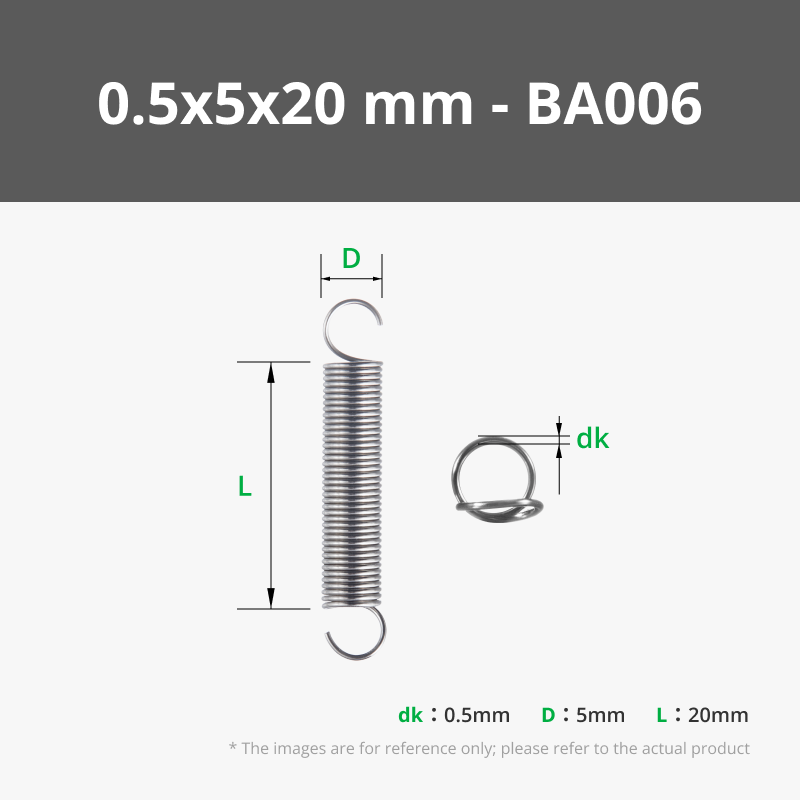
You will likely need a few simple compression springs (a 7mm diamter and a 10mm diameter) as well as an M3 x 20mm screw. anywhere in this model that you find “M3 plugs” you could choose to use M3 x 5mm Screws instead.
*If using springs, be aware that you may have to adjust them with pliers, snips, and a hobby knife to get them to your desired tensions. The springs used in this build guide were purchased from an online retailer and This Techpriest has tried to find similar ones to link in the MakerSupply list.
You will need some CA glue and a hobby knife as well.
Here is a Guide to all the Build Plates:
Plate 1 - Grip and Trigger, use a 7 or 8 mm diameter spring for the trigger.
Plate 2 - Receiver, Rear Housing, Mag Release Linkage and Bolts, use a 8-10mm diameter spring and an M3 x 20mm screw.
Plate 3 - Rear Housing Panels and Fasteners
Plate 4 - Right Sided Shell Ejection Door Assembly. Use a Tension spring or rubber bands as well.
Plate 5- Bipod Parts, Telescoping Stock Parts, use an 8mm compression spring as well.
Plate 6 - Optics, Barrel, Tubes for Telescoping stock
Plate 7 - Front Grip Parts and Top T-Handle
Plate 8 - Side and Top Panels, Bipod Feet
Plate 9 - Rearmost Side panels (Right hand sided charging)
Plate 10 - Top Panels and Rail
Plate 11 - Frontmost Side Panels
Plate 12 - Front Block, Optics Covers, Suppressor, and Telescoping Stock Parts
Plate 13 - Magazine Topper and Dummy Rounds
Plate 14 - Magazine and Fasteners
Plate 15 - Extra Fasteners
This is overall a very low waste model.
Highlighted features this model is capable of doing:
Trigger is moveable (with spring)
There is a charging handle and “shell eject” door that can be made to move (with spring or rubber bands)
The magazine is removeable (when the magazine eject lever is spring loaded)
There is a Print-in-place Bipod! That can self-stow into the front grip
The stock is able to telescope in and out, and has a spring loaded latch.
You could choose to make all the parts static without the springs, but these are some options available to you if you have the hardware.
This Techpriest hopes you find this model pleasing and feel free to make your own mods and upgrades! Share and Share alike!
License
You shall not share, sub-license, sell, rent, host, transfer, or distribute in any way the digital or 3D printed versions of this object, nor any other derivative work of this object in its digital or physical format (including - but not limited to - remixes of this object, and hosting on other digital platforms). The objects may not be used without permission in any way whatsoever in which you charge money, or collect fees.
Comment & Rating (10)