
Foldmate, a portable tablet stand


Print Profile(3)


Bill of Materials

Description
Membership
Want to sell prints of this model? Check my commercial licenses.
JAN 28: Clamped plate available for Tiltmate & Foldmate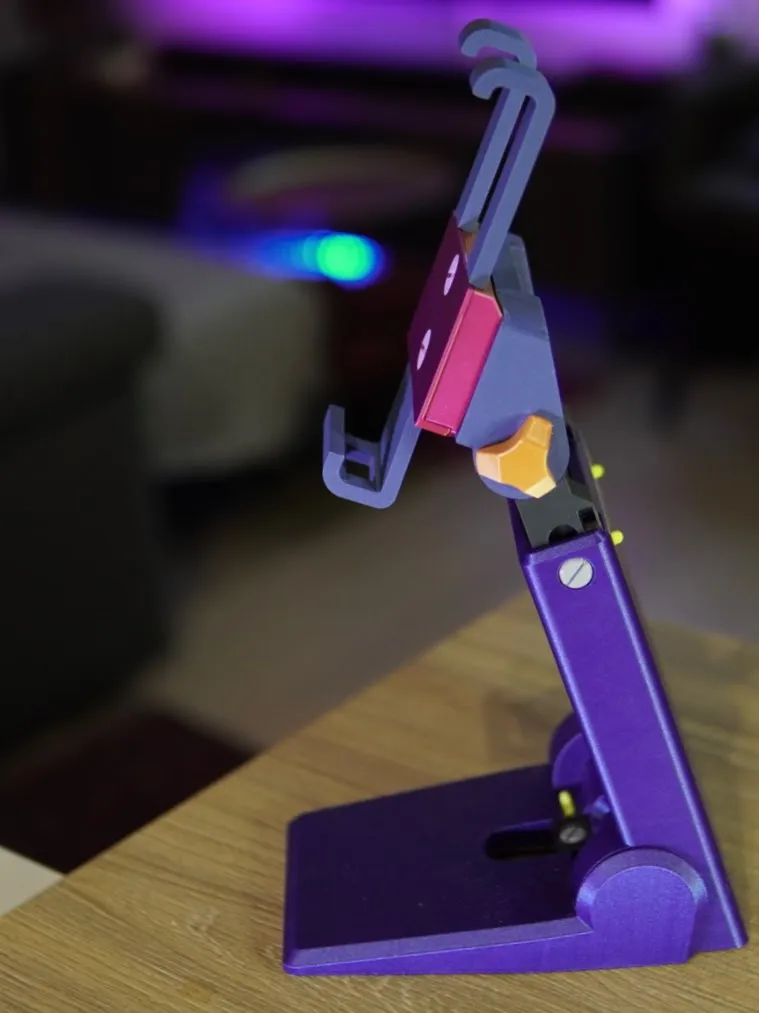
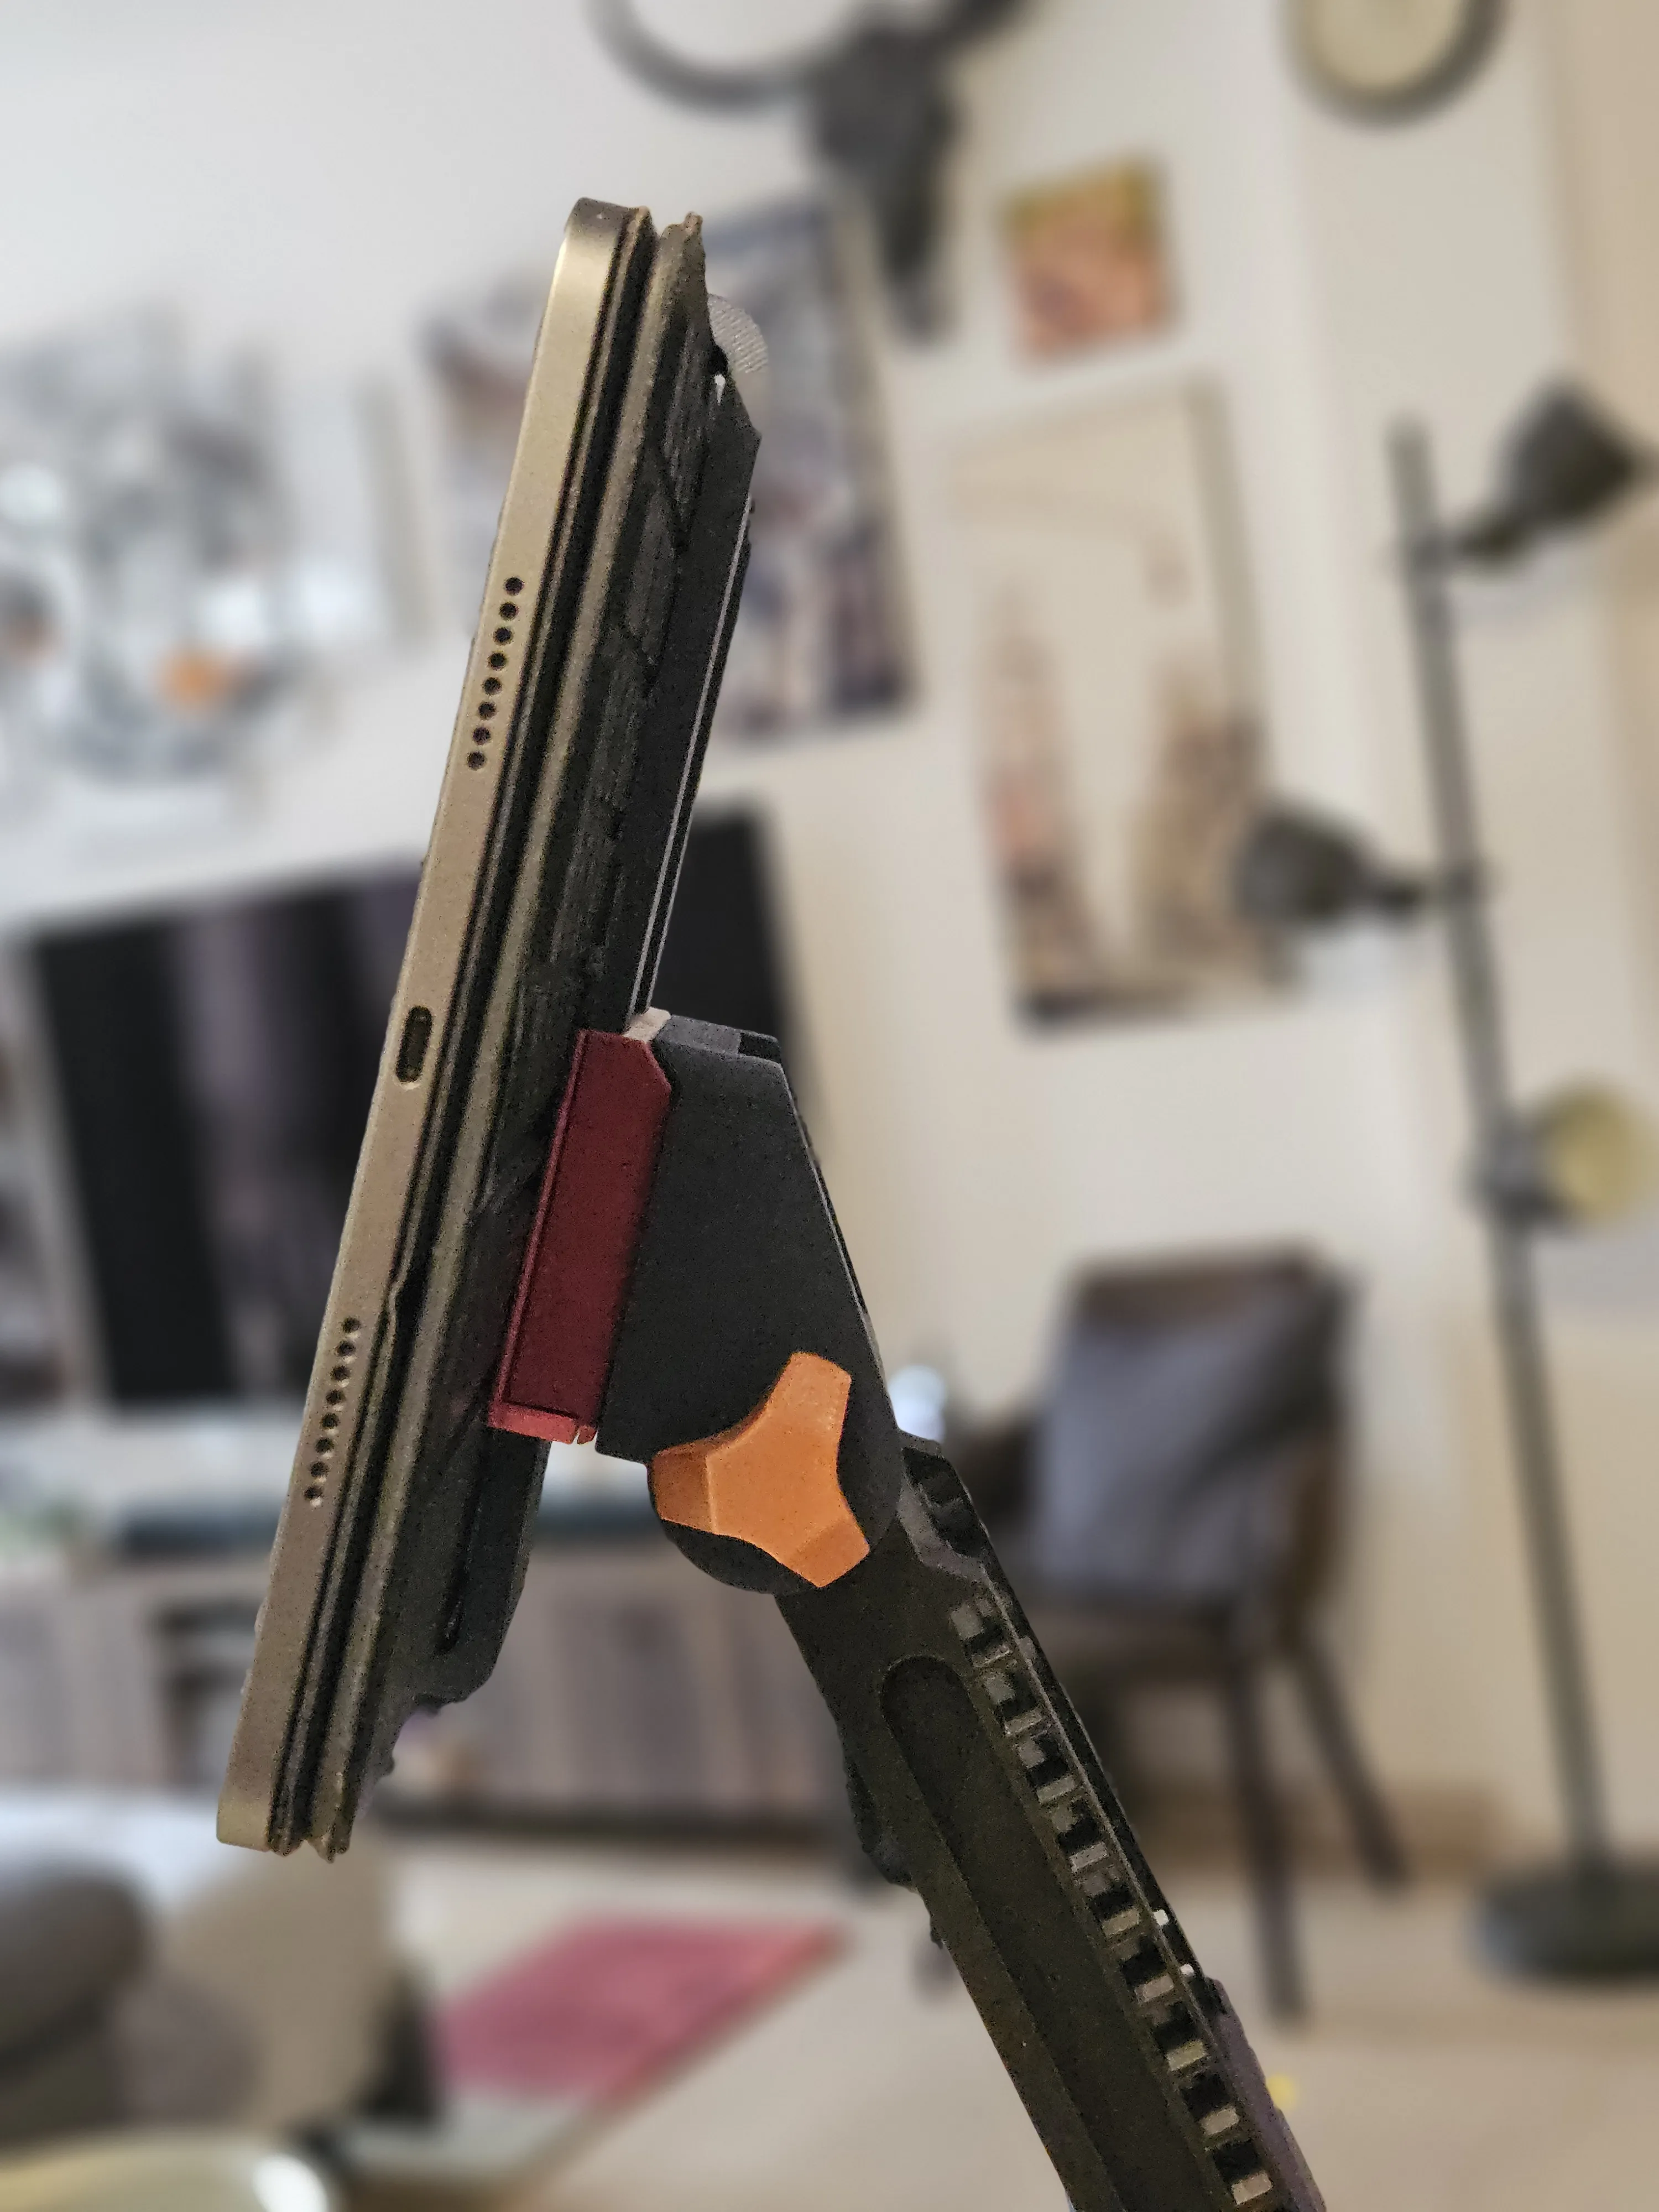
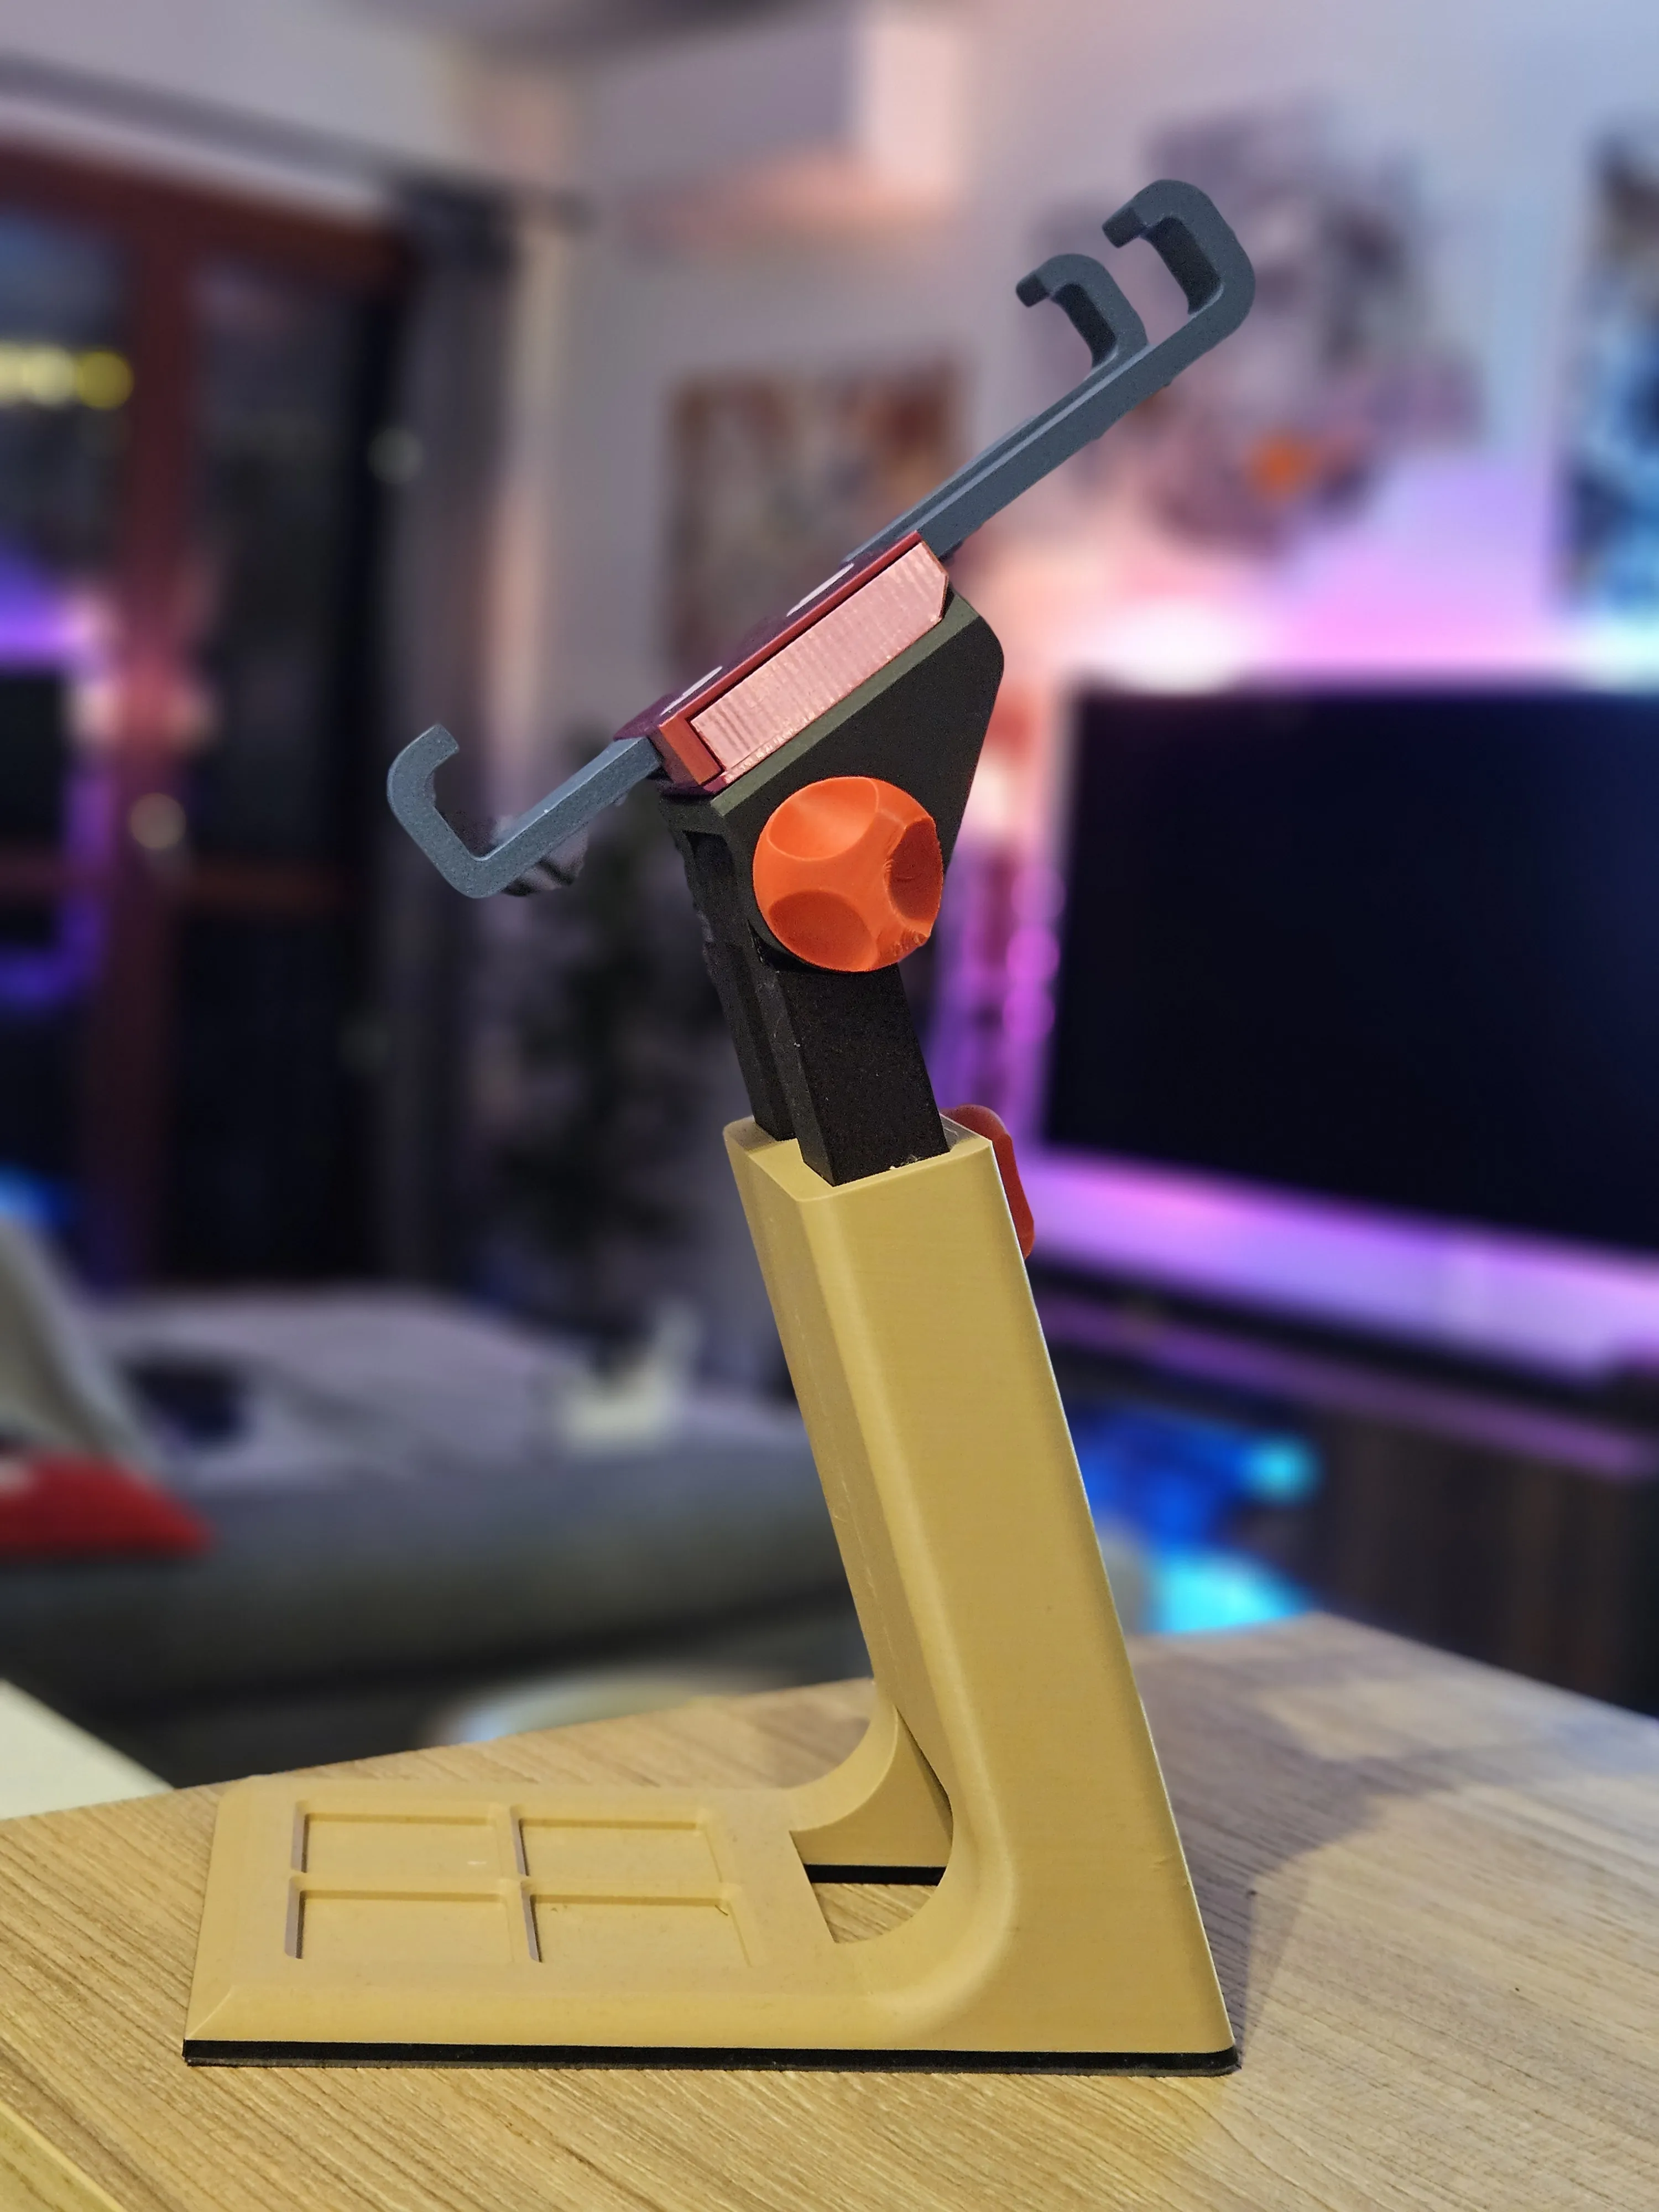
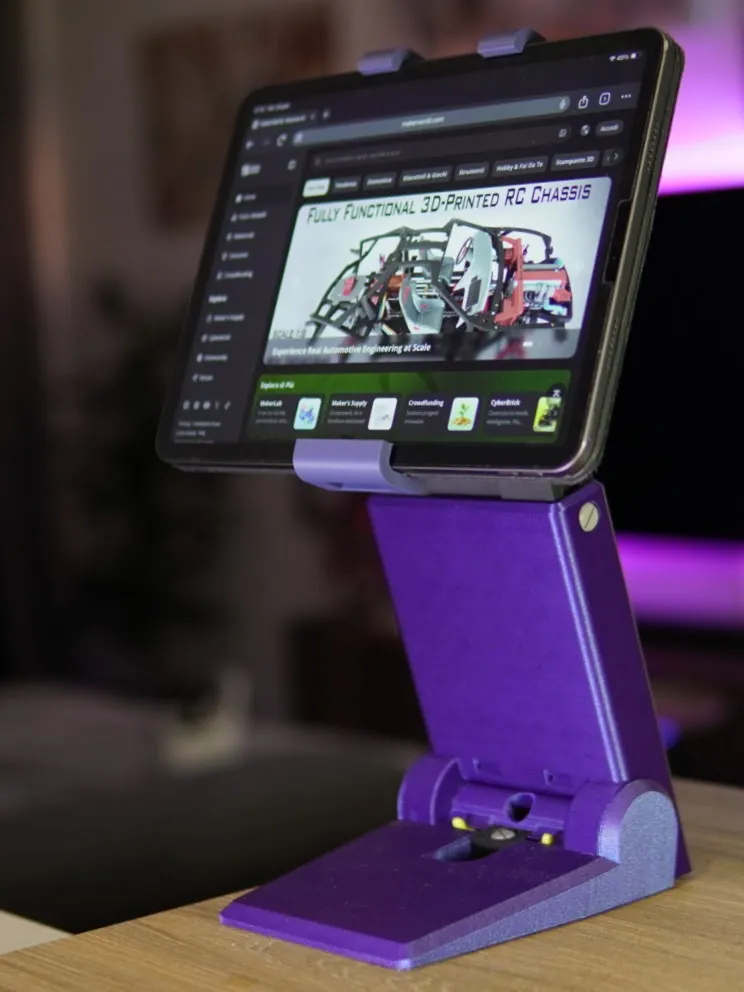
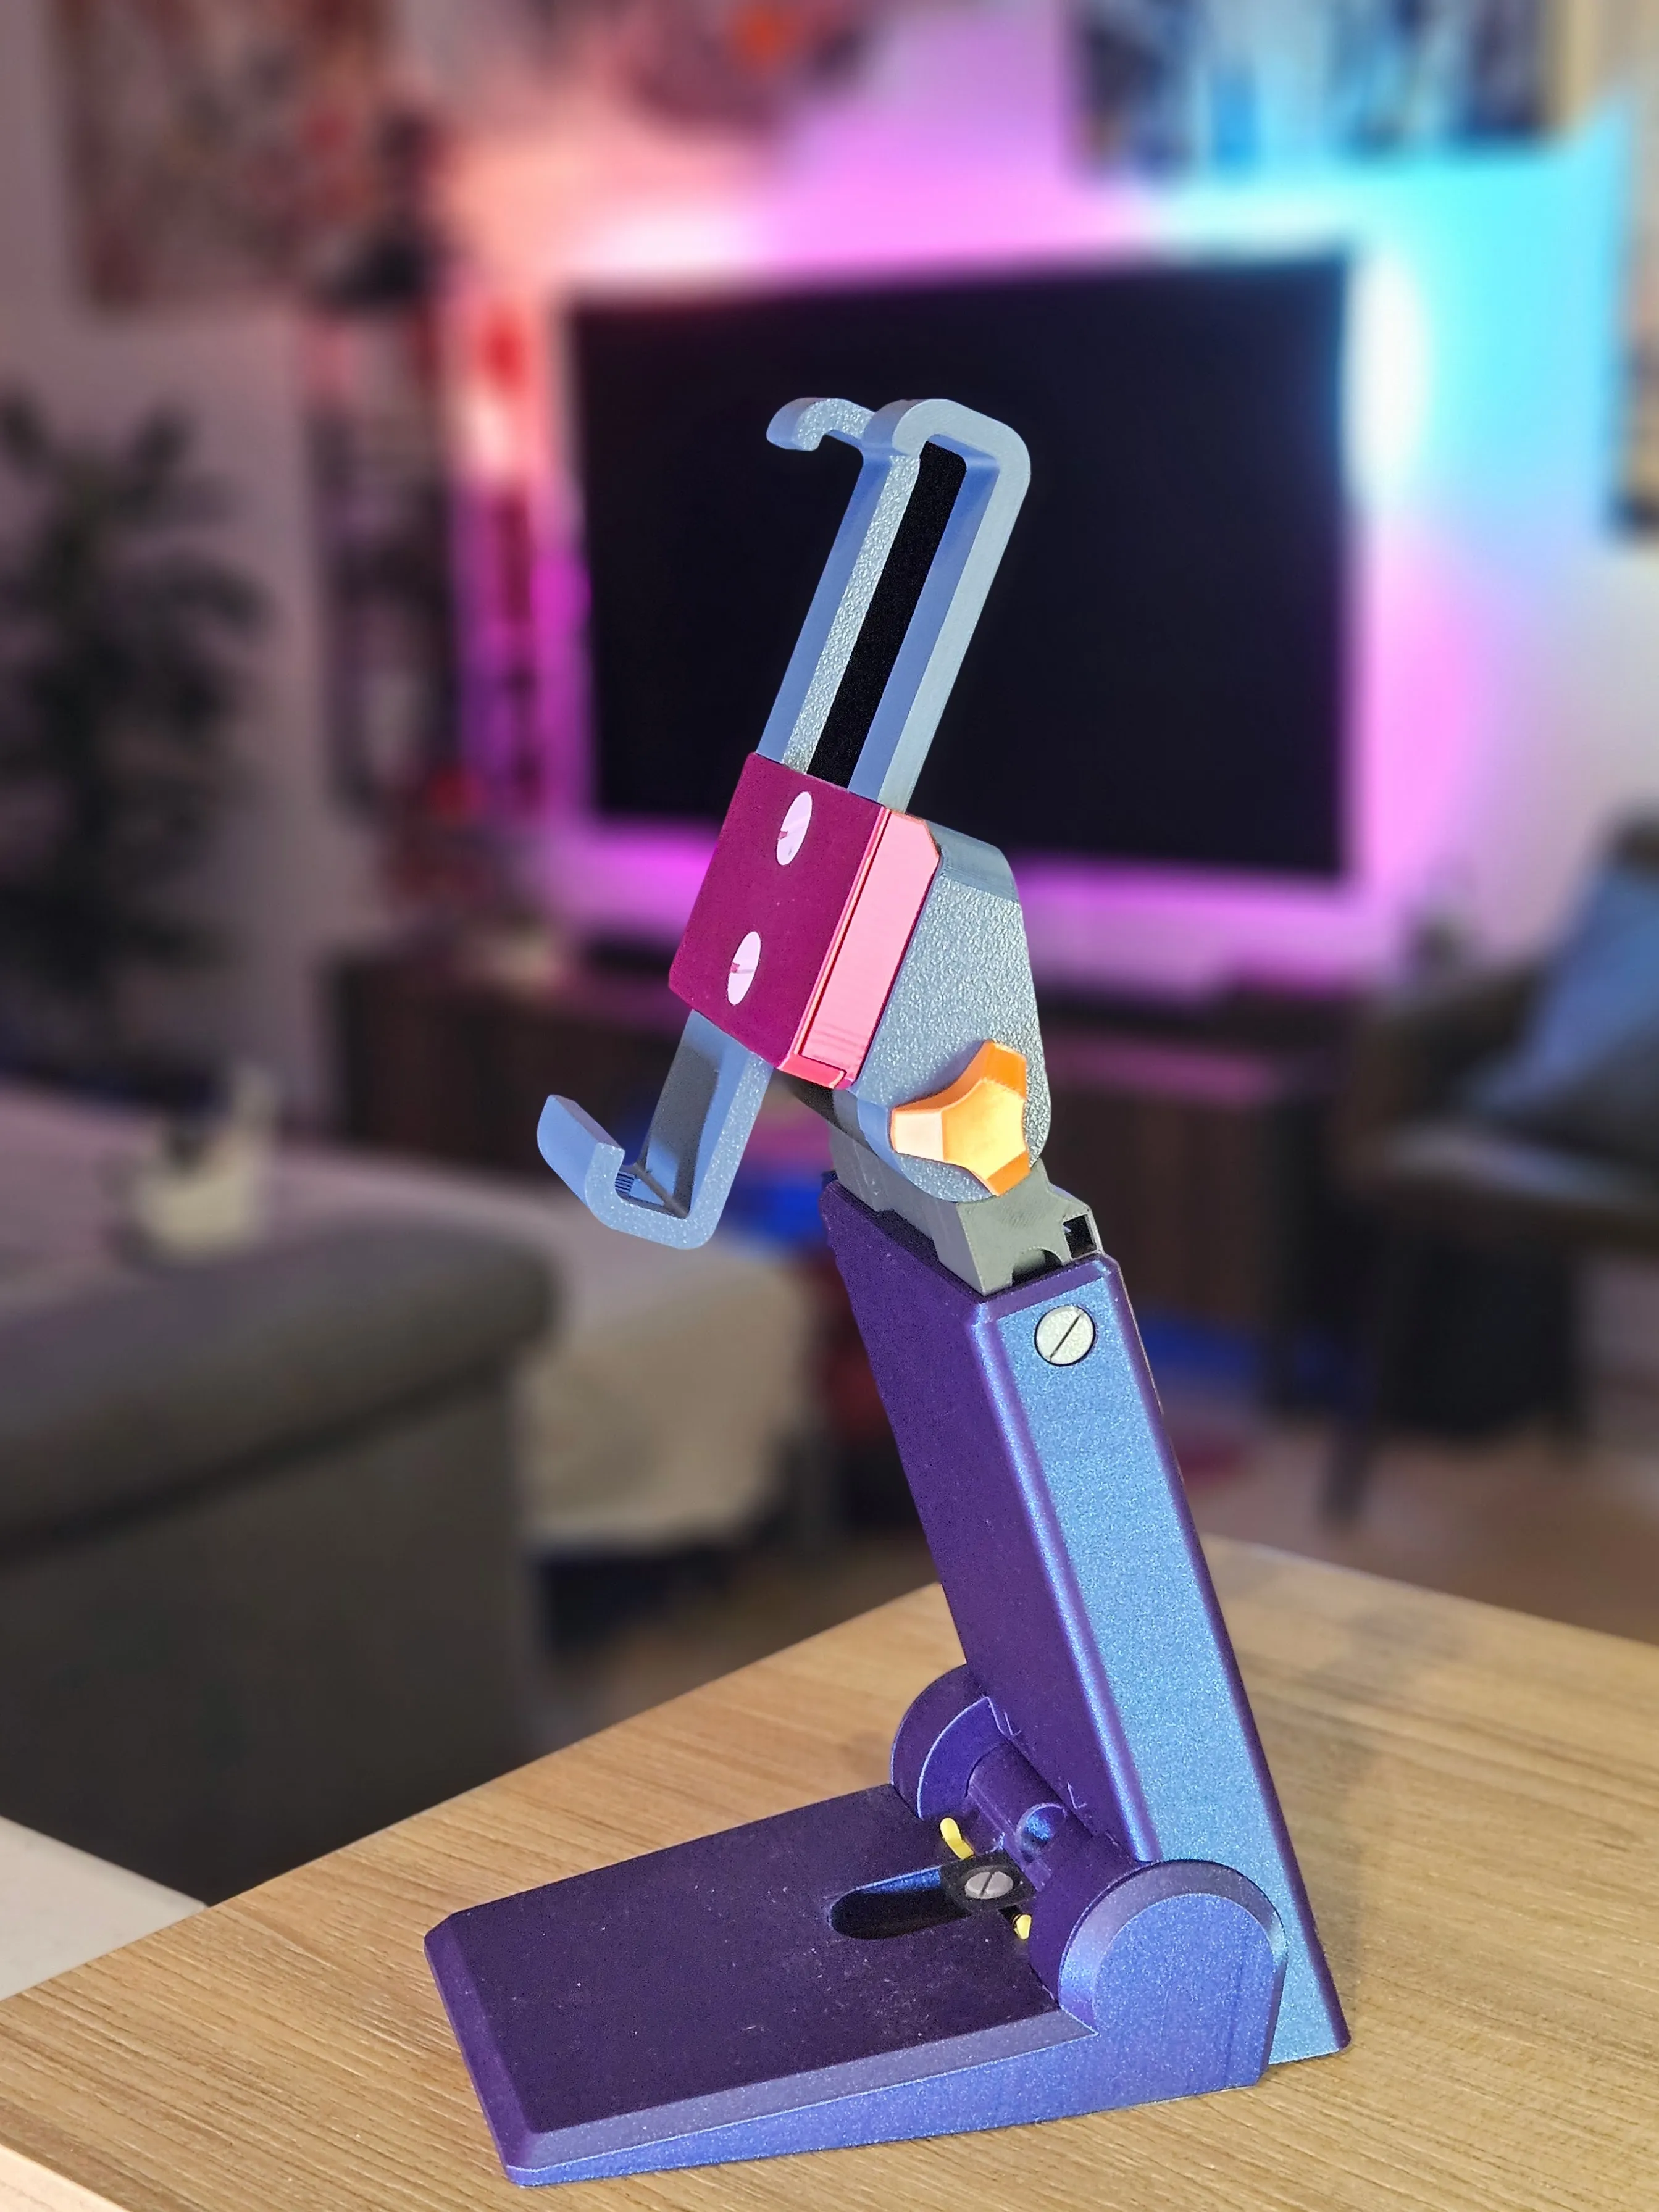
You can customize this clamp support for your device and download the plate adapter here:
https://makerworld.com/en/models/2311031-parametric-device-holder-clamp-or-skadis-mount
Boost Me (for free)
I really want to thank everyone who supported Tiltmate, and I hope this stand can achieve the same success.
This project required a long process of design and testing, countless hours of printing, and many kilograms of filament.
Your boosts are not only a sign of appreciation but also a way to help repay the effort behind this work.
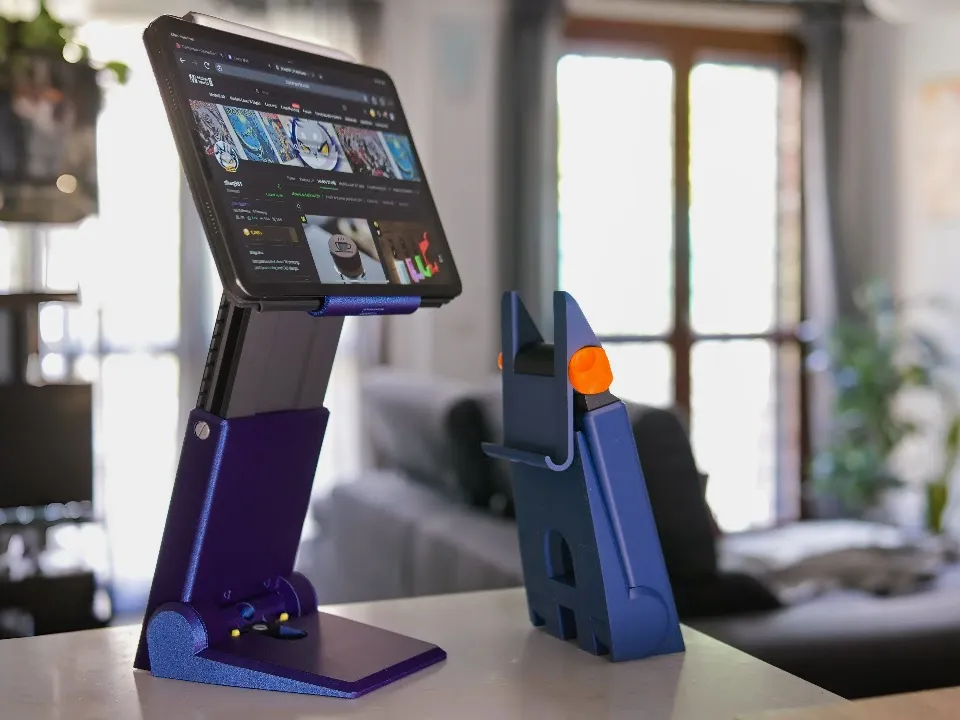
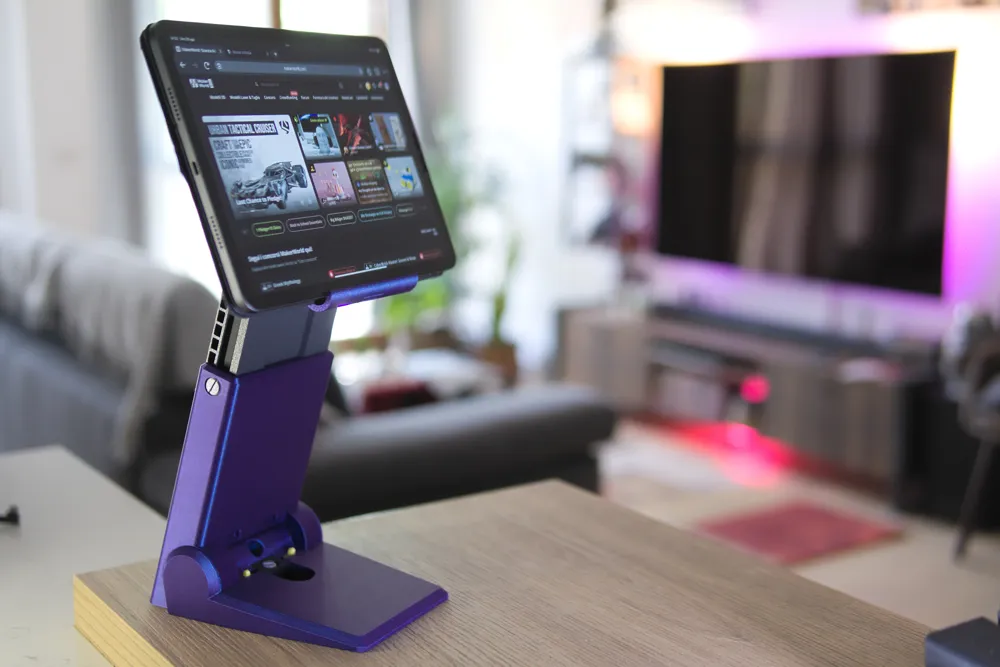
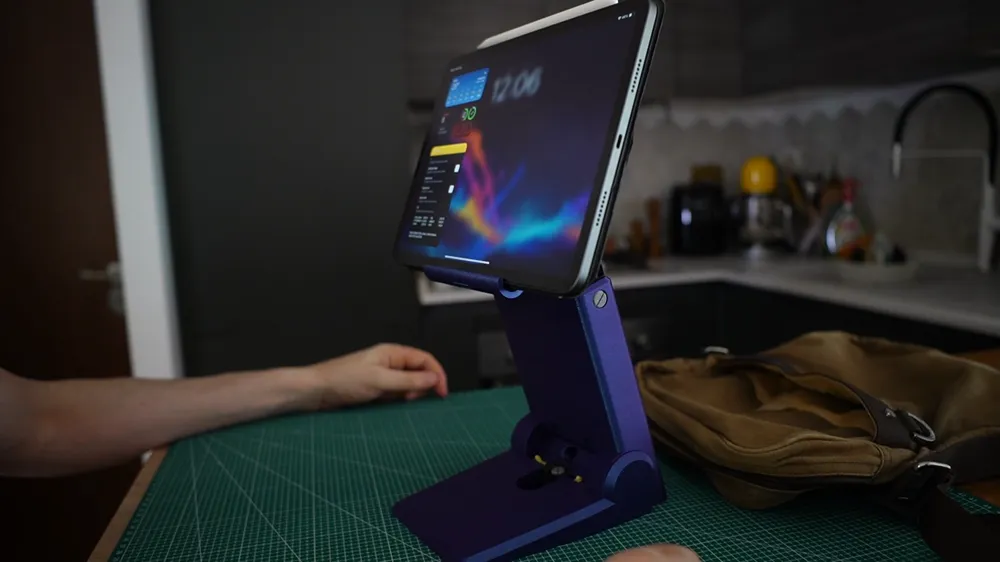
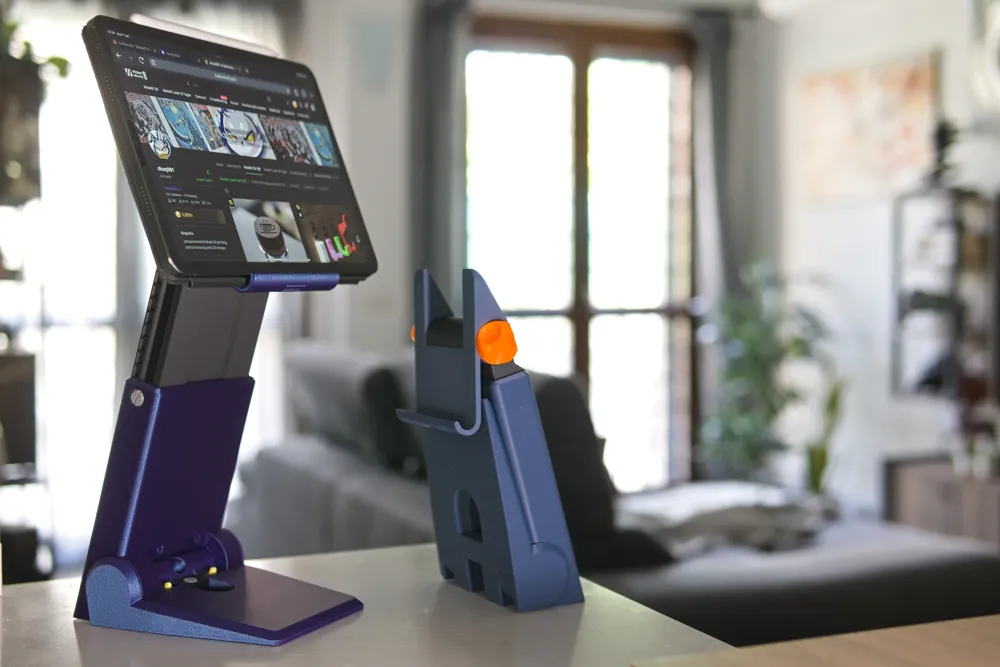
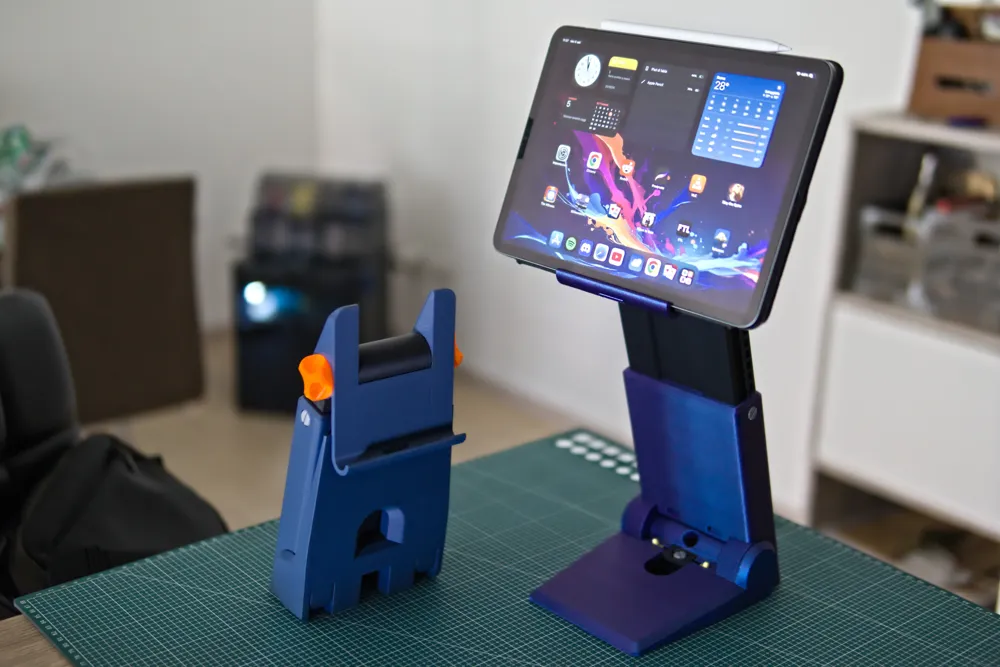
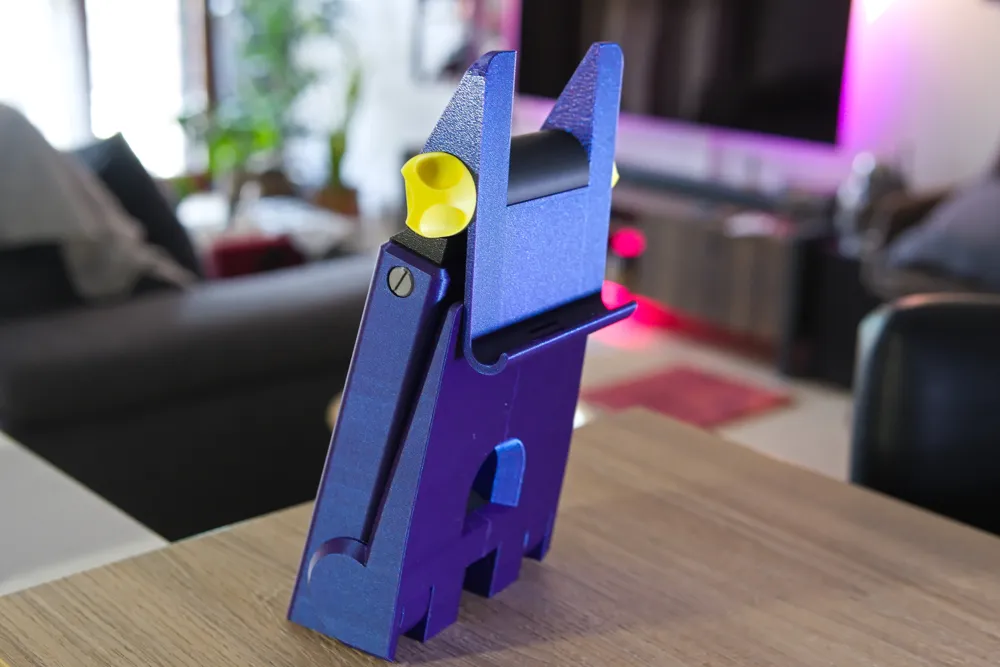
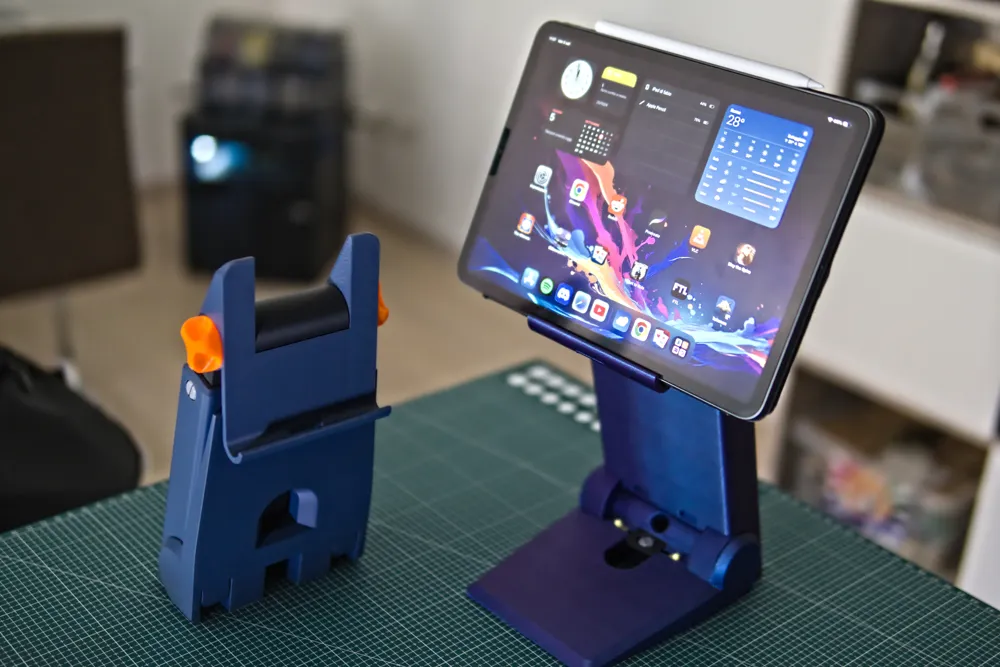
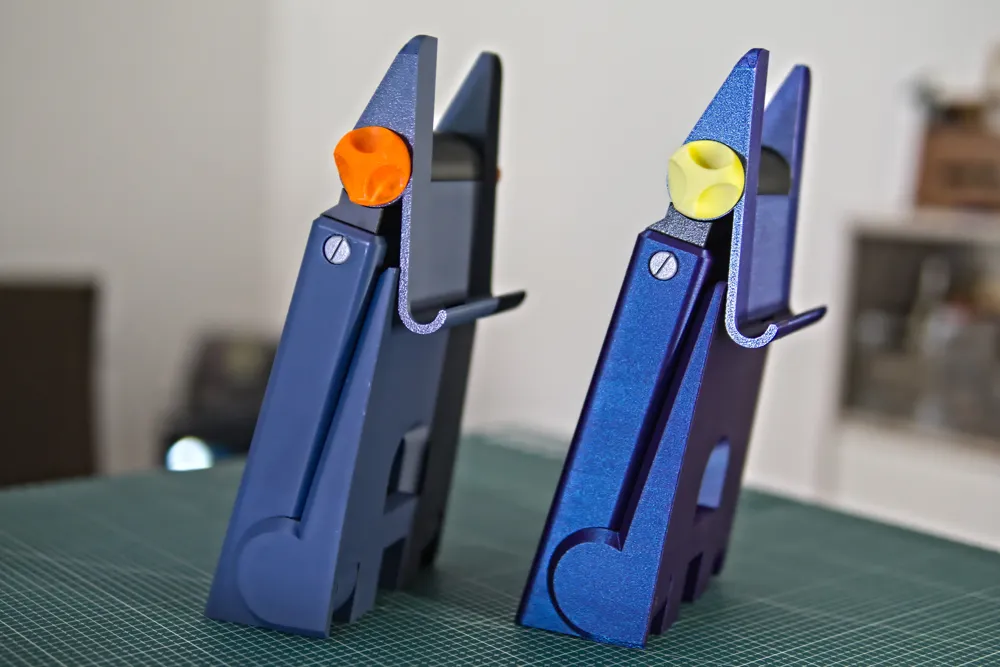
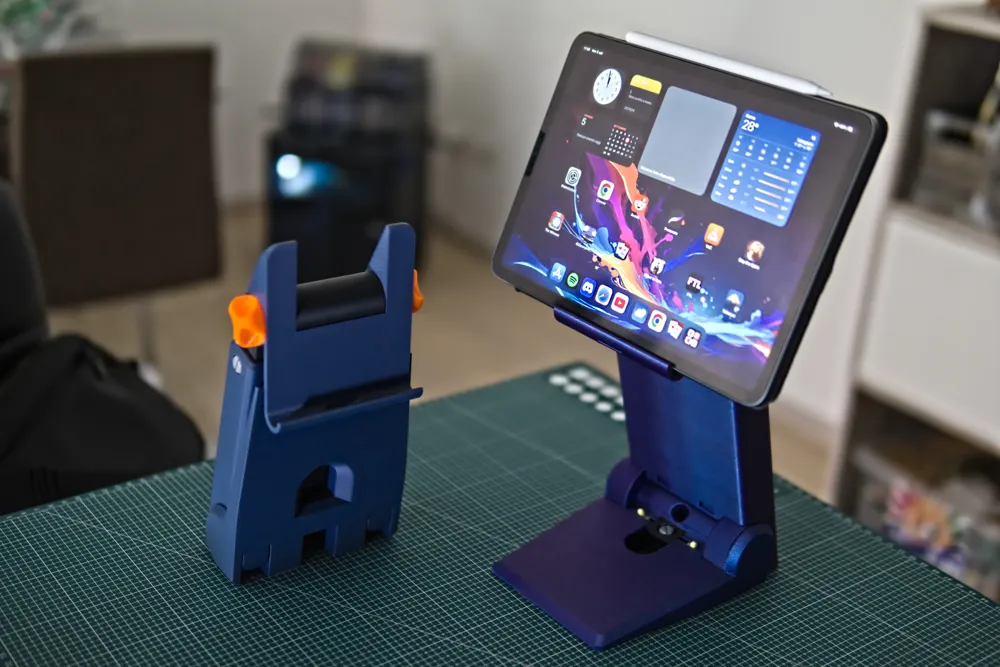
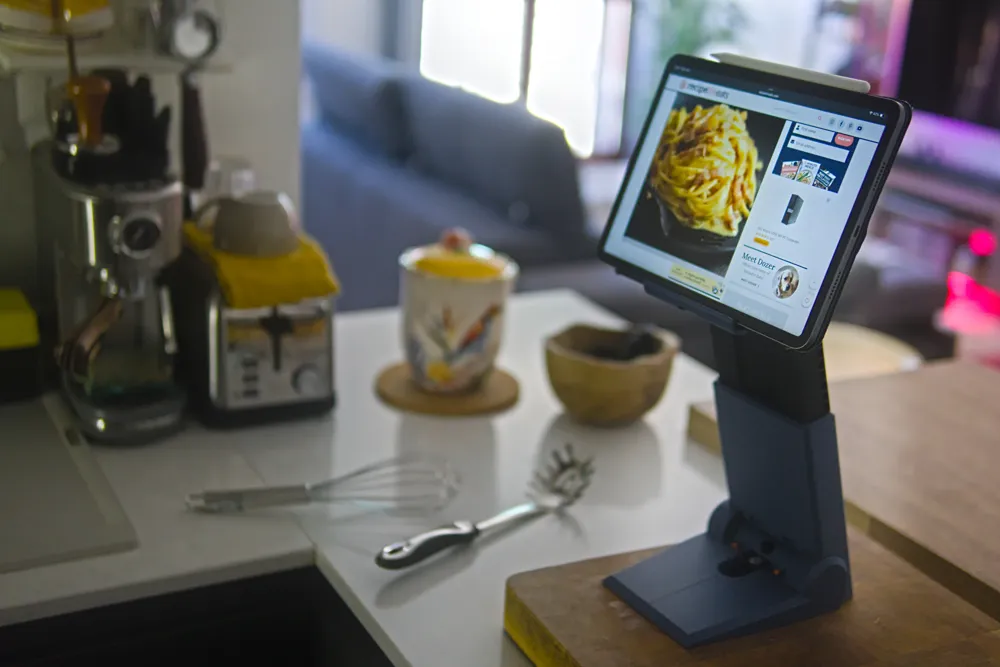
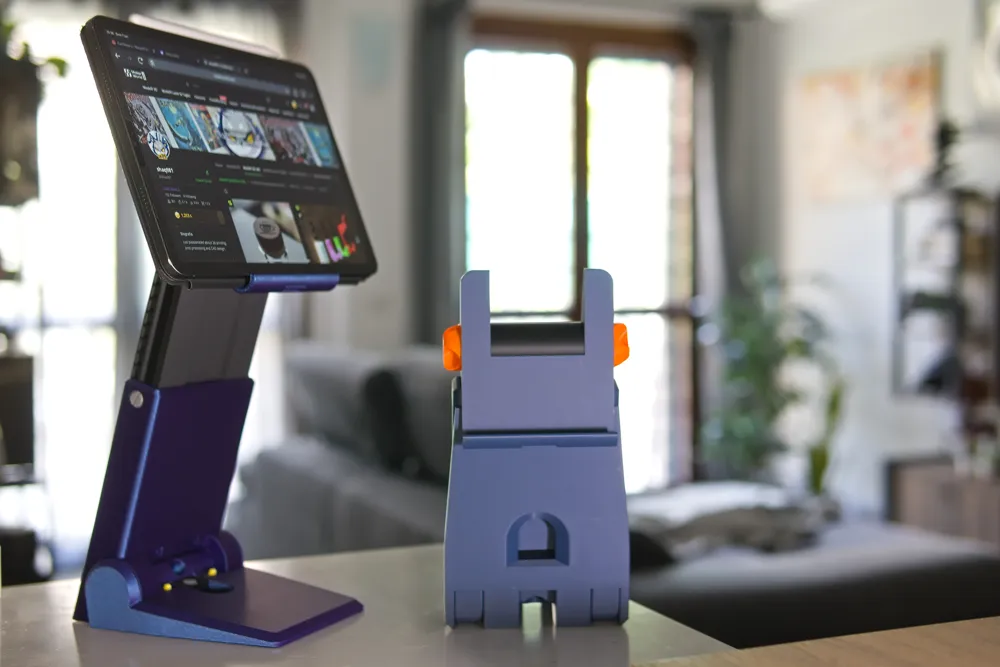
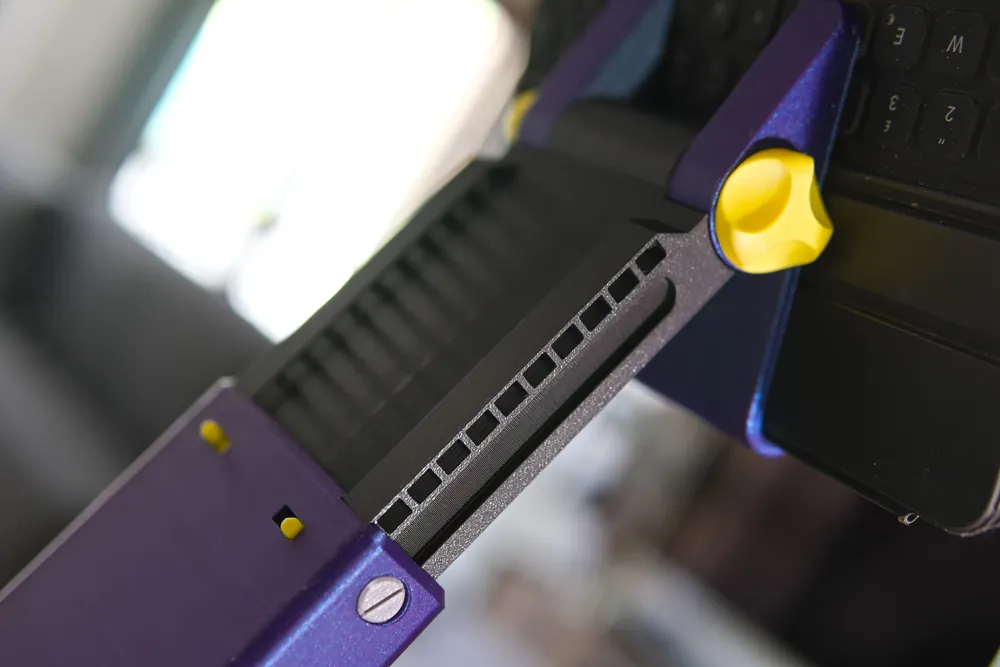
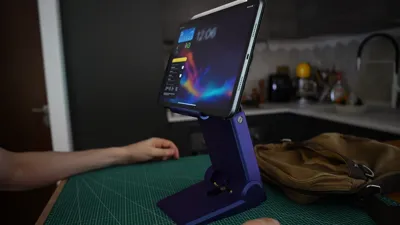
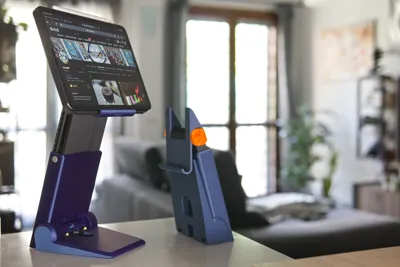
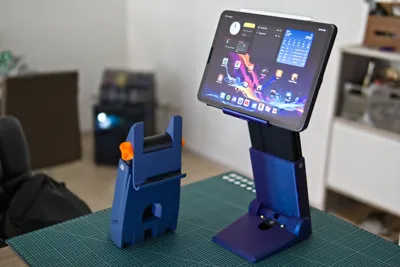
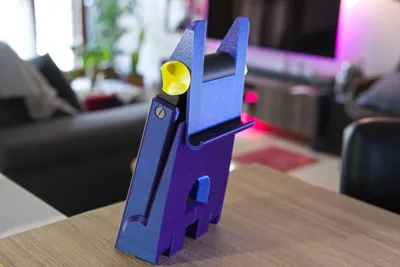
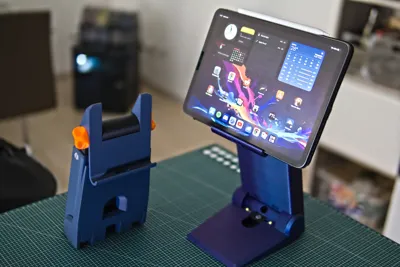
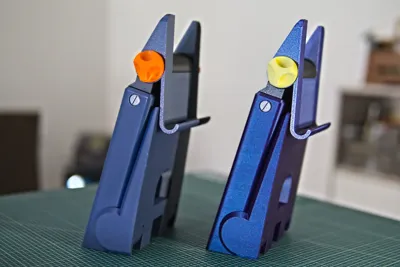
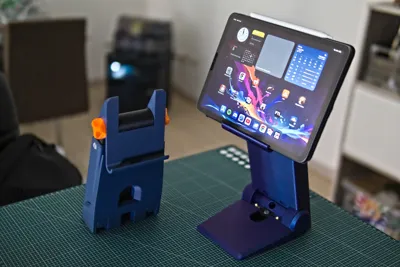
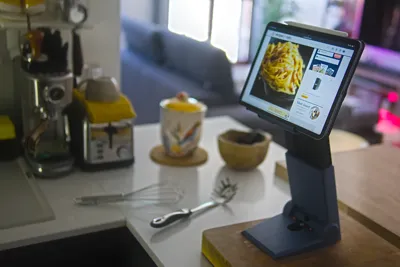
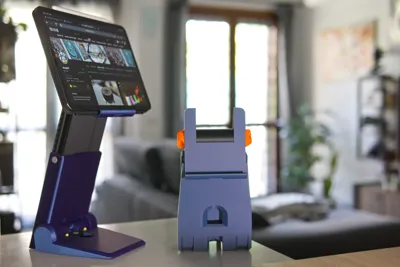
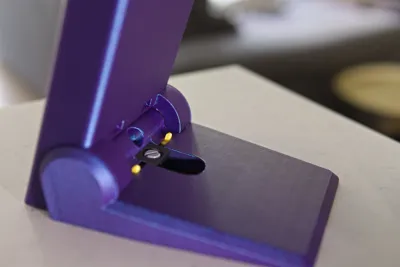
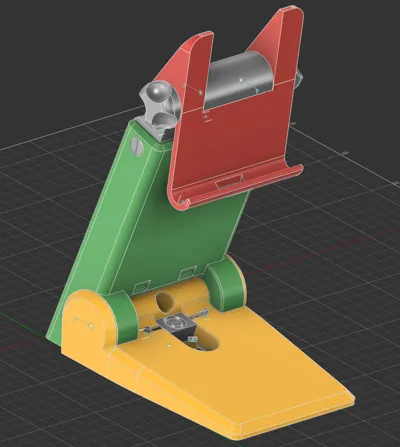

Foldmate is a foldable and portable tablet stand.
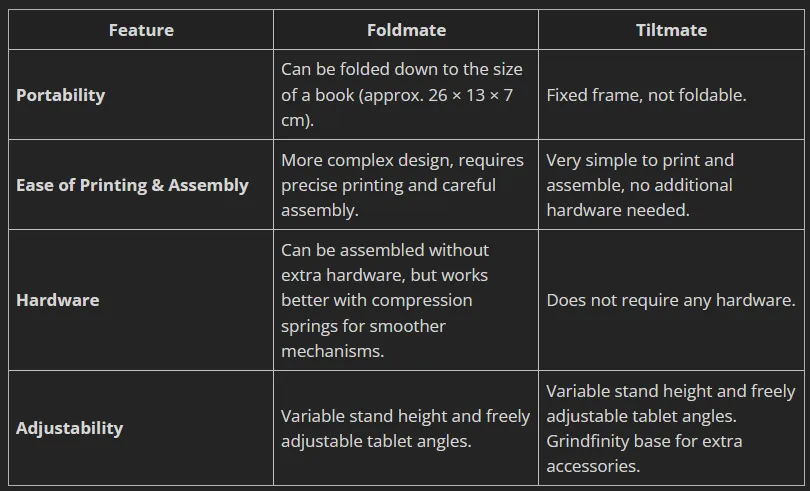
It is not an upgraded version of Tiltmate, but rather a different stand with unique features and a stronger focus on portability.
Comparison: Foldmate vs. Tiltmate
Introduction
This stand requires a well-calibrated and well-maintained 3D printer, a CLEAN build plate, and high-quality PLA filament (at least for the base).
Most modern printers, including Bambu Lab machines, can print this model successfully if they are properly maintained, if the above requirements are respected, and if you do not modify the print profiles.
Otherwise, I recommend printing the Tiltmate stand, which is easier and more forgiving.
For the base, I strongly suggest using PLA (basic or matte preferred). I have not tested PETG or other materials, but the base requires tight tolerances and excellent bridging performance.
That said, if during assembly you find the tolerances a bit too tight (for example, if the hinge feels “crunchy” or if the frame slides stiffly in the base), don’t worry too much
The stand is designed with 0.2 mm base tolerances and 0.3 mm tolerances on the hinge and screws. After a few days of use, everything will loosen up naturally and the mechanisms will feel much smoother. Do not use oils or grease.
In my testing, slightly tight parts work better in the long run than increasing the tolerances.
That said, I will soon provide an alternative 0.3 mm frame version and other small accessories/mods in a separate print profile.
Optional Hardware
- Compression springs
- Wire diameter: 0.4 – 0.5 mm
- Outer diameter: 5 mm
- Length: 20 mm
Foldmate can be built and used without springs, but using them greatly improves the smoothness and feel of the mechanisms.
The advantage is that Foldmate is fully disassemblable, so you can first assemble it without springs and add them later if you wish.
Springs can be purchased from Maker Supply Store, but they are also widely available online or at most local hardware shops.
For the frame locking mechanism, 25 mm springs are even better for maintaining tension. However, if you prefer to buy only one type, 20 mm springs are sufficient.
Assembly Instructions
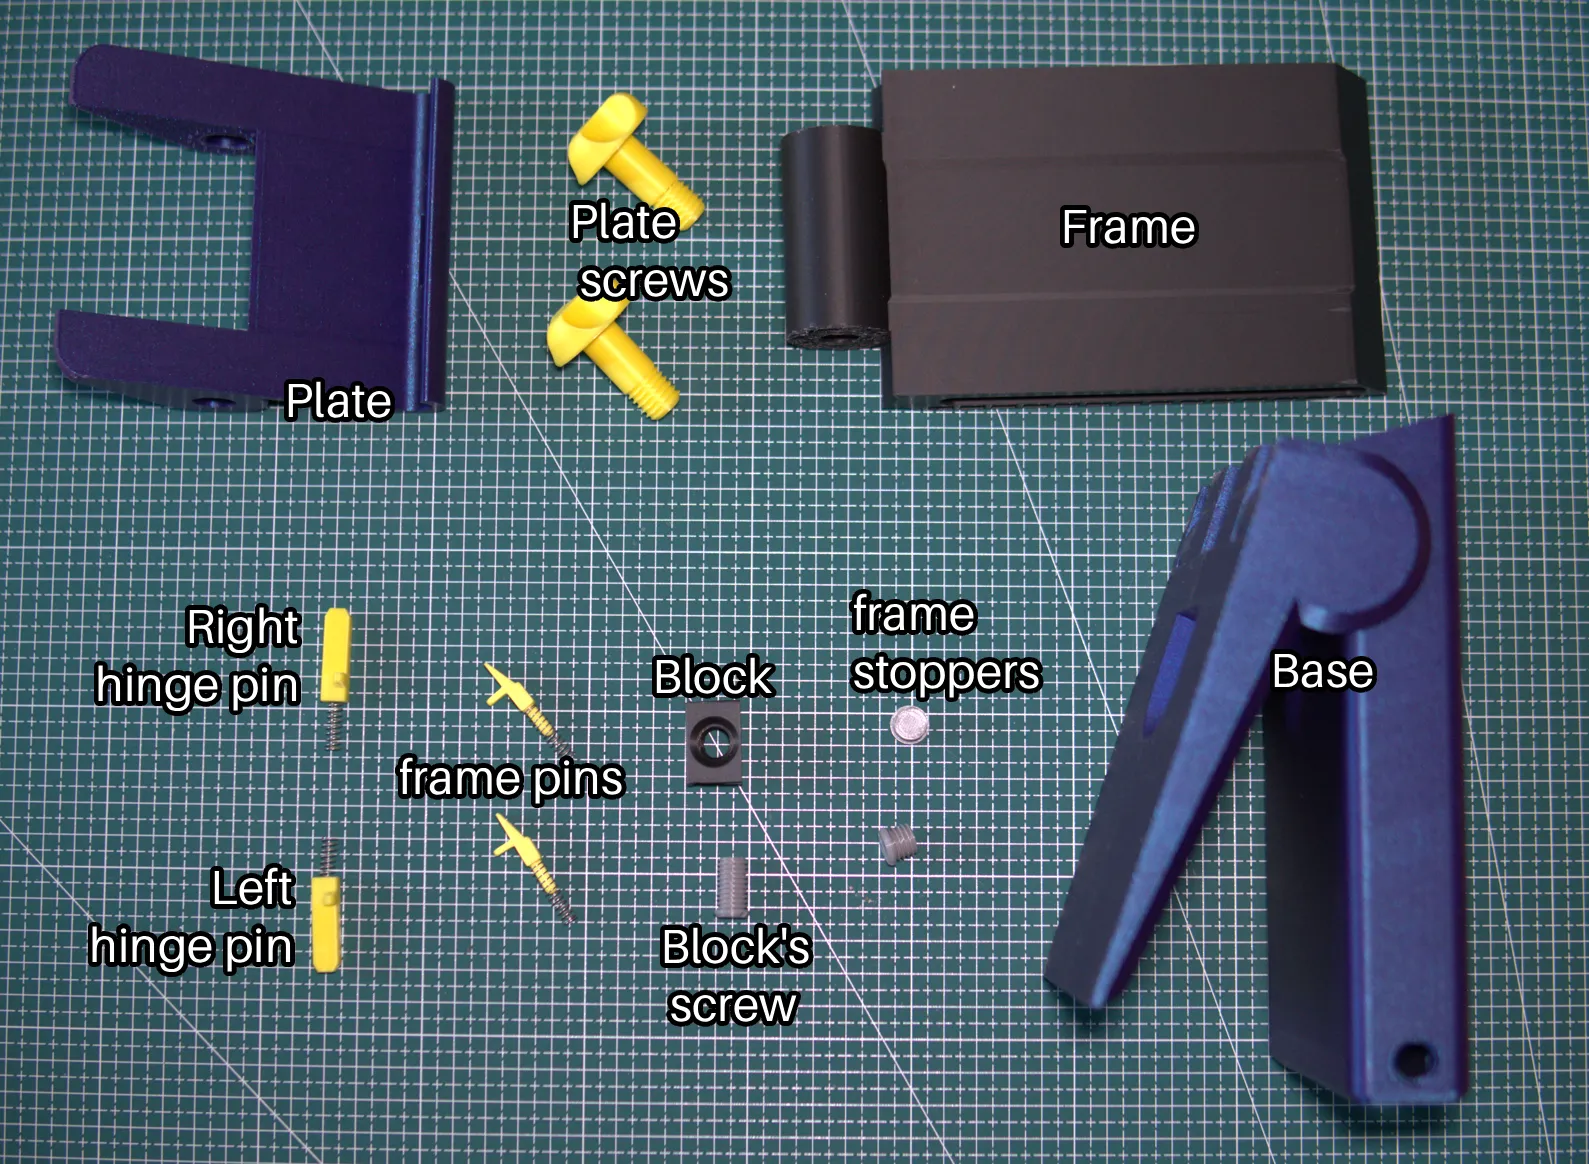
Hinge locking mechanism
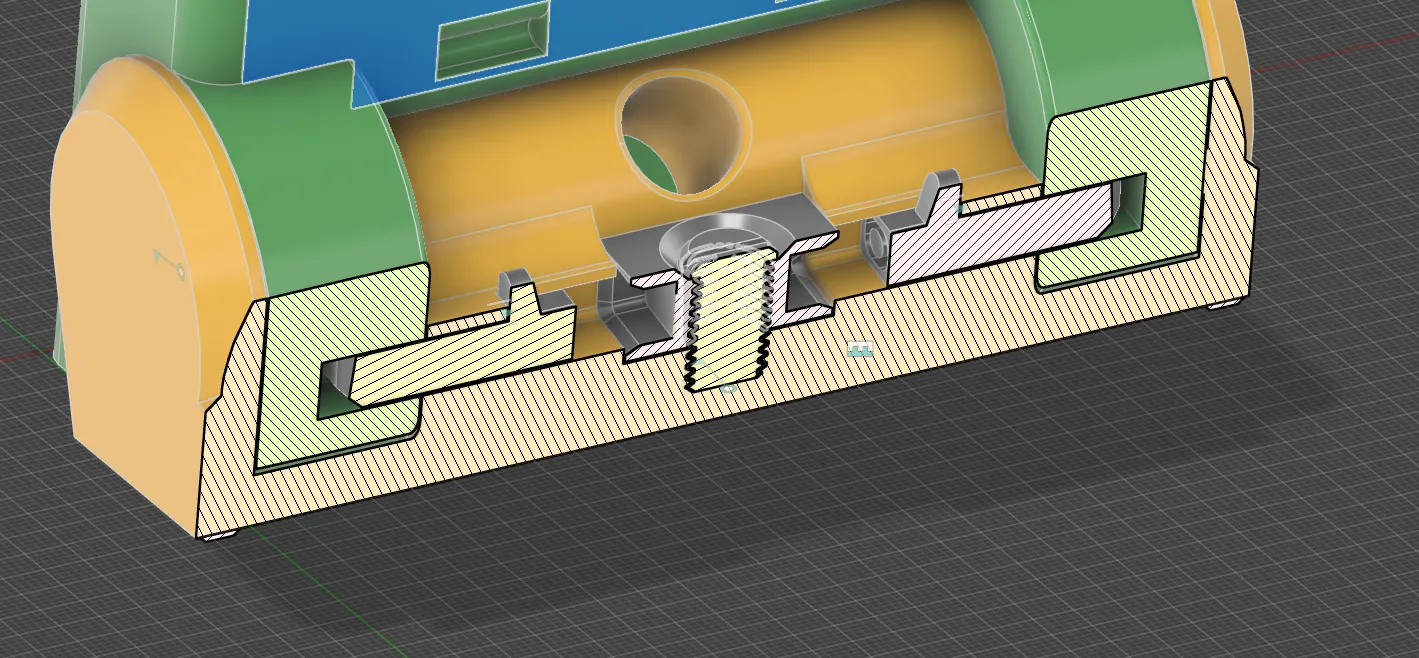
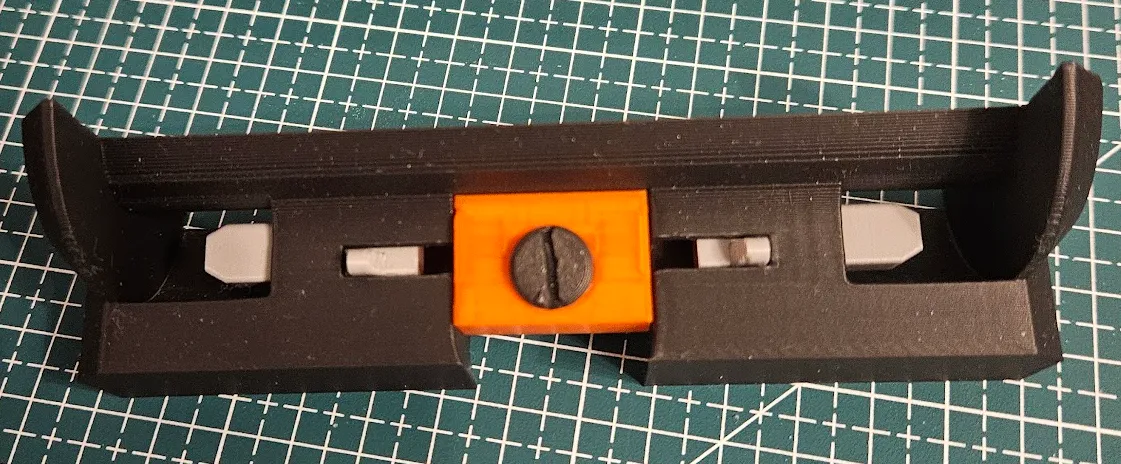
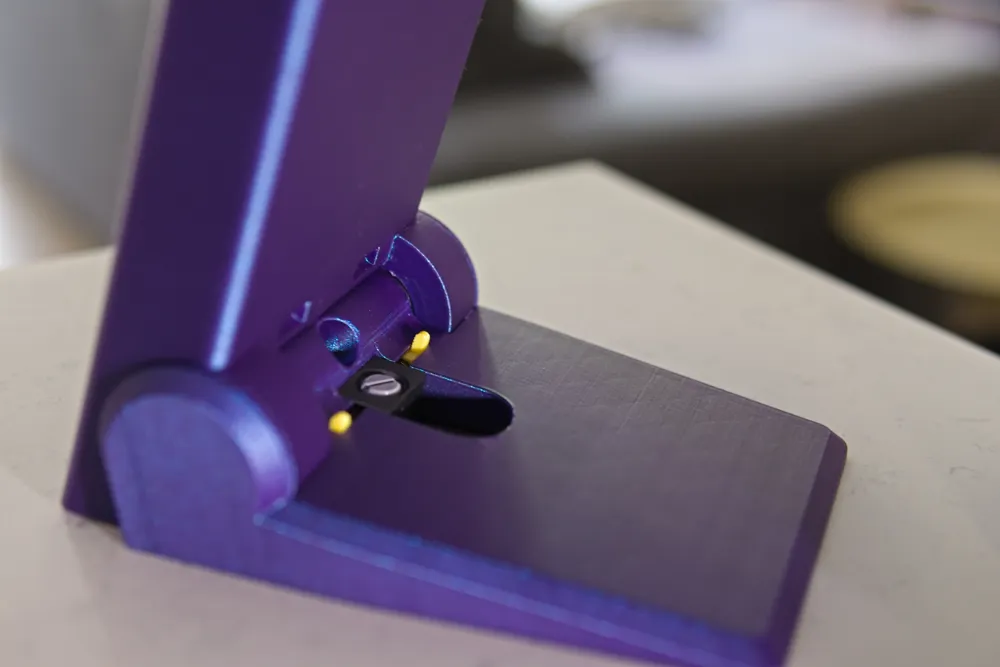
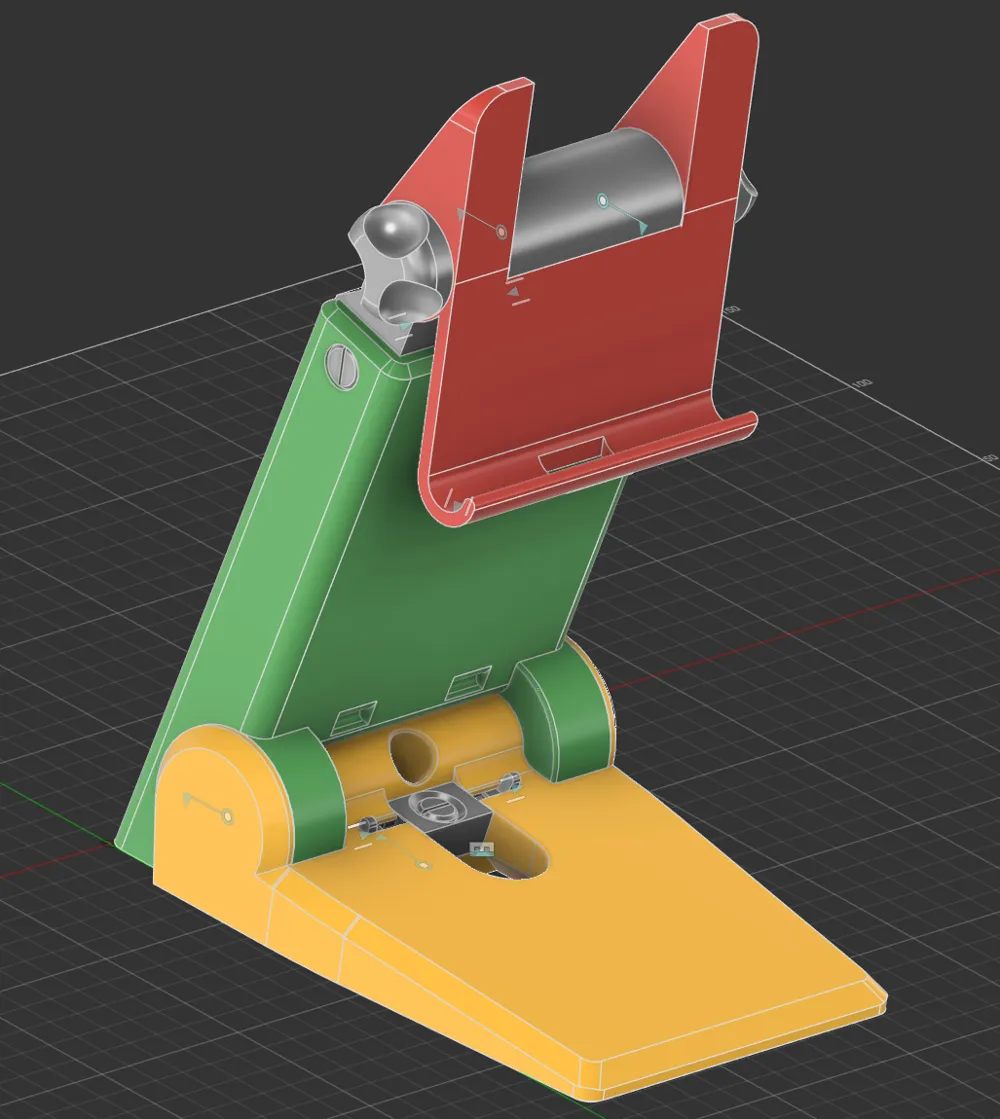
Insert the hinge pins (with the springs inside) into their slots. Place the lock in position and slide the spring ends into the side holes of the lock. Close with the lock screw.
Frame sliding mechanism
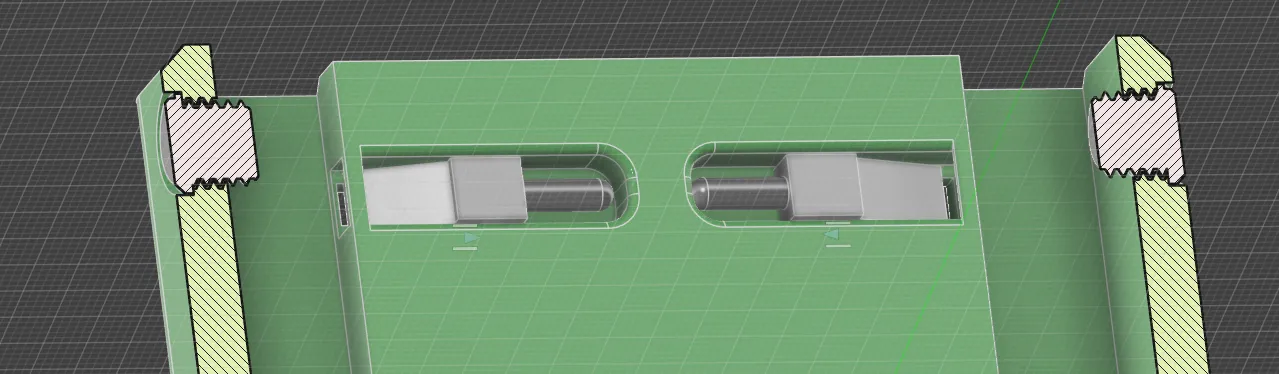
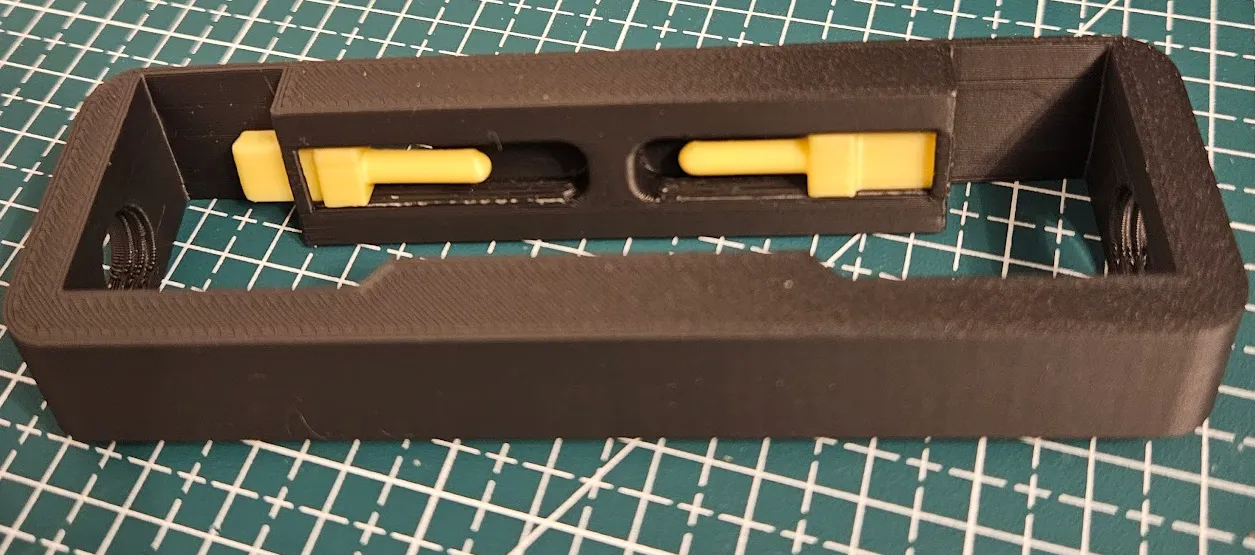
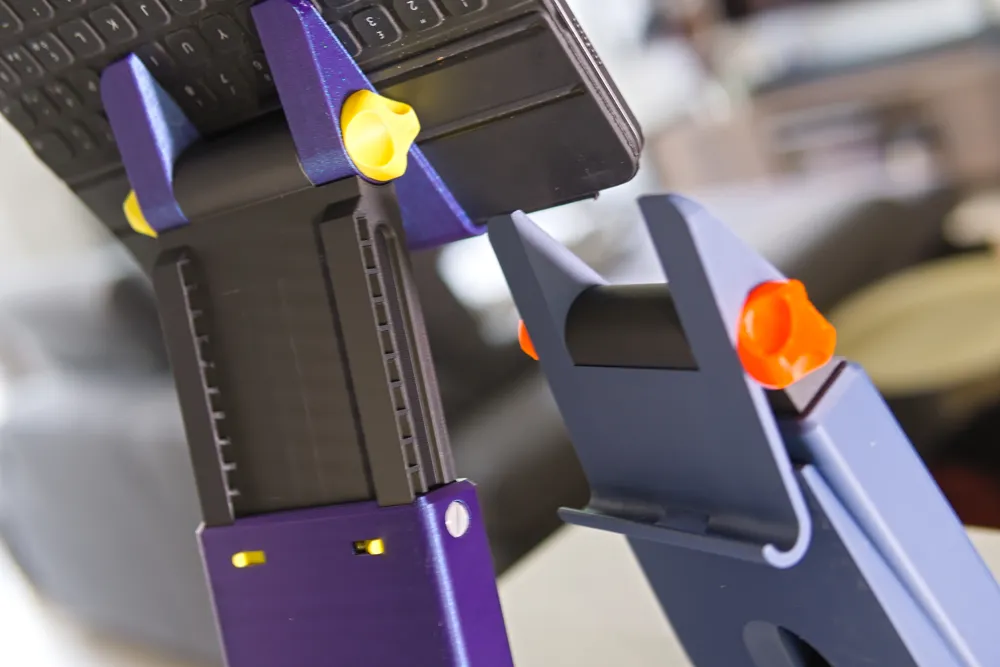
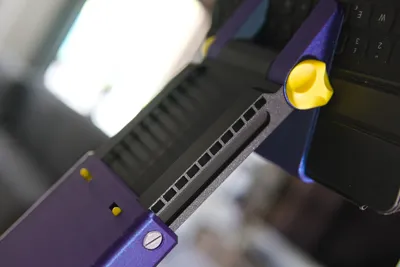
Place the pins with springs in their slots. Start inserting the frame until it is stopped by the pins. Open the two pins and slide the frame all the way in. Secure the two frame blocks to the sides of the base.
- Plate installation
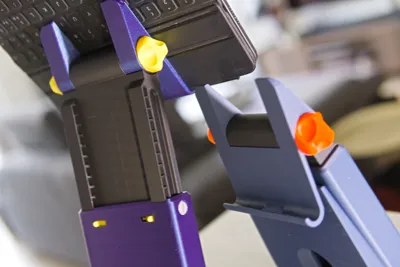
Insert the plate into the upper part of the frame and tighten the two screws.
If the explanations above are not enough, you can also watch this video (sorry in advance for my terrible accent :D ):
License

You shall not share, sub-license, sell, rent, host, transfer, or distribute in any way the digital or 3D printed versions of this object, nor any other derivative work of this object in its digital or physical format (including - but not limited to - remixes of this object, and hosting on other digital platforms). The objects may not be used without permission in any way whatsoever in which you charge money, or collect fees.


Comment & Rating (92)