
Hornet - Hollow Knight : Silksong
Print Profile(11)


Description
Boost Me (for free)
Your support motivates me to pursue more exciting creations! Thanks.
Membership
If you have commercial sales needs, you can subscribe to digital authorization for a small amount to support me. Thank you.
Hornet - Hollow Knight : Silksong
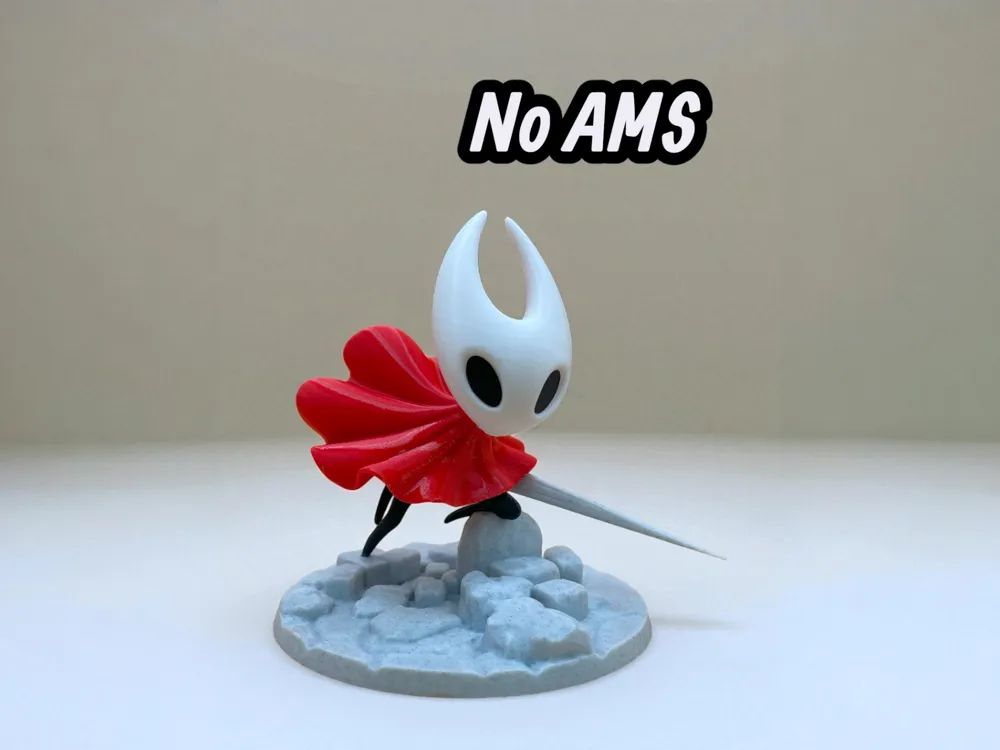
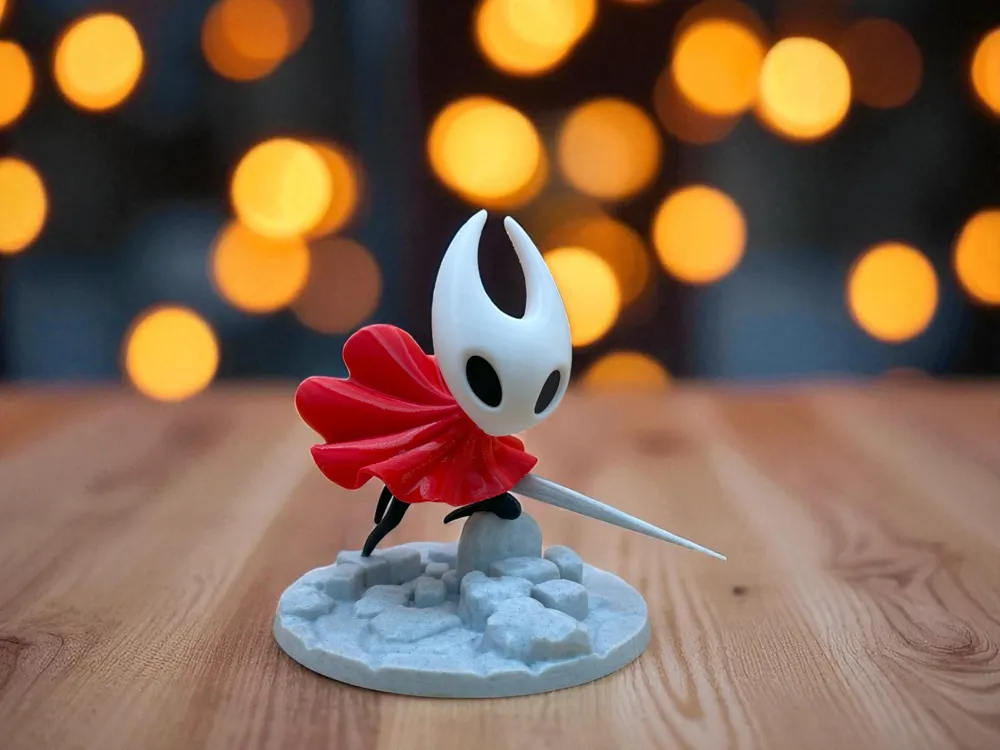
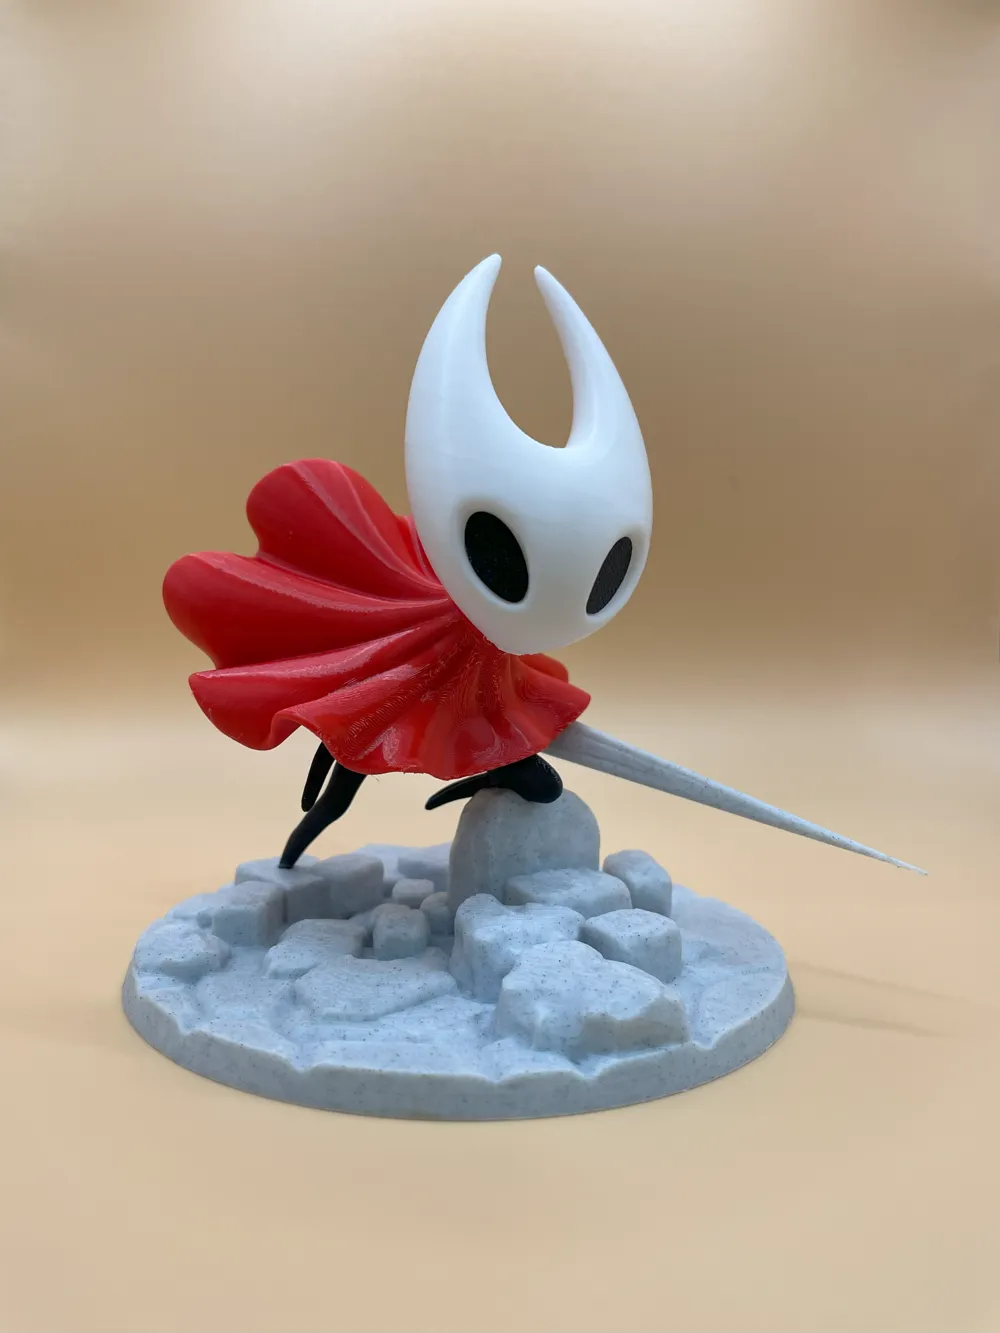
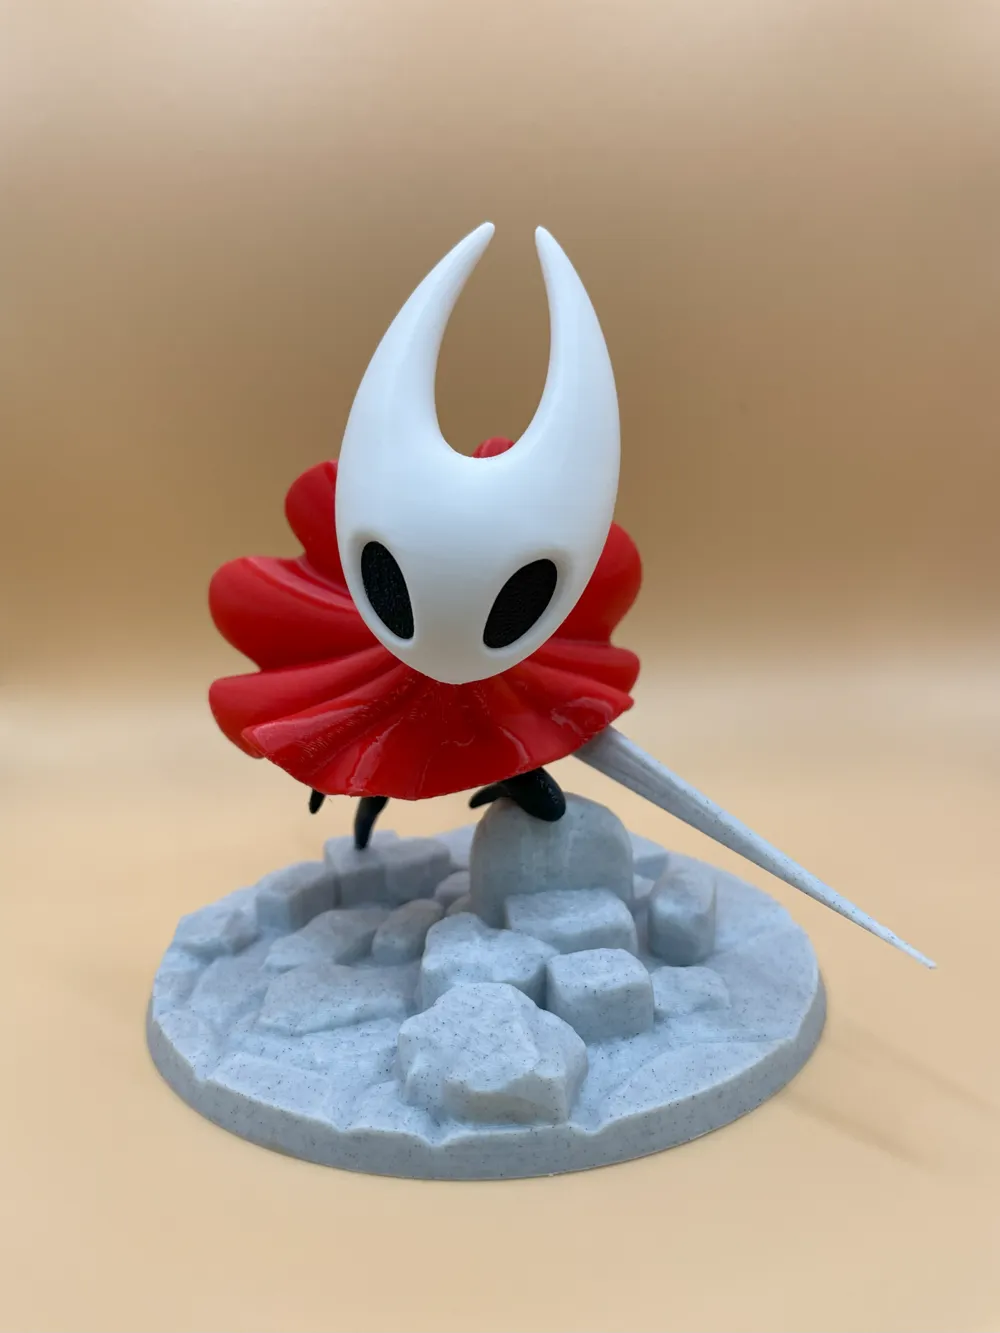
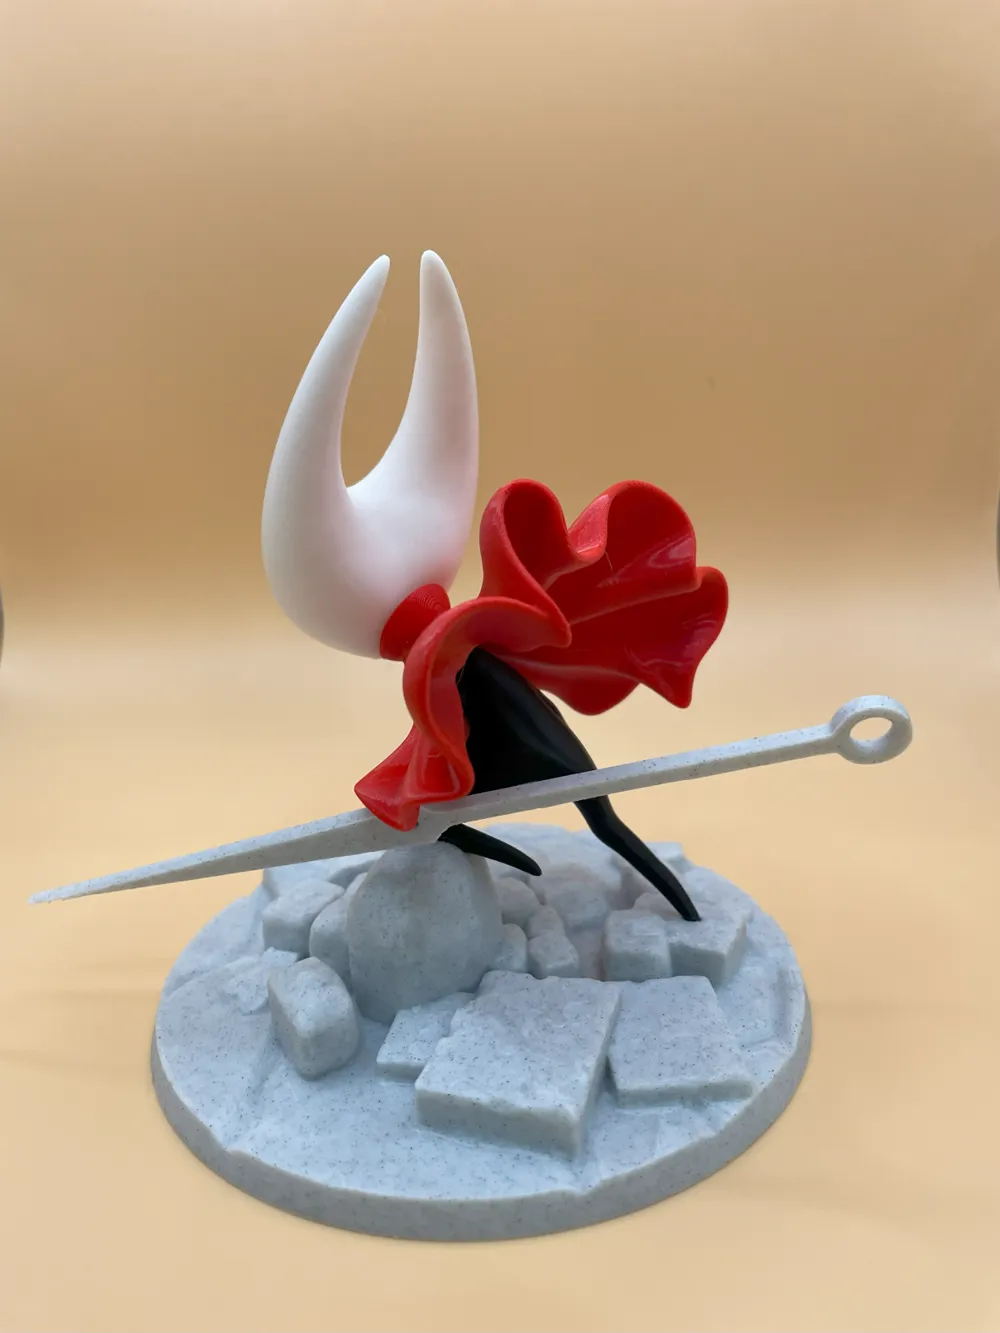
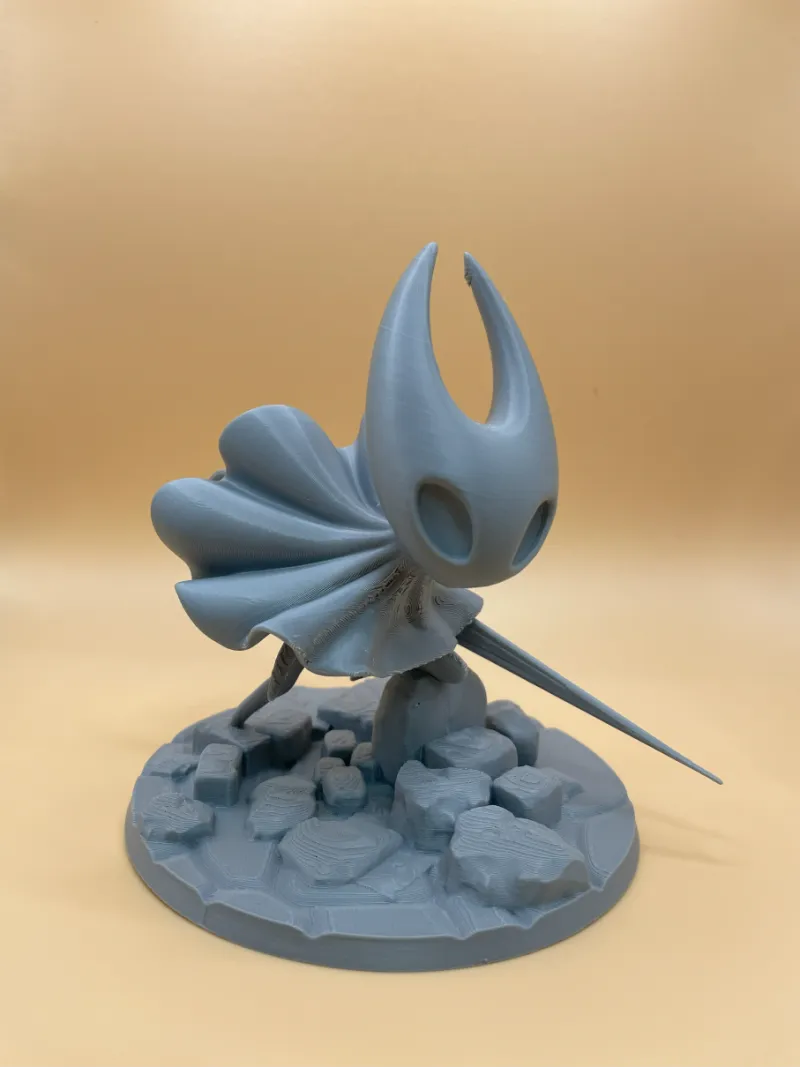
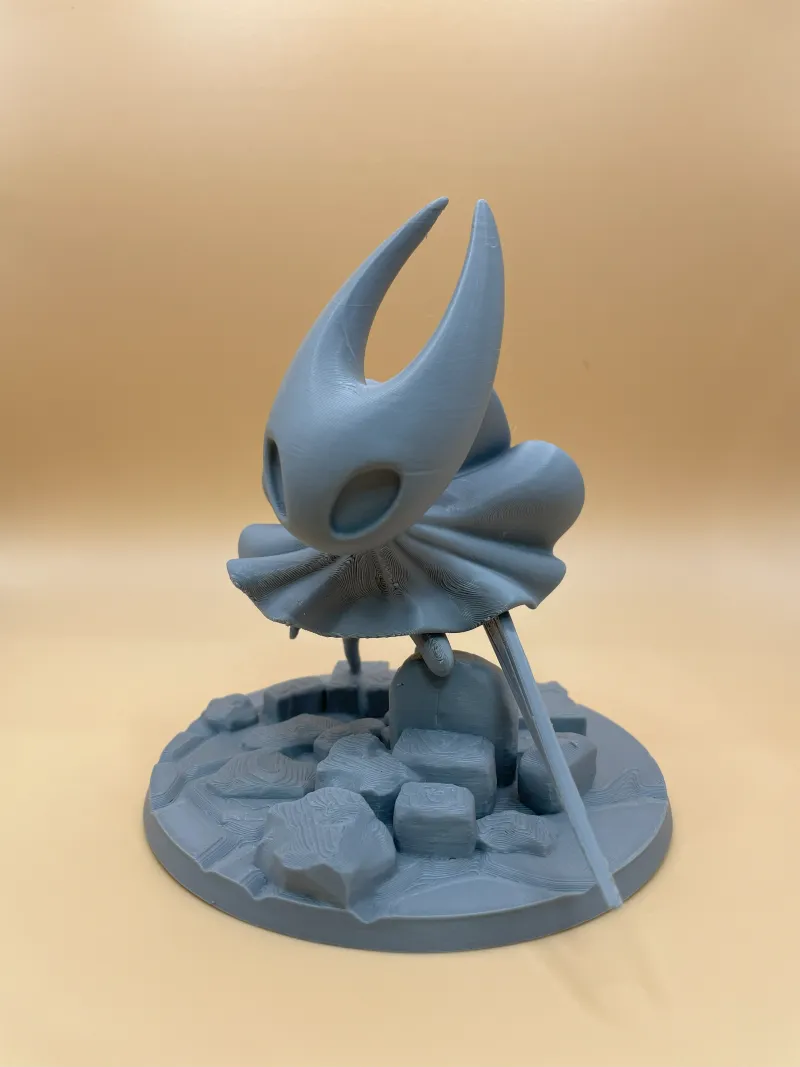
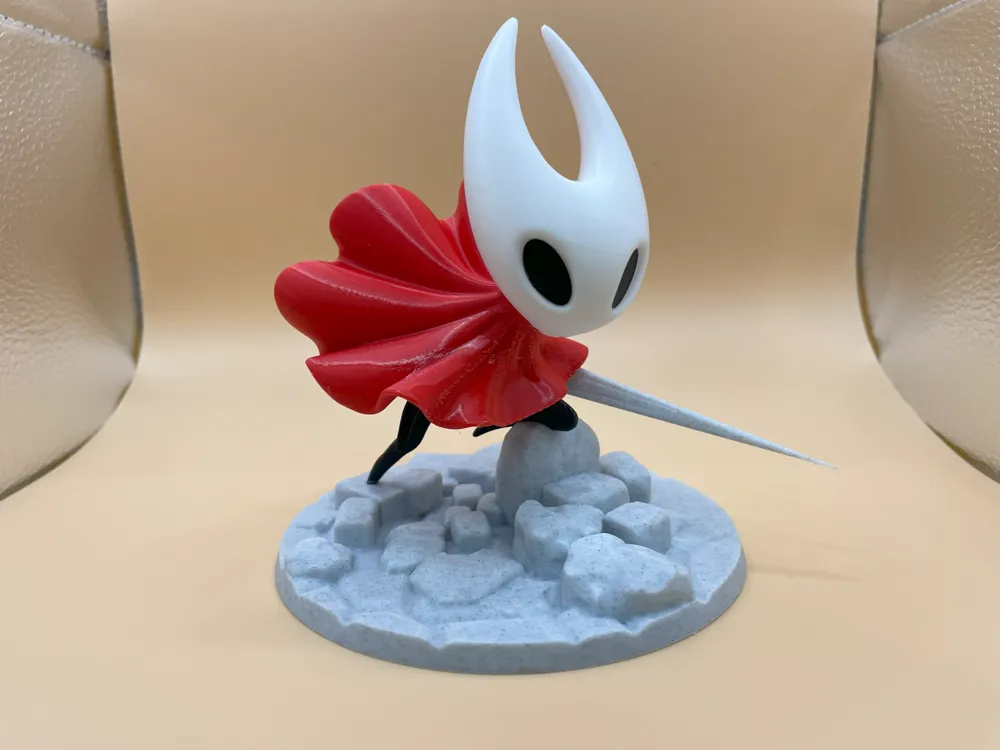
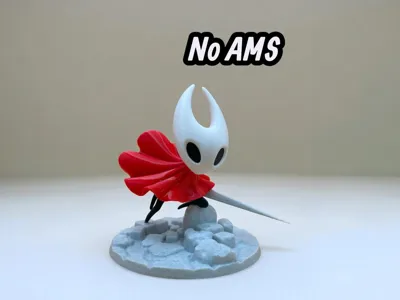
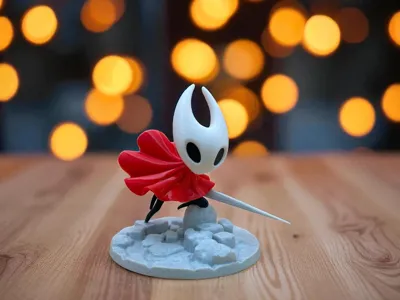
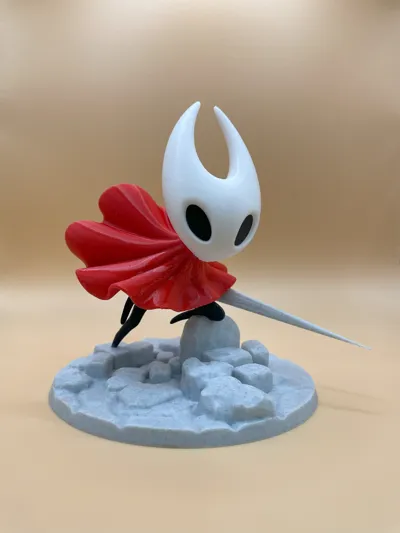
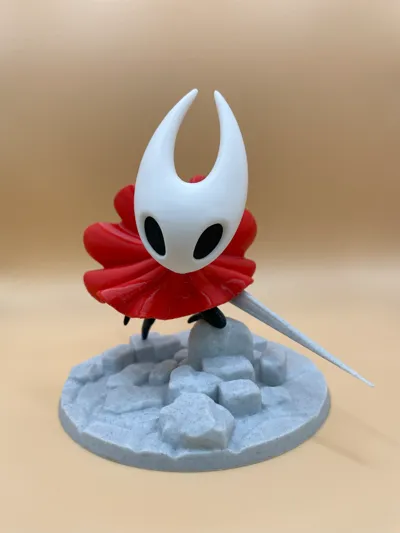
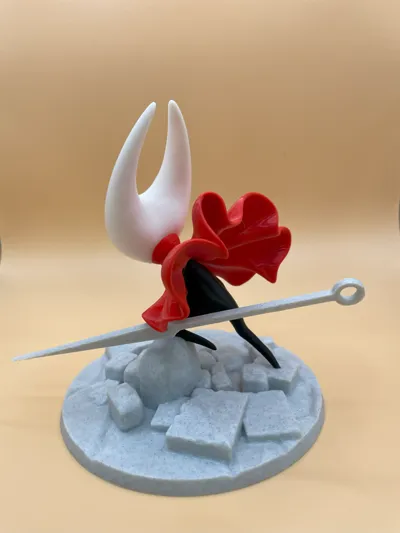
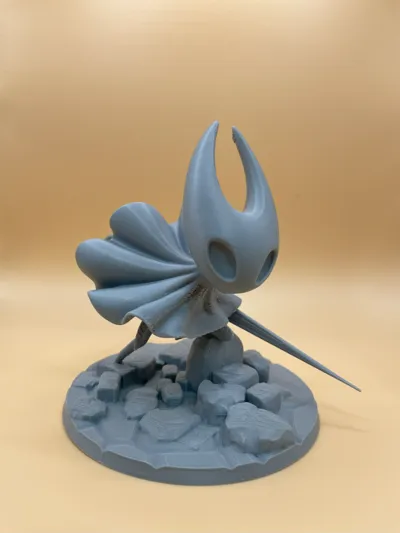
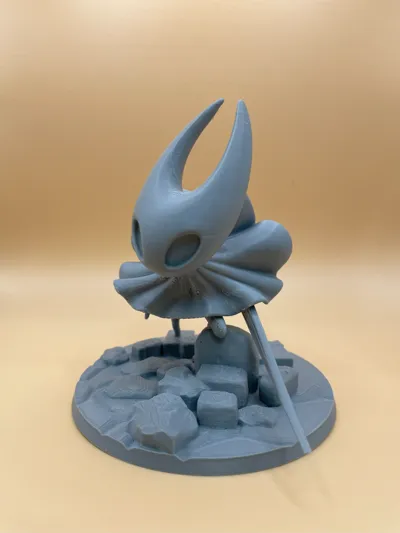
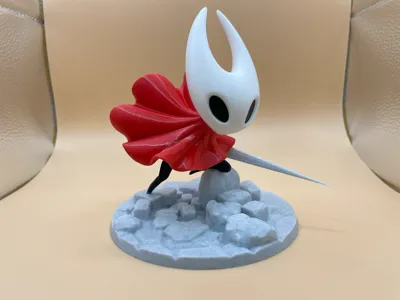
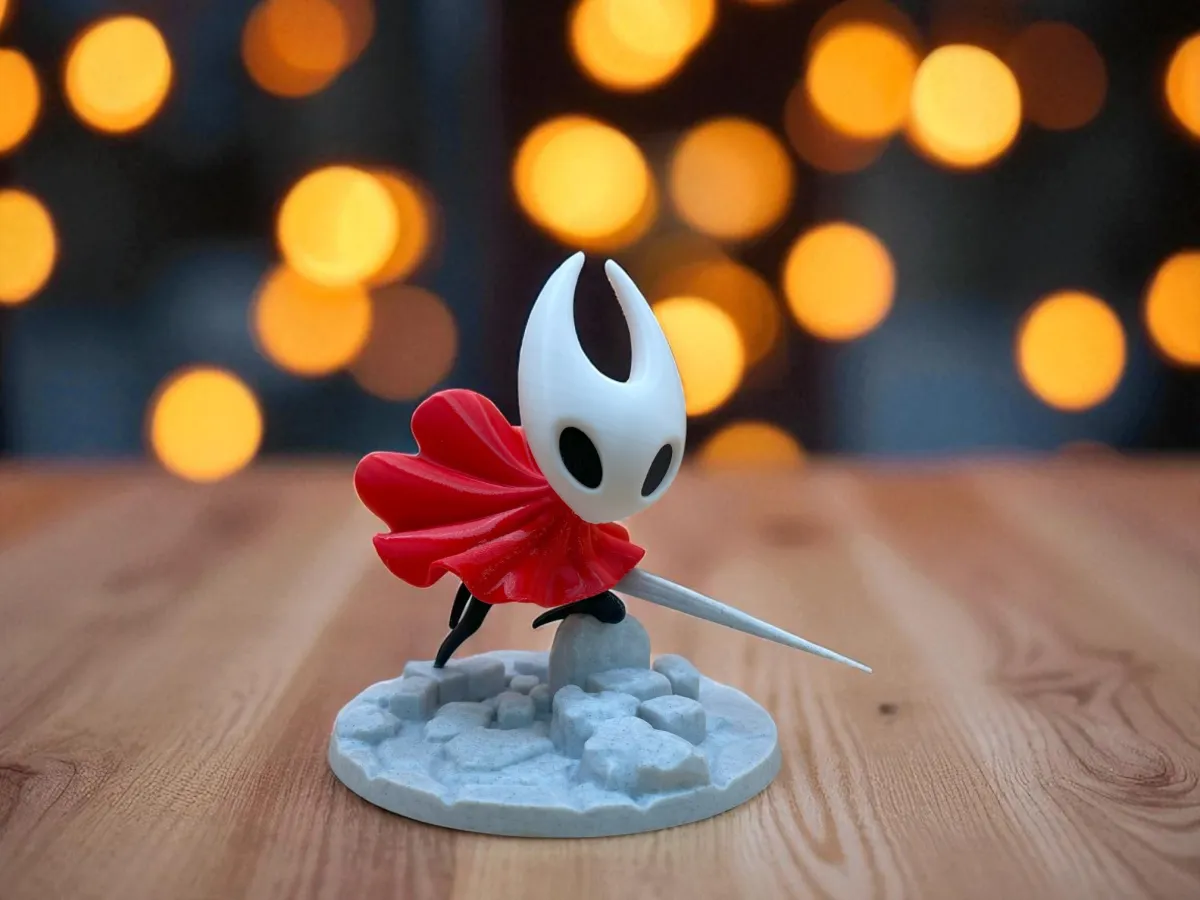
This is a 3D printed figure inspired by Hornet, the protagonist of Hollow Knight: Silksong.
Key features of the design:
- Multi-part construction allows the model to be printed without the need for a multi-color system.
- Supports are required during the printing process to preserve fine details.
- The parts are assembled and secured using glue.
Hornet is depicted standing atop rocky terrain, her red cloak flowing dramatically in the wind, with her needle weapon extended in a poised and fearless stance. This piece not only captures the essence of the character but also demonstrates the creative versatility that 3D printing offers.
Assembly
1. First, remove all supports from the components.
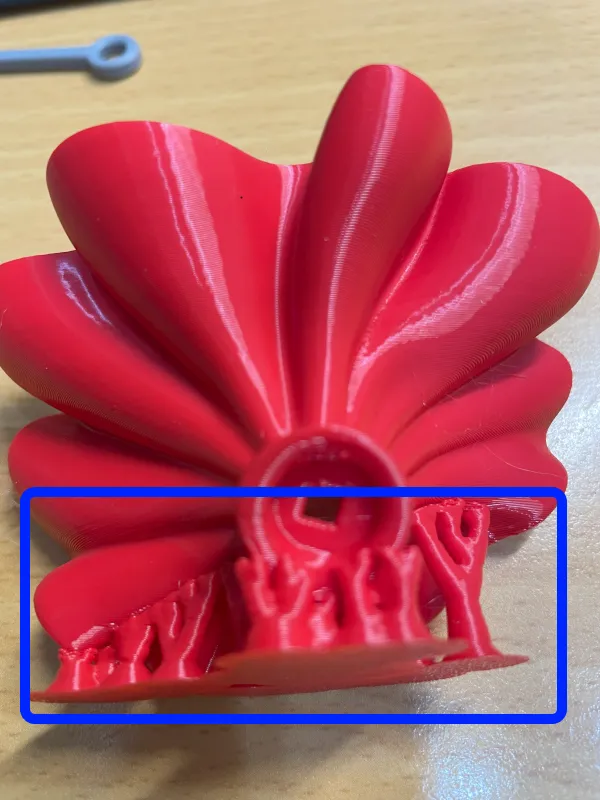
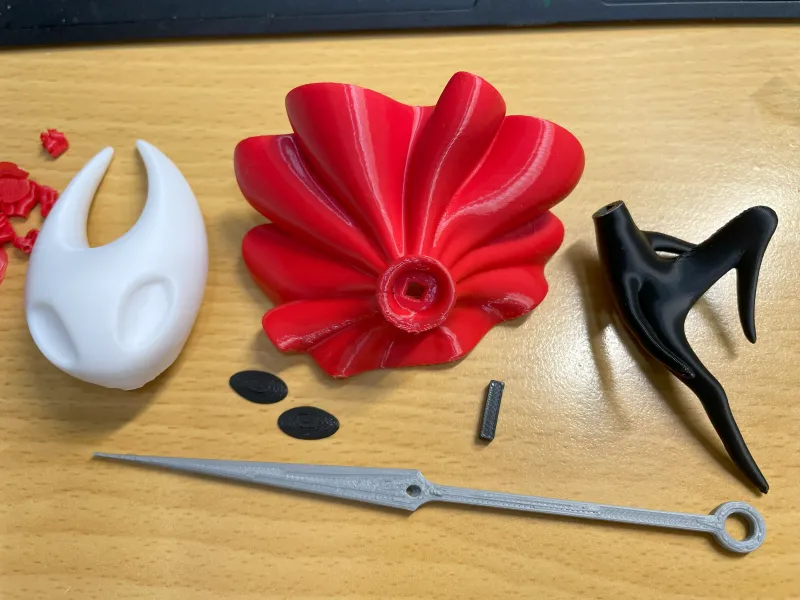
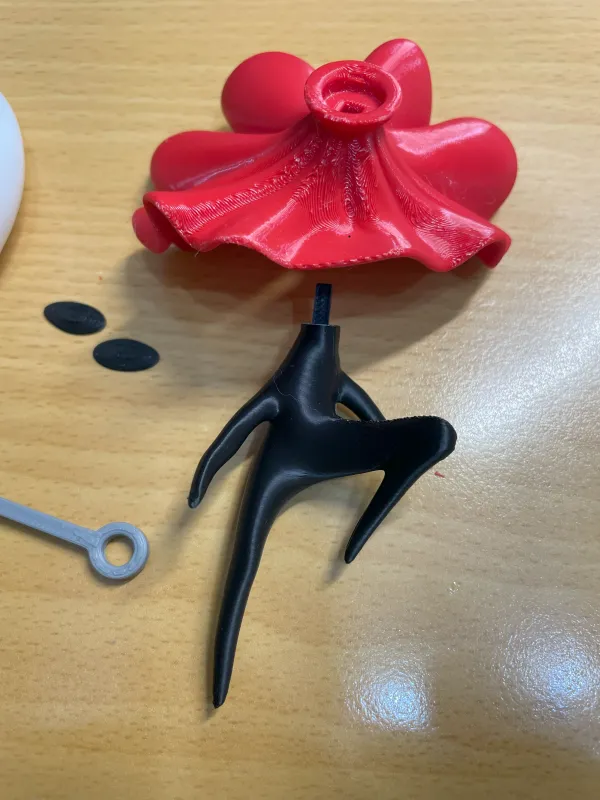
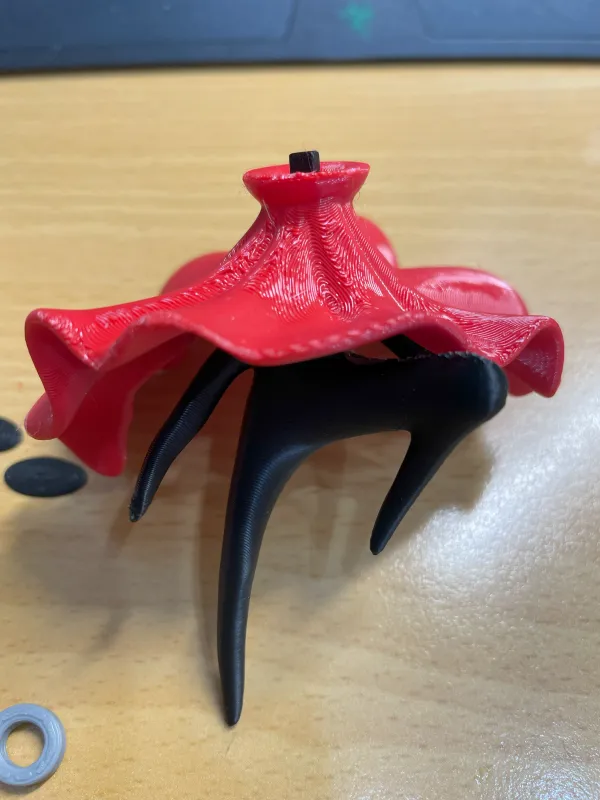
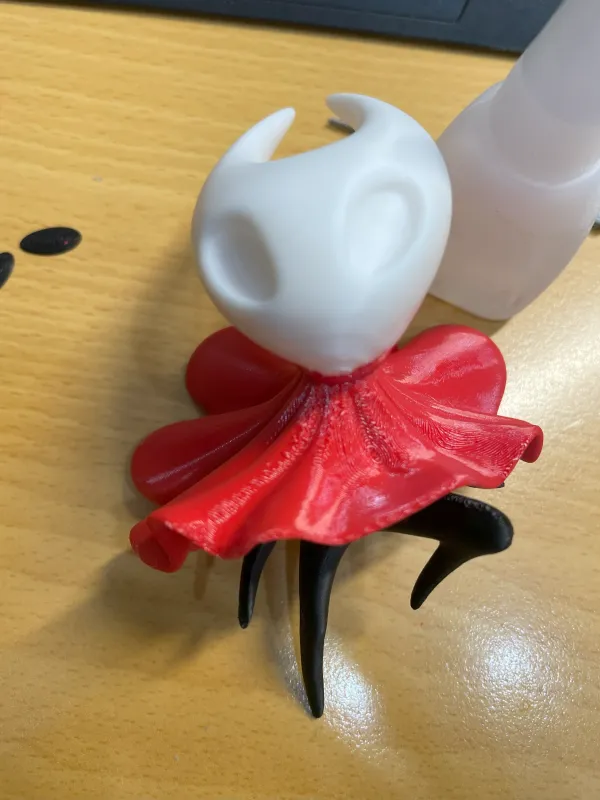
2. Assemble the body. Connect the long connecting rod to the body and thread it through the cape, ensuring the shorter portion of the cape faces forward.
Apply a liberal amount of glue and press the head into the connecting rod to secure it. Allow the glue to dry.
 |  |  |  |
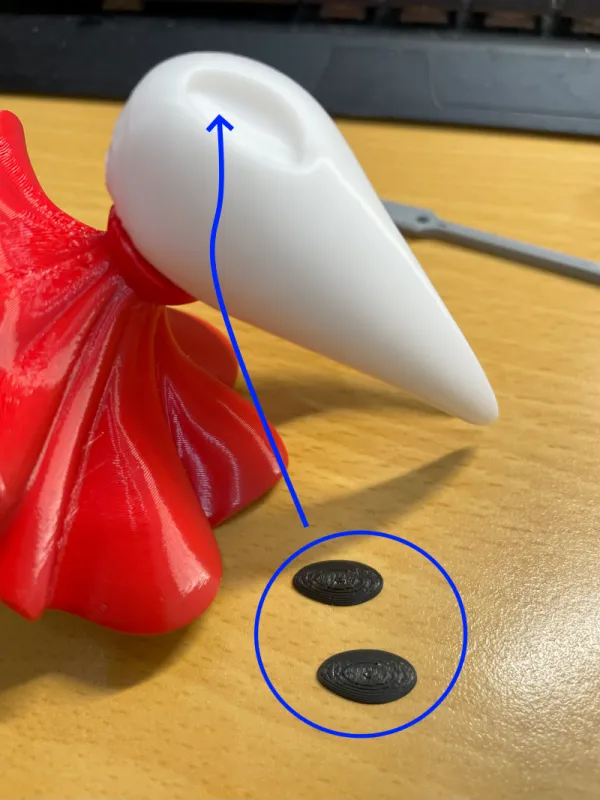
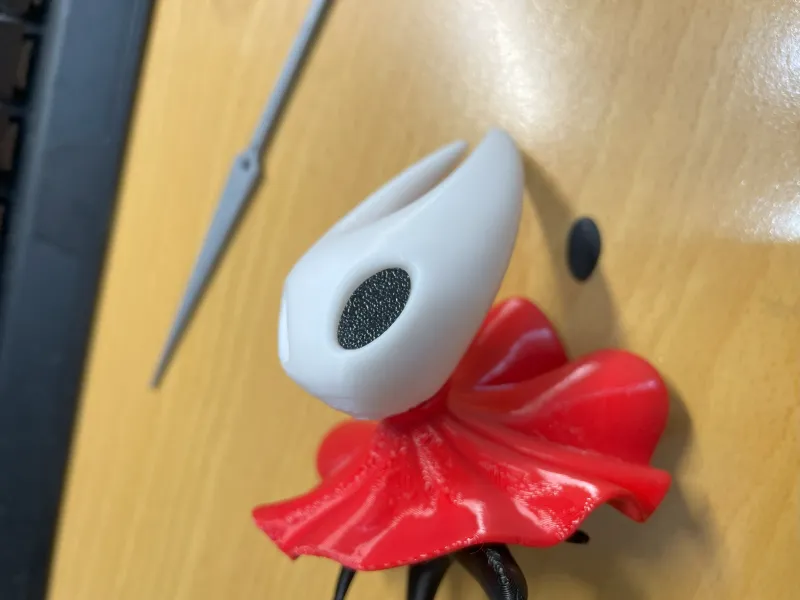
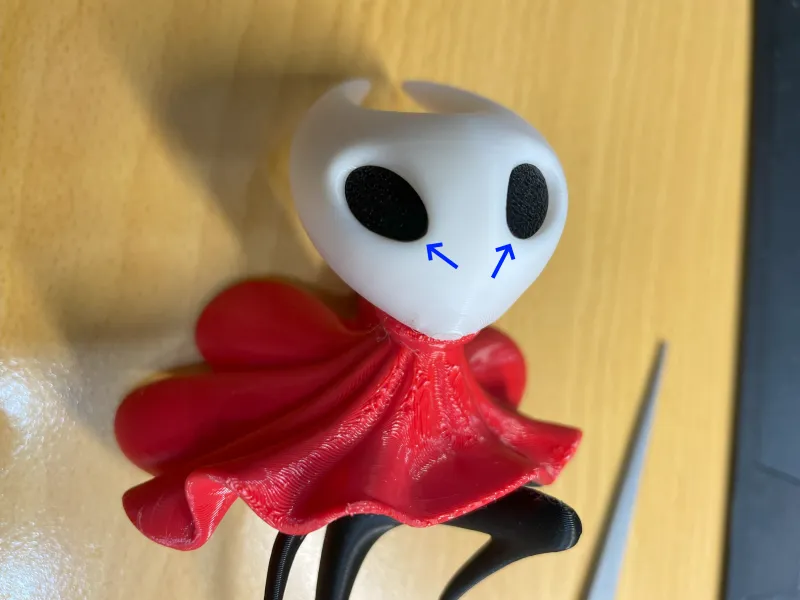
3. Pour a liberal amount of glue into the eye sockets. Attach the raised portions of the two black eye patches to the inside of the eye sockets, ensuring the pointed ends of the eye patches point toward the chin.
 |  |  |
4. Pour a liberal amount of glue into the two encircled areas of the base. Adjust the left and right legs and insert them into the grooves of the base. Using a small temporary support, temporarily secure the right hand and allow the glue to dry.
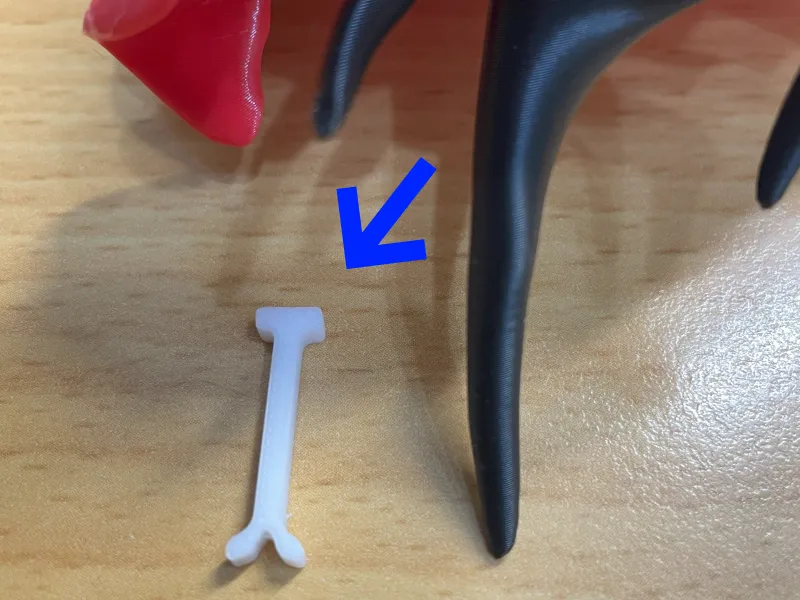 | 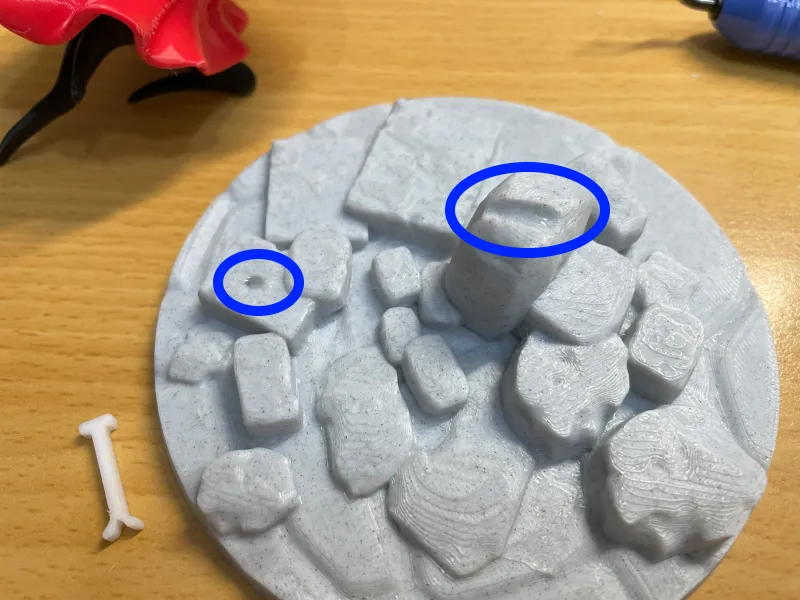 | 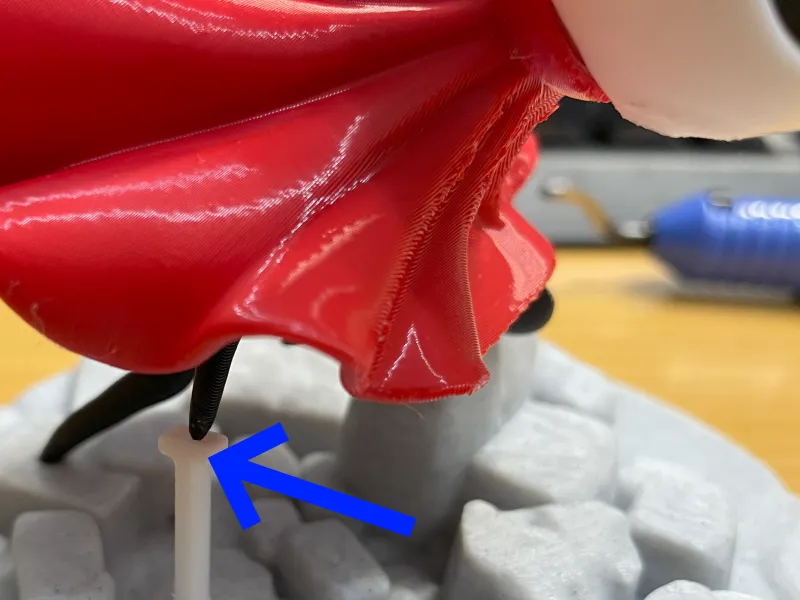 | 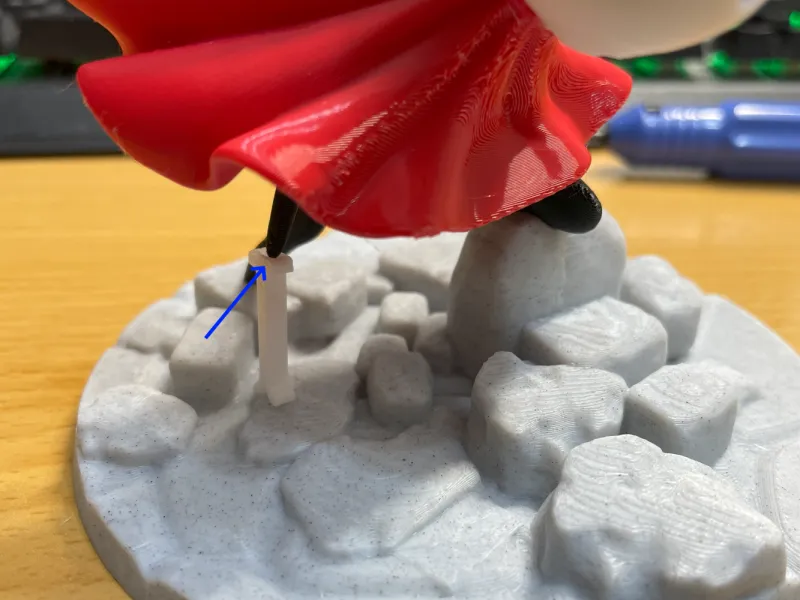 |
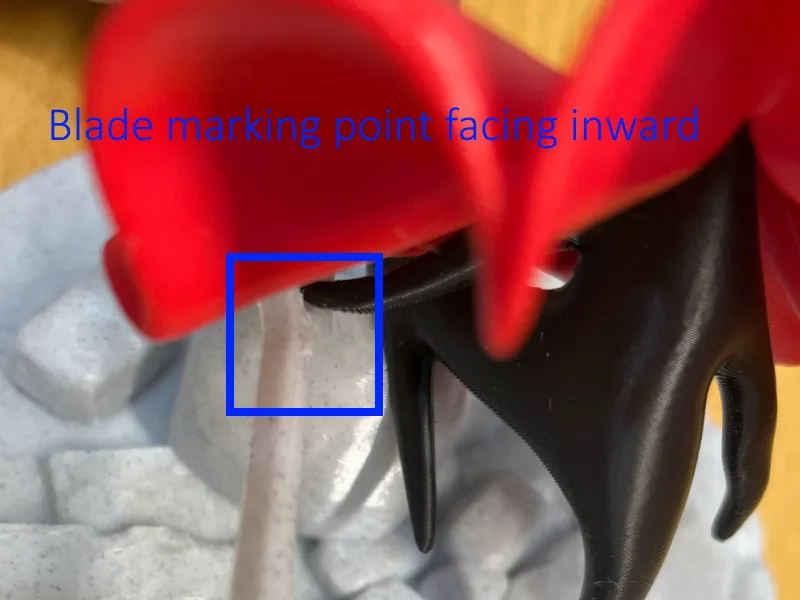
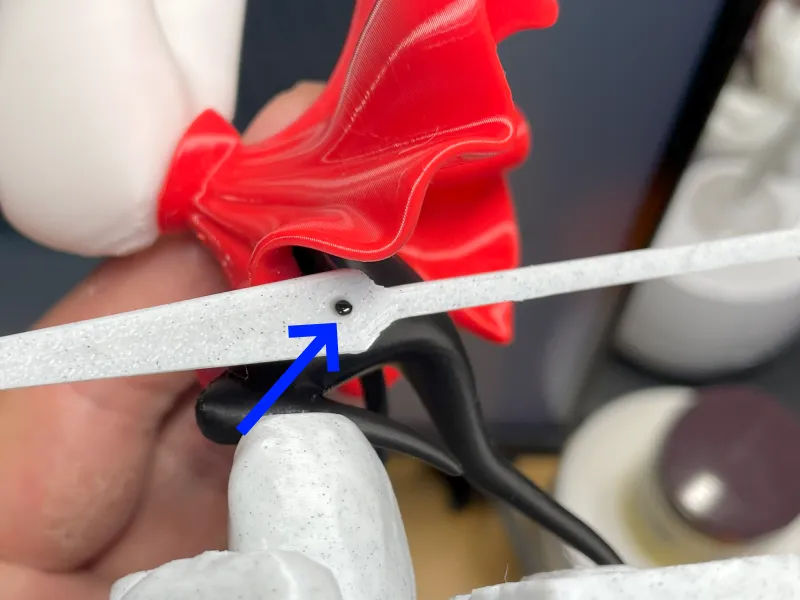
5. Assemble the sword. Place the marked portion of the blade facing inward, insert the end of the left hand into the blade hole, adjust the sword to the desired decorative position, and apply a liberal amount of glue to secure it.
 |  |
License

You shall not share, sub-license, sell, rent, host, transfer, or distribute in any way the digital or 3D printed versions of this object, nor any other derivative work of this object in its digital or physical format (including - but not limited to - remixes of this object, and hosting on other digital platforms). The objects may not be used without permission in any way whatsoever in which you charge money, or collect fees.


Comment & Rating (1210)