Tiny Tealight Temple (A Modern Naiskos Shrine)


Print Profile(1)

Description
In the shadow of Olympus, even the humblest homes held sacred space.
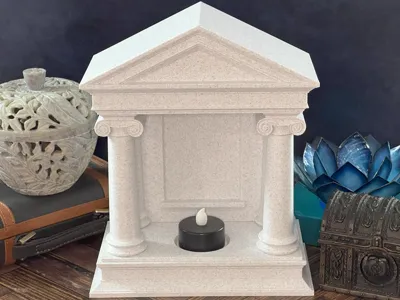
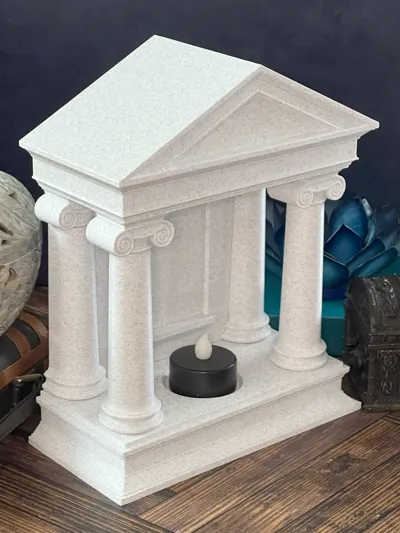
This tiny temple is inspired by the ancient Greek naiskos, a miniature shrine ornamented with architectural features. Like its namesake and the later Roman version, the aedicula, it provided a space for reverence and remembrance, not unlike the modern concept of the ofrenda.
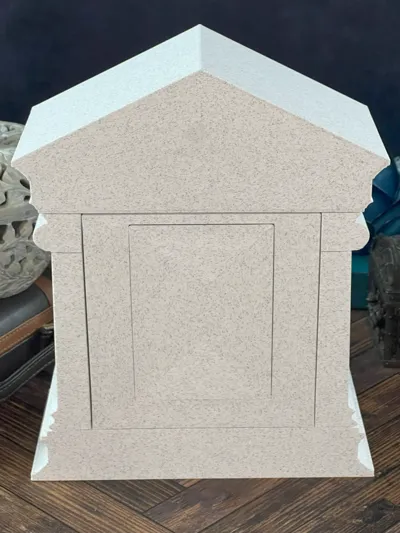
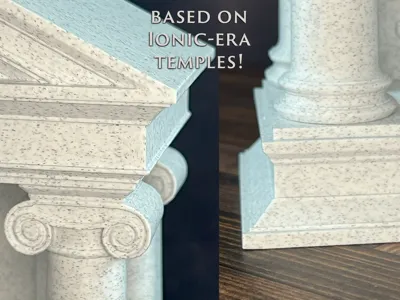
Crafted in the style of classical Ionic architecture, it stands ready to hold a wallet-sized photo (2.5 x 3.5 in), whether of a loved one, a patron deity, or a figure of personal power. The back panel uses a friction-fit keyed design to hold the picture in place.
At its base is a space for a single tealight, to light in memory, to honor the divine flame, or celebrate the warmth of the eternal hearth.
Use this altar to honor the gods who walk with your family. To remember those who shaped you. To reclaim the sacred in your everyday space.
Assembly Instructions:
Each piece prints separately for cleaner finishes and easy assembly. A smooth build plate is recommended to prevent any gaps in the seams. I recommend double sided tape (ideally photo safe) for first sticking the photo to the back, that way you know it is nice and centered when the piece is slid into the back wall.
Tip: Use a slow-setting glue to give a little extra time for alignment before the structure sets.
Step 1: Attach the Ledge to the Wall

Step 2: Glue the Column Tops to the Roof
Make sure to place the pieces with notches in the back, with the notch towards the back!

Step 3: Attach the Column Bases to the Base

Step 4: Attach the Roof to the Base
They should only assemble one way at this point, matching the flat back surface of each part.

Step 5: Attach the Back Wall, sliding it into the notches in the back columns.
Make sure the ledge is at the bottom!

Step 6: Select a photo and hold it in place by sliding the Back piece into the opening in the Back Wall.
The piece is keyed, so it will only insert one direction.


💖 Bytes & Brushstrokes
Boost Me (for free)
Enjoy the print? Boosts help us keep creating fun, easy-to-use designs!
License
You shall not share, sub-license, sell, rent, host, transfer, or distribute in any way the digital or 3D printed versions of this object, nor any other derivative work of this object in its digital or physical format (including - but not limited to - remixes of this object, and hosting on other digital platforms). The objects may not be used without permission in any way whatsoever in which you charge money, or collect fees.
Comment & Rating (7)