
F-5 Freedom Fighter Kit Card
Print Profile(2)


Bill of Materials



Description
The Aircraft
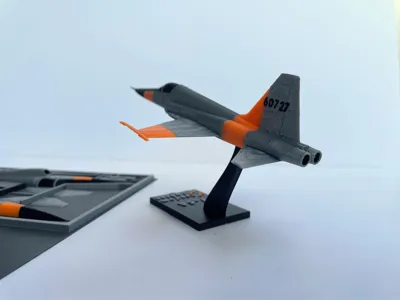
The F-5A “Freedom fighter” was a supersonic light fighter developed by Northrop, that first flew in 1959. Aircraft were produced between 1959-1987, with many later variants still remaining in service with the USAF as adversary training aircraft. The F-5 was powered by 2 GE J85 engines, and was armed with 2x 20mm M39A2 guns.
The Model
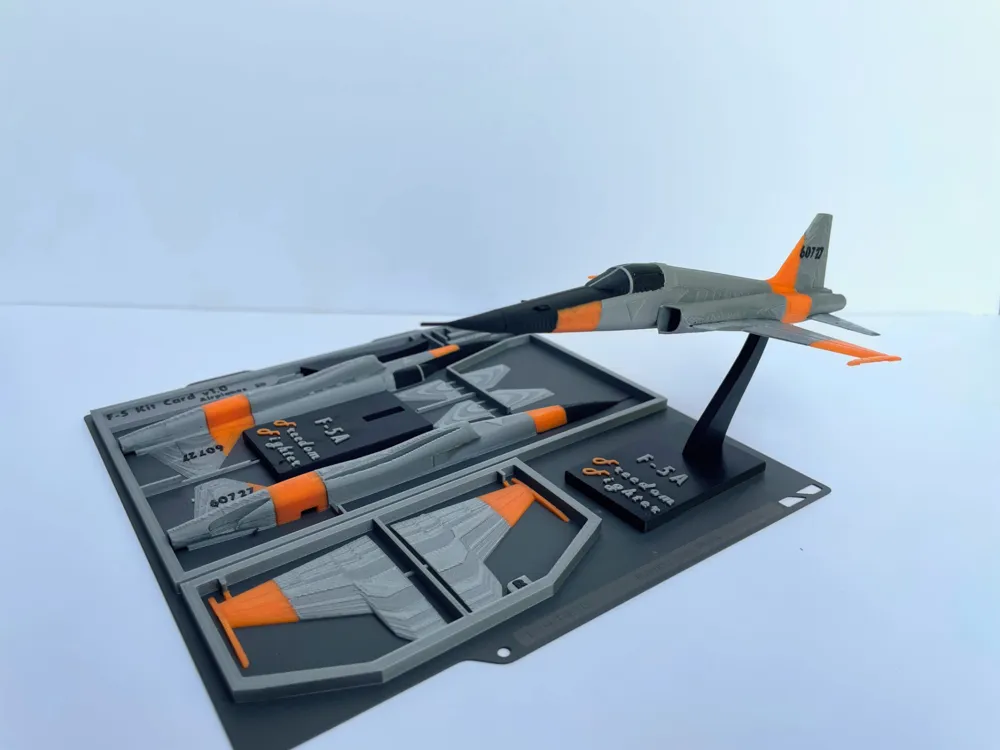
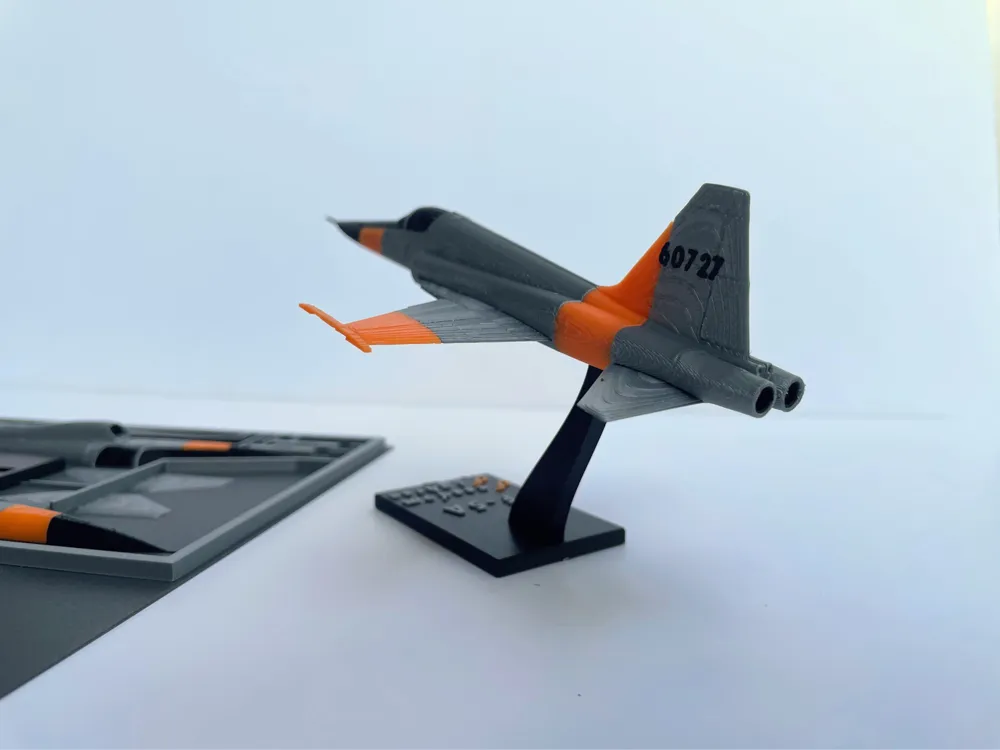
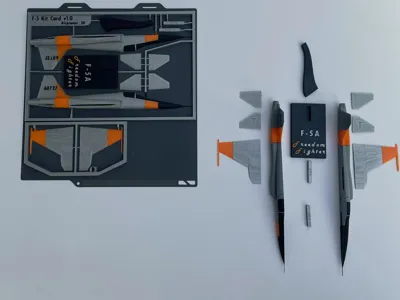
The kit card model was designed in blender and tested over multiple iterations on an A1 Mini. This model maximizes the mini's plate space, but for larger printers, it can be scaled up to the desired dimensions. New liveries may potentially be uploaded in the future. This is the first kit card model I have designed, and I have been working on this for over a month, aiming to optimize the print, and maintain high quality. I decided to maximize the quality by using a low layer height and ironing to minimize the terrace effect and ensure curves are clean. I also used AMS to realistically represent the livery, however by doing this, it increases the print time considerably. I promise it's worth it though :)
The Assembly
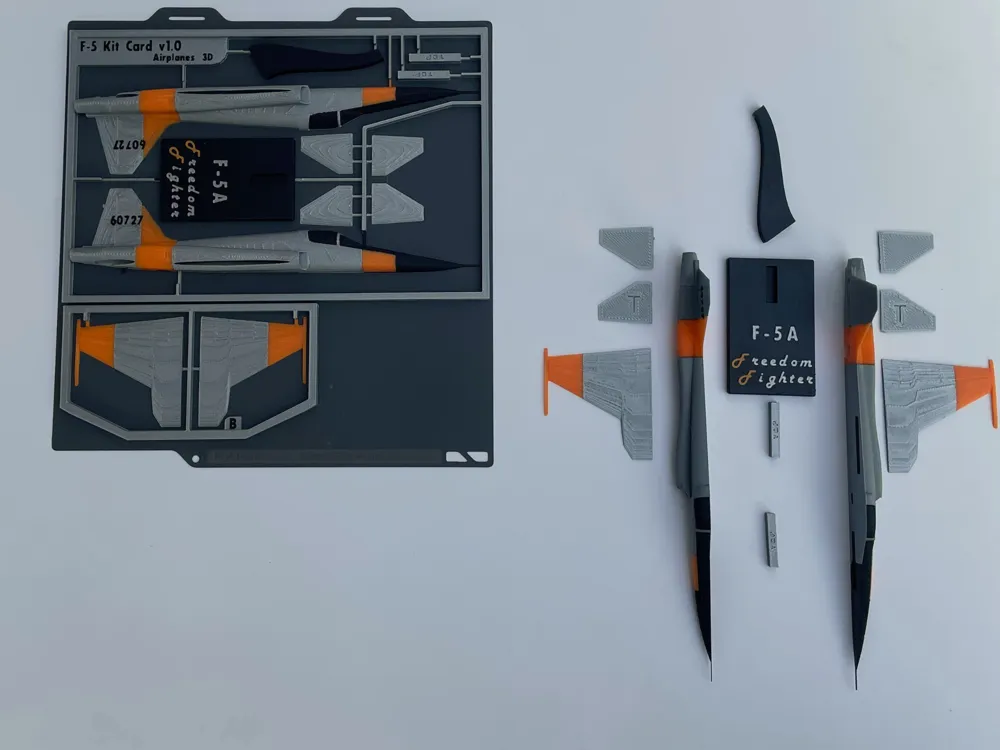
To assemble this model, first remove the parts carefully from the card. Also exercise caution with the pitot tube at the front of each fuselage half as it can be easily bent. Also, use sanding, scissors or wire cutters to remove the connections from the aircraft surfaces. None of my prototypes were assembled with glue, however you can use it if desired.
- First, connect the 2 halves with the connectors with “TOP” inscribed on them. Ensure the top surface faces up. Note: Ensure the connectors and the cutouts for them on the fuselage components are completely free of excess material from the kit card.
There are 4 components that make up the rear stabilizers. Notice that there are 2 halves for each side, with the underside of one written with T. This half should be up, and match it with an unlabeled one to then slide in the slot, repeating on the other side.
Insert the wings into their respective slots. Then push them back as far as they can go to ensure they remain static.
- Insert the stand into the stand base, ensuring the stand extends toward the back, and then connect the assembled stand into the hole on the underside of the aircraft.
- Done!
Boost Me (for free)
This model would not exist if not for boosts, as they allowed me to buy an AMS and sufficient filament to develop this model. These multicolor models take a significant amount of time and filament, and your boost would be much appreciated, and put to good use.
License

You shall not share, sub-license, sell, rent, host, transfer, or distribute in any way the digital or 3D printed versions of this object, nor any other derivative work of this object in its digital or physical format (including - but not limited to - remixes of this object, and hosting on other digital platforms). The objects may not be used without permission in any way whatsoever in which you charge money, or collect fees.


Comment & Rating (53)