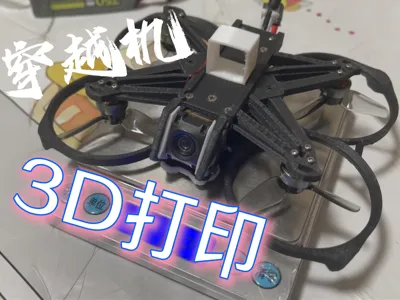
TacoD - 2-inch FPV drone frame


Print Profile(1)

Description
—
-Update-
Added a lens clip 3D Printed with pure TPU to solve the problem of the PET-CF version being prone to breakage, but it has not been tested for jello effect
—
This is a two-inch FPV drone I designed, primarily for two-inch freestyle with exposed propellers, but I also made propeller guards, which can be secured with just 4 M2x25 countersunk screws
It is recommended to 3D Printed the main frame parts using relatively high-temperature resistant and rigid carbon-modified materials such as PET-CF or PETG-CF
Here is the BOM:
| Quantity | ||
| VTX | DJI O4 Air Unit | 1 |
| Flight Controller | BetaFPV F405 2-3S 20A AIO | 1 |
| Motors | HGLRC 1003 10000KV | 4 |
| Propellers | HQ 2X2X3 | |
| Screws | m1.6x4 | 20 |
| m2x22 | 4 | |
| m2x25 | 4 | |
| Flight Controller Standoffs | m2x6.6 | 8 |
| Flight Controller Dampeners | m2x2 | 4 |
| Optional Configuration | Ruisu Technology O4 mini heatsink | 1 |
Currently, this frame only supports motors with an M1.6 three-hole base, so the selection is relatively limited
For propeller selection, I personally prefer three-blade propellers for freestyle with exposed propellers, so I chose 2x2x3. Two-blade propellers are usually more efficient and power-saving for small drones, but I haven't tested them. If you choose to use propeller guards, four-blade propellers might be more stable for smooth flight and filming at low throttle, but you need to choose propellers with a smaller pitch, otherwise, the motors won't handle it
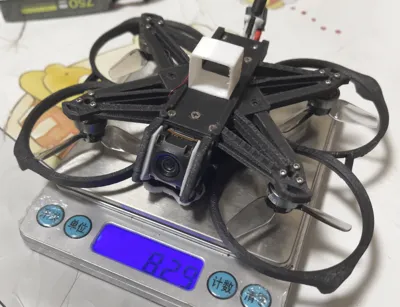
Regarding battery selection, this motor only supports 2S batteries with a continuous current draw of approximately 11.5A. If you frequently fly at high throttle, the battery needs to provide a safe continuous discharge current greater than 46A.
Calculation method: Capacity (needs to be converted to Ah) x Discharge Rate (C-rating, usually specified) x 0.8 (for conservative rating). For example, a 750mAh 80C battery is 0.75 x 80 x 0.8 = 48A.
I only purchased two battery models, 750mAh and 730mAh, so the battery mount is only designed for these two universal versions; other battery capacities have not been tested
Since only 2S LiPo batteries are used, the AIO can be used without soldering a capacitor, so I did not design space for a capacitor; if a capacitor is soldered, it might not fit
You can also use other AIOs you prefer. The USB tuning board for this AIO is external, and I did not design space for it to save weight; however, I made a relatively rough design for the storage opening of the tuning extension cable:

Pull it out from the exit at the tail of the chassis, then tuck it back into the power cable exit of the antenna mount; tested not to easily come out
Regarding the battery mount installation method:

The battery retaining TPU part uses a rotating locking mechanism; you need to align the large pin with the horizontal hole, insert it, and then rotate it 90 degrees to the right to lock it in place


Then, forcefully twist the auxiliary retaining pin left and right and push it into the hole

After insertion, gently pull it up and down to adjust its position and complete the installation
Additionally, if your 3D printing materials and components are exactly the same as mine, here is a set of filter and basic PID settings for exposed propellers, adjusted indoors, which you can refer to (for reference only). This still requires careful adjustment and testing on your part, as the motors are already slightly warm, and outdoor flight might make them hotter. Please ensure safety


Comment & Rating (0)