


Print Profile(1)

Bill of Materials
- M5 Imbus -Schrauben mit der länge 25-30mm x 6: Für den unteren Gehäusedeckel
- M5 Imbus-Schrauben länge hängt vom Einbau ab x 1: Wenn die Montageplatte oben montiert wird
- 8mm Stahlkugel x 1:
- Druckfeder passen zu Ihere Kugel ca 7mm Durchmesser x 1:
Description
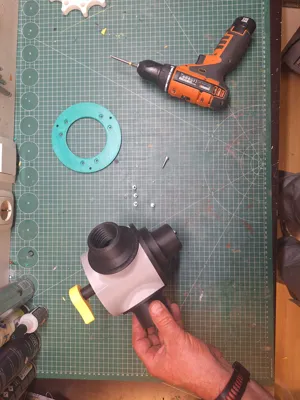
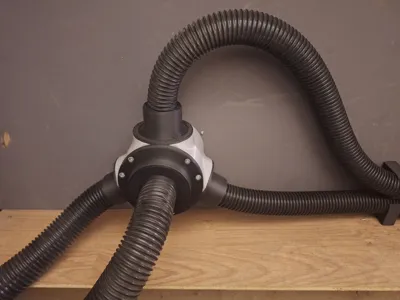
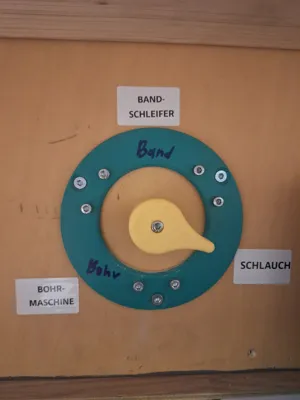
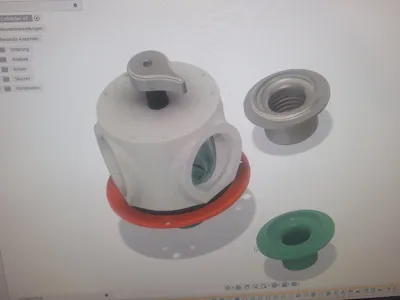
This is a 3-way blast gate for a workshop dust extraction system It can be connected with several standard hoses depending on the flange The flange with internal thread is for a hose with 40mm outer diameter The one without thread is for an inner diameter of 40mm
With the provided f3D file you can modify all flanges in Fusion360 for your own use
All flanges fit into any opening of the main body
The blast gate has a detent in every setting
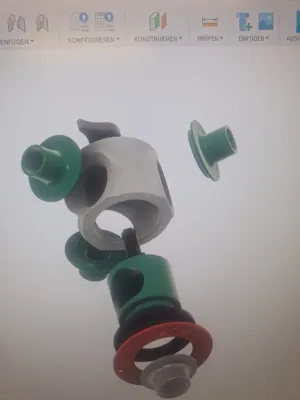
For assembly (Please use the Fusion360 exploded view diagram) :
Please re-tap all threads in the parts with an M5 tap It will be easier afterward
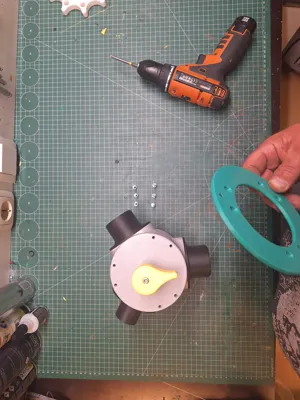
- Take the green "inner rotating body" On the top next to the hexagon hole is the hole for the detent Insert a spring with a diameter matching your 8mm steel ball then the ball Adjust the spring length so that the ball protrudes halfway with slight pressure
- Insert the black shaft with hexagon into the hexagon opening
- Slide the gray housing over it "test the detent now"
Screw the black housing cover to the bottom of the gray housing 6 M5 Allen screws with a length of 25-30 mm
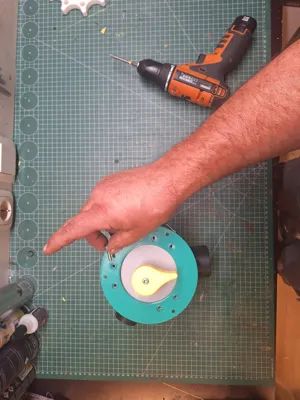
(Depending on the assembly of the blast gate the red mounting plate must also be screwed on here Note the holes for the countersunk screws It can also be mounted on top of the gray housing)
5. Now attach the switch to the top in the correct position It should point towards the side opening of the inner rotating body Then screw it on
6. Now you can screw in the flanges as desired
Connection : The middle flange is usually the connection for the vacuum cleaner The side ones for the tools
So now I wish you good luck and much fun with the blast gate
Comment & Rating (0)