ABUS Bordo 6000C LED Upgrade


Print Profile(1)

Description
Lighting upgrade for ABUS Bordo 6000C
Unfortunately, I only noticed after purchasing the lock that the ABUS Bordo was also available with LED lighting, which is very useful when unlocking the lock in the dark 😉
But what's the point of having a 3D printer? After a few designs, I managed to develop a version that works really well. I would like to present it to you here.
The design was kept quite simple: a button cell, a 5mm 3V LED, and the housing that holds everything.
What you need:
1x 5mm 3V LED, round or flat (I still had round LEDs – these protrude a little more)
1x CR927 flat battery
A little bit of skill
Assembly:
Shorten the legs of the LEDs: shorten the shorter leg (anode -) to approx. 10 mm; I left the longer leg (cathode +) slightly longer for differentiation purposes (11 to 12 mm)
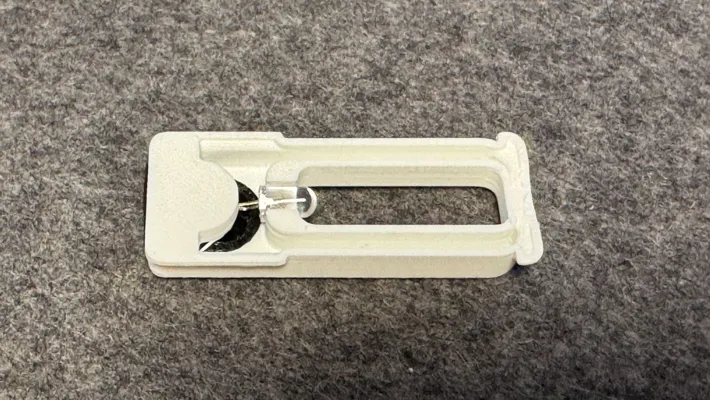
Now it gets tricky: insert the short leg of the LED into the small opening (1x1 mm) of the battery holder. (You will need to bend the cathode leg of the LED slightly.) The longer leg should be pointing upwards.
Slide the CR927 battery sideways with the positive pole facing upwards between the two legs of the LED into the holder and close the opening with the TPU plug.
Insert the longer leg of the LED into the groove above the battery and bend it so that it is approximately one millimeter above the positive terminal.
Test the LED by pressing the cathode onto the positive terminal of the battery. Congratulations, it lights up! Release the leg, and the LED should now be off again. If it stays on permanently, bend the leg a little further away from the battery. You will have to experiment a little to find the best way to bend the leg.

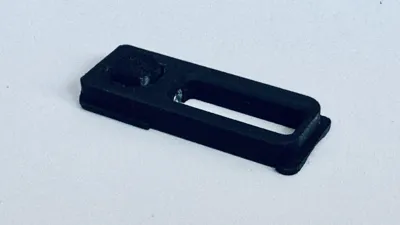
Now insert the round TPU button into the opening in the housing from above. It should sit evenly in the opening all around.
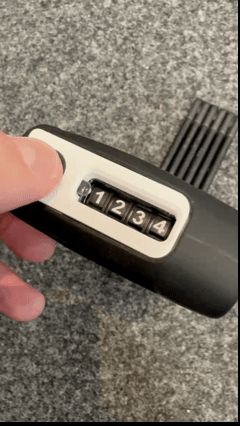
Test the lamp by pressing the button. Now just fiddle the number frame out of the Bordo and insert the lighting insert with the small “feet” first. Done!
I hope I was able to enlighten you!
I printed the plug and button in TPU and the bracket upright (battery opening facing down). Everything was printed without support.
Comment & Rating (1)