Search models, users, collections, and posts

Piano / Synthesizer - Scale Model - Nord Stage 3

Print Profile(6)

All
P1S
A1 mini
X1
X1E
H2S
X1 Carbon
H2D
H2D Pro
A1
P1P
P2S
H2C
X2D
A2L

AMS - Piano Body @ 0.08mm layer, 4 walls, 15% infill
Designer
3.4 h
1 plate
5.0(2)

AMS - Piano Keys @ 0.2mm layer, 4 walls, 15% infill
Designer
20 min
1 plate
5.0(2)

Piano Stand / Tripod @ 0.28mm layer, 3 walls, 5% infill
Designer
28 min
1 plate
5.0(2)

No AMS - Piano Keys @ 0.2mm layer, 4 walls, 15% infill
Designer
20 min
1 plate
Click to see more

Open in Bambu Studio
Boost
61
177
13
3
177
96
Released 

Description

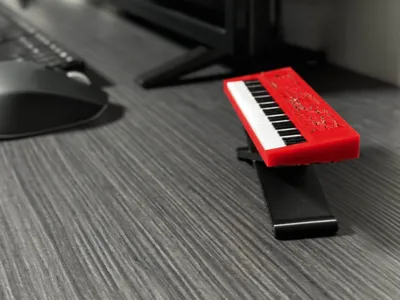
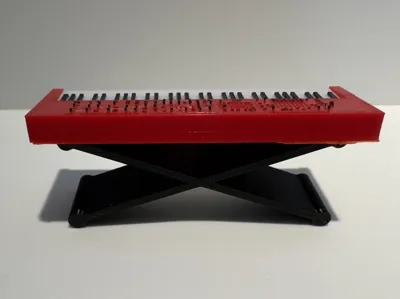
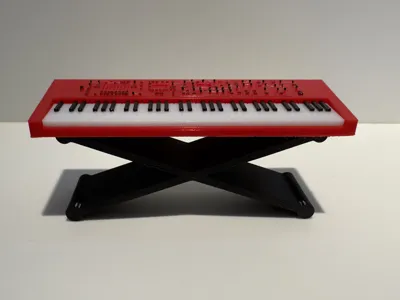
*** Disclaimer: This is not a functional synthesizer. It is a 1:10 scale model of a Nord Stage 3 synthesizer/piano.

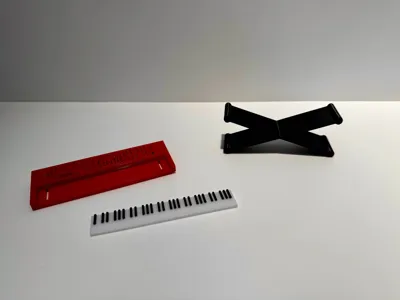
This decorative model comes in three separate parts for easy printing:

  • Main body (red)
  • Piano keys (black and white)
  • Stand

I’ve included print profiles for both AMS and non-AMS setups. The parts are designed to fit together easily, but you can also glue them if you prefer a sturdier build.


Fun fact: This model is based on my very first CAD project in Tinkercad, created back when I was in secondary school. I’ve recently redesigned it, and I’m happy to share it here. 


I hope some of you will enjoy printing this piece and maybe even displaying it as a fun decorative item in your workspace or studio!

Comment & Rating (13)

(0/1000)

Boosted
Been having fun printing this model in different ways, and learning about trade-offs. Also my friend, who it's for, appreciated the gift.
The designer has replied
designer
1
Reply
Thanks! What are your findings regarding trade-offs? Do you have any suggestions, if you don’t mind me asking?
0
Reply
Boosted
Replying to @Lex_R :
My first print had really hard-to-remove supports, probably because I used the traditional supports and not the tree. Then I decided I wanted to print it as one object (instead of keys and body separately) because I have a U1. I also colored the LCD screens gray. I printed it once vertically, which required almost no supports, and once lying flat on the bottom. Having the keyboard be smooth because it's aligned to layer lines is really nice, and the same is true for the top, so I think the best solution is the one that you used. The LCD coloring looks great on the vertical print, but on the horizontal print the slicer has gray on only a single layer for part of it, and the red lower layer shines through. Playing with things tonight, it looks like the model is pretty messy and has many non-manifold edges etc. I'm hoping that if I can fix that (work in progress) then the gray coloring will work right. Separately, I think the knobs stick out too much, and come off very easily.
designer
1
Reply
Replying to @rtwfroody :
Yes, the traditional supports are hard to remove. But I only added the print profile, as you pointed out, to make sure the keyboard and top fases align with the layer lines for better quality. I belief the traditional supports also print faster than the tree supports. I think that’s why I chose them, cause you don’t really see the bottom of the part anyways. The LCD in gray looks nice indeed, feel free to add it as a print profile. Concerning the model’s quality it may very well be that it’s pretty messy indeed. I made this model in TinkerCAD couple of years ago. Now that I reviewed it I should have used fusion360 or Siemens NX, but I used the same tinkercad file instead… so maybe I will remake it again to resolve these manifold issues. Thanks for bringing this up.
0
Reply
Print Profile
AMS - Piano Body @ 0.08mm layer, 4 walls, 15% infill
came out great thank you
(Edited)
profile
1
Reply
Print Profile
AMS - Piano Body @ 0.08mm layer, 4 walls, 15% infill
Very nice detail. Needs to be placed flat on plate
The profile uploader has replied
profile
1
Reply
Yes if you have an ams, or only want to print in one color, it indeed is beter to choose a profile with the synth flat on the bottom. There is also a printprofile with the synth slightly tilted so that only 1 filament change is nesseseary instead of every last couple of layers.
0
Reply
Print Profile
AMS - Piano Keys @ 0.2mm layer, 4 walls, 15% infill
0
Reply
Print Profile
Piano Stand / Tripod @ 0.28mm layer, 3 walls, 5% infill
0
Reply
Print Profile
Piano Stand / Tripod @ 0.28mm layer, 3 walls, 5% infill
0
Reply
Print Profile
AMS - Piano Keys @ 0.2mm layer, 4 walls, 15% infill
0
Reply
No more

License

This user content is licensed under a Standard Digital File License.

You shall not share, sub-license, sell, rent, host, transfer, or distribute in any way the digital or 3D printed versions of this object, nor any other derivative work of this object in its digital or physical format (including - but not limited to - remixes of this object, and hosting on other digital platforms). The objects may not be used without permission in any way whatsoever in which you charge money, or collect fees.