



Print Profile(2)


Bill of Materials





Description
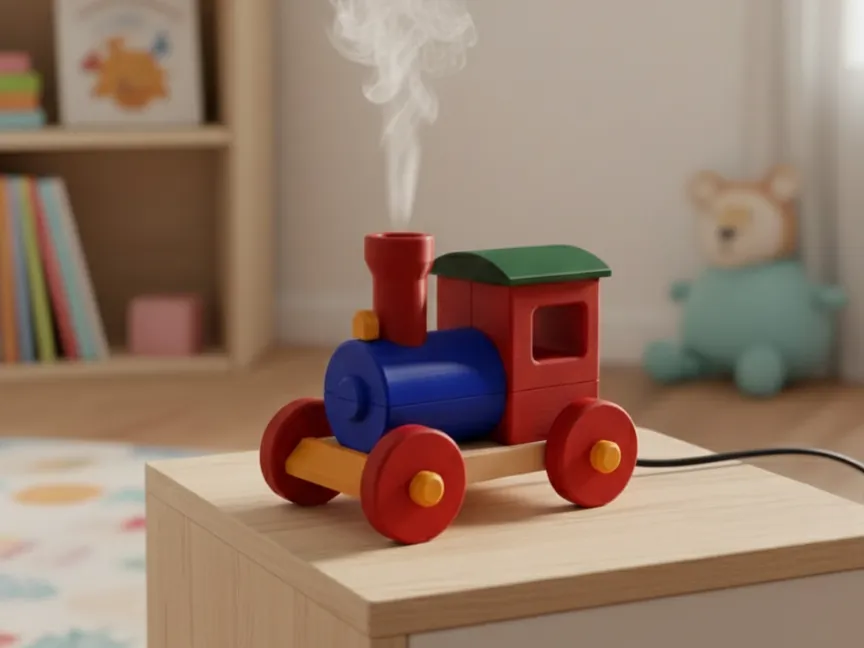
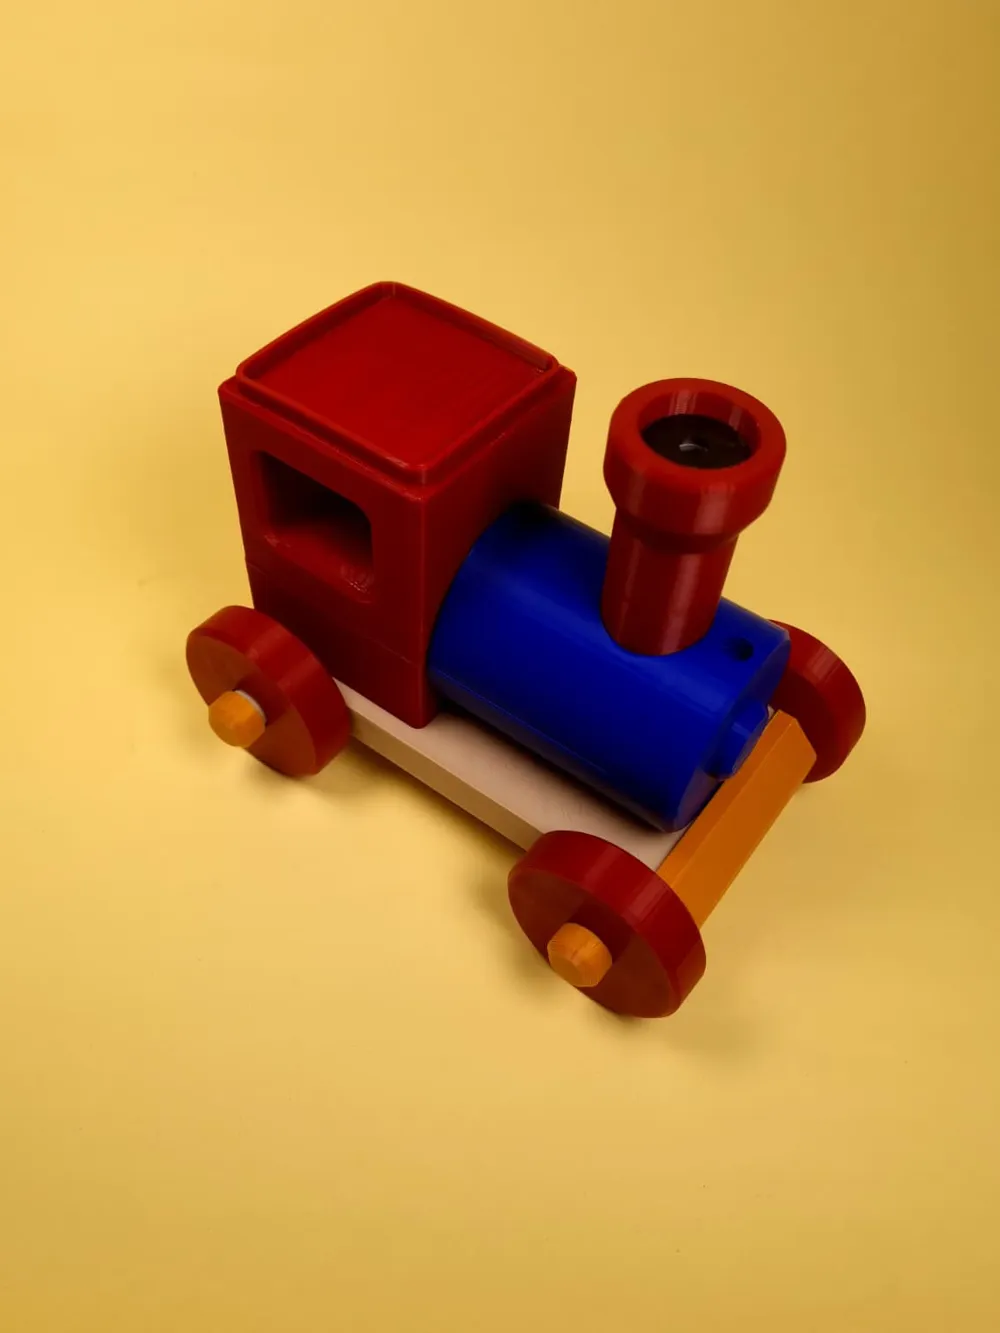
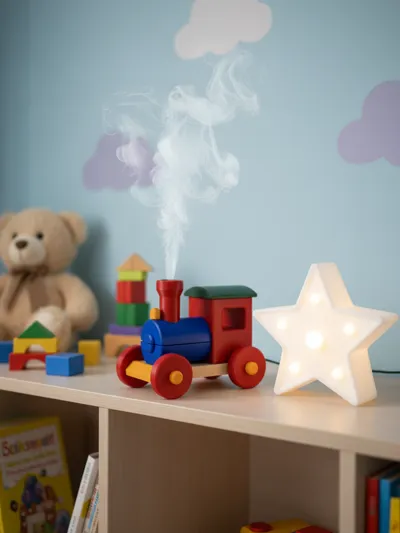
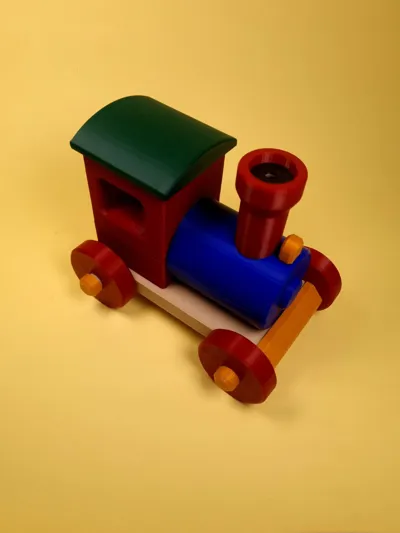
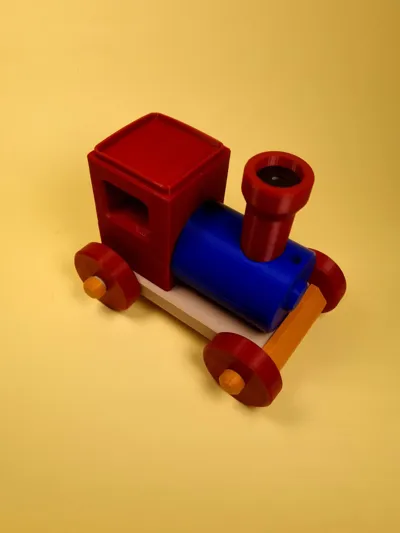
🚂 LocoMist - The Train Humidifier
A playful steam engine turned into a real cloud-puffing humidifier.
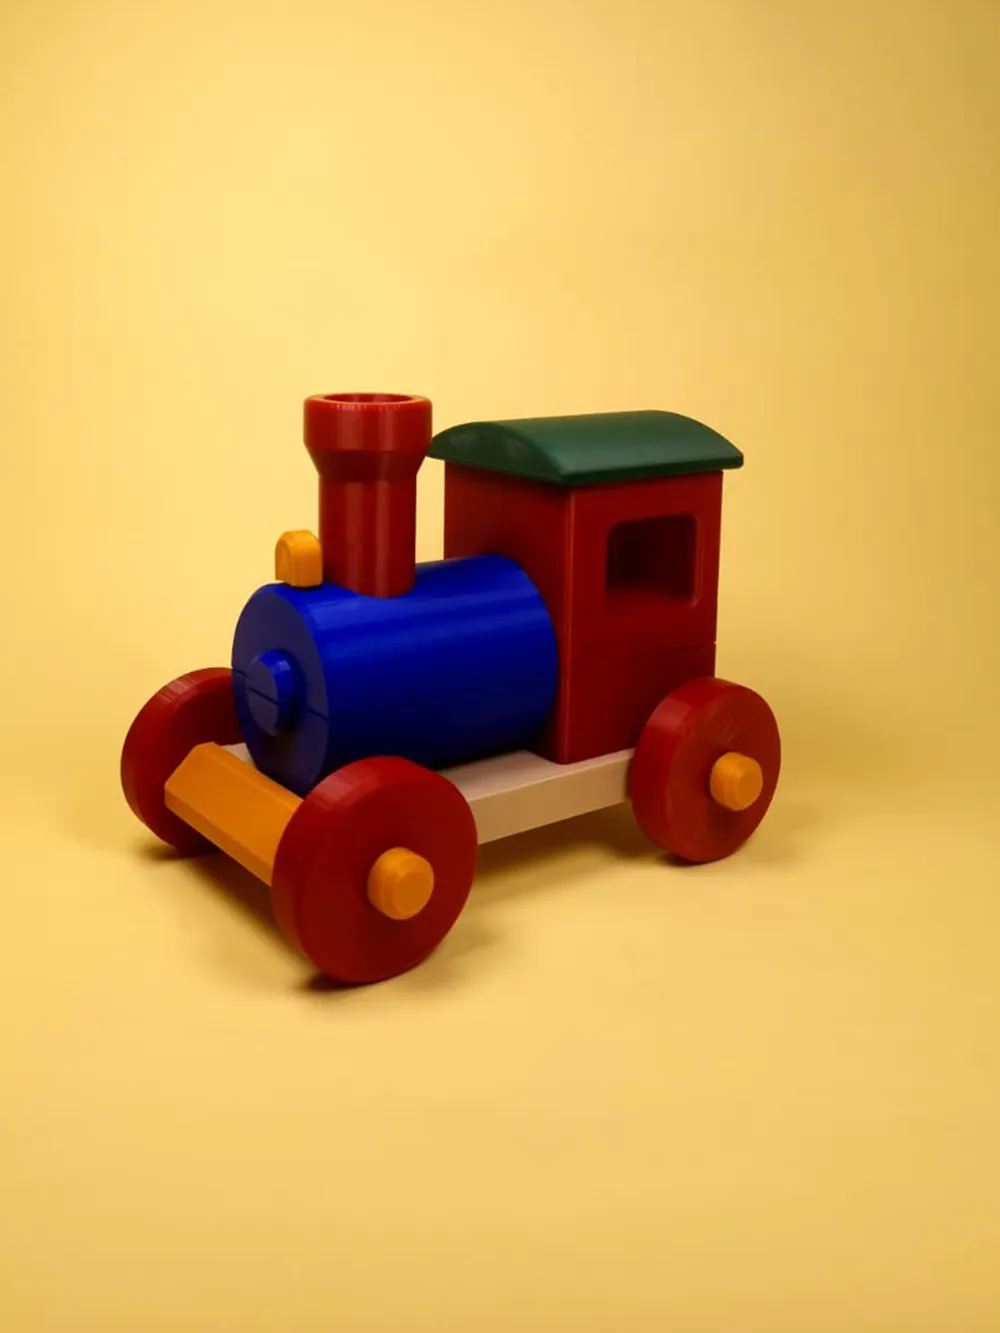
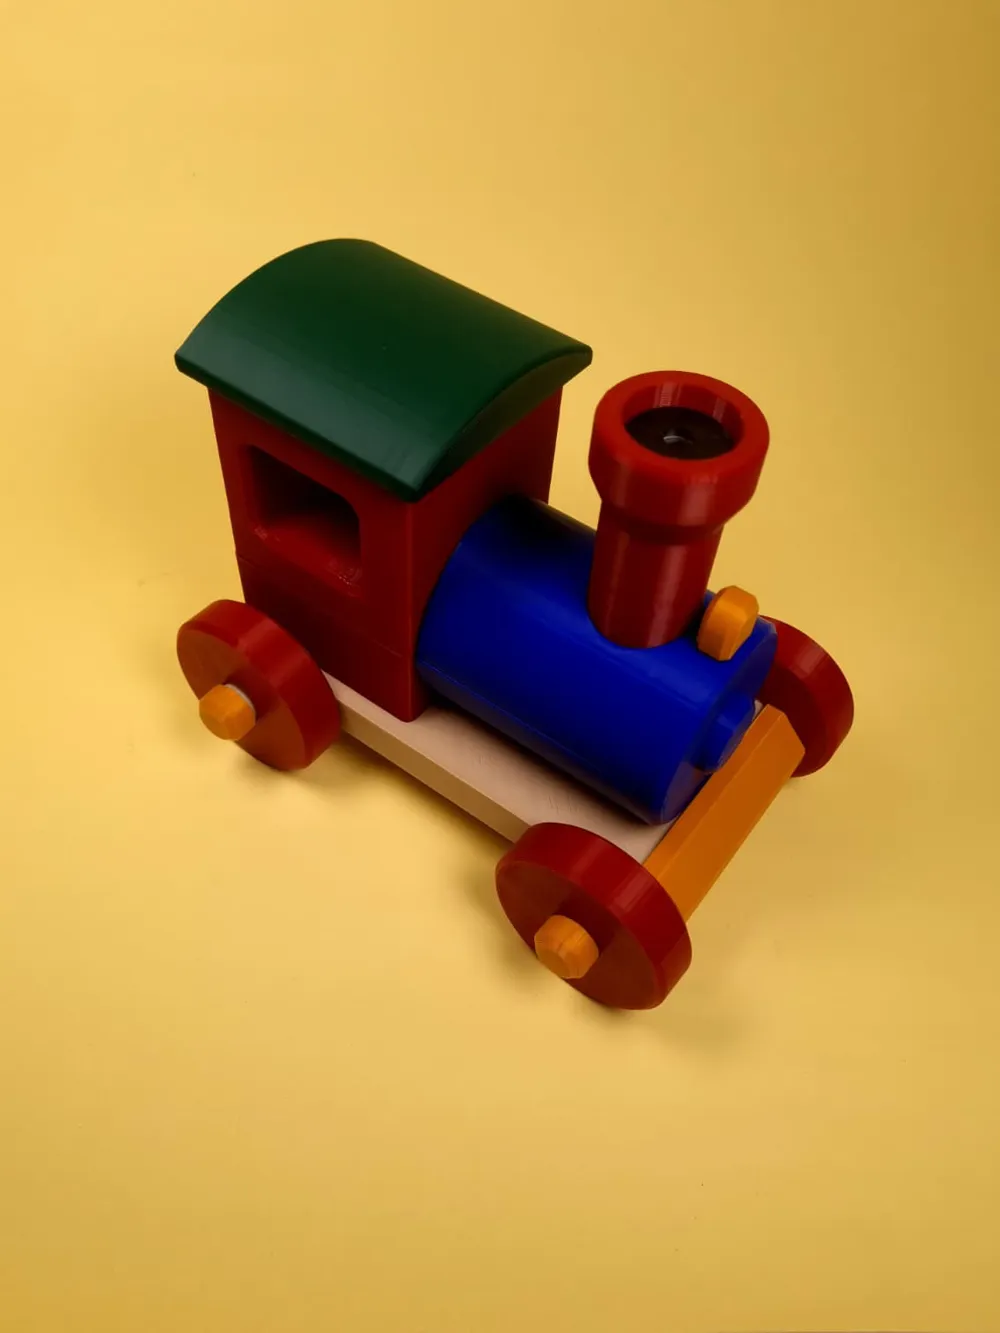
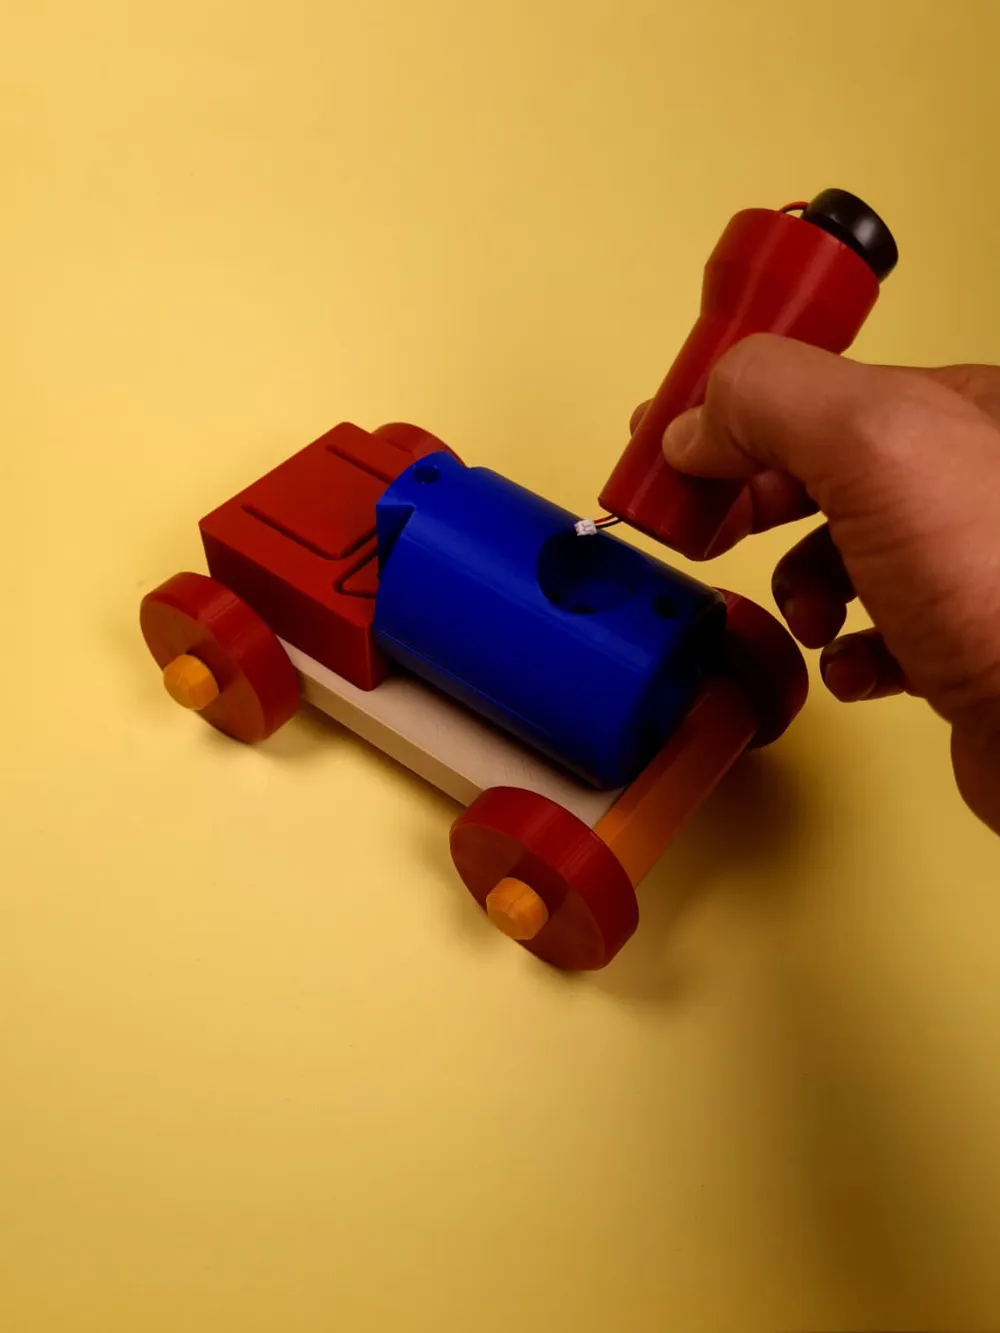
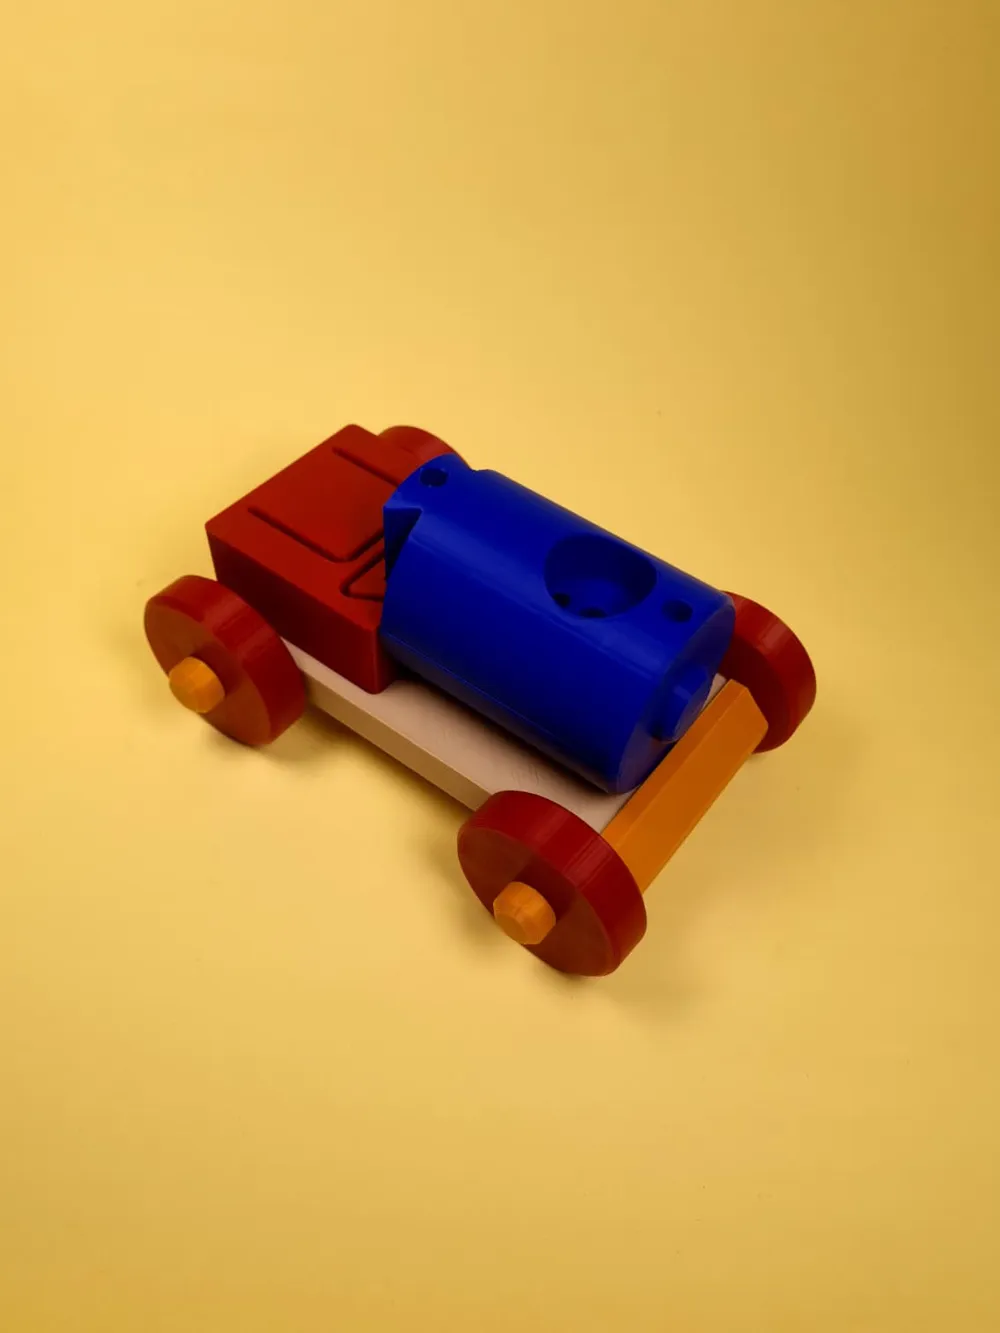
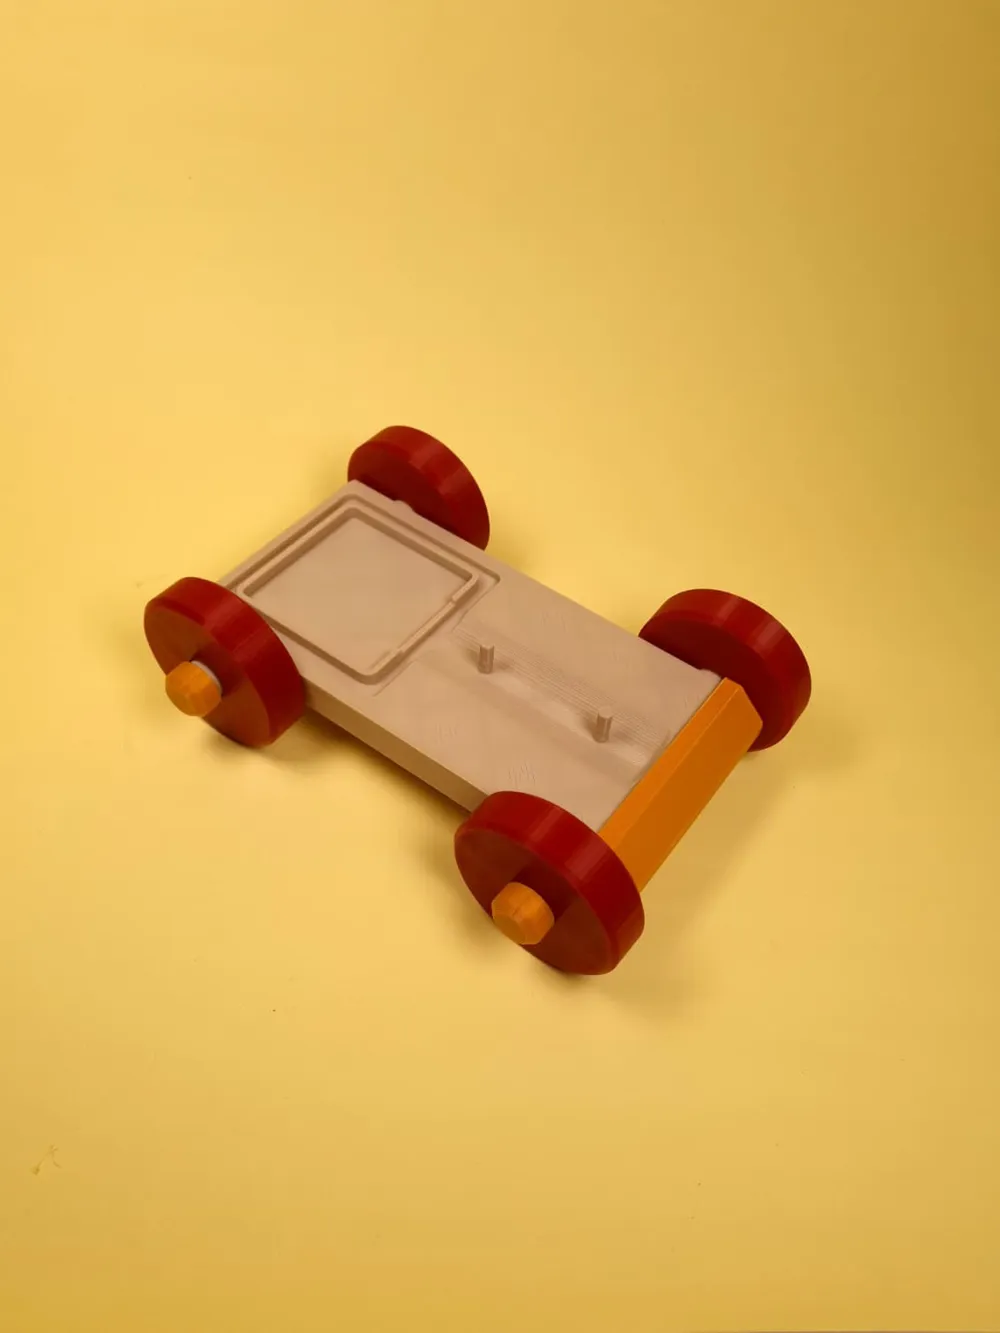
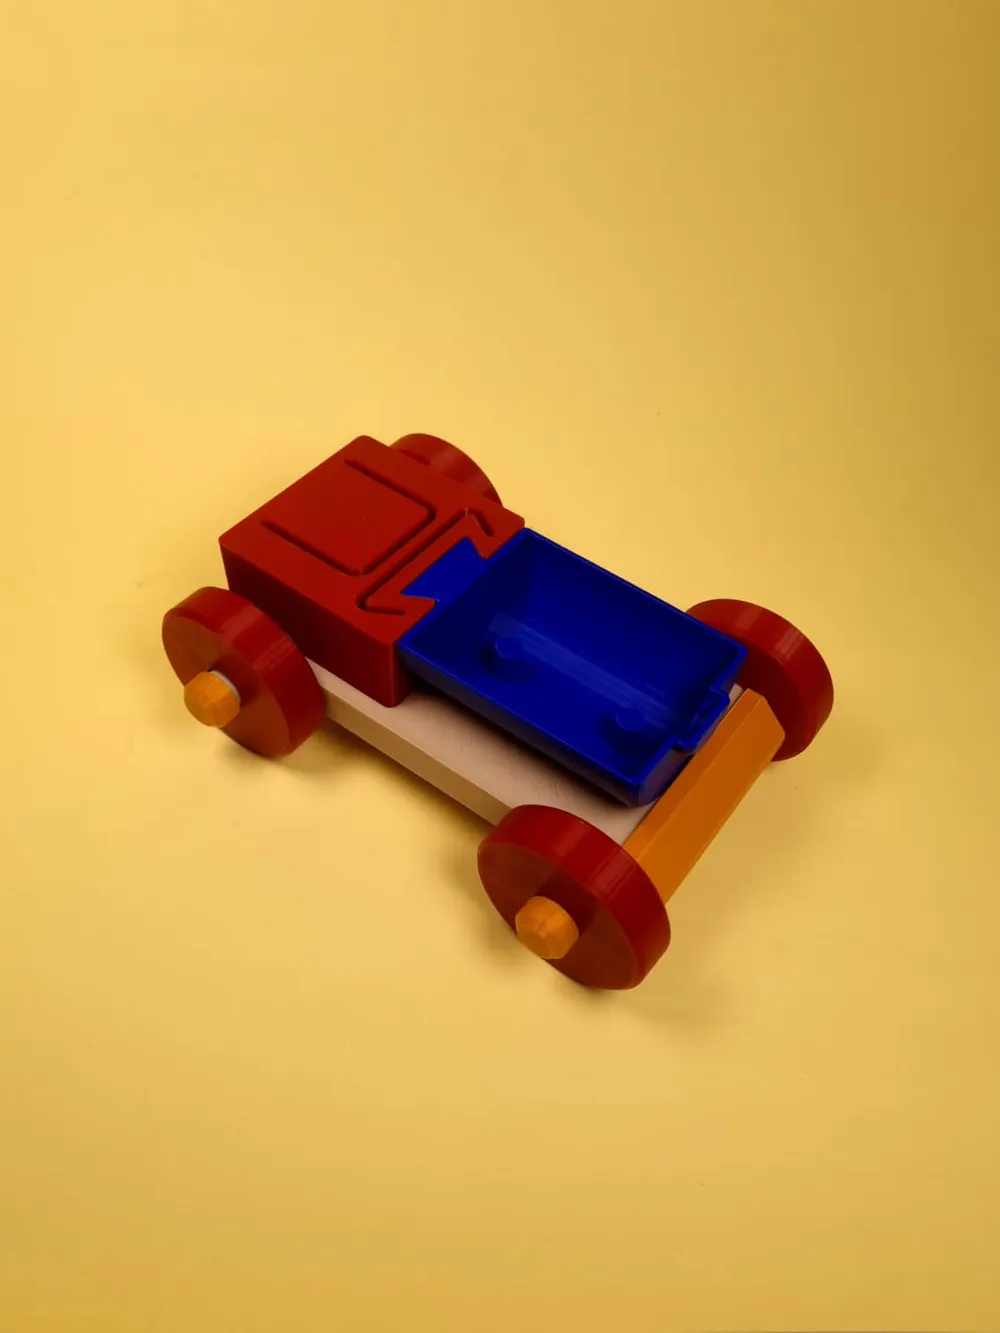
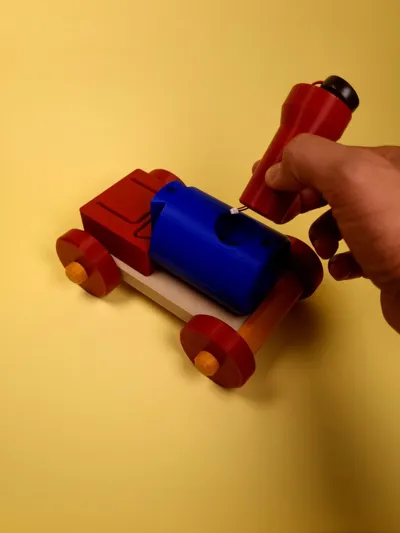
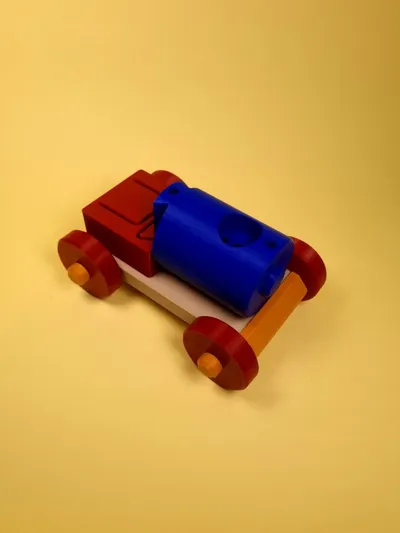
Designed as a cute companion for kids’ rooms, LocoMist splits into two parts: the top train body (with all electronics, filter, and chimney module) and the bottom water tank. Fill the “boiler” with water, drop in the filter, and watch it choo-choo mist through the smokestack.
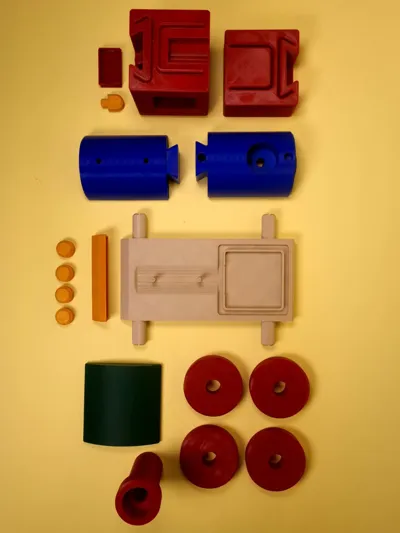
📦 Parts List
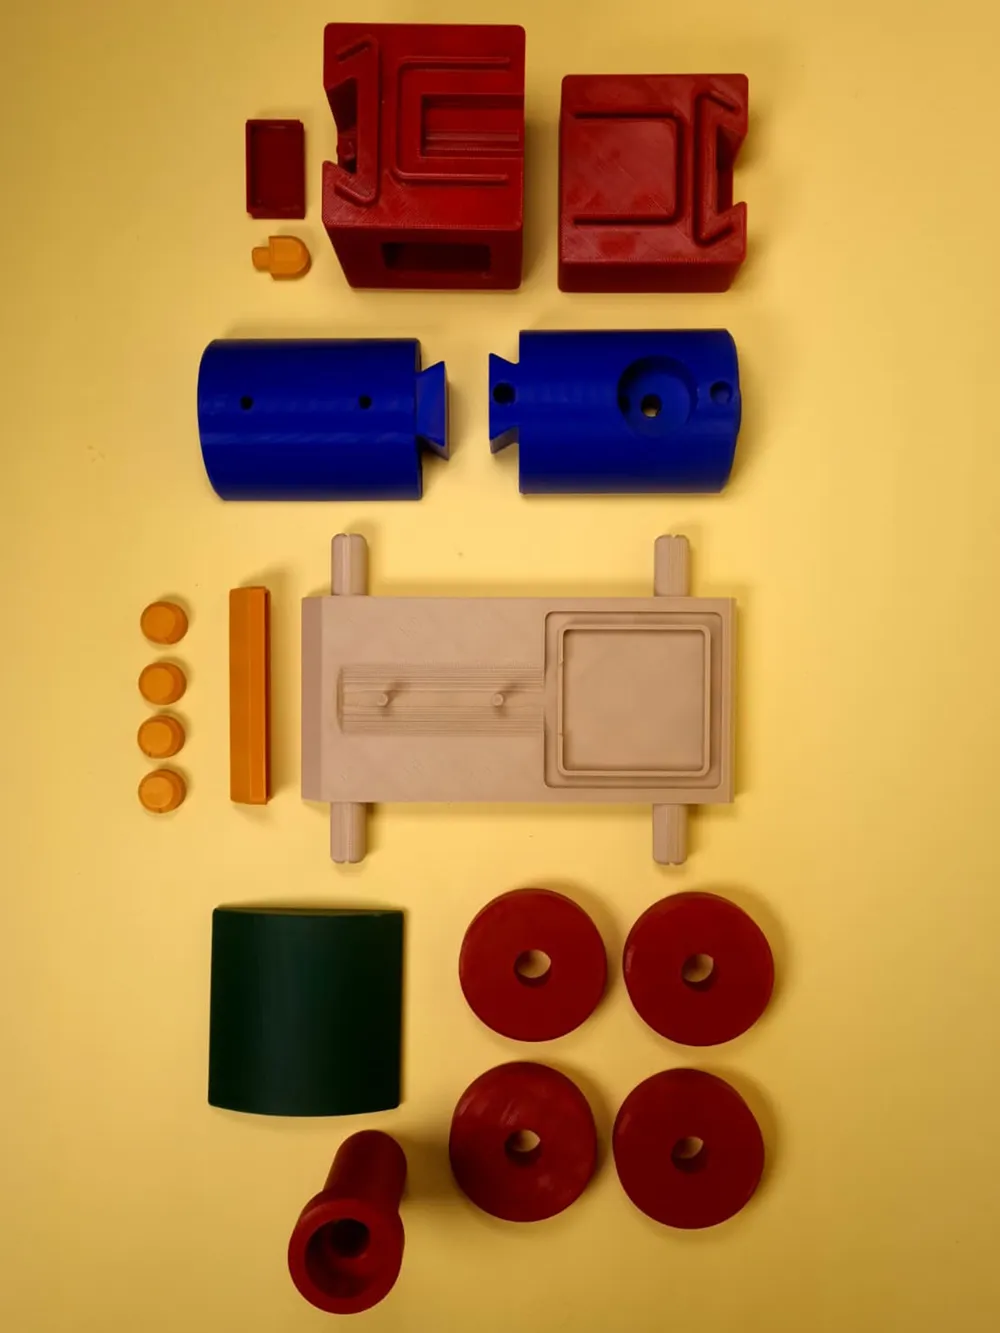
- Mist Module (from Aliexpress, USB-C powered)
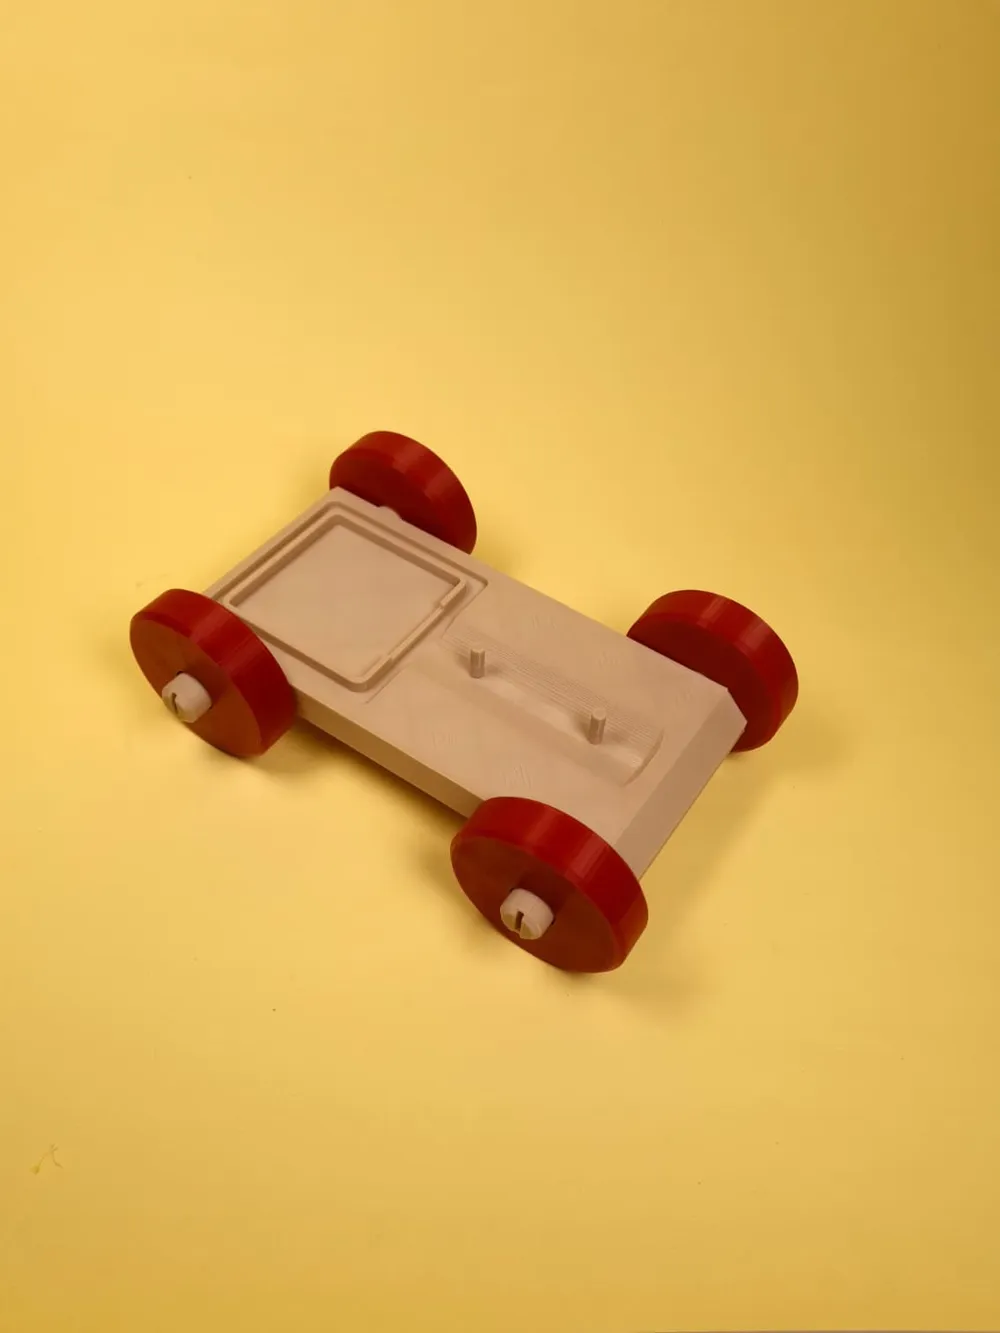
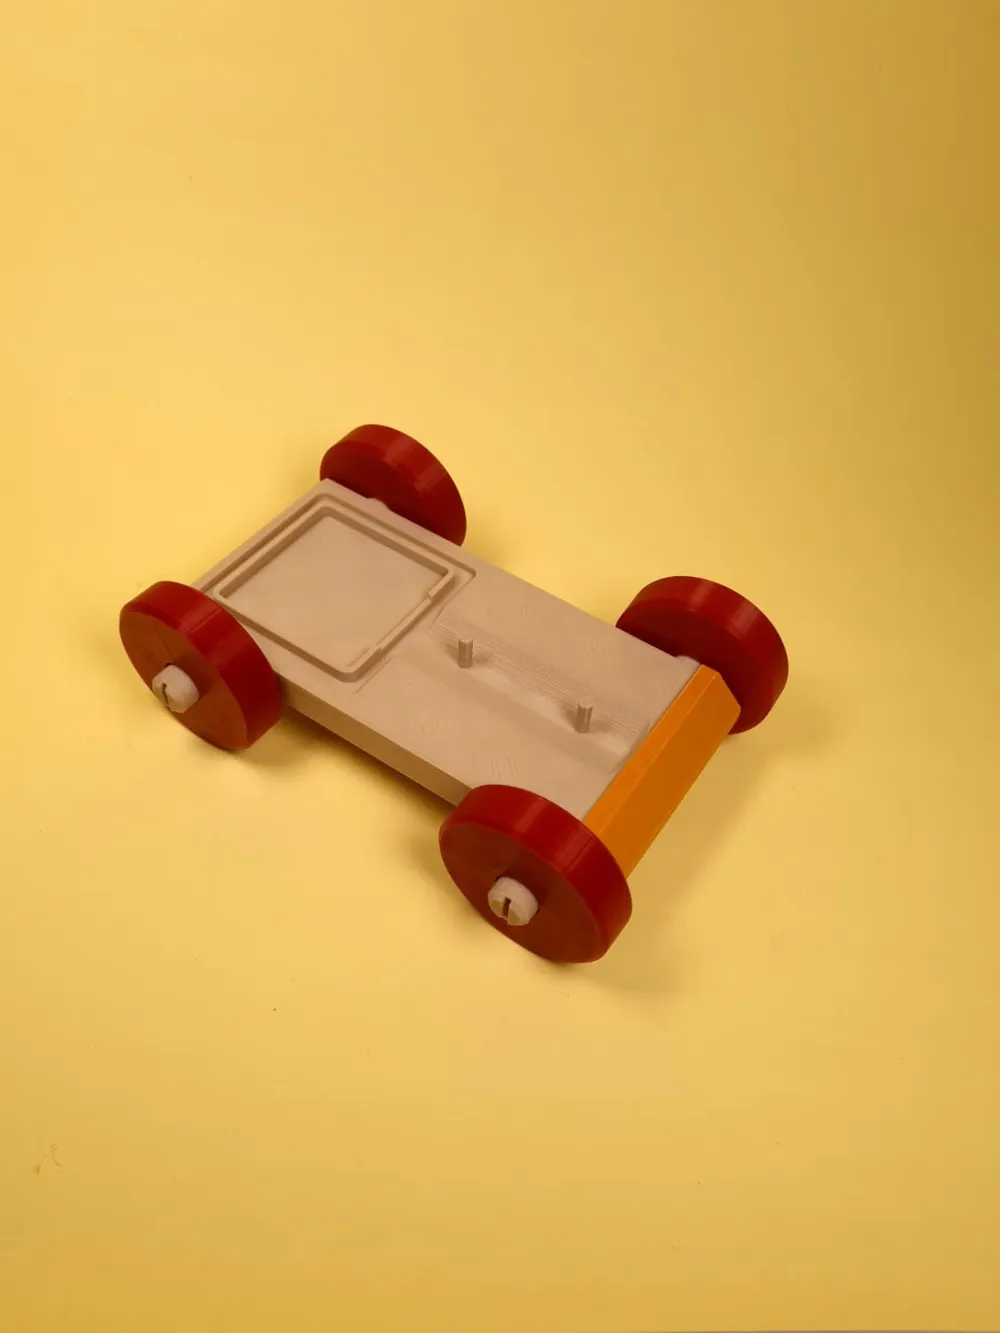
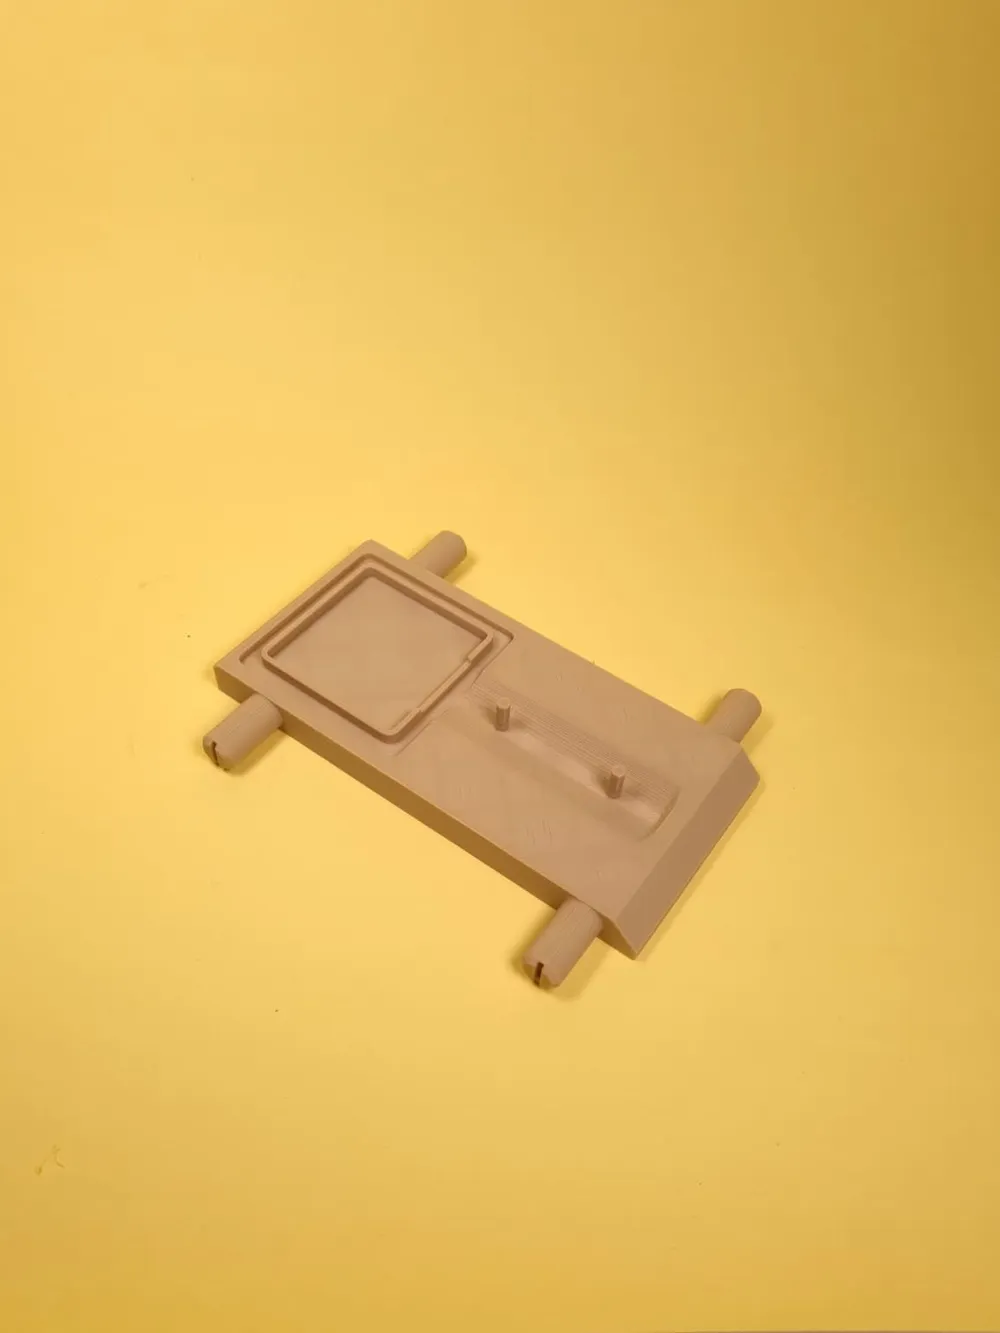
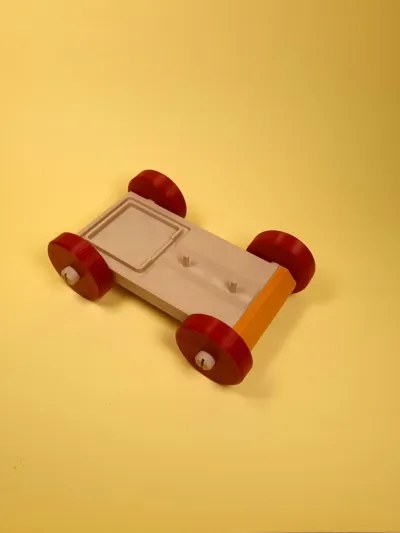
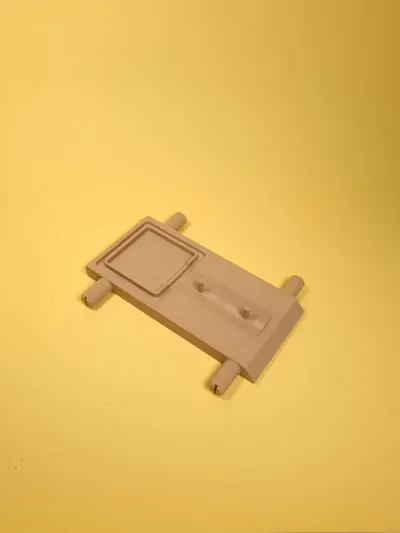
- Base platform
- Wheels + wheel pin covers
- Front cowcatcher
- Barrel (bottom + top halves)
- Cabin (bottom + top halves + roof)
- Chimney (with cable duct)
- Ribbon front detail
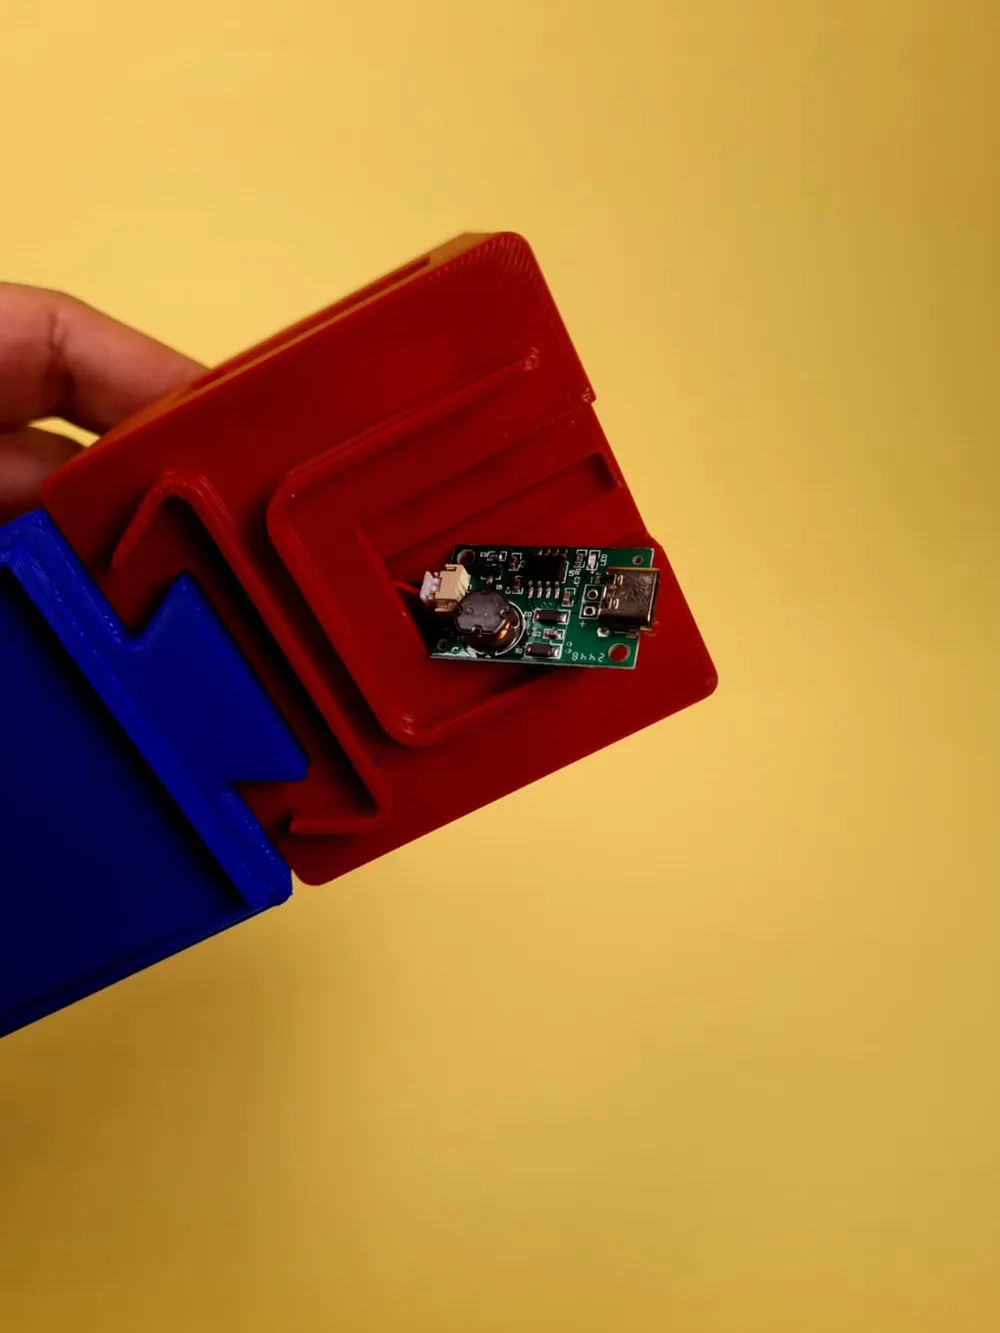
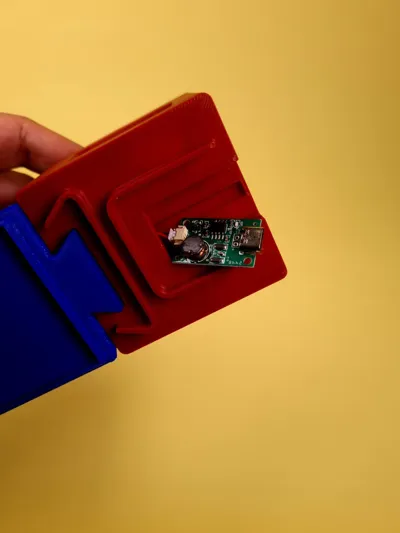
- PCB drawer
- Roof part
🖨️ Print Instructions
- Printed in PLA.
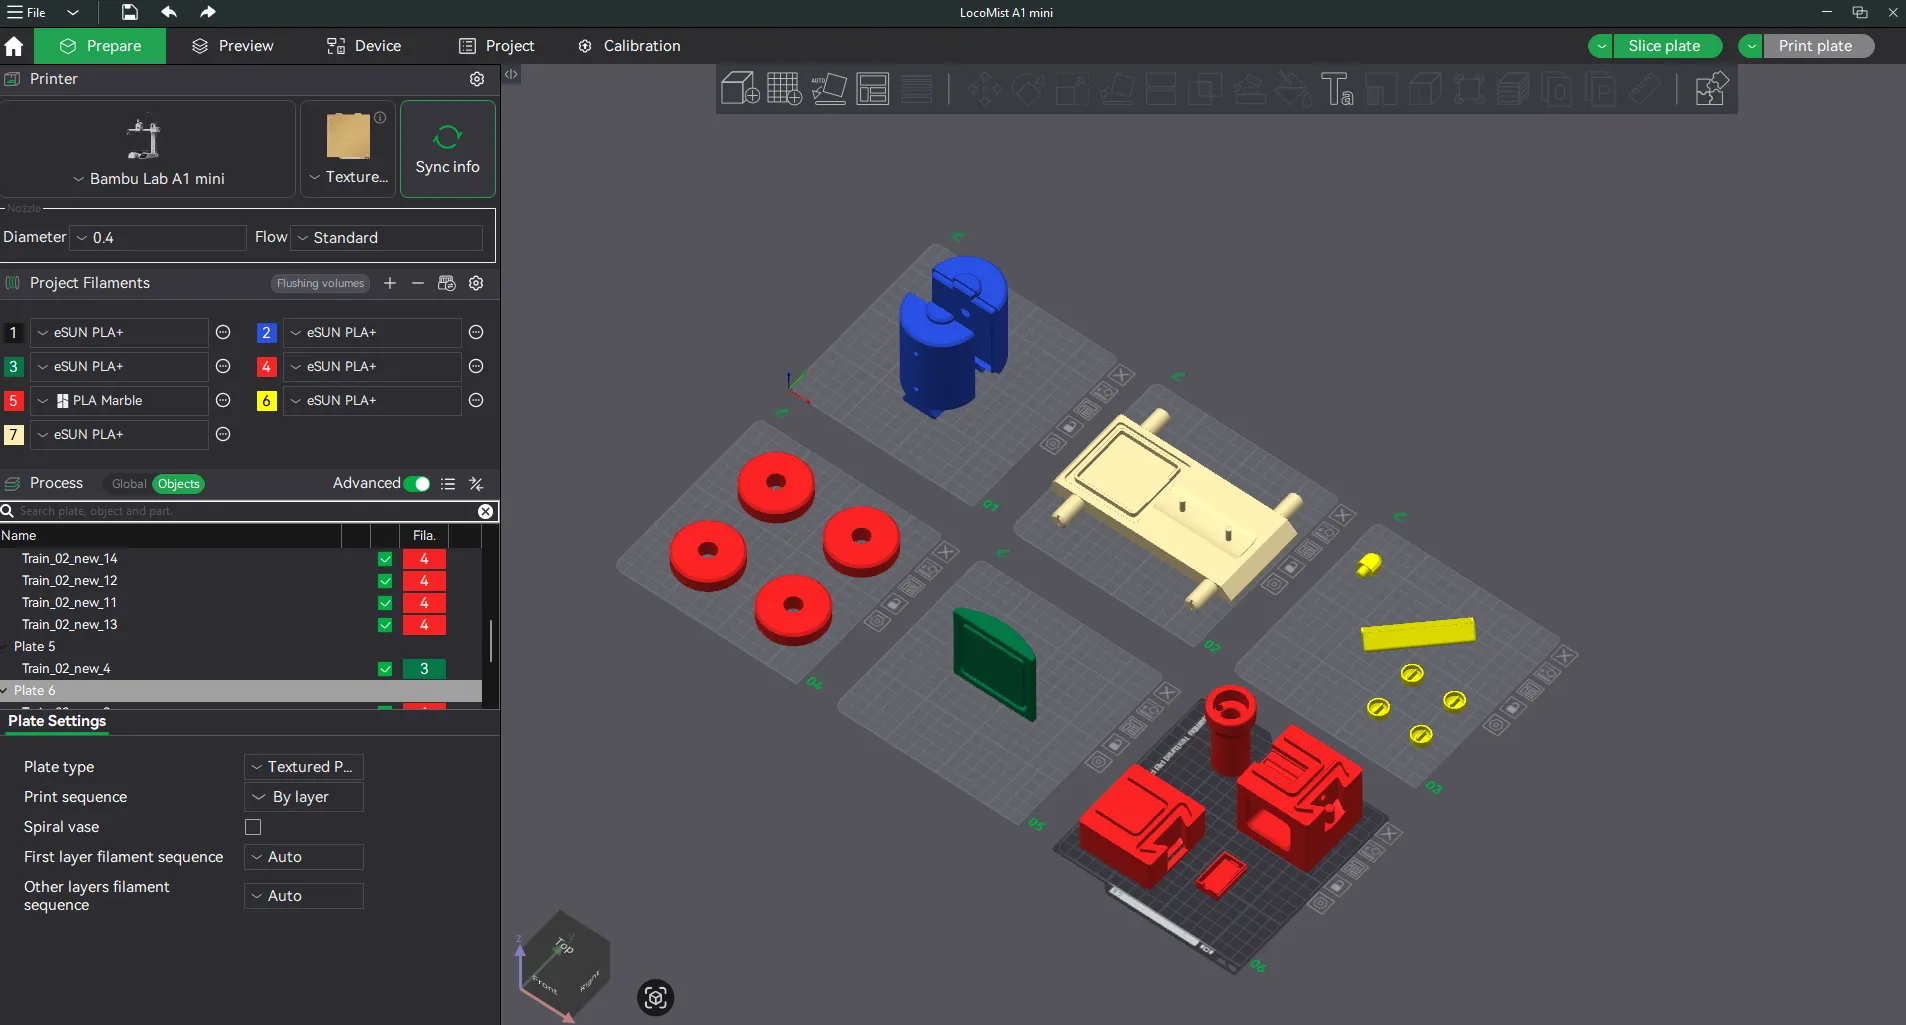
- Almost every part requires supports for best results.
- See included slicer screenshot for orientation and positioning.
- Use a brim for the cabin halves for best results.
- Recommended layer height: 0.2 mm; walls: 3.
🔧 Assembly Instructions
Bottom section (water tank):
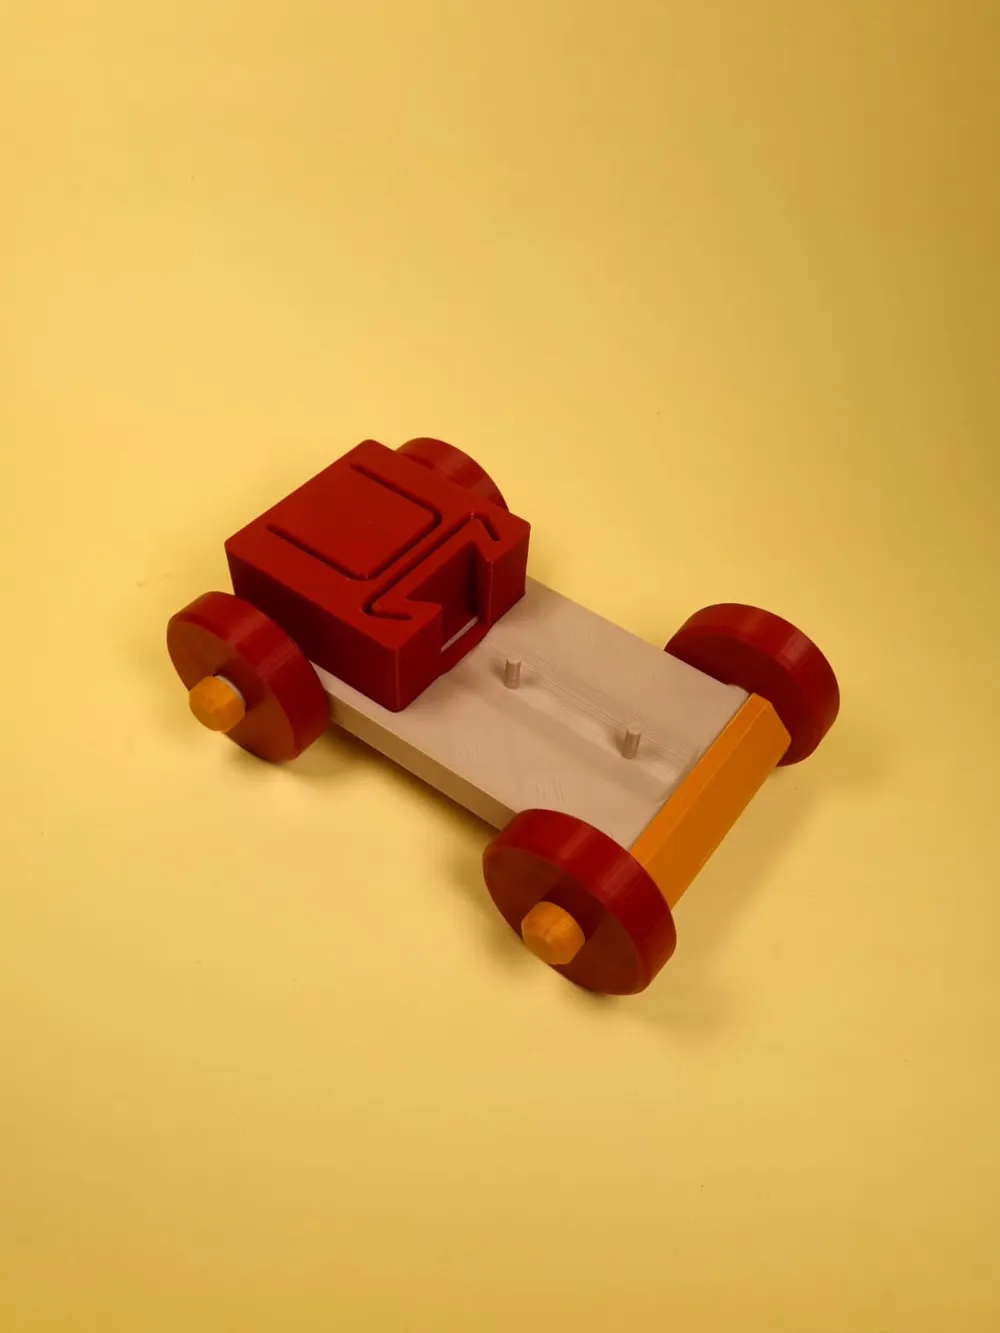
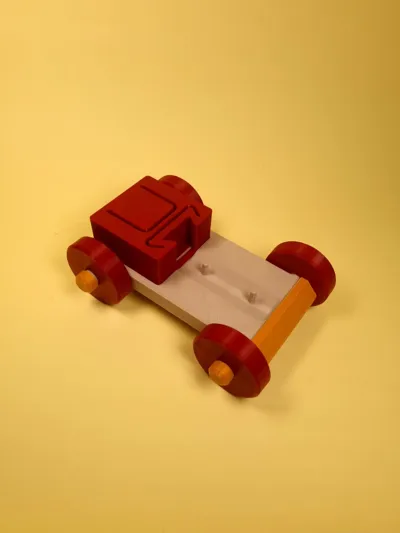
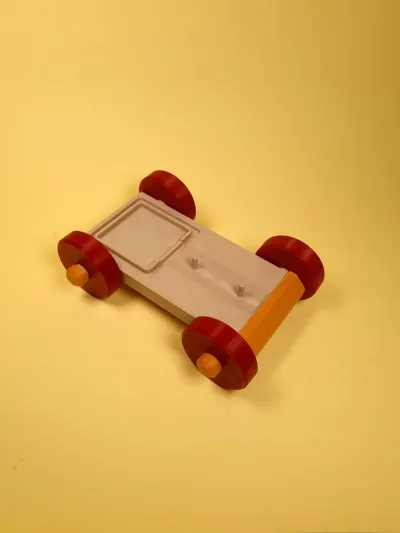
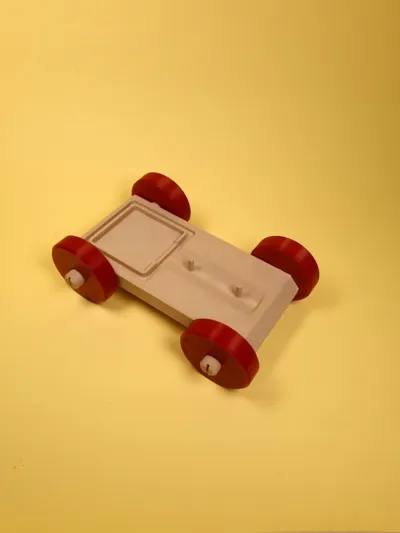
- Insert the wheels to the base and lock with pin covers.
- Attach the front cowcatcher to the base (bit of glue might be needed, depends on your calibration).
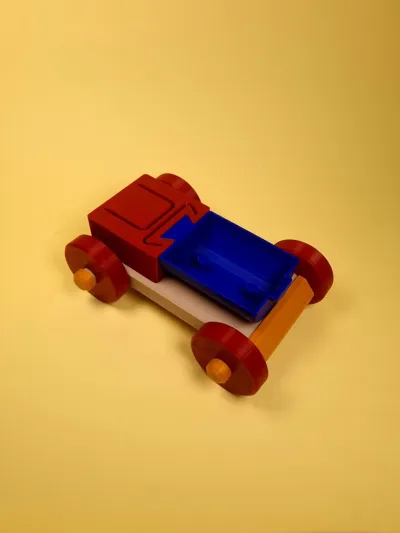
- Place the cabin bottom on the base.
- Attach the barrel bottom to the cabin bottom + base pins.
Top section (electronics):
- insert the ribbon piece to the top barrel.
- Attach the roof to the top cabin.
- Insert the humidifier module into the chimney, thread its cable down through the chimney pipe → barrel top → cabin top. (it might be easier to first connect the pieces, then thread at once. You may need to lengthen the cables a bit)
- Seat the PCB in its drawer, connect module to PCB, and slide the drawer into the cabin top.
- Glue the top cabin and the top barrel lightly so the top stays as one liftable unit.
Final assembly:
- Fill tank with clean water.
- Place filter in the barrel top.
- Close with the top unit (chimney + electronics).
- Connect USB-C power.
- Choo choo → mist begins!
🌿 Functional Notes
- All water is held safely in the bottom tank.
- Electronics are isolated in the liftable top unit.
- Super glue is recommended to secure sub-assemblies → reduces risk of loose parts during handling.
- Designed to fit standard USB-C ultrasonic humidifier modules with wick/filter.
Boost Me (for free)
Support the Innovation!
Membership
Start Selling This Design
------------------------------------------------------------------------------------------------------
Every model is originally designed from scratch, rigorously 3D printed, and thoroughly tested to perfection by Omri Hillel. All rights reserved. Unauthorized duplication, modification, or commercial distribution without a proper license is strictly prohibited.
License

You shall not share, sub-license, sell, rent, host, transfer, or distribute in any way the digital or 3D printed versions of this object, nor any other derivative work of this object in its digital or physical format (including - but not limited to - remixes of this object, and hosting on other digital platforms). The objects may not be used without permission in any way whatsoever in which you charge money, or collect fees.


Comment & Rating (1)