Innovv K7 Rear Mount - Evotech RS 660 Tail Tidy


Print Profile(1)

Bill of Materials


- Zip Tie x 1:
Description
I wanted a subtle way to mount the rear camera for my Innovv K7 dashcam system, found this model on Thingiverse, and really liked the concept. Unfortunately, the clearances and shapes of things on the RS 660 were different enough that I designed this one from scratch. You can route the camera cable however you want, but I modified the plastic cover piece over where the tail tidy mounts to allow the cable to pass through at that location. It keeps things clean and unobtrusive!
You will need an M3x20 screw and an M3 nut to secure the mount on to the tail tidy. Also a zip tie.
Tools required are a 4mm allen key, cutters to trim the zip tie, and the appropriate tool for the screw you're using. A swingarm stand is also very useful but not strictly necessary.
I recommend using a durable, UV-resistant filament for this one, like ASA. The print shown in the photos used 3DXTech ASA-CF.
I uploaded photos of the installation process, but here are some words to go with the pictures:
- Remove the turn signal from the tail tidy using a 4mm allen key.
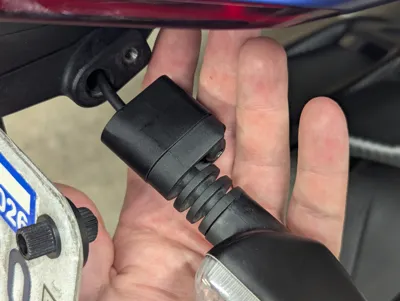
- Gently pull the turn signal outward to bring out some of the cabling. You just need enough to slide through the gap on the lower half.
- Slide the lower half over the cable in the orientation shown in the photo.
- Re-attach the turn signal, again with the 4mm allen key. You should be able to slide the lower half side-to-side on the turn signal.
- Turn on your bike so the dashcam system turns on. You'll want to use the phone app as you place the rear camera to make sure you get it level. Having the bike on a swingarm stand is useful since that will keep it upright for you.
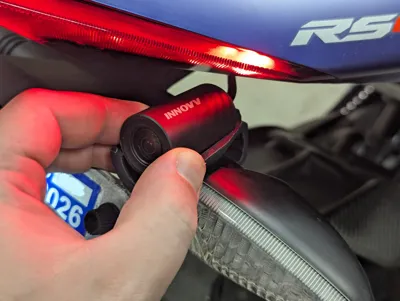
- Place the camera on top of the mount but do not press it into place yet.
- Using the phone app, adjust the camera until you have it level.
- Press the camera into the mount. It will “click” into place when seated. Be careful as you do this to not rotate the camera too much.
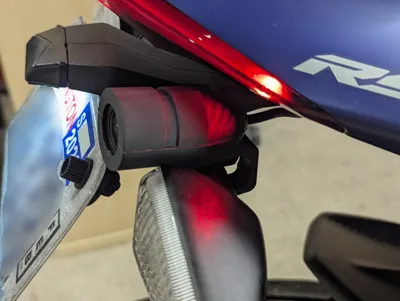
- Place the upper half of the mount on the camera.
- Secure the two halves with the zip tie. Insert the M3 screw into the bottom of the mount and the nut into the slot as shown. Adjust the position of the camera mount as desired and clamp it in place. You can gently hold the nut with the cutters as you tighten.
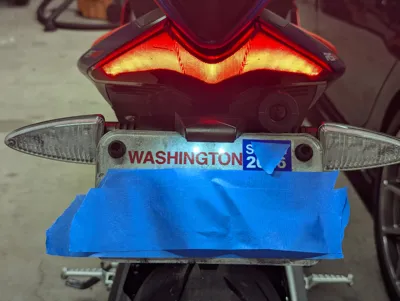
- Step back and admire your work!
Comment & Rating (0)