
RBPan 35mm Panoramic Camera
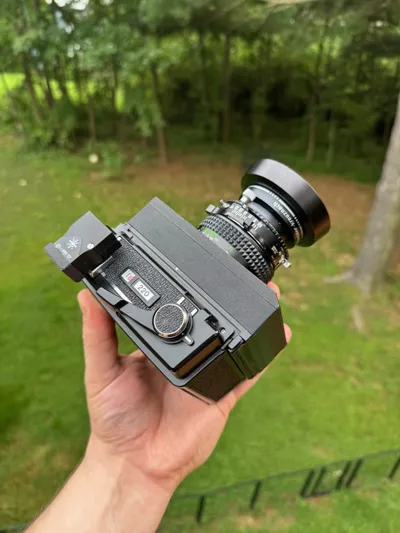
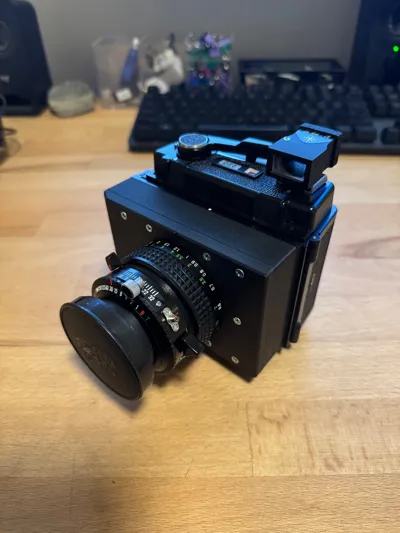
Print Profile(1)
Description
Please read - this is an involved project and requires selection of other components, precise measurements, filament scaling/calibration, minor post processing and lens disassembly. See all notes below before continuing.
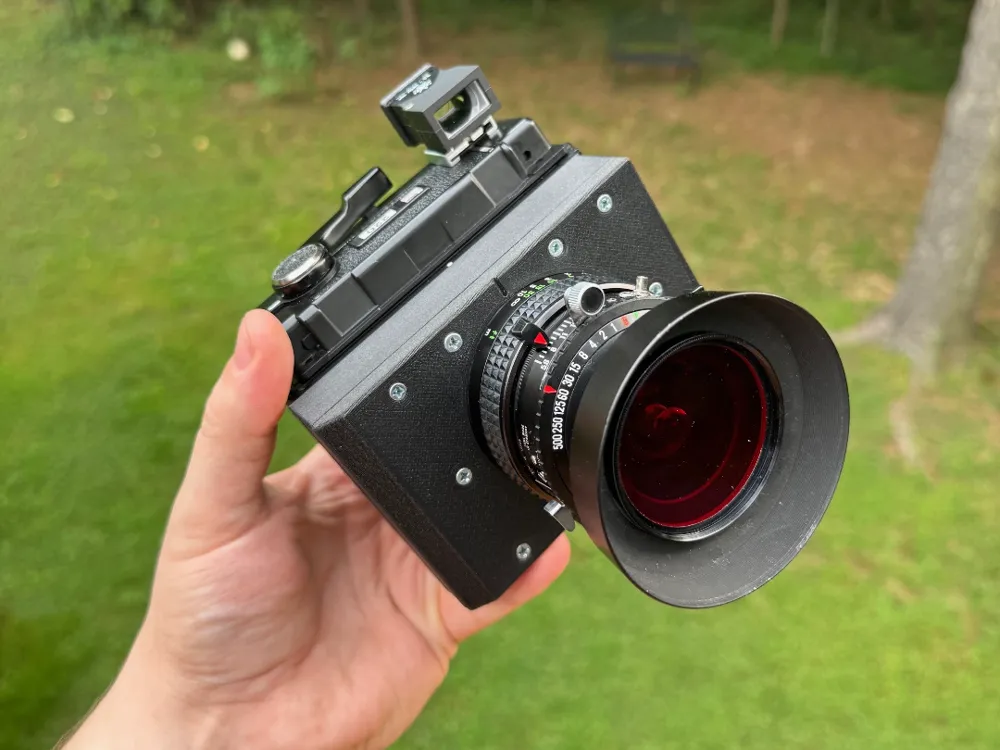
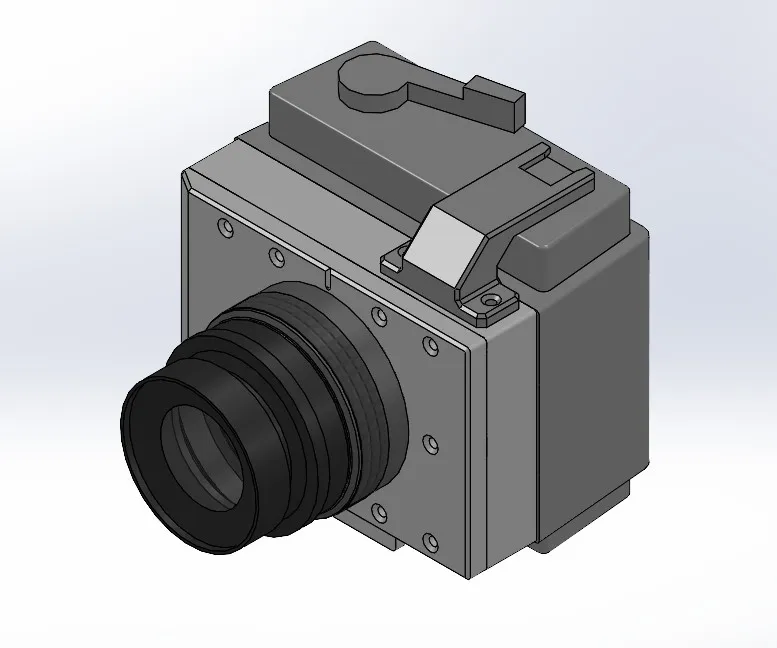
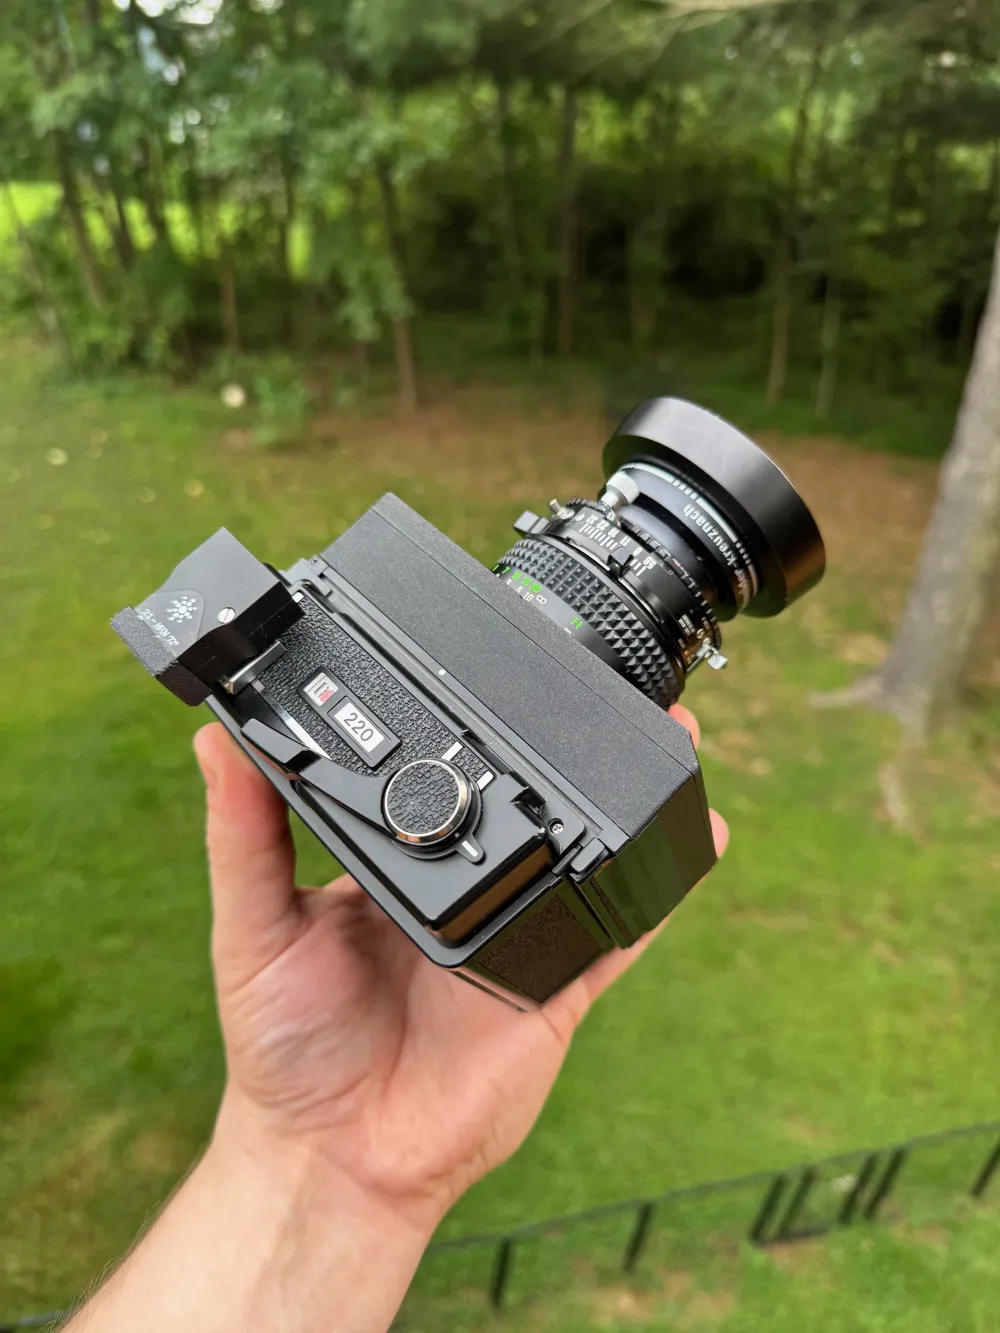
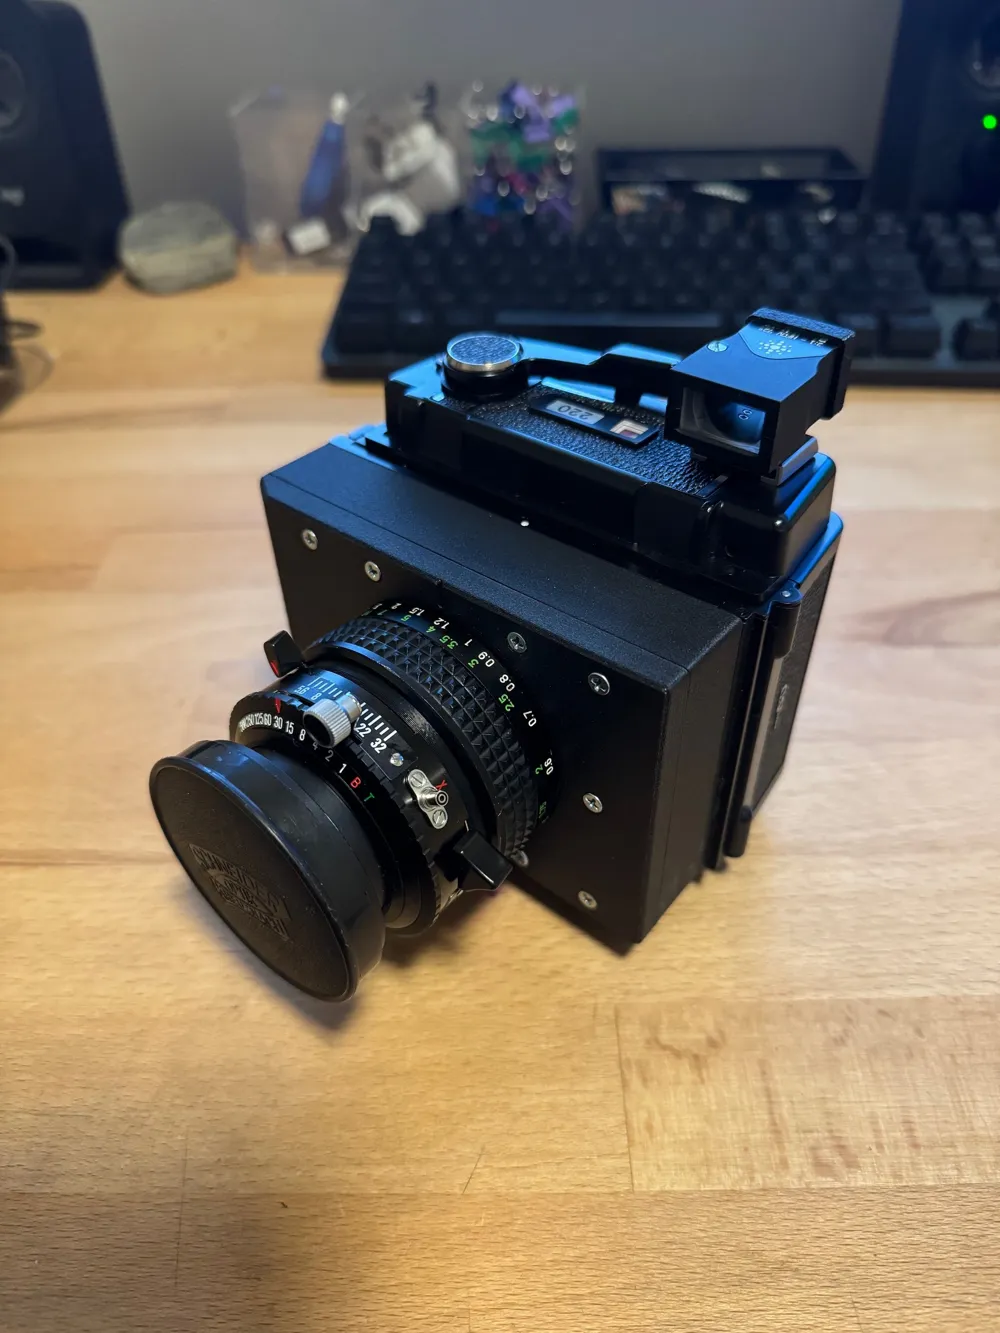
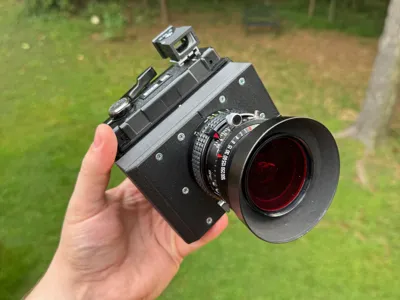
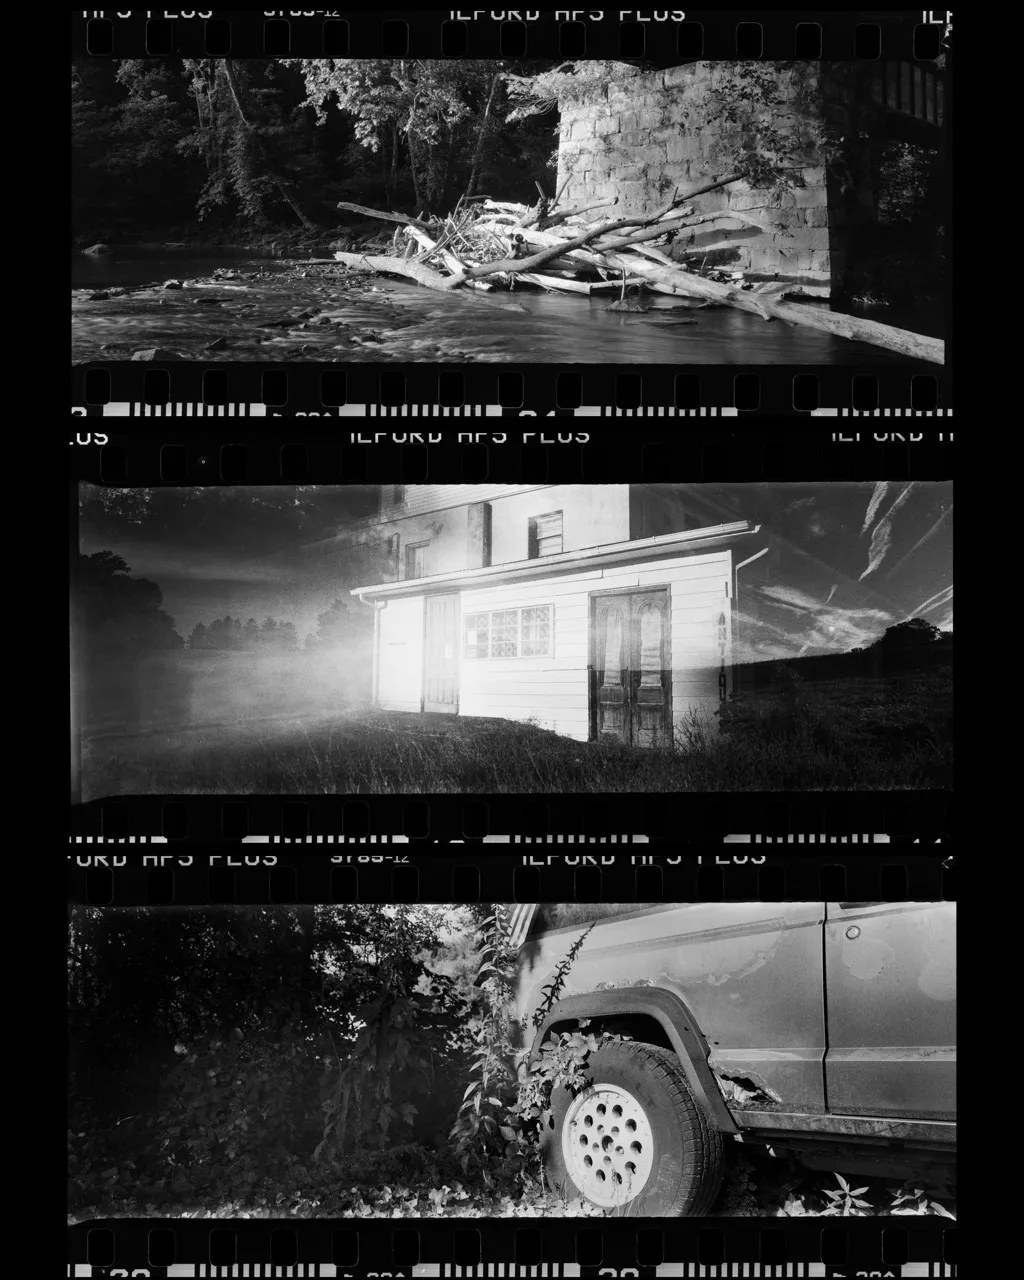
This is the V1 of my panoramic camera project utilizing a Mamiya RB67 220 back. With this setup you can get ~14 24mm x 70mm panoramic photos from a standard 36 exp 35mm roll. No permanent modifications are required to the film back or lens and both can be returned to stock. I recommend using a stable filament that is resistant to high temperatures should you leave this in a hot car or for outdoor use.
Parts Required
- Schneider Kreuznach 47mm lens (non-XL)
- Mamiya RB67 Pro-SD back (220 preferred)
- Minolta 50mm f1.7 MC
- External viewfinder (~25mm in 35mm f.o.v.)
- #4 screws (1" and 5/8" recommended)
- ¼-20 nut for tripod
- 35mm x 45mm x 0.1mm shims (McMaster 98089A244, 98055A342, or equivalent)
- 35mm to 120 adapters (print files available elsewhere)
Tools Required
- lens spanner
- ph00, ph0, ph1 screw drivers or JIS equivalents
- focusing screen, ground glass, or tape for focus calibration
- magnifying loupe
- rubber lens ring tool or similar
- calipers and/or micrometer
Lens selection
This will work with both the 47mm f8 and 47mm f5.6 non-xl models mounted in copal #0 shutters. The XL lens elements are too large to fit inside the spec'd helicoid.
Helicoid Selection
I selected a Minolta 50mm f1.7 MC for the helicoid, these are readily available for cheap especially with damaged or hazed lens elements, which you will not need. The lens elements and lens mount need to be removed, only the helicoid is required for this project. With the relatively large DOF of a f5.6 lens, the focus scale is accurate enough with the camera calibrated at infinity. The 50mm f1.4 MC is similar internally and would also work, minor changes may be required. NOTE: the MD version of the lenses will not work, although similar optically, the internal construction is completely different and the MC variant is required for the schneider rear element to fit.
Lens FFD/Mounting
The copal #0 47mm is spec'd with a 52.2mm flange distance at infinity (base of the shutter to the film plane). However, the Digitar copy of the lens I have measured at ~50.8mm, I'm not sure why. I have included two adapters in the files but you may need to tweak this to your design. Both adapters bring the lens just short of the FFD, see calibration below for more details.
Film Back
This design is for the Pro-SD variant of the RB67 back, the hole pattern is different for the standard and Pro-S models and will require adaptation. I recommend a 220 version of the film back. The 220 back has a pressure plate intended for film without backing paper (like 35mm film) and a film counter that goes high enough to account for the length of a 35mm roll. To adapt the back, youll need to remove the darkslide and 11 screws holding on the faceplate. You can leave the darkslide release lever in place.
Film Counter
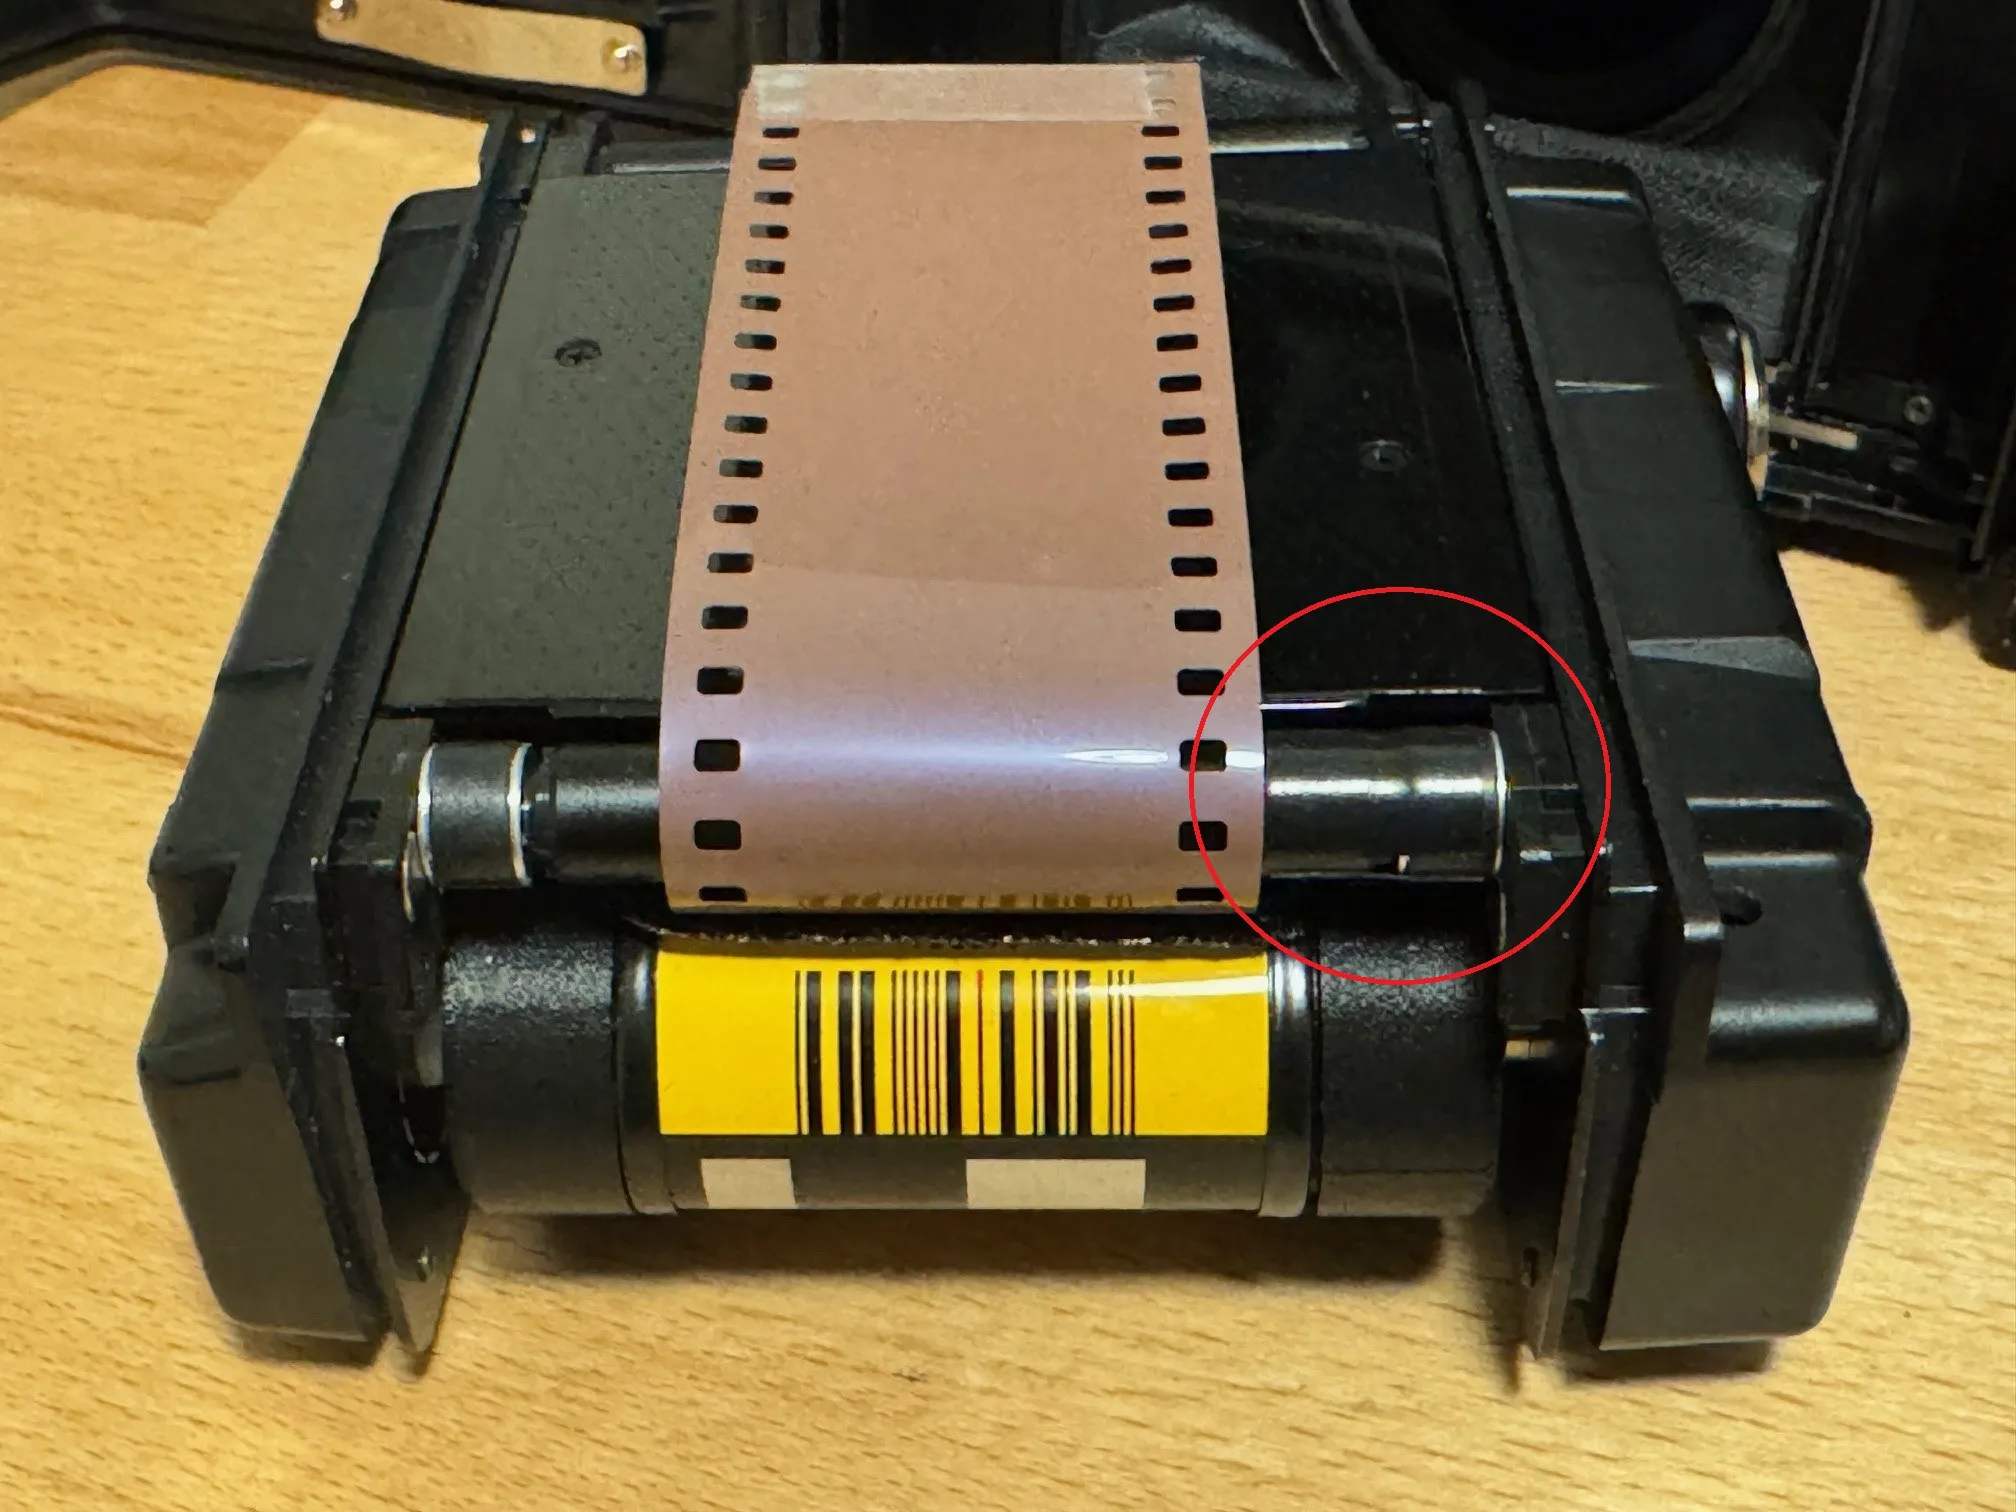
For the film counter to work with 35mm film, you'll need to add a small piece of tape between the rubber roller and the center roller so they turn together. 120 film is wide enough to turn the rubber roller by itself, but with the narrow width of 135, the tape is required.
Film Loading/Unloading
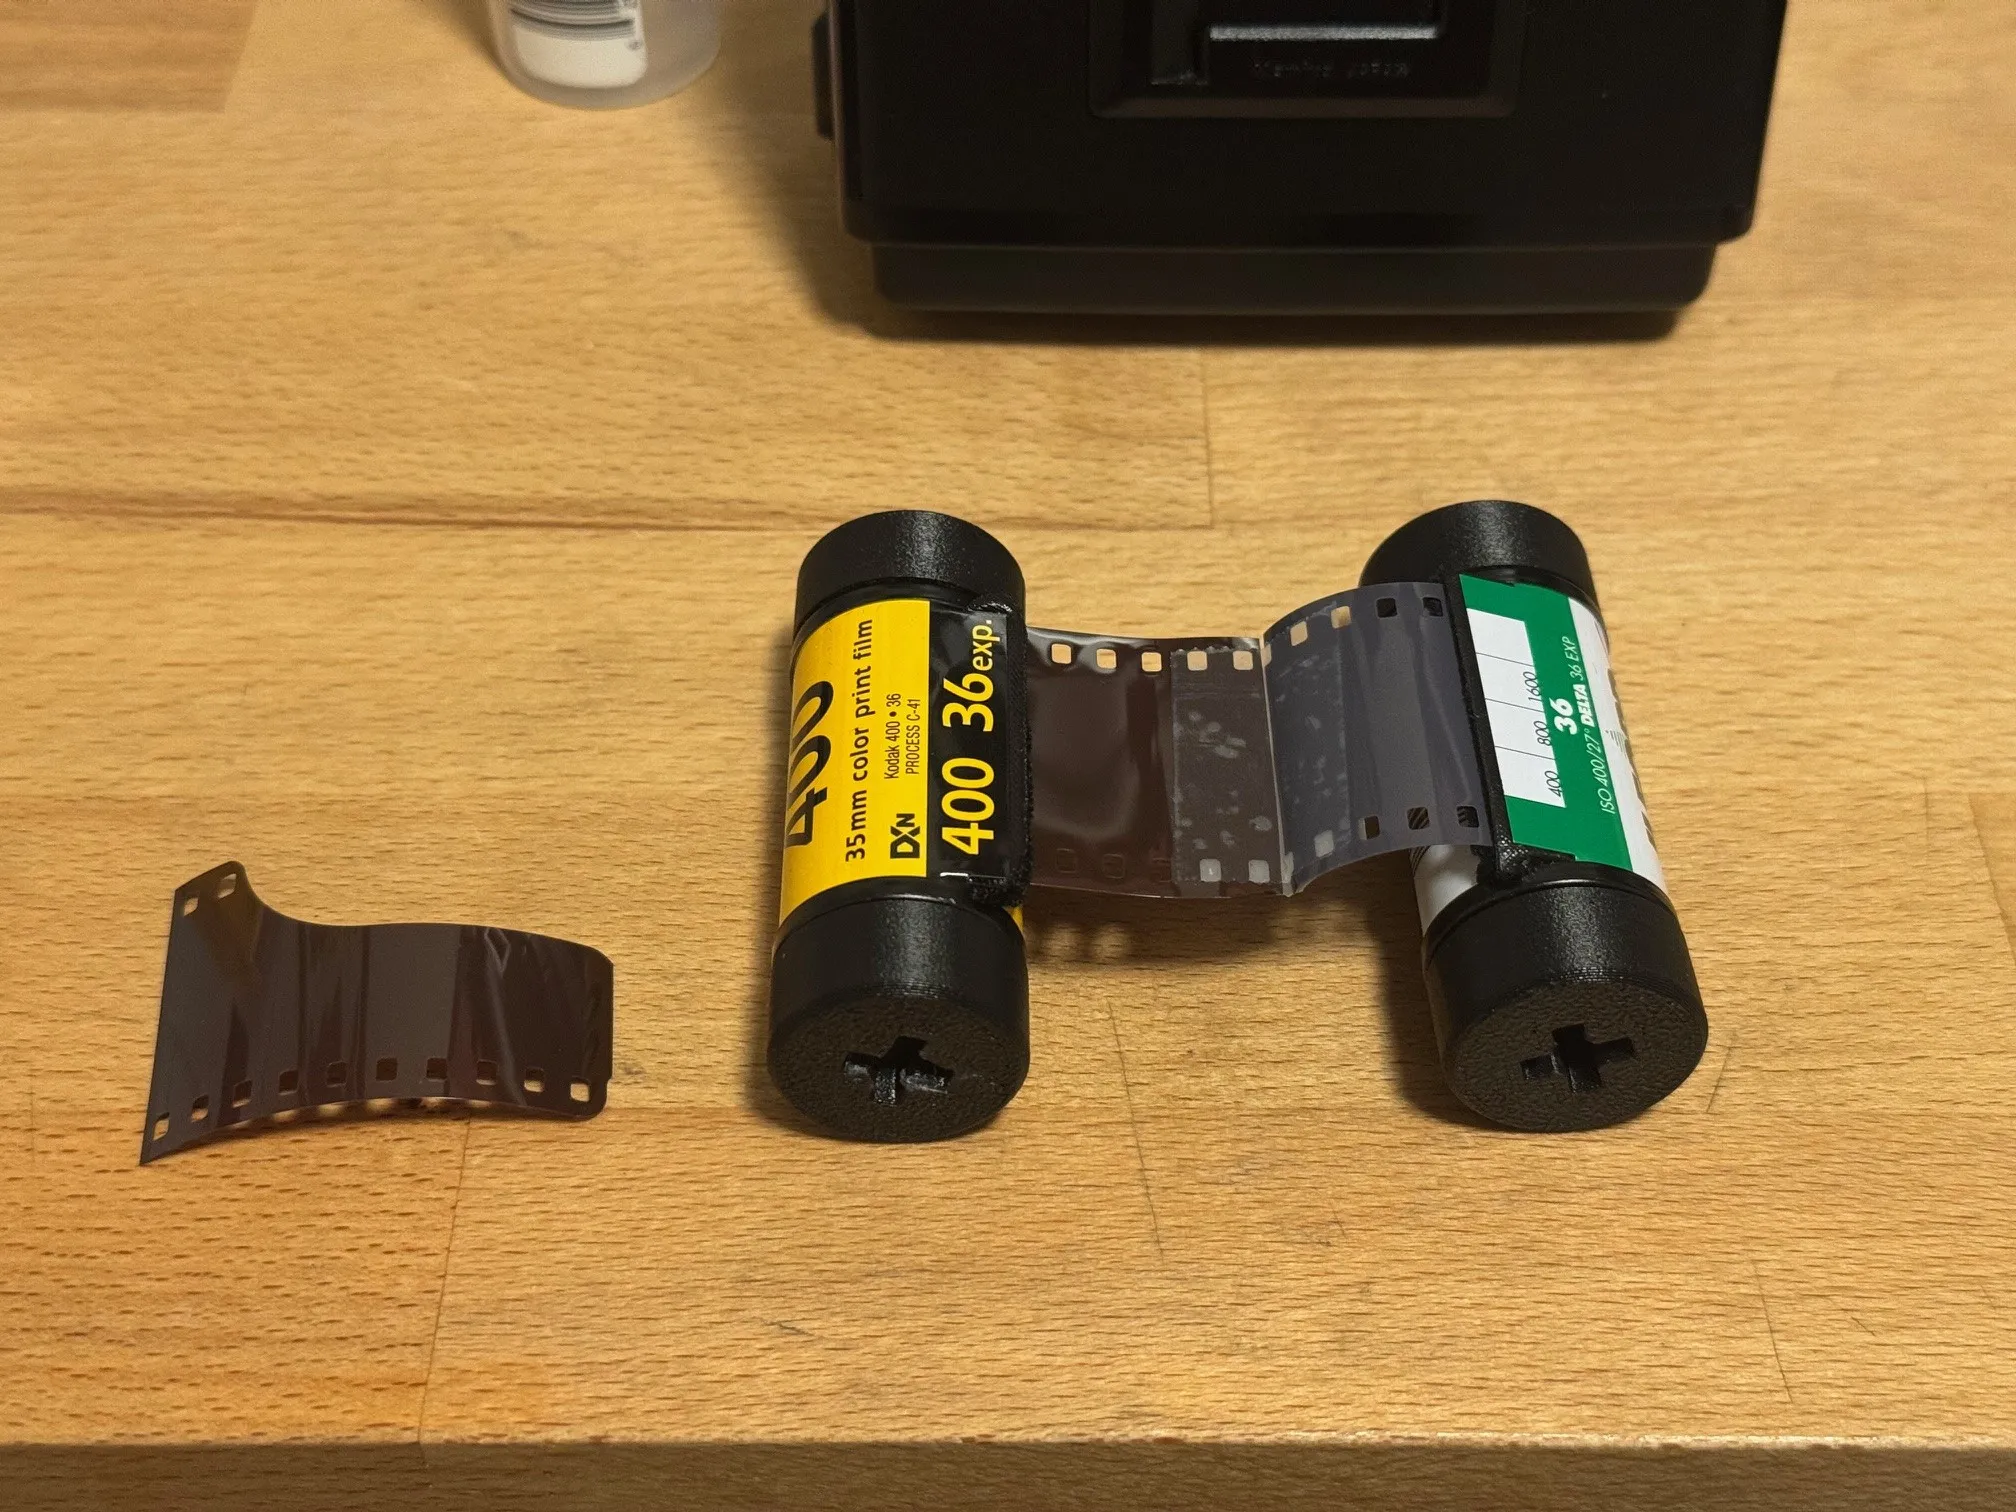
You can use a standard 120 take up spool but you'll need to unload the back in a dark bag. Alternatively, you can also use an empty 35mm canister as a takeup spool - cut the leader of the two rolls square and tape them together so the film winds from the new canister into the empty one. After shot 13 or 14 (depending on how long the leftover leader is on your takeup canister), advance the film two more frames to roll your last shot safely into the takeup canister. Now you can open the film back and remove the film without a dark bag. Cut the film strip and process as normal. The canister of the roll you just shot can be used as your next takeup spool.
Viewfinder
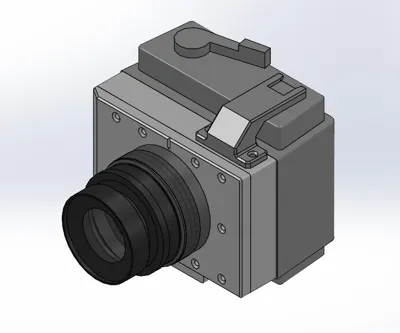
Two body variants are provided - one with a viewfinder cold shoe, one without. In my final version, I mounted a cold shoe directly to the film back. However, if you choose to not disassemble and modify the film back, you can use the included cold shoe. A viewfinder with a ~25mm field of view (in full frame format) is recommended. Depending on the viewfinder you select, you may need to create a mask for accurate framing.
Printing/Post Processing
Because of the small part size and precise fit, calibrate filament before final printing and scale print or filament to acheive accurate dimensions. Supports are required, ideally support material that removes cleanly but the same filament works as well. You need to remove all supports completely. Support material in holes can be pushed out with a small drill bit or push pin. I recommend lightly sanding the film gate surface to remove any imperfections and allow the film to travel smoothly across it. Remember, this surface needs to be square with the lens mount so be careful not to sand an angle into the surface, only light sanding is required.
Assembly
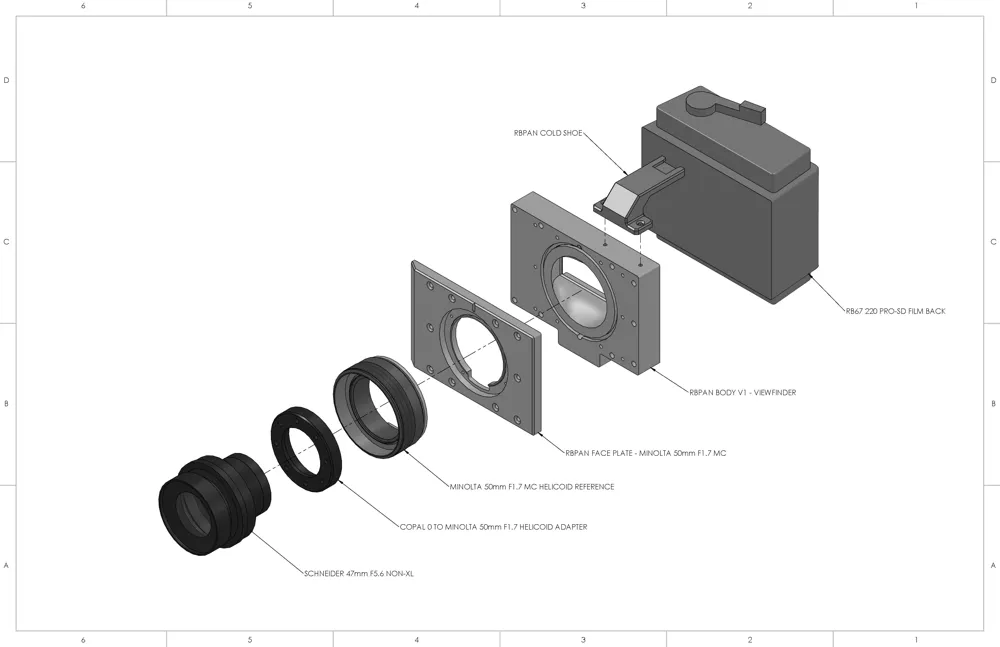
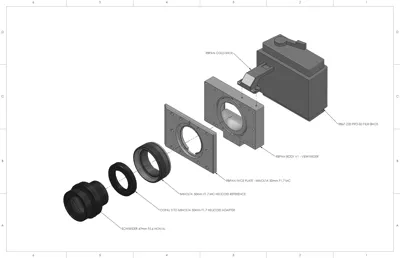
See exploded view of components. All original hardware can be used between the body and original back, helicoid to face plate, and copal adapter to helicoid. Until focus is calibrated, assembly/disassembly may be required multiple times.
- Remove original film gate and dark slide from film back
- Install body to film back with original screws
- Insert ¼-20 nut into body to use with a standard tripod mount, glue is recommended to retain nut.
- Attach adapter to prepared helicoid (see helicoid selection above) using original screws from helicoid
- Attach helicoid to face plate using original screws from helicoid
- Remove rear element and lock nut from Schneider lens
- Mount shutter/front element assembly to the helicoid/adapter using the locknut with a lens spanner.
- Carefully insert rear lens element and thread into shutter. The rear element has very little clearance inside helicoid, a rubber lens trim ring tool helpful to hold and thread it in.
- Attach faceplate/lens assembly to body
- Check focus using ground glass and a focusing target
- repeat steps 6-9 using shims to adjust infinity focus until focus is accurate - see calibration below
mount viewfinder and cold shoe
Focus Calibration
Fair warning - this can be tedious. Both lens adapters are designed to be slightly short of the intended flange focus distance. Use the shorter adapter first. Once the camera is assembled, find something to use as a clear target for infinity focus. Open the back and remove the film cartridge. On the film gate attach a piece of ground glass, old focusing screen, or frosted tape. Set lens at infinity and use the preview lever to open the shutter. Adjust the focus until the infinity target is sharp on the glass/tape. Mark the location on the focus scale where infinity was in focus. Disassemble face plate and remove lens from helicoid. Using calipers or a micrometer you can measure distance between the film plane and lens mount when set at infinity and where on the focus scale the target was brought into focus. If you subtract the second value from the first, you know how far the lens needs to be spaced out from the film plane to acheive infinity focus when the lens is set at that. Add shims or use a longer adapter to set the flange distance. Reassemble, verify, and repeat as needed.
Camera Use
- Load film and close back
- Verify the preview lever on the shutter is not open, easy way to ruin shots
- Advance film to 1 on the frame counter
- Use a light meter and judge distance to subject (if your phone is lidar equiped you can use that to help judge distance)
- Set aperture, shutter speed, and focus distance
- Cock the shutter, compose, and shoot.
- When ready to advance the film, use the film wind stop release lever (under the advance lever on the upper center of the back) to allow the film to advance.
- Continue through frame 13 or 14.
- If using the two canister method, advance the film twice to fully roll the film into the takeup canister and protect it. If using a standard 120 takeup spool unload in a darkbag and wind the film back into the canister. Open the back and remove the cartridge/film.
Documentation (1)
License



Comment & Rating (8)