J-36 - Fully Articulated Version


Print Profile(5)


Description
Catalog => <Warship-Ship>-<Fighter-Aircraft>-<Vehicle-Tank>-<Aerospace>-<Miniature>-<Mecha>-<Weapon>-<Uncategorized>
Membership
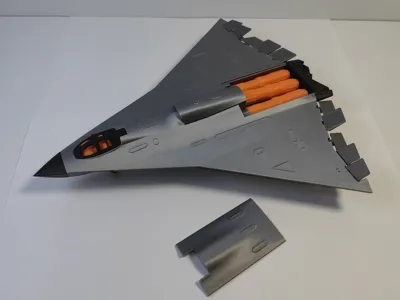
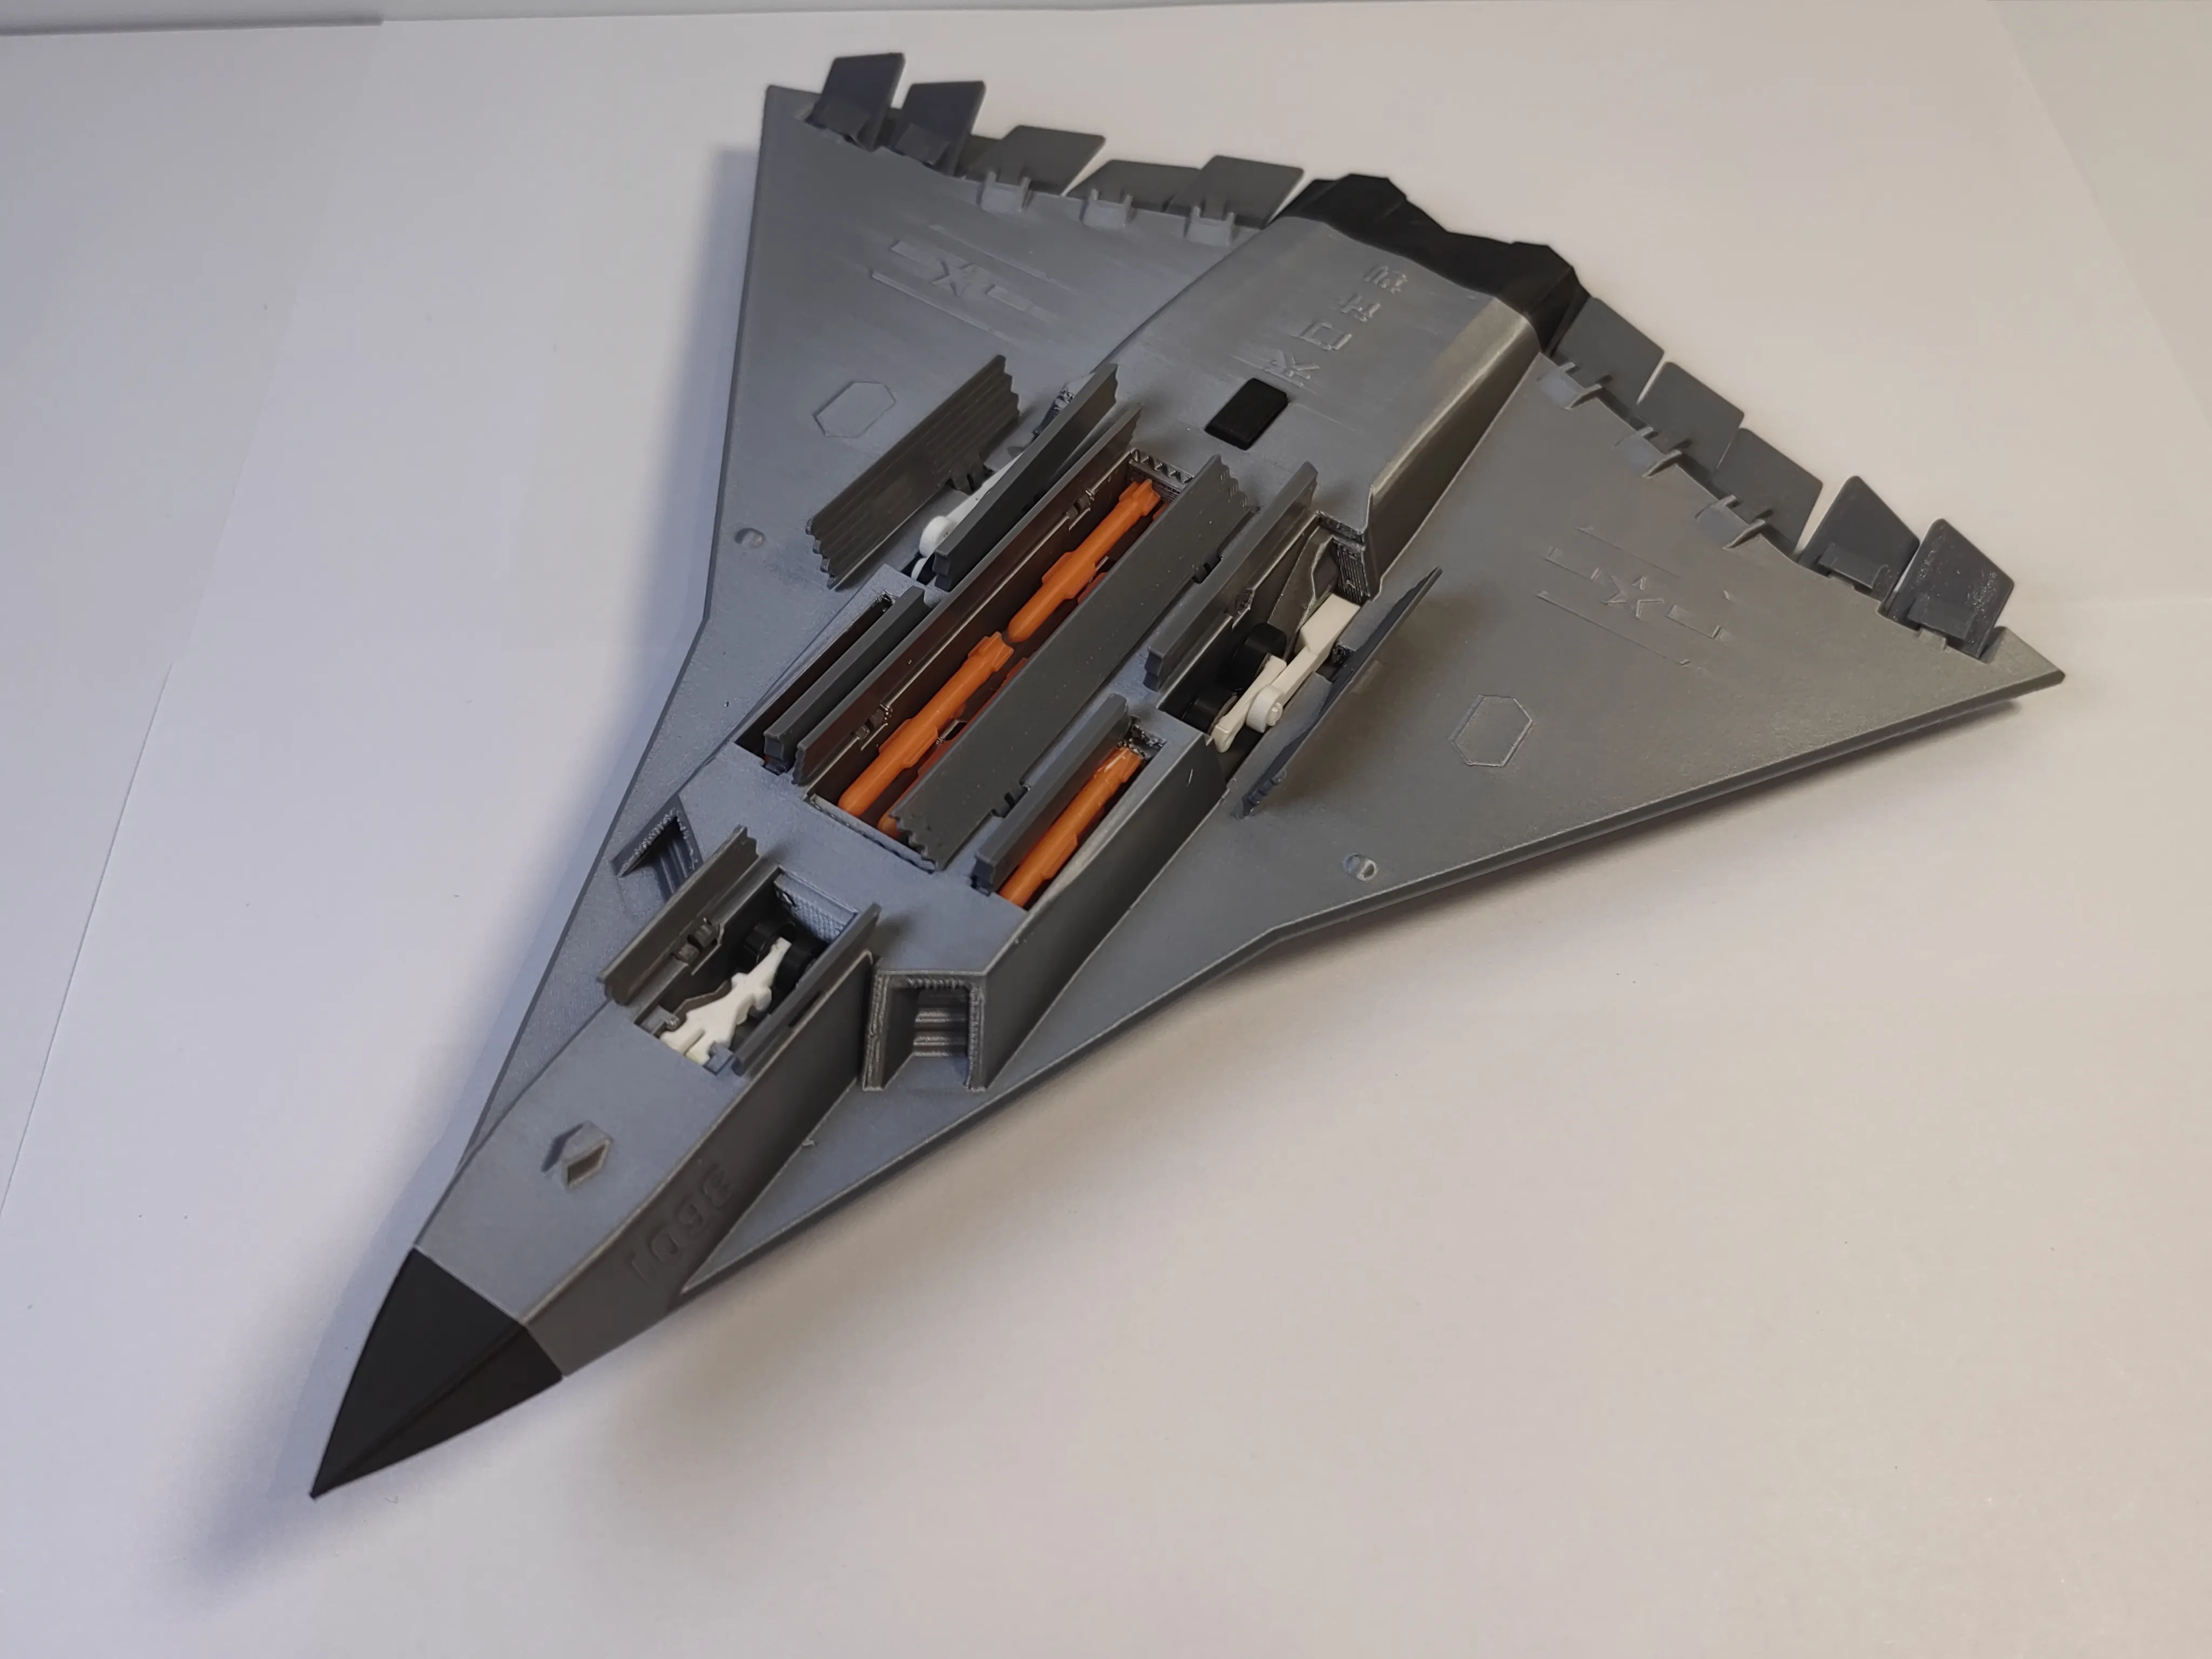
J-36 - Fully Articulated Version (China's 6th Generation Fighter Jet)
Commemorating September 3rd, thanking our ancestors and the motherland for the peaceful and happy life they have brought us! Wishing the September 3rd military parade complete success!
This version is based on the previous J-36 I released, with corrections and added details, including dual side missile bays
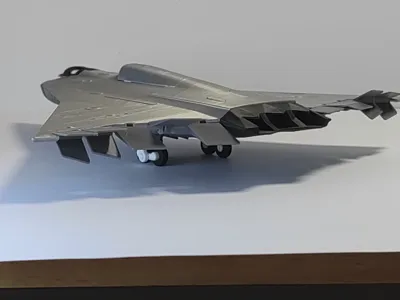
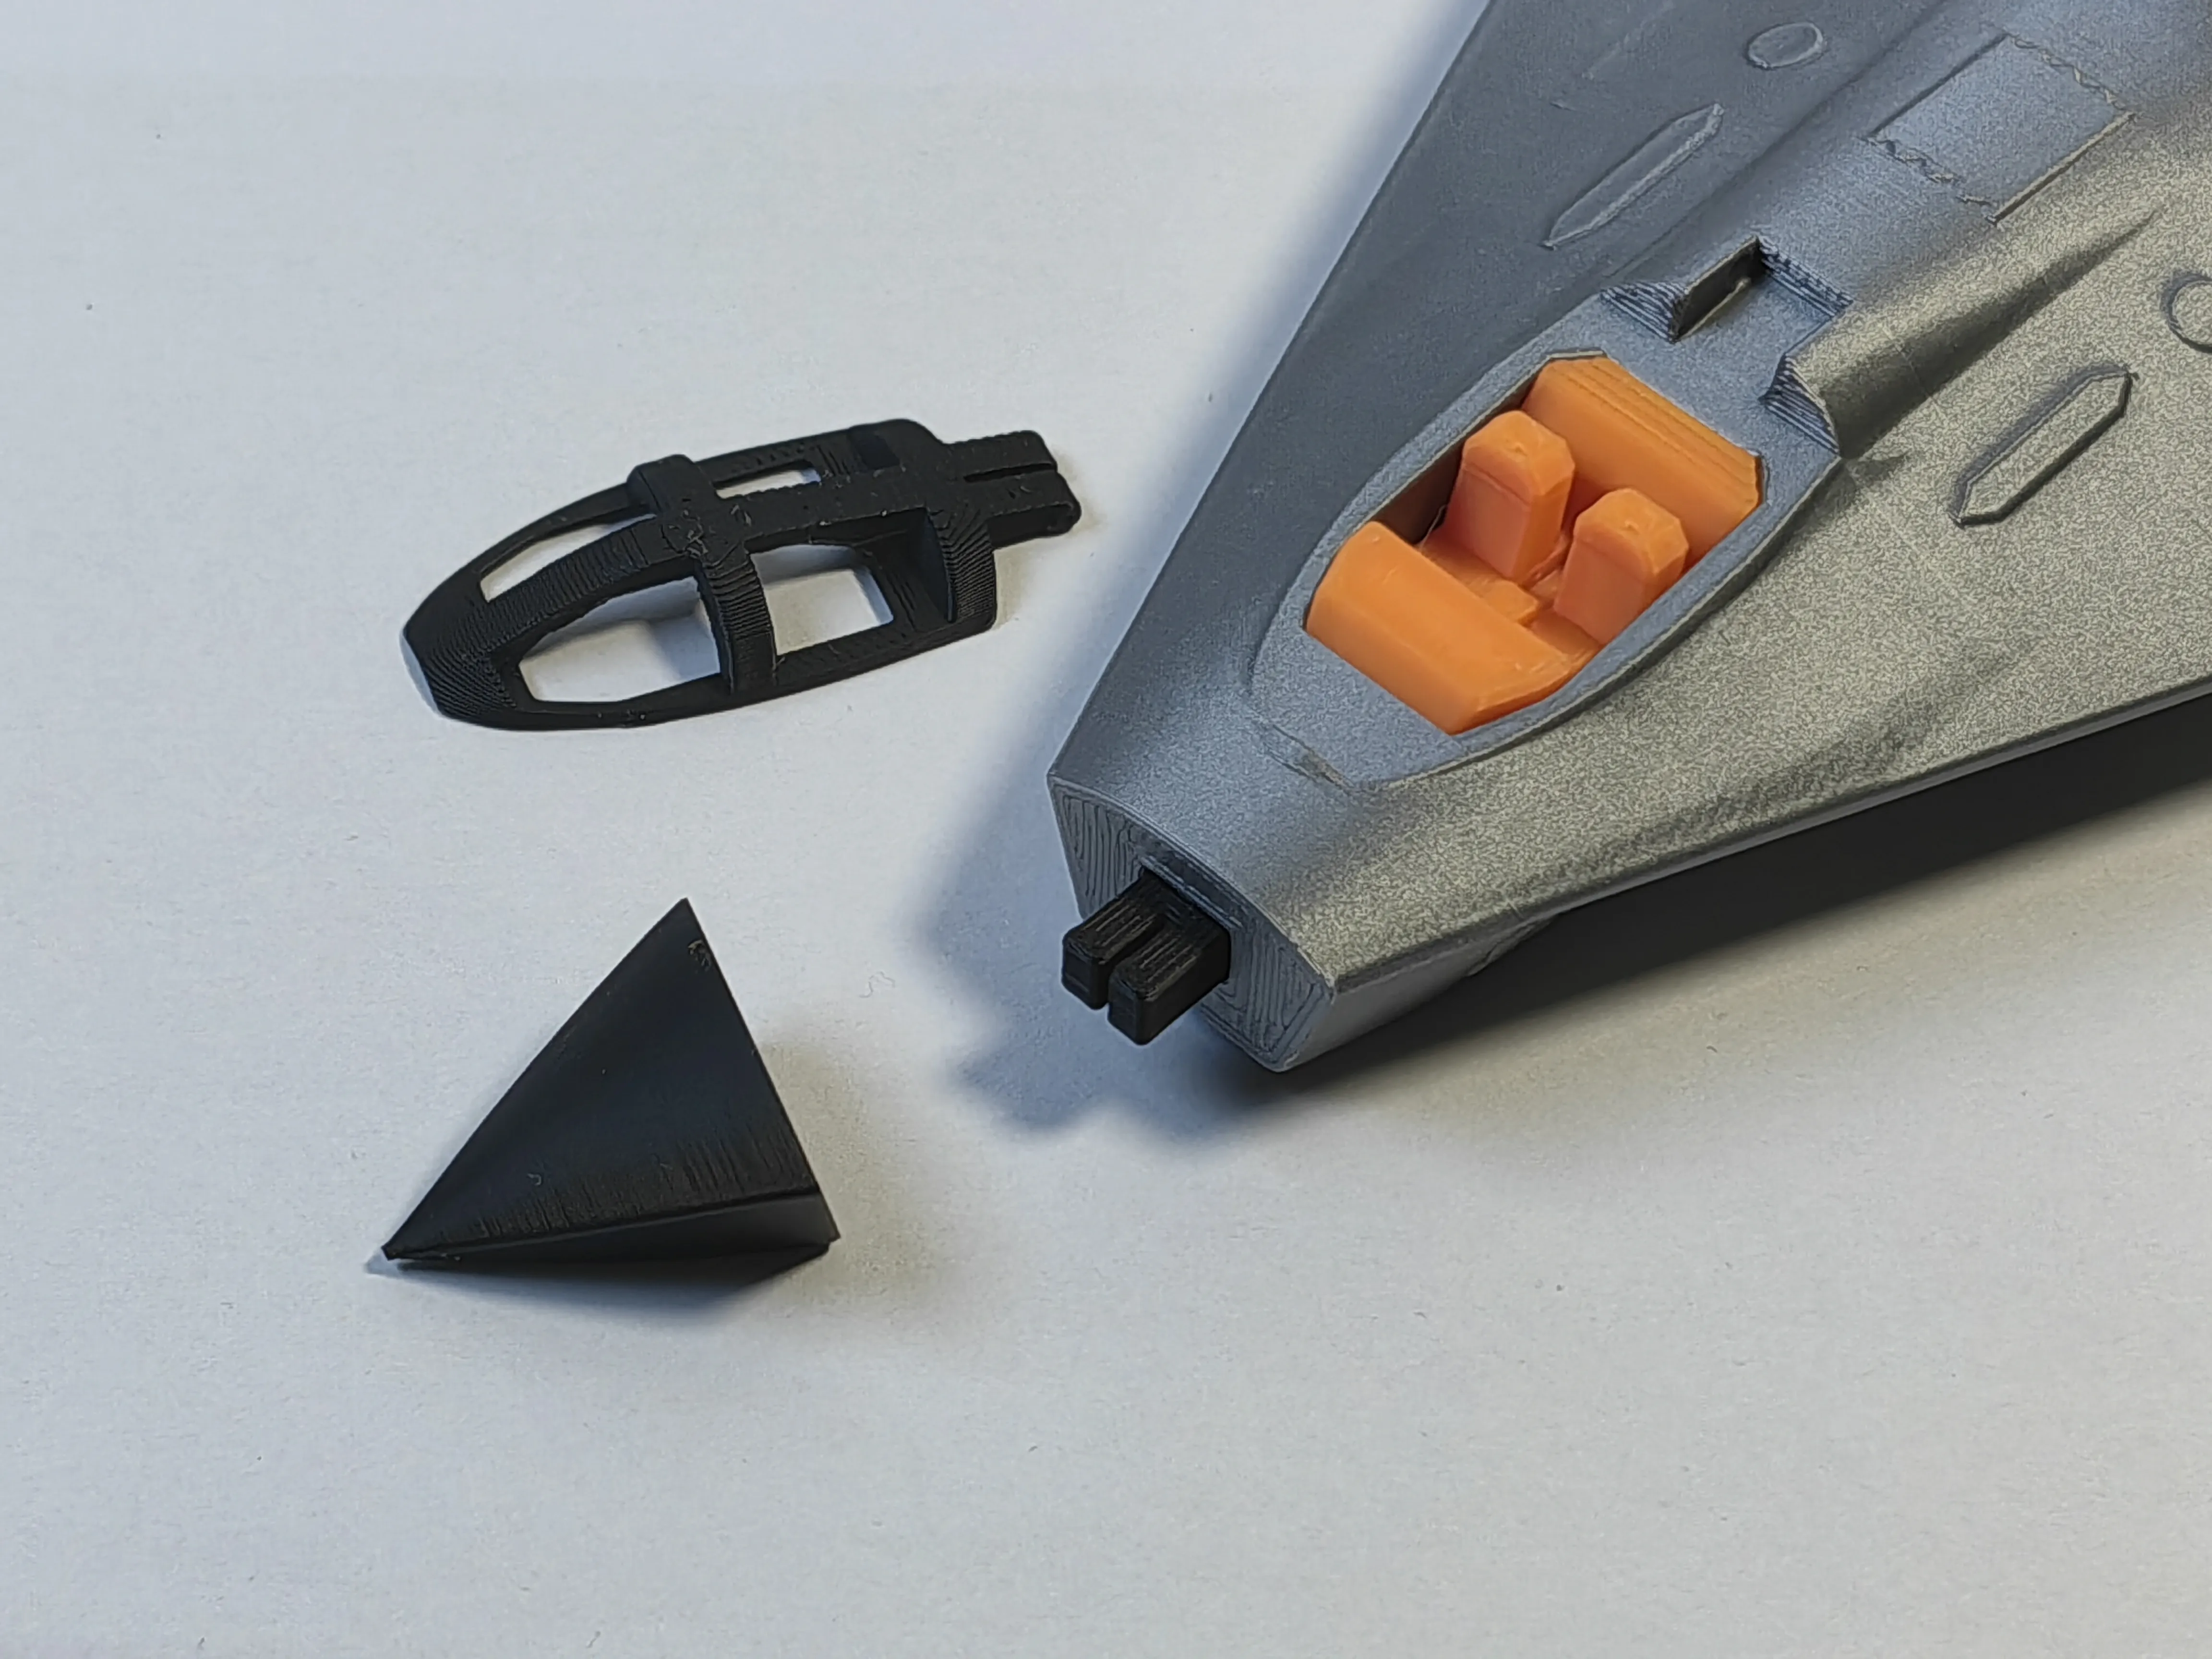
Retractable landing gear, main and dual side missile bays open, with 8 missiles inside, hollow cockpit opens and closes, replaceable engines
Simple assembly, refer to the installation tutorial below for assembly, affected by material shrinkage and printing accuracy, sand and glue if necessary, apply some pressure
Test printer: P1SC, low-temperature stabilized printing plate, Bambu Lab PLA-Basic, 0.12mm layer height, 2 walls, acceleration all 1000 or below, small parts speed 80
Filament used: 127 grams, print time: 11 hours 7 minutes
Before printing, remember to thoroughly clean the PEI printing plate, ensure its adhesion is good, and ensure the material is dry
If you like my design, please help by following, liking, downloading, and boosting
Assemble by following the pictures
1 All parts

2 Sort and arrange as pictured

2 First assemble the landing gear


3 Assemble the nose and cockpit


4 Assemble the exhaust ducts


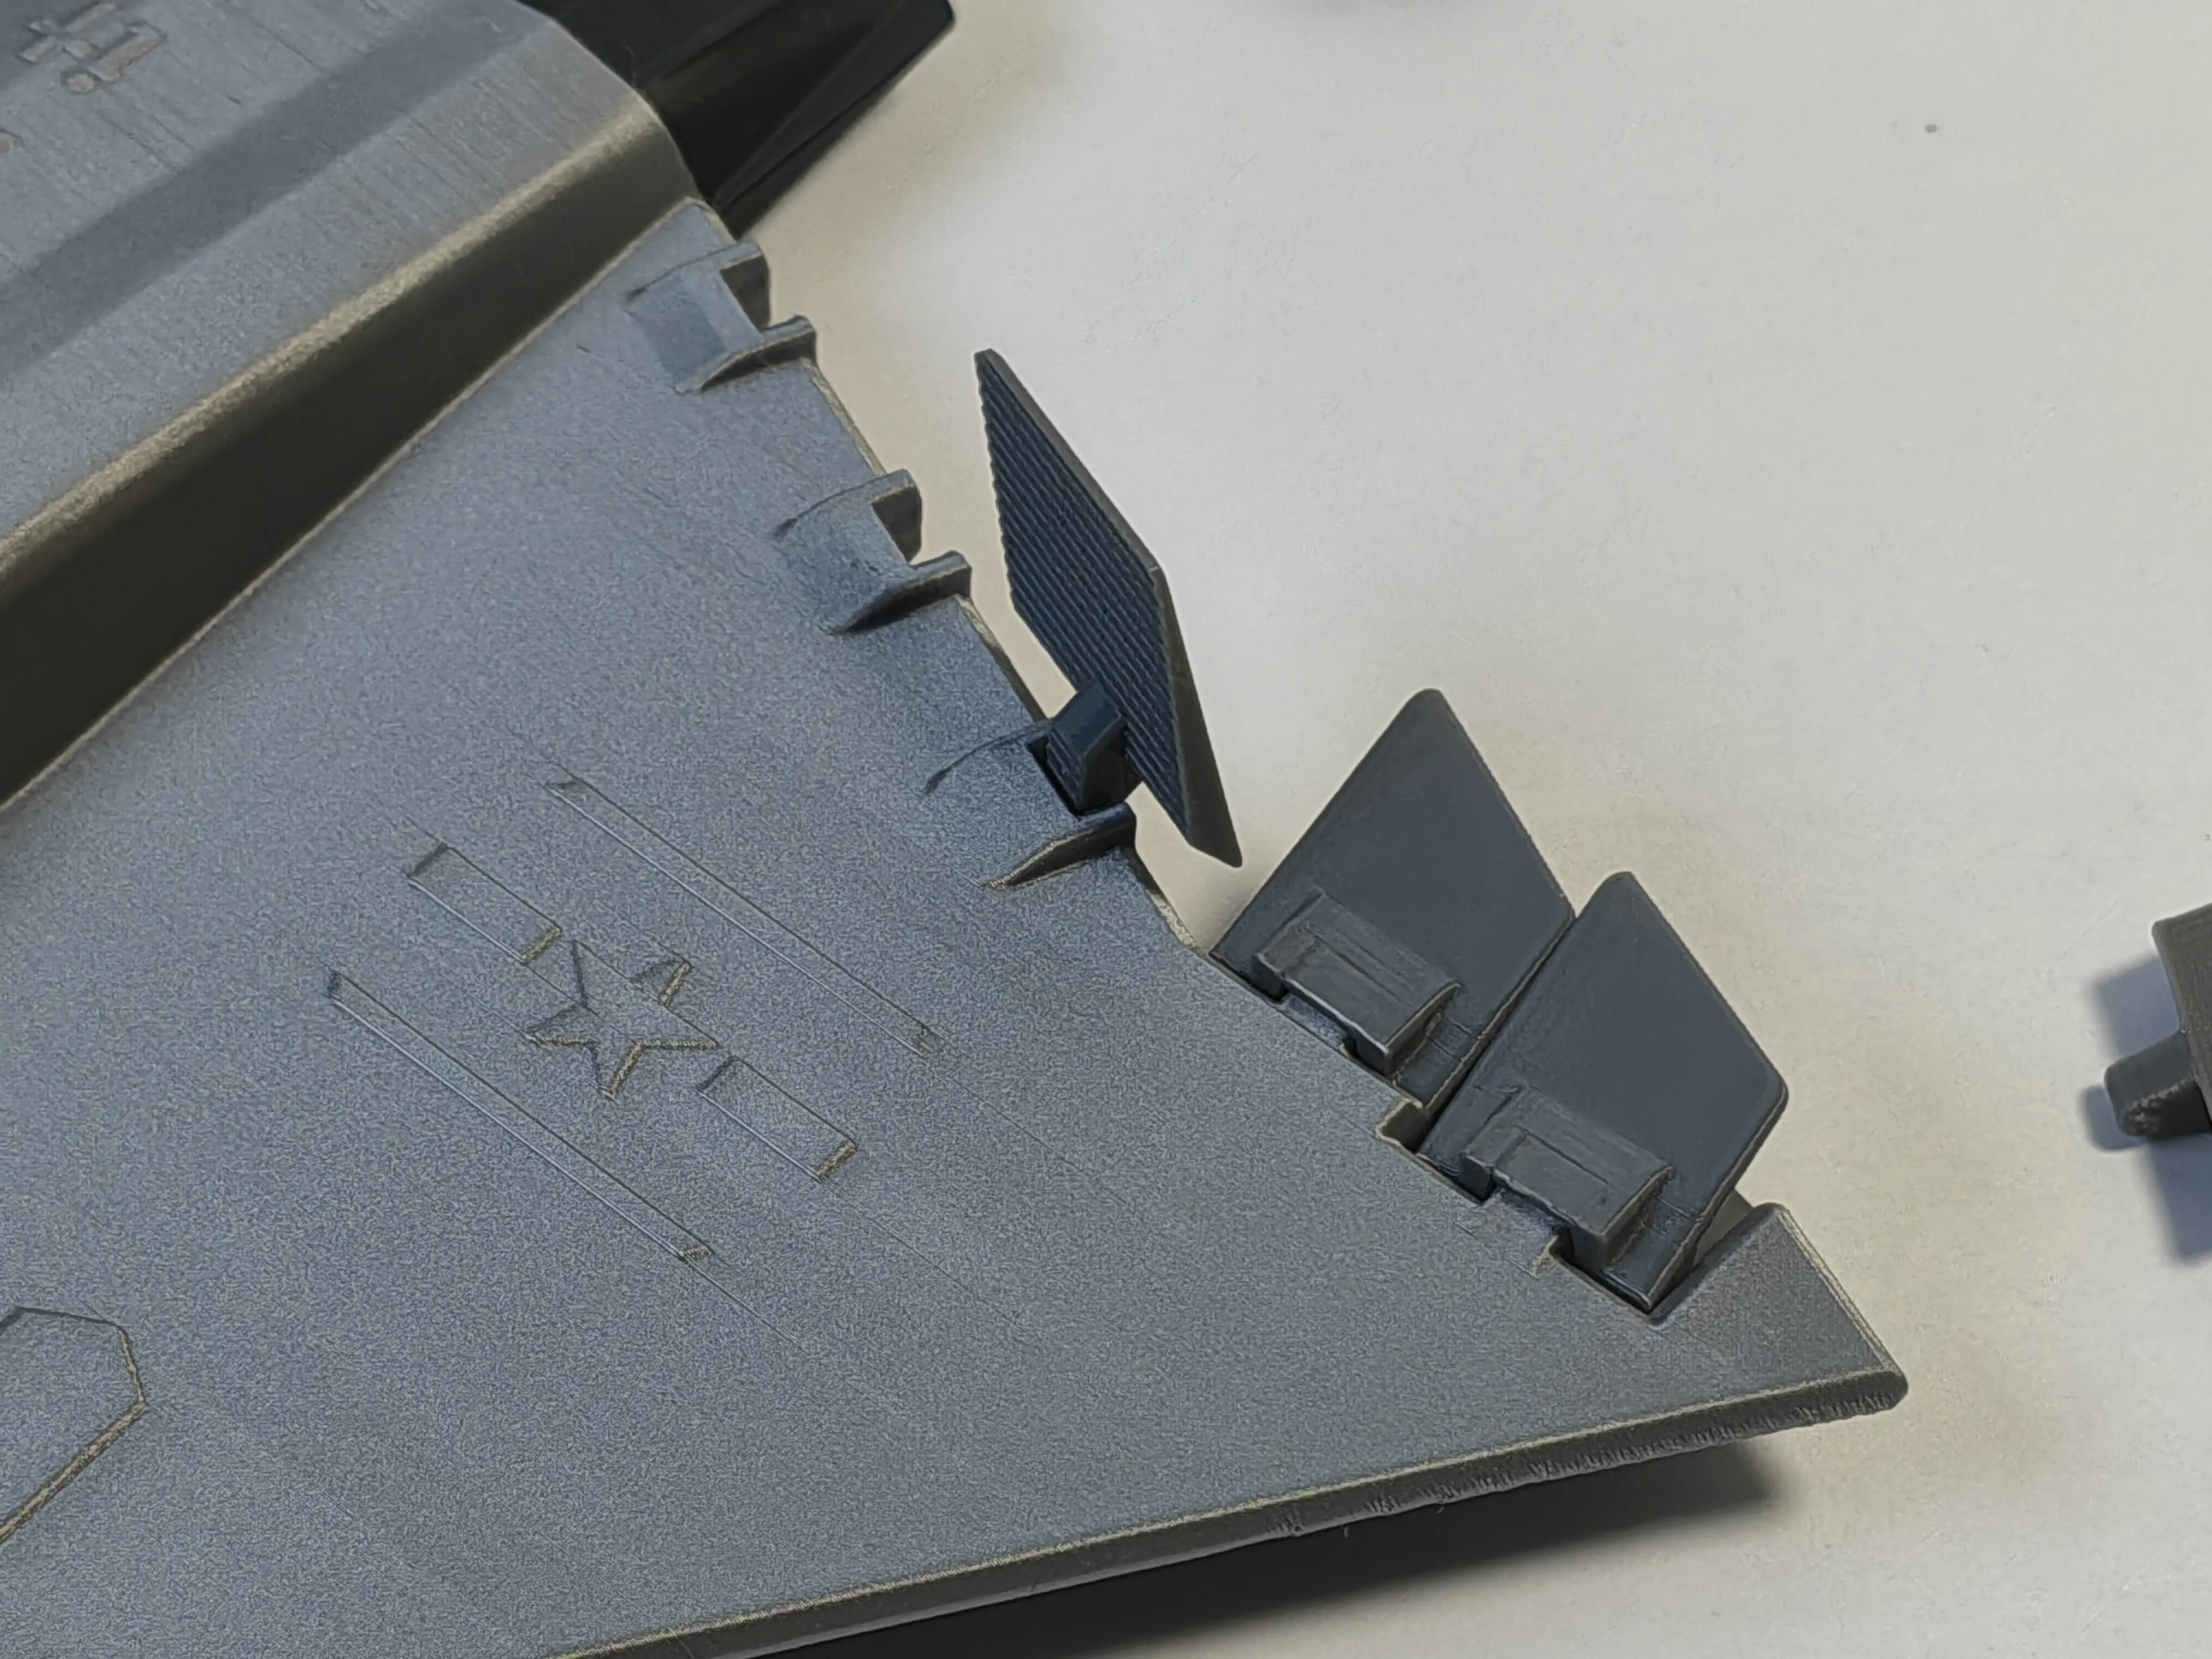
5 Install the control surfaces, first arrange them as shown in the picture


Note here that you should install upright and press firmly according to the picture, then turn flat, and then attach the other one

6 Install the mid-section air intakes and engines


7 Install the landing gear, it might be a bit loose here, you can use B-7000 glue as shown in the picture below


8 Install the landing gear bay covers


8 Install the missiles, pliers might be needed for assistance, the tails of the missiles on both sides have a slight protrusion, trim a bit off with pliers


9 Install the missile bay covers


License
You shall not share, sub-license, sell, rent, host, transfer, or distribute in any way the digital or 3D printed versions of this object, nor any other derivative work of this object in its digital or physical format (including - but not limited to - remixes of this object, and hosting on other digital platforms). The objects may not be used without permission in any way whatsoever in which you charge money, or collect fees.
Comment & Rating (11)