
STARSHIP S37 Splashdown Plaque
Print Profile(2)






Description
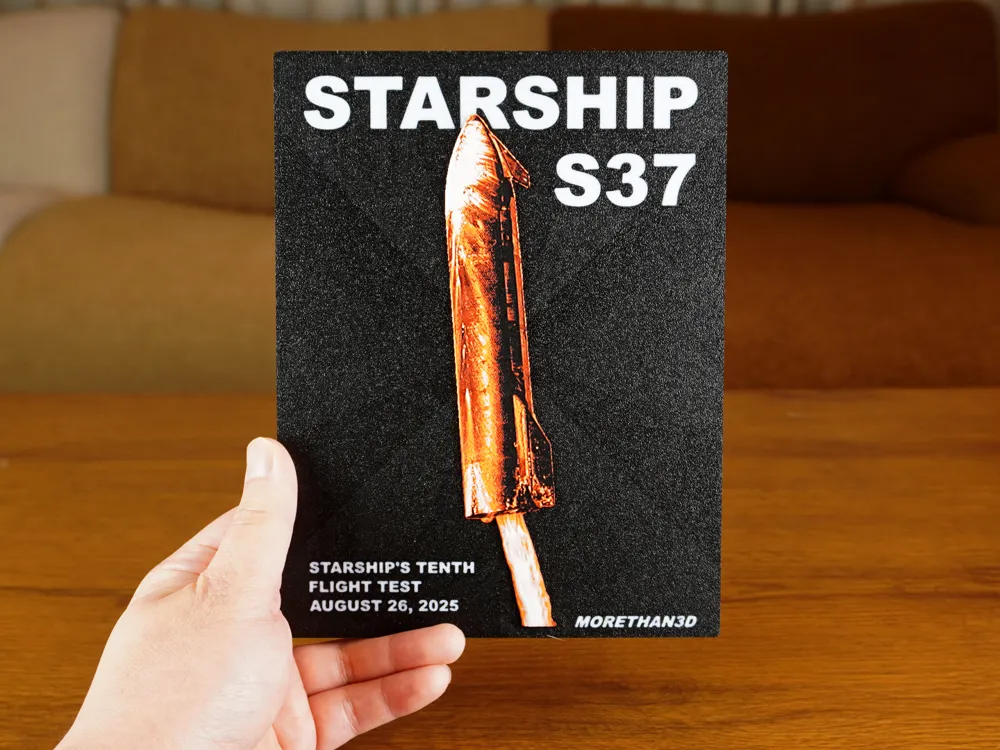
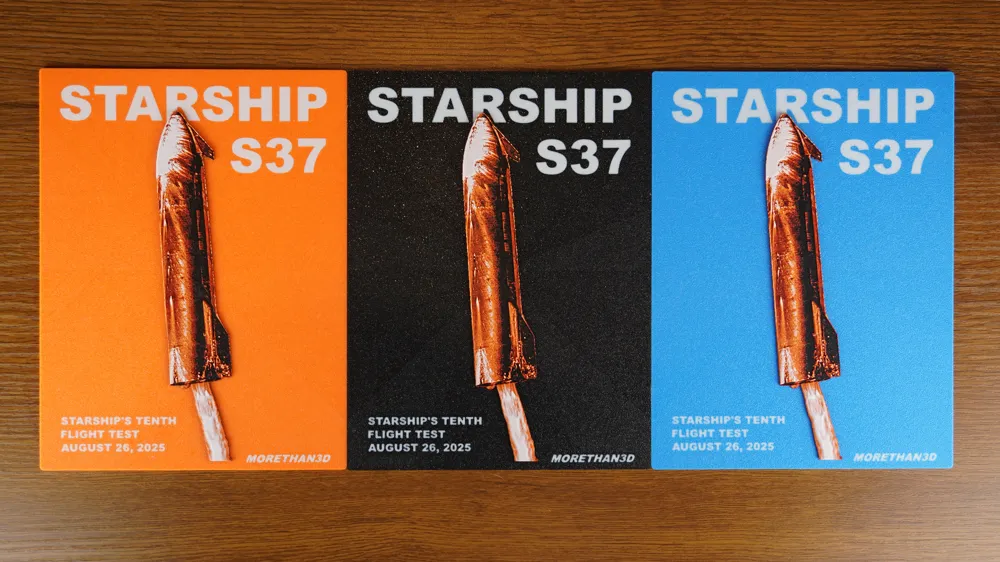
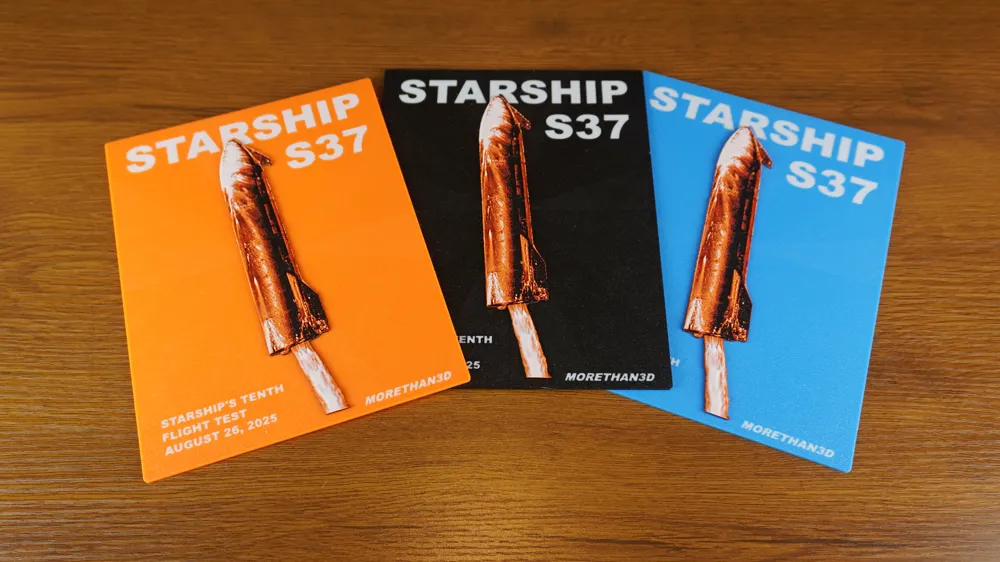
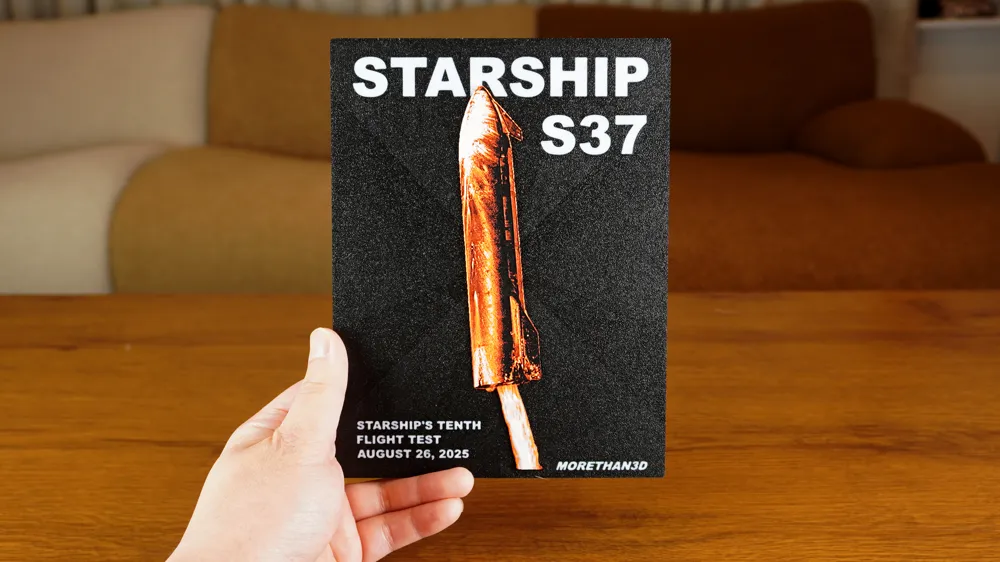
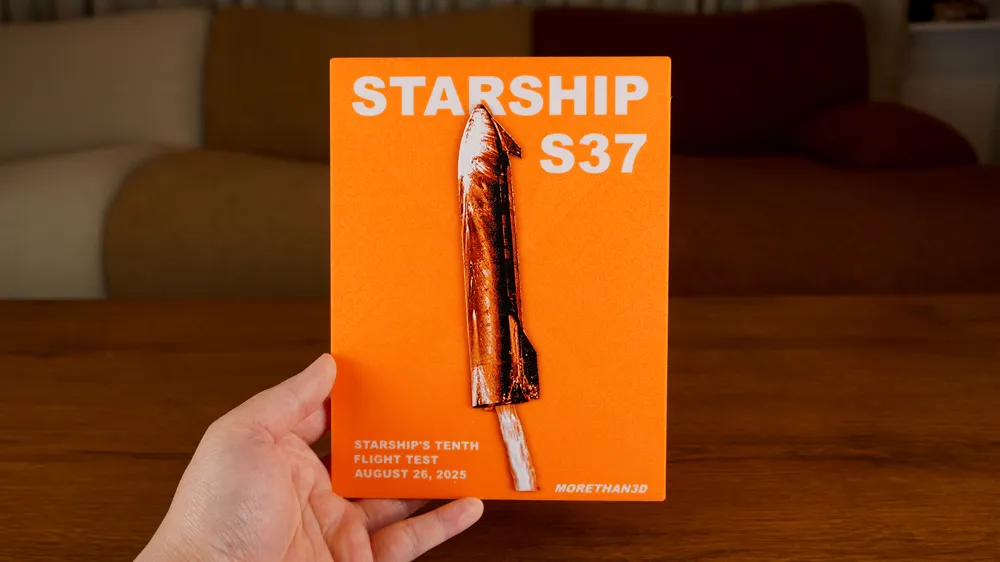
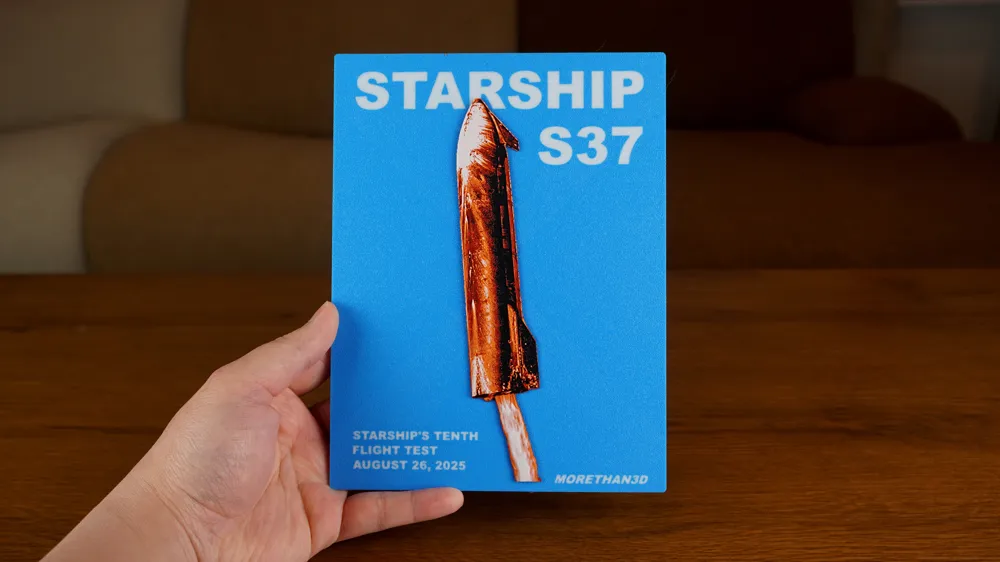
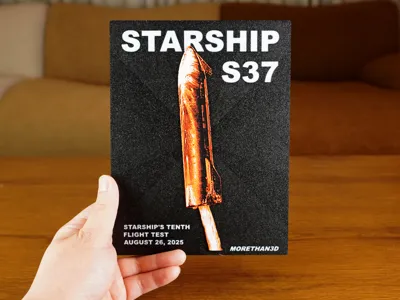
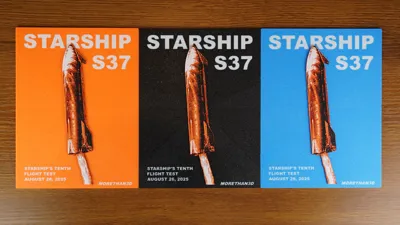
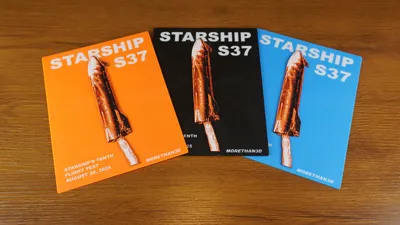
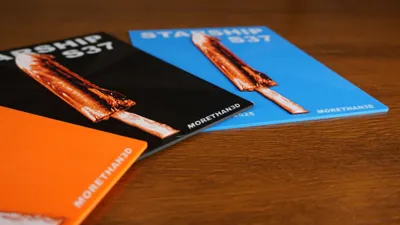
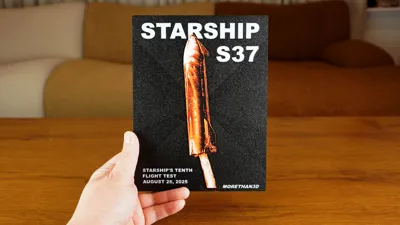
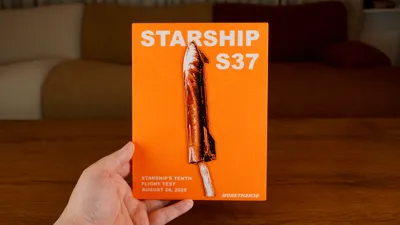
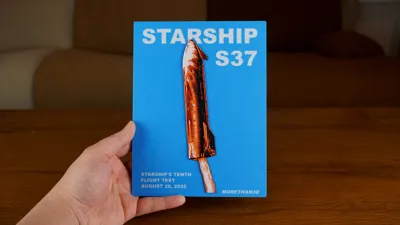
I’ve designed a special 3D printed plaque to celebrate the SpaceX's Starship Test Flight #10 success.
1, The STARSHIP
Print instructions:
Print at 100% infill with a layer height of 0.08mm with a base layer of 0.16mm (0.2mm nozzle is highly recommended for this print)
This print was created in HueForge with these 4 specific filaments:
PLA BambuLab Basic Black | Transmission Distance: 0.6
PLA BambuLab Basic Red | Transmission Distance: 4
PLA BambuLab Basic Pumpkin Orange | Transmission Distance: 5.5
PLA BambuLab Basic Jade White | Transmission Distance: 5
Swap Instructions:
Start with Black
At layer #9 (0.8mm) swap to Red
At layer #14 (1.2mm) swap to Pumpkin Orange
At layer #20 (1.68mm) swap to Jade White for the rest.
Please note:
Transmission Distance (TD) - How Translucent your Filament is.
TD is a physical property of your filaments, it is not an arbitrary number. The TD value varies depending on the type of filament, colours, etc. The higher the TD, the more translucent a filament is. In technical terms, the TD is the thickness (in millimeters) of solid filament required to block 99% of light from passing through).
Depending on which filaments you use to print this model, the final result will vary and may not look exactly the same as shown in the photos (Unless you use the exact same filaments listed above)
2, The BASE (Plaque)
The BASE can be printed with a standard 0.4mm Nozzle. You can change the colour of the Base, and colour the text to your liking!
3, Assembly
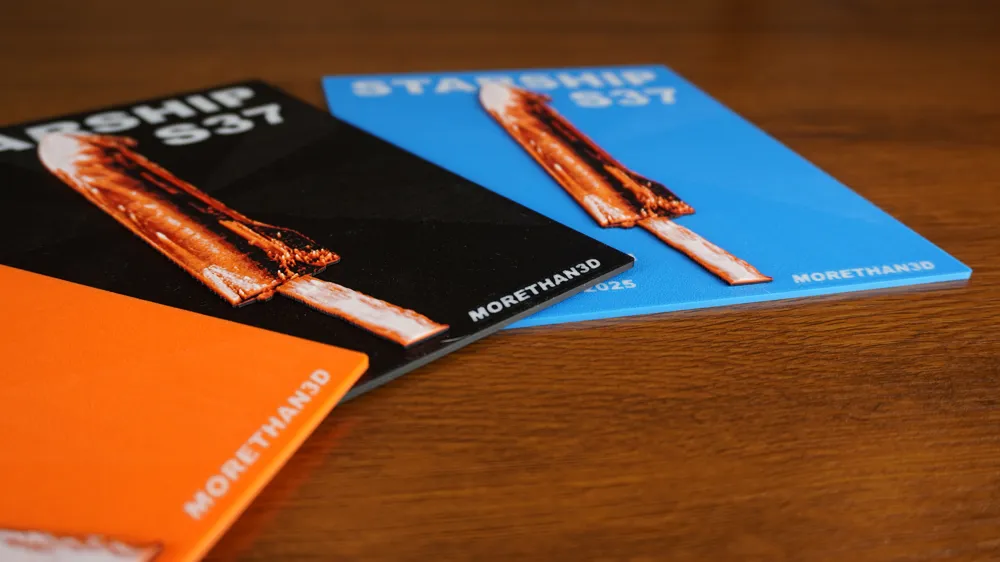
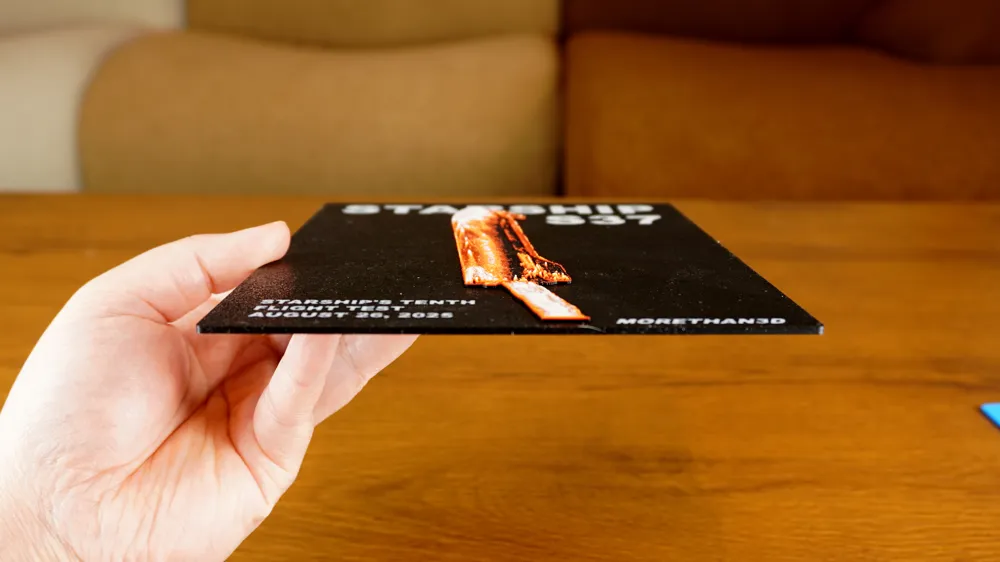
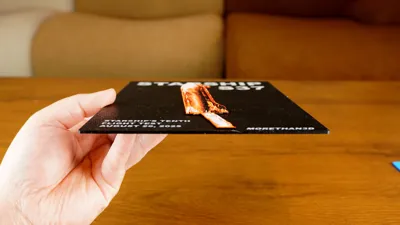
Once both parts are printed, simply glue the STARSHIP to the BASE. If you look closely near the bottom of the BASE, you'll see a small slot - use this slot to align the STARSHIP (the bottom of the exhaust plume should be aligned with this slot)
__________
If you like this model, please take a look at my "Mars Rover Perseverance" project on MarkerWorld Crowdfunding!!! 🔥
https://makerworld.com/en/crowdfunding/65-mars-rover-perseverance
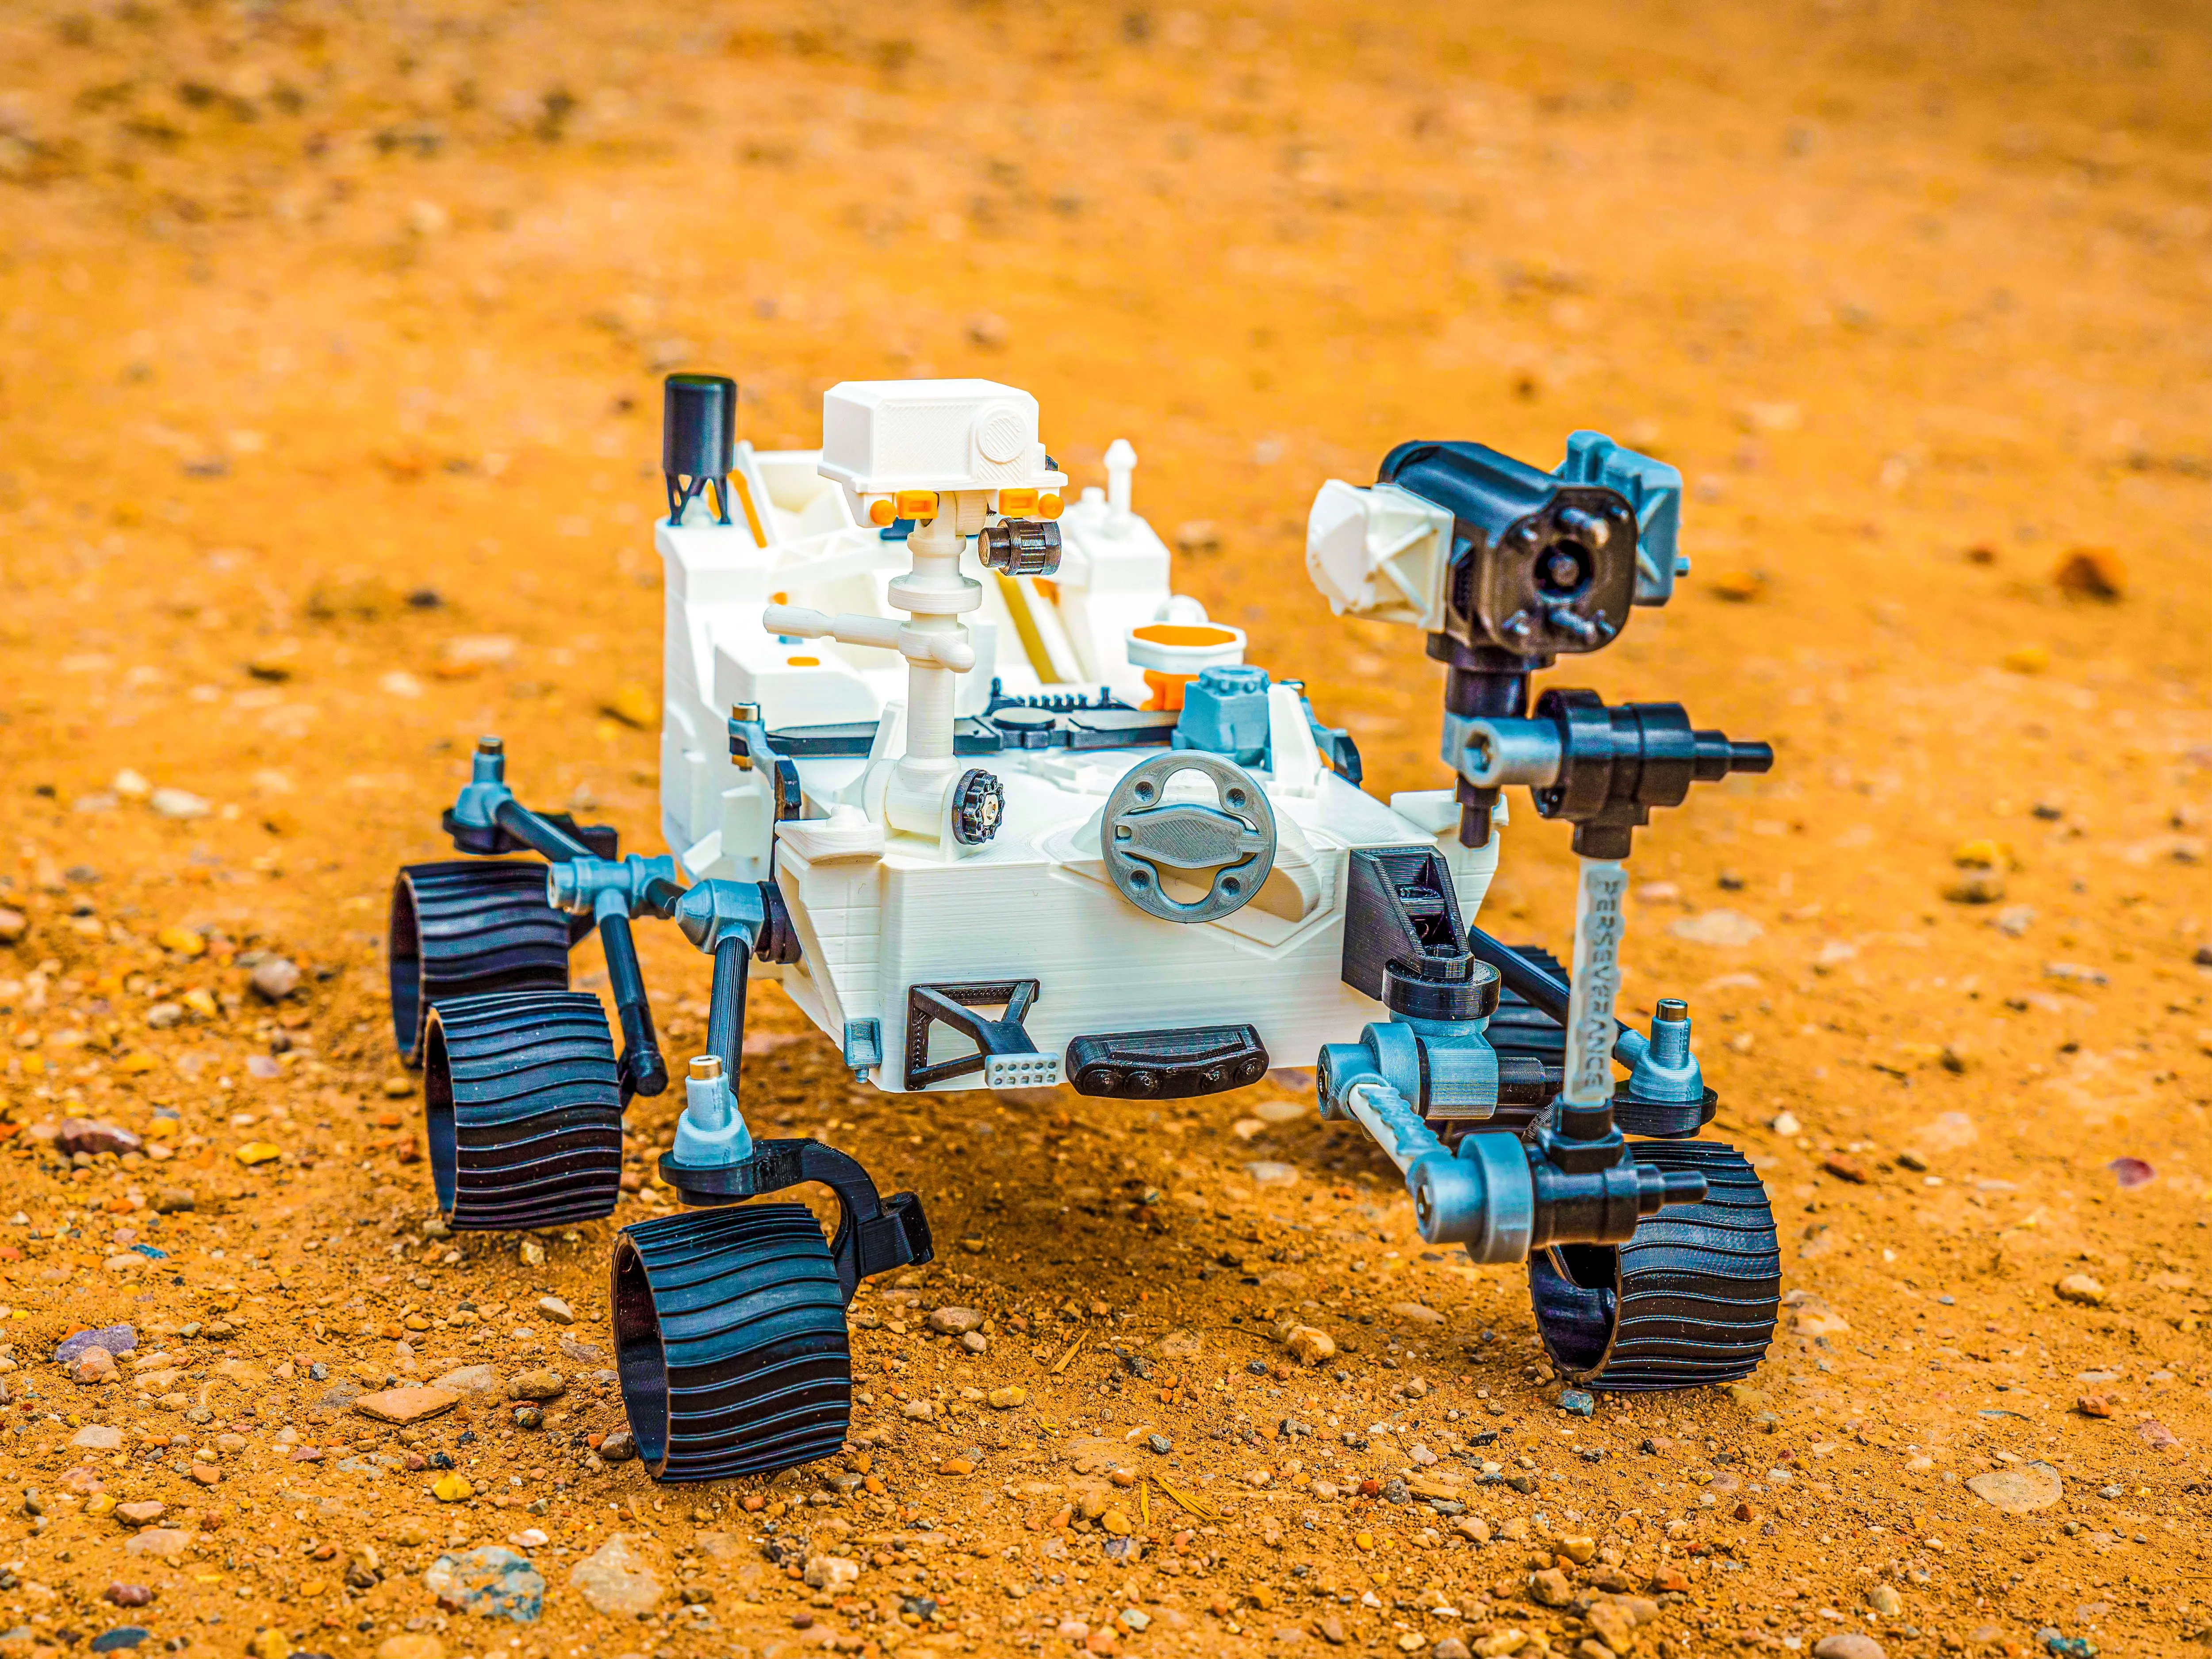
Thank you very much for your support!
__________
Join Morethan3D community on Discord (http://discord.gg/3cErWXNnuf) to get the latest update on our upcoming releases, discuss 3D printing hints & tips, ask questions, and get help if you come across any printing issues😍
Boost Me (for free)
f you enjoy printing this model, please give me a boost! :)
Documentation (1)
License

You shall not share, sub-license, sell, rent, host, transfer, or distribute in any way the digital or 3D printed versions of this object, nor any other derivative work of this object in its digital or physical format (including - but not limited to - remixes of this object, and hosting on other digital platforms). The objects may not be used without permission in any way whatsoever in which you charge money, or collect fees.


Comment & Rating (7)